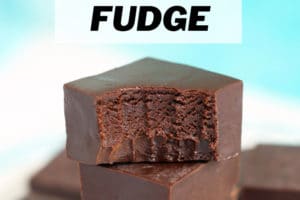
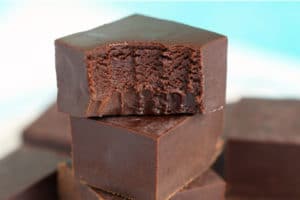
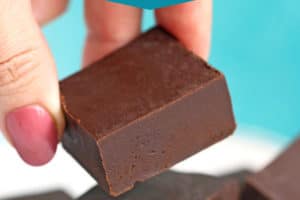
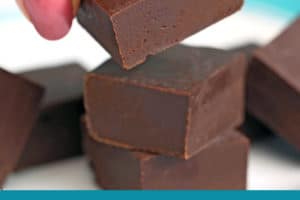
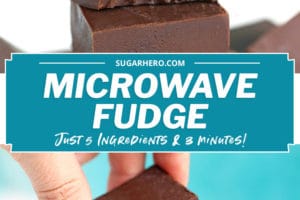


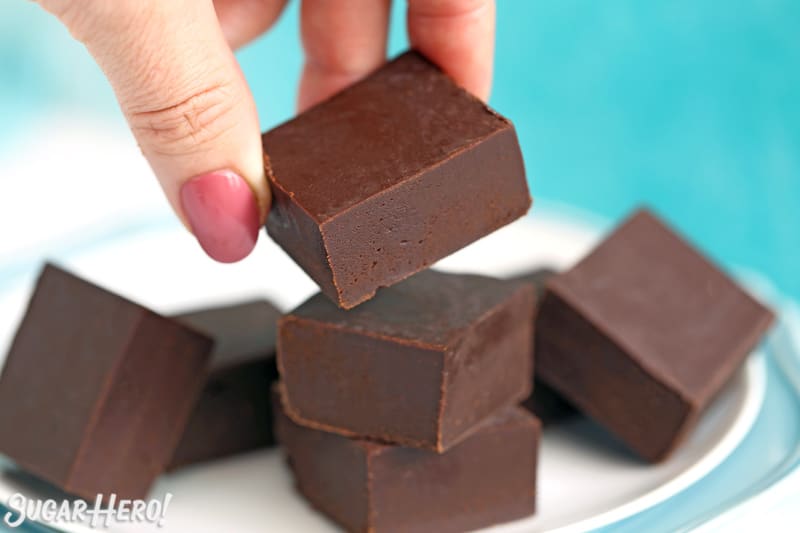
When that chocolate craving strikes and you need some NOW, turn to this Microwave Fudge recipe! This quick and easy chocolate fudge is made in the microwave, and requires just 5 ingredients and 3 minutes to come together.

The Easiest Fudge Ever – In the Microwave!
I started writing about candy way back in 2006, and since then, I’ve created thousands of candy recipes for other companies, written a candy cookbook, and filmed a candy course with Craftsy. It’s safe to say that I’ve made and eaten WAY more than my fair share of fudge over the years!
Old-Fashioned Fudge vs Microwave Fudge
Traditional fudge is actually pretty finnicky to make. It requires a candy thermometer, a long, slow boil, an even longer, slower cooling process, and a seemingly endless beating period that can exhaust the biceps of even the strongest baker. Don’t get me wrong–it’s delicious. But it’s not a spur-of-the-moment treat you whip up when you want a little something sweet.
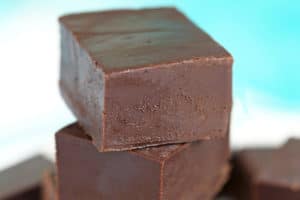
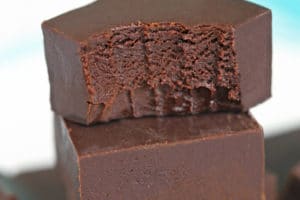
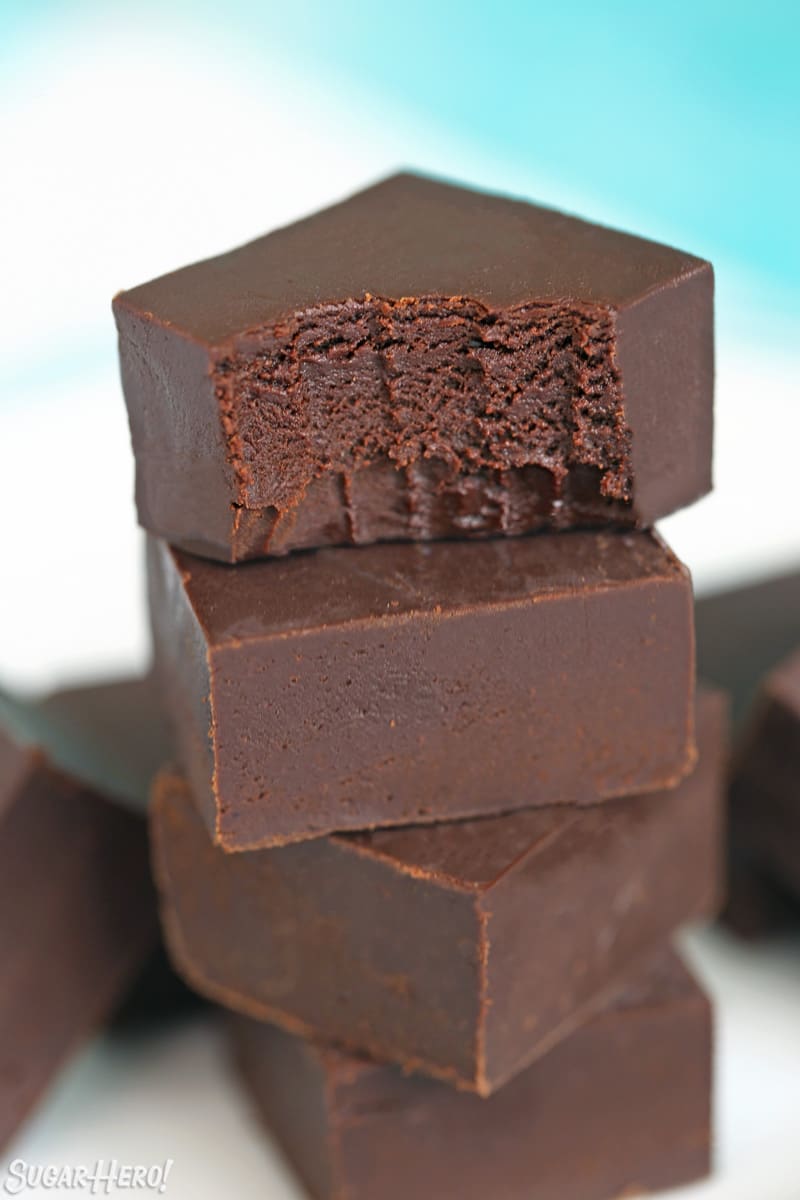
That’s why I always recommend new candy makers start with microwave fudge! This miracle recipe is SO fast, SO easy, and if you follow my tips, practically foolproof! The texture and flavor is different from traditional fudge, but that’s not a bad thing–even the pickiest fudge purist will appreciate the super smooth texture and caramel undertone from condensed milk.
The best part of this recipe is that once you’ve nailed the basic version, you can make an endless variety of different flavors, experimenting with all kinds of extracts, mix-ins, chip flavors, and more. So let’s jump in and I’ll tell you everything you need to know to make perfect 3-minute fudge.
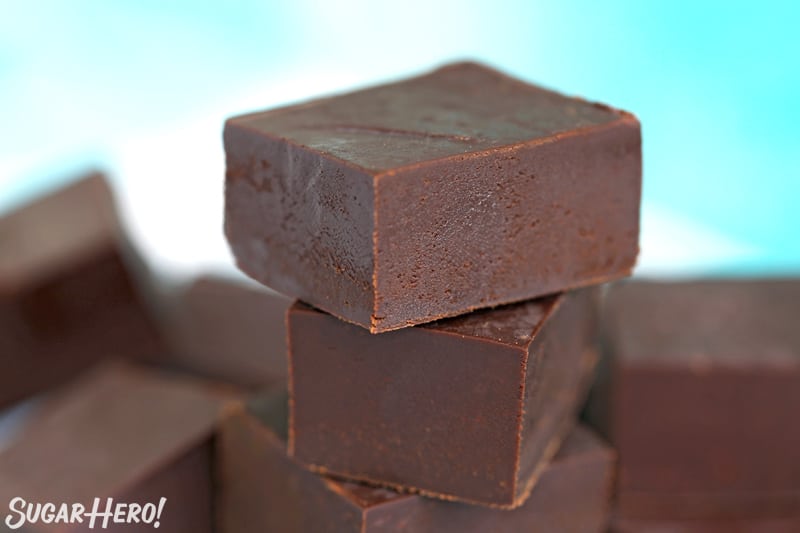
Table of Contents
🧾 What You’ll Need
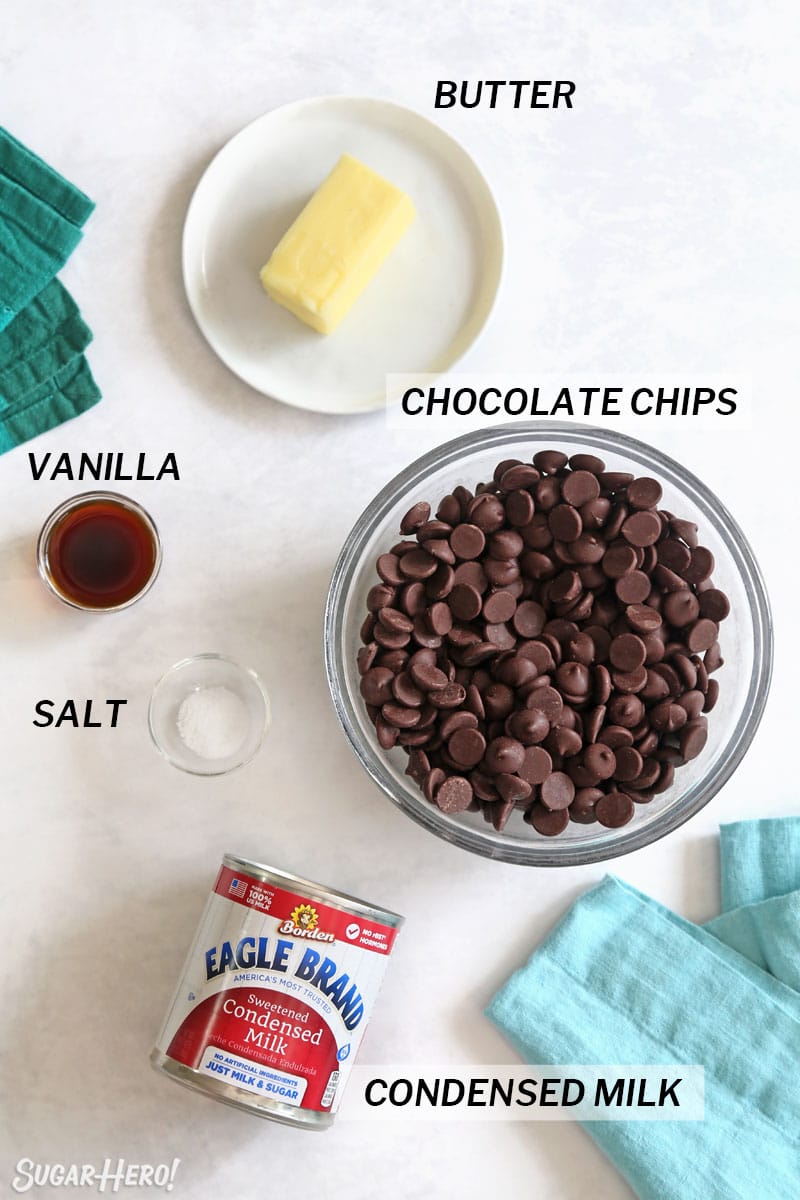
Ingredients
One of the beauties of this recipe is that the ingredient list is blessedly short. To make basic chocolate fudge, you’ll need:
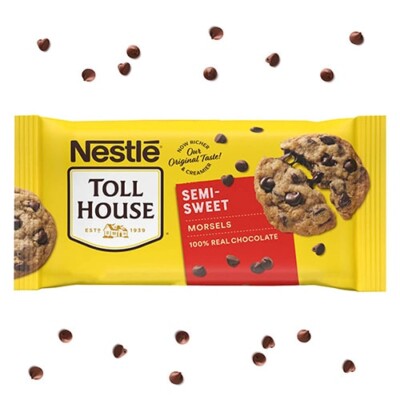
- Chocolate: Chocolate is the foundation of this recipe, and I’ll be blunt: if you use cheap, flavorless chocolate chips, you will be disappointed in your fudge. The flavor and quality of chocolate chips can vary wildly between brands–some chips are decadent and delicious, some are hard, waxy nubs with only the faintest whiff of chocolate. If you don’t like snacking on the chips by themselves, please don’t use them in this fudge. I’ve had good results with Guittard, Ghirardelli, and Nestle dark or semi-sweet chocolate chips.
- Sweetened condensed milk: If chocolate is the foundation, then condensed milk is the…walls of this recipe? I lost the metaphor a bit, but you get the idea: it’s super important and cannot be replaced. Be sure you are using sweetened condensed milk, not evaporated milk. Both are sold in cans, but they’re very different and evaporated will not work in this recipe.
- Butter: Butter makes everything better! In this recipe, it adds fat (= creamier texture) and it shouldn’t be omitted. You can use salted or unsalted butter, but if you use salted, consider reducing the amount of added salt, at least until you’ve had a chance to taste the fudge mixture.
- Salt: Salt is candy’s best friend! It keeps this fudge from being too one-note and cloying. I recommend using kosher salt. If you are using table salt, only use half the amount in the recipe–table salt is much saltier.
- Vanilla extract: Vanilla is my go-to for basic chocolate fudge, but you can use a TON of different extracts! Check the Variations section below for more flavor inspiration.
🥄 Equipment
Easy ingredient list, easy equipment list! (Yessssss.) Here’s what you’ll need to whip up this fudge.
- Microwave: Since it’s in the title, this one is probably obvious. I recommend cooking this fudge at 50% power in your microwave, so before you begin, brush up on your particular model to make sure you know how to change the power setting!
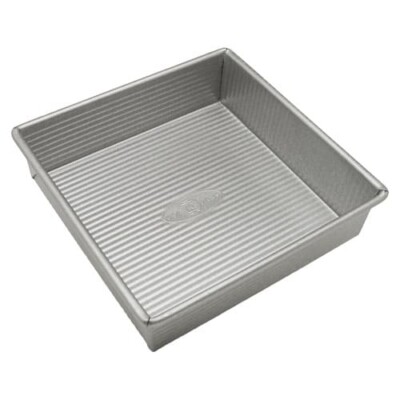
- 8×8-inch pan: I typically make this fudge in a square 8×8-inch cake pan, but you can make it in a 9×9-inch pan if you want a thinner fudge.
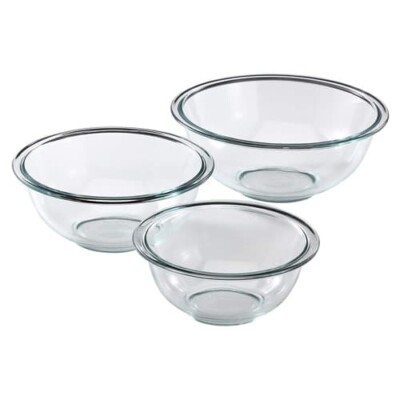
- Glass bowl:You’ll need a large microwave-safe bowl to cook and mix the fudge in. I own and love this pretty, sturdy glass set.
📋 Instructions
Here’s a quick overview of how to make this fudge. Full printable instructions can be found in the recipe card below!
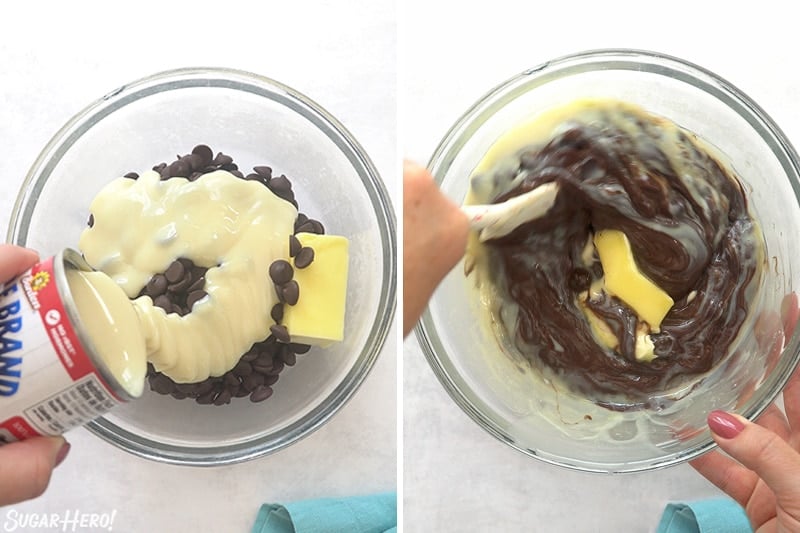
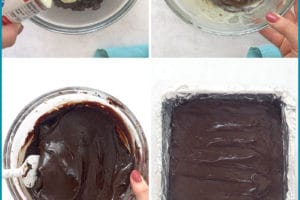
- Combine the chocolate chips, butter, and condensed milk in a large microwave-safe bowl.
- Microwave the mixture for 30 seconds at 50% power. I strongly recommend using a lower power setting, because it will help the chocolate melt gently and gradually.
- Take the bowl out of the microwave and stir well. The chocolate and butter won’t be completely melted yet, and that’s okay.
- Continue to heat the fudge in short bursts at 50% power, stirring after every interval, until everything is melted.
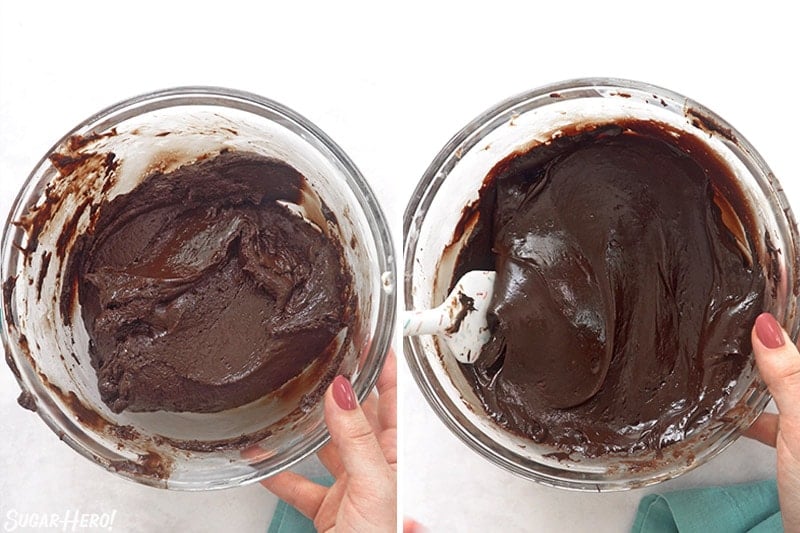
- Once everything is melted, add the vanilla and salt, and stir them in.
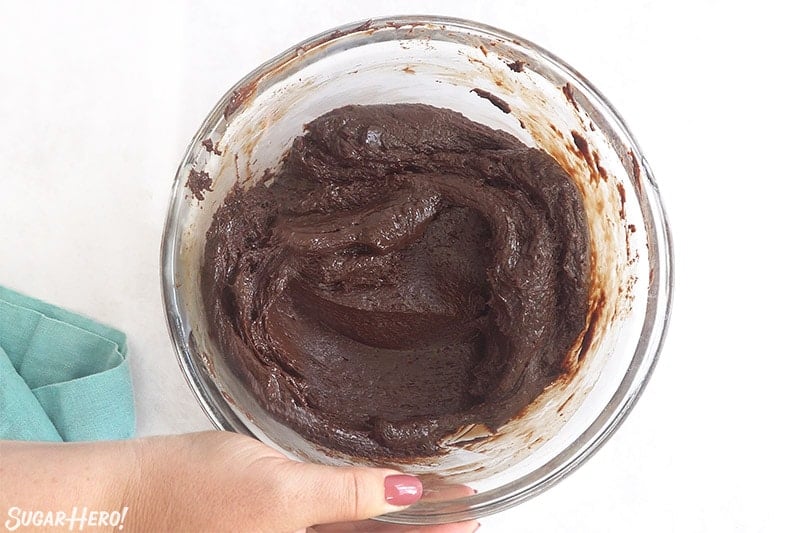
- At this point, even though everything is melted, chances are your fudge still looks rough and clumpy. Continue to heat it for short periods of time (15-20 seconds) at lower power, and stir well between each microwaving. After a few more intervals, the fudge should smooth out and look like glossy pudding.
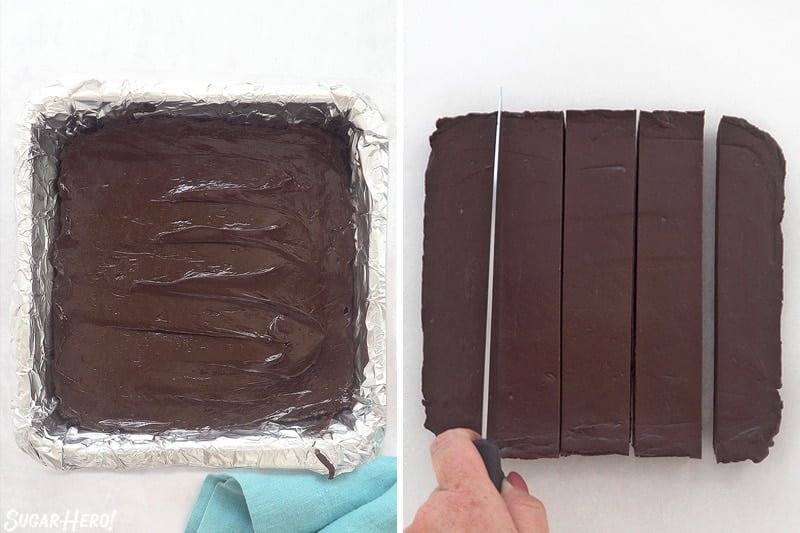
- Scrape the fudge into a pan lined with foil or parchment, and spread it into an even layer. Let it set at room temperature overnight, or in the refrigerator for 1-2 hours.
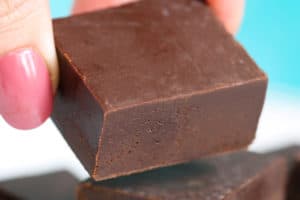
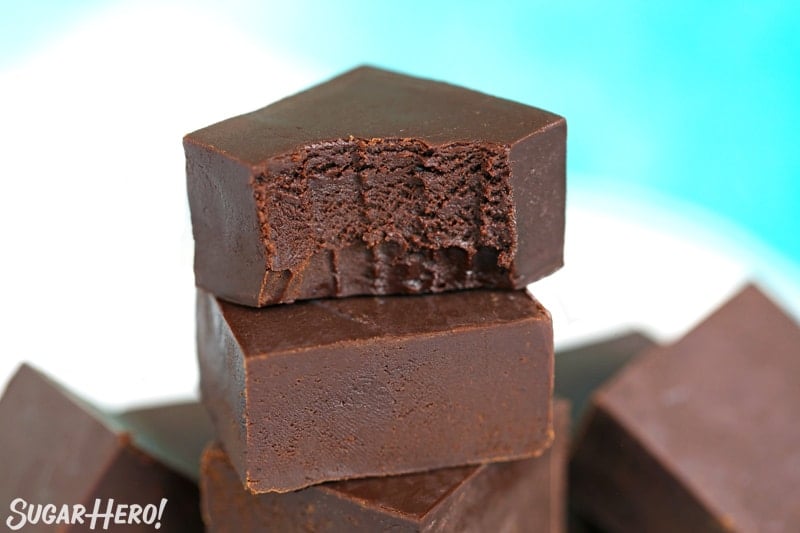
- Use a large sharp chef’s knife to cut it into small squares. I recommend running the knife under warm water every few cuts to get the cleanest pieces.
💭 Variations
This fudge is extremely flexible and easy to customize. Once you’ve nailed the basics, try one (or more!) of these other flavor ideas:
- Different chips: semi-sweet isn’t your only choice! Try this recipe with other chips like peanut butter, butterscotch, white chocolate, espresso/mocha, and more. Note that the fudge is already sweet, so using very sweet chips will intensify that. Consider adding some salty mix-ins to balance out the sugar!
- Mix-ins: SPEAKING of mix-ins, time to raid the pantry because this fudge can take it! Some of my favorite additions are chopped cookies (Oreos, chocolate chip, or any other crunchy cookie works great), shredded coconut, toasted nuts (try almonds, hazelnuts, walnuts, pecans, or pistachios), or dried fruit like cranberries or tart cherries.
- Flavored extracts: try adding about a teaspoon of an extract like almond, coconut, lemon, peppermint, or orange. Different extracts have different strengths, so when in doubt, start with a small amount and taste as you go.
💡 Tips and Troubleshooting
Help, my fudge looks gross!
One of the tricky things about this microwave fudge is that it can go through an ugly period where it looks curdled or broken. (You can see an example in the picture above or tutorial video below.) It doesn’t always happen, but it’s definitely not uncommon.
Why does fudge break?
There are a few reasons your fudge might break. A lot of it comes down to the chocolate you use–different brands use different types and amounts of fat in their chips, and sometimes you can do everything right, but the chips just don’t cooperate. I’ve had the best luck with Guittard and Nestle chips, and have had some awful luck with generic store brands. Old chips are especially prone to making sketchy fudge, so be sure to use a bag that hasn’t passed its Best By date.
Overheating is another major culprit. That’s why I recommend microwaving in short bursts at half power, and stirring frequently–it helps the chocolate melt more gently and gradually, reducing the chance that some “hot spots” in your fudge might overcook while other parts remain unmelted.
How to save broken fudge
Good news–this is almost always just a stage the fudge goes through on the way to total chocolate bliss! I recommend working through it by heating the fudge in short intervals (15-20 seconds) at 50% power, and stir very well between each session. You can also try different utensils – it might sound crazy, but I swear by wooden spoons for helping my fudge to come together.
Can I Use Chopped Chocolate?
Yes, you can. You can substitute an equal amount of finely chopped semi-sweet chocolate in place of the chocolate chips. My recommendation: Trader Joe’s Pound Plus dark chocolate bars, which are great value and good quality.
Chopped chocolate bars often produce fudge with a better flavor and a creamier texture, since they contain cocoa butter (instead of other fats) and typically have more of it. The downside is that your fudge might be softer if you use chopped chocolate. It really depends so much on the specific brand and type you use, so it’s hard to speak in absolutes. But if you are using a really luscious, creamy chocolate bar, consider increasing the amount of chocolate to 22 ounces instead of 18, so the fudge will be firmer.
Microwave Fudge…on the Stovetop?
Despite the name, you can make this fudge on the stovetop instead of the microwave! Use a heavy-bottomed saucepan, and melt the chocolate/butter/condensed milk mixture over medium-low heat. (Remember how important it is to not overheat everything!) Stir frequently until everything is melted and smooth, and heat/stir if necessary at the end to make your smooth, beautiful fudge.
Make-Ahead Instructions
Fudge keeps well, so it’s a good make-ahead and gifting choice. If you want to make it in advance, I recommend keeping it intact as a block, rather than cutting it into squares. Wrap the block of fudge well with plastic wrap, and store at cool room temperature for up to 2 weeks. If your house is very warm, store it in the refrigerator instead. For the best taste and texture, let the fudge come to room temperature before eating.
Fudge also freezes well. Just wrap it tightly with plastic wrap and freeze until you are ready to enjoy. It tastes best when thawed in the refrigerator overnight and then brought to room temperature before eating it.
❤️ More Easy Candy Recipes
If you liked this fudge, then I know you’ll love these easy homemade candies, too!
- Oreo Fudge
- Pumpkin Fudge
- Dirty Coke Fudge
- Peanut Butter Cup Fudge
- Champagne White Chocolate Truffles
- Raspberry Truffles
Don’t miss the step-by-step tutorial showing how to make Easy Microwave Fudge – check out the web story here!
If you make this recipe, please let me know! Leave a ⭐️⭐️⭐️⭐️⭐️ rating on the recipe below and leave a comment, take a photo and tag me on Instagram @elabau, or use #sugarhero on IG!
Easy Microwave Fudge
Equipment
Ingredients
- 18 oz semi-sweet chocolate chips, (3 cups)
- 14 oz sweetened condensed milk, (1 can)
- 2 oz unsalted butter, (4 TBPS)
- 1 tsp vanilla extract
- ¼ tsp salt
Instructions
- Line an 8×8-inch square baking pan with aluminum foil extending up the sides. Spray lightly with nonstick cooking spray.
- Combine the chocolate chips, condensed milk, and butter in a large microwave-safe bowl. Microwave the bowl for 30 seconds at 50% power.
- After 30 seconds, stir well. At this point, the butter and chips will have started to melt, but you will still have plenty of unmelted chocolate in the bowl.
- Continue to microwave the fudge in 30-second increments at half power. Stir well after every 30 seconds. Depending on your microwave, it will most likely take 2-3 minutes of total heating time to melt everything.
- Once the chocolate is melted, add the vanilla extract and salt, and stir well.
- If your fudge still looks "rough" or broken, continue to heat it at half power in short bursts, stirring very well between each heating session. Stop when the fudge is glossy and smooth.
- Immediately scrape the fudge into the prepared pan and smooth it into an even layer.
- Refrigerate the fudge until set, for about 2 hours. Once set, cut into 1-inch squares and serve at room temperature.
- Extras can be stored in an airtight container at room temperature for two weeks, or in the refrigerator for up to 3 weeks. It will gradually dry out, so be sure to wrap it well if you are planning on storing it for an extended period of time.
Video
Recipe Notes
Measuring Tips
Our recipes are developed using weight measurements, and we highly recommend using a kitchen scale for baking whenever possible. However, if you prefer to use cups, volume measurements are provided as well. PLEASE NOTE: the adage “8 oz = 1 cup” is NOT true when speaking about weight, so don’t be concerned if the measurements don’t fit this formula.
Want to learn more about baking measurements and conversion?
Nutrition


I’m not that much of a online reader to be honest but your sites really nice, keep it up! I’ll go ahead and bookmark your site to come back in the future. Many thanks
That’s wonderful. I hope you enjoy!
Love this fudge. Have made it twice once with Walnuts once without them. Love it both ways. Can you freeze it? Please let me know.
Hi Sharon! Yes, you can freeze the fudge. Just wrap it tightly and freeze until you are ready to enjoy. I recommend thawing it in the refrigerator for the best taste and texture.