


What could be better than a gingerbread house? How about an entire rainbow gingerbread village?! Get tips, tricks, and tons of decorating inspo to make an AMAZING gingerbread house this year!
This post is sponsored by Wilton, a longtime SugarHero favorite!

Creative Gingerbread House Ideas
It’s hard to go wrong with a classic gingerbread house. There is something sweetly festive and cozy about the simple act of combining slabs of gingerbread and decorating them with royal icing and seasonal candies.
But if you’re ready to move beyond the typical gingerbread house decorations and try something new, you’ve got to try this rainbow gingerbread house village! I’ve teamed up with Wilton to bring you this modern twist on the traditional gingerbread house.
Read on to find all of the how-tos, decorating details, supplies, and style inspiration you’ll need to get started!

Gingerbread House Supplies
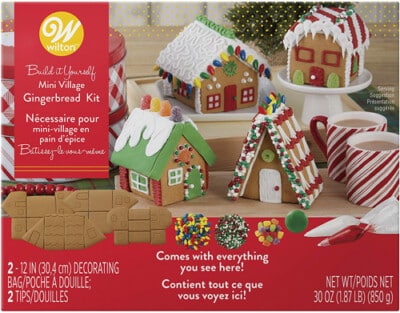
To make this eye-popping rainbow gingerbread village, I used two Wilton Mini Village Gingerbread Kits. These kits come with everything you’ll need to make and decorate four darling mini houses. In each box, you get:
- Four gingerbread panels, to yield four houses. The panels are pre-scored for easy cutting.
- Cardboard bases to set the houses on
- Red and white royal icing, ready to use
- Two piping bags and piping tips
- Green fondant, ready to use
- Assorted candies: gumdrops, colored pearls, and Christmas light sprinkles
Baking the gingerbread houses and assembling the supplies is the most time-consuming (and least rewarding!) part of the gingerbread house process, so it’s awesome that this kit lets you get right to the good stuff–the decorating!

Of course, making a whole rainbow village requires a lot of different colors, so I also supplemented with additional Wilton sprinkles (and some fun royal icing decorations!) to support the rainbow theme.

Cutting Out the Gingerbread House
The first step is to assemble the houses, so start by cutting apart the gingerbread panels on the pre-scored lines. You can use a sharp knife to do this, but I would actually recommend a razor if you have one—it’ll give you the most precise, clean cuts.
Window cutting Tip
To easily cut the small windows out of the sturdy gingerbread, try this trick: place a gingerbread wall on a plate, cover it with a damp paper towel, and microwave for 15 seconds. Adding moist heat makes the gingerbread more pliable temporarily, and it’s much easier to remove the small windows without breaking the gingerbread wall.
Once cut, check to be sure that the matching pieces from each house are the same size (all roof panels line up, etc). Trim any pieces necessary. If you accidentally break anything, the pieces can be glued together with royal icing during the assembly process, then covered with decorations.
If you want to add glass candy windows to the gingerbread panels, do so before starting the other decorations so that the windows have plenty of time to set.
I opted to put LED tea lights inside my houses, so when I was cutting the panels, I cut out most of the windows so the light would shine through. This is optional, and you can leave the windows intact to act as a guide when decorating your houses.

Putting the Gingerbread House Together
Assembly time! Use the provided royal icing to glue the house pieces together. Don’t worry if they’re not perfectly lined up, or if there is icing visible on the outside—the candy decorations will hide a lot of sins! If the royal icing is too stiff to easily work with, you can add a bit of water and stir well to loosen it up. Don’t add too much water! The icing needs to have a stiff texture for decorating.
Royal Icing Tip
Whenever you’re not using the icing, tightly close the bag to keep air out and moisture in. I like to wrap a bit of damp paper towel around the tip of my piping bag to keep the tip moist and prevent clogs.

Decorating the Gingerbread Houses to Perfection
Let the houses sit for at least an hour, to be sure the icing is hard and the houses are stable, and then start decorating! The icing will start to set after only a few minutes, so it’s best to work in small sections and only pipe a bit at a time.
You can use the icing like glue to affix sprinkles, sparkling sugar, candy pearls, and royal icing decorations, and you can also use it on its own to pipe flourishes, patterns, and borders.
Once your decorations are added, let the house sit undisturbed for a few hours, to be sure everything is completely set. And voila—you’ve made a gingerbread house!

Gingerbread House Decorating Ideas
Now that the basics are out of the way, here’s the fun part—style inspo and close-up pics! I wanted to give you lots of options and ideas, so each house is decorated differently, and each has a few fun and unique touches. Hopefully these will inspire you and spark some creative ideas of your own!

The roofs were probably my favorite part to decorate, and it was fun brainstorming unique ideas for each of them. Which one is your favorite?

The red farmhouse has a barn-inspired front door, a royal icing bow on the front, and Santa going down the chimney!

The orange house features a gumdrop chimney and royal icing daisies.

The A-frame houses (blue and yellow) couldn’t fit a tea light inside, so instead, they got some fun friends peeking out! This yellow house is hiding a sweet little elf.

The pink house has one of my favorite roofs, made from overlapping large round sprinkles. Like all the other houses, it’s on a cardboard base with coordinating jimmies on it. To make the jimmies stick, just spread a very thin layer of royal icing on the board, and lightly press the sprinkles down. I used this decorating method for all of the bases, and it worked perfectly!

To cover a wall of your gingerbread house with sparkling sugar, like you see on the purple house, spread a very thin layer of royal icing on it. The thinner the better, since you don’t want any white color to show through.
Then hold the house over a bowl, and pour Wilton sparkling sugar on the wet icing. Really douse it, so every bit is covered, and let the extra sugar fall into the bowl. Then tap off any excess sugar that doesn’t stick to the icing, and you’re done—you have a beautiful, sparkling wall or roof!

The green house might just be my favorite of them all. It’s so sweet and simple, it just FEELS cozy, you know? (And the flickering tea light shining from inside doesn’t hurt, either!) The royal icing wreath, tree, and presents are all from the Wilton Gingerbread Icing Decorations Kit, and I think they add the perfect finishing touch!
Ready to make your own rainbow gingerbread house village? I hope so!
Gingerbread House Supplies You’ll Need:
- Mini Village Gingerbread Kits
- Gingerbread House Santa & Helpers Decoration Kit
- Royal Icing Mini Daisies
- Assorted Jimmies Set
 Build it Yourself Mini Village Gingerbread Decorating KitBuy now
 12-Inch Piping BagsBuy now
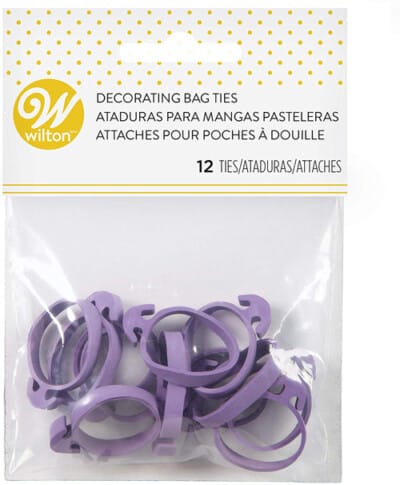 Wilton Icing Bag TiesBuy now
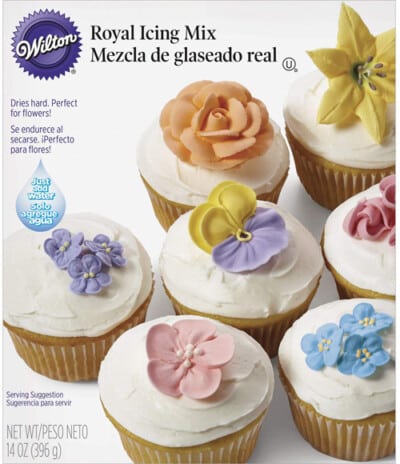 Wilton Royal Icing MixBuy now
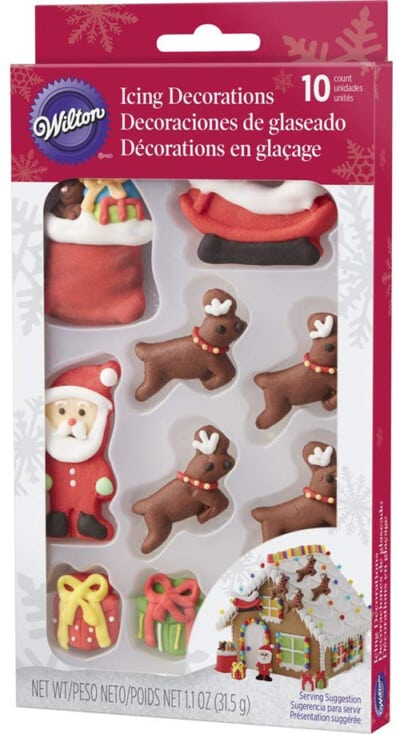 Wilton Gingerbread Scene Icing DecorationsBuy now
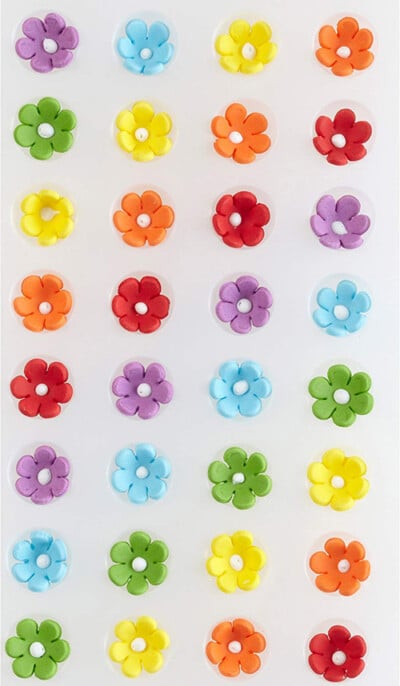 Wilton Mini Daisy Multi-Color Icing DecorationsBuy now
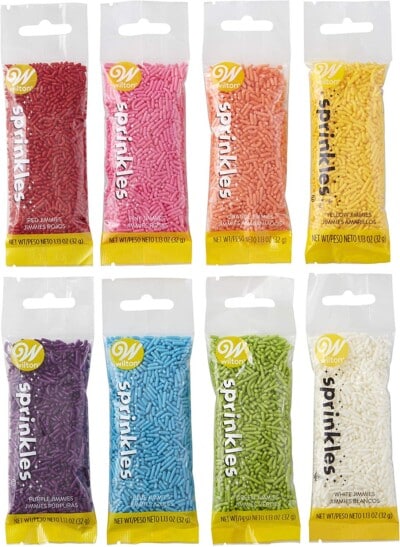 Wilton Rainbow Jimmies SprinklesBuy now
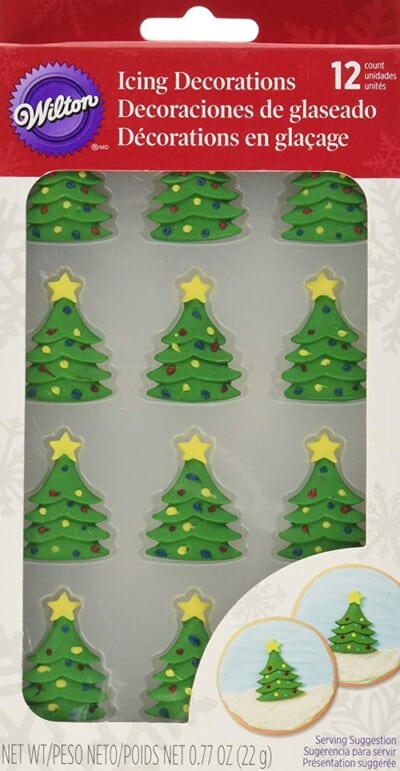 Christmas Tree Royal Icing DecorationsBuy now


They are all so darling! The perfect fun project for the kids and I! I love the prefab house pieces! Can’t wait to try it, although I doubt ours will be as pretty!
Hey Beth, you guys will have amazing houses. These kits are so fun! I would love to hear how it goes for you! Thank you!
This is so creative and cute. The kids would love to work on it. I would love to place it as my crib setup too. Beautiful.
Hey Veena, I love hearing that! These kits make it so fun and easy. Thank you!
YES! I’ve been looking for an alternative to traditional gingerbread houses and this is it! LOVE.
Hey Emily, I am so glad you found it! These kits really are a dream, thank you so much!
These are really fun ideas!! My kids loved it!
Hey Toni, I am so glad to hear it! These kits really do make it so fun, I would love to hear how it goes once you guys give it a try! Thank you!