


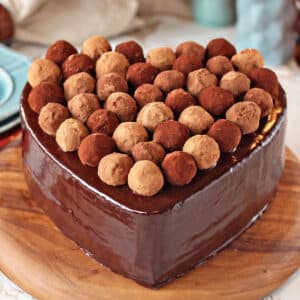
Watercolor Rose Sugar Cookies are gorgeous, romantic sugar cookies with a beautiful watercolor design. You’ll be amazed at how simple it is to create the lovely watercolor patterns on the rose-flavored cookies!

💗Rosewater Cookies with Painted Fondant
These Rose Sugar Cookies are a fun floral twist on the standard sugar cookie recipe.
They’re flavored with rose water and have bits of real rose petals baked right into them. The pink petal-flecked dough and delicate rose flavor gives these cookies a touch of romance, and makes them perfect for Valentine’s Day, or any special occasion.

The real star of the show, of course, is the watercolor fondant layer on top. It’s decorated with a pink and purple watercolor pattern that’s accented with sparkles of edible gold leaf (optional but fabulous!).
I love fondant-topped cookies (like these Ombre Brown Butter Heart Cookies!) because that very thin layer of fondant gives the cookies nice texture, subtle sweetness, and locks in moisture, keeping the cookies softer for longer.
Ready to make some stunning rosewater cookies? Keep reading!
Table of Contents
🧾What You’ll Need

Ingredients
These gorgeous watercolor cookies are a lot of fun to make and will be delicious if you use the correct ingredients. Consider these ingredient tips as you gather everything you’ll need. Full ingredient amounts can be found in the recipe card below. (Links are affiliate links and I earn a small commission from qualifying purchases.)
For the Sugar Cookies
- All-purpose flour: To prevent dry, dense cookies make sure to measure your flour correctly. Use a food scale if you have one, or use the spoon and level method.
- Baking powder
- Granulated sugar: For sweetening the cookies. Use a food scale to measure the sugar for accuracy as well.
- Unsalted butter and salt: I like to use unsalted butter and add salt separately. If you only have salted butter, leave out the additional salt. To prevent lumpy dough and overmixing, use room temperature butter. It will blend so much easier!
- Eggs: Make sure to use large eggs and not medium or extra large. Let them sit on the counter to come to room temperature before mixing them into the dough.
- Rose flower water: Also known as rose water. Gives the cookies a delicate floral flavor that’s not overpowering. Rose flower water is usually available in the middle eastern section of well-stocked supermarkets, or online. If you don’t want any rose flavor, you can replace the rose water with 1 teaspoon vanilla, almond, or lemon extract.
- Sour cream: Adds flavor and soft texture to the sugar cookies. I recommend using room temperature sour cream so that it blends more easily into the dough.
- Rose petals: Surprisingly, dried edible rose petals don’t add a lot of rose flavor to the cookies, but the pretty flecks of color really add to their romantic aesthetic. I don’t often see rose petals in stores, so I purchase them online. They are an optional ingredient, and leaving them out of the dough won’t negatively effect the taste of the cookies.
For the Marshmallow Fondant
Homemade marshmallow fondant is very easy to make and actually cheaper than store-bought fondant. However, feel free to substitute store-bought for homemade if desired.
- Mini marshmallows: Use mini marshmallows, they melt more evenly.
- Water
- Powdered sugar: If your powdered sugar has hard lumps, be sure you sift it before using it in the fondant.
For the Decorations
- Light corn syrup: A touch of corn syrup helps the fondant stick to the top of the cookies.
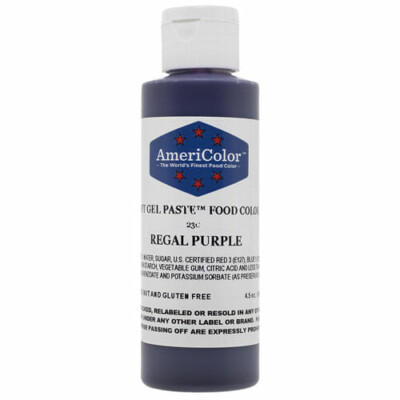
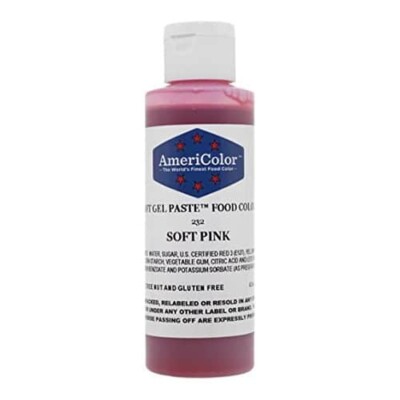
- Gel food coloring: I used Americolor soft pink and regal purple. Feel free to experiment with other colors if desired.
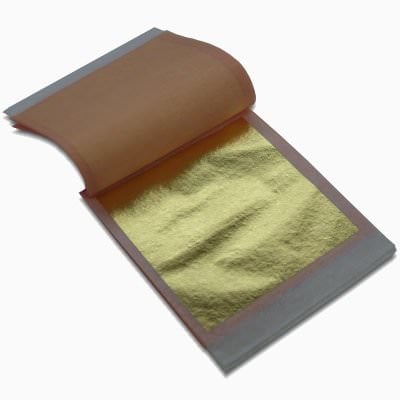
- Edible gold leaf: If you’re trying to create over-the-top cookies, adding a touch of edible gold leaf is the way to go! lt doesn’t add any flavor to the cookies, but does give them that extra wow-factor. It’s optional, but if you decide to use it, I recommend buying “transfer sheets” as opposed to “loose sheets”. Transfer sheets are much easier to use and portion, so none of the gold goes to waste. Keep in mind that gold leaf lasts forever and can be used years into the future! Need more help? Here are some instructions for working with gold leaf, if you’re new to the process.

Equipment
- Parchment paper: You’ll need parchment paper to line your baking sheets and for rolling out the cookie dough. It’s also a good idea to cover your work surface with parchment or waxed paper to protect it while decorating.
- Cookie sheets: For even baking and perfect cookies, use light-colored, heavy baking sheets that are not insulated.
- Mixer: You’ll need a stand mixer or hand mixer to combining the ingredients.
- Plastic wrap: It’s helpful to wrap the cookie dough discs in plastic wrap while they chill in the refrigerator so that they don’t dry out.
- Food-safe gloves: Mixing fondant by hand can get very sticky. I like to wear food-safe gloves to make the process easier.
- Rolling pin: Use a rolling pin to roll out the dough and fondant evenly.
- Heart cookie cutter: I used a 3-inch heart-shaped cookie cutter, and I thought it was the perfect size.
- Pastry brush: To adhere the fondant to the top of the cookies, you’ll brush a light layer of corn syrup on top of the cookies. I find it easiest to use a pastry brush to paint the corn syrup on.
- Food-safe paint brushes: To create the watercolor effect on the fondant you’ll want to have a variety of different food-dedicated paint brushes. Make sure you only use these brushes for food preparation, never with paint or non-edible materials.
- Clear alcohol: To achieve more vibrant colors, use vodka, another clear alcohol, or clear extract to paint on the gel food coloring. The alcohol evaporates and won’t leave an unpleasant taste, so they’re safe to eat, even for kids. You can use water if you prefer to avoid alcohol.

❤️ MORE HEART DESSERTS YOU’LL LOVE


Leave a Review!
If you make this recipe, let us know! Leave a ⭐️⭐️⭐️⭐️⭐️ rating on the recipe below, and leave a comment, take a photo and tag me on Instagram @elabau, or use #sugarhero on IG!

Watercolor Rose Sugar Cookies
Ingredients
For the Sugar Cookies
- 19 oz all-purpose flour, (4 ½ cups)
- 1 tsp salt
- 1 tsp baking powder
- 8 oz unsalted butter, (1 cup) at room temperature
- 12.25 oz granulated sugar, (1 ¾ cups)
- 2 large eggs, at room temperature
- 2 tsp rose flower water
- 1 oz sour cream, (2 TBSP) at room temperature
- 0.1 oz dried edible rose petals, (½ cup)
For the Marshmallow Fondant
- 8 oz mini marshmallows, (about 4 cups)
- 2 TBSP water
- 16 oz powdered sugar, (4 cups)
For the Decorations
- 2 TBSP light corn syrup
- Assorted gel food coloring, I used Americolor soft pink and regal purple
- Edible gold leaf transfer sheets, very optional!
Instructions
To Make The Sugar Cookies
- Combine dry ingredients: In a bowl, whisk together the flour, salt, and baking powder, and set aside for now.
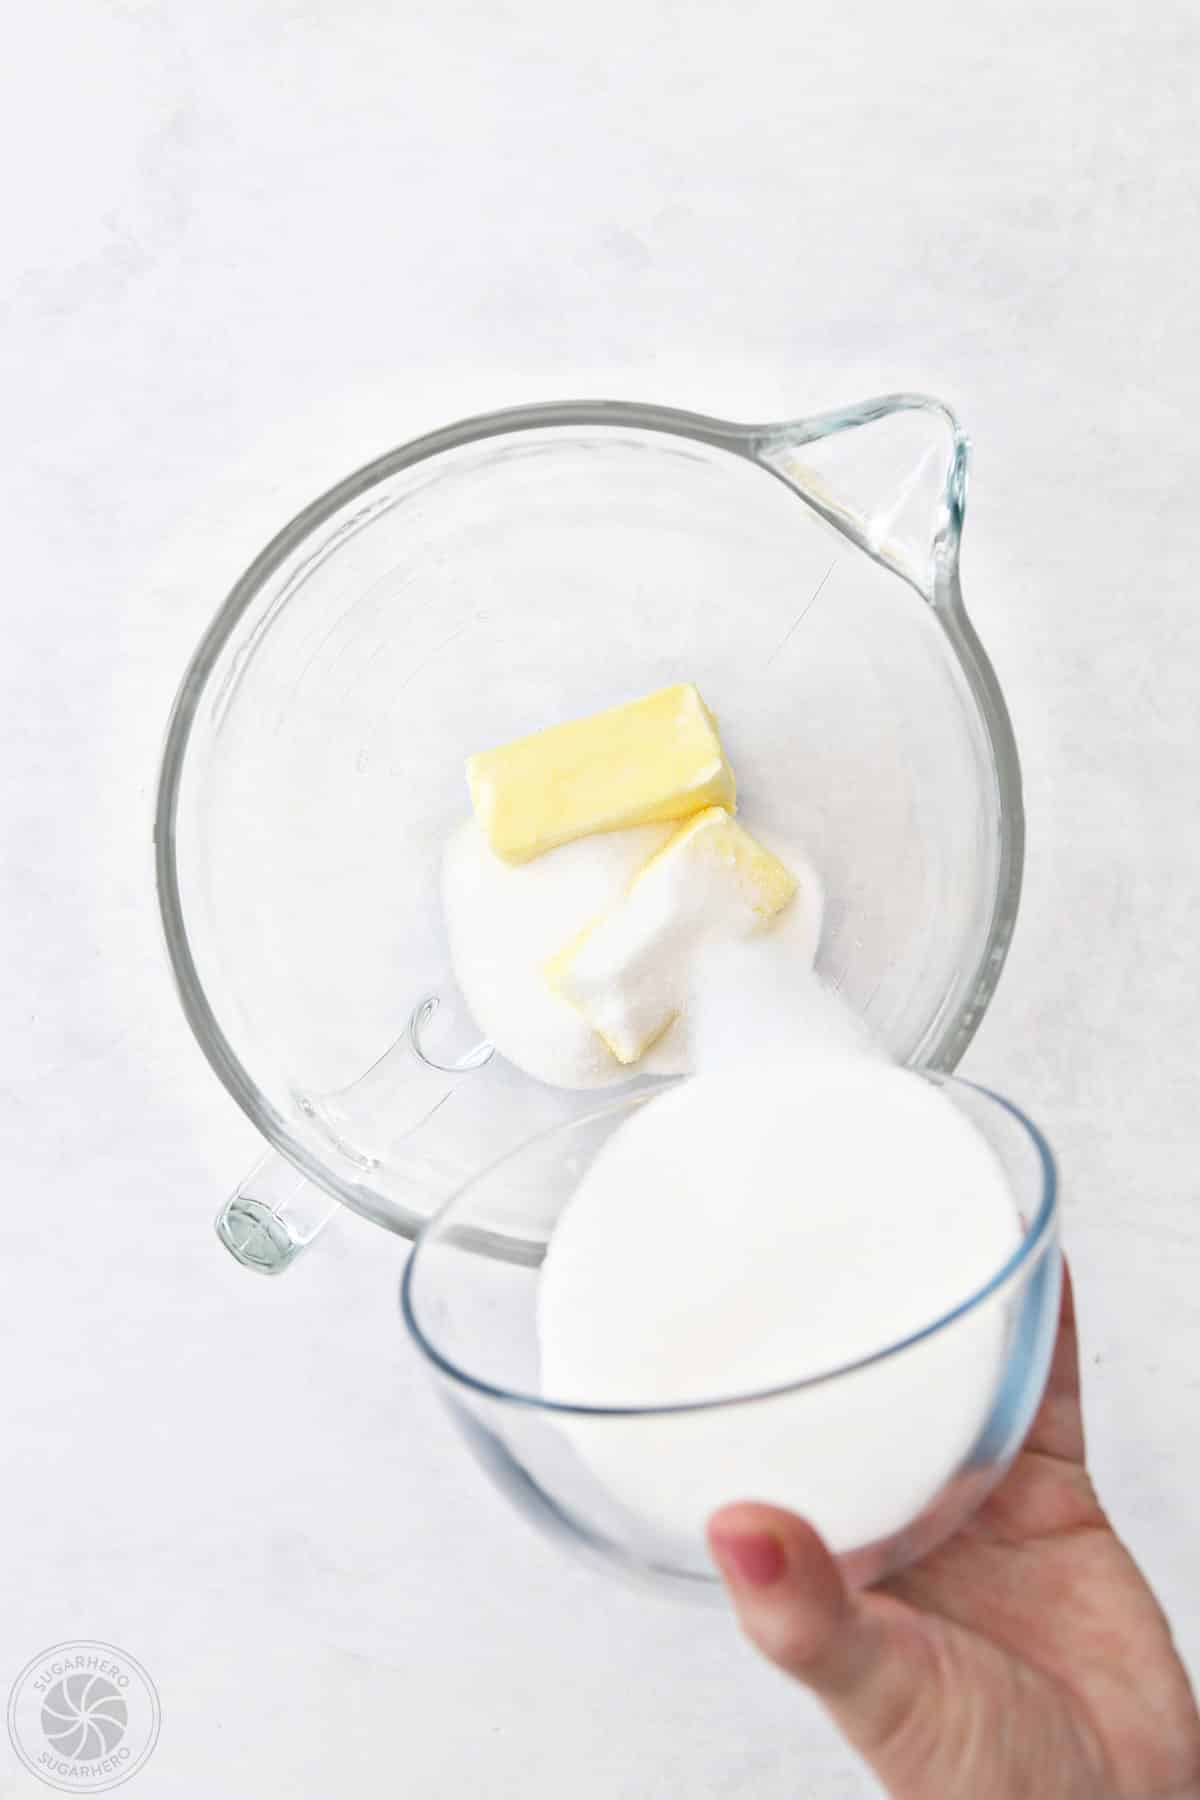
- Cream butter and sugar: In the bowl of a large stand mixer fitted with a paddle attachment, combine the butter and sugar, and mix everything together on medium speed until fluffy and well-mixed, about 1-2 minutes.
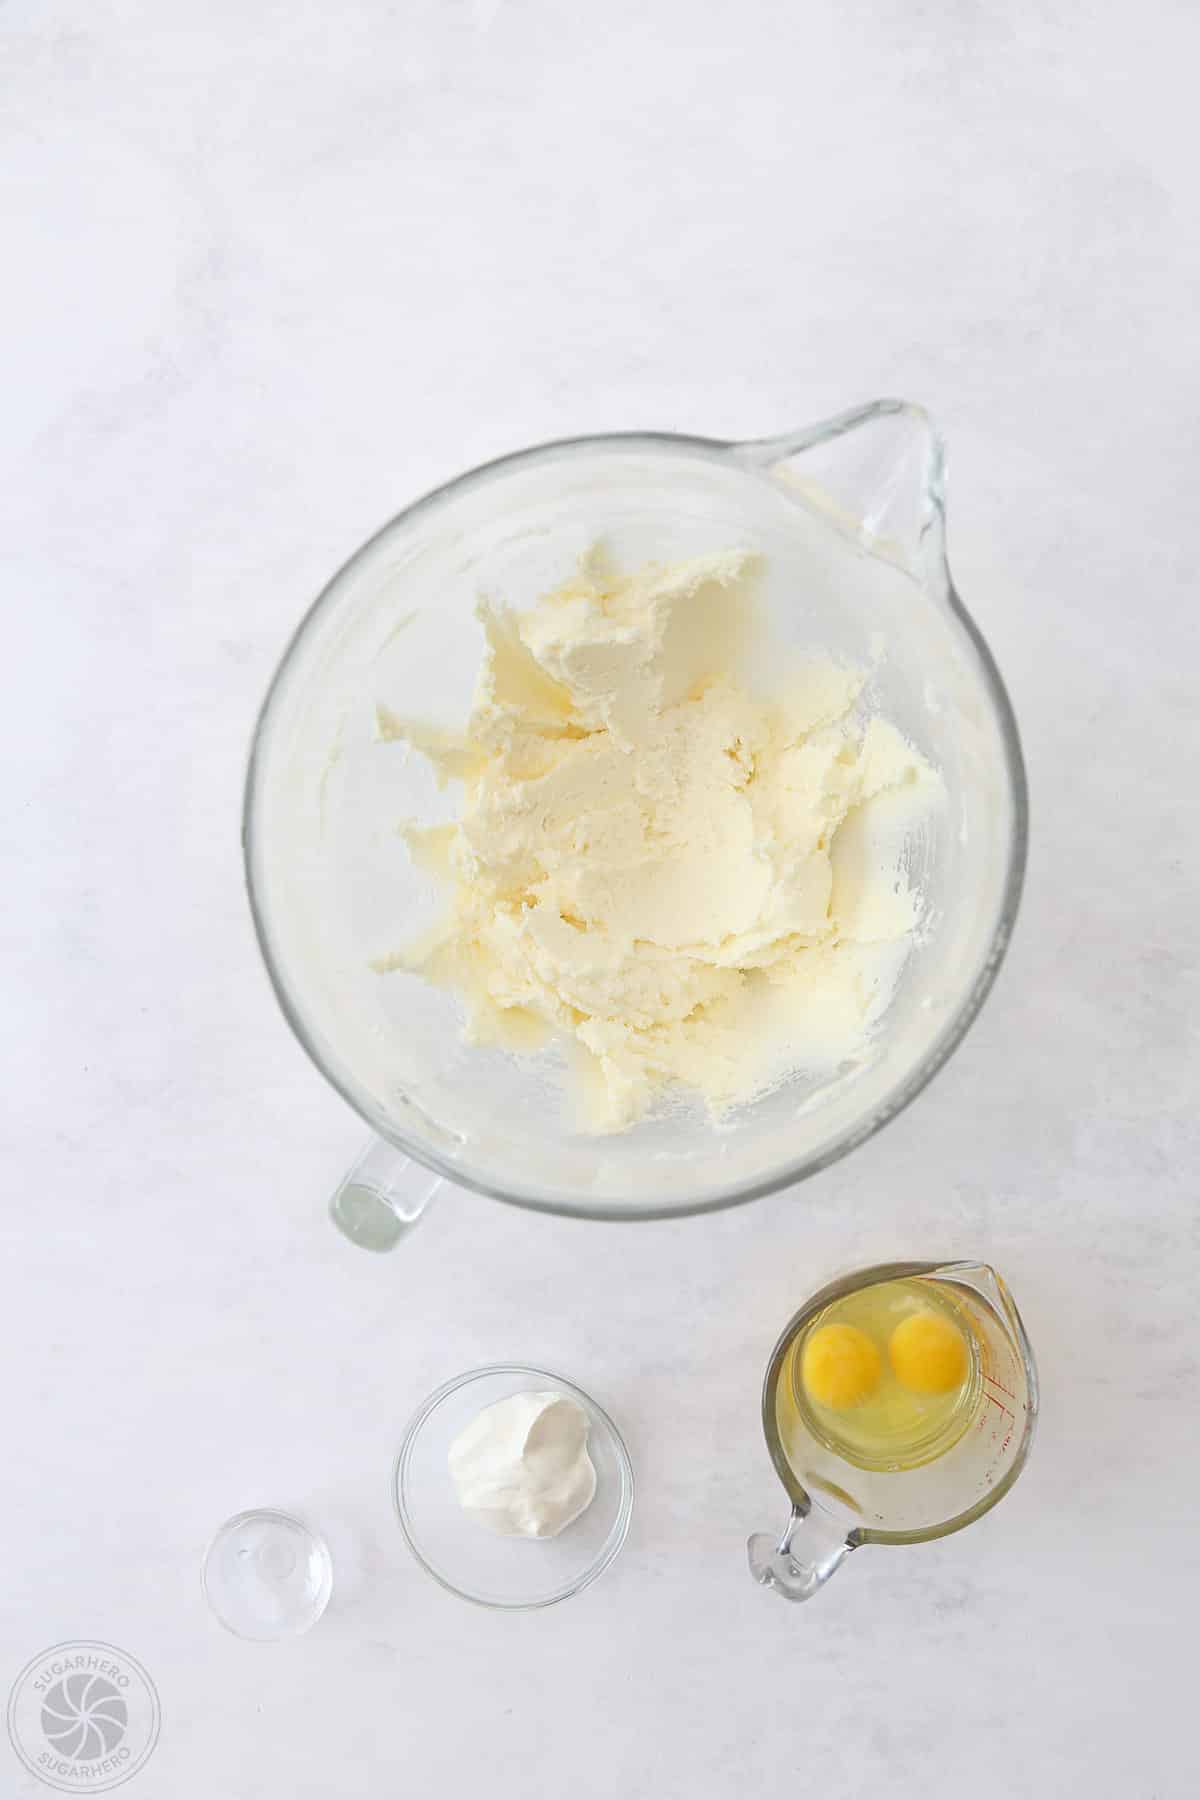
- Add wet ingredients: Add the room temperature eggs one at a time, beating well after each addition, then add the rose flower water and sour cream.
- Add dry ingredients: With the mixer running on low, add the dry ingredients gradually, and mix until they’re just about incorporated. Stop the mixer when only a few streaks of flour remain.
- Add rose petals: Pour rose petals into the mixing bowl and use a spatula to fold them into the dough. Scrape down the bottom and sides of the bowl to ensure everything is incorporated.
- Refrigerate: Divide the dough in half and press each into a thin disc, wrapping well with plastic wrap. Refrigerate until firmer but not hard, about 30 minutes. (If you refrigerate for too long and the dough seems very hard, let the discs sit on the counter for 10-15 minutes after refrigeration before attempting to roll them out.)
- Heat oven, roll dough: When you’re ready to bake the cookies, preheat the oven to 350°F. Place a disc of dough between two sheets of parchment or waxed paper, and roll out until it is 1/4-inch thick.
- Cut and freeze cookies: Use a 3-inch heart cookie cutter to cut out your cookies and place them on a parchment-lined baking sheet. Combine the scraps and re-roll the dough to cut more cookies. You should get about 24 large heart cookies. Put the sheet in the freezer for 10 minutes before baking to help the cookies hold their shape.
- Bake and cool: Bake the trays of cookies for 10-12 minutes, until the edges are just starting to take on color and they have lost the raw shine in the middle. Let them cool on the baking sheet for 5 minutes, then remove to wire racks to cool completely before decorating.
To Make the Marshmallow Fondant
- Melt marshmallows and water: Combine the marshmallows and water in a large microwave-safe bowl. Microwave for 1 minute, then stir well. If the marshmallows are not fully melted after this time, microwave again in short increments, and stir until it’s melted and smooth.
- Stir in powdered sugar: Add the powdered sugar and stir well. The mixture will be sticky and stiff, and it will seem as if there’s too much powdered sugar.
- Knead by hand: When you reach the point that stirring with a spatula becomes difficult, dump the contents of the bowl out onto your work surface, and knead it together by hand. As you knead, the fondant will gradually smooth out and incorporate more and more of the powdered sugar. (This is messy, so I recommend wearing food-safe gloves if you have them.)
- Adjust texture: If it is still too sticky once all of the powdered sugar is used, continue to add small amounts of sugar to the fondant until you get a smooth, pliable dough.
- Rest the fondant: Marshmallow fondant can be used right after it is made, but it tends to be very soft. It will be easier to work with if it’s been allowed to rest for a few hours, or even overnight.
- Store until ready to use: Wrap the fondant well in cling wrap, place it in an airtight container or zip-top bag to keep it from drying out, and store it at room temperature. Before use, knead it well on a surface lightly dusted with powdered sugar, until it is again smooth and pliable.
To Decorate
- Roll fondant: Dust your work surface and rolling pin lightly with powdered sugar, and roll the fondant out until it is very thin, less than 1/8-inch thick.
- Cut fondant: Use the same heart-shaped cookie cutter that you used before, and cut out the same number of hearts as you have cookies. (Or make an extra one or two in case of breakage!)
- Adhere fondant: Brush your cookies with a very thin layer of corn syrup, and press a fondant heart on top of each one, so that it adheres. Since this next part can be a bit messy, transfer the cookies to sheets of waxed paper or parchment to be painted.
- Prepare food coloring: Put a drop of pink color in a small bowl and a drop of purple color in a separate small bowl. Fill a third small bowl with water. Add a bit of water to the pink and purple bowl, and mix them up so you have diluted colors. Now it’s time to experiment!
- Paint the fondant: Use food-safe paintbrushes to decorate the fondant hearts. Try the following techniques:Full coverage – Try brushing them all over with a layer of light pink or purple, then going back and adding additional color to saturate certain areas. Partial coverage – You can also just paint parts of the hearts with streaks of light color. Give the cookies bright patches of color by dipping the paintbrush in straight food coloring and touching the fondant anywhere you want a pop of color. Allow some of the white fondant to show through by dabbing a paper towel to remove some of the color. Speckle – Finally, you can flick some color onto the hearts to give it a speckled, painterly appearance.Experiment with vodka – If you want to further experiment, try mixing some food coloring with vodka and use the same painting techniques—I found that water was best for thin washes of color, but vodka was great for blending the colors and having them bleed out a little bit. Just play around and have fun!
- Dry fondant: After you paint the hearts, the tops will be quite wet, so let them sit at room temperature for several hours until the fondant has dried. The drying time will depend on how much you painted, and what material you used – water takes longer to dry, while vodka evaporates quickly.
- Add gold leaf, optional: If you REALLY want to take these over the top, you can add a touch of edible gold, as in the pictures. To do this, let the wet fondant dry, then take a transfer sheet of edible gold leaf and position it over a cookie, with the gold side facing down.
- Transfer the gold leaf: Gently rub the back of the paper in a few different places to transfer the gold leaf onto the cookie. Use a dry food-safe brush to press any loose bits of gold back onto the cookie. It looks best if used sparingly, with random pops of gold scattered atop the cookies.
- Dry completely: Once dry, the cookies can be stacked and stored in an airtight container between sheets of waxed paper or parchment.
- Storage: Store the cookies at room temperature for up to a week – do not refrigerate them, as the humidity can cause the fondant to soften and bleed. Decorated cookies can also be frozen for up to 3 months. For the best results, I recommend packaging the cookies individually and then placing them in a plastic container in the freezer. Let them defrost at room temperature while still in the plastic container – this can help cut down on colors bleeding or other moisture issues.
Recipe Notes
Measuring Tips
Our recipes are developed using weight measurements, and we highly recommend using a kitchen scale for baking whenever possible. However, if you prefer to use cups, volume measurements are provided as well. PLEASE NOTE: the adage “8 oz = 1 cup” is NOT true when speaking about weight, so don’t be concerned if the measurements don’t fit this formula.
Want to learn more about baking measurements and conversion?
Nutrition
📸 Photo Tutorial: How to Make WAtercolor rose sugar cookies
Don’t let a new recipe intimidate you – I’m here to walk you through every step with this photo tutorial! Full instructions are included in the recipe card above.
To Make the Sugar Cookies
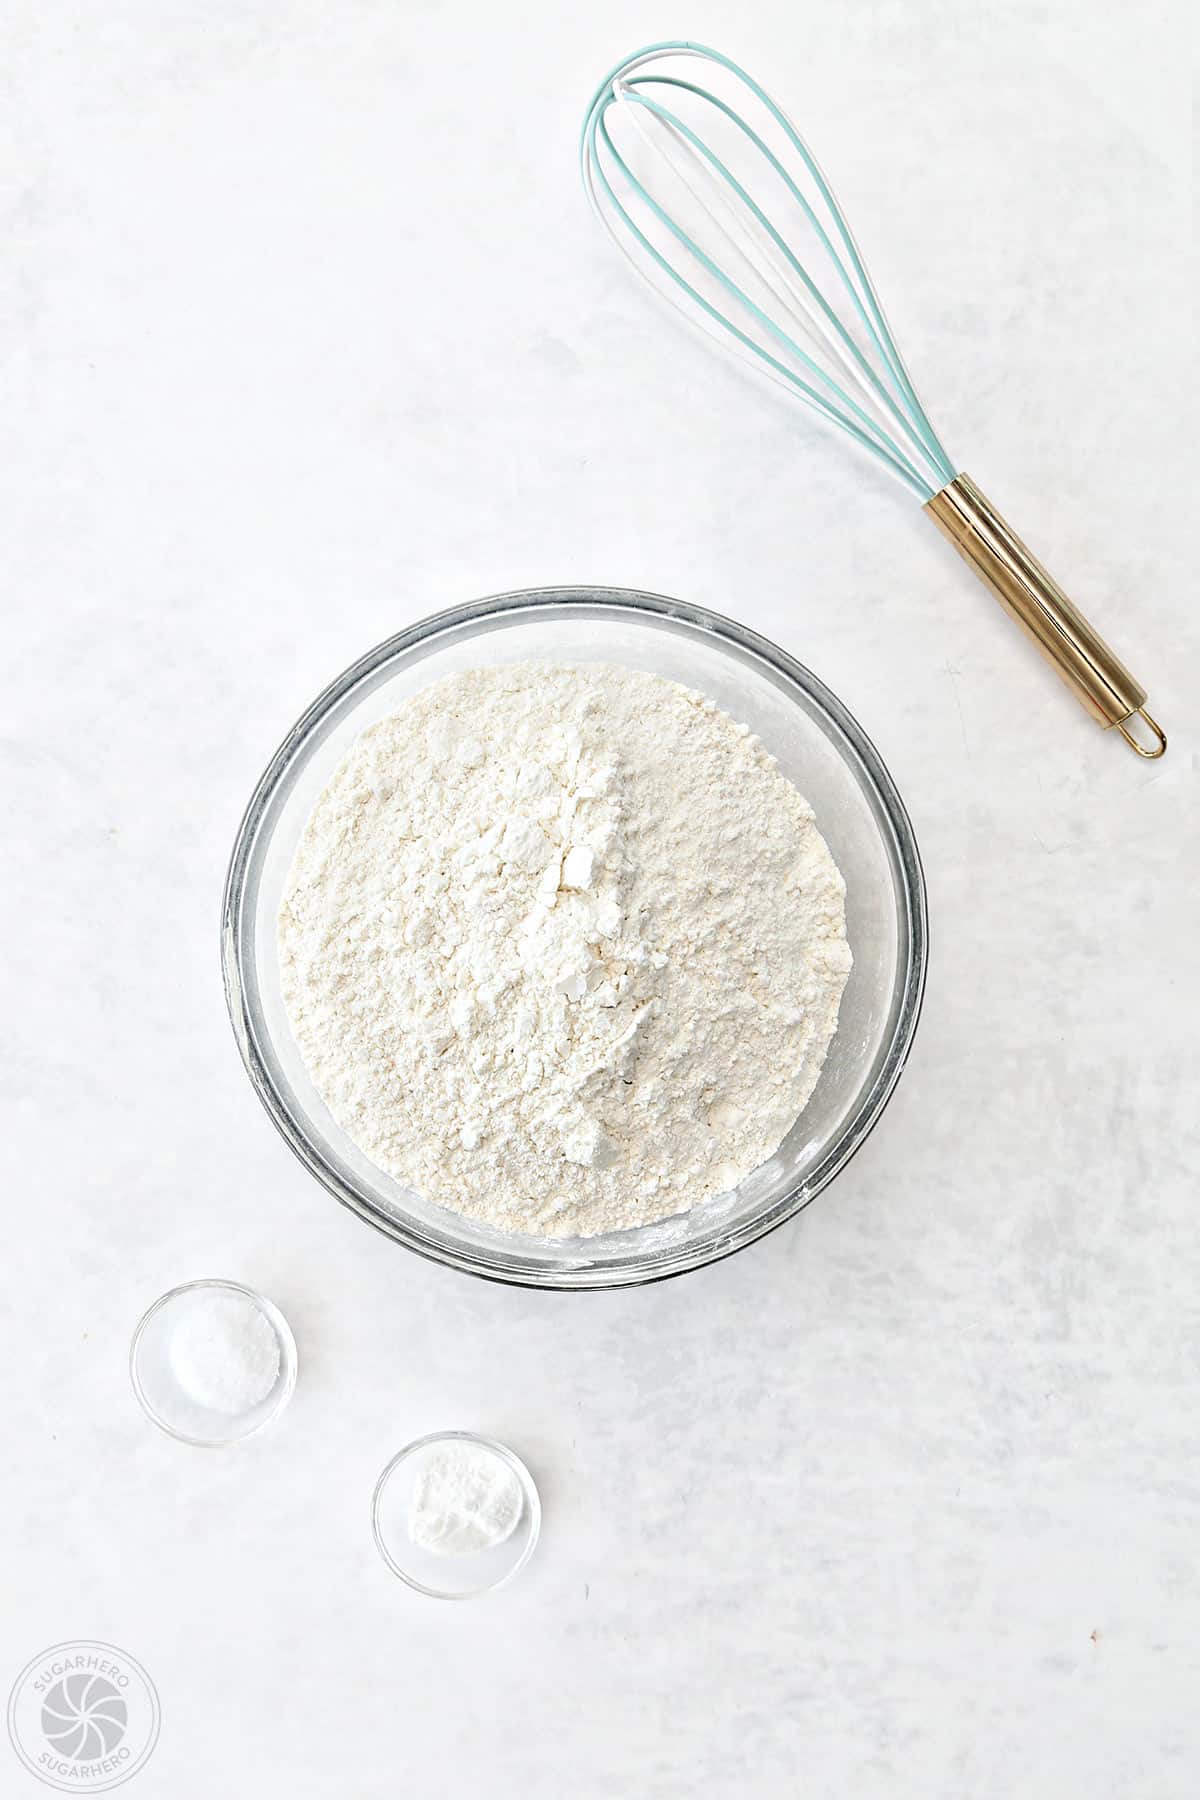
- Combine dry ingredients: In a bowl, whisk together 19 oz (4 1/4 cups) flour, 1 teaspoon salt, and 1 teaspoon baking powder. Set aside.
- Cream butter and sugar: In the bowl of a large stand mixer fitted with a paddle attachment, combine 8 oz (1 cup) butter and 12.25 oz (1 3/4 cups) sugar. Mix on medium speed until fluffy, about 1-2 minutes.
- Add wet ingredients: Add both large eggs one at a time, beating well after each. Then mix in the rose flower water and sour cream.
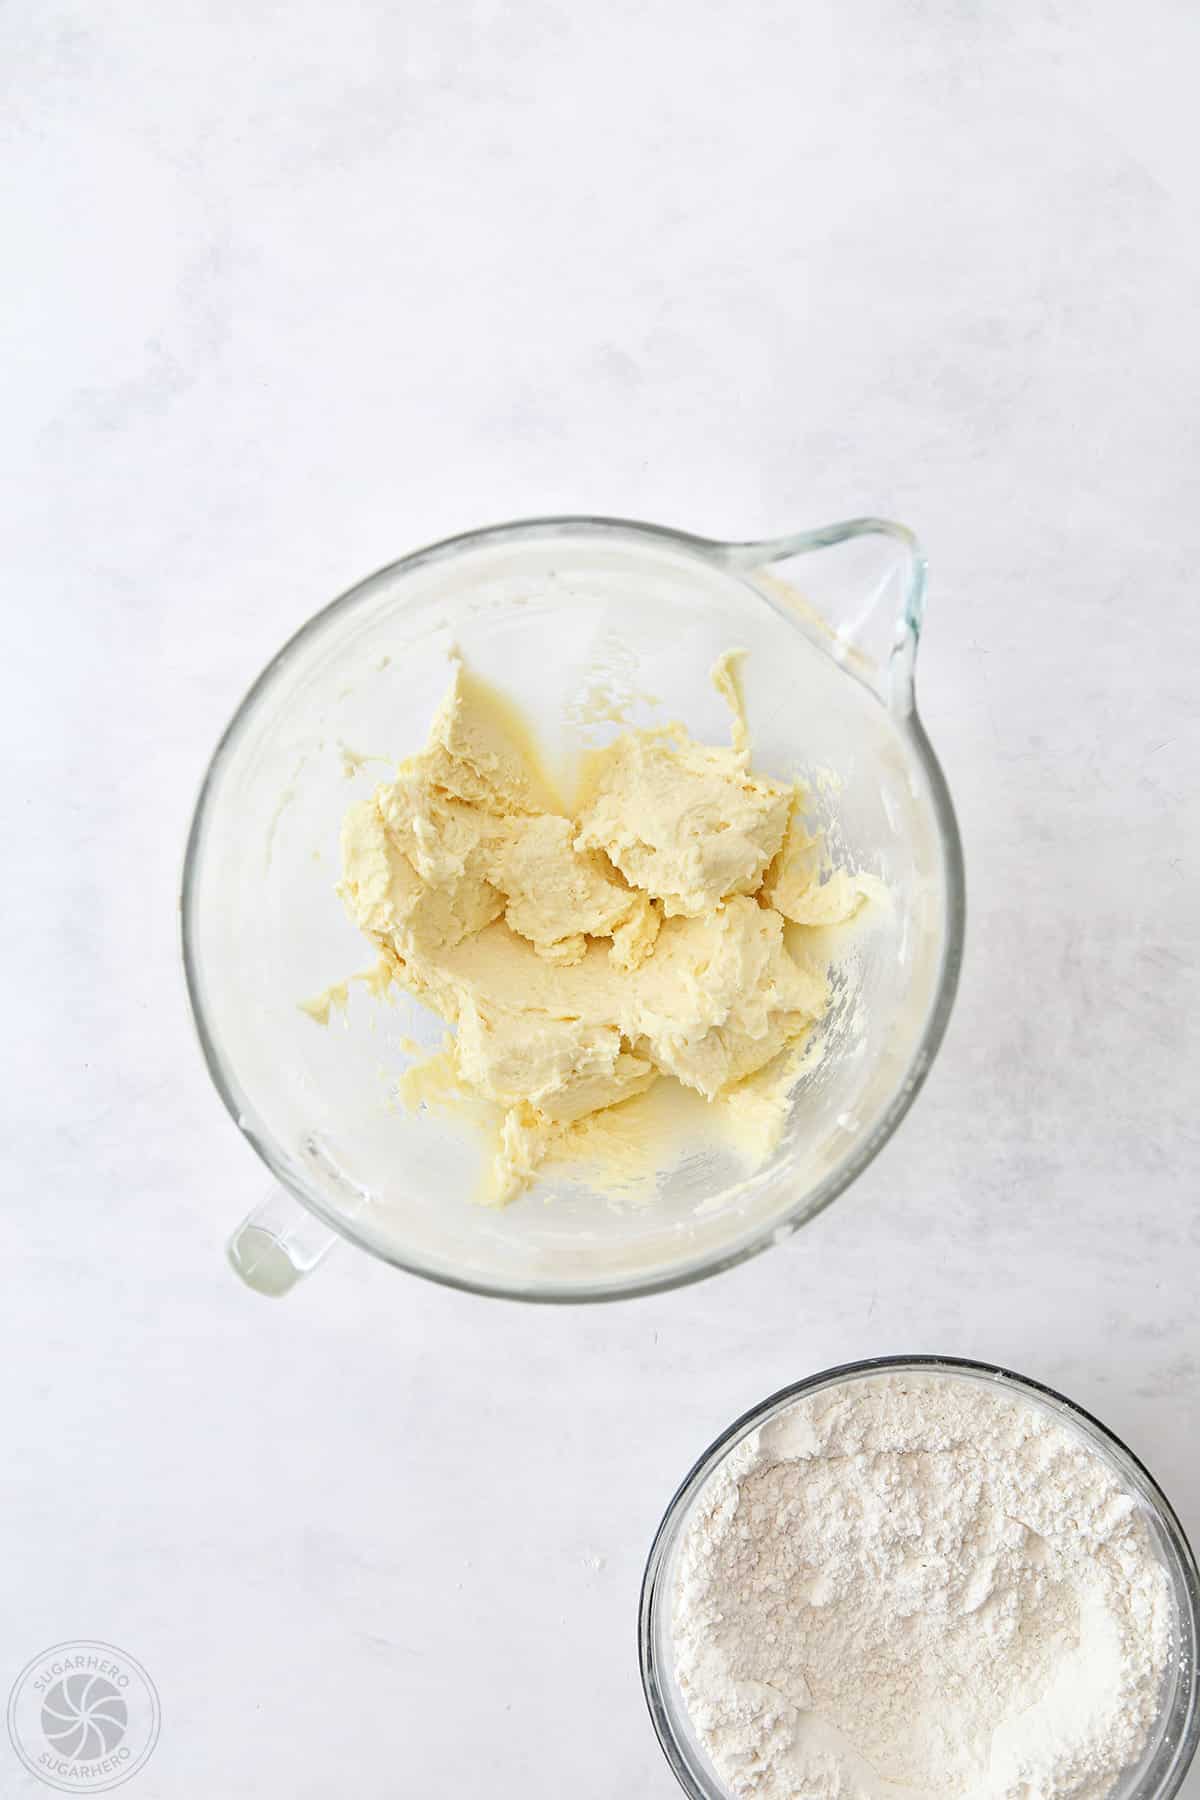


- Add dry ingredients: With the mixer running on low, gradually add the dry ingredients, mixing until just almost incorporated – only a few streaks of flour should be visible.
- Add rose petals: Pour rose petals into the mixing bowl and use a spatula to fold them into the dough. Scrape down the bottom and sides of the bowl, ensuring everything is incorporated.


- Chill: Divide dough in half and press each into a thin disc. Wrap each disc with plastic wrap and refrigerate until firmer but not hard, about 30 minutes.
- Heat oven, roll dough: When you’re ready to bake the cookies, preheat the oven to 350°F. Place a disc of dough between two sheets of parchment or waxed paper, and roll out until it is 1/4-inch thick.


- Cut and freeze cookies: Use a 3-inch heart cutter to cut out your cookies and place them on a parchment-lined baking sheet. Combine the scraps and re-roll the dough until you have cut about 24 large heart cookies. Put the sheet in the freezer for 10 minutes before baking to help the cookies hold their shape.
- Bake and cool: Bake the cookies for 10-12 minutes, until the edges are just starting to take on color and the center is no longer raw. Cool on the baking sheet for 5 minutes, then remove to wire racks to cool completely.
To Make the Marshmallow Fondant


- Melt marshmallows and water: Combine 8 oz (4 cups) mini marshmallows and 2 tablespoons water in a large microwave-safe bowl. Microwave for 1 minute, then stir well. Continue microwaving and stirring in short increments until the marshmallows are fully melted and smooth.
- Stir in powdered sugar: Add 16 oz (4 cups) powdered sugar and stir well. The mixture will be sticky and stiff, and it might seem as if there’s too much powdered sugar.


- Knead by hand: When stirring with a spatula becomes difficult, dump the fondant out onto your work surface, and knead it by hand until it easily incorporates the powdered sugar and becomes smooth.
- Troubleshoot: If the fondant is still too sticky after mixing in all of the powdered sugar, continue adding small amounts of sugar to the fondant until it becomes smooth and pliable.
- Rest the fondant: Marshmallow Fondant can be used right after it is made, but it’s easier to work with if it’s been allowed to rest and firm up for a few hours, or overnight.
To Decorate


- Roll fondant: Dust your work surface and rolling pin lightly with powdered sugar. Roll the fondant out very thin (less than 1/8-inch thick).
- Cut fondant: Use the same heart-shaped cookie cutter that you used for the cookies, and cut out enough hearts to cover all the baked cookies. (I like to make a couple extras in case of breakage!)


- Adhere fondant: Brush cookies with a very thin layer of corn syrup, and press a fondant heart on top of each one, so that they stick.
- Prepare food coloring: Put a drop of pink gel color in a small bowl and a drop of purple gel color in a separate small bowl. Fill a third small bowl with water. Dilute each color with a little bit of water and mix well.


- Paint the fondant: Use food-safe paintbrushes to decorate the fondant hearts. Experiment with different styles: you can paint the entire heart with a wash of color, or just give them a few bold streaks of paint. Or, you can flick some color onto the hearts to give it a speckled appearance. TIP: I found that water was best for thin washes of color, but vodka was great for blending the colors and having them bleed out a little bit. Try mixing some food coloring with vodka and play around with it!
- Dry fondant: After painting the hearts, the tops will be quite wet, so let them sit at room temperature until the fondant has dried.


- Add gold leaf, optional: If you REALLY want to take these cookies over the top, add a touch of edible gold leaf. Once the fondant is dry, position a transfer sheet of edible gold leaf over a cookie (gold side facing the cookie).
- Press onto cookies: Gently rub the back of the paper in a few different places to transfer the gold. Use a dry brush to press any loose bits of gold back onto the cookie. It looks best when used sparingly, with random pops of gold scattered atop the cookies.

🍪 Storing Fondant-Topped Sugar Cookies
- Store at room temperature: Once the cookies are completely dry, stack and store them in an airtight container between sheets of waxed paper or parchment. Store the cookies at room temperature for up to a week – do not refrigerate them, as the humidity can cause the fondant to soften and bleed.
- Freeze: You can freeze decorated cookies for up to 3 months. For the best results, I recommend packaging the cookies individually in plastic wrap or bags and then placing them in a plastic container in the freezer. Let them defrost at room temperature while still in the plastic container – this can help cut down on colors bleeding or other moisture issues.
💡 Tips For Cookie Baking Success
- Don’t over-mix the butter and sugar – mixing too much will beat too much air into the dough, and cause your cookies to spread.
- Measure with precision. Either use a kitchen scale (the best!), or be attentive when using measuring cups and spoons, especially when it comes to flour. Measure your flour by spooning flour into your measuring cup, then use the back of a knife to level off the top of the cup.
- Roll your dough between two sheets of parchment or waxed paper, and roll out until it is 1/4-inch thick. The thickness of the dough really makes a big difference in how crispy or soft the cookies turn out after being baked. I like rolling between parchment paper because it reduces the need for added flour during the rolling process, which can make cookies dry and tough.
- Freeze cut-out cookies for about 10 minutes before baking to help them hold their shape.
- Use light-colored, heavy baking sheets that are not insulated. Dark or thin cookie sheets can cause the cookies to burn on the bottom before they’re cooked all the way through, and insulated cookie sheets can cause your cookies to spread too much.
- Test bake 1 or 2 cookies on a baking sheet before baking a full batch. Ovens and baking sheets can produce drastically different results, and your baking time might vary from what the recipe says. Doing a test bake to figure out your personal timing will ensure all of your cookies turn out well!
Browse More:


These. Are. GORGEOUS!!! I really can’t even stand it—ROSe cookies? GOLD LEAF? I’m having a mild (major) freak out right now
Can you please tell me what brand of dried rose petals you used? I just went to look for them & some don’t look colored at all & there’s a wide variety of prices too. Thank you.
Hi Gail! There are tons of options out there. We really like these petals from Suncore: https://amzn.to/3WTPEVF I hope you enjoy the recipe!