This post is a little different that my typical recipe-palooza. But when I was looking for inspiration during the birthday party planning process, I appreciated all of the other blogs that shared their ideas and resources, so I’m doing the same in the hopes it will help someone else. If you’re in the market for Very Hungry Caterpillar party and favor ideas, welcome! And if you’re not, we’ll be back to our regularly scheduled desserts soon!
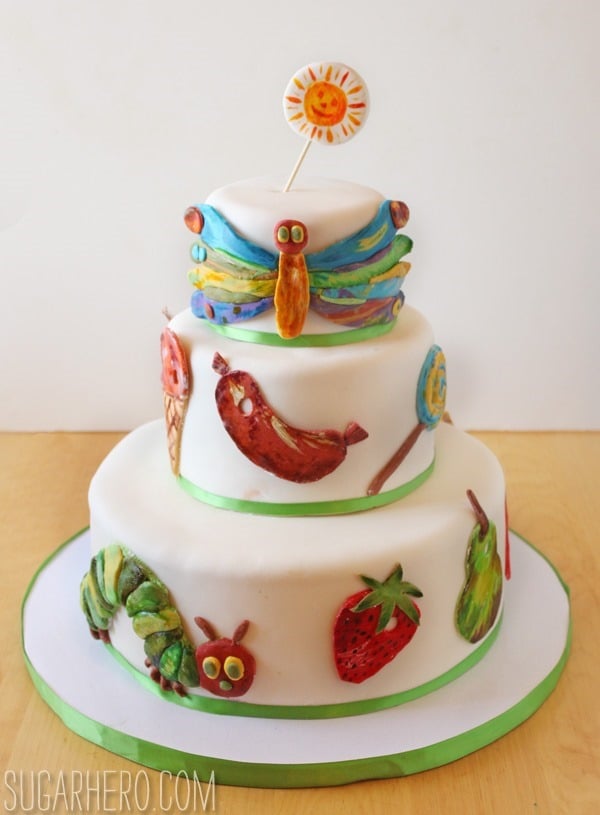
As I mentioned on Friday, I threw my son Asher a Very Hungry Caterpillar-themed party last month. The centerpiece of the party was a 3-tier chocolate and strawberry cake, which you can read all about in this post.
The other major sugar rush came in the form of a candy buffet provided by OhNuts.com. I had over a dozen candies that all related to the book in some way. In the story, the caterpillar eats lots of different fruits and foods in the book, so I got fruit candies to match what he ate: chocolate oranges, gummy strawberries and watermelon slices, sour apple balls, and so much more. It really was overwhelming—in the best way!
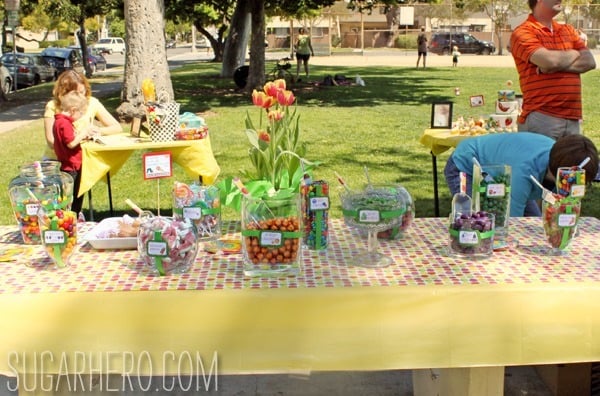
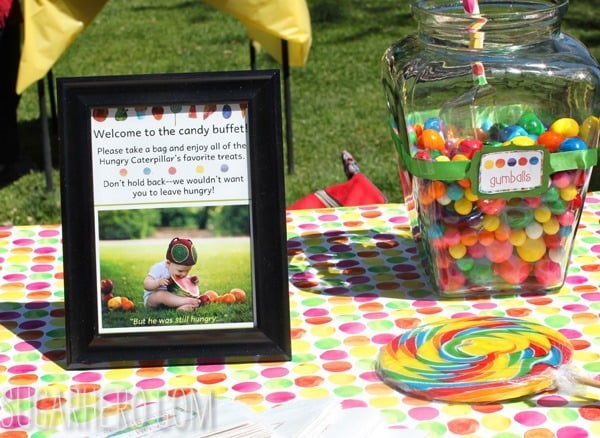
I provided customized bags and the guests were invited to help themselves to the buffet throughout the course of the party.
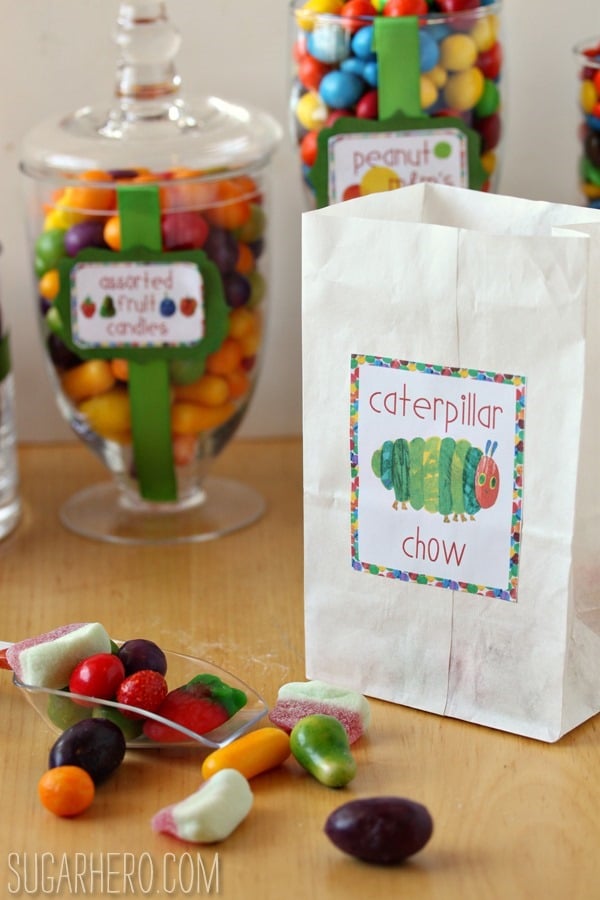
The buffet was so colorful and delicious and just really, really fun. I’m sharing lots more details about how to put it together, what specific candies I used, and how to make your own candy buffet on the OhNuts.com blog, so if you’re curious, hop over there and check it out!
One huge help and inspiration in my party planning was a post on the blog Polka Dot and Puppies. She threw a Very Hungry Caterpillar party for her son two years ago, and I used a lot of her ideas and resources in my own party. So if you’re looking for more ideas or to see another party write-up, read her blog post here!
For the party, I ordered this adorable customized shirt for Asher to wear. I got it from Peachy Keen Design on etsy and asked for the Mister font—I believe the default font is something different. I debated on the size, because Asher is a giant man-child, but ultimately went with 12 months, and it fit fine. It’s starting to look a little short, so it’ll probably be retired in the next month, but for the party it fit nicely—so I would say the sizes are generous.
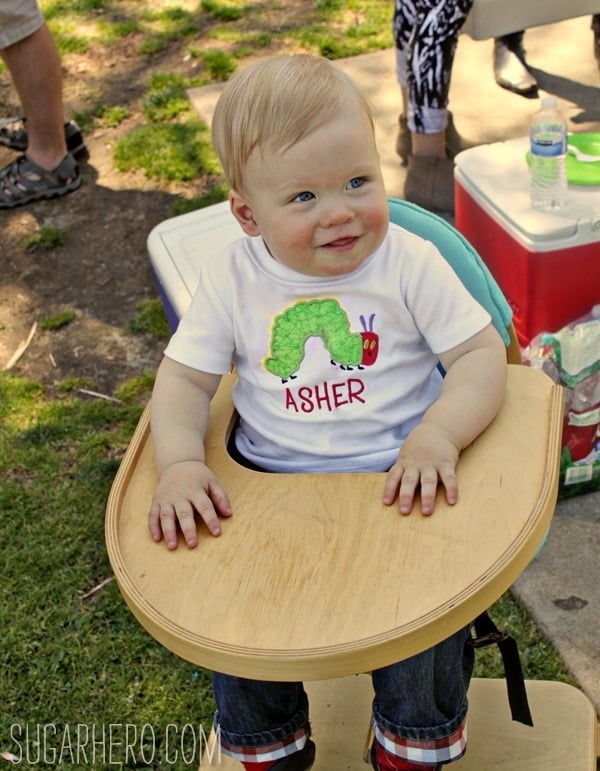
The party was held at a nearby park, and it was just about perfect. I asked guests to bring blankets, and we picnicked on the grass by the food tables. I didn’t actually plan any activities, and the kids just played on the playground equipment (and with the ice-filled coolers) and were entertained.
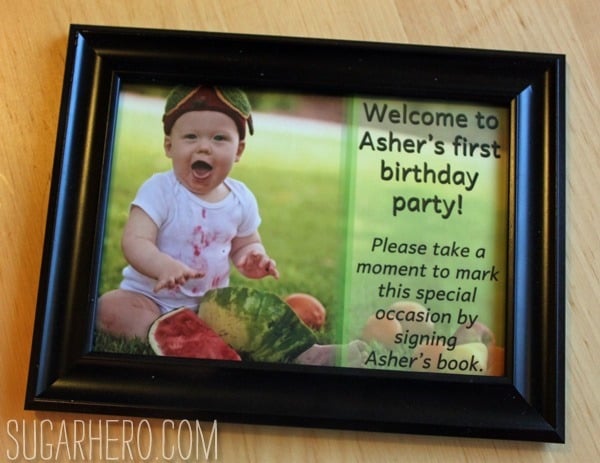
When guests walked up to the party, they were greeted with a table with this sign:
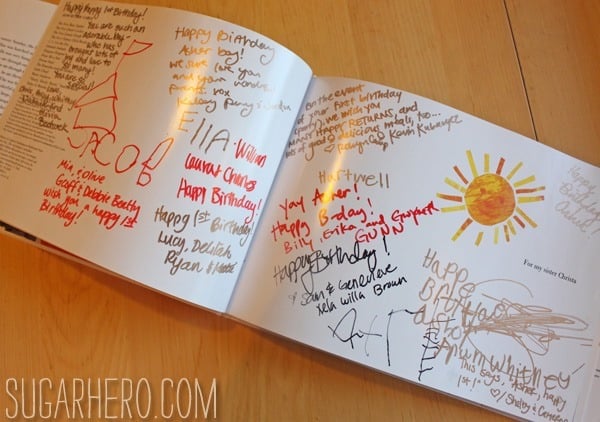
I ordered a nice hard-bound copy of The Very Hungry Caterpillar (which was surprisingly difficult to find—I had to get it from Overstock) and had guests sign it, sort of like a guestbook. It was so fun to look through the book afterward, and see the sweet messages and drawings from our friends and their children! Later on, I added my own message and my parents did as well. I hope this will be a memento Asher treasures for years to come.
The pictures that were used for that sign, and the one on the candy buffet, were shot by Adrea Scheidler, who is a great portrait photographer in the Pasadena area. We met at a local park about a month before the party and had Asher pose with some fruit and this cute caterpillar hat I bought from Rachel at Red Windmill Designs.
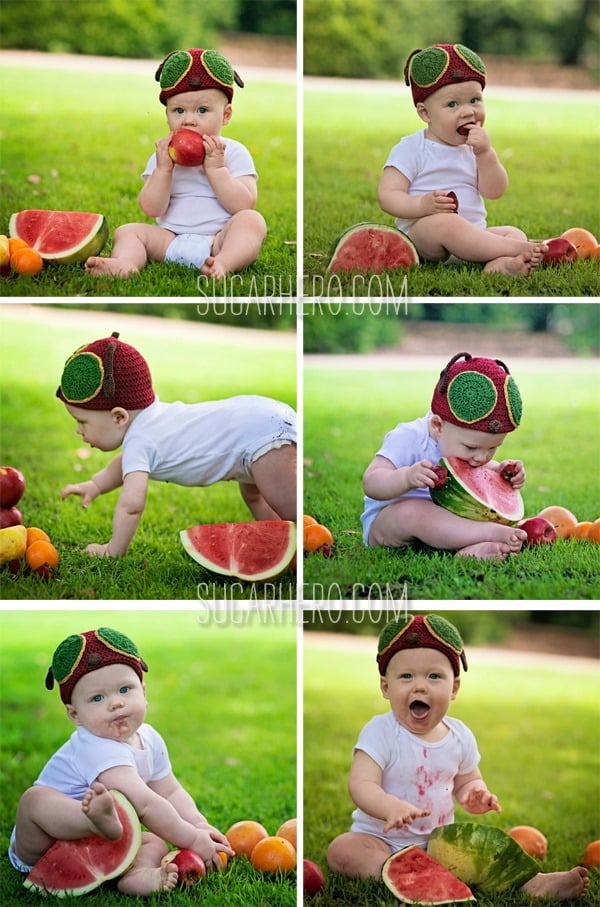
You know I couldn’t choose just one. How hilarious is he? He may not have given many smiles, but at least he didn’t disappoint with the amusing expressions.
What about the food, you ask? Get this. I didn’t get any pictures of the food. I’m the worst. I’m lucky I got a few pictures of the cake and candy! I don’t know how all those fabulous party planning Pinterest moms do it. I was so frazzled running around, greeting guests, keeping food stocked, and trying not to lose my baby in the crowd, that I completely forgot to take pictures of some key things. (And the pictures I did get at the party are a little lacking. Oh well.) You can soooort of see the food in the background of this picture:
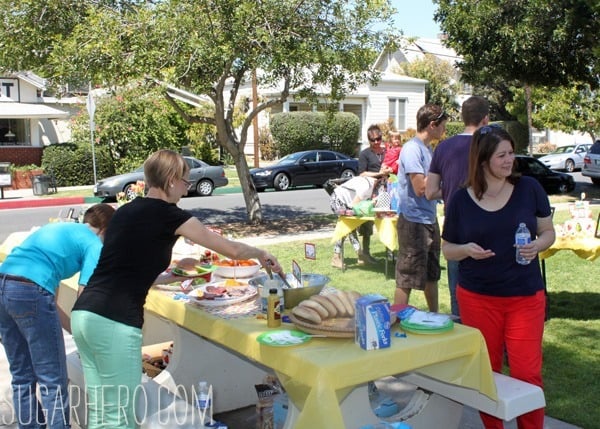
Basically, I again took a cue from the book, and featured many of the foods the caterpillar ate: assorted cold cuts, different cheeses, pickles, a big Caesar salad (aka “one nice green leaf”) and various fresh fruits. We added some giant rolls and condiments to round things out, so it was basically a casual make-your-own-sandwich setup. Nice and easy, which was ideal since I was saving my energy for the cake! All of the foods were labeled with these signed I made:
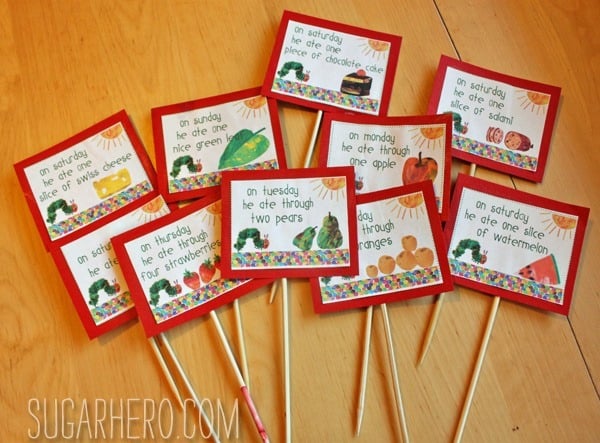
My dad attached them to skewers using a complicated five-point restraint system (joking, but not) and we stuck them either in the food itself, or in a clementine next to the food. I adapted these from Polka Dots & Puppies, and she offers her signs as a download from her blog post here.
I sent all of our little guests home with these goodie bags:
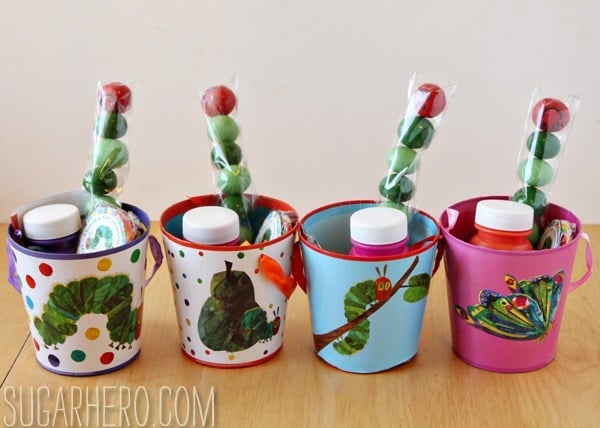
The caterpillar containers were bought in the Target dollar aisle last fall. This is where it pays to plan ahead, or at least have an idea for a theme ahead of time! I already knew I wanted his first birthday to be Very Hungry Caterpillar themed, so when the dollar aisle was suddenly full of cheap Caterpillar merch, I stocked up. The only difficulty was knowing how many to buy, since we were a long way from creating a guest list and having any details finalized. I took a wild guess and bought 16, and we ended up using 15, so it was just about perfect. I was so glad I bought them ahead of time, too, since they disappeared soon after and I haven’t seen them since. Here’s what the goodie bags contained:
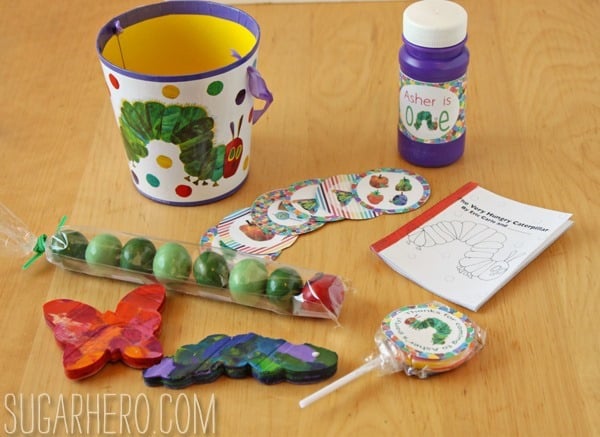
Bubbles, a Caterpillar activity book, a lollipop, crayons, a malt ball caterpillar, and stickers. Here are some details about each item:
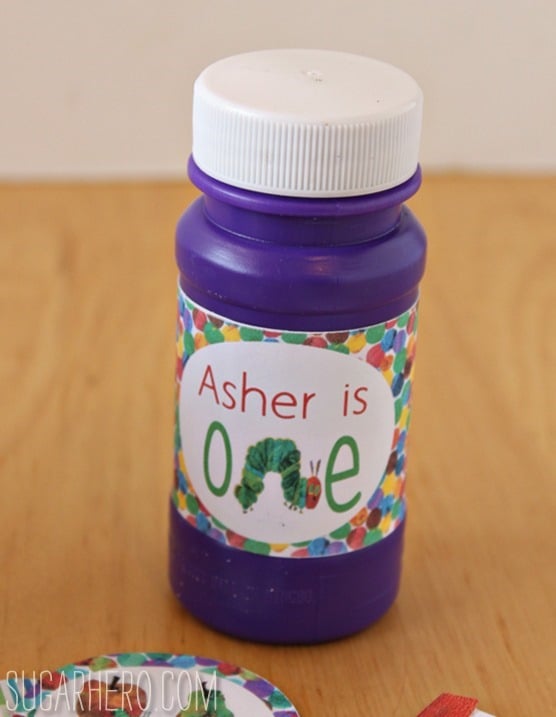
Bubbles with a custom wrapper. I designed them in photoshop, then printed them on plain full-page label sheets and cut them out. The bubbles were bought in a multi-pack from the dollar store. Since there was so much candy and sugar at the party, I tried to think of a few things for the goodie bags that weren’t edible. And Asher loves bubbles, so it seemed like a good thing to share with his friends.
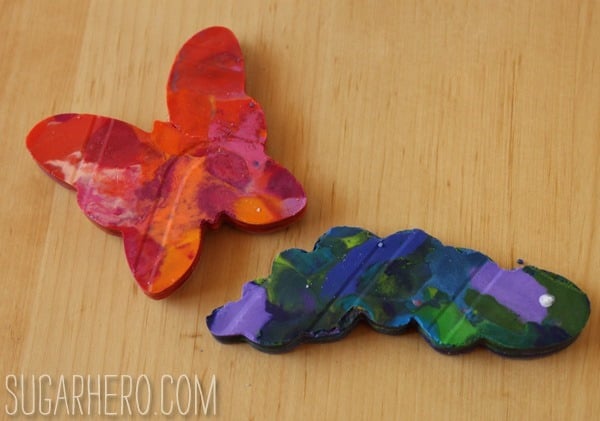
Crayons, melted together and cut out in butterfly and caterpillar shapes. For the actual goodie bags they were wrapped in small clear plastic bags so they didn’t get damaged or damage other items. I thought this would be so adorable, and I guess they did turn out pretty cute, but I think this was one craft that was more trouble than it was worth. Maybe we were just super bad at it, but between unwrapping the crayons, breaking them apart, melting them, waiting for them to harden, painstakingly cutting them out, then repeating the process again with scraps, it took way too much time for a small accessory. In the future I’d just get a cute little mini pack of crayons and call it good! If you want to try it yourself (maybe you’re a better crayon wrangler than I am), I used a tutorial found on Make it Grand. To cut out the butterfly and caterpillar, I used this Wilton set of cookie cutters.
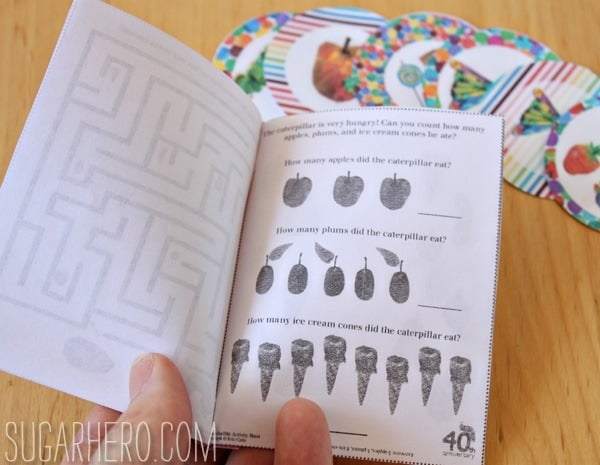
I found this cute activity book online and printed one out for each kid. I stapled the edges together, then bound them with red washi tape so it looked more finished. The activity book can be found here, and the cover I used can be found here.
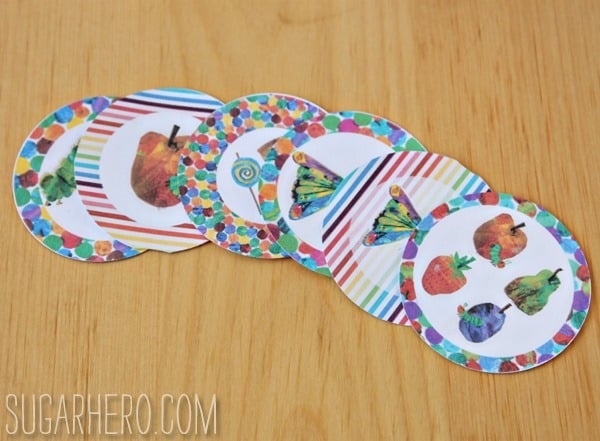
Who doesn’t love stickers? I designed these 2” round stickers in photoshop, then printed them on full-page label sheets. I used a 2” circle cutter (I have this one
) to punch out the circles. (I could have used 2” circle labels, but I already had the punch and the full-page ones, so I tried to save a little money and make do.)
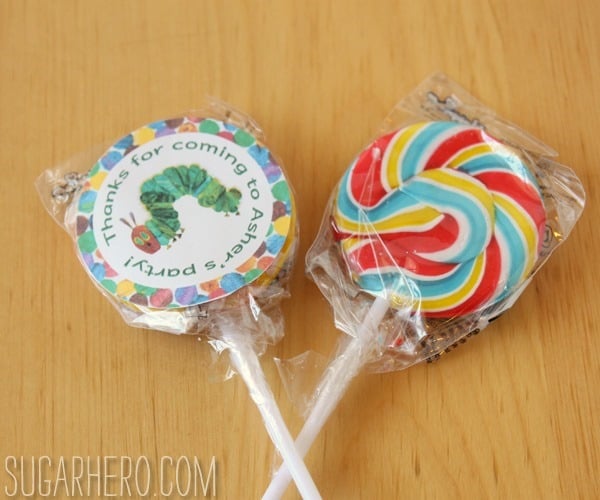
These lollipops were another good use of the labels and hole punch! I made the thank-you stickers, and put one on each 2” pop over the printed words on the back.
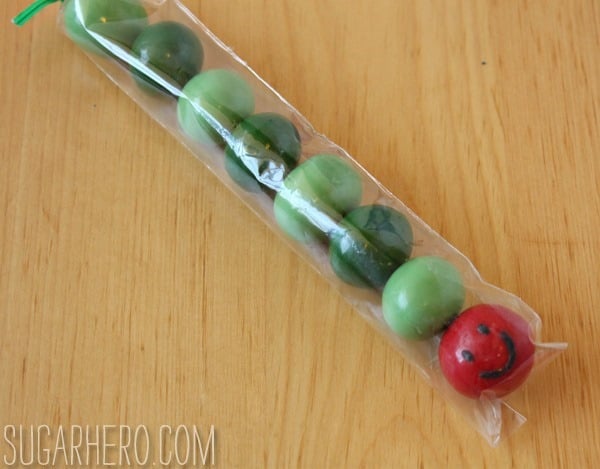
Finally, the caterpillar malt balls. These were my favorite! I used three colors of malt balls and decorated the red ball with a smiley made from candy coating. Then I put them in a pretzel bag (found at Michael’s) and tied it with a green twist-tie. Easy, and so cute!
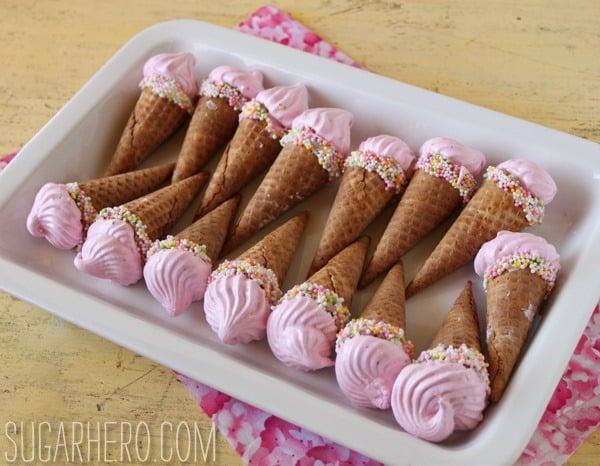
Finally, I couldn’t write a post without leaving you with a recipe! The only homemade item on the candy buffet were these marshmallow ice cream cones. (Because, of course, the caterpillar eats one ice cream cone on Saturday.) I wasn’t sure if they could compete with the rest of the buffet, but they were all eaten at the party, so I’d say they were a hit!
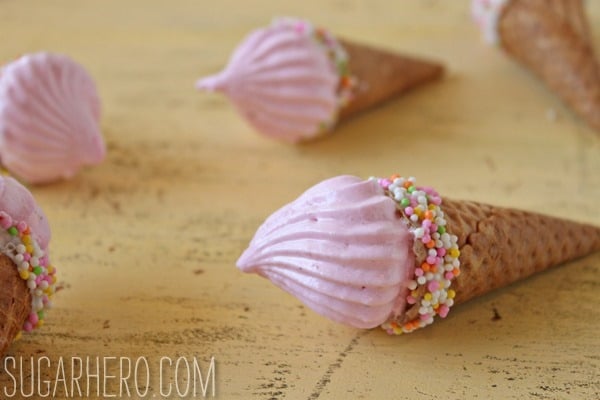
I made strawberry marshmallow, because I already had strawberry puree from the buttercream I was making. However, you could use an equal amount of another fruit puree, like raspberry or mango, with equally good results. Also, I have seen mini ice cream cones online, but I’ve never actually seen them in stores. For this recipe I bought full-sized ice cream cones and cut them down, but if you have the mini ones available to you, you can use those instead.
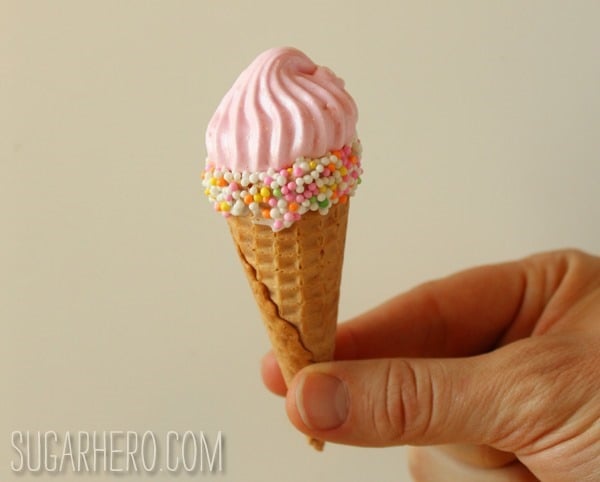
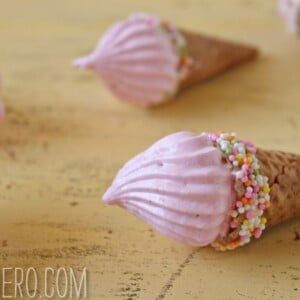
Miniature Marshmallow Ice Cream Cones
Ingredients
- 24 sugar cones
- 4 ounces white candy coating melts
- 1 1/2 cups rainbow sprinkles
- Large cardboard box, a shirt box works best
- Pastry bag
- Large star pastry tip
- Candy thermometer
- 2 large egg whites, (2 1/2 ounces), at room temperature
- 4 ounces cold water, (1/2 cup)
- 4 ounces stawberry puree, (1/2 cup)
- 1 ounce unflavored powdered gelatin, or 4 envelopes unflavored gelatin
- 14 ounces granulated sugar, (2 cups)
- 5 1/2 ounces light corn syrup, (1/2 cup)
- 1/4 tsp salt
- pink gel food coloring, I like Americolor Deep Pink
Instructions
- Begin by cutting about 1 1/2 inches off the top of each sugar cone. Hold the cone against a cutting board, and using a sharp serrated knife, gently saw through the cone. Try not to use much pressure or press down hard—it’s easiest if you let the sawing motion do all the work. Trim off any edges that are terribly uneven. It’s okay if they’re not perfect—the sprinkles will disguise any mistakes.
- Melt the candy coating in the microwave. Use a pastry brush to brush a thin layer of coating around the top edge of one of the cones, then while the coating is still wet, dip it in the sprinkles until it’s covered. Set aside and repeat until all of the cones have a layer of sprinkles around the top. An alternate method is to dip the top of the cones in the coating and then the sprinkles, but I found that this gave a thick layer of coating that tasted and looked a little thick for my taste.
- Use a sharp knife or a razor blade to cut 24 small X’s in the top of the cardboard box. Push the bottom of a cone into each X, so that the box acts as a stand holding the cones upright. Set aside for now.
- To make the marshmallow, place the room temperature egg whites in the bowl of a large stand mixer fitted with a whisk attachment.
- Pour the strawberry puree in a small bowl, and whisk in the gelatin. Set the bowl aside to let the gelatin “bloom,” or absorb the puree.
- Pour the 1/2 cup of water in a medium heavy-bottomed saucepan, and stir in the granulated sugar, the light corn syrup, and the salt. Place the pan over medium-high heat and continue to stir until the sugar dissolves. Brush down the sides of the pan with a wet pastry brush to remove any stray sugar crystals. Insert a candy thermometer.
- Cook the sugar syrup, without stirring, until the thermometer reaches 260° Fahrenheit. This will take 10-15 minutes, so while you’re waiting for the sugar to cook, microwave the gelatin bowl for about 20 seconds, until the gelatin liquefies.
- When the sugar syrup reaches 245° Fahrenheit, begin beating the egg whites on medium speed. The egg whites should be well-beaten and be able to hold firm peaks at approximately the same time the sugar syrup reaches 260° Fahrenheit. When the sugar syrup is at 260°, remove the pan from the heat and carefully whisk in the liquid gelatin mixture. It will bubble up and steam a bit, so watch your hands during this step.
- The hot sugar syrup now needs to be added to the egg whites. If your saucepan does not have a spout, pour the syrup into a large mixing cup or pitcher with a spout, to give you more control over the process. Turn the mixer to low, and with the mixer running, slowly stream the hot sugar syrup into the beaten egg whites. Try to pour the syrup close to the sides of the bowl, so it doesn’t hit the whisk and splatter everywhere.
- Once all of the syrup is added to the whites, gradually increase the speed of the mixer until it is running on medium-high speed. Whip the marshmallow until it is very thick, shiny, and opaque, about 10 minutes depending on your mixer. When you lift the whisk from the marshmallow, it should slowly stream from the whisk in a thick ribbon. Once the right texture is reached, add 1-2 drops of pink gel food coloring, then mix it in until no streaks remain.
- Fit a pastry bag with a star tip. Spoon a little marshmallow into the bag, and practice making a swirl into the bowl of marshmallow. If it starts to droop and doesn’t hold its shape, let the marshmallow sit for about a minute, then spoon a little more into the bag and test it again. It might be a little soft at first, but after just a few minutes it will get firmer, and once it reaches the texture where you can pipe a swirl without it drooping and melting, act quickly! Fill the bag with marshmallow and start piping your marshmallow cones: pipe the cone full of marshmallow, then finish with a big swirl on top of the cone. Repeat until all of the cones are filled with marshmallow. (If the marshmallow gets too stiff to pipe well, you might be able to save it by placing the bowl of marshmallow over a warm water bath and warming it gently and stirring until it loosens.)
- Let the marshmallow cones sit for at least 4 hours, until the marshmallow is completely set.
Recipe Notes
Measuring Tips
Our recipes are developed using weight measurements, and we highly recommend using a kitchen scale for baking whenever possible. However, if you prefer to use cups, volume measurements are provided as well. PLEASE NOTE: the adage “8 oz = 1 cup” is NOT true when speaking about weight, so don’t be concerned if the measurements don’t fit this formula.
Want to learn more about baking measurements and conversion?




Thank you for this wonderful recipe! Made these tonight for my grandson’s first birthday. I used an electric knife with gentle pressure and it made cutting the cones very easy. Thanks for the thorough instructions and tips. Hugs
Joan, thanks so much for the comment! I’m glad that the marshmallow cones worked for you. I hope your grandson’s birthday is a great success!
Thank you for all the wonderful ideas! I love the marshmallow ice cream cones. I’m planning a hungry caterpillar theme for my son’s first birthday. Do you mind sharing the file for the food labels you made? I like the way you adapted the design.
Thanks Casey! I saw your email and will reply to you there. 🙂