


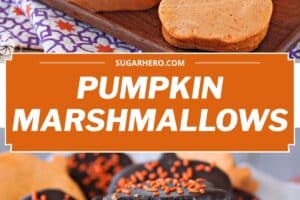
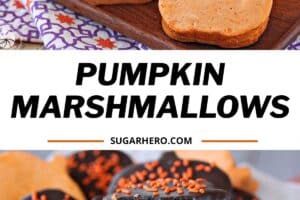

These homemade pumpkin marshmallows are the ultimate fall treat! Flavored with real pumpkin and fall spices, these fluffy marshmallows melt in your mouth. Great for roasting, hot cocoa, and more!
🍂 Love at First Bite: Our Must-Try Pumpkin Marshmallow Recipe
If you’ve never tried making your own marshmallows, this recipe will be your new fall obsession!
Store-bought marshmallows are, to be honest, boring. Sure, they’re great for s’mores and rice crispy treats and making marshmallow fondant, but when’s the last time you opened a marshmallow bag and dug in with relish? It just doesn’t happen.
Homemade marshmallows are a different beast entirely. It’s sometimes hard to believe they’re the same candy as the stale, spongy ones on store shelves.
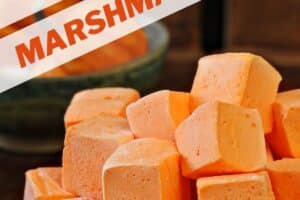
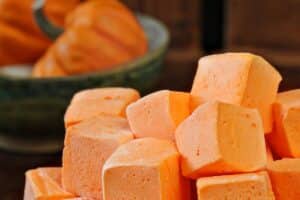
My homemade marshmallow recipe is beautifully soft, with a plush texture that practically melts in your mouth. And while store-bought marshmallows are sweet without being very flavorful, homemade marshmallows can be packed with fruit juices, purees, spices, or extracts to your heart’s content.
So in this season of pumpkin everything, it only made sense to whip up a batch of homemade pumpkin spice marshmallows!
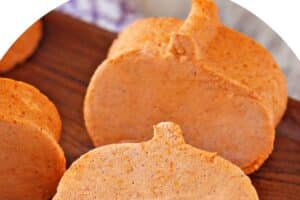
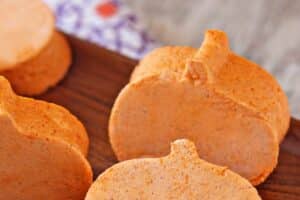
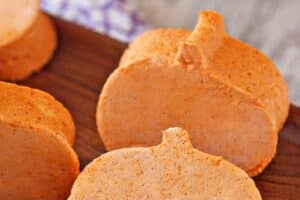
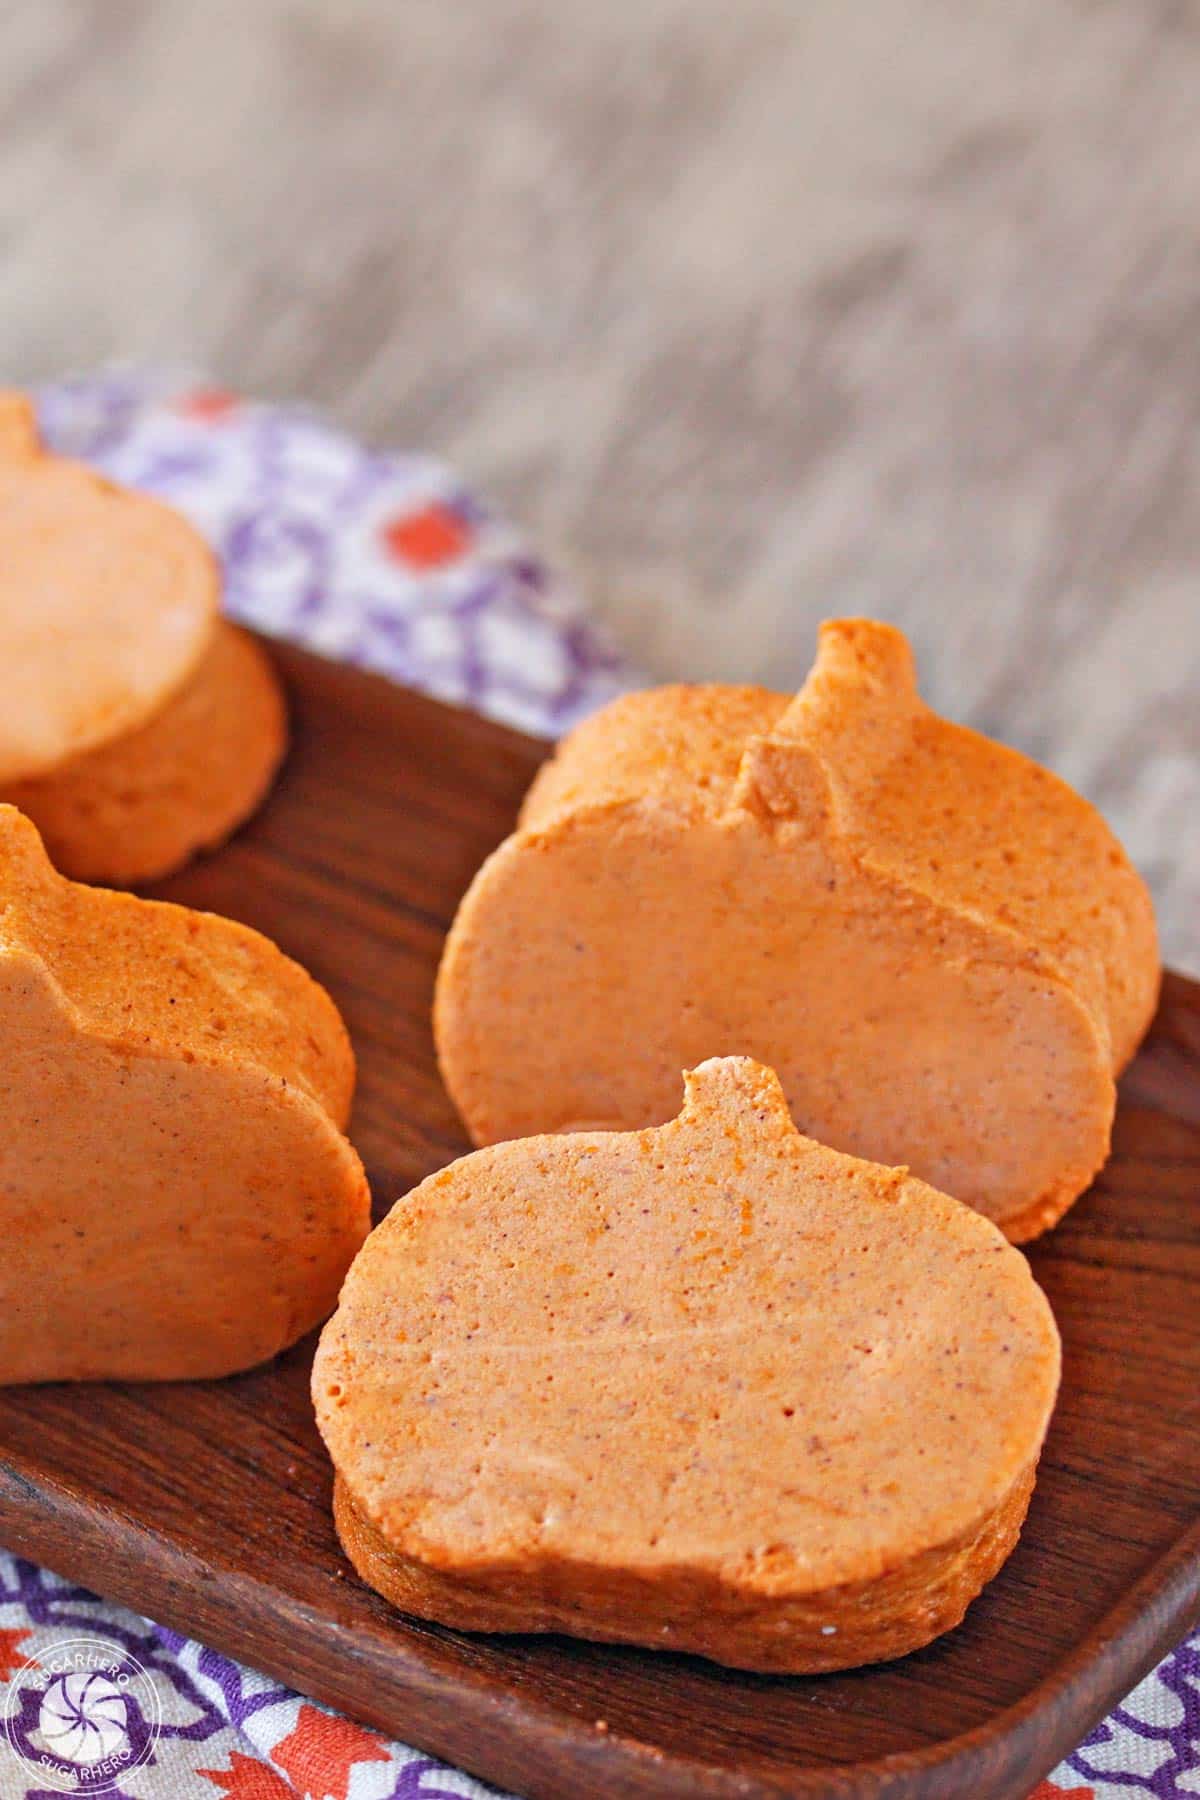
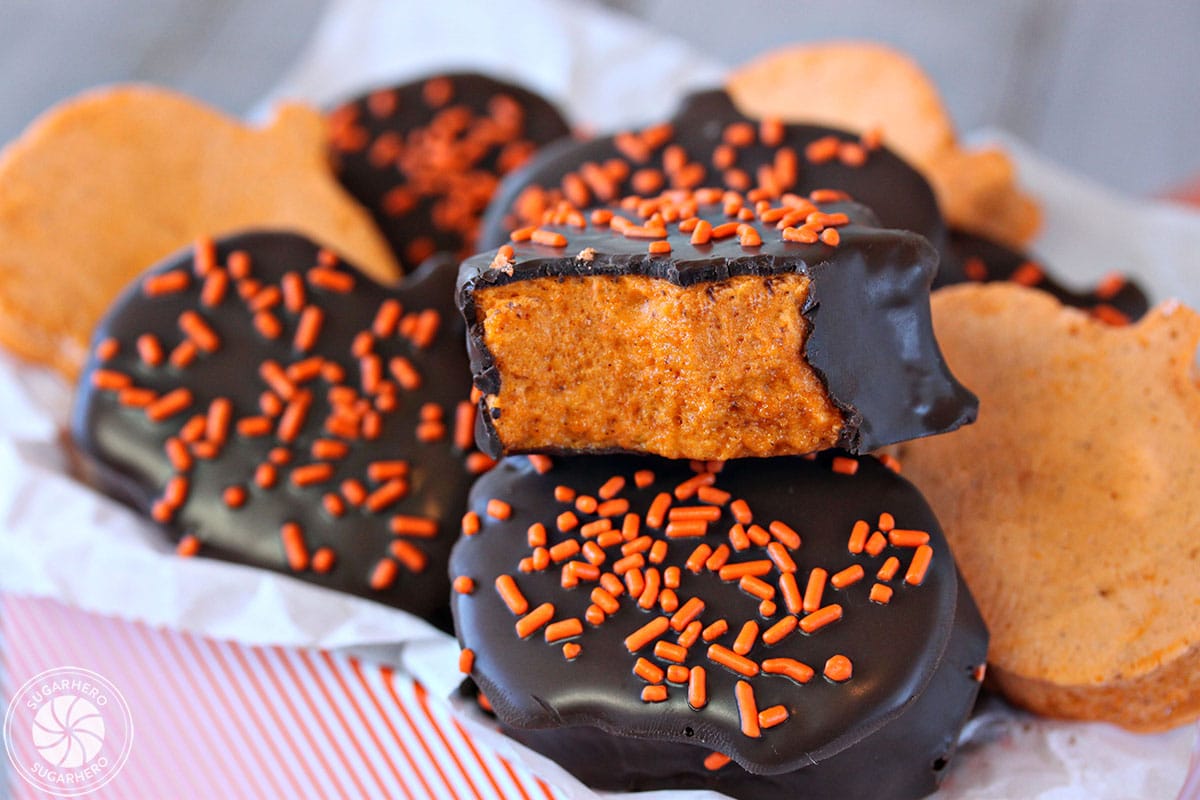
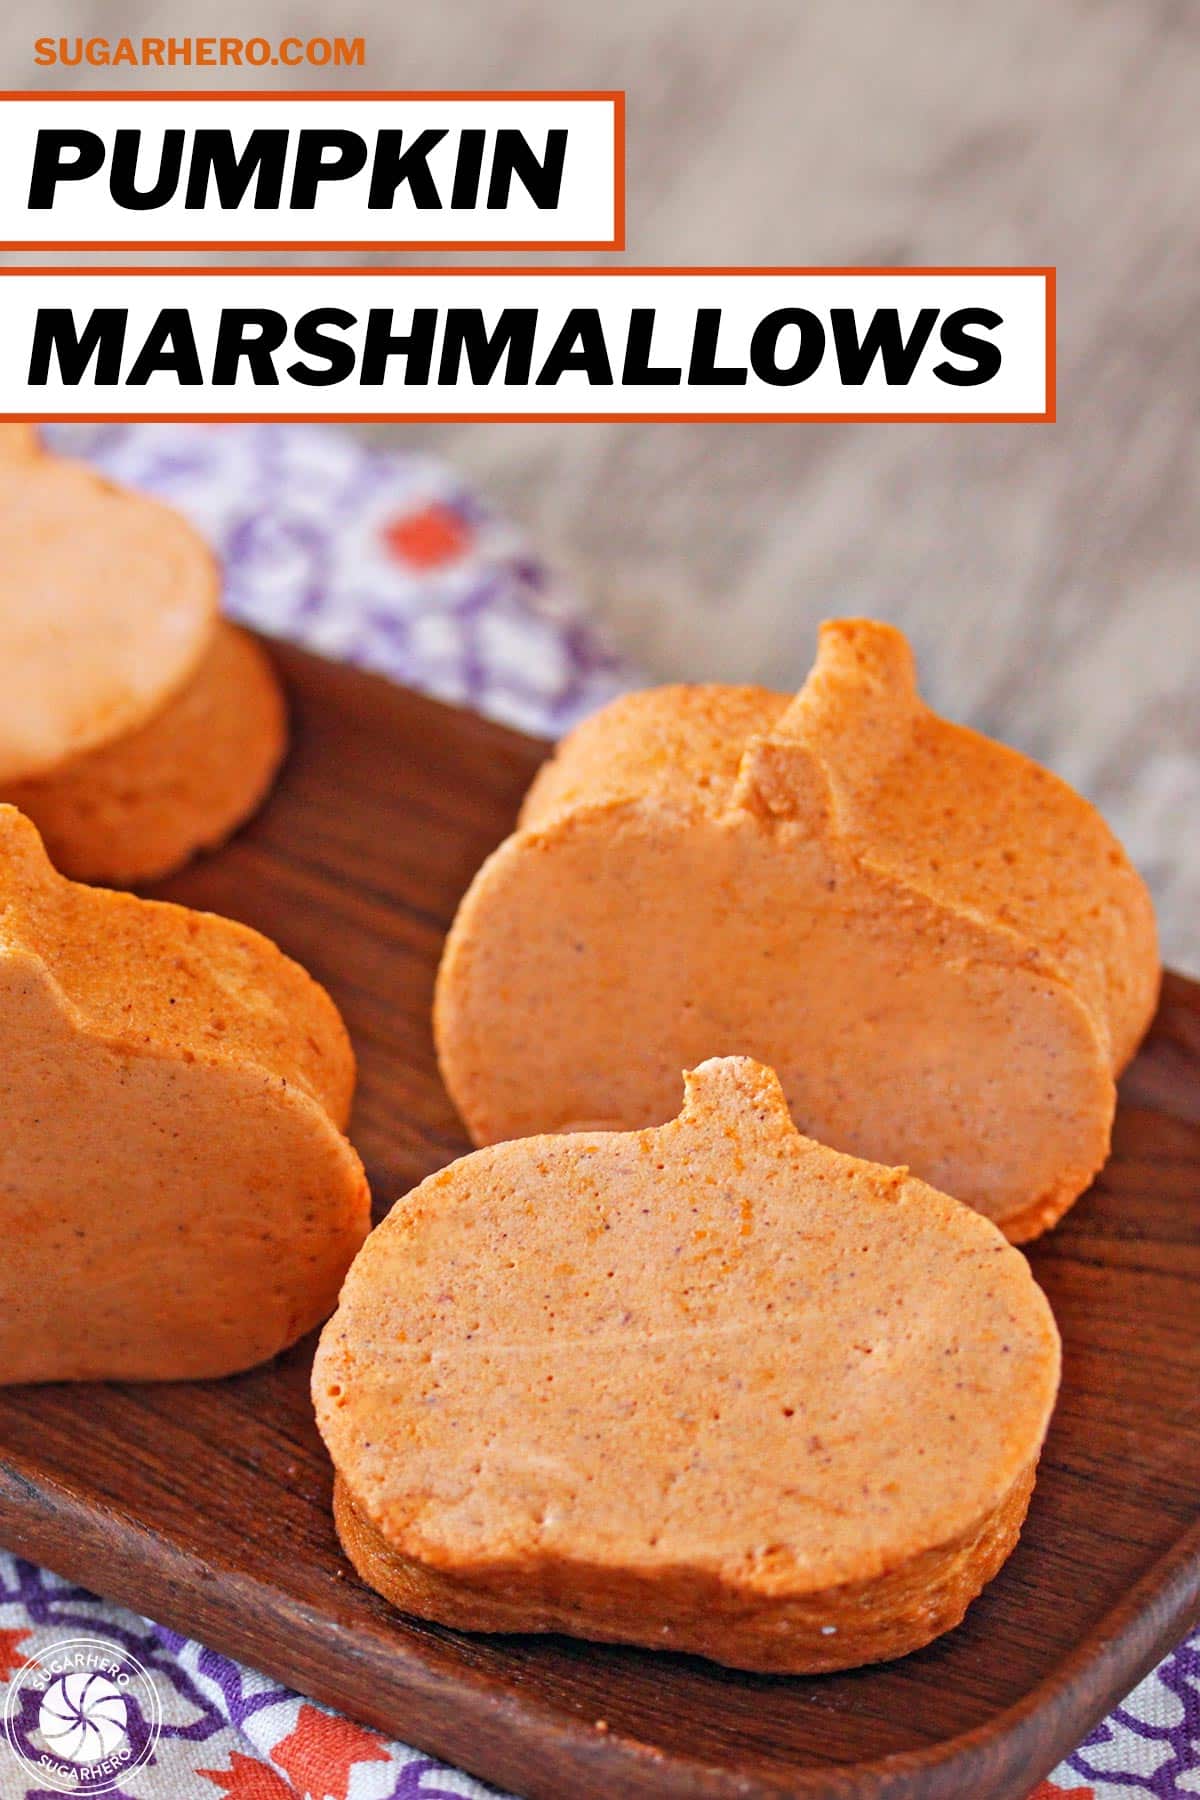
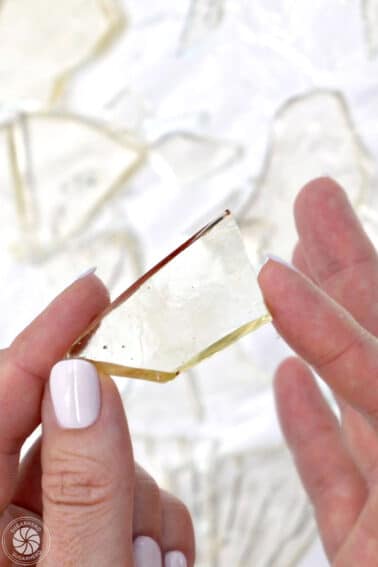
These gorgeous mallows are made with real pumpkin puree and a bunch of pumpkin pie spices, so they taste like bouncy little bites of fall.
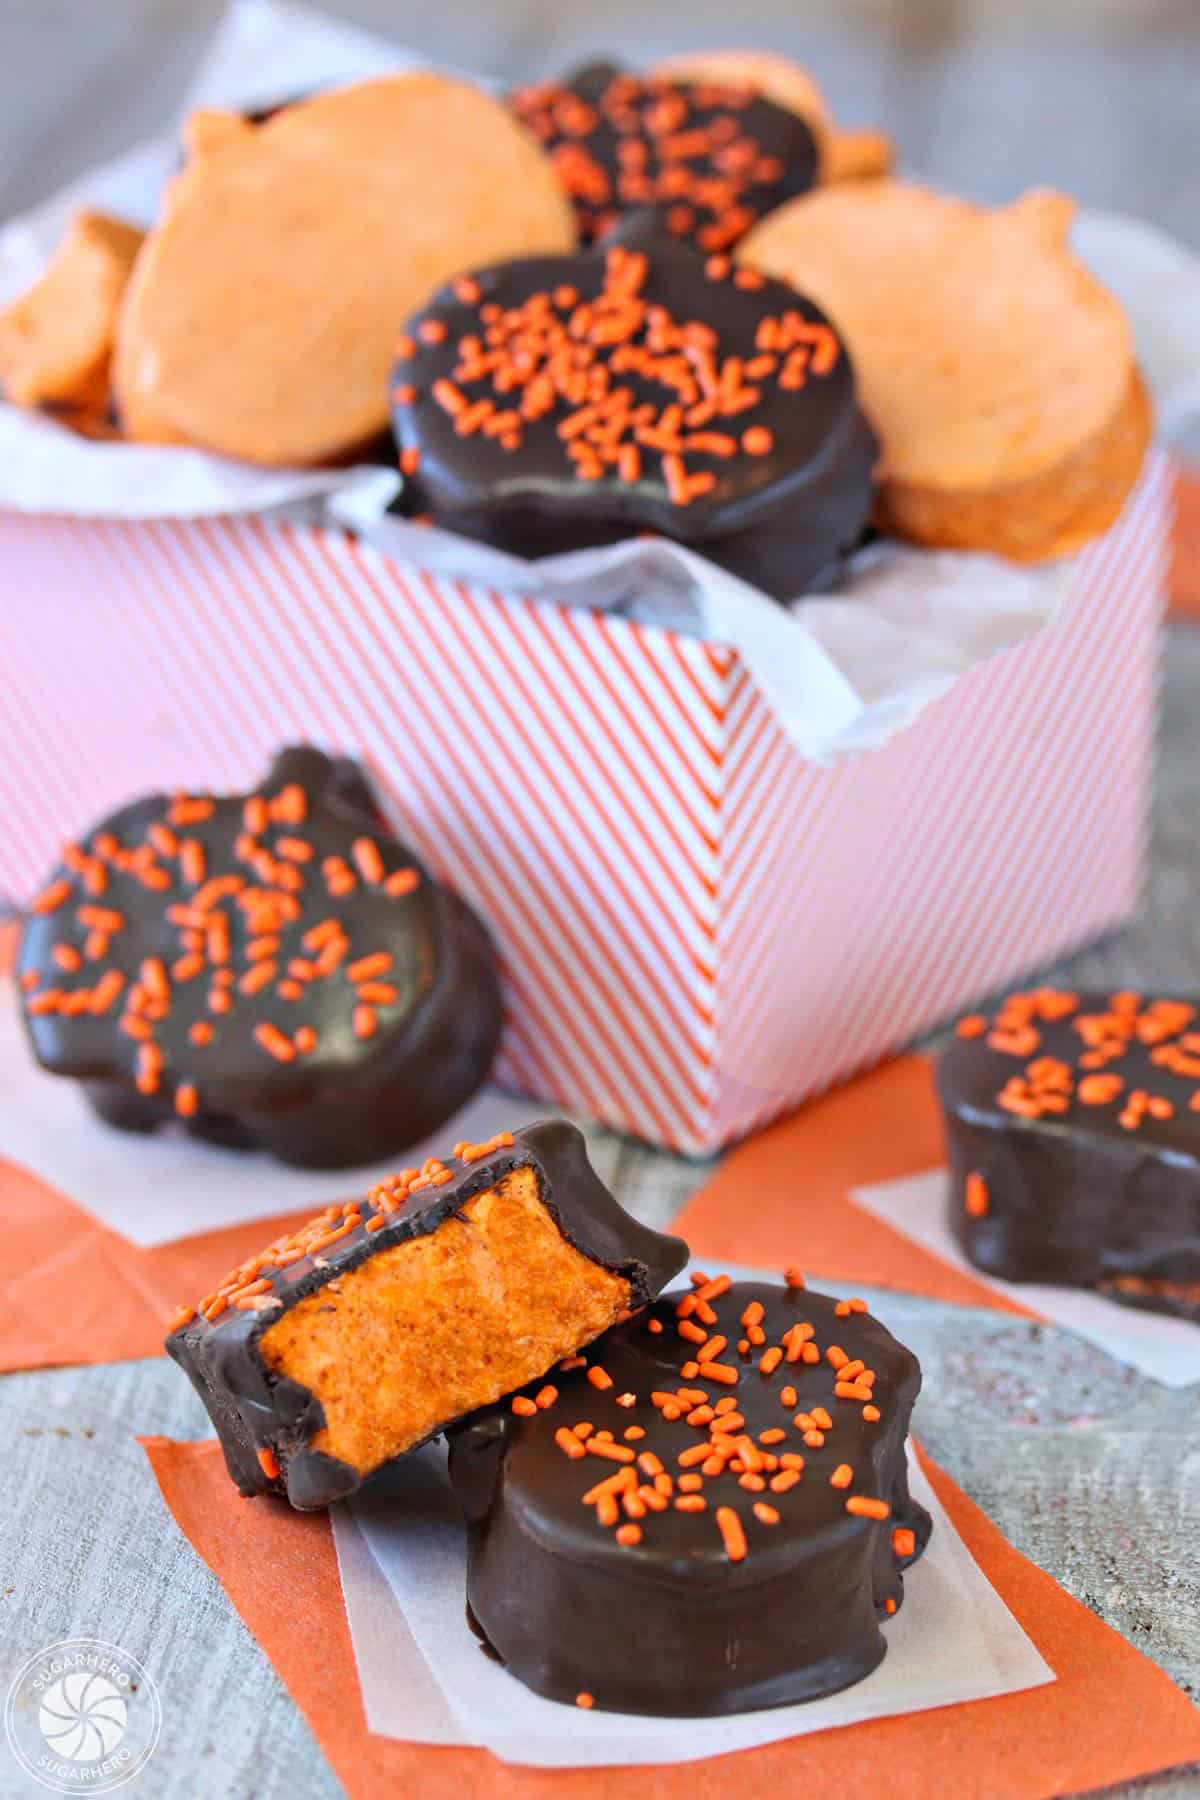
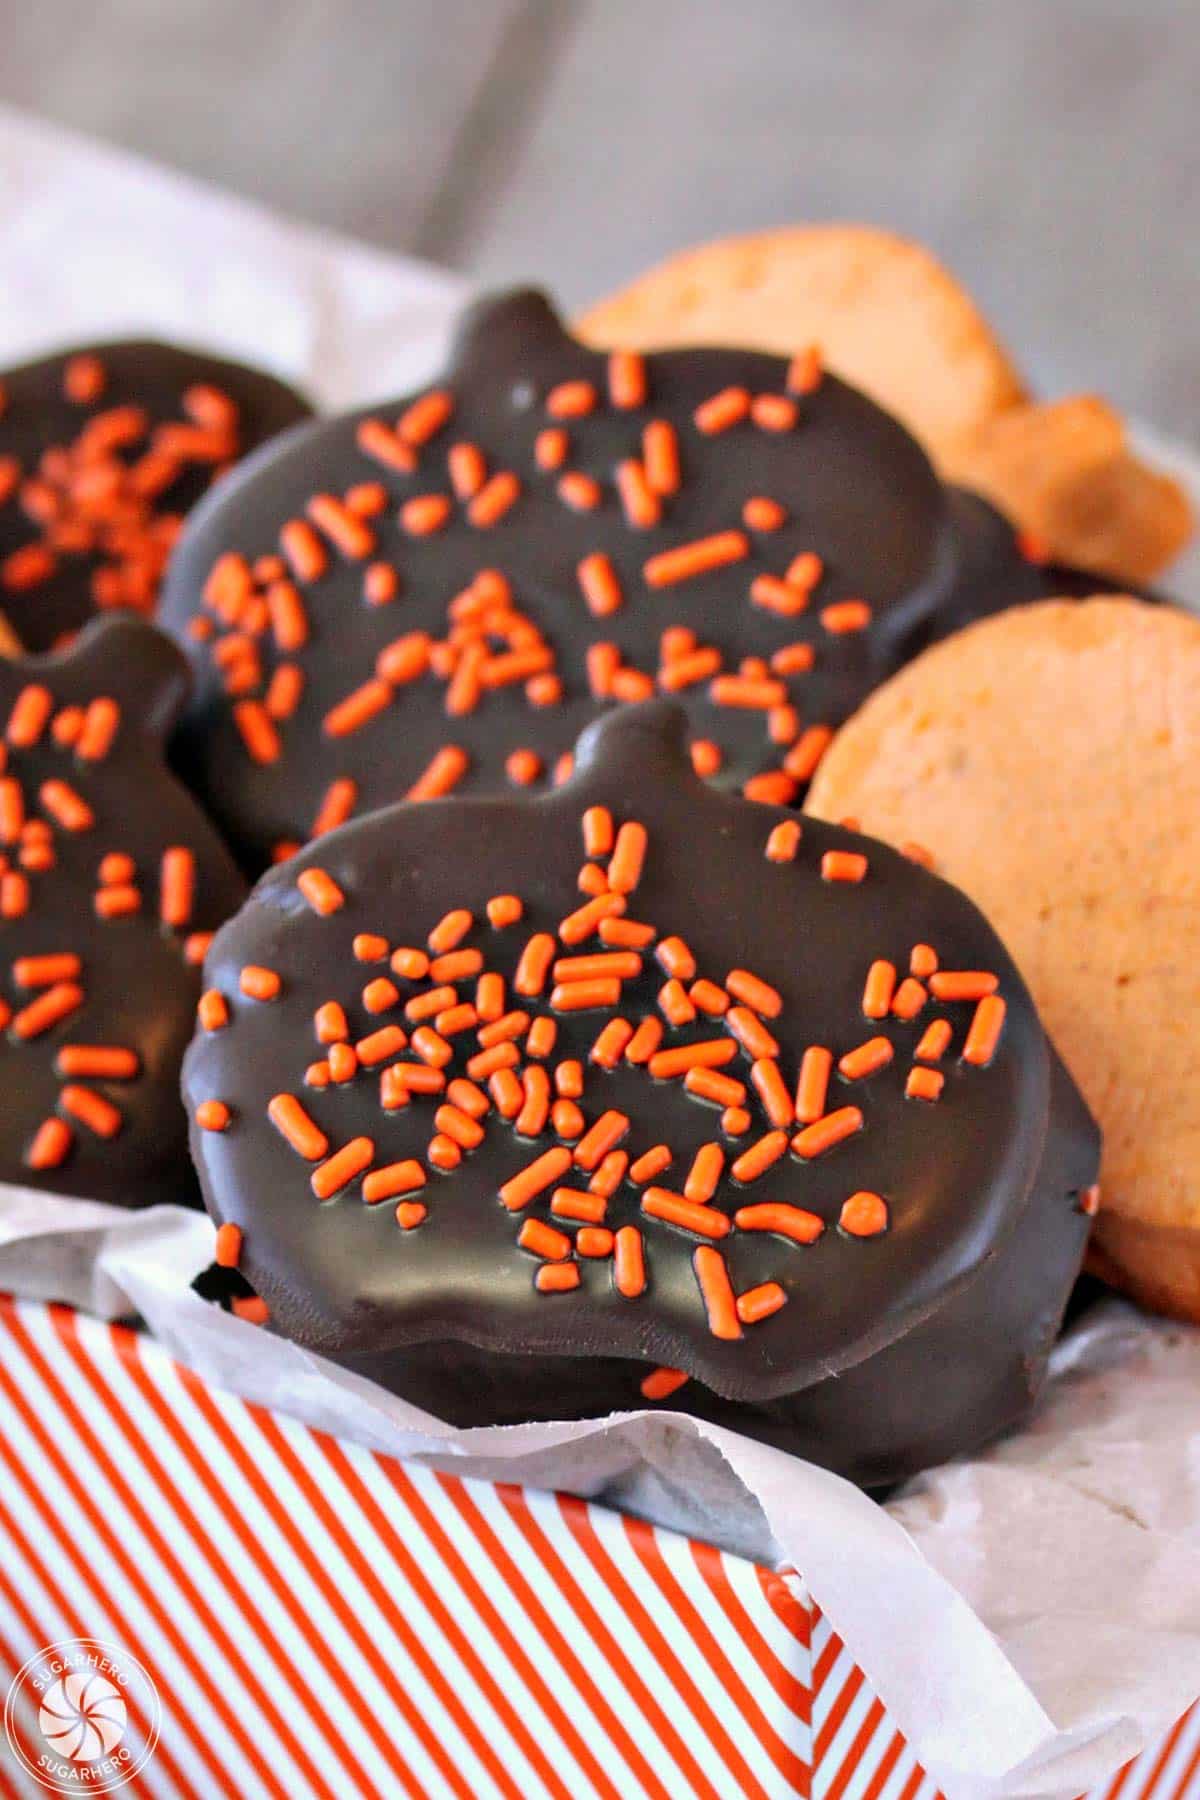
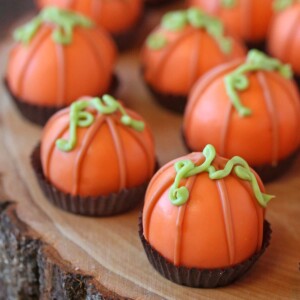
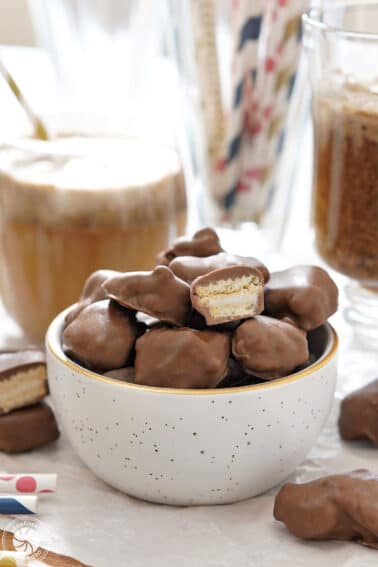
And while you can enjoy them on their own, you can take things up a notch by dunking them in a thick coating of chocolate, and topping them with orange sprinkles, small candies, or chopped nuts.
Follow this easy recipe and method to make picture-perfect pumpkin marshmallows from scratch. If this is your first time making marshmallows, be sure to read through all the information and tips before you begin!
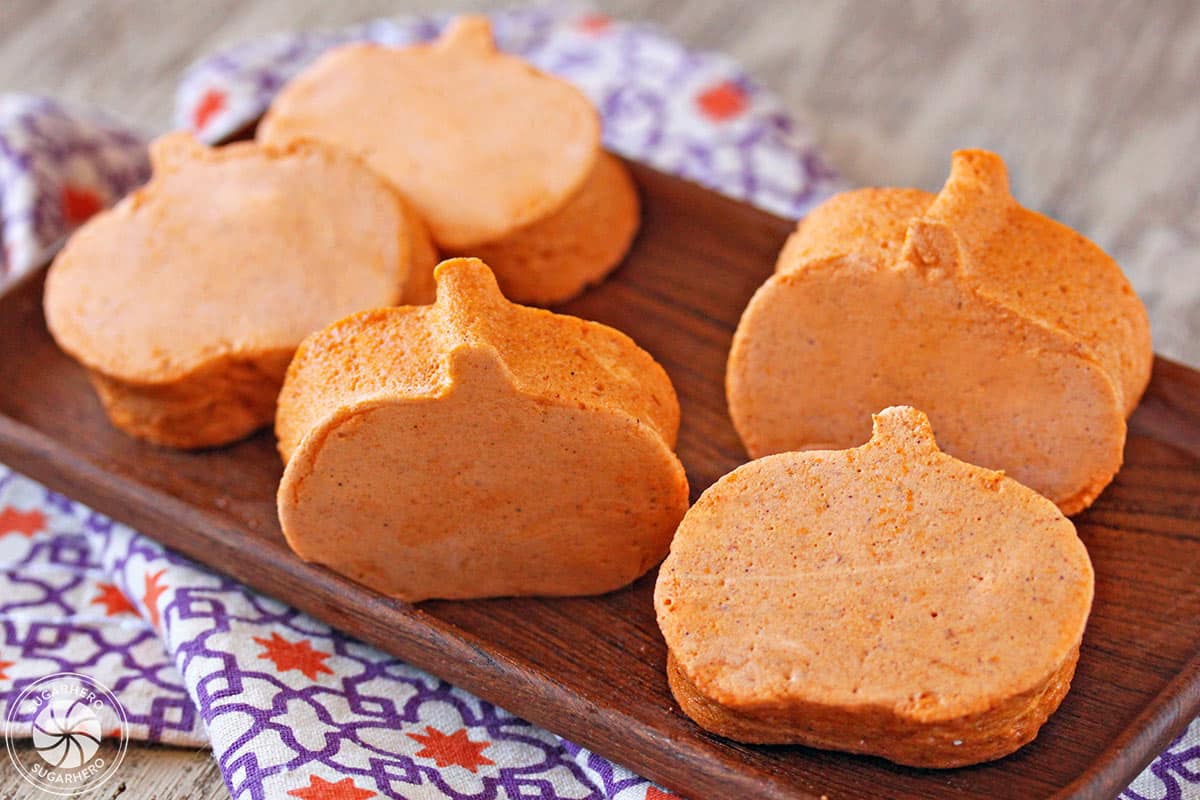
Table of Contents
🧾 What You’ll Need
Here’s the lowdown on the ingredients and equipment you’ll need to make pumpkin marshmallows at home! (Links are affiliate links and I earn a small commission from qualifying purchases.)
Ingredients
- Unflavored powdered gelatin: Gelatin is the backbone of marshmallows, so this ingredient is not optional! This recipe calls for unflavored powdered gelatin, like Knox brand. You cannot substitute flavored gelatin like Jell-O brand – it will not work.
- Granulated sugar: Granulated sugar is another must-have ingredient. It’s used to make the sugar syrup in the marshmallows, so it can’t be omitted or substituted.
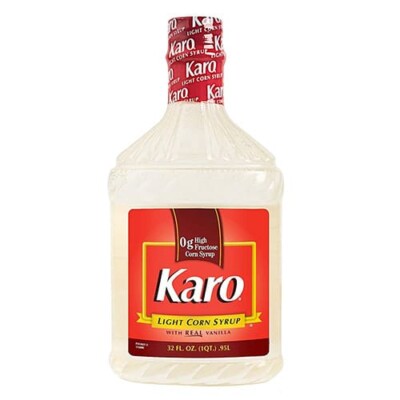
- Light corn syrup: Like Karo brand. If you can’t find light corn syrup, you can substitute glucose syrup on a 1:1 basis. Golden syrup can also be used, but it’s not my first choice since it does add a flavor of its own.
- Cinnamon & spices: I like to use a blend of fall spices like cinnamon, ginger, nutmeg, and cloves. You can substitute 2 tsp of pumpkin pie spice if you prefer.
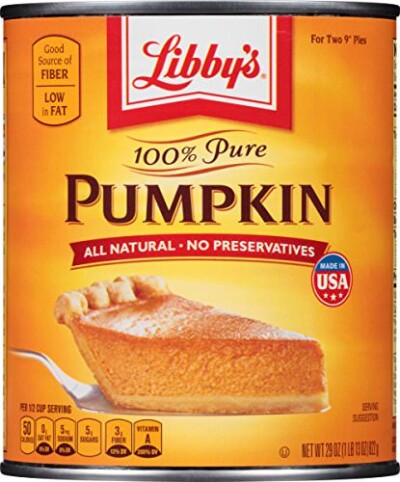
- Pumpkin puree: Make sure you are using pumpkin puree and not pumpkin pie filling – the canned pie filling has added sugar and other ingredients. I typically use Libby’s brand pumpkin puree, which is fairly thick. If you are using another brand, or homemade puree, and it’s fairly liquidy/thin, you’ll want to drain out some of the excess liquid before you use it, otherwise your marshmallows might be too soft when set.
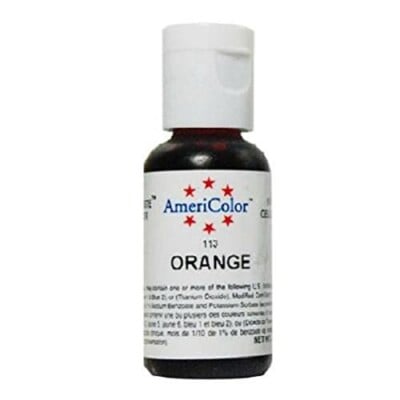
- Orange gel food coloring: For an authentic pumpkin color, I use either Americolor Pumpkin (go figure!) or Americolor Orange mixed with a bit of Ivory to deepen it.
- Chocolate candy coating: The chocolate coating is entirely optional, but it does make the marshmallows more of a stand-alone treat. You can use semi-sweet chocolate or chocolate chips, but candy coating is my choice for the easiest, most foolproof option.
Equipment
- Mixer: You will need some kind of mixer to properly beat the marshmallow mixer. I recommend a stand mixer if possible, but a hand mixer will work if that’s what you have. You will probably have to lengthen the beating time if using a hand mixer.
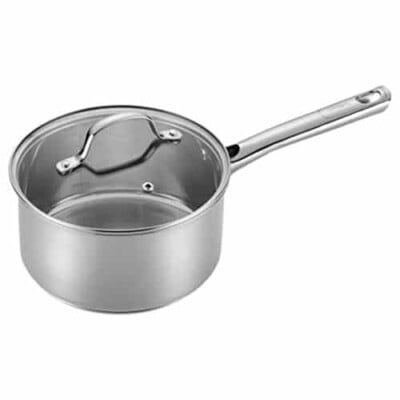
- Saucepan: Any medium saucepan will work, but if you have one with a spout that makes pouring much easier.
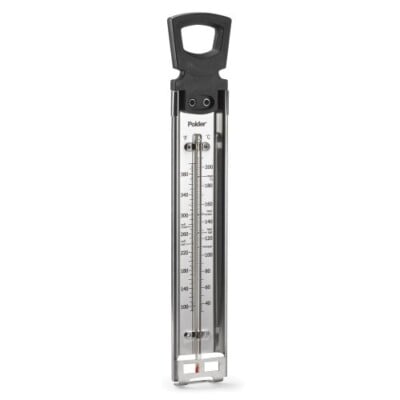
- Candy thermometer:A thermometer is a must for this recipe. You don’t need to spend a fortune on one, though — a basic thermometer like this is perfect. If you are new to using a thermometer, check out my guides for how to use a thermometer, how to test and calibrate a thermometer, and how to adjust candy recipes for high altitude cooking.
- Pumpkin cookie cutter: If you want to cut your marshmallows into pumpkin shapes, pick up a 2-3 inch pumpkin cookie cutter.
📋 Instructions
This is a quick overview of how to make pumpkin marshmallows at home. Grab the full instructions and easily print them out using the recipe card down below.
1. Bloom the gelatin
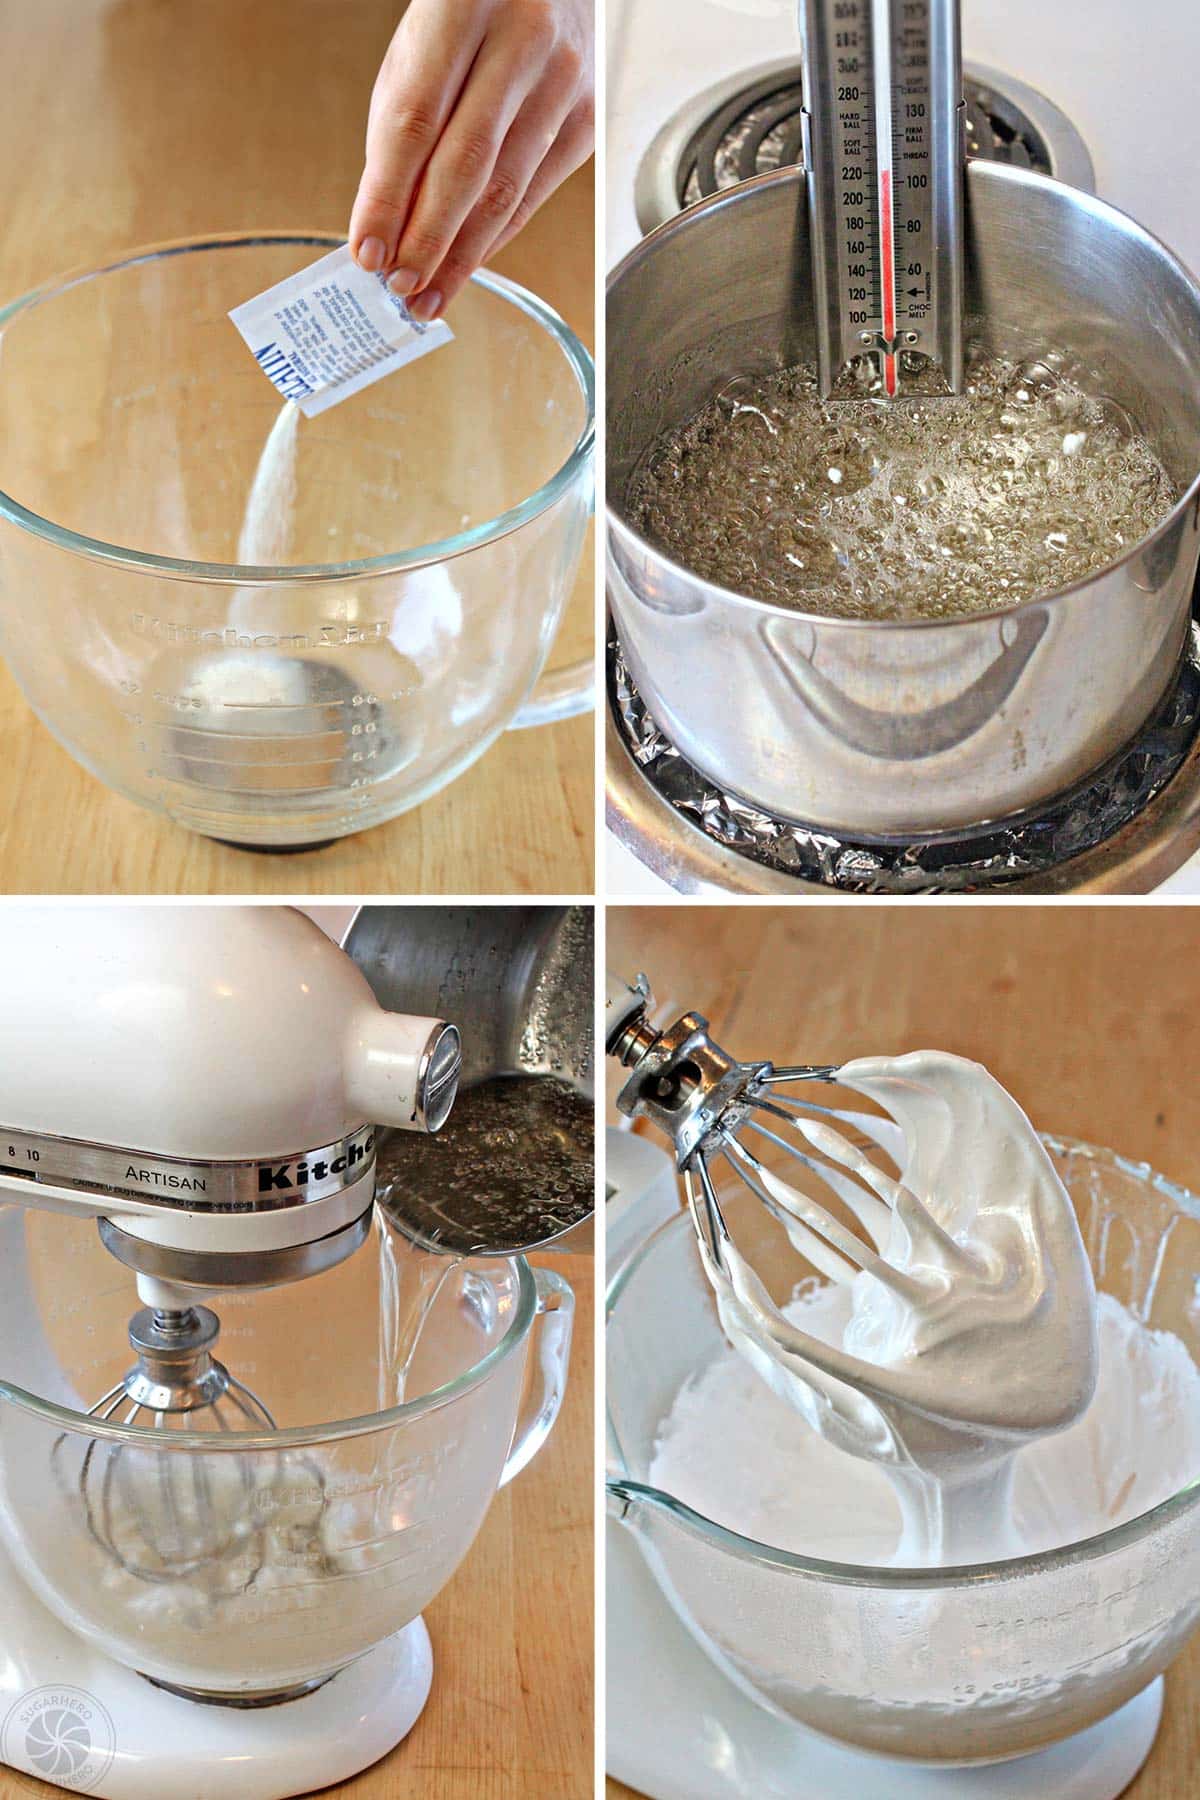
- Place 1/2 cup cold water in the bowl of a large stand mixer. Sprinkle powdered gelatin on top of the cold water and whisk it in. Let it sit for 5 minutes, so the gelatin absorbs the water.
2. Cook the sugar syrup
- Combine water, granulated sugar, and light corn syrup in a medium saucepan, and place the pan over medium-high heat. Stir while the sugar dissolves.
- Once the sugar mixture comes to a boil, insert a candy thermometer and let it cook, without stirring, until the mixture reaches 240°F.
3. Whip the gelatin and sugar together
- When the sugar syrup is ready, start running your mixer on low speed, and carefully pour the hot sugar syrup into the bowl of gelatin in a slow, steady stream.
- Once all of the sugar syrup is added, gradually raise the mixer speed to medium-high. Beat the marshmallow mixture for 8 to 10 minutes until it becomes glossy, white, voluminous, and very thick.
4. Add pumpkin puree
- While the marshmallows are mixing, stir together pumpkin puree, the spices, and salt in a small bowl.
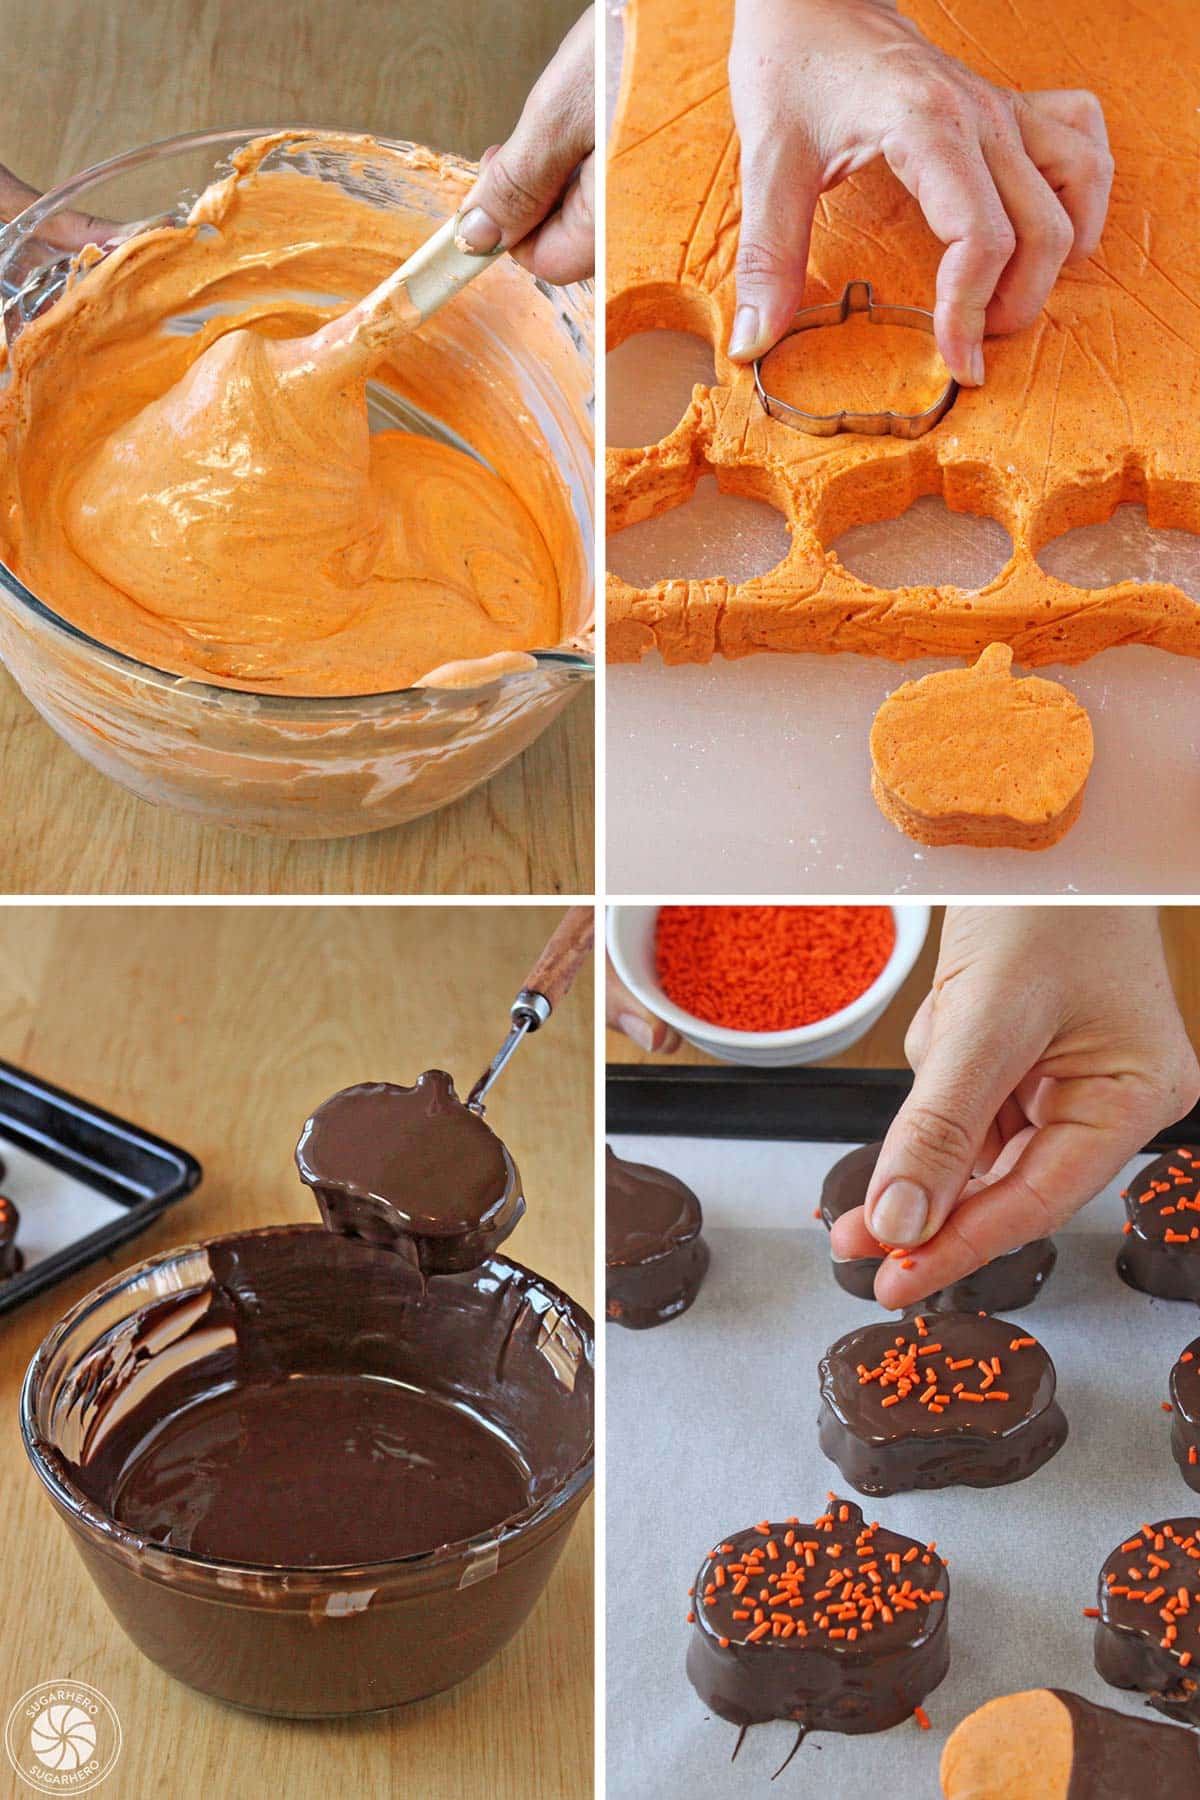
- When the marshmallow mixture is finished, add a few drops of orange food coloring to the bowl and beat it in. Then gently stir in the pumpkin puree until it’s fully combined.
5. Let the marshmallows set up
- Scrape the marshmallow into a 9×13 pan that has been sprayed with nonstick cooking spray. (Tip: I’ve found that I don’t need to line my pan with anything if I spray well with nonstick spray. If you are nervous about marshmallow removal, you can first line the pan with plastic wrap or foil sprayed with nonstick spray.)
- Let the marshmallows set up at room temperature overnight, or for at least 8 hours.
6. Cut up the marshmallows
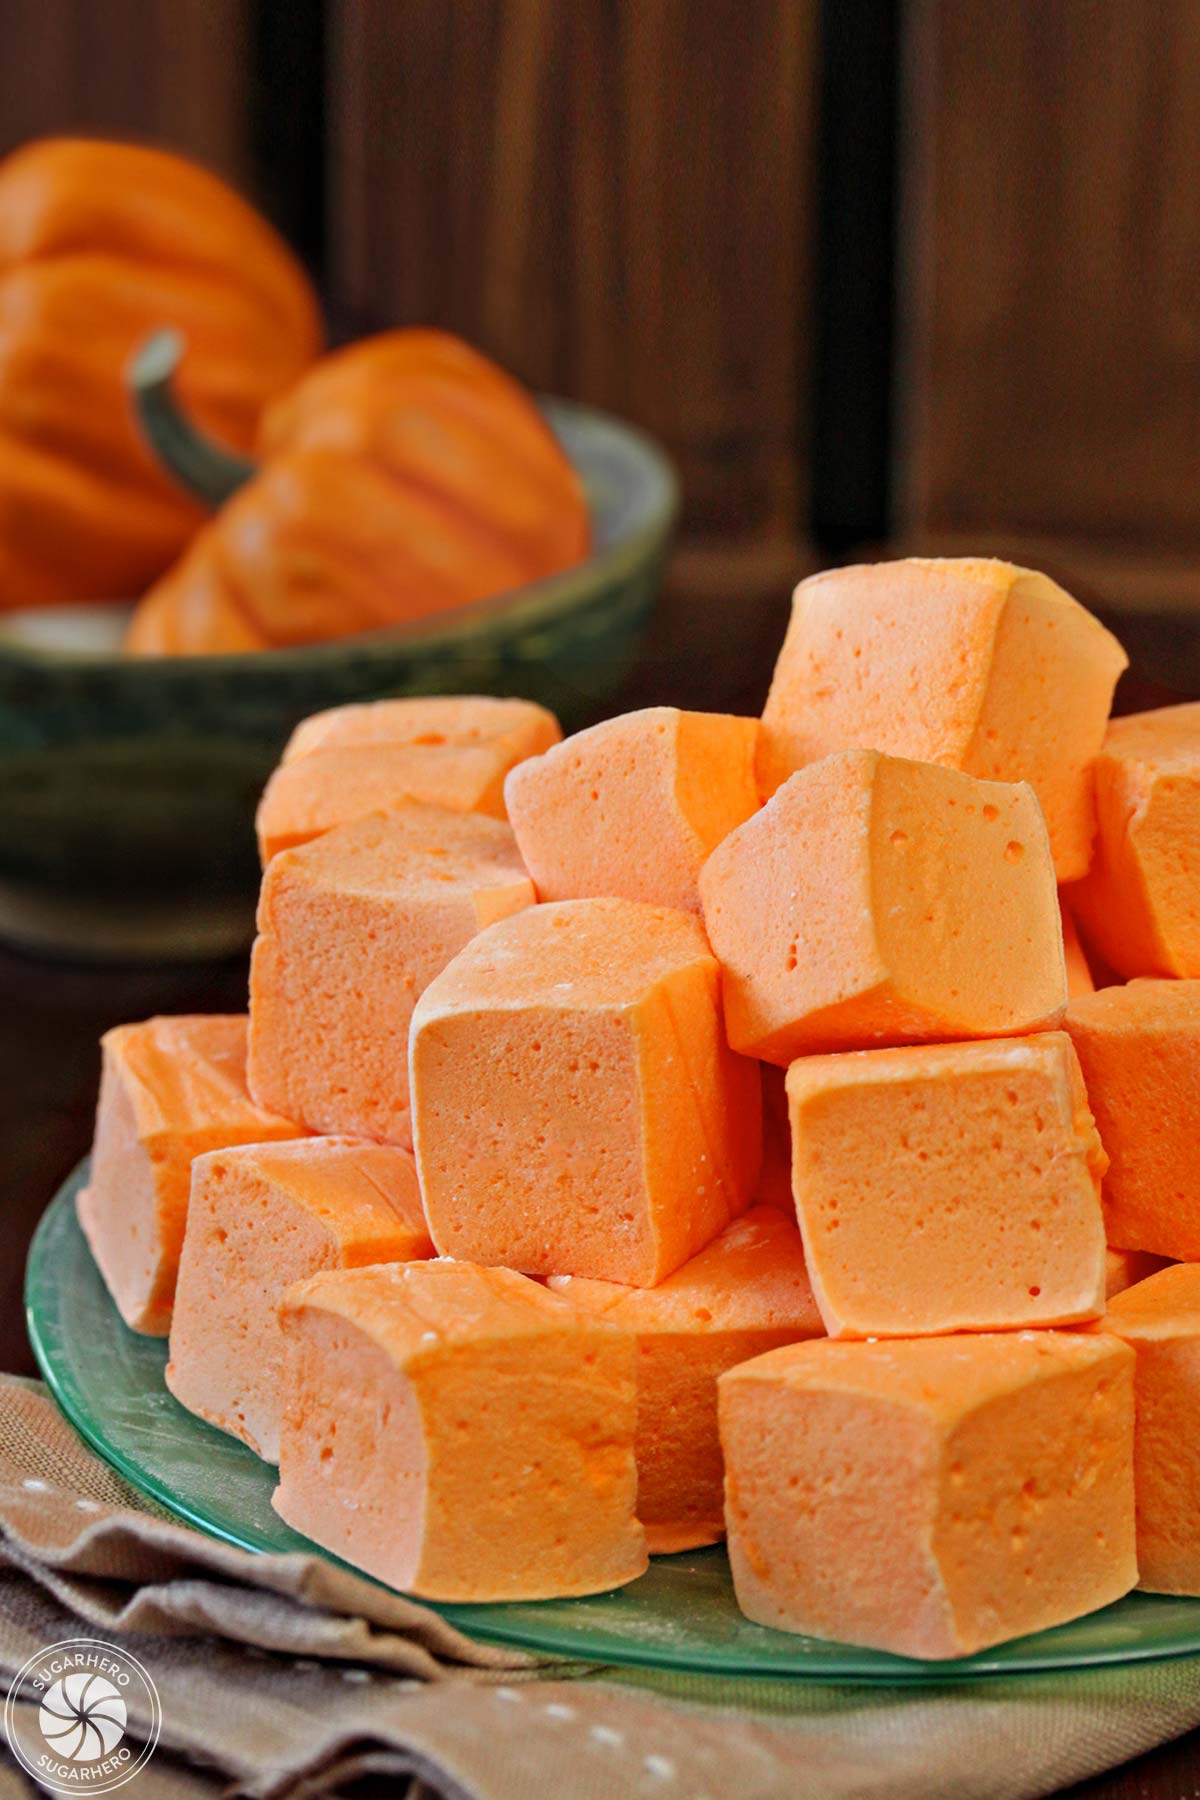
- When the marshmallows are set, flip them out of the pan and cut them into small squares with a sharp chef’s knife sprayed with nonstick spray. You can also use a pumpkin-shaped cookie cutter to make pumpkin marshmallows.
7. Dip them in chocolate (optional)
- If you want to do the optional chocolate step, melt the chocolate candy coating in a medium bowl in the microwave.
- Use dipping tools or a fork to dip a marshmallow into the chocolate, then set the dipped marshmallow onto a parchment-lined baking sheet. While the chocolate is still wet, scatter orange sprinkles across the top. Once all of the marshmallows are dipped, refrigerate the baking sheet briefly to set the chocolate.
💡 Tips for Perfect Marshmallows
- Be sure to whip the marshmallow mixture for the full 8-10 minutes so it reaches maximum fluffiness. Under-whipping can result in dense, sticky marshmallows that don’t set properly.
- Avoid overbeating once stiff peaks form.
- Make sure you’re using pure pumpkin puree, not pumpkin pie filling.
- Work quickly after pouring the marshmallows into the pan to prevent premature hardening around the edges.
- Let marshmallows fully set uncovered for at least 8 hours at room temperature. Don’t refrigerate them during the setting process.
- Be warned: the marshmallow mixture is STICKY! It can also be a beast to clean up. The easiest way to clean your pans and bowls is to soak them in hot soapy water. The sugar syrup will gradually dissolve in the water, no scrubbing required.
- If you’re making these in advance, wait to cut them until you’re ready to package or serve them. Keeping the candy as a giant slab will keep them fresher than individual marshmallows.
❓ FAQs
Yes, you can. The texture of homemade puree can be more liquidy than the canned variety, so if yours is a lot thinner than typical canned puree, strain excess liquid out before using.
If you don’t have access to corn syrup, glucose syrup is a great substitute, and you don’t need to make any other recipe adjustments. Golden syrup can also work, but be aware that it adds its own light honey-ish flavor.
No, this recipe requires gelatin to work properly. If you want to make vegan marshmallows, I recommend starting with a vegan recipe (like this one!) instead of trying to adapt a traditional marshmallow recipe.
Store homemade marshmallows in an airtight container at room temperature up to 1 week.
For longer storage, freeze marshmallows for up to 3 months. First, dust them with powdered sugar, then place marshmallows between layers of waxed or parchment paper in an airtight freezer container. Thaw at room temperature before using.
Marshmallows may absorb excess moisture in the freezer, so to prevent sticking, dust them again with powdered sugar after they thaw.
💭Recipe Variations
Once you master the basic method, get creative with these tasty marshmallow variations:
- Pumpkin chocolate chip marshmallows: fold in 1⁄2 cup mini chocolate chips after whipping.
- Pumpkin vanilla marshmallows: add 2 teaspoons vanilla when you add the spices.
- Pumpkin dulce de leche marshmallows: swirl in 1/2 cup dulce de leche caramel sauce after the marshmallows are spread out in the pan, but before they’ve set.
- Spiced pumpkin latte marshmallows: add 2 teaspoons instant coffee at the beginning of whipping the marshmallows.
☕ Fun Ways to Use Pumpkin Marshmallows
Pumpkin marshmallows add festive flair to all sorts of fall treats! Try one of these ideas:
- Sandwich between cinnamon graham crackers for pumpkin s’mores.
- Make pumpkin rice krispie treats with cereal and melted marshmallows.
- Top hot chocolate or pumpkin spice lattes.
- Fill whoopie pies instead of regular marshmallow filling.
- Roast over the campfire on sticks for a seasonal twist.
- Use in place of regular marshmallows on yam casseroles or sweet potatoes.
- Make pumpkin marshmallow bark by drizzling chocolate over a sheet pan of marshmallows.
🎃 More Pumpkin & Fall Recipes


Pumpkin Bread Truffles
Pumpkin Chocolate Chip Bread
Leave a Review!
If you make this recipe, let us know! Leave a ⭐️⭐️⭐️⭐️⭐️ rating on the recipe below, and leave a comment, take a photo and tag me on Instagram @elabau, or use #sugarhero on IG!
Pumpkin Marshmallows
Ingredients
- 0.75 oz unflavored powdered gelatin, (equal to 3 (¼-oz) packages or 7.5 tsp)
- 6 fl oz cold water, divided use (¾ cup)
- 12.25 oz granulated sugar, (1.75 cups)
- 11 oz light corn syrup, (1 cup)
- 2.67 oz pumpkin puree, (⅓ cup)
- 1 tsp ground cinnamon
- 1/2 tsp ground ginger
- 1/4 tsp ground nutmeg
- 1/4 tsp ground cloves
- 1/4 tsp salt
- Orange gel food coloring
- 1 oz powdered sugar, (¼ cup)
- 1 lb chocolate candy coating melts, optional
- Orange sprinkles, optional
Instructions
- Spray a 13×9-inch pan with nonstick cooking spray. I’ve found that I don’t need to line my pan with anything if I spray well with nonstick spray. If you are nervous about marshmallow removal, you can first line the pan with plastic wrap or foil sprayed with nonstick spray.
- Place 1/2 cup cold water in the bowl of a large stand mixer fitted with a whisk attachment. Sprinkle the powdered gelatin on top of the cold water and whisk it in. Let it sit for 5 minutes, so the gelatin absorbs the water.
- Combine the remaining 1/4 cup water, the granulated sugar, and the light corn syrup in a medium saucepan, and place the pan over medium-high heat. Stir while the sugar dissolves, then brush down the sides of the pan with a wet pastry brush to prevent sugar crystals from forming.
- Once the sugar mixture comes to a boil, insert a candy thermometer and let it cook, without stirring, until the mixture reaches 240°F.
- Once the mixture reaches 240°F, remove the pan from the heat. Start running your mixer on low speed, and carefully pour the hot sugar syrup into the bowl of gelatin in a slow, steady stream. Aim to pour the sugar syrup near the side of the bowl, so it doesn’t flow right into the whisk and get splattered everywhere.
- Once all of the sugar syrup is added, gradually raise the mixer speed to medium-high. Beat the marshmallow mixture for 8 to 10 minutes until it becomes glossy, white, voluminous, and very thick.
- While the marshmallow mixture is being whipped, combine the pumpkin puree, spices, and salt in a small bowl and whisk them together.
- When the marshmallow mixture is finished, add a few drops of orange food coloring to the bowl and beat it in. Stop the mixer, add the pumpkin puree mixture to the marshmallow mixture, and gently stir it in by hand with a spatula until it’s fully combined.
- Scrape the marshmallow mixture into the prepared pan and smooth it into an even layer. Allow it to sit overnight, or for at least 8 hours, at room temperature, so that it fully sets up.
- Once set, lightly dust the top of the marshmallows and your work surface with powdered sugar. Flip the marshmallow slab out of the pan and dust the bottom (now top) with a bit more powdered sugar.
- If you are cutting them into squares, use a large sharp chef’s knife sprayed with nonstick spray. Clean the knife and spray, as necessary, to get the cleanest cuts. If you want to use a cookie cutter, follow the same procedure – spray and clean the cutter whenever the marshmallows start to get too sticky and difficult to cut. Toss the cut marshmallows in a bit of powdered sugar so they won’t stick to each other.
- If you want to do the optional chocolate decoration, melt the chocolate candy coating in a medium bowl in the microwave.
- Use dipping tools or a fork to dip a marshmallow into the chocolate. Let the excess drip back into the bowl, then set the dipped marshmallow onto a parchment-lined baking sheet. While the chocolate is still wet, scatter orange sprinkles across the top. Once all of the marshmallows are dipped, refrigerate the baking sheet briefly to set the chocolate.
- Make-ahead and storage information: Store homemade marshmallows in an airtight container at room temperature up to 1 week. For longer storage, freeze marshmallows for up to 3 months. First, dust them with powdered sugar, then place marshmallows between layers of waxed or parchment paper in an airtight freezer container. Thaw at room temperature before using. Marshmallows may absorb excess moisture in the freezer, so to prevent sticking, dust them again with powdered sugar after they thaw.
Recipe Notes
- Candy-making tips: If you are new to candy making, be sure to read my article about how to use a candy thermometer, and if you are at a high altitude, check out these important high altitude candy tips before beginning.
- Yield information: This recipe yields a 2 lb block of marshmallows in a 9×13-inch pan. Depending on how you cut them, this is approximately 20 medium pumpkin-shaped marshmallows, or anywhere from 48-64 square marshmallows.
- Nutritional calculation: The nutritional information has been calculated based on a yield of 48 marshmallows, and does not include the optional chocolate coating. With the chocolate coating, each marshmallow is approximately 105 calories.
Measuring Tips
Our recipes are developed using weight measurements, and we highly recommend using a kitchen scale for baking whenever possible. However, if you prefer to use cups, volume measurements are provided as well. PLEASE NOTE: the adage “8 oz = 1 cup” is NOT true when speaking about weight, so don’t be concerned if the measurements don’t fit this formula.
Want to learn more about baking measurements and conversion?
Nutrition


I could have this for lunch today!
These look so delicious! And perfect for halloween!! Can’t wait to try this out with my kiddos 🙂
Thank you! I really hope your family enjoys them!
These were a blast to make. My nieces (age 5 and 7) helped with the cut outs and dipping. It was a fun project! Takes great too.
Hi Cynthia! So glad your nieces enjoyed them. Thanks for the recipe review!
This is such a super fun idea for Halloween! I could see one of these floating in a mug of hot cocoa after coming home from trick or treating.
Yes! Wouldn’t that be so fun. I hope you get a chance to try the recipe. Cheers!
These marshmallows are so adorable!! I can’t wait to make these with my kids for Halloween!
Thank you Anjali. I hope you and your kids have so much fun with the recipe. My kids absolutely love them. All the best.
My kids would love these – perfect for their hot chocolate!
I’ve done the research and can tell you, these taste amazing in hot chocolate. I hope you and your kids get to try them. Cheers!
Last night before I went to bed I got all my ingredients together, then got all of my cooking things together and set everything out. I got up this morning and made these Pumpkin Marshmellows. they cam out perfect, so cute and nice texture. I have not diped any of them yet but I intend to soon. I just wanted to let you know I was a little scared at first but I just did everything slowly and red my recipe a few times before diving in and all went well, so I will be making marshmellows for all occaissions now….
Hi Donna! Thank you for posting a recipe review. I am so glad you gave it a try (even if you were scared!). Aren’t homemade marshmallows delicious!? Way to go. Happy baking!
i want to make these so bad, i have made regular marshmallows, i must try this, why am i so scared, hahaha, i will let you know how they turn out…..
Hi Connie! Don’t be afraid — you can do it! Homemade marshmallows are so fun. If you like these, there are also some homemade cranberry marshmallows to try as well. Have fun with your baking projects.