
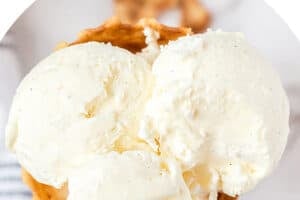
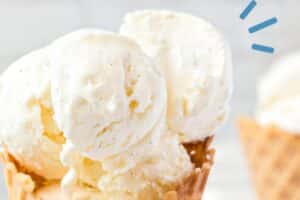

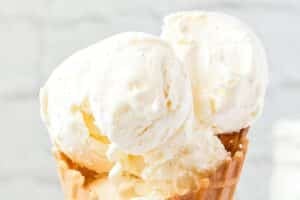
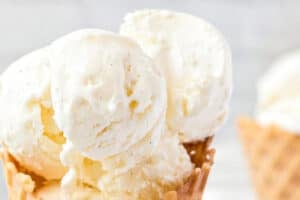
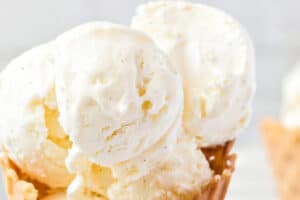


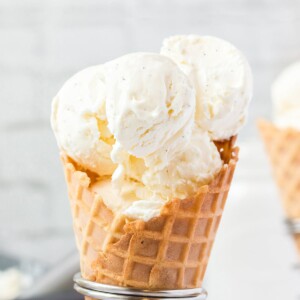
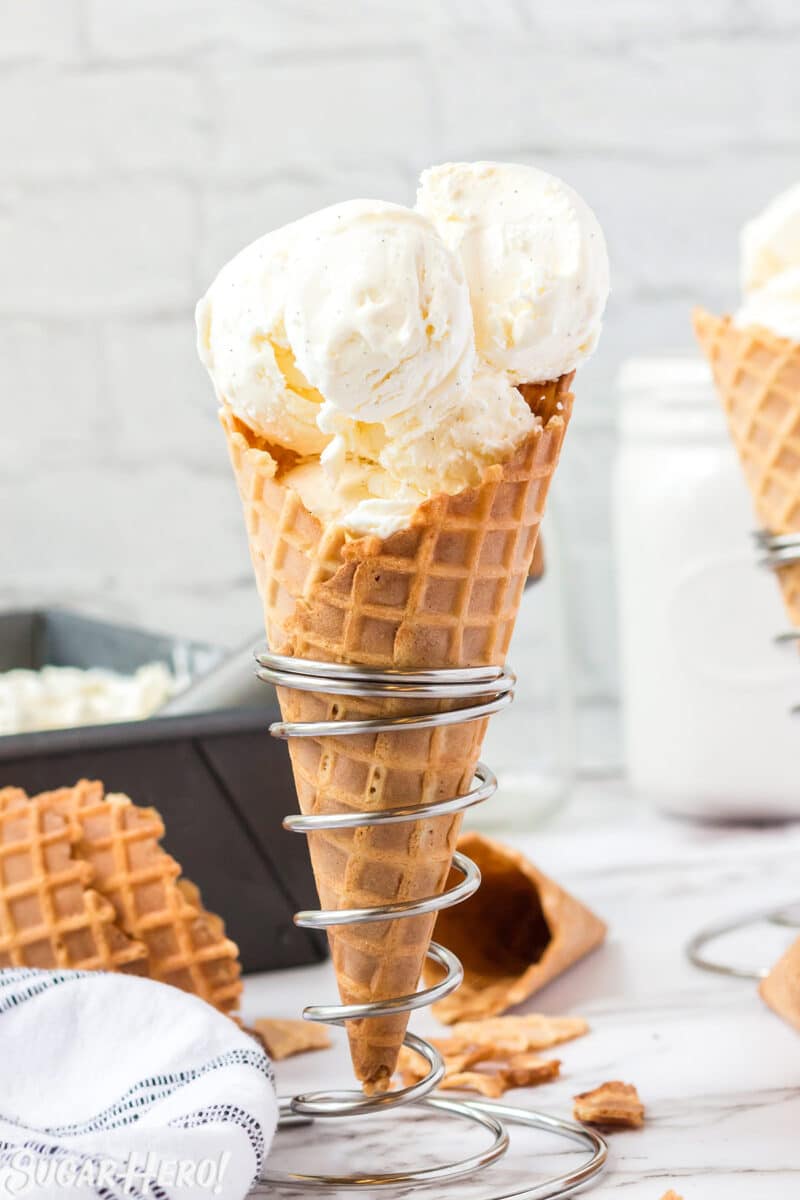
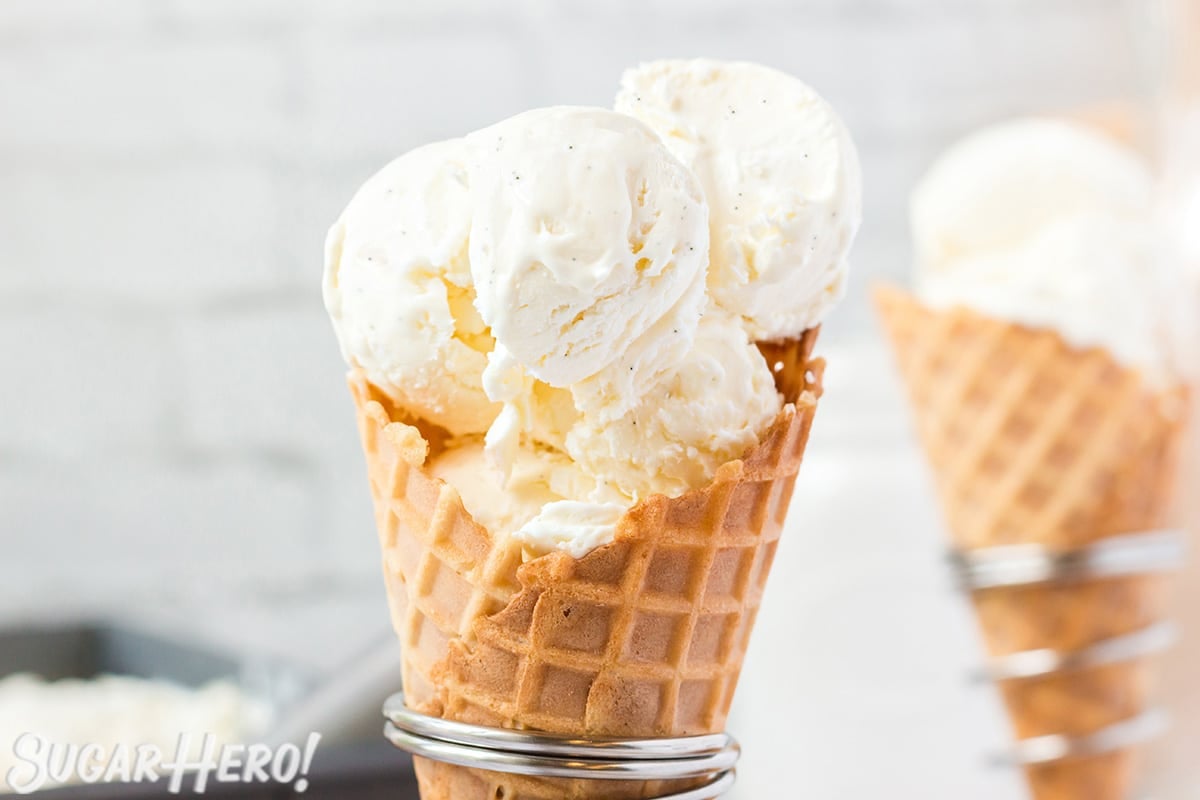
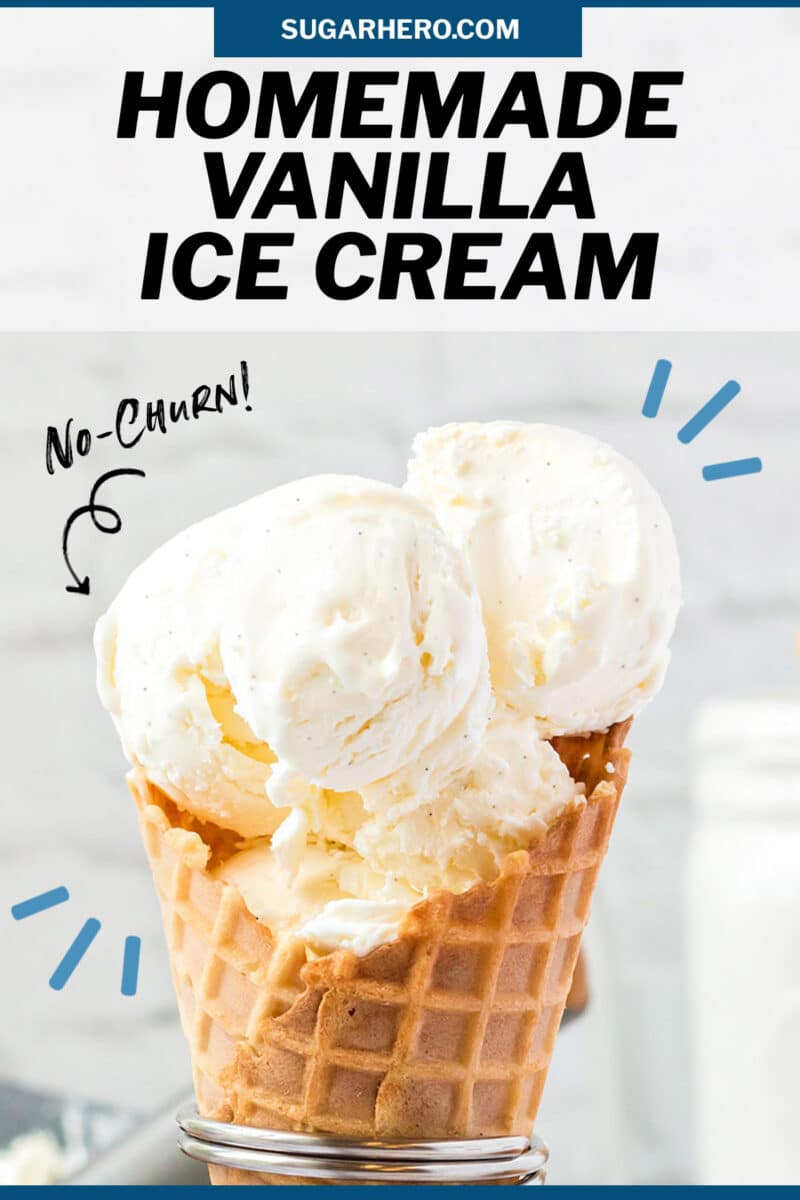
This is the only recipe for homemade Vanilla Ice Cream you will ever need! It’s fast and easy, and you don’t need any special equipment to make it. Enjoy it plain, or add your favorite mix-ins to create your own custom flavors.
🍦No-Churn Vanilla Ice Cream
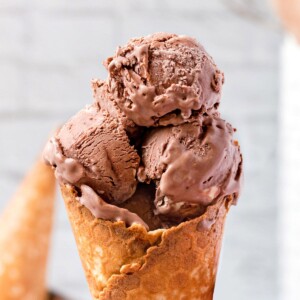
I love all ice cream and frozen desserts. Give me all the flavors, all the mix-ins, all the toppings…if it’s frozen and sweet, I am in.
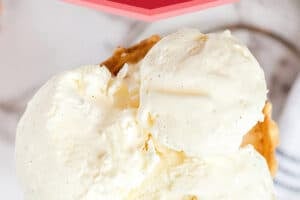
Although chocolate will always be my greatest love, there is something so satisfying about plain old vanilla ice cream. To quote the Barenaked Ladies, “Vanilla is the finest of the flavors.” It’s hard to go wrong with the smooth, creamy, rich flavor of classic vanilla bean. It’s also the perfect blank slate for creating your own customized ice cream flavors!
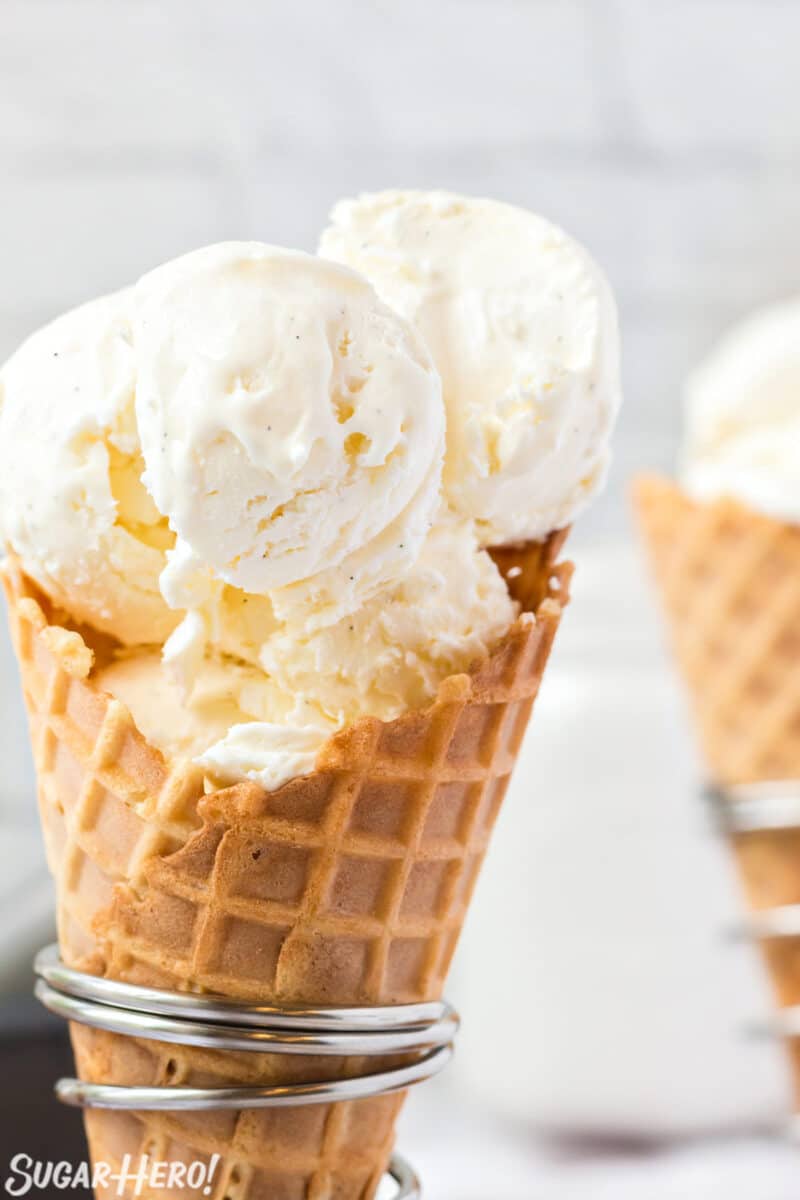
This Easy Vanilla Ice Cream is one of my favorite vanilla ice creams ever. It’s a simple, no-churn recipe that yields the perfect vanilla ice cream. All you need is an electric mixer, a bowl, and three super simple ingredients! Pair your ice cream with Pear Pie In A Jar, Apple Cider Fritters, Salted Fudge Brownies and all your other favorite desserts!
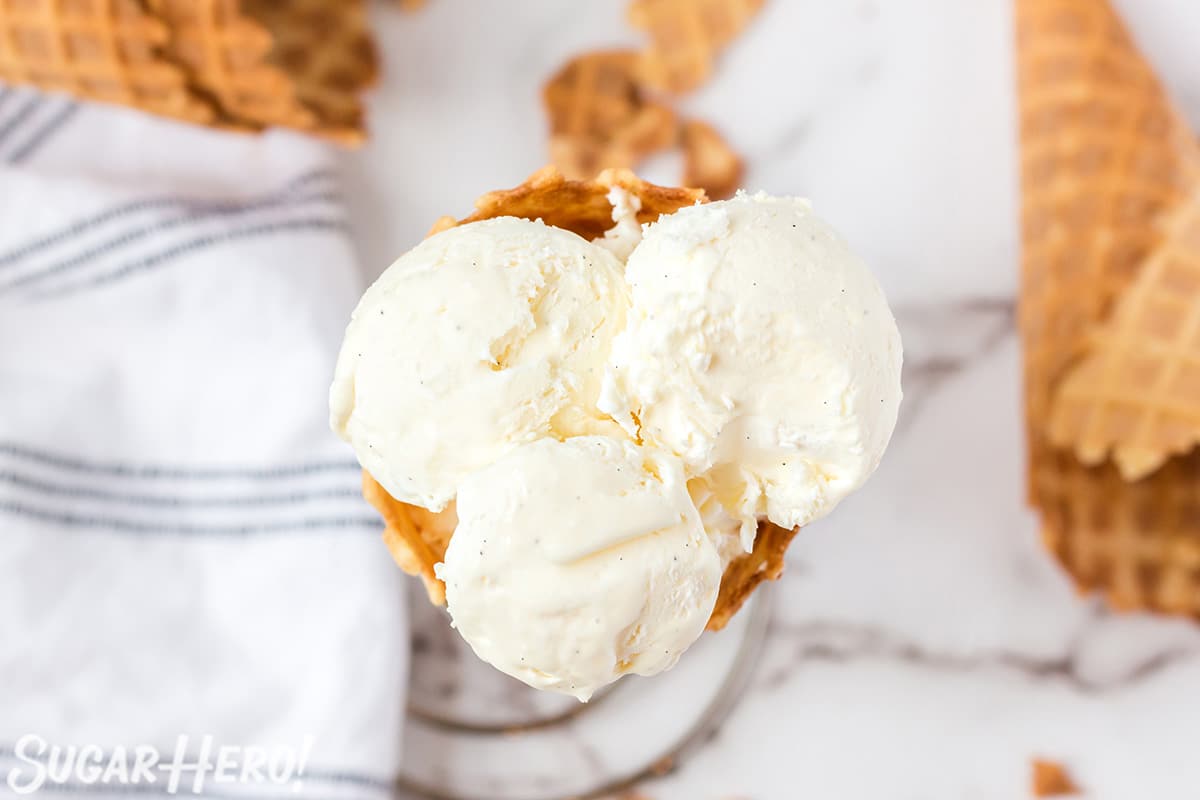
Table of Contents
🧾 What You’ll Need
Ingredients
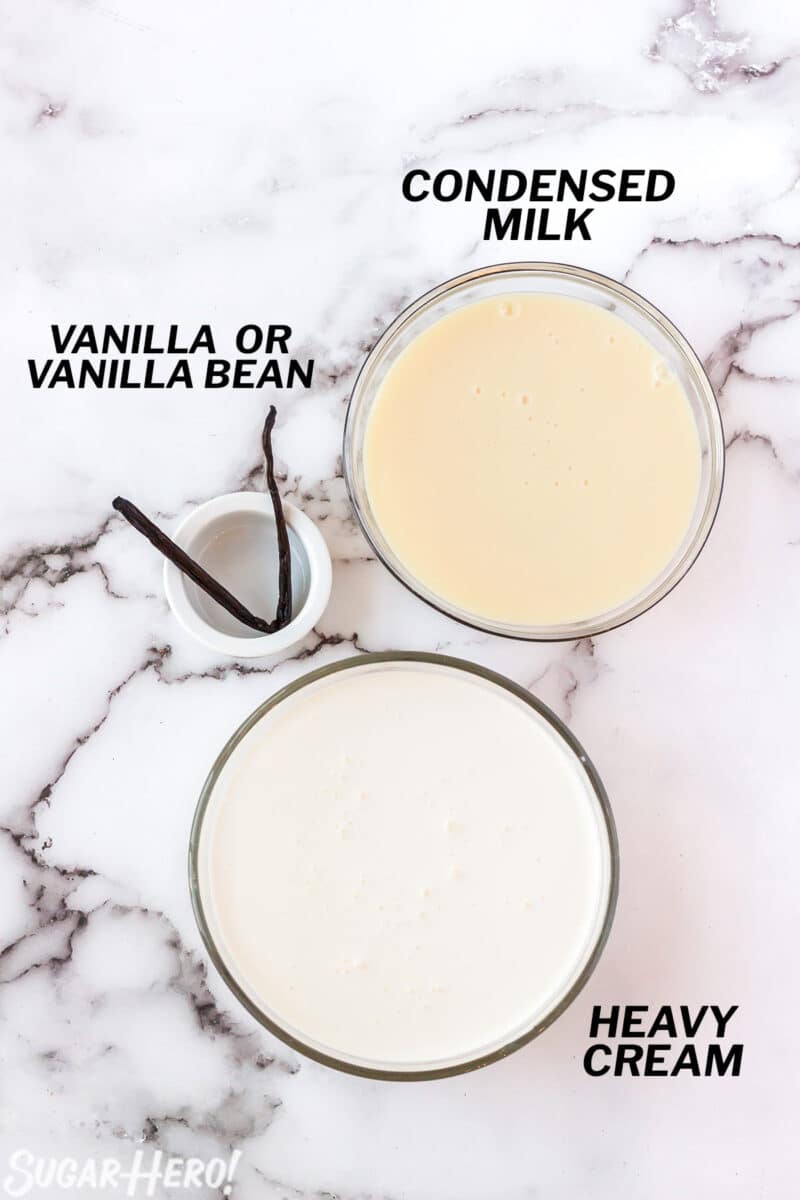
This easy homemade vanilla ice cream is made with just three ingredients! It seriously doesn’t get any easier than that. Find full ingredient amounts in the recipe card below. (Links are affiliate links and I earn a small commission from qualifying purchases.)
- Heavy cream: I recommend using heavy cream or manufacturing cream instead of whipping cream. Heavy cream and manufacturing cream have the most fat, which produces a better flavor and texture. You can definitely use whipping cream if that’s what you have, but when given the choice, I always recommend heavy cream.
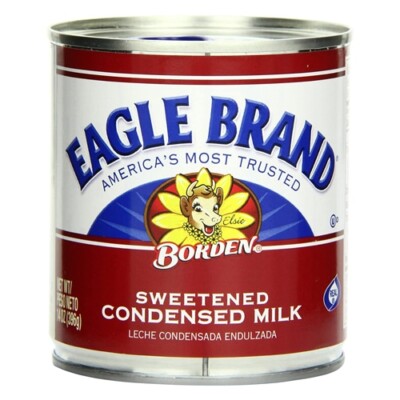
- Sweetened condensed milk: Make sure you’re using sweetened condensed milk, NOT evaporated milk. The cans look similar and they’re usually in the same section at the grocery store, but they are not the same thing. Sweetened condensed milk has added sugar, which is exactly what we want for this recipe.
- Vanilla flavor: You can add vanilla flavor to your no-churn ice cream with a vanilla bean, vanilla paste, or vanilla extract. Any one of them will work! I love the strong vanilla flavor a vanilla bean gives the ice cream, but use whatever is available to you. If you are adding a lot of mix-ins, I suggest using vanilla extract — it’s cheaper, and the flavor will likely get overshadowed by your additional ingredients, anyhow.
Equipment
I love any recipe that doesn’t require any special equipment! And this no-churn vanilla ice cream is one of those recipes. Here are a couple things that I own and love, that might make your ice cream-making life easier. (Links are affiliate links and I earn a small commission from qualifying purchases.)
- Ice cream scoop: Use an ice cream scoop to portion the ice cream out in perfectly rounded scoops.
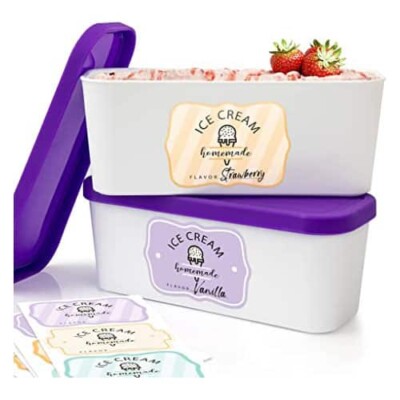
- Ice cream storage container: To keep your ice cream fresh, store it properly. I have this ice cream storage container set, and can personally vouch that the containers are amazing. If you don’t have one, you can store it in a tightly wrapped loaf pan instead.
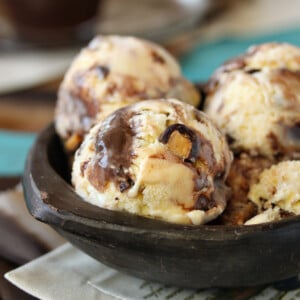
🍦More irresistible ice creams
We aaaaaallllll scream for ice cream recipes, so satisfy your sweet tooth with one of these:
Leave a Review!
If you make this recipe, let us know! Leave a ⭐️⭐️⭐️⭐️⭐️ rating on the recipe below, and leave a comment, take a photo and tag me on Instagram @elabau, or use #sugarhero on IG!
No-Churn Vanilla Ice Cream
Ingredients
- 2 cups heavy whipping cream, very cold (16 fl oz)
- 14 oz sweetened condensed milk, (1 standard can)
- 1 vanilla bean, can substitute 2 tsp vanilla extract or 1 tsp vanilla bean paste
Instructions
- Whip the cream: In a chilled bowl, whip the heavy cream with a hand mixer or stand mixer, until firm peaks form.
- Scoop vanilla beans, optional: If you’re using a vanilla bean, use a sharp paring knife to split the bean down the middle, then use the back of the knife to scrape out the vanilla bean seeds.
- Add milk and vanilla to cream: Add the condensed milk and vanilla bean seeds (or extract, or paste) to the whipped cream, and begin gently folding them together. This ice cream gets its texture from the whipped cream, so you don’t want to stir it too vigorously and deflate the cream.
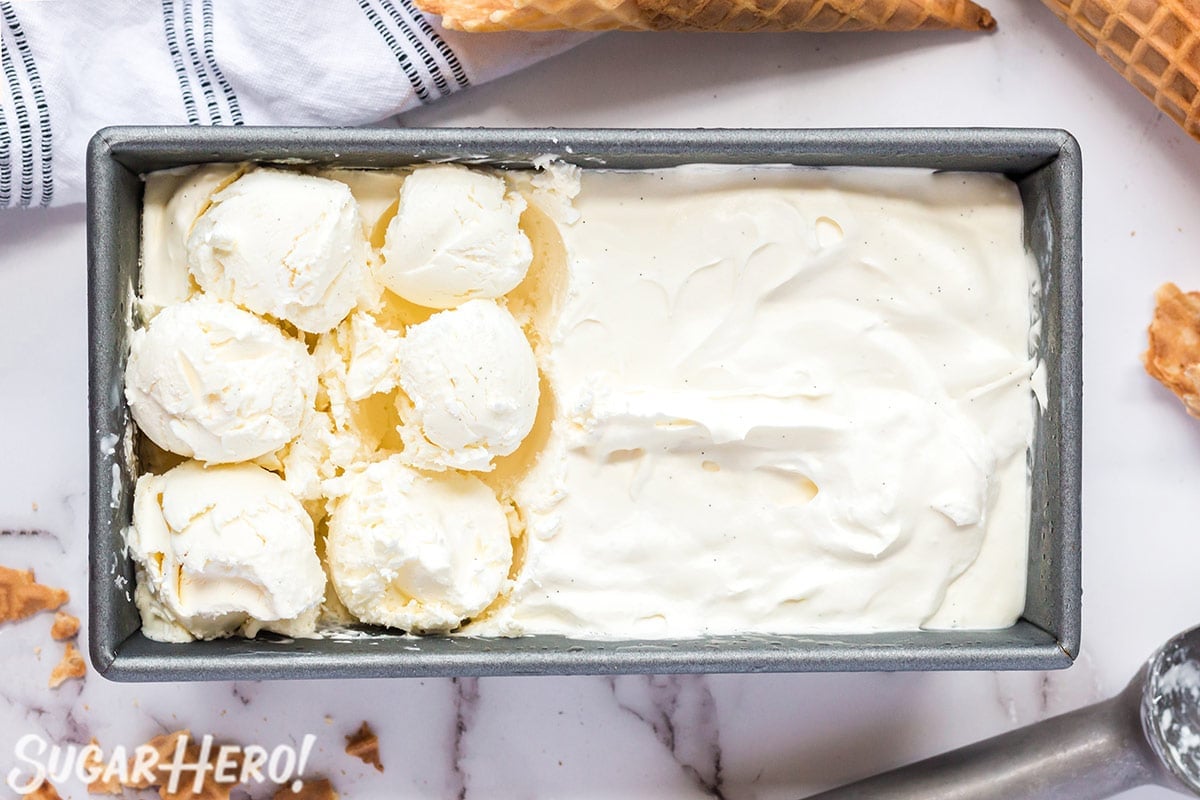
- Freeze: Scrape the ice cream mixture into an ice cream storage container, or a 9×5 inch loaf pan. Cover the container firmly with a lid, or plastic wrap if using a loaf pan. Place the pan in the freezer for at least 4-6 hours, or until the top of the ice cream is firm to the touch.
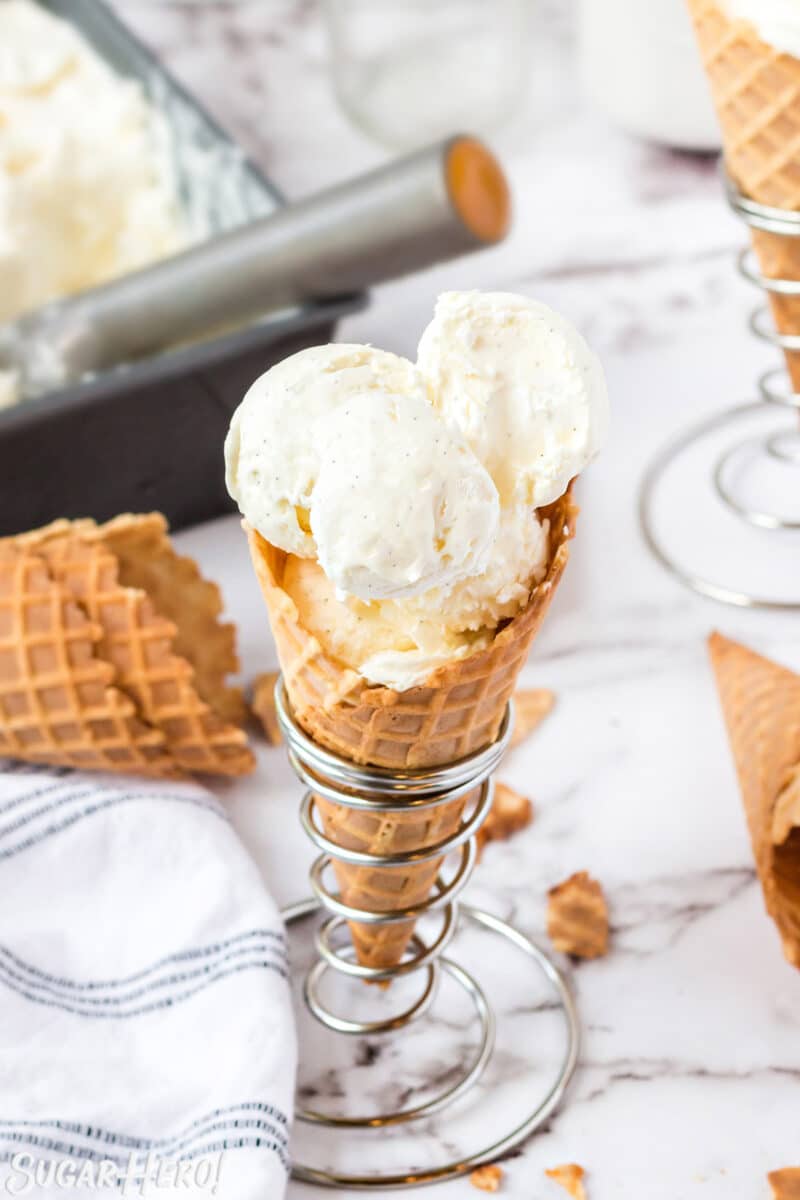
- Serve or store: Scoop and enjoy! This ice cream can be stored, well-wrapped, in the freezer for up to a month.
Measuring Tips
Our recipes are developed using weight measurements, and we highly recommend using a kitchen scale for baking whenever possible. However, if you prefer to use cups, volume measurements are provided as well. PLEASE NOTE: the adage “8 oz = 1 cup” is NOT true when speaking about weight, so don’t be concerned if the measurements don’t fit this formula.
Want to learn more about baking measurements and conversion?
Nutrition
📸Photo Tutorial: How to Make Easy Vanilla Ice Cream
Here’s a quick overview of how to make this easy vanilla ice cream recipe. Full instructions are included in the recipe card above.
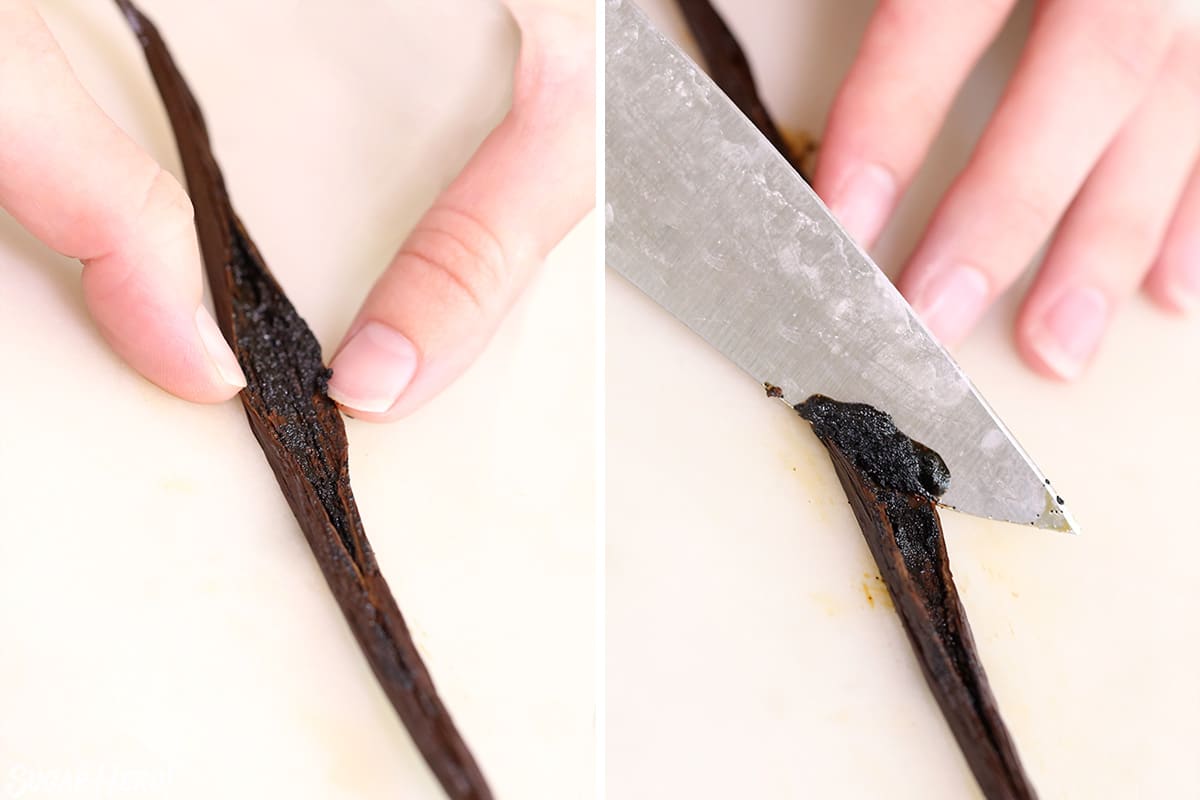
- Prep vanilla bean, optional: If you’re using a vanilla bean, use a knife to split it down the middle, then scrape out the seeds with the back of the knife.
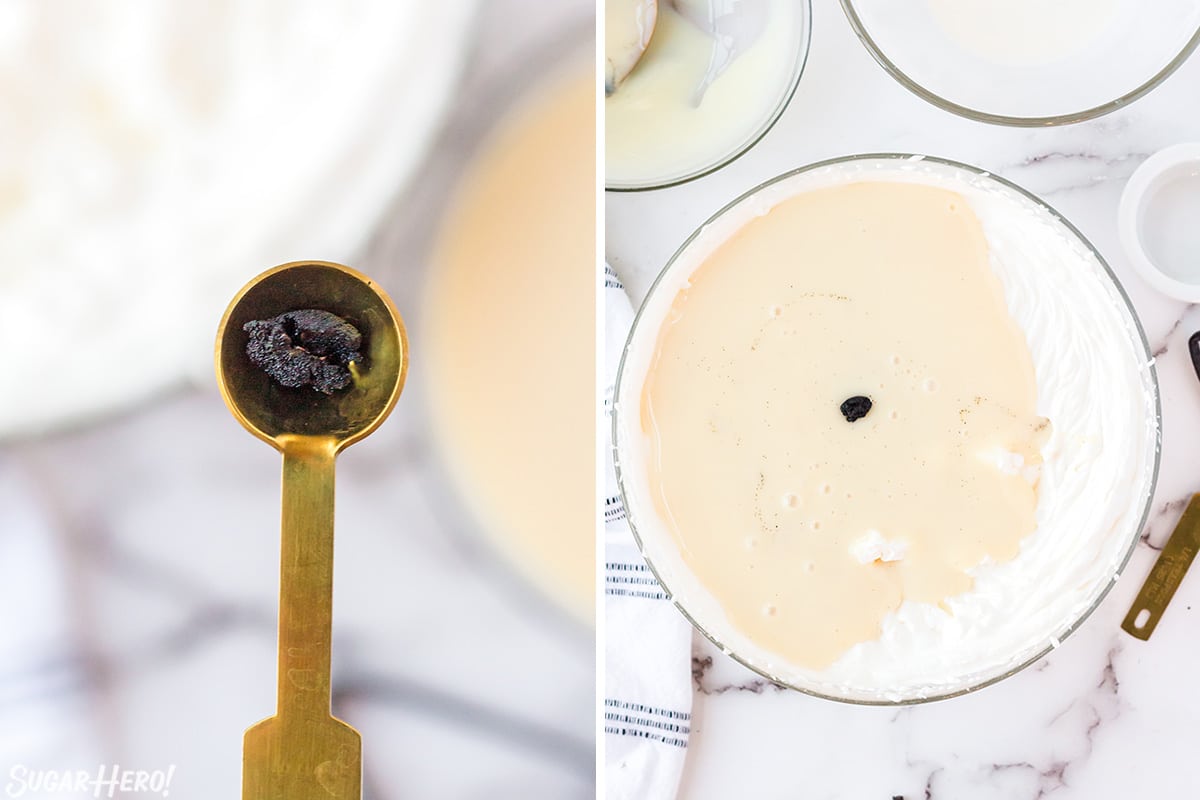
- Whip cream, fold in milk & vanilla: In a bowl, whip the heavy cream until stiff peaks form. Add the condensed milk and vanilla flavoring of choice, then gently fold everything together.

- Freeze: Pour the mixture into an ice cream storage container or loaf pan, then freeze until firm.
- Scoop and enjoy!
💭 Variations
Plain vanilla ice cream is great, but this recipe also makes a fantastic base for any ice cream your heart desires! Here are a few ideas:
- Use another flavor: You can add other extracts like mint, almond, orange, lemon, etc., to flavor the ice cream. Start with one teaspoon, then add more to taste.
- Give it some crunch: Add some crushed Oreos, M&Ms, chopped nuts, dried fruit, mini chocolate chips, chopped Andes mints, crushed peppermint pieces–you name it!
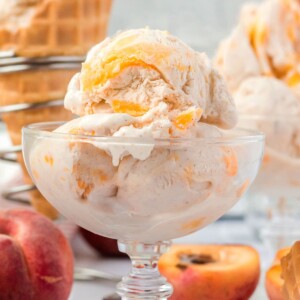
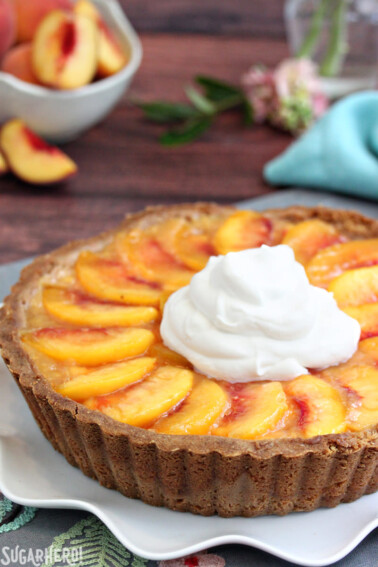
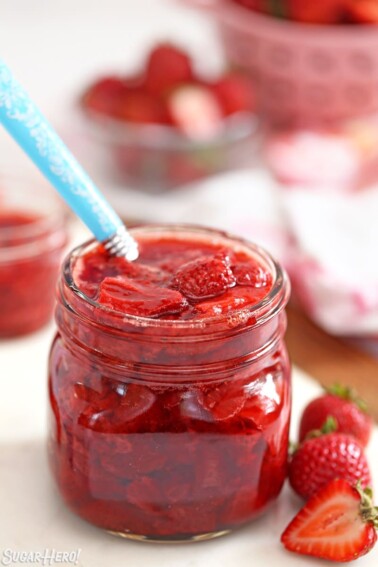
- Make it fruity: Mix in fresh or drained canned fruit like berries, peaches, nectarines, plums, apricots, cherries, etc. OR mix in your favorite pie filling. Apple or cherry would both be delicious!
- Add a swirl: Swirl in your favorite peanut butter, hot fudge sauce, caramel sauce, marshmallow fluff, etc. You really can’t go wrong!
💡Tips and FAQs for Success
- Get creative! This is a delicious recipe for vanilla ice cream, but can also be used as a jumping-off point for SO MANY other flavors. Check the Variations section for ideas.
- Check the milk. Make sure the milk you use is sweetened condensed milk, not evaporated milk. They will definitely not yield the same flavor and texture.
- Whip to firm peaks: There are a few general stages of development when making whipped cream. As the cream begins to incorporate air and thicken, you are looking for a stage called firm peaks. You can identify this stage by how the cream reacts when you lift the whisk out of the mixing bowl. If you pull the whisk out and the cream flops over and does not hold a pointy shape, it’s at the soft peak stage and needs to be whipped longer. Test the cream again by pulling up the whisk. You’ll know it’s at the firm peak stage when the cream points upward with hardly any flopping and retains its shape well.
- Fold gently. The whipped cream is the key to a light and fluffy texture that is easy to scoop. Over-mixing the ice cream mixture will deflate the cream and change the texture of the final product.
- Vanilla flavor:
- For plain vanilla ice cream: To get robust vanilla flavor, I like using vanilla beans best. They are a little more expensive than other options, but they have the biggest flavor payoff and a real, powerful vanilla taste.
- For the base of another flavor: If your’re using this recipe for the base of another ice cream flavor, vanilla bean paste or vanilla extract are better/cheaper flavoring options. Keep in mind that the other flavors in the ice cream will likely mask or even overpower the vanilla anyway–no need to use the more expensive vanilla beans!
Often, regular ice cream is made from an egg custard base, meaning that the mixture must be cooked and then churned in an ice cream maker before becoming the dessert you know and love. Most people don’t own an ice cream churner, so no-churn ice creams were invented so people could make this sweet and creamy treat at home—no cooking or churning necessary!
The most likely reason your ice cream has gotten icy is improper storage. The key to preventing ice is an airtight storage container. If you don’t have that, then make sure it’s very tightly wrapped with plastic wrap. Any air exposure will cause ice crystals to form. It’s also best to store it in the back of the freezer where the cool temperature is more regulated. When ice cream is stored close to the front of the freezer, opening and closing the door can cause the ice cream temp to fluctuate and make it icy.
Another way to prevent ice build up and overly firm ice cream is to add a little alcohol. Consider adding about 2 TBSP of your favorite alcohol: vodka is a great choice if you don’t want to add additional flavor, or consider something like rumchata, Baileys, or Kahlua.
It’s best to store any leftover no-churn ice cream in the same container you used to freeze it. Simply cover the ice cream with a lid (or an airtight layer of plastic wrap) and store in the freezer for up to 1 month.


Don’t miss the step-by-step tutorial showing how to make Vanilla Ice Cream – check out the web story here!


Simple ingredients and simple to make. This homemade vanilla ice cream is perfect!
Hello Kathleen! That’s the beauty of this simple recipe. It’s so creamy, too. Thanks for commenting.
I love this recipe! I’m a big fan of homemade ice cream, but I’m not a fan of getting out the ice cream maker. I can’t wait to try this recipe.
Hi Beth! I know what you mean! Anything to make the ice cream making process faster. Thanks for commenting.
Everyone needs a classic vanilla ice cream recipe to use time and time again!! Just found mine!
Hi Jess! Thanks for your comment. This recipe is definitely a classic. I hope it continues to please throughout the years.
This is my absolute favorite homemade ice cream recipe. It’s perfectly creamy and delicious.
Hi Tayler! So glad you found a new fave! Homemade ice cream is so fun and tasty. Thanks for sharing your success!
This was such a delicious and refreshing treat that does not disappoint! Exactly what I needed to cure my sweet tooth; delicious!
Hi Sara. This recipe helps cut my sweet tooth, too. It’s just so creamy! Thanks for commenting!
This recipe has me so excited! My son has ASD and it’s so hard to find ice cream without bits in it so vanilla is a go to, but most store bought vanilla is bland. I’ll be trying this asap!
Hi Thayeiss! That makes me so happy to hear that this recipe could help your son. If he likes the texture of it, you can actually flavor it with any extract he will tolerate. There’s also a chocolate no-churn recipe on the blog that is very smooth if he likes chocolate. I’d love to hear how it goes for you.
I’ve seen this recipe a lot, but only one that I saw mixed everything together and THEN whipped it. Is there a reason that the cream needs to be whipped first and then folded with the other ingredients? I’m asking because I have not tried myself yet, but belonging to a vanilla extract making group I love all things vanilla! Easy peasy recipe with simple ingredients, and no need to freeze the ice cream maker bowl! Also, vanilla paste is usually used 1:1 as a substitute for vanilla extract (?)
Hi. Whipping the cream seperately is what will give the ice cream the lightest, creamiest, scoopable texture. Whipping it with the other ingredients would have a similar flavor but the texture would be denser.
Being part of a vanilla extract making group sounds cool. Vanilla extract can be replaced 1:1 with vanilla paste. Some people will use a little less paste than extract because paste has a stronger flavor. However, Elizabeth usually substitutes it 1:1 because she loves when the vanilla flavor really shines. I hope that helps!