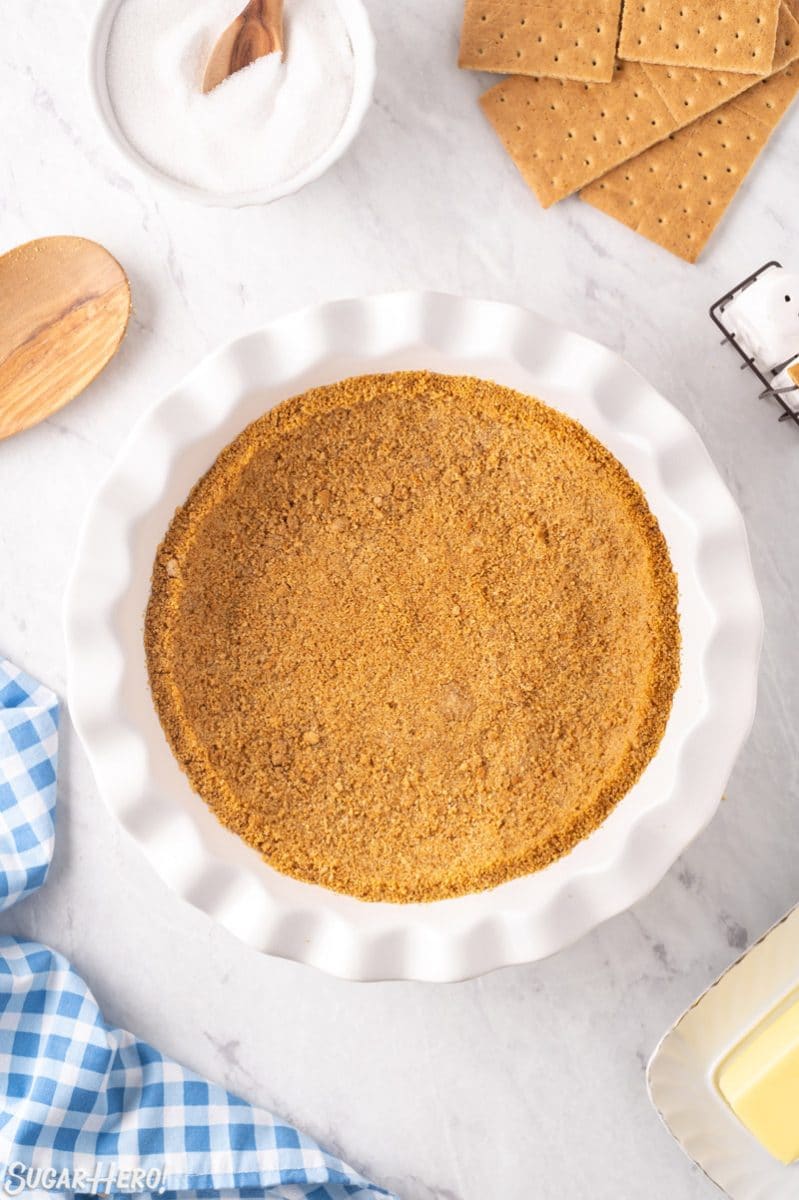
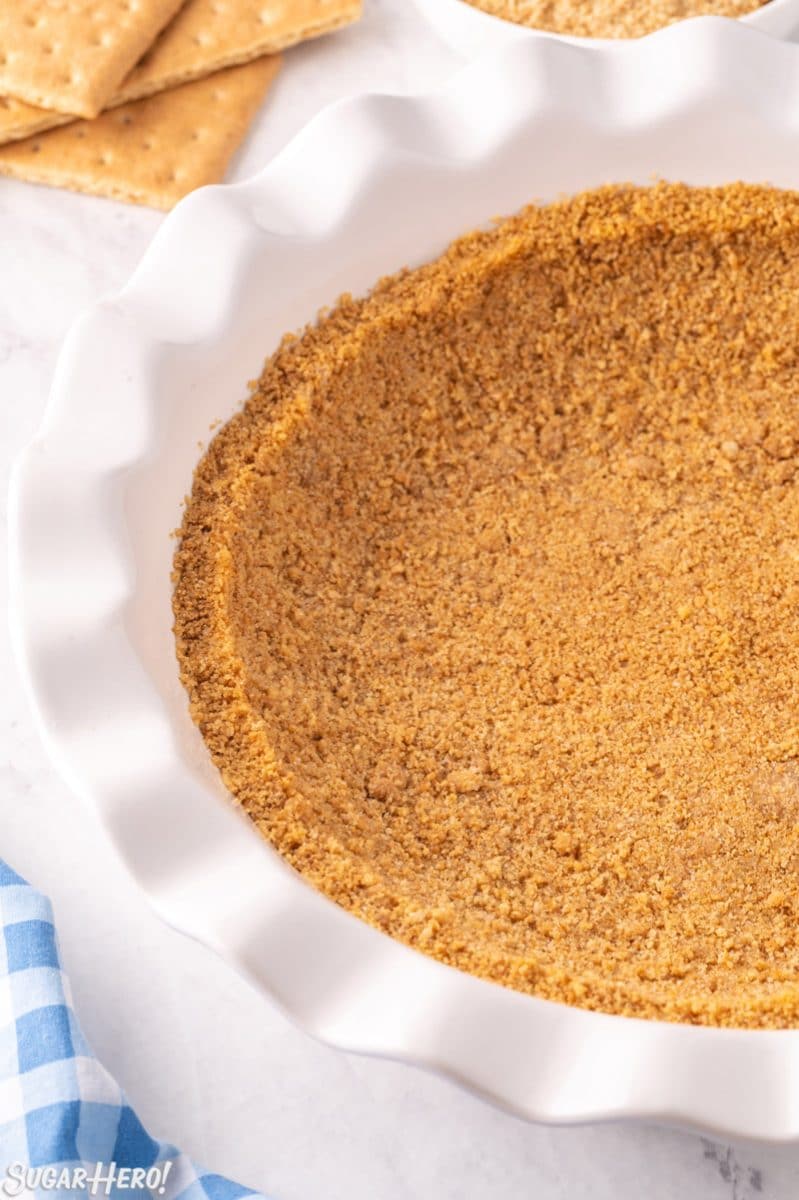
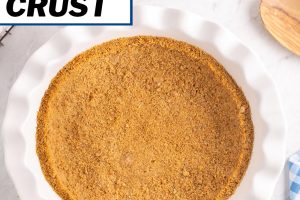
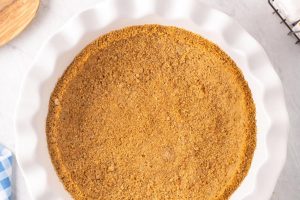
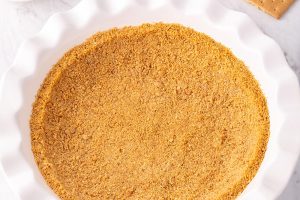
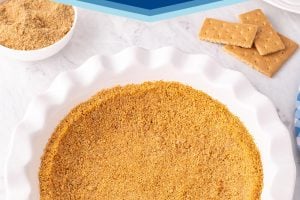
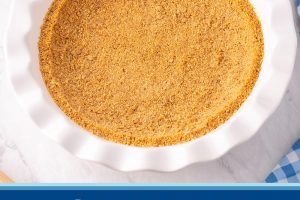
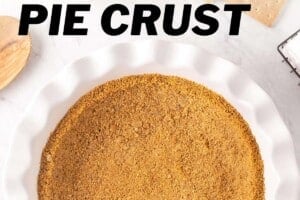
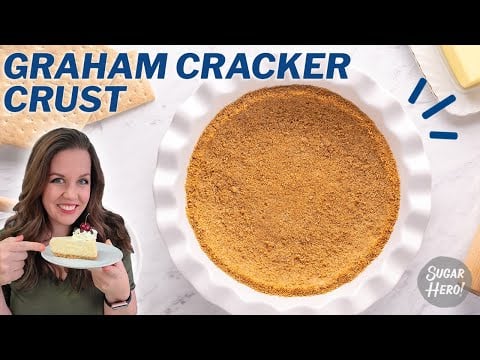
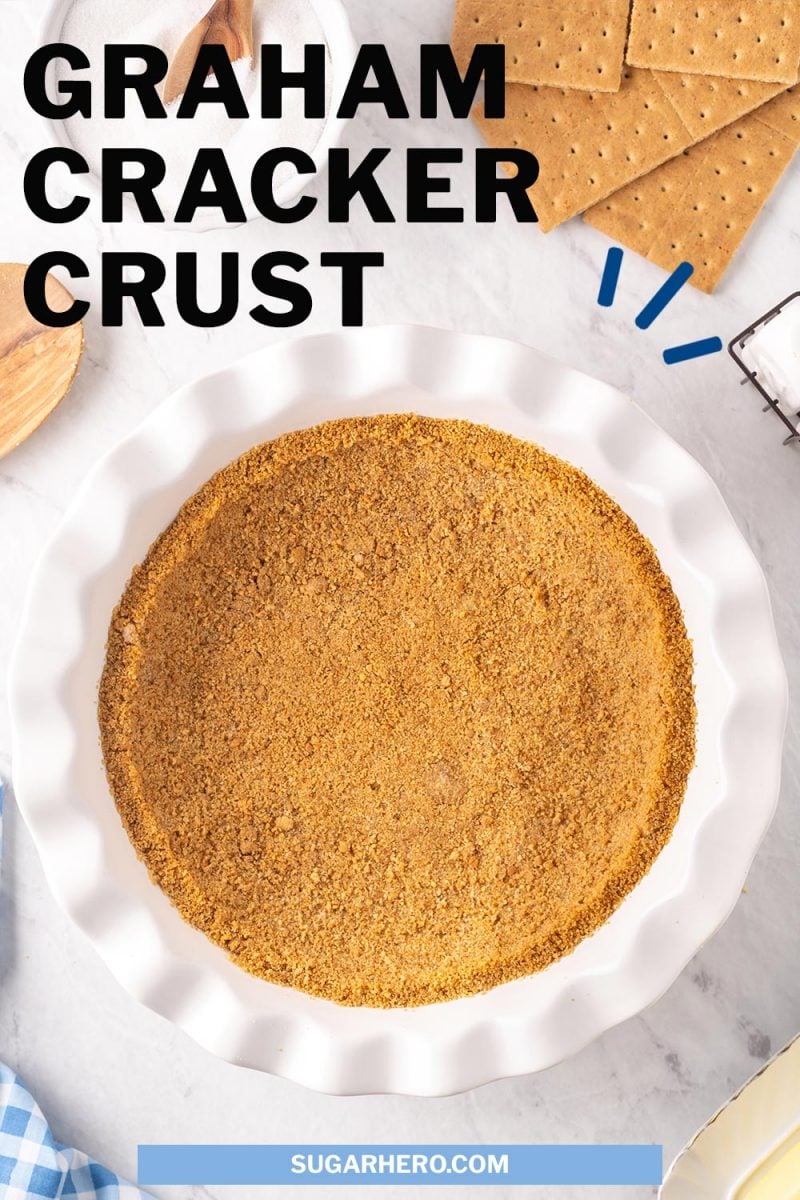
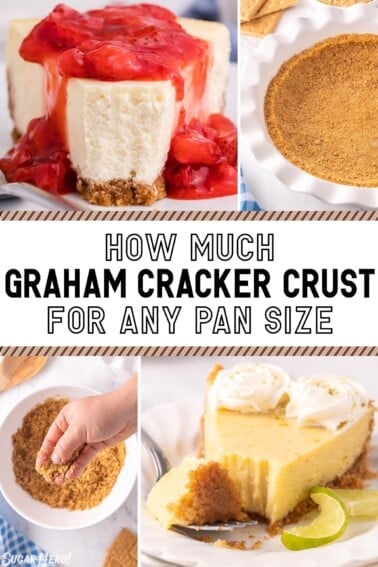
This homemade Graham Cracker Crust recipe is sweet, buttery, golden-brown, and perfectly crunchy. It’s a quick and easy, four-ingredient base for so many different desserts!
Perfect Graham Cracker Pie Crust
Today we’re talking about how to make the perfect graham cracker pie crust. No stale store-bought crusts here – this homemade graham cracker crust is simple, easy, and fast to make!
With just 4 basic ingredients and 20 minutes, you’ve got a buttery, golden-brown, and perfectly crunchy base for pies and tarts, cheesecakes, and more!
While a graham cracker crust isn’t the most flashy or exciting recipe, it is a foundational recipe that every baker should have in their arsenal, so read on to learn how to make this simple & delicious crust.
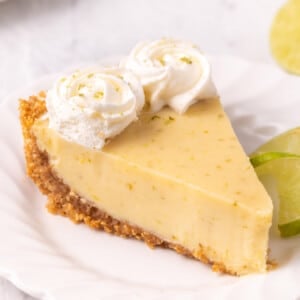
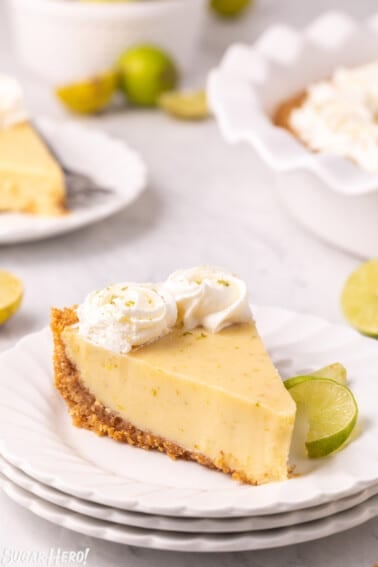
Once you’ve mastered graham cracker crusts, try pairing one with a graham-based dessert, like tangy key lime pie, decadent seven layer bars, or luscious cheesecakes.
Top Tip
We have a helpful table right above the recipe that tells you how much crust mixture you will need for a wide variety of pan sizes. Click here to go right to the crust calculator table! (Note: the table is condensed by default, so you will have to click the button to open and display it.)
Table of Contents
🧾 What You’ll Need
Ingredients
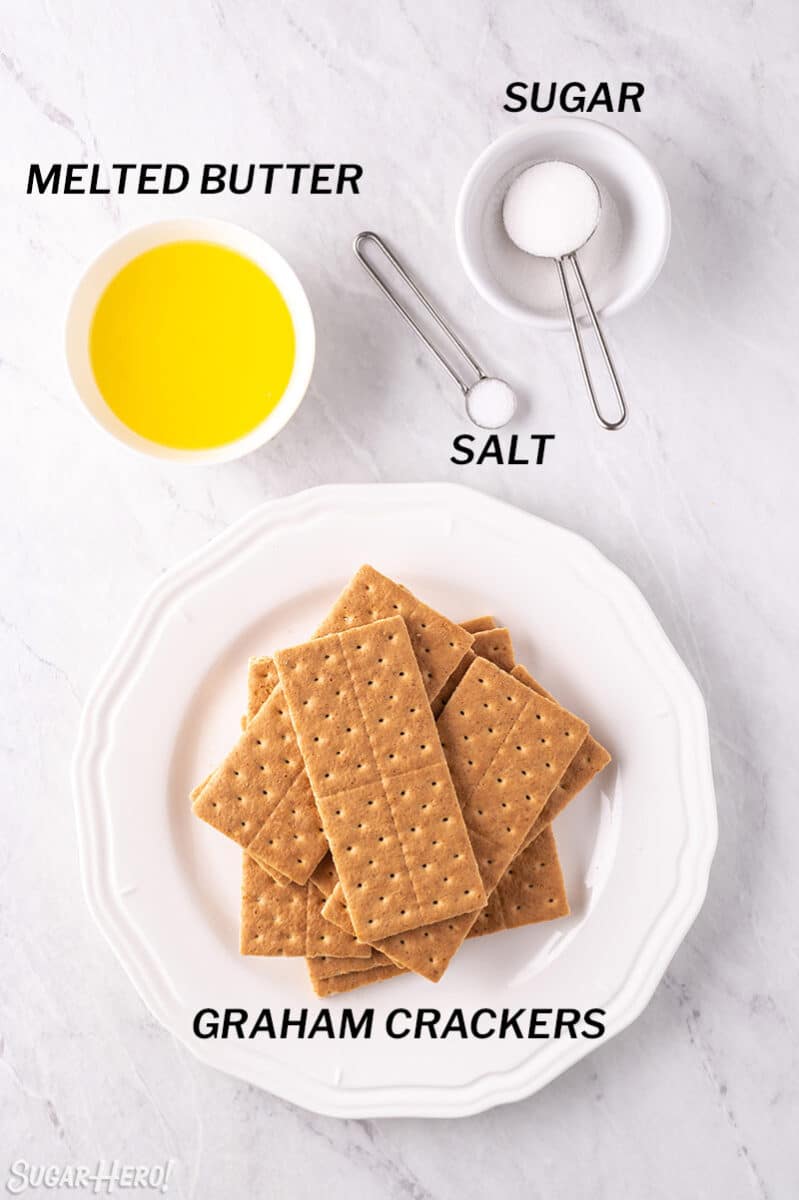
This simple homemade dessert crust requires just 4 ingredients, which you might already have on-hand! (Links are affiliate links and I earn a small commission from qualifying purchases.)
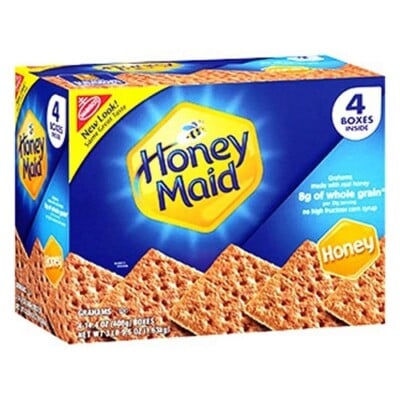
- Graham Crackers: you’ll need 10 whole graham crackers to yield the 1.5 cups/6 ounces of crumbs for this recipe.
- Butter: I recommend using unsalted butter, but if salted butter is what you have, omit the additional salt in the recipe.
- Sugar: I use just a touch of granulated sugar to add a little extra sweetness. You can tweak this to your preference, or try brown sugar for a slightly more caramelized flavor.
- Salt: A pinch of salt cuts the sweetness and enhances the flavor of the crust.
Using graham cracker crumbs from a box
Oftentimes, large grocery stores will sell graham cracker crumbs in boxes in the baking aisle. These crumbs can be a convenient time saver. If you prefer to go that route, you will need 1.5 cups to make the crust.
Tip: In my experience the crumbs are a bit coarser than the ones I make myself in my food processor, so be flexible with the amount of butter you use, and increase it slightly if the crust still feels very dry after mixing.
Equipment
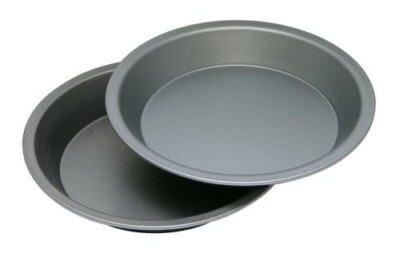
- Pie pan: a 9-inch pie plate with 1.5″ sides is the perfect size for this amount of crust. Keep in mind if you’re using a different size pan, the thickness of the crust will be affected–see the table below!
- Food processor or zip-top bag: you can use a food processor to blend the graham crackers into a fine crumb. Alternatively, place the crackers into a zip-top bag and use a rolling pin to crush them into crumbs.
📋 Instructions
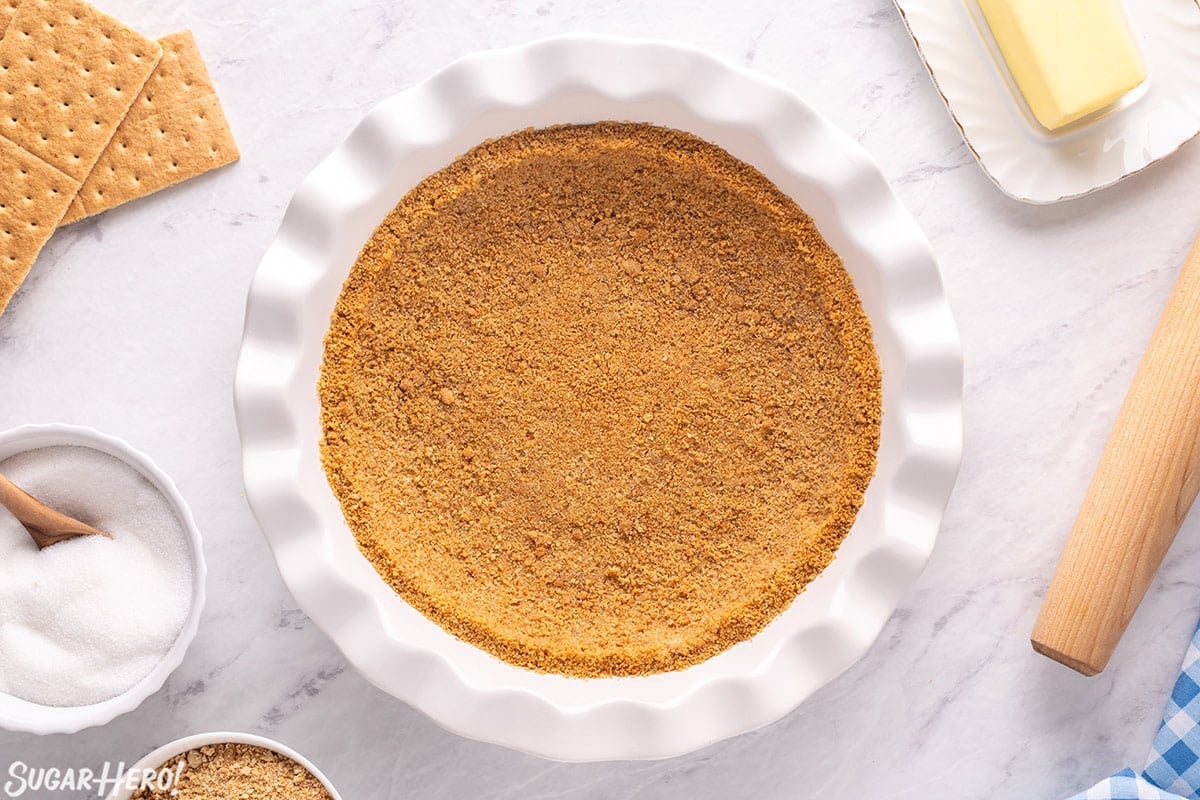
Here’s a quick tutorial showing how to make the best graham cracker crust. Full instructions are included in the recipe card down below.
Crush the graham crackers
You have two options for crushing your graham crackers. Both are super quick and easy! Using boxed crumbs? Skip to the next step!
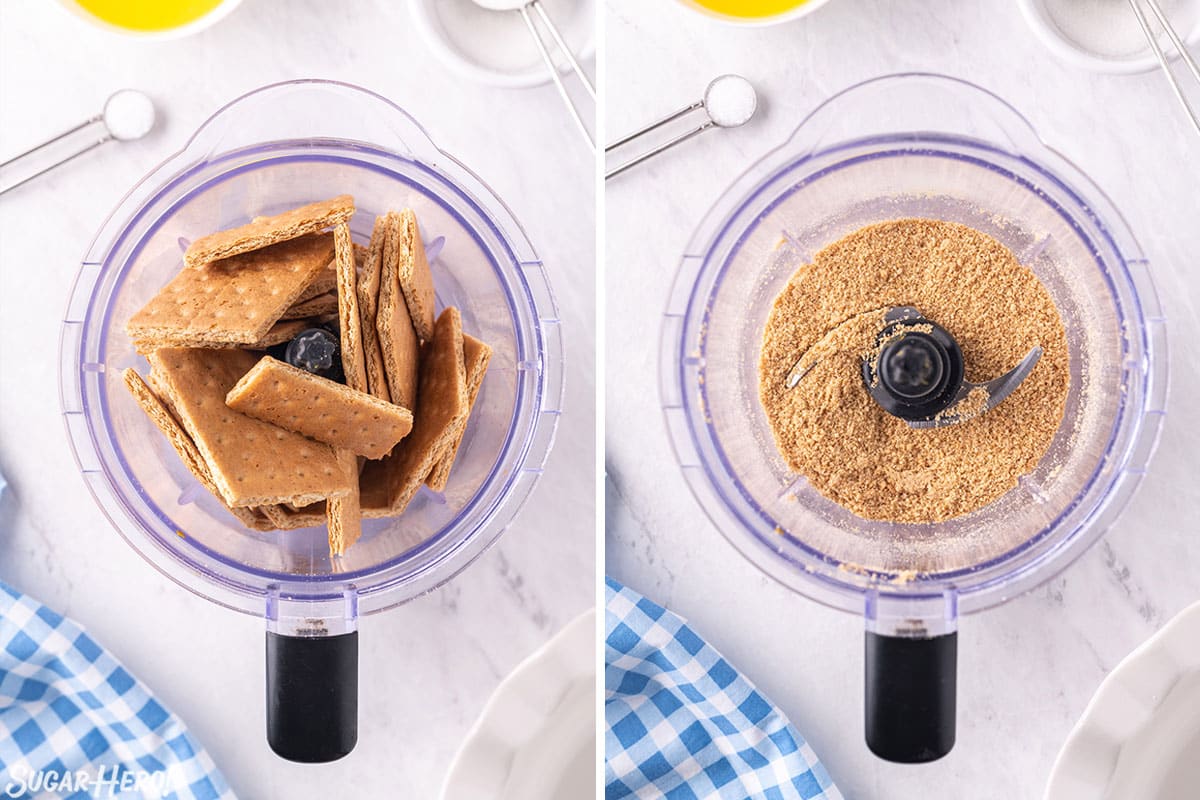
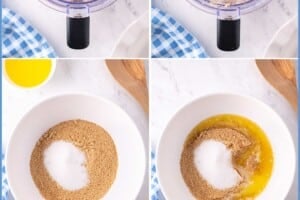
- Option 1: Use a food processor to crush the graham crackers into a fine crumb. I don’t even bother to pulse the processor — I just let it go on regular speed until the crackers are in uniform crumbs.
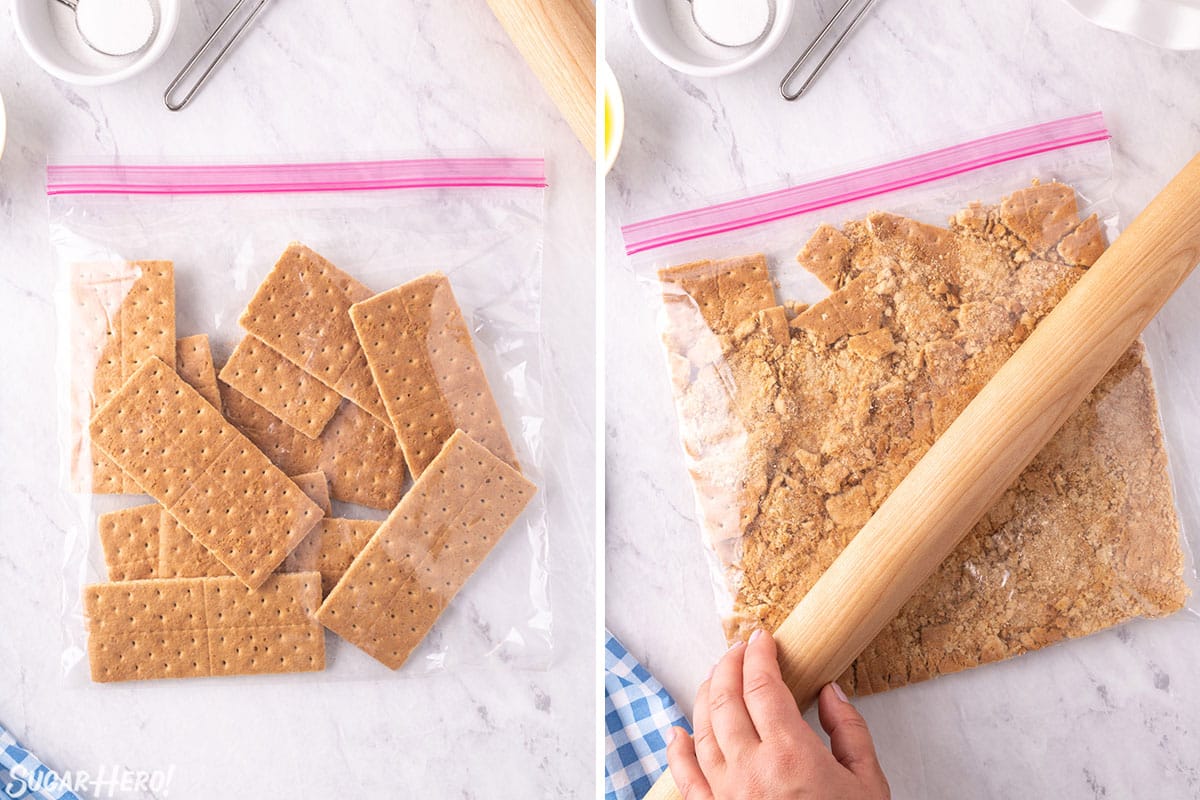
- Option 2: Alternatively, you can place the graham crackers into a Ziplock bag and use a rolling pin to crush them until they are in fine crumbs.
Mix the crust ingredients
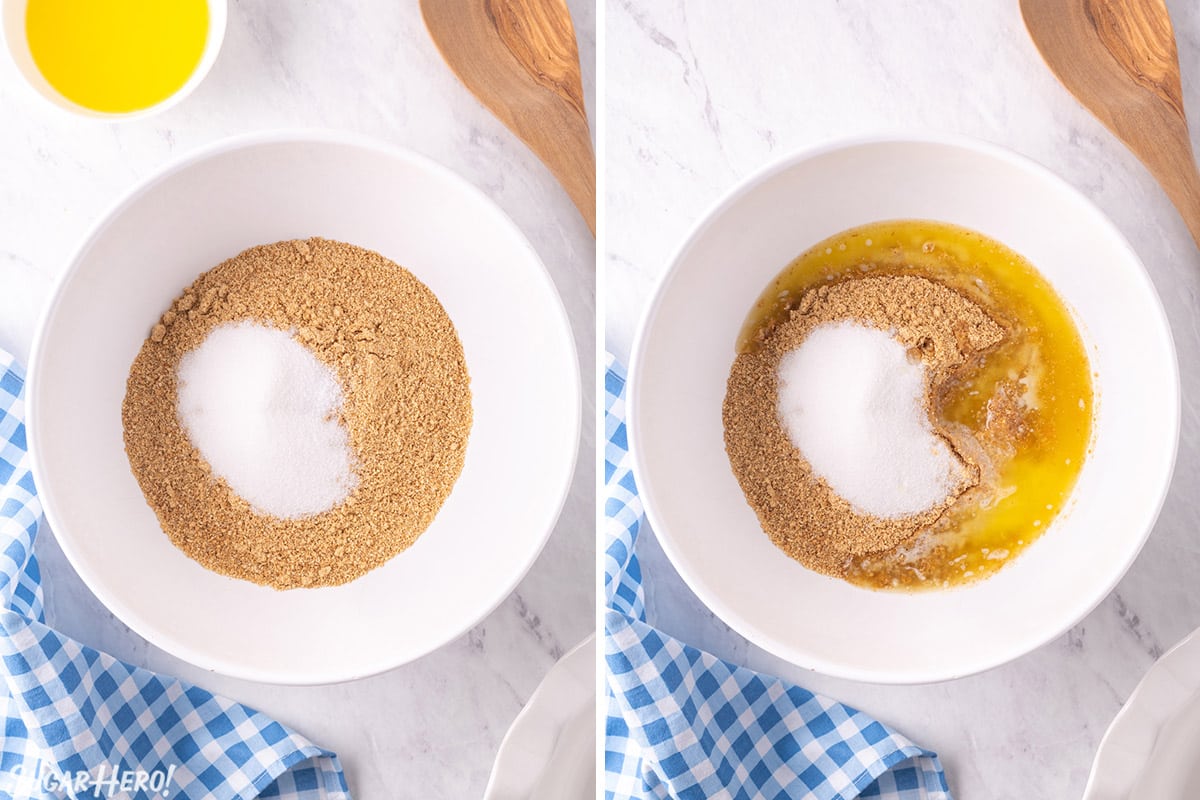
- In a mixing bowl, combine graham cracker crumbs, melted butter, granulated sugar, and salt. I recommend adding most of the butter at first, but reserving a little bit in case you don’t need it all.
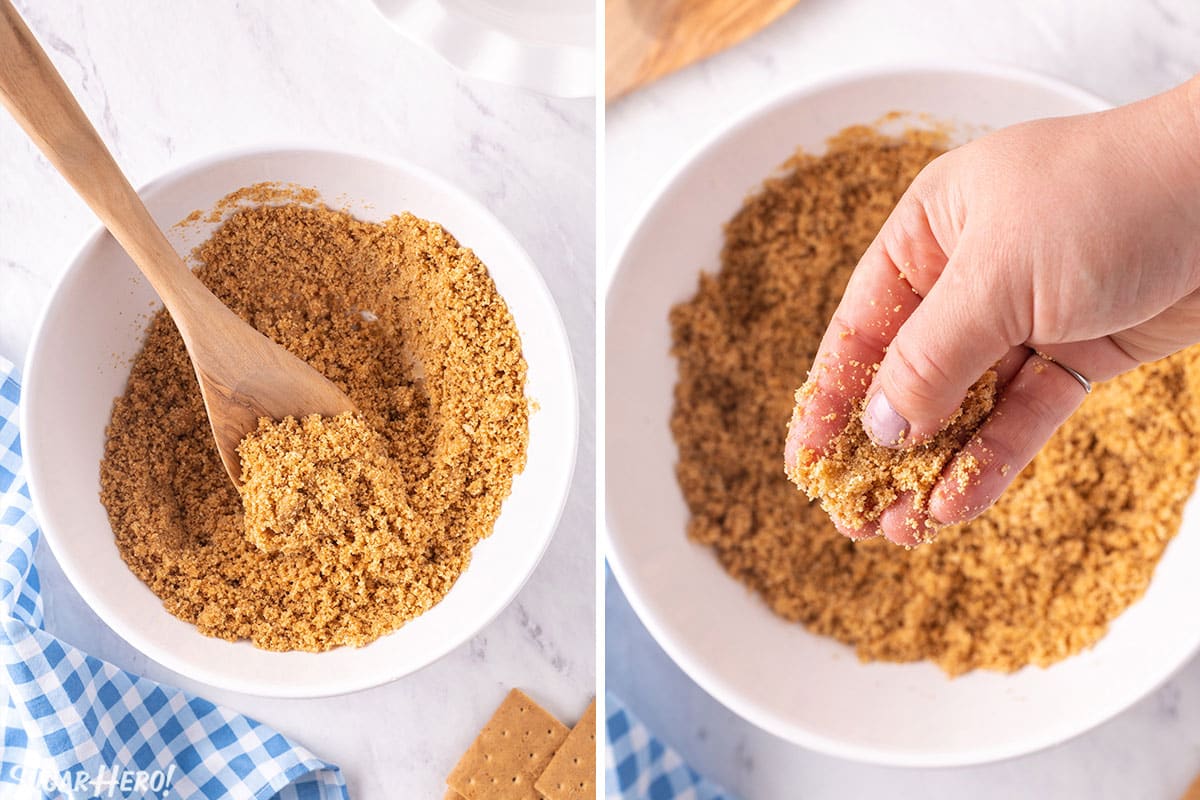
- Stir the mixture together until well-combined. It should be the texture of wet sand and hold together when you squeeze it between your fingers.
- If it still feels dry, stir in the reserved butter.
Press into a pie pan and bake (optional!)
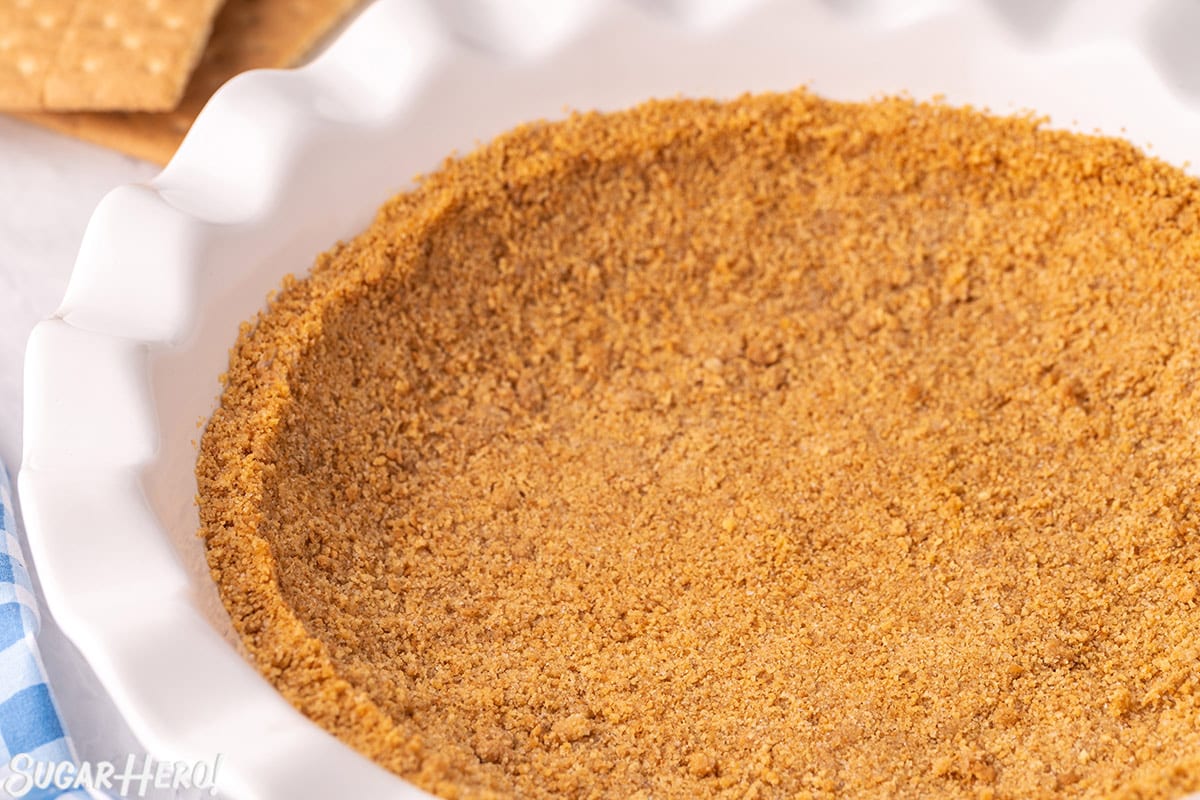
- Press the crust evenly up the sides and on the bottom of the pie plate. You can use the bottom of a measuring cup or glass to help compact the crumbs and make the crust nice and sturdy.
- At this point, you can refrigerate the crust to help it set up, then fill it with whatever you’re making.
- If you want the crust to be a little crunchier, you can bake it at 350ºF for 12-15 minutes, until it is fragrant and lightly golden. Let the crust cool completely before adding any filling.
💡 Tips for success
- Melt the butter. The melted butter is what binds the graham cracker crumbs together so the crust can hold its shape.
- Use most, but not all of the butter to start. I recommend adding some of the butter to start and then mixing in more as needed. You want the texture to be similar to wet sand but not too oily. I would reserve a tablespoon or so and only add more if needed.
- Bake the crust. Although you can make a no-bake crust, I typically recommend baking it before adding a filling. This gives it a nice golden-brown color and slightly crunchy texture which prevents it from becoming soggy!
- Tightly pack the crust. When you’re forming the crust in the pie pan, firmly press down so the crumbs are tightly packed together. If it’s too loosely packed, the crust will be crumbly.
- If making a no-bake crust, I recommend chilling the crust for 1-2 hours in the fridge to allow the butter time to solidify for a firmer crust.
💭 FAQs
No, but many people choose to bake their crusts. After refrigerating or freezing, the crust will hold together without baking. Depending on your preference and what the recipe calls for, it’s totally fine to not bake a graham crust. To make a no-bake graham cracker crust: assemble it as directed, then chill the crust in the fridge for 1-2 hours to allow it to set up before adding the filling.
Baking the crust yields a crunchier, sturdier crust, and is usually my personal preference. A baked crust holds up better when cutting and serving (no more crumbling pie slices!), since the sugar dissolves and acts as another binding agent. To make a baked graham crust: bake the crust at 350 F for 12-15 minutes, until fragrant and lightly golden.
Three suggestions: consider baking the crust, try increasing the amount of butter, and make sure you’re pressing it firmly in the pan.
1. As mentioned above, a baked crust usually holds up better – the sugar melts and helps everything fuse together.
2. Your crust might fall apart because you’re not using enough butter. The butter binds everything together, and if you skimp on it, your crust will crumble when cut. What’s the right amount of butter? You want the crumb mixture to resemble the texture of wet sand, and if you pinch some together between your fingers, it should hold its shape and not fall apart.
3. Finally, make sure you’re firmly compacting the crumbs in the pan. You might find that a tart tamper, or the bottom of a glass, can be helpful in pressing the crumbs together.
1. The crust might be too thick. Make sure you’re using the correct amount of crumbs for your pan size. (Check out our helpful table so you know how much to use!)
2. You might have compacted the crumbs too much. This isn’t usually an issue, but if you really went crazy pressing the crumbs in the pan, it might produce a too-hard crust.
3. You might have used too much butter. Since butter hardens when chilled, overdoing it on the butter can yield a crust that’s very hard once refrigerated.
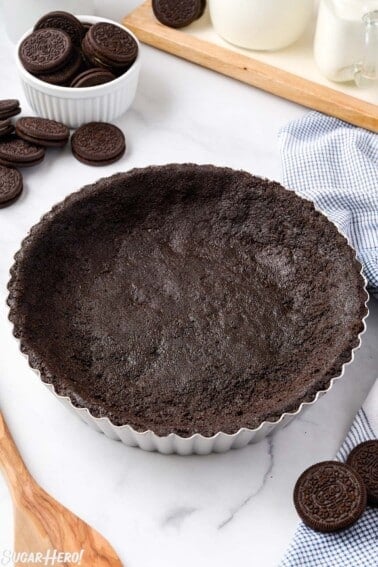
Yes! Here are some things you can use in place of graham crackers: chocolate graham crackers, vanilla wafers, digestive biscuits, wafer cookies, cinnamon graham crackers, shortbread cookies, Oreo cookies, and gingersnaps all work very well. Be aware that the fat content in some cookies (especially butter cookies and Oreos) means that you will need less melted butter in the recipe. If you’re not sure how much to use, start with half the amount of butter and check the texture before adding more.
Yes! You can use gluten-free graham crackers to make a gluten-free pie crust.
To make this vegan, swap out the butter for a vegan variety. Also, double-check that the graham crackers you are using are vegan–most brands are.
Definitely! Try swapping the plain graham crackers for chocolate, cinnamon, or vanilla grahams instead. Or add a pinch of cinnamon to your crust to mimic cinnamon grahams.
Many pies and no-bake desserts pair perfectly with this crust. Try it with a chocolate pudding pie, banana cream pie, icebox pie, peanut butter pie, or French silk pie, to name just a few.
Make-Ahead and Storage Instructions
Graham cracker crust will last in the fridge for up to 7 days or in the freezer for 3 months. If you’re freezing the crust, I recommend waiting to bake it.
When you’re ready to fill it, thaw it in the fridge and bake as directed if frozen, then add whatever filling you like!
❓How much Graham Cracker Crust you need for any pan size
This recipe is written for one 9″ pie pan, since that is an extremely common size and use for graham cracker crusts. But what if you want to make a few mini cheesecakes? Or a large rectangular tart? How much of the graham cracker base will you need then?
I am here for you! I measured all of the most common pan types and sizes and weighed how much graham cracker mix they required. To be clear, this is a general guide, and your mileage may vary depending on your specific pan, how thick you like to make your crust, etc. But I hope you find it helpful as a starting point!
Click Here to Expand the Table!
Pan Name & Size | Crust Amount | Recipe Card Amt |
Mini pie pan | 2.25 oz | 1 batch = 4 mini pies |
8" pie pan | 6.75 oz | 0.75 |
9" pie pan | 8 oz | No change |
9" deep dish pie pan | 10 oz | No change |
11" deep dish pie pan | 12.5 oz | 1.40 x |
3" tart shell | 2.25 oz | 1 batch = 4 |
4" tart shell | 2.5 oz | 1 batch = 3-4 |
9" tart shell | 9 oz | No change |
10" deep dish tart shell | 14 oz | 1.5 |
11" tart shell | 12 oz | 1.3 |
Rectangle tart shell | 7.5 oz | No change |
4" springform | 1.5 oz | 1 batch = 6 |
4" springform (bottom + sides) | 3.5 oz | 1 batch = 2-3 |
6" springform | 3.25 oz | 1 batch = 3 |
6" springform (bottom + sides) | 9.5 oz | No change |
8.5" springform (just bottom) | 6.25 oz | .70 |
8.5" springform (bottom + sides) | 17 oz | 1.90 |
9.5" springform (just bottom) | 8.3 oz | No change |
9.5" springform (bottom + sides) | 19 oz | 2 |
10.5" springform (just bottom) | 8.75 oz | No change |
10.5" springform (bottom + sides) | 21.25 oz | 2.36 |
How to use this table
- Find the pan size that most closely resembles the pan you will be using.
- Look at the information in the last column, “Recipe Card Amt.” This tells you what you need to input in the recipe card to get the perfect amount of crust.
- For instance, for an 8″ pie pan, you will need 0.75, or 3/4 of a batch. In the recipe card header, next to the word “Yield,” is a place for you to customize the amount. Input 0.75 in the box. The ingredient amounts you need will be automatically calculated for you!
- For miniature pies/tarts, the table will list how many of the mini desserts 1 batch will yield. Depending on the number you want to make, you can double or even triple the recipe to yield that many crusts. Use the customize button as described above, or the 1x / 2x / 3x boxes under the Ingredients header.
- Finally, because cheesecakes can be made with either a crust just on the bottom, or on the bottom and sides, both of those options are listed separately in the table.
🥧 Recipes that Use a Graham Cracker Crust
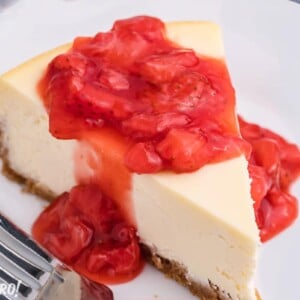
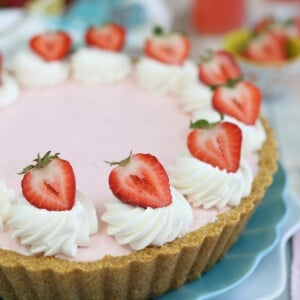
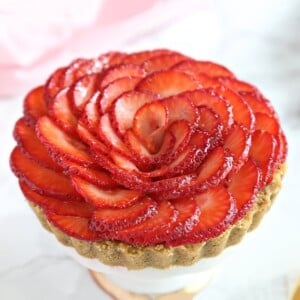
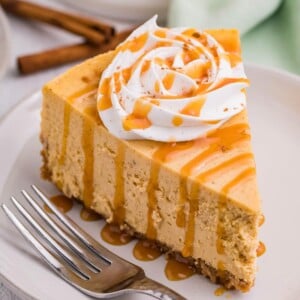
You can easily use this graham cracker crust in pretty much any pie or tart recipe you like! Here are a few of my favorites:
Leave a Review!
If you make this recipe, let us know! Leave a ⭐️⭐️⭐️⭐️⭐️ rating on the recipe below, and leave a comment, take a photo and tag me on Instagram @elabau, or use #sugarhero on IG!
Graham Cracker Crust
Ingredients
- 10 graham crackers, to yield (1.5 cups) crumbs
- 3 ounces unsalted butter, melted
- 1.5 TBSP granulated sugar
- 1/4 tsp salt
Instructions
- Crush the grahams in a food processor until they are fine crumbs. (Alternatively, place them in a zip-top bag and roll over them with a rolling pin until very finely crushed).
- Combine the graham cracker crumbs, about 2.5 TBSP of the melted butter, granulated sugar, and salt in a bowl, and stir until well-combined. The mixture should have the texture of wet sand, and hold together a bit when you squeeze it between your fingers.
- If the crust still feels a bit dry, add the remaining butter and stir together to make it the proper texture.
- Press the crust evenly on the bottom and up on the sides of a 9 x 1.5" pie plate.
- If not baking the crust: refrigerate the crust for an hour before filling, so it is more set before filling it.
- If baking the crust: bake at 350 F for 12-15 minutes, until fragrant and lightly golden. Let the crust cool completely before filling.
Video
Measuring Tips
Our recipes are developed using weight measurements, and we highly recommend using a kitchen scale for baking whenever possible. However, if you prefer to use cups, volume measurements are provided as well. PLEASE NOTE: the adage “8 oz = 1 cup” is NOT true when speaking about weight, so don’t be concerned if the measurements don’t fit this formula.
Want to learn more about baking measurements and conversion?







I Just tried this recipe and my family loved it.
Thanks Shadi! I love hearing your family enjoyed this graham crust. It is a simple staple for so many desserts!
This is the perfect recipe to bookmark and use all the time! In the summer I prefer to use a graham cracker crust for pies so I’ll be coming back to use this one often.
I love hearing this! It works for so many desserts 🙂
Saving this since I love making desserts for my kids. We’ll make mini cheesecake with the graham crusts.
I love cheesecake! Let us know how they turn out 🙂
This worked so well – I loved it. It can be used in so many desserts too.
Thanks Dannii!
I love how simple it is to make this graham cracker crust, definitely the recipe I’ll be reaching for next time I make a pie or cheesecake!
Yay! It is a simple and delicious crust for sure 🙂
this is our go-to crust for making many different kinds of pies! So easy to make and delicious.
Hi MJ! Thank you for your comment 🙂 So glad this is a go-to in your house too!
There is no box under the recipe card as you said, to fine-tune the recipe for a custom size pan! Only a sliding bar that multiples the 9″ recipe by whatever factor desired, and a 1x, 2x, or 3x the recipe button. So disappointing
Hi Deborah, sorry for the confusion. We recently had the site re-designed and in that process the recipe card was changed. I have since changed it back so you can once again enter a number in the “yield” section. Please let me know if you run into any trouble with this, and if I can help answer any questions for you. Enjoy!