


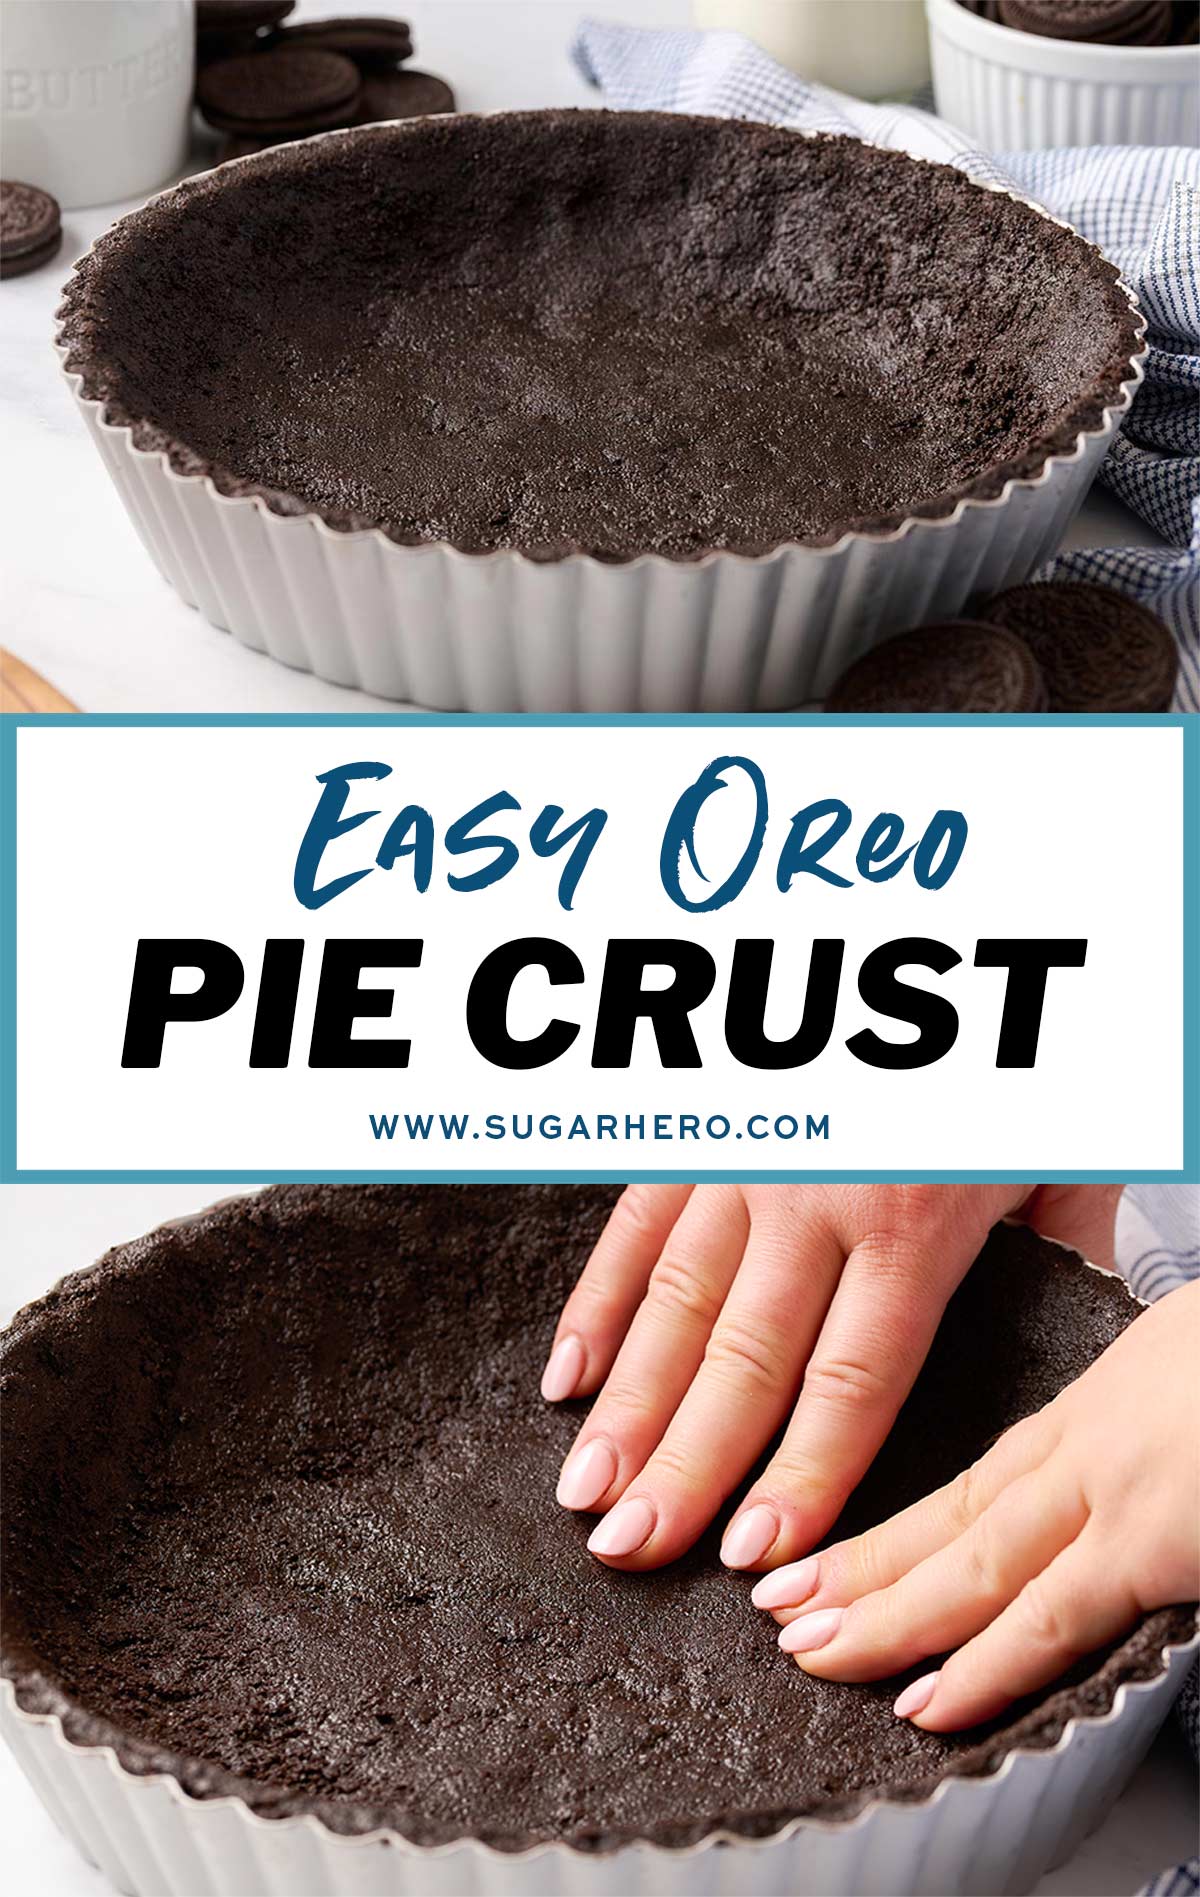
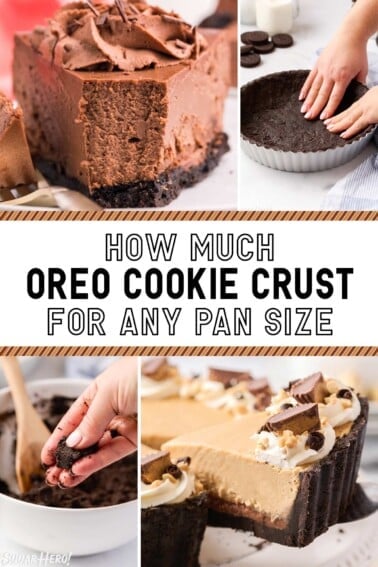
This homemade Oreo Pie Crust is a 5-minute, 2-ingredient recipe. It makes a perfectly soft, slightly crunchy, ultra-chocolate-y base for so many different recipes!
Oreo Cookie Crust Recipe
This Oreo Pie Crust is a must-have in any baker’s repertoire. Here’s why:
- It’s fast and easy
- You don’t need any specialized equipment
- It’s made with just 2 easy-to-find ingredients
- Incredibly versatile – it goes with anything! And most importantly…
- It tastes DELICIOUS!
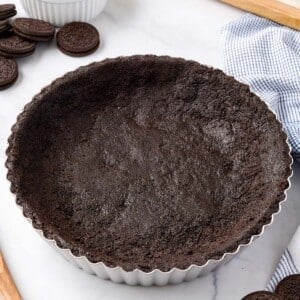
As the name suggests, this pie crust is made primarily of Oreo sandwich cookie crumbs, with just a bit of melted butter to hold everything together. It adds a rich, cocoa-infused flavor and a satisfyingly crisp texture to all kinds of different desserts, from pie and tart recipes to cheesecakes to ice cream pies, and everything in between.
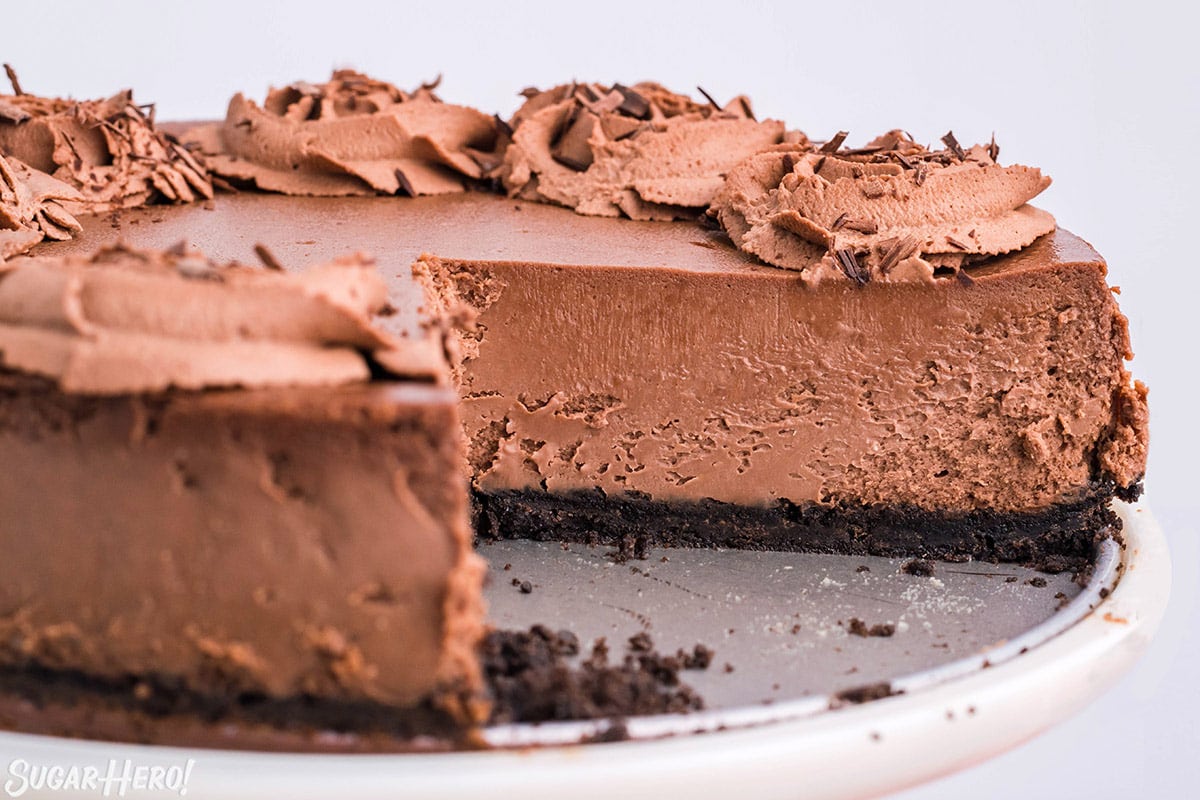
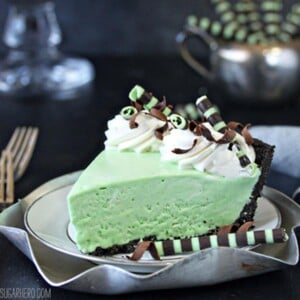
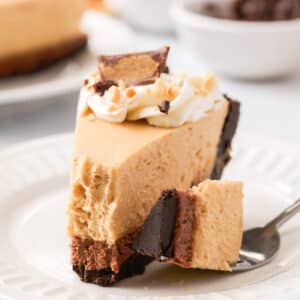
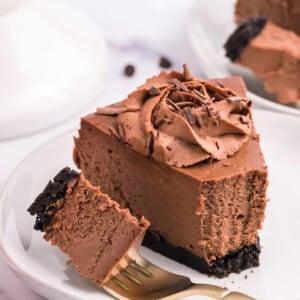
Need some baking inspiration? Try pairing this Oreo crust with classics like Chocolate Cheesecake, Peanut Butter Chocolate Pie, or our refreshing Fresh Mint Grasshopper Pie. If you’re a serious Oreo lover, don’t miss our whole collection of Oreo dessert recipes here.
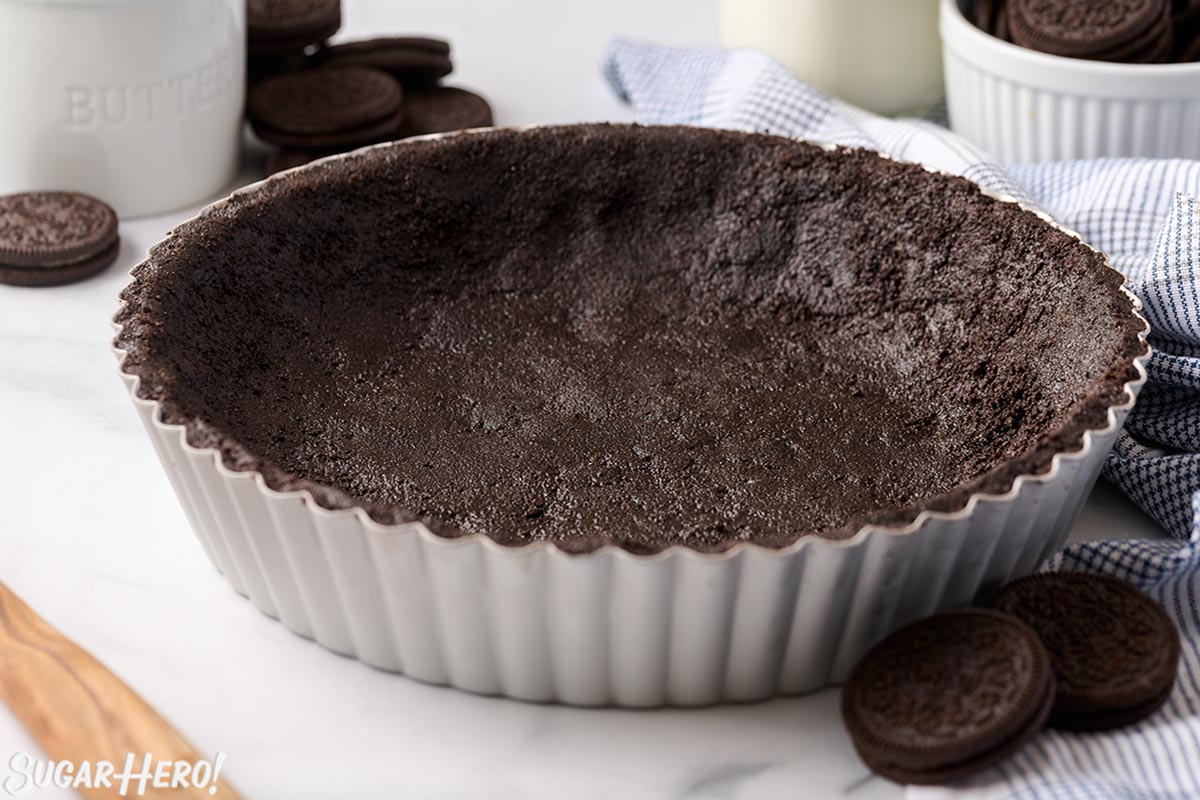
Table of Contents
🧾 What You’ll Need
Ingredients
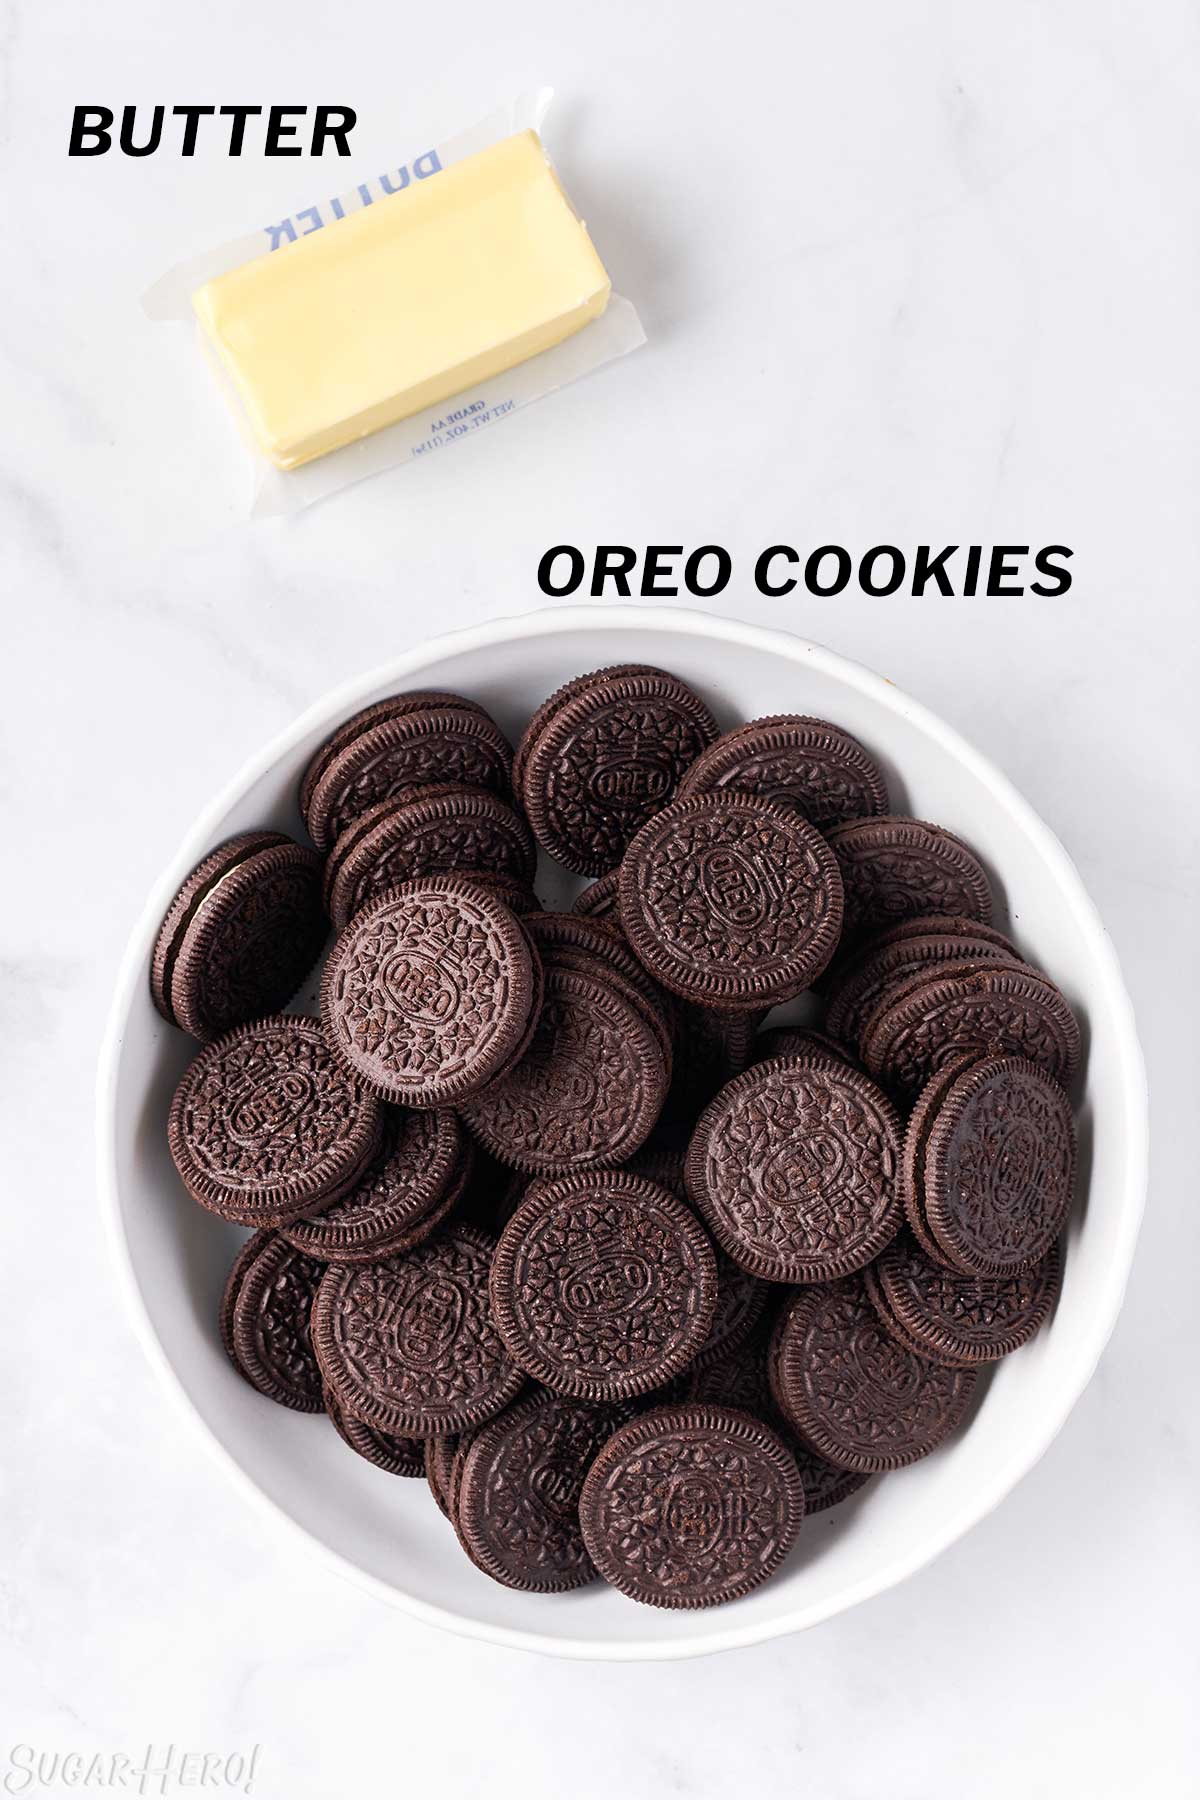
You need just two ingredients and a handful of common kitchen items to put together this Oreo crust recipe! (Links are affiliate links and I earn a small commission from qualifying purchases.)
- Oreo Cookies: you’ll need about 20 regular Oreos to yield the 2 cups crushed Oreos for the crust. For the best results use regular Oreos, rather than Double Stuffed or Mega varieties.
- Butter: I recommend baking with unsalted butter so you have control over the amount of salt in the recipe.
Equipment
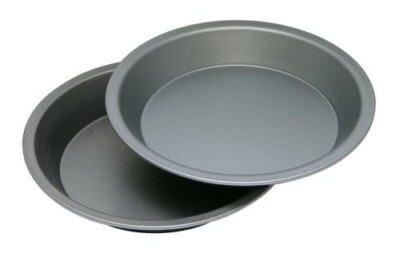
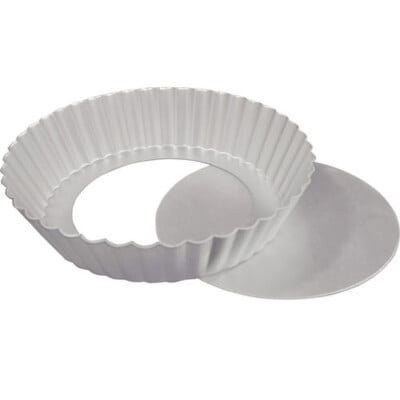
- Pan: If you’re using this Oreo crust to make a pie, use a 9″ pie dish. If you’re making a tart, use a 9″ or 10″ tart pan. For other sizes, check the chart below that tells you how much crust you need for a variety of pan sizes!
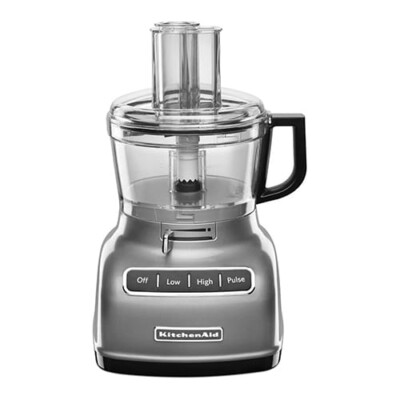
- Food processor: I recommend using a food processor to crush the Oreos into a fine crumb. However, you could also place the cookies in a plastic bag and crush with a rolling pin.
📋 Instructions
This Oreo pie crust recipe could not be easier to make! You can print the full recipe from the recipe card down below, and check out the embedded video for a step-by-step walkthrough.
Make the Oreo crumbs
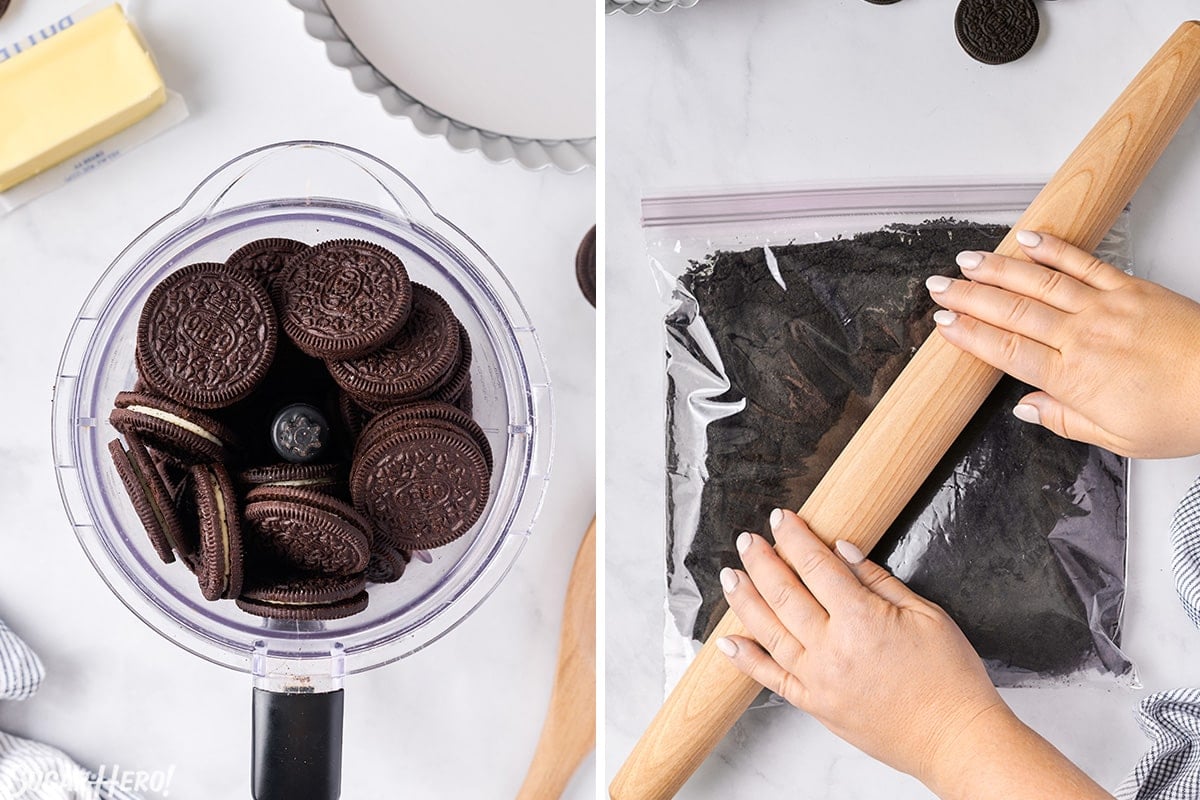
- The first step is to turn your Oreos into Oreo crumbs! The easiest way is to use a food processor, if you have one.
- Place the Oreos in a food processor – no need to remove the filling. Process them in long bursts until they are very fine crumbs.
- Alternately, you can put the cookies in a gallon size zip-top bag. Roll over the bag with a rolling pin until they are very finely crushed.
- You should end up with about 2 cups of cookie crumbs.
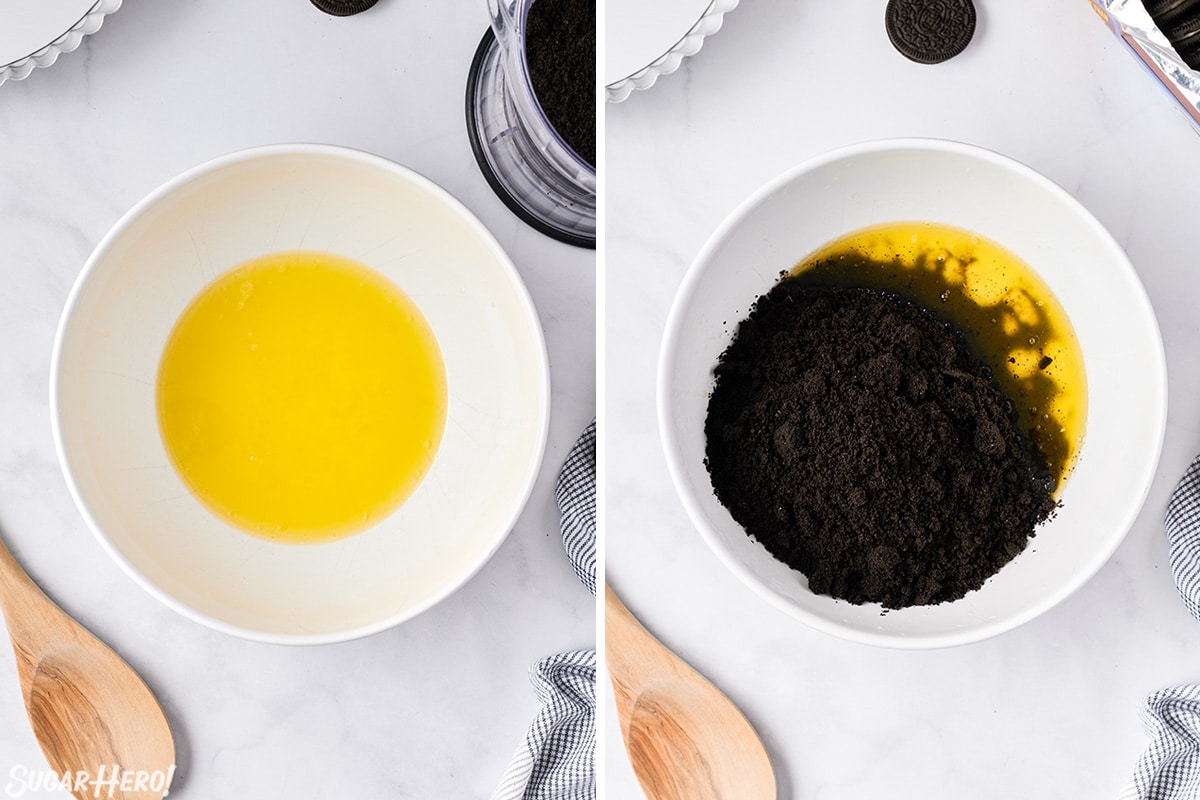
- Melt the butter in the microwave.
- Combine the butter and Oreo crumbs, and stir well until they’re full mixed together.
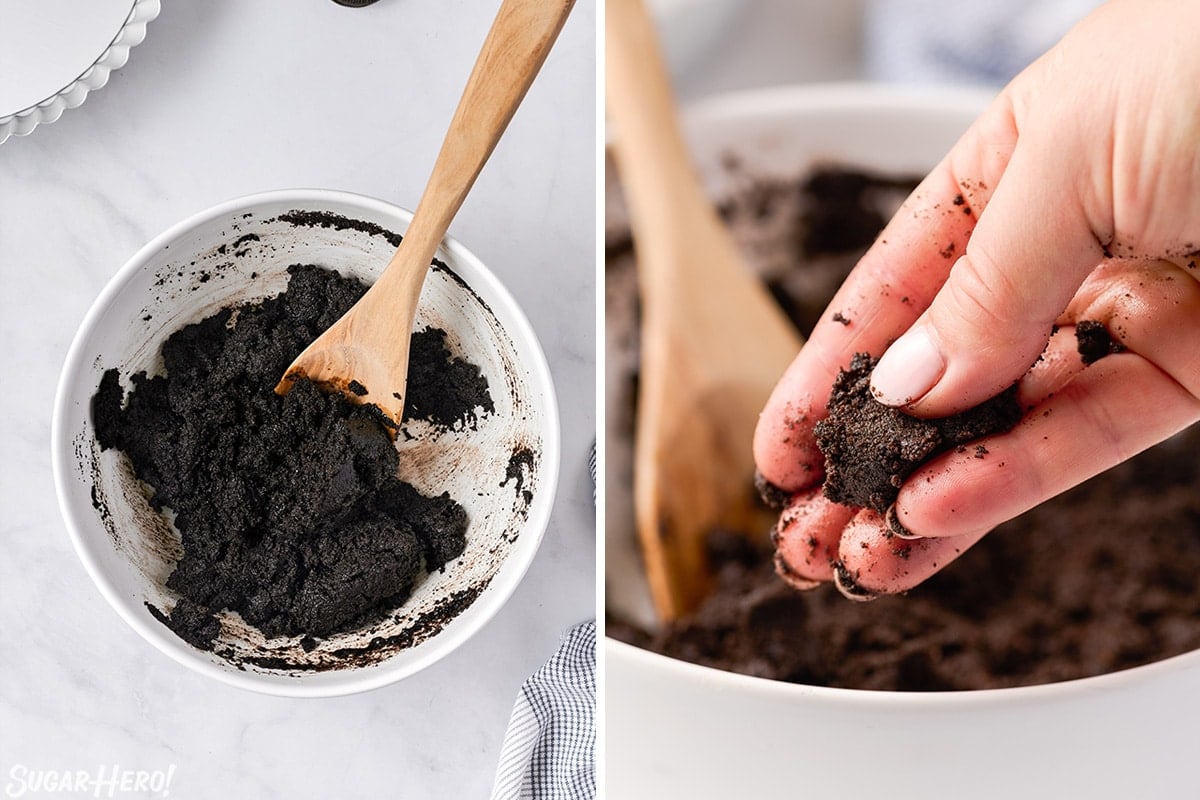
- The crumb mixture should have the texture of wet sand, and hold together a bit when you squeeze it between your fingers.
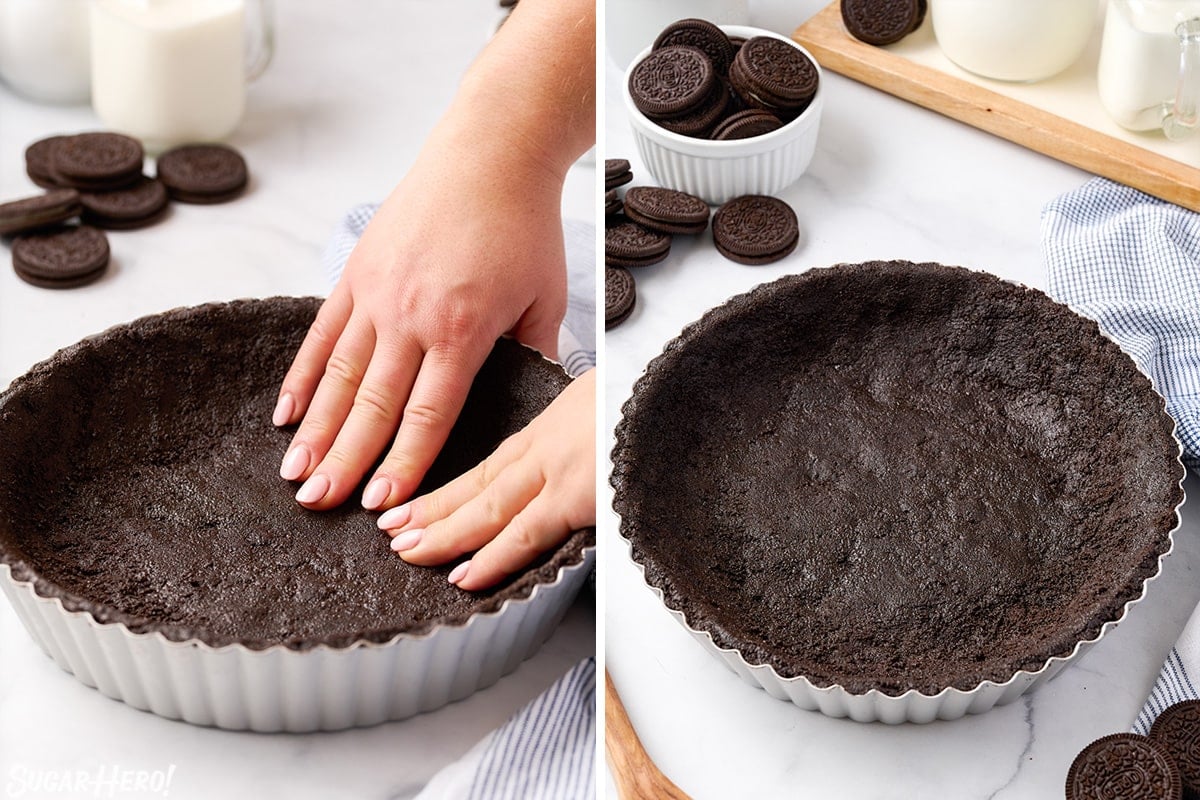
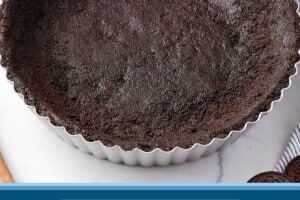
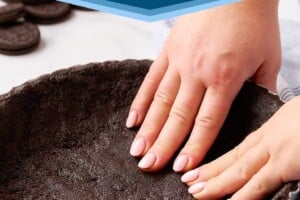
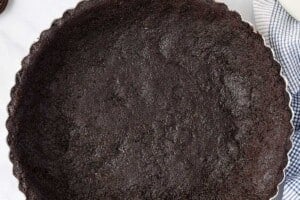
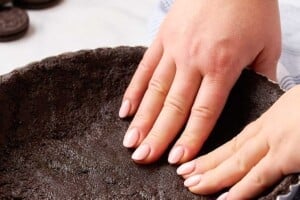
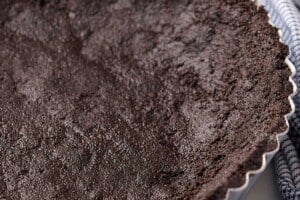
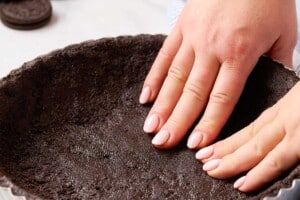
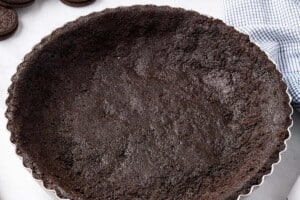
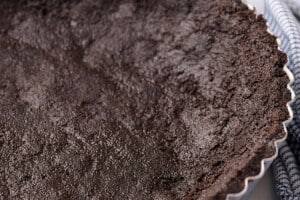
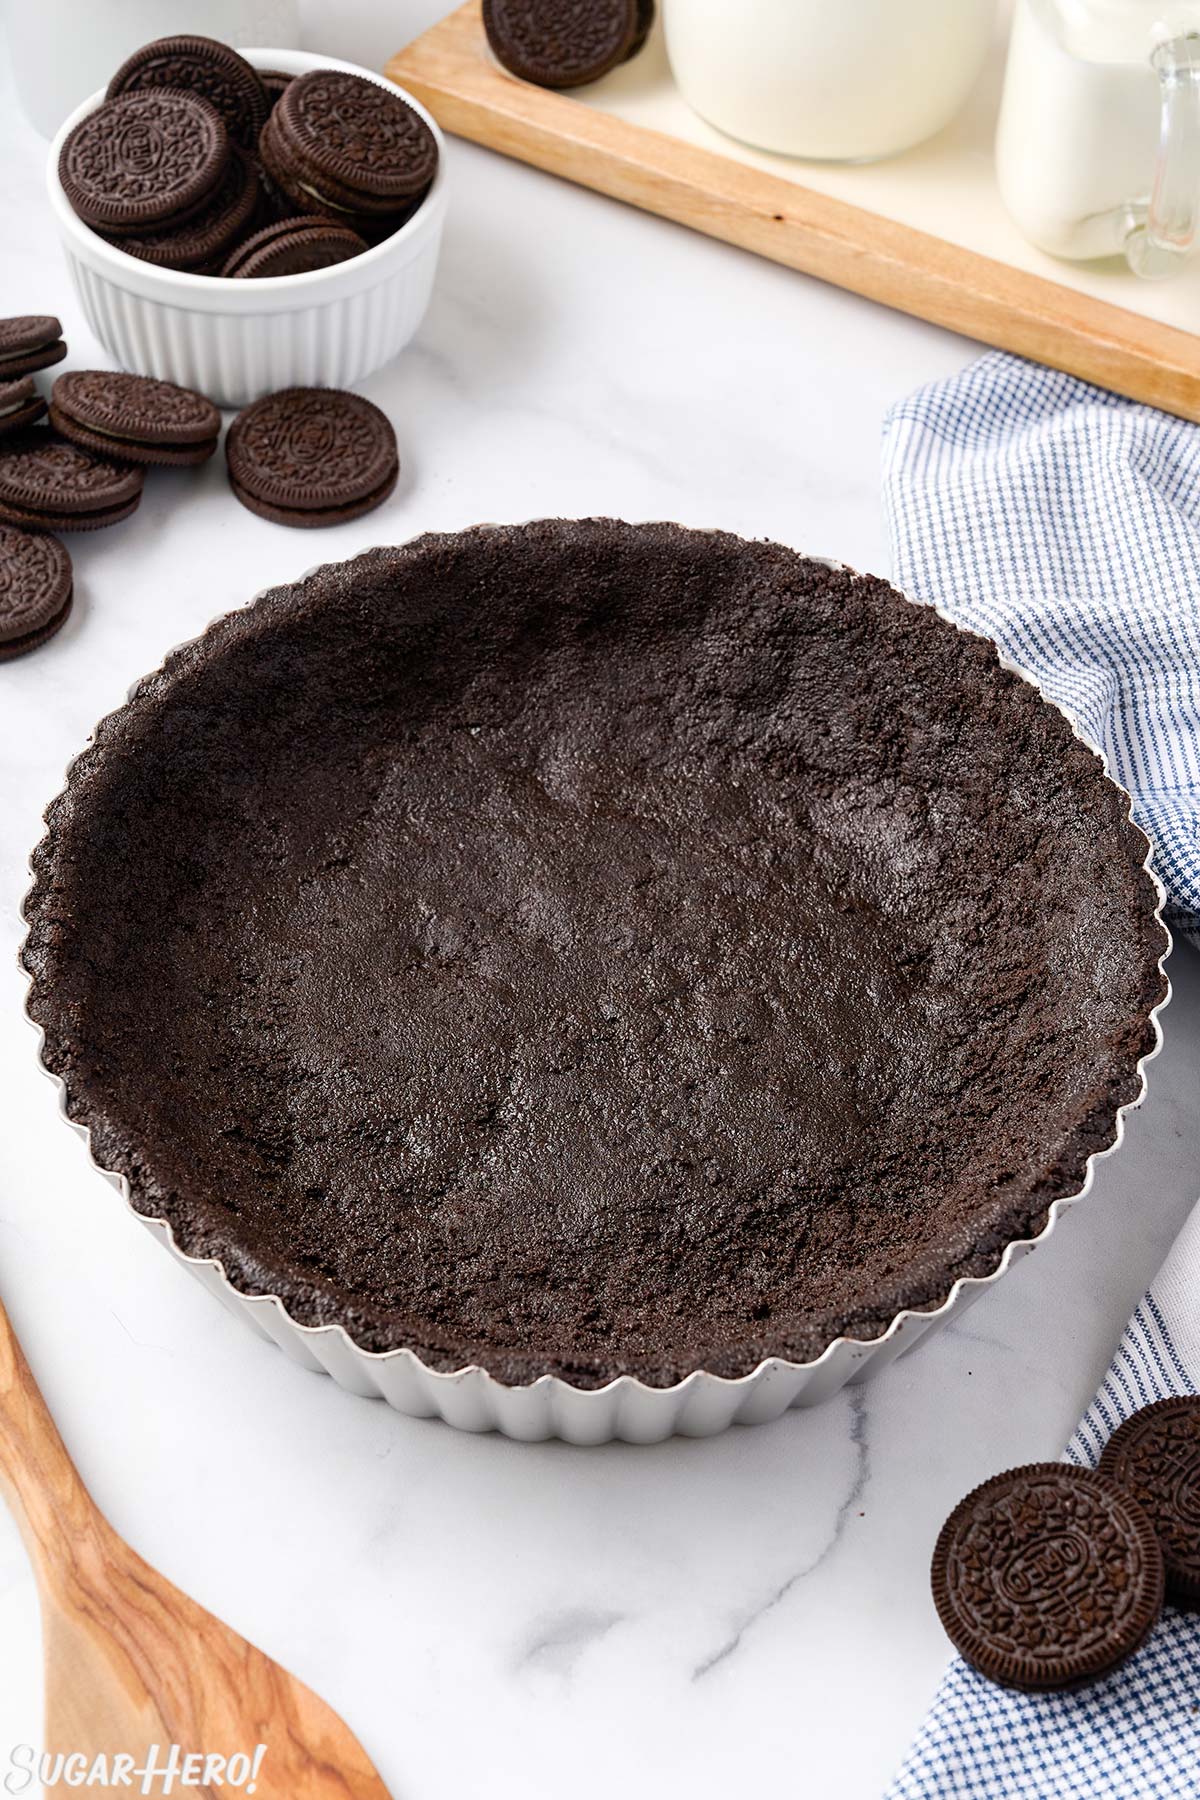
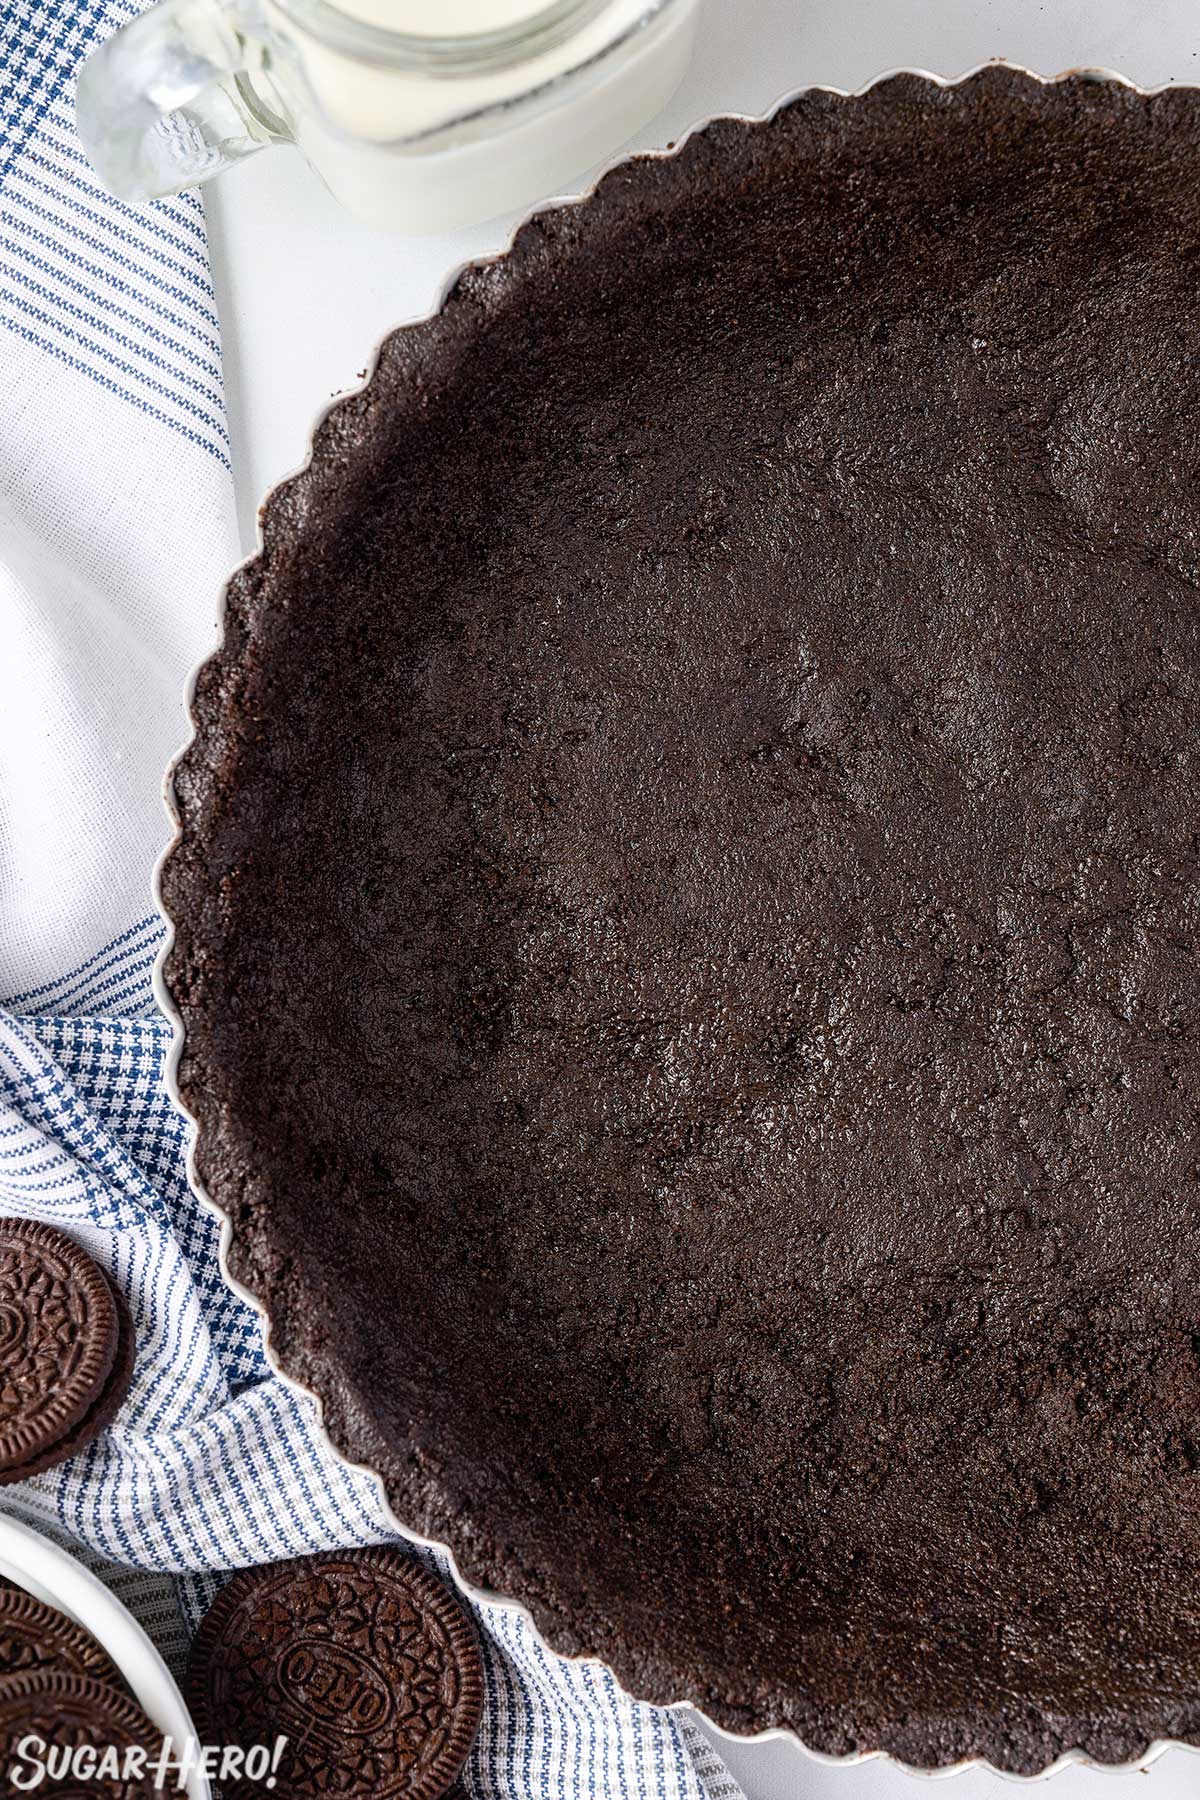
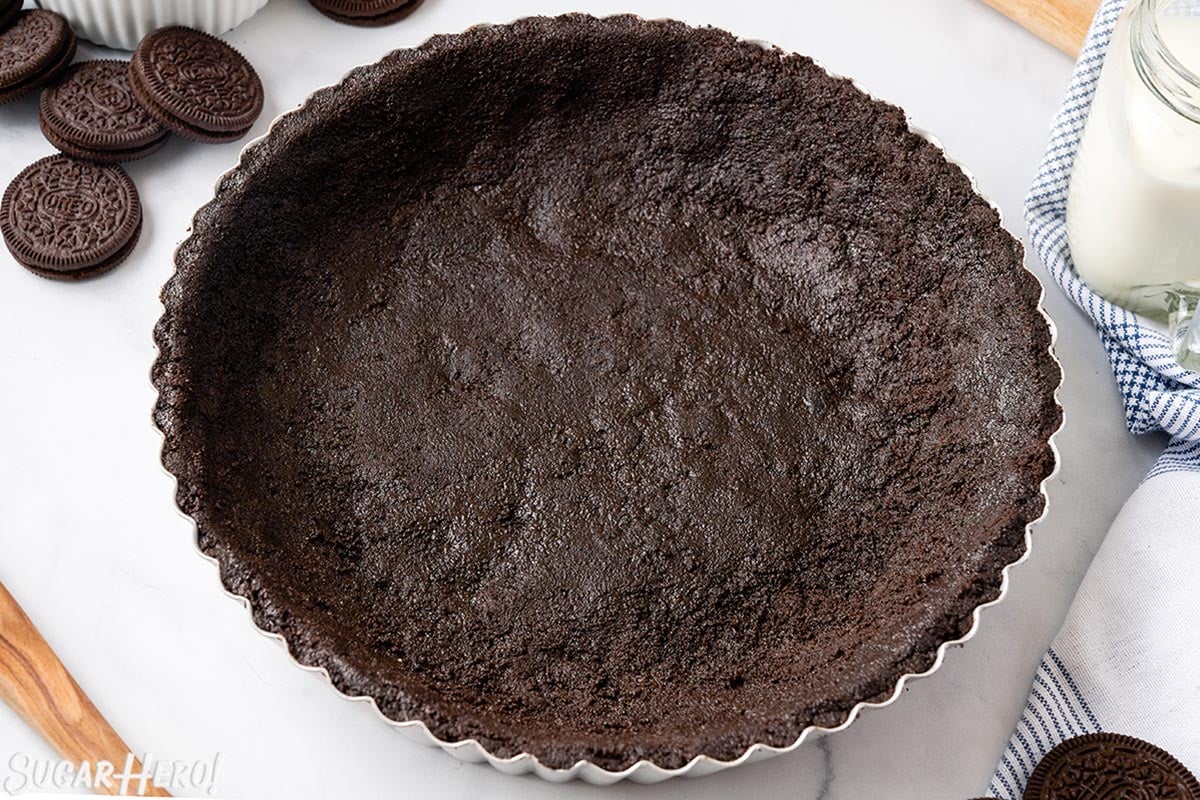
- Press the crust in an even layer into the bottom and up the sides of a pie or tart pan.
- Baking the crust is optional. If you don’t want to bake it, refrigerate the crust for a few hours so it sets, then add the filling of your choice.
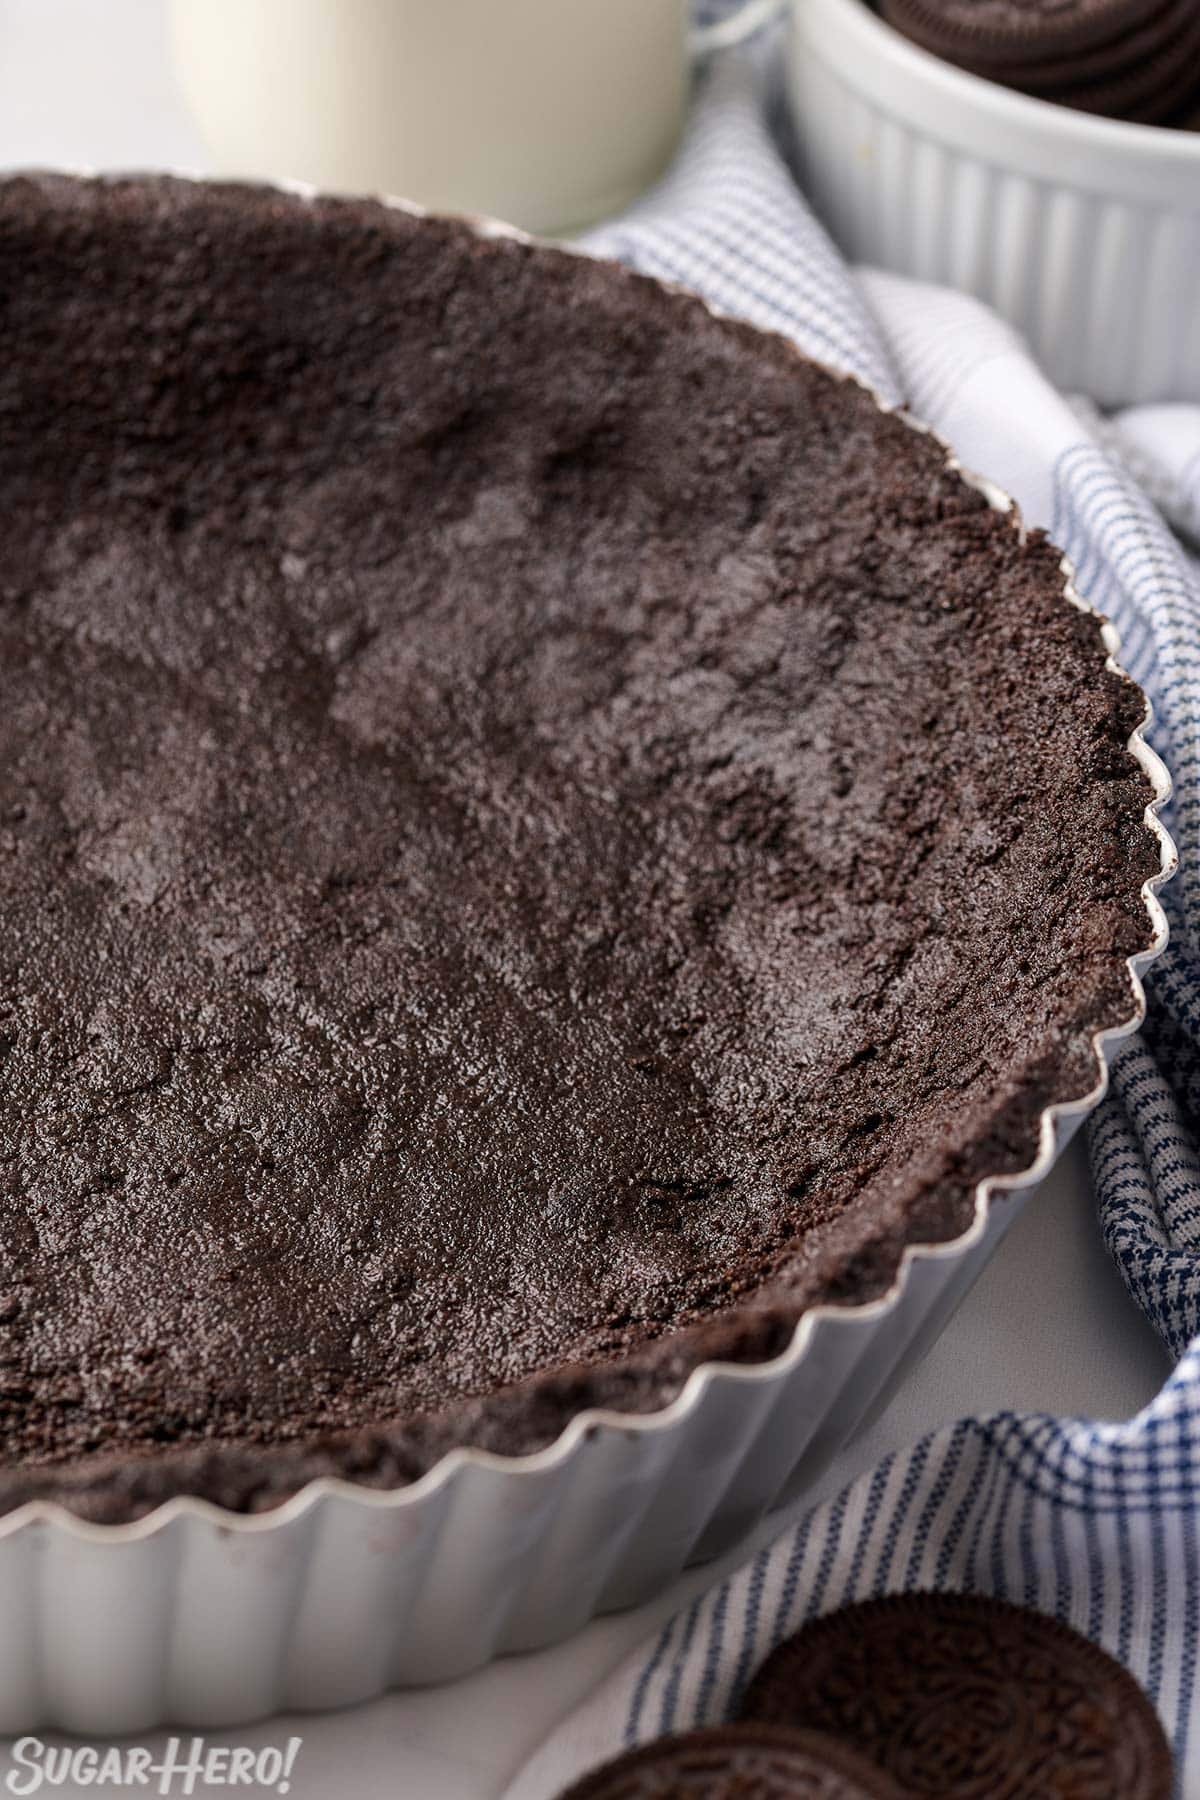
- For a crunchier crust, bake the crust at 350ºF for 12-15 minutes, until puffed and fragrant, then cool completely before filling.
💡 Tips for success
- Use most, but not all, of the butter at first. The texture should be similar to wet sand but not too oily. Reserve a tablespoon or so, check the mixture, and add more only if needed.
- Use regular Oreos. Avoid using Double-Stuffed, Mega, or any variety of Oreo cookies with a supersized cream layer. Too much cream filling can make the crust too greasy. If that’s all that you have, you can either remove the filling from about half of the cookies, or use the cookies as-is and use much less butter. If you choose this route, start with a very small amount of butter and add it in gradually, keeping an eye on the texture the whole time.
- Crush the Oreos finely. You don’t want any big chunks. Make sure the Oreos are finely crushed so they form into a uniform crust.
- Press the crust firmly into whatever pan you’re using so it’s sturdy and compact.
- You can change the flavor of this crust by using any variety of Oreos! Try Golden Oreos, Birthday Cake Oreos, Chocolate Creme Oreos, Peanut Butter Oreos, you name it.
💭 FAQs
10 Oreo cookies yields 1 cup of crumbs, which weighs approximately 4 ounces.
No, but many people choose to bake their crusts. After refrigerating or freezing, the crust will hold together without baking. Depending on your preference and what the recipe calls for, it’s totally fine to not bake an Oreo crust. To make a no-bake Oreo cookie crust: assemble it as directed, then chill the crust in the fridge for 1-2 hours to allow it to set up before adding the filling.
Baking the crust yields a crunchier, sturdier crust, and is usually my personal preference. A baked crust holds up better when cutting and serving (no more crumbling pie slices!). To make a baked Oreo cookie crust: bake the crust at 350 F for 12-15 minutes, until fragrant, puffed, and dry on top.
You can either use this Oreo crust right away, or prep it ahead of time to be used later on.
To make ahead of time, assemble and bake the crust as directed, let it cool, then cover it with foil and store it in the fridge for 1-2 days. To freeze it, wrap it in plastic wrap followed by aluminum foil and store it for 1-2 months in the freezer. When you’re ready to use it, thaw it in the fridge, then use it however you like.
🥧 How much Oreo Crust you need for any pan size
This recipe is written for one 9″ pie pan, since that is an extremely common size and use for Oreo crusts. But what if you want to make a few mini cheesecakes? Or a large rectangular tart? How much of the Oreo cookie base will you need then?
I am here for you! I measured all of the most common pan types and sizes–including pie pans, tart pans, and springform pans–and weighed how much Oreo crust mix they required. To be clear, this is a general guide, and your milage may vary depending on your specific pan, how thick you like to make your crust, etc. But I hope you find it helpful as a starting point!
Click Here to Expand the Table!
Pan Name & Size | Crust Amount | Recipe Card Amt |
Mini pie pan | 2.5 oz | 1 batch = 4 mini pies |
8" pie pan | 7.25 oz | 0.75 |
9" pie pan | 9 oz | No change |
9" deep dish pie pan | 10 oz | No change |
11" deep dish pie pan | 15 oz | 1.50 |
3" tart shell | 2.6 oz | 1 batch = 4 |
4" tart shell | 2.7 oz | 1 batch = 3-4 |
9" tart shell | 12 oz | 1.2 |
10" deep dish tart shell | 17 oz | 1.7 |
11" tart shell | 15 oz | 1.5 |
Rectangle tart shell | 8.5 oz | 0.85 |
4" springform | 1.5 oz | 1 batch = 6 |
4" springform (bottom + sides) | 3.75 oz | 1 batch = 2-3 |
6" springform | 3.25 oz | 1 batch = 3 |
6" springform (bottom + sides) | 10 oz | No change |
8.5" springform (just bottom) | 7.25 oz | .75 |
8.5" springform (bottom + sides) | 17 oz | 1.70 |
9.5" springform (just bottom) | 8.5 oz | 0.85 |
9.5" springform (bottom + sides) | 20 oz | 2 |
10.5" springform (just bottom) | 9.25 oz | No change |
10.5" springform (bottom + sides) | 23 oz | 2.3 |
How to use this table
- Find the pan size that most closely resembles the pan you will be using.
- Look at the information in the last column, “Recipe Card/yield.” This tells you what you need to input in the recipe card to get the perfect amount of crust.
- For instance, for an 8″ pie pan, you will need 0.75, or 3/4 of a batch. In the recipe card header, next to the word “Yield,” is a place for you to customize the amount. Input 0.75 in the box. The ingredient amounts you need will be automatically calculated for you!
- For miniature pies/tarts, the table will list how many of the mini desserts 1 batch will yield. Depending on the number of mini desserts you want to make, you can double or even triple the recipe to yield that many crusts. Use the customize button as described above, or the 1x / 2x / 3x boxes under the Ingredients header.
- Finally, because cheesecakes can be made with either a crust just on the bottom, or on the bottom and sides, both of those options are listed separately in the table.
🍫 Ways to Use Oreo Pie Crust
There are so many things you can make with this Oreo pie crust! It’s the perfect base for cheesecake, ice cream, and no-bake desserts. Try adding an Oreo crust to one of these:


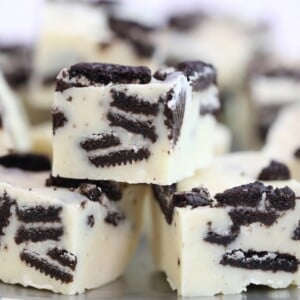
Oreo Fudge

Oreo Milkshake
Leave a Review!
If you make this recipe, let us know! Leave a ⭐️⭐️⭐️⭐️⭐️ rating on the recipe below, and leave a comment, take a photo and tag me on Instagram @elabau, or use #sugarhero on IG!
Oreo Pie Crust
Ingredients
- 20 Oreo cookies, (to yield about 8 ounces / 2 cups of cookie crumbs)
- 2 oz unsalted butter, (4 TBSP)
Instructions
- Crush Oreos: Place the Oreos in the bowl of a food processor–no need to remove the cream filling. Process them in long bursts until they are very fine crumbs. (Alternatively, place them in a zip-top bag and roll over them with a rolling pin until very finely crushed.) You should end up with about 2 cups of cookie crumbs.
- Melt butter: Place the butter in a microwave-safe bowl and heat for 20-30 seconds, until fully melted.
- Combine crumbs and butter: Combine the cookie crumbs and most of the melted butter (reserve about 1 tablespoon). Stir until well-combined.
- Check the texture: The mixture should have the texture of wet sand, and hold together a bit when you squeeze it between your fingers. Add the reserved tablespoon of butter a little at a time until you reach the correct texture.
- Fill the baking dish: Press the crust firmly and evenly on the bottom and up the sides of a 9 x 1.5” pie plate.
- Finish the crust: For a softer crust, cover the crust with tinfoil and place it in the refrigerator to set until firm. Then fill as desired. For firmer crust that's eaiser to slice, bake at 350 F for 12-15 minutes, until puffed and fragrant. Let the crust cool completely before adding any filling.
- Make-ahead: The refrigerated crust will keep for 1-2 days before it needs to be filled. For longer storage, wrap the crust in plastic wrap followed by aluminum foil and store it for 1-2 months in the freezer. Thaw it in the fridge and then fill however you like.
Video

Measuring Tips
Our recipes are developed using weight measurements, and we highly recommend using a kitchen scale for baking whenever possible. However, if you prefer to use cups, volume measurements are provided as well. PLEASE NOTE: the adage “8 oz = 1 cup” is NOT true when speaking about weight, so don’t be concerned if the measurements don’t fit this formula.
Want to learn more about baking measurements and conversion?
Nutrition


This was such an easy recipe that packs so much flavor! A simple secret ingredient that is way better than traditional pie crust!
Hi Sara! So glad you enjoyed the recipe. Thanks for commenting.
I’m always looking for the premade ones at the grocery store and is never there. I figured I should make my own and saw your recipe. I made it with chocolate pudding and my son and nephew loved it! Totally worked out.
Hi Janie! What a great idea. I’m so glad it worked for you. Cheers and happy baking!
This is a great recipe for sooo many Summer treats! I can’t wait to fill this with some tasty fillings to make some delicious no-bake desserts!!
Hi Beth! I’m so glad you found this crust recipe. . . sounds like I may need to visit you house for some tasty treats! LOL. Thanks for commenting.
Love this recipe! It is so good with cream pies!! Love how it freezes well too!
Hi Amy. So glad you enjoyed the crust! Thanks for leaving a comment.
Can I use only 1/2 or none of the cookie filling? My favorite part of Oreos is the cookie.
Hi Phyllis. You are welcome to make the crust with just the cookie portion. Keep in mind that you will need to use more Oreos than the recipe calls for in order to make up the difference of the missing cream. You might also need to experiment with the butter because the crumbs will be much dryer without the filling. I hope this helps. Good luck.