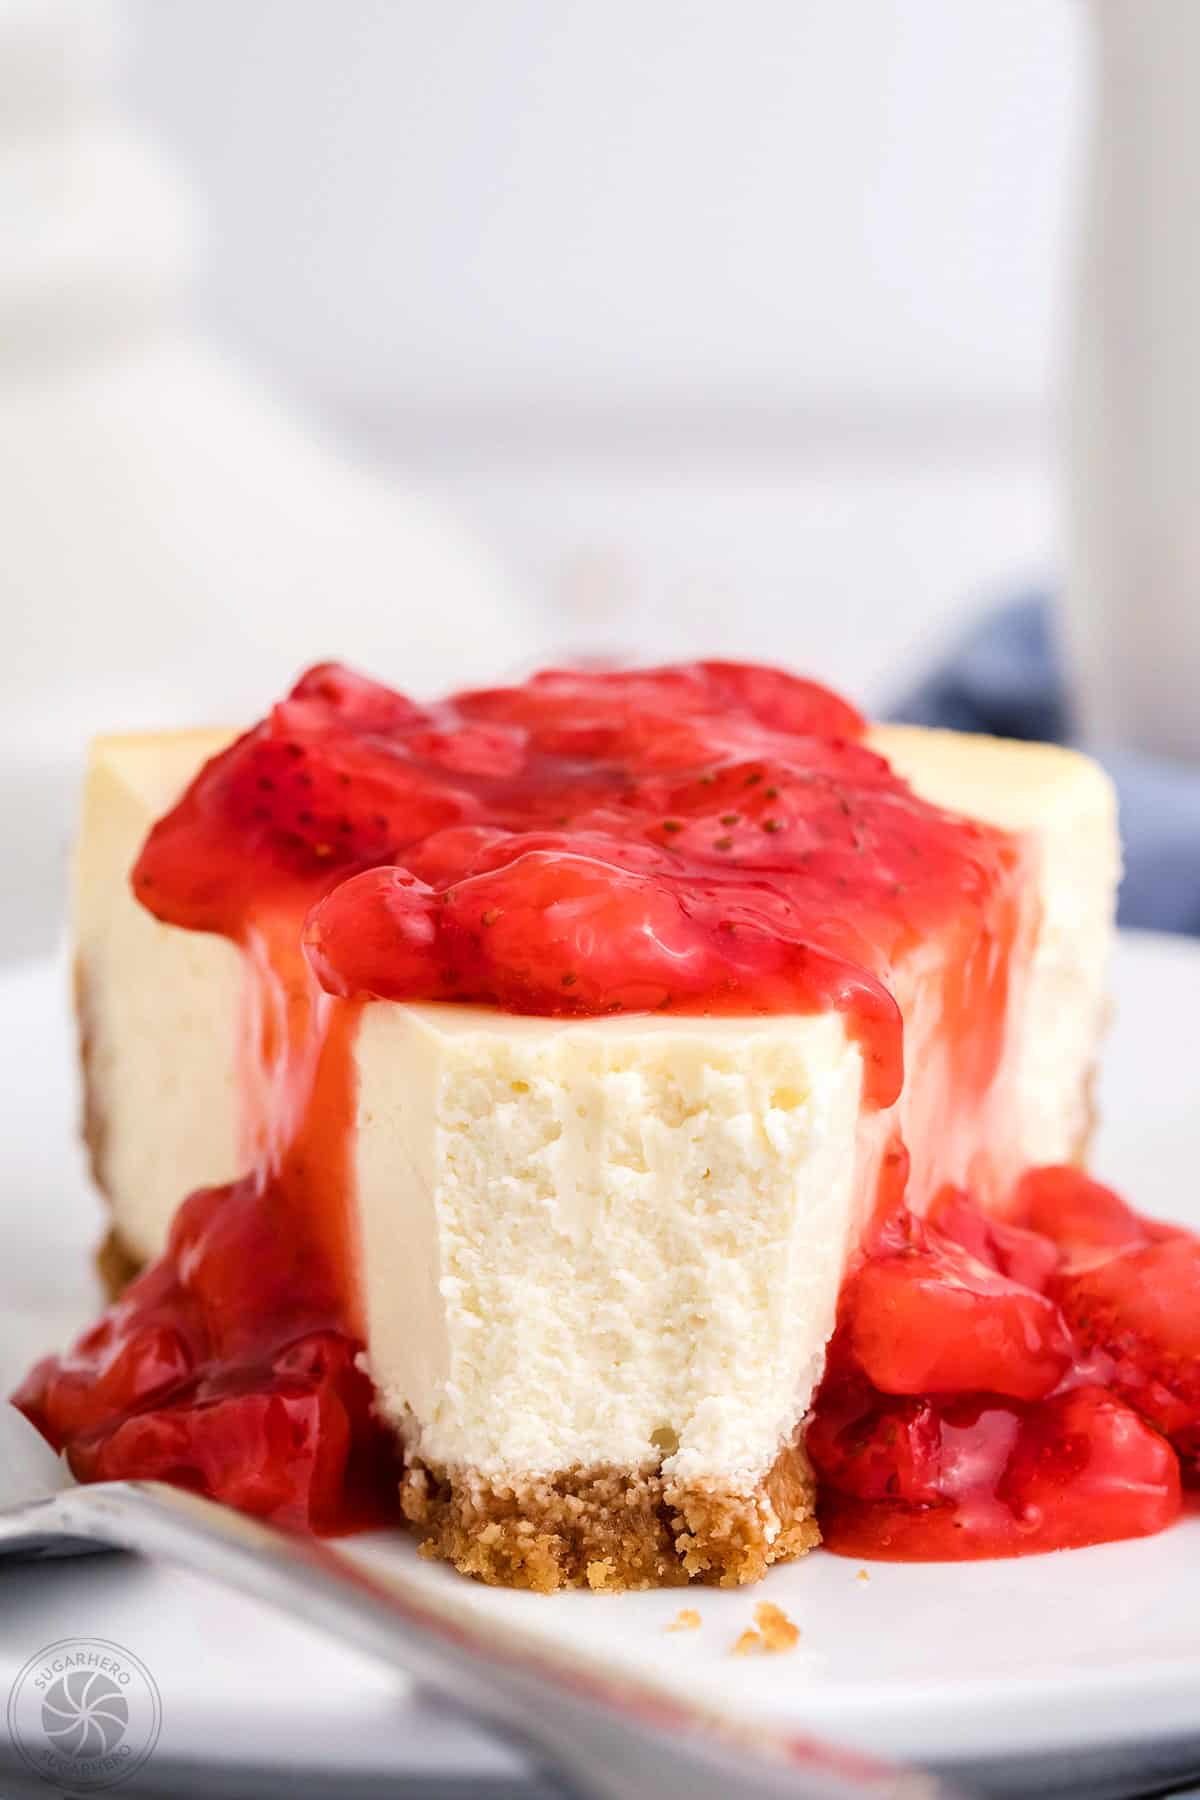
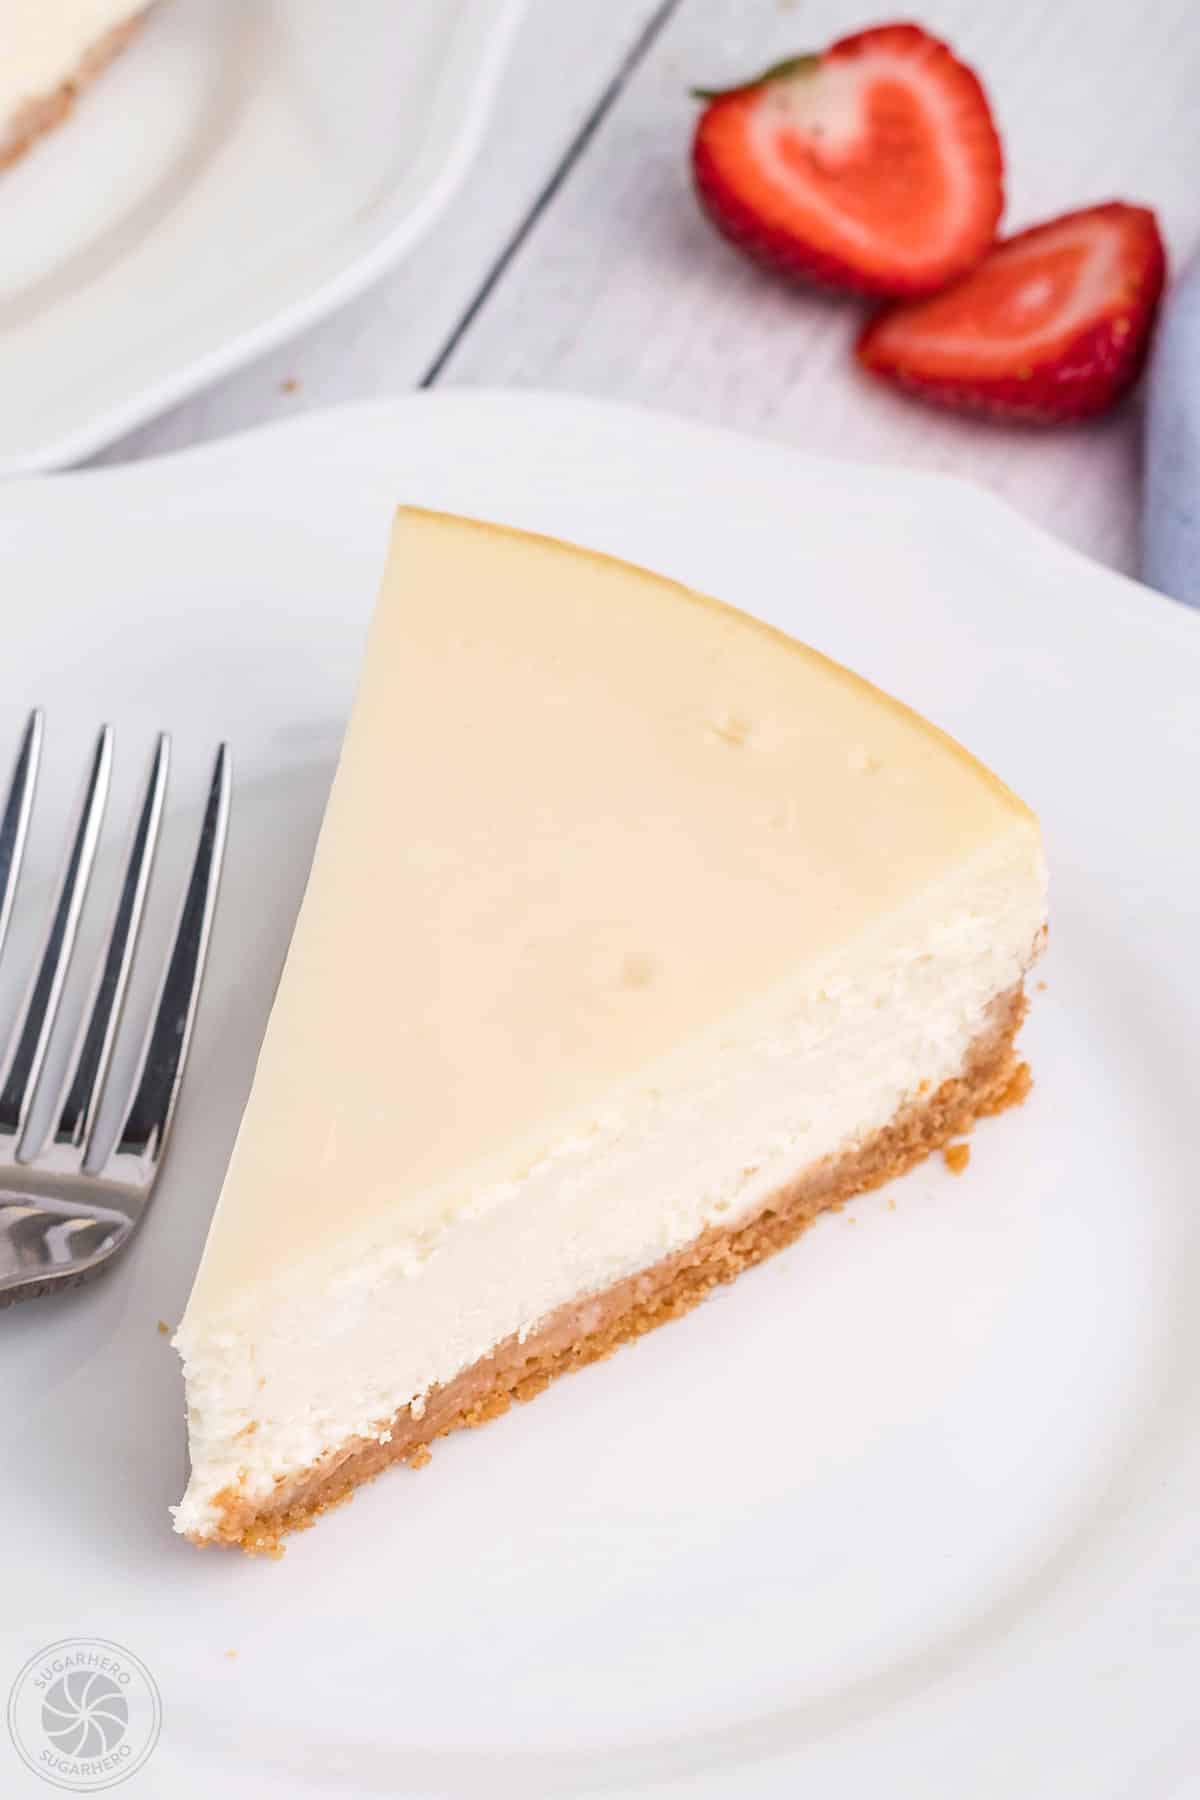
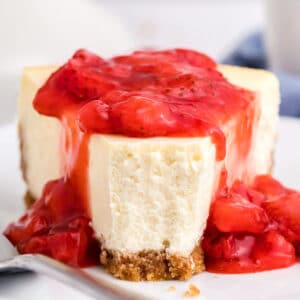
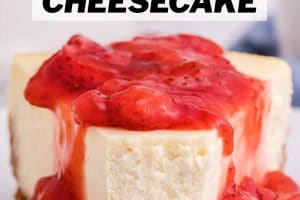
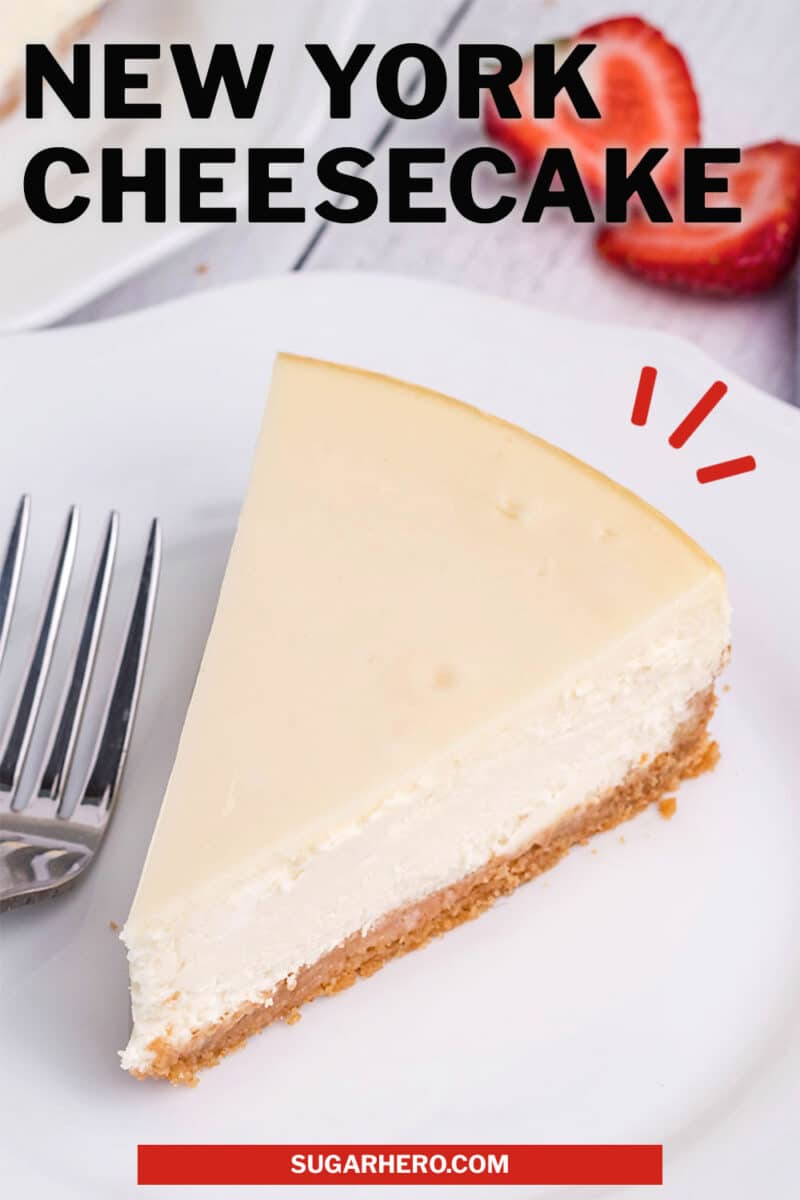
This rich and creamy New York Style Cheesecake recipe is everything classic cheesecake should be. With a buttery graham cracker crust and a lightly sweetened cream cheese filling, it’s perfect on its own or topped with your favorite dessert sauce.
🍓My Favorite New York Cheesecake
When you want the ultimate indulgent, treat yourself, put-on-sweatpants-and-go-to-town dessert, you want cheesecake.
Layer cakes are great, brownies are delicious, and I would never say no to a warm cookie fresh from the oven — but nothing can compare with a slice of dense, creamy cheesecake when it comes to satisfying a craving for dessert decadence.
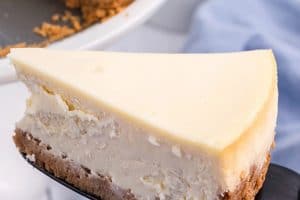
This recipe for an ultra-rich New York Style Cheesecake is exactly what comes to mind when you think of classic cheesecake. It’s built on a buttery, crispy graham cracker crust, and topped with a velvety, tangy cream cheese filling.
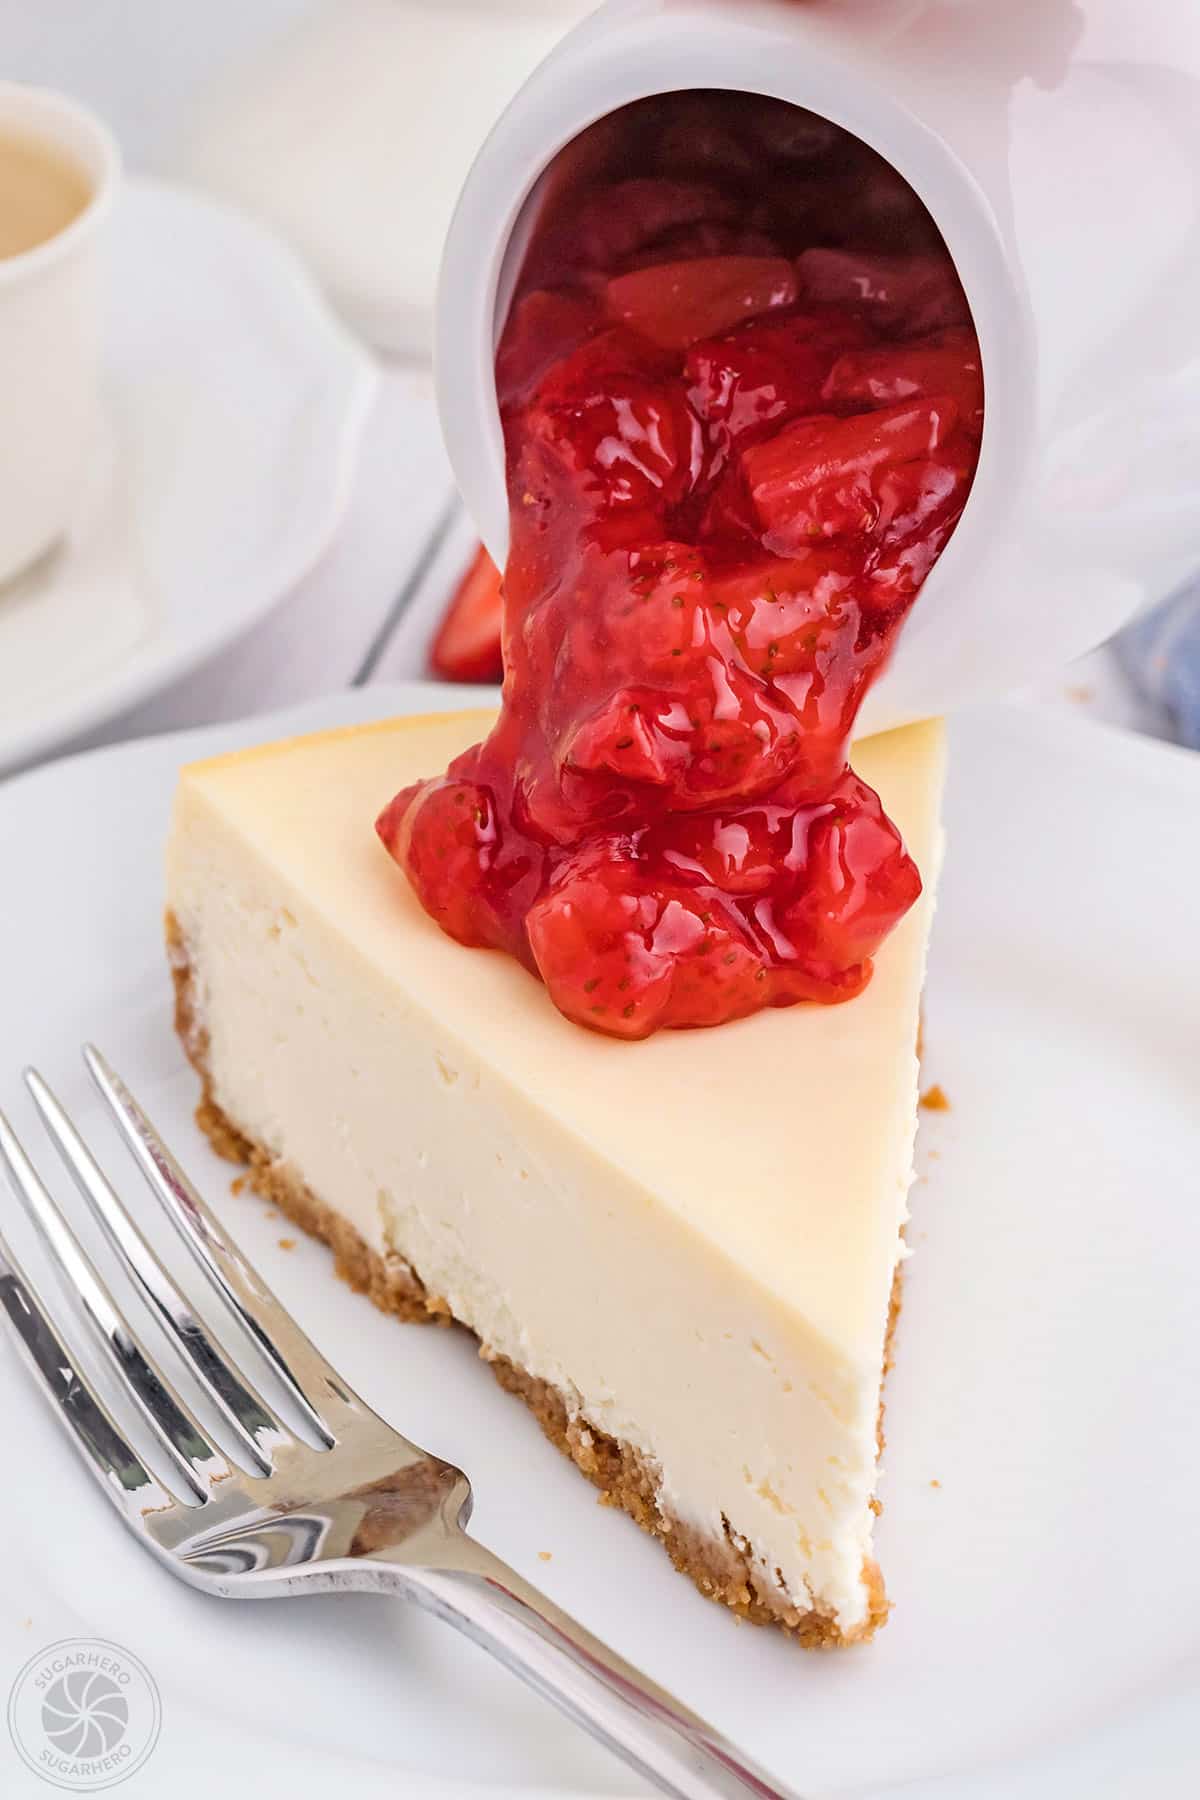
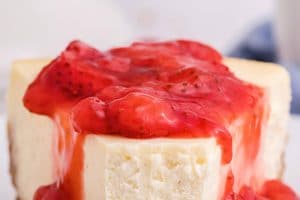
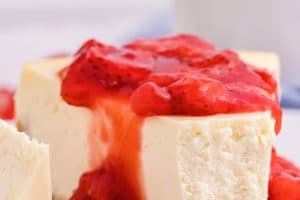
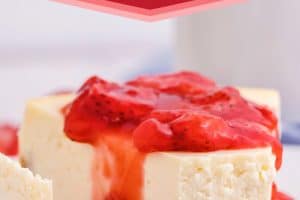
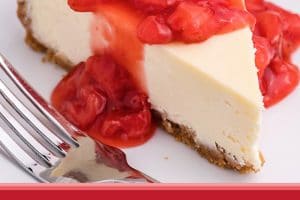
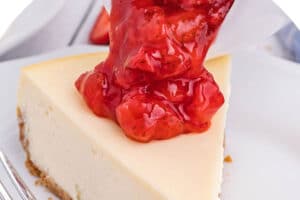
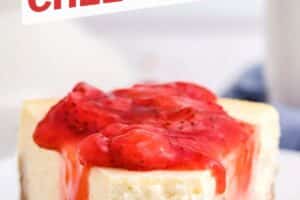
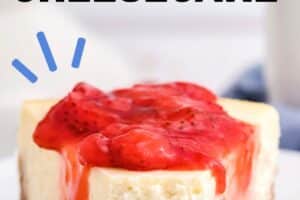
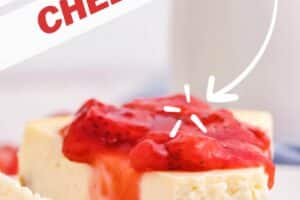
While it’s perfect on its own, I especially love this cheesecake topped with an easy fruit sauce, like strawberry sauce or blueberry sauce.
More Cheesecake-Inspired Desserts
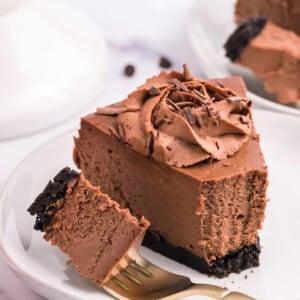
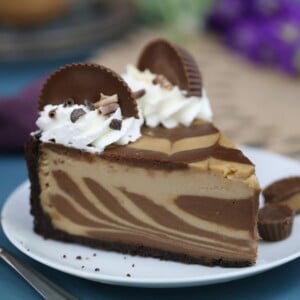
If you are a cheesecake lover, don’t miss our other delicious desserts featuring cheesecake, like Deep-Fried Cheesecake, Easter No-Bake Mini Cheesecakes, and Caramel Cheesecake-Topped Brownies!
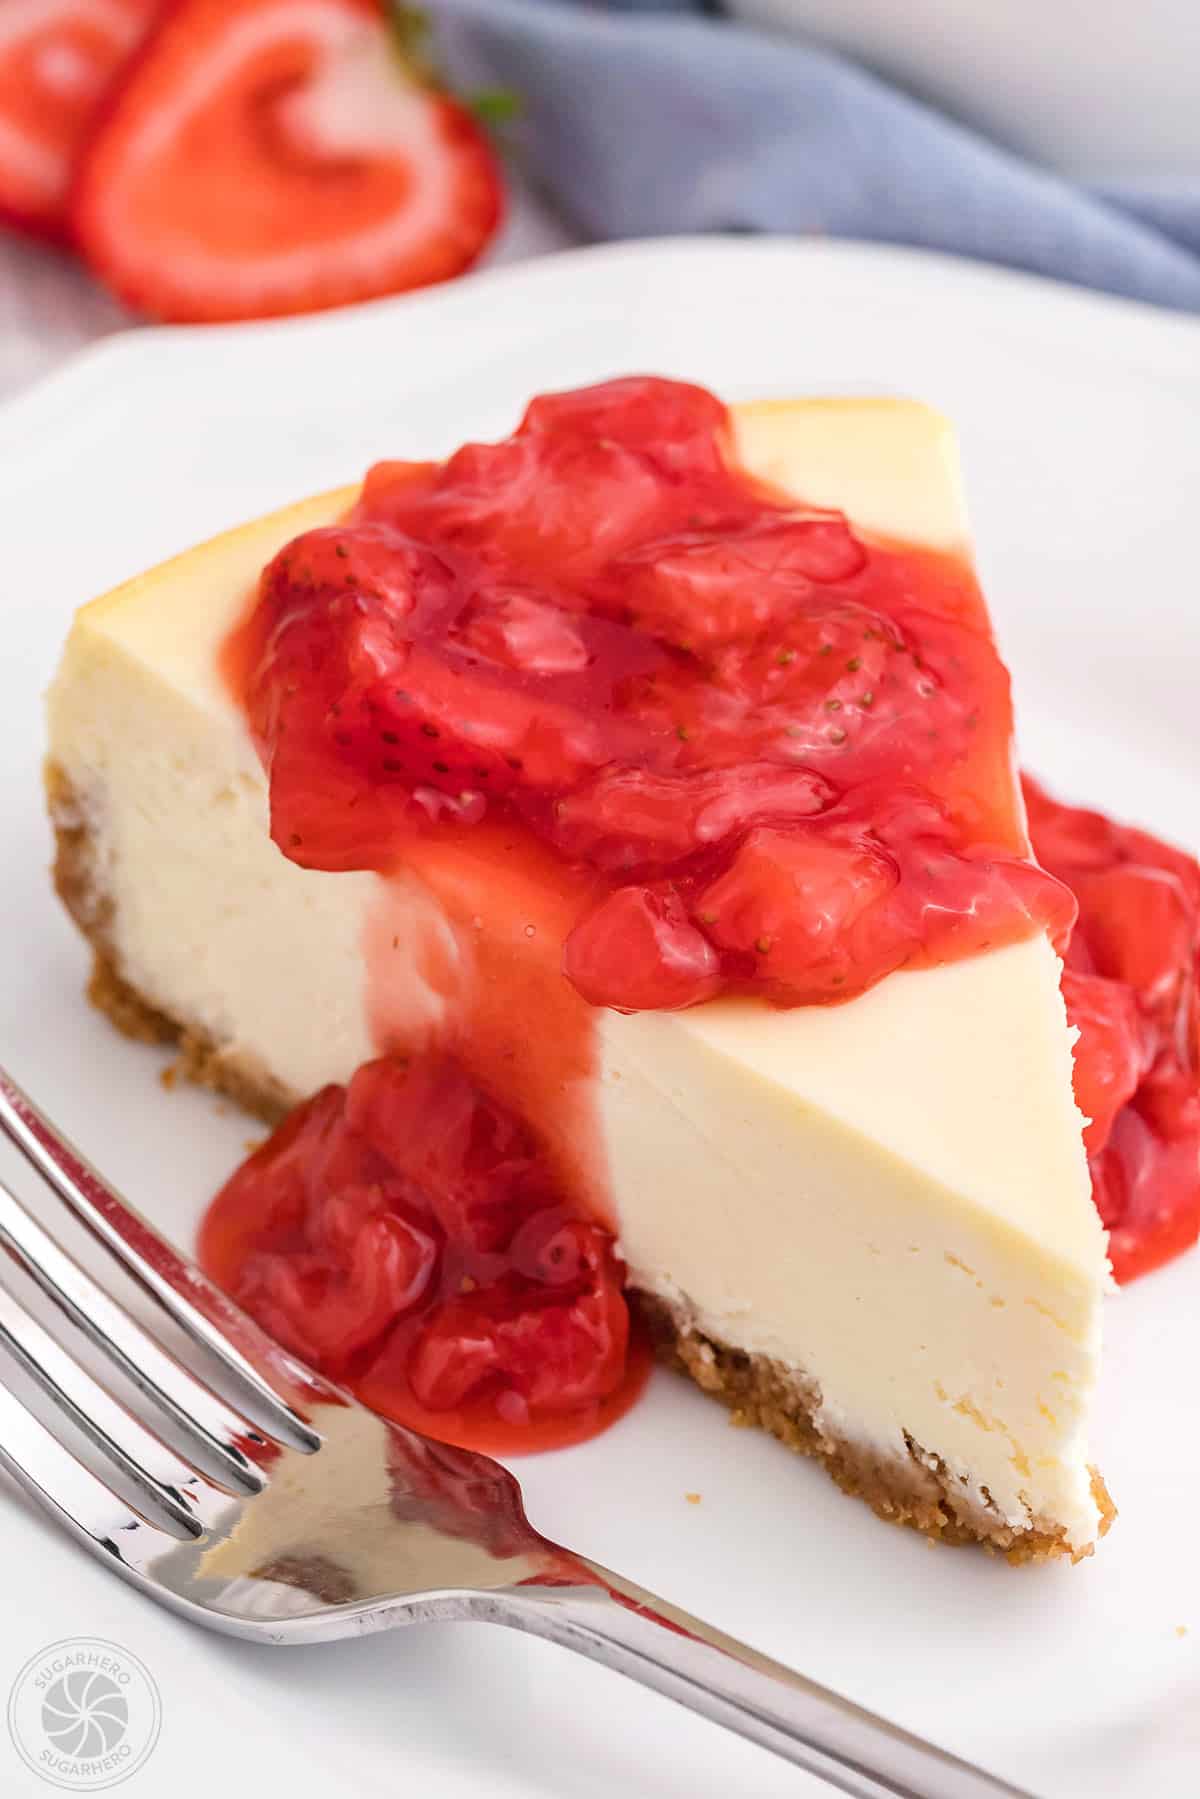
Table of Contents
🧾 What You’ll Need
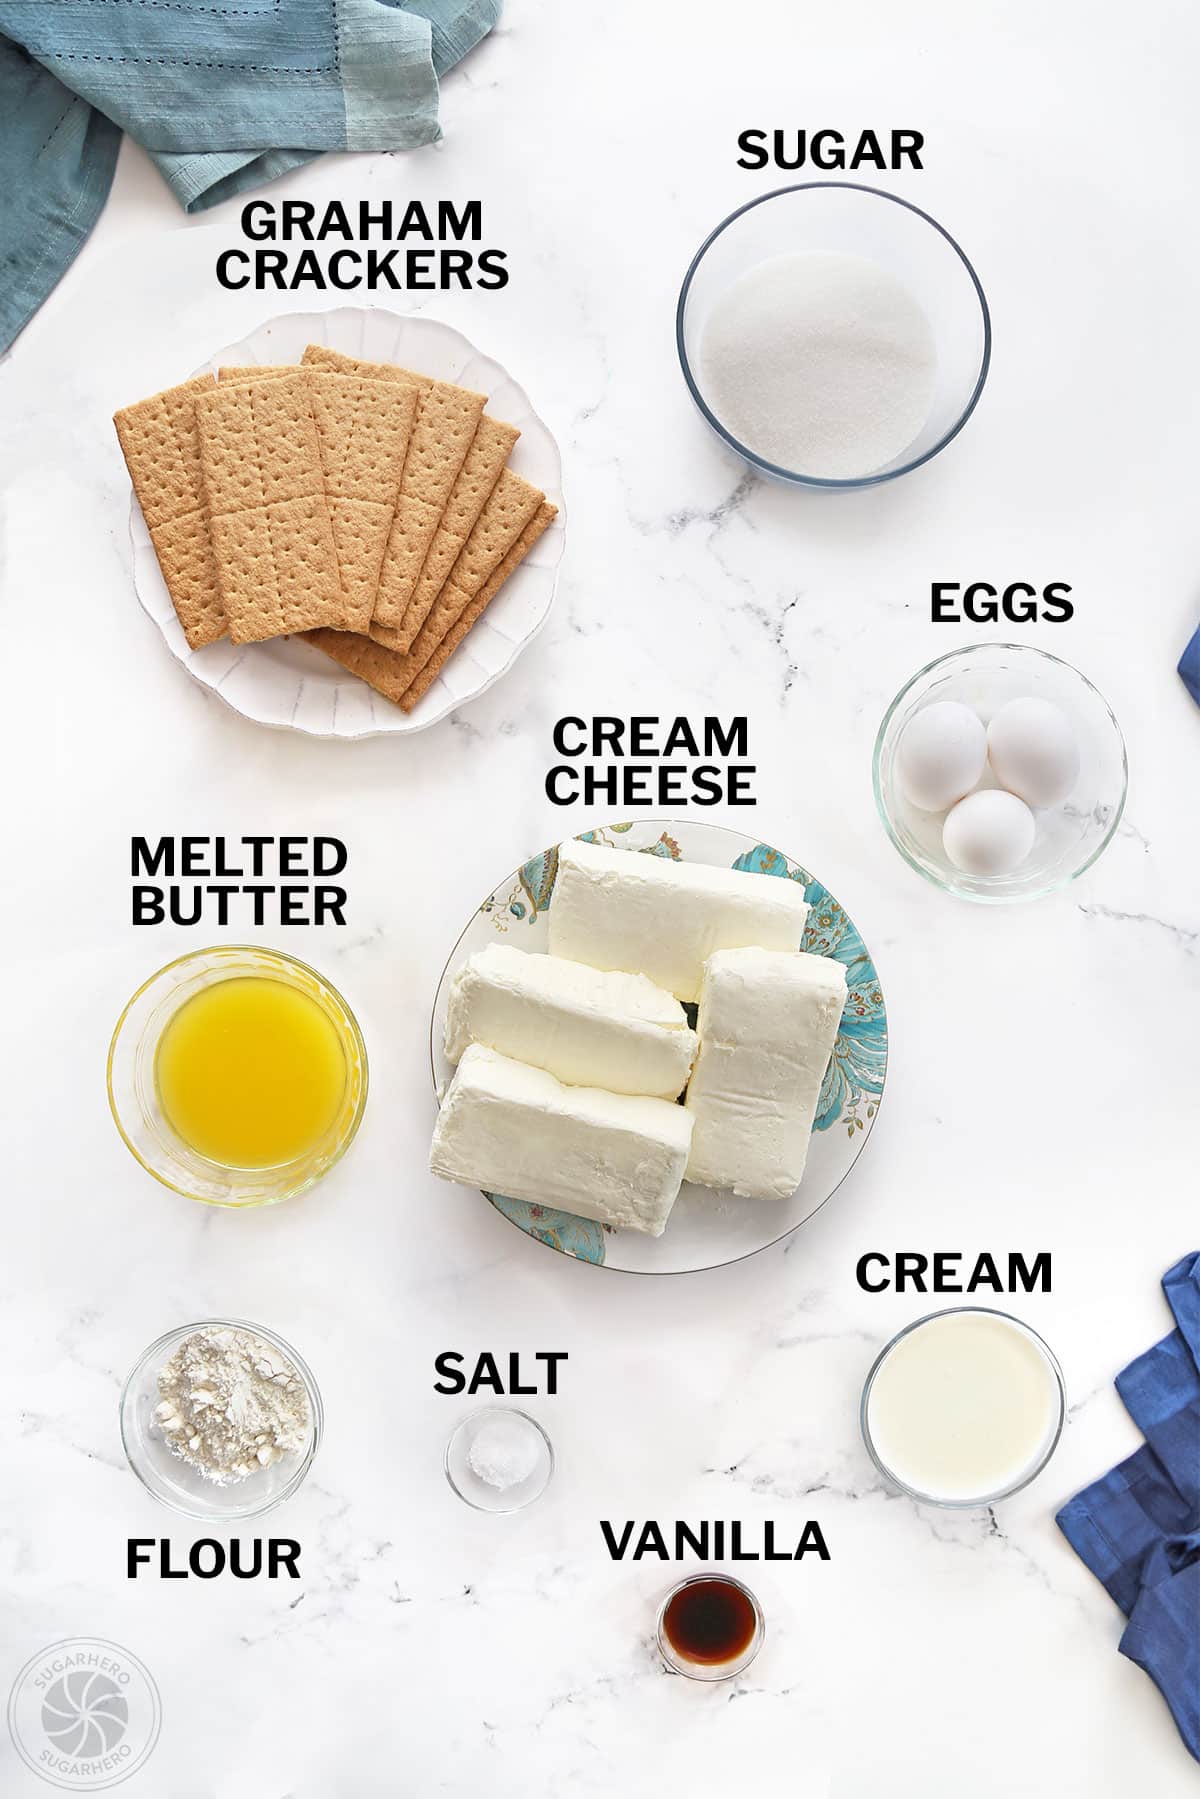
New York Cheesecake Ingredients
Here are some things to keep in mind as you put together your shopping list for this cheesecake recipe! (Links are affiliate links and I earn a small commission from qualifying purchases.)
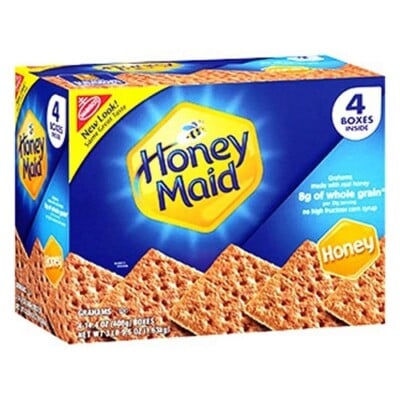
- Graham crackers: You’ll need enough graham crackers to yield 1 2/3 cups of crumbs for the crust. This usually works out to approximately 14 graham cracker sheets.
- Unsalted butter: I usually use unsalted butter for the crust, but salted butter also works fine.
- Granulated Sugar
- Flour: Just a little all-purpose flour works magic in the cheesecake batter. It makes the filling creamier and helps prevent cracks.
- Cream cheese: This is extremely important: be sure to use full fat blocks of cream cheese for the best results. Avoid “light” and “whipped” cream cheese, and any cream cheese sold in a tub. Some of these products have additives or stabilizers that will negatively impact your cheesecake’s texture. I recommend using Philadelphia brand cream cheese if possible. Also, make sure your cream cheese is at room temperature before you begin.
- Vanilla: New York cheesecake is all about the cream cheese flavor, so I typically only use vanilla extract for flavoring. However, you can experiment with other extracts, like orange, lemon, or almond.
- Cream: To get the super-creamy texture of this cheesecake right, you’ll want to use a high-fat cream, like heavy cream or double cream. A lower fat cream, like whipping cream or half-and-half will also work. I do not recommend using milk in place of cream.
- Eggs: You’ll want to use room temperature large eggs. Give them about 30 minutes to come to room temperature, or submerge them in warm water for 5 minutes before using them.
Equipment
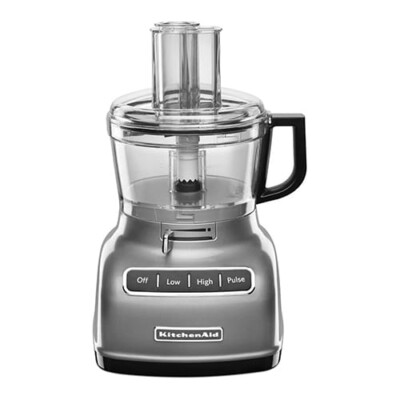
- Food processor: It’s helpful to have a food processor to make the graham cracker crumbs for the crust. If you don’t have one, you can also crush the crackers in a plastic bag with a rolling pin.
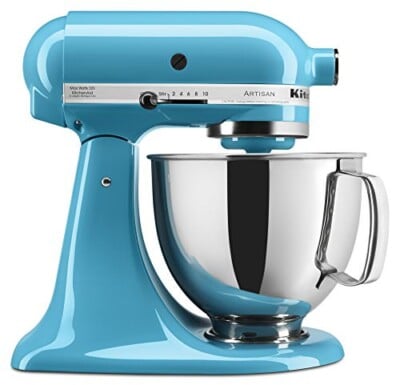
- Mixer: A mixer is necessary to achieve the ultra-smooth cheesecake texture. You can use either a hand mixer or stand mixer for this recipe.
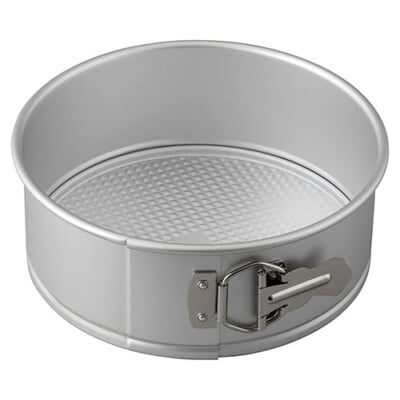
- Springform pan:A springform pan is a MUST for making cheesecakes. Unlike most cake pans, the sides of this pan expand so you can easily remove the cheesecake from the pan without damaging it. This recipe calls for an 8-inch springform pan, but you can also use a 9-inch springform pan to make a shorter cheesecake.
Ready to Make This?
- Get the recipe below 👇👇
- Scroll below the recipe for step-by-step photos
- Read helpful Tips and more
❤️ More Cheesecake Recipes
Leave a Review!
If you make this recipe, let us know! Leave a ⭐️⭐️⭐️⭐️⭐️ rating on the recipe below, and leave a comment, take a photo and tag me on Instagram @elabau, or use #sugarhero on IG!
New York Style Cheesecake
Ingredients
For the graham crust:
- 14 graham crackers, to yield 1 ⅔ cups (7.5 oz) crumbs
- 2.5 oz unsalted butter, melted (5 TBSP)
For the filling:
- 32 oz cream cheese, at room temperature, see Note below
- 7 oz granulated sugar, (1 cup)
- 0.80 oz all-purpose flour, (3 TBSP)
- 2 tsp vanilla extract
- ½ tsp salt
- 6 fl oz heavy whipping cream, (¾ cup)
- 3 large eggs, at room temperature
To serve:
- Strawberry sauce, optional
Instructions
To make the graham crust:
- Preheat your oven to 350° F (176° C). Prepare an 8-inch springform pan by spraying it generously with non-stick cooking spray, and set aside.
- In a food processor, add 14 graham crackers, and pulse until they are fine crumbs. Add in the melted butter and pulse until combined, or stir the crumbs and melted butter together in a small bowl.
- Pour the crumbs into the bottom of the springform pan and use the back of a spoon to press firmly into the bottom to form the crust. Bring the crumbs about 1 inch up the sides.
- Bake for 10 minutes in the 350° F oven, then remove and allow to cool.
To make the filling:
- Add the room temperature cream cheese bricks to the bowl of a stand mixer fitted with a paddle attachment, or a large bowl if using a hand mixer. Mix the cream cheese on medium speed for 2-3 minutes, until smooth and creamy.
- Add the sugar, flour, vanilla, and salt to the cream cheese, and mix until just combined. Scrape the sides and bottom of the bowl and mix for an additional 30 seconds.
- With the mixer on low speed, slowly pour in the heavy cream and mix until just combined. Then increase the speed to medium for 30-60 seconds.
- Whisk the eggs together in a small bowl. Add the eggs slowly with the mixer running on low. Mix just until combined–some streaks of eggs remaining are okay! Finish mixing by hand, scraping the bottom and sides of the bowl. Be careful not to overmix, and stir just until everything is incorporated.
- Pour the batter into the springform pan, on top of the cooled graham cracker crust, and smooth the top.
- Place the cheesecake in the oven, on a middle rack, and bake at 350° F for 15 minutes then, without opening the door, reduce the heat to 200° F (93° C) for an additional 50 minutes.
- Once the 50 minutes is up, turn off the oven and slightly crack the oven door and allow the cheesecake to cool slowly in the cooling oven for 20-30 minutes.
- Remove from the oven after 30 minutes, and allow the cheesecake to cool to room temperature. Transfer to the refrigerator to chill for at least 6 hours (overnight is even better!) to allow the cheesecake to completely set.
To serve:
- To remove the cheesecake from the springform pan, take a long spatula or butter knife, dip it in warm water, and slide it around the sides of the pan to release the cake.
- To get perfect cheesecake slices, run a large chef’s knife under hot water on both sides until it’s warm. Wipe off with a clean paper towel, then make your first slice. Repeat the process for the other slices until the cheesecake is fully cut.
- Serve with whipped cream, strawberry sauce, blueberry sauce, caramel sauce, or just enjoy it on its own!
- Store any leftovers in an airtight container in the refrigerator for up to a week.
Recipe Notes
Tips for Cheesecake Success
- Make your own graham cracker crumbs. Although you can purchase boxes of graham cracker crumbs, I think the crust turns out better when I crush my own crackers. Purchased graham crumbs tend to be more expensive, and the crumbs are coarser and sometimes taste stale.
- Use cream cheese bricks. You want full-fat cream cheese bricks for the best texture. “Whipped” or “light” cream cheese won’t have the same effect.
- Use room temperature ingredients. Make sure to bring the cream cheese and eggs to room temperature before using them in the cheesecake. This ensures that everything incorporates together easily without lumps.
- Add the eggs last and don’t overmix. When you add the eggs, you want to mix only just until the yolk disappears. Be sure to mix as little as possible after adding the eggs, because overmixing can result in a cracked cheesecake.
- Look for a jiggly center. You’ll know the cheescake is done when it is firm (set) around the edges and slightly jiggly in the center when you gently wiggle the pan.
- Cool slowly. To achieve a soft, creamy texture the cheesecake needs to finish cooking while it simultaneously cools. The cooling process is purposely very slow and extremely important. Ultimately, if it cools down too quickly, cracks will form on the surface. It will still taste good, but it just doesn’t look as pretty.
- Chill overnight. For the best results, let the cheesecake chill in the refrigerator overnight or for at least 6 hours before serving so that it can fully set.
- Cut with a warm knife. To get the perfect slice of cheesecake, run a large chef’s knife under hot water on both sides until warm. Wipe off with a clean paper towel, then make your first slice. Repeat the process for the other slices until the cheesecake is fully cut.
Measuring Tips
Our recipes are developed using weight measurements, and we highly recommend using a kitchen scale for baking whenever possible. However, if you prefer to use cups, volume measurements are provided as well. PLEASE NOTE: the adage “8 oz = 1 cup” is NOT true when speaking about weight, so don’t be concerned if the measurements don’t fit this formula.
Want to learn more about baking measurements and conversion?
Nutrition
📷 Photo Tutorial: How to Make New York Style Cheesecake
Here’s a step-by-step photo guide to making perfect New York cheesecake. Full, printable instructions are included in the recipe card above.


Make the Graham Cracker Crust
- Prepare to bake. Preheat the oven to 350ºF (176ºC) and spray an 8″ springform pan with non-stick cooking spray.
- Prepare graham cracker crumbs. Place graham crackers in a food processor and pulse into a fine crumb. Alternately, place the crackers in a plastic bag and crush them into a fine crumb with a rolling pin.
- Mix crumbs and butter. Combine graham cracker crumbs and melted butter, and stir until the crumbs are evenly moistened. The crumb mixture should have the appearance of wet sand.
- Press crust into pan. Pour the crumb mixture into the bottom of the greased springform pan. Use the back of a spoon or measuring cup to press the mixture firmly into the bottom and slightly up the sides of the pan.
- Bake and cool. Bake for 10 minutes at 350ºF (176ºC), then remove from the oven, and let cool completely.


Make the Cream Cheese Filling
- Add cream cheese to mixer bowl. Add the room temperature cream cheese to the bowl of a large stand mixer. And yes, this is a lot of cream cheese!
- Beat cream cheese. Beat the cream cheese on medium speed using a paddle attachment for 2-3 minutes, until smooth and creamy. This is your chance to avoid any lumps in your cream cheese, so don’t skip this step.


- Mix in sugar, flour, salt and vanilla. Add the sugar, flour, salt and vanilla to the bowl of cream cheese, and mix just until combined. Scrape down the sides of the bowl and the beaters.
- Slowly pour in heavy cream. With the mixer running on low, slowly stream in the heavy whipping cream and mix until combined, then raise the speed and mix on medium speed for 30-60 seconds, until everything is well-incorporated.


- Whisk eggs. Mix the eggs together in a small bowl using a whisk or fork. Mixing the eggs together first helps reduce overmixing the cheesecake batter and possible cracks while baking.
- Slowly add the eggs. Add the eggs slowly with the mixer running on low. Mix just until combined–some streaks of eggs remaining are okay! Finish mixing by hand, scraping the bottom and sides of the bowl. Be careful not to overmix, and stir just until everything is incorporated.


Bake the Cheesecake
- Pour batter in pan. Pour the batter into your springform pan with the baked and cooled graham cracker crust and smooth the top.
- Bake for 15 minutes at 350ºF. Place the cheesecake in the oven on the middle rack and bake at 350ºF for 15 minutes.
- Reduce oven temp and continue baking. Reduce the heat (without opening the door) to 200ºF (93ºC) and cook for an additional 50 minutes.
- Turn off heat and crack oven door to begin cooling. Once the 50 minutes is up, turn off the oven, slightly crack the oven door open, and allow the cheesecake to cool slowly in the oven for 20-30 minutes. See tips below for more information about the cooling process.
- Continue cooling on the counter. After 20-30 minutes, you can remove the cheesecake from the oven and allow it to cool completely on the counter to room temperature.
- Chill cheesecake. Once cooled, transfer the cheesecake to the refrigerator and chill for at least 6 hours–overnight is even better.
Slice and Serve the Cheesecake
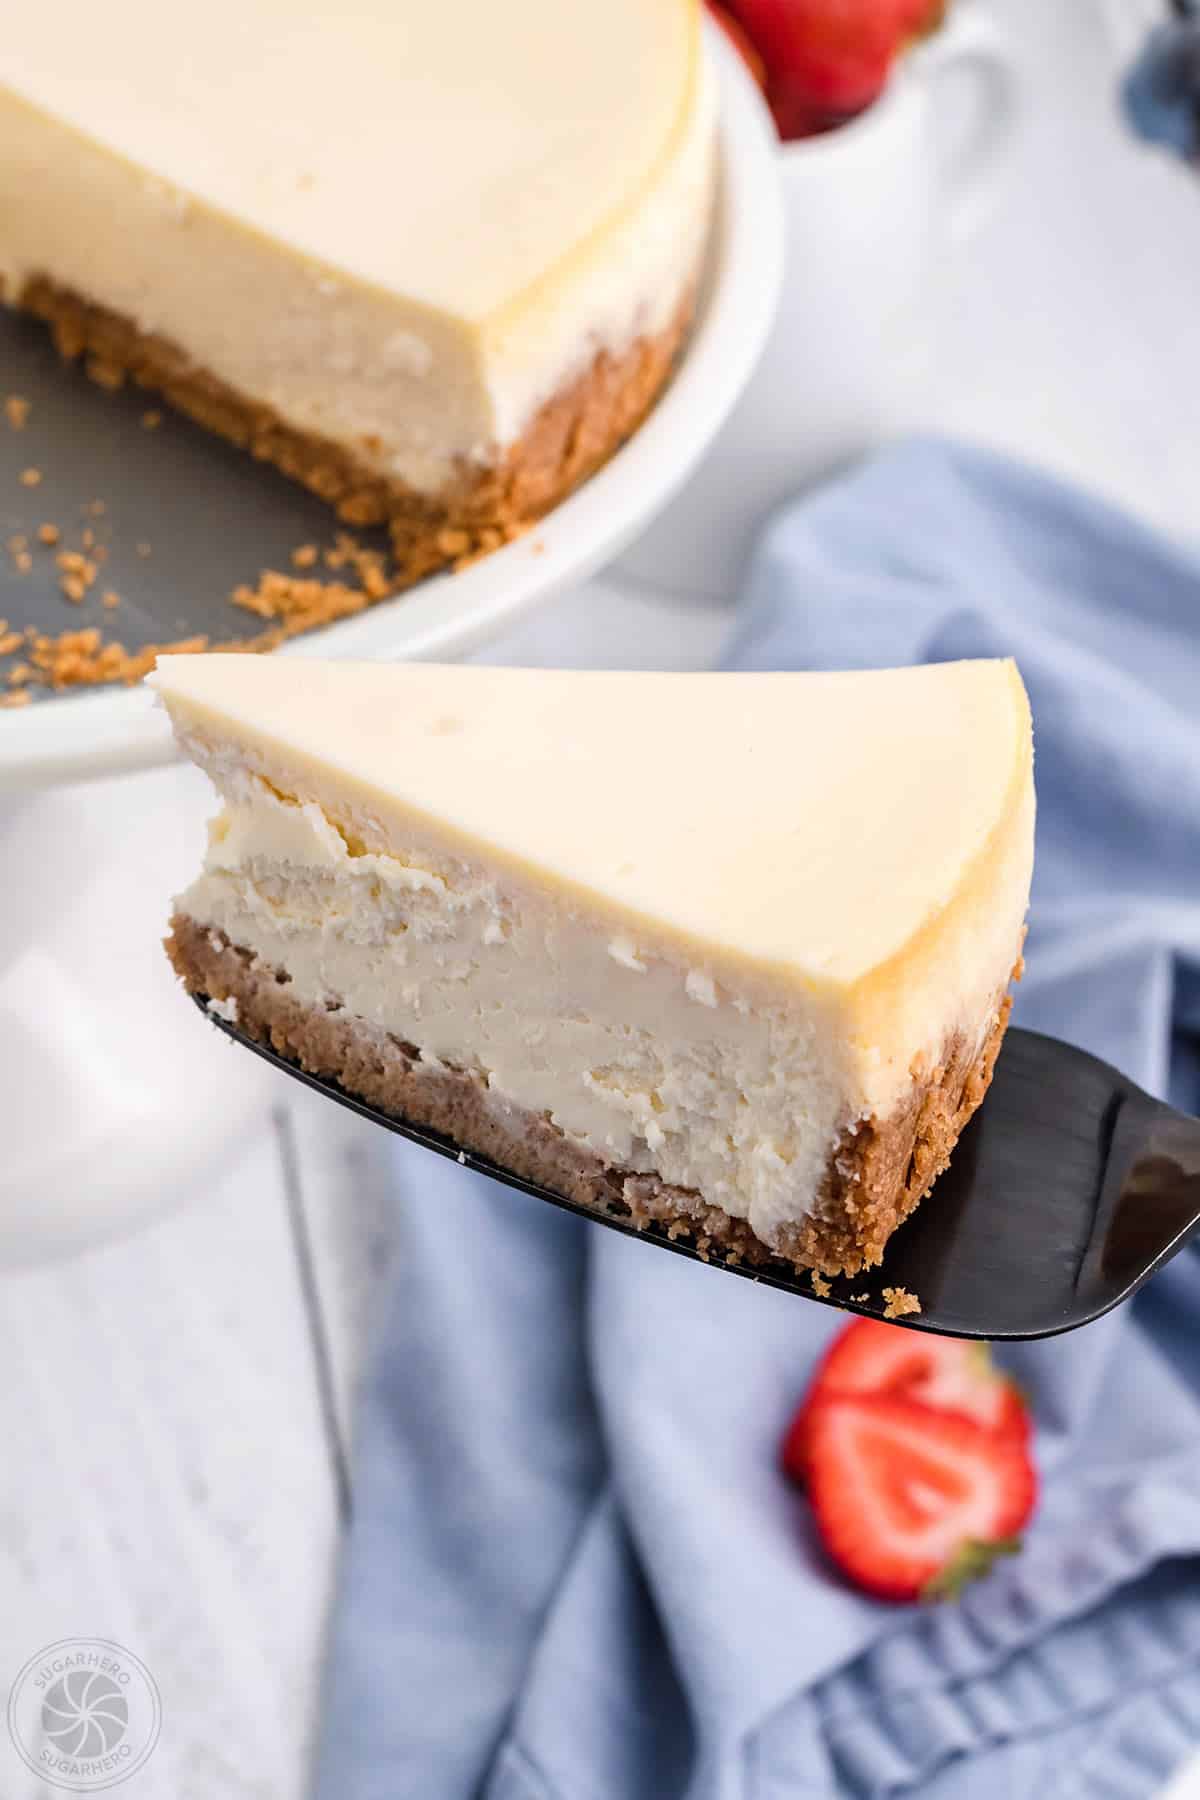
- Release cheesecake from pan. Remove the cheesecake from the springform pan by taking a long spatula or butter knife dipped in warm water and slide it around the sides of the pan to release the cake.
- Slice with warm knife. Cut the cheesecake into slices with a warm, sharp chef’s knife.
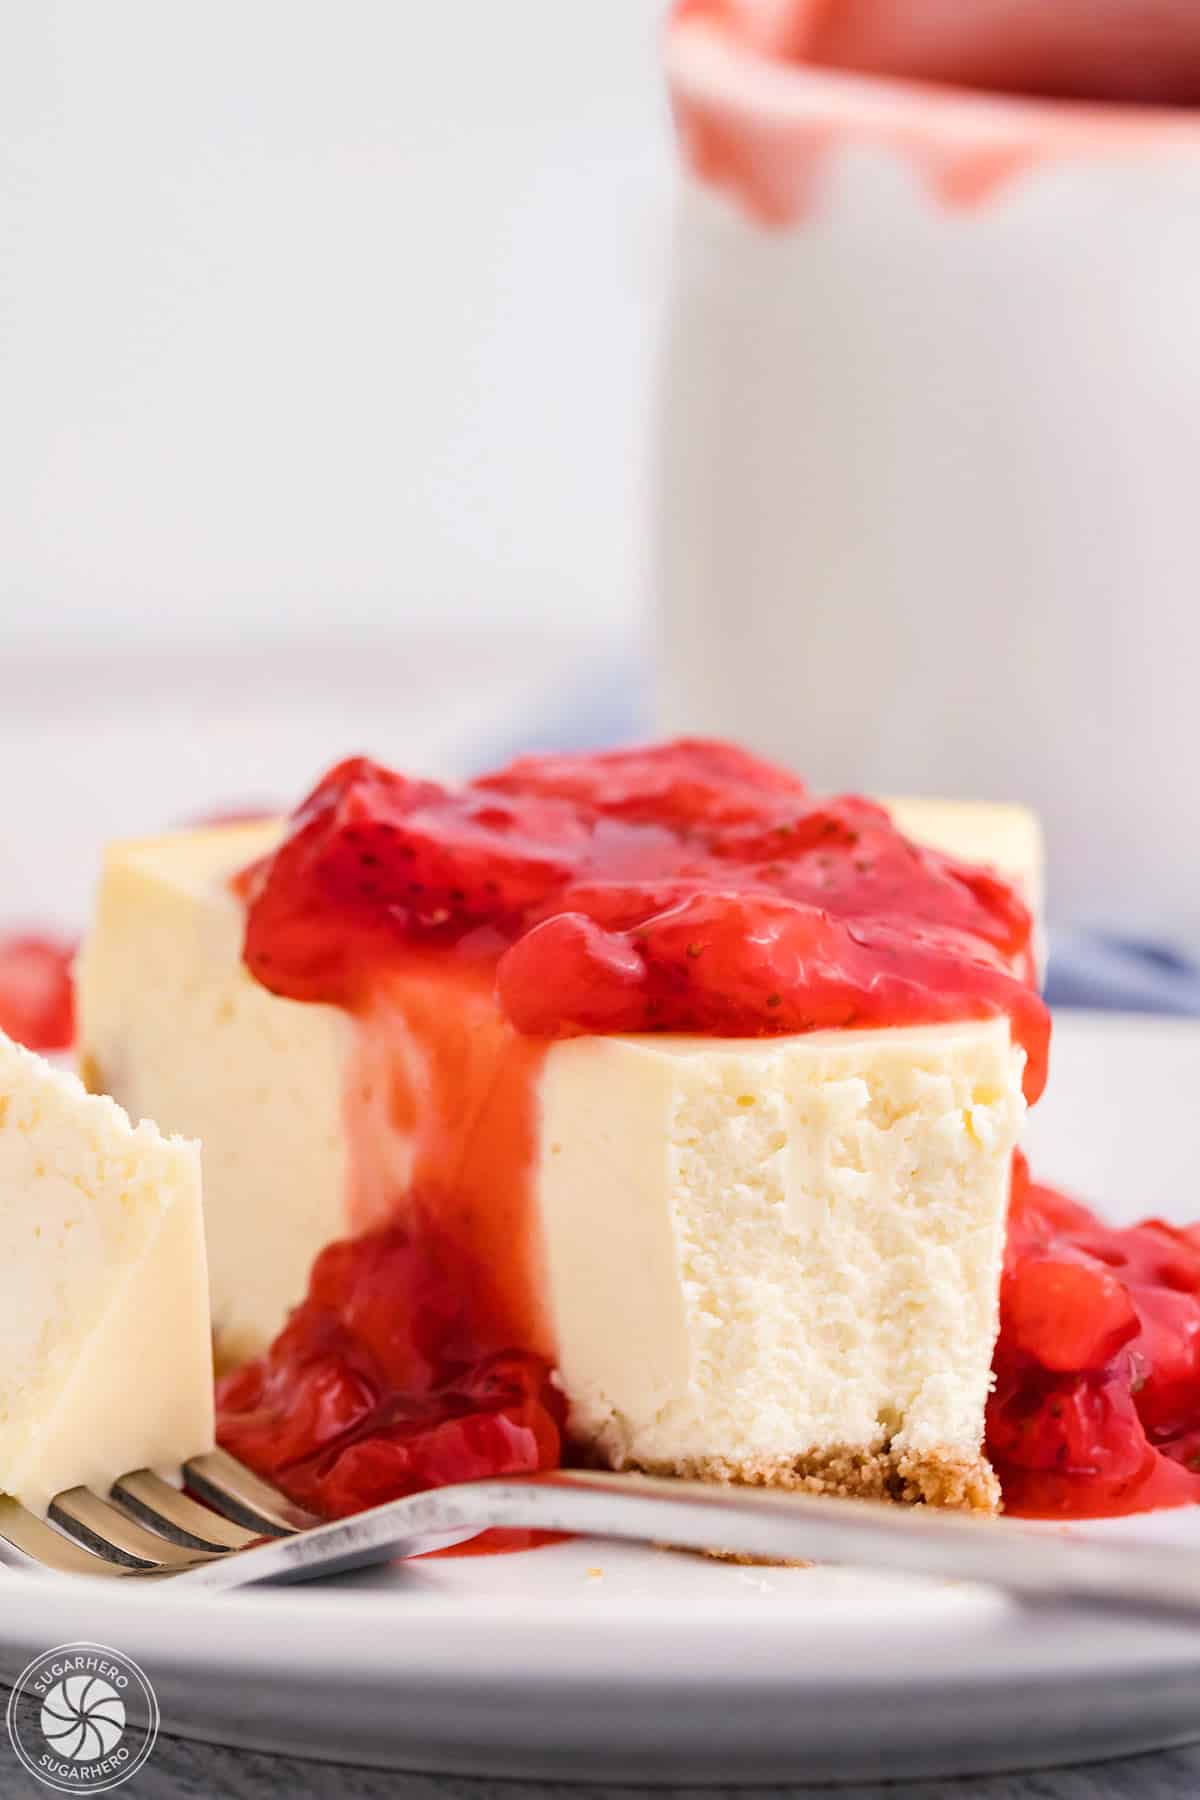
- Enjoy! Serve plain or topped with strawberry sauce or other toppings.
💡 Top Tips for Perfect Cheesecake
Here are our top baking tips for making the perfect cheesecake:
- Make your own graham cracker crumbs. Although you can purchase boxes of graham cracker crumbs, I prefer to make my own by using a food processor or crushing them with a rolling pin. Purchased graham crumbs tend to be more expensive, and the crumbs are coarser and sometimes taste stale. For more tips on making the perfect graham cracker crust check out my Homemade Graham Cracker Crust Tutorial.
- Use cream cheese bricks. You want full-fat cream cheese bricks for the best texture. “Whipped” or “light” cream cheese won’t have the same effect.
- Use room temperature ingredients. Make sure to bring the cream cheese and eggs to room temperature before using them in the cheesecake. This ensures that everything incorporates together easily without lumps.
- Add the eggs last, and don’t overmix. When you add the eggs, you want to mix only just until the yolk disappears. Be sure to mix as little as possible after adding the eggs, because overmixing can result in a cracked cheesecake.
- Look for a jiggly center. You’ll know the cheescake is done when it is firm (set) around the edges and slightly jiggly in the center when you gently wiggle the pan.
- Cool slowly. To achieve a soft, creamy texture the cheesecake needs to finish cooking while it simultaneously cools. The cooling process is purposely very slow and extremely important. Ultimately, if it cools down too quickly, cracks will form on the surface. It will still taste good, but it just doesn’t look as pretty.
- Crack the oven door. As part of the gradual cooling process you will turn off the oven after the initial 50 minutes of bake time. You might be tempted to take the cheesecake out but instead all you need to do is crack the oven door open and let it sit for another 20-30 minutes in the slowly cooling oven.
- Chill overnight. For the best results, let the cheesecake chill in the refrigerator overnight or for at least 6 hours before serving so that it can fully set.
- Cut with a warm knife. To get the perfect slice of cheesecake, run a large chef’s knife under hot water on both sides until warm. Wipe off with a clean paper towel, then make your first slice. Repeat the process for the other slices until the cheesecake is fully cut.
💡 FAQs
If you’ve never heard of “New York style cheesecake” before, you might be looking at these photos and descriptions and wondering what makes this particular cheesecake different from any other. The main difference between traditional cheesecake and New York style cheesecake comes down to one simple ingredient: sour cream.
Traditional cheesecake has a lighter, silkier texture because the filling is made from a combination of sour cream and cream cheese.
New York style cheesecake, on the other hand, is typically made without sour cream, so all of the tangy dairy flavor comes from cream cheese. This results in a richer, creamier, and denser texture. Although both types of cheesecake are similar, New York style cheesecake is an overall more indulgent dessert.
Fridge: Leftover baked cheesecake will last for up to 1 week in the fridge.
Freezer: To freeze cheesecake, wrap it in plastic wrap followed by foil, then place it in a ziplock bag and store it in the freezer. Thaw overnight in the fridge before serving. It can be frozen for up to 3 months.
💭 Variations
This New York cheesecake is delicious as-is, but if you’re looking to switch things up a bit, here are some other ideas:
- Make it chocolate-y. Add chocolate chips or swirl in a couple spoonfuls of chocolate espresso sauce.
- Use another crust. Swap the graham crackers out for pretzels, gingersnaps, Nilla wafers, or use Oreos to make an Oreo crust.
- Top it with whipped cream. Cool Whip is always an option, or you can give it a flavor twist with homemade mocha whipped cream or lemon whipped cream.
- Make a fruity filling. Swirl your favorite fruity jam into the batter before you bake it.








Fantastic cheesecake recipe! This has become my go-to sweet tooth recipe!
I love hearing this! Thanks for your comment Tavo!
Cheesecake is my all-time favourite dessert. I used to make a full cheesecake every week or two. I like mine with some lemon zest in the filling.
Oooo I love lemon zest as well! Thanks for sharing 🙂
Oh my goodness, I am already drooling over this just by looking at the pictures!
Hey I do the same when cheesecake is involved 😉 Thanks Jess!
Wow! I wish I had a slice of this right now! 🙂 It looks perfect.
Thanks Carrie! It is one I make often to satisfy my sweet tooth 🙂
Oh WOW, what a delicious looking cheesecake. I can’t wait to try this recipe. My son loves cheesecake. Thank you for this lovely recipe. I’ll let you know how it goes….
Please do! I enjoy hearing everyones take on this cheesecake!
Seriously delicious flavour and texture, the whole family loved this cheesecake!
Yay! It’s always a win when the whole family likes something! Thank you for your comment 🙂
The cake is amazing when it’s cooked properly. I have been using this recipe for about a month or so. My only complaint is it’s always raw when I follow the directions and I have to put it back in the oven for around an hour. I don’t know if that’s because I use xylitol.
Hi Mckenna! Thanks for sharing your experience with this recipe. I haven’t ever made the recipe with xylitol so I can’t say that’s the problem for sure, but it could be. An extra hour of cooking seems like a lot. Do you happen to have an oven thermometer? It might be worth checking how well the oven is maintaining temperature. Good luck!