
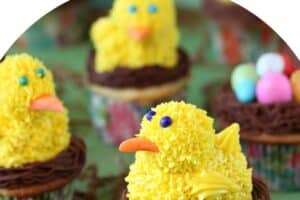
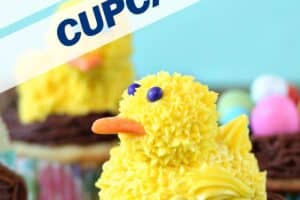
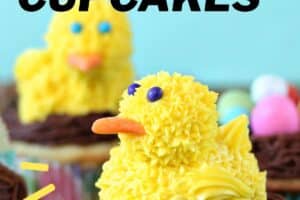
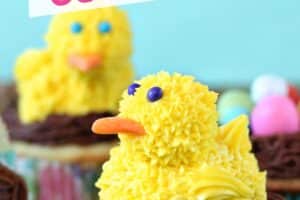
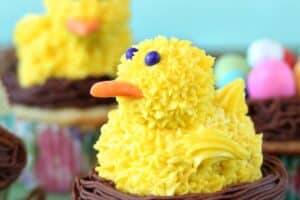


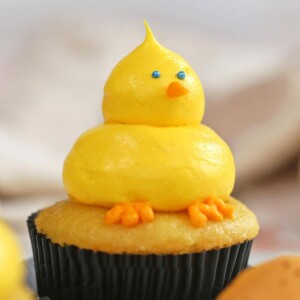
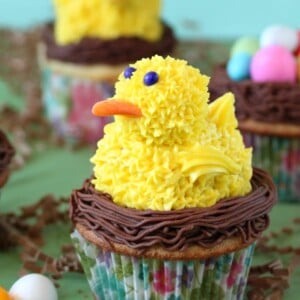
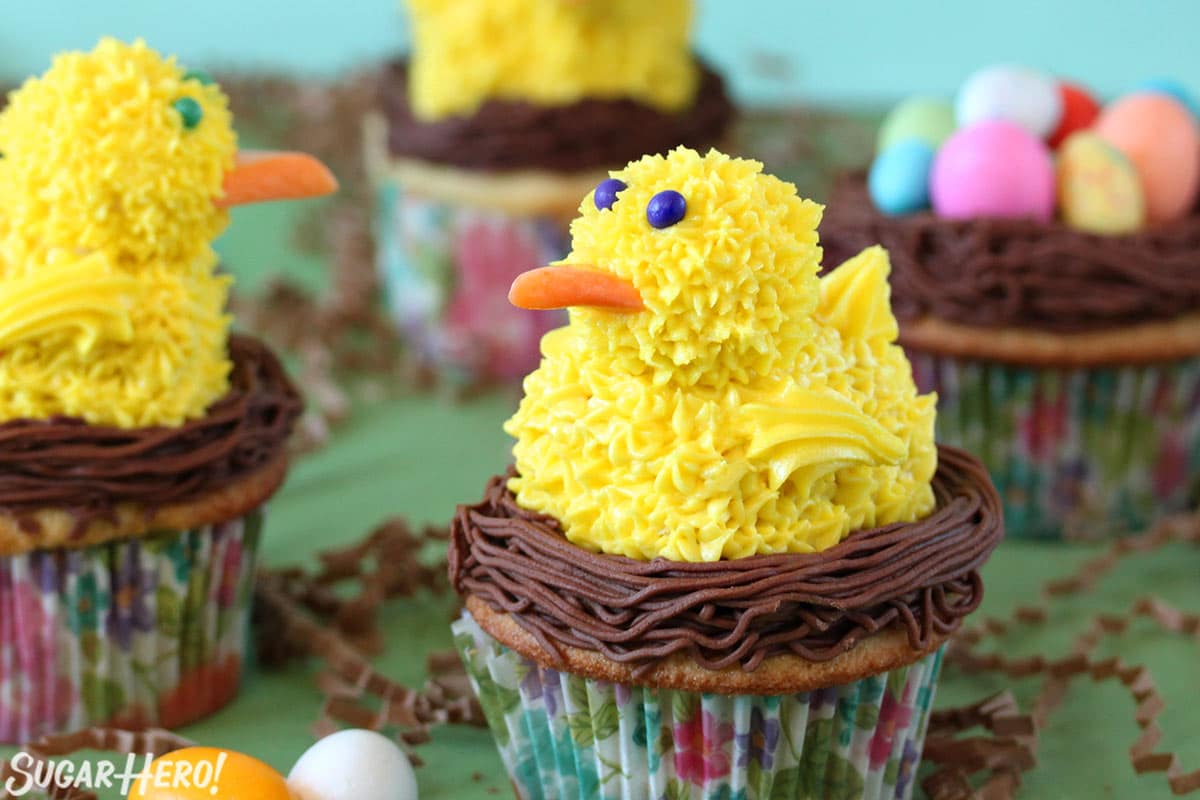
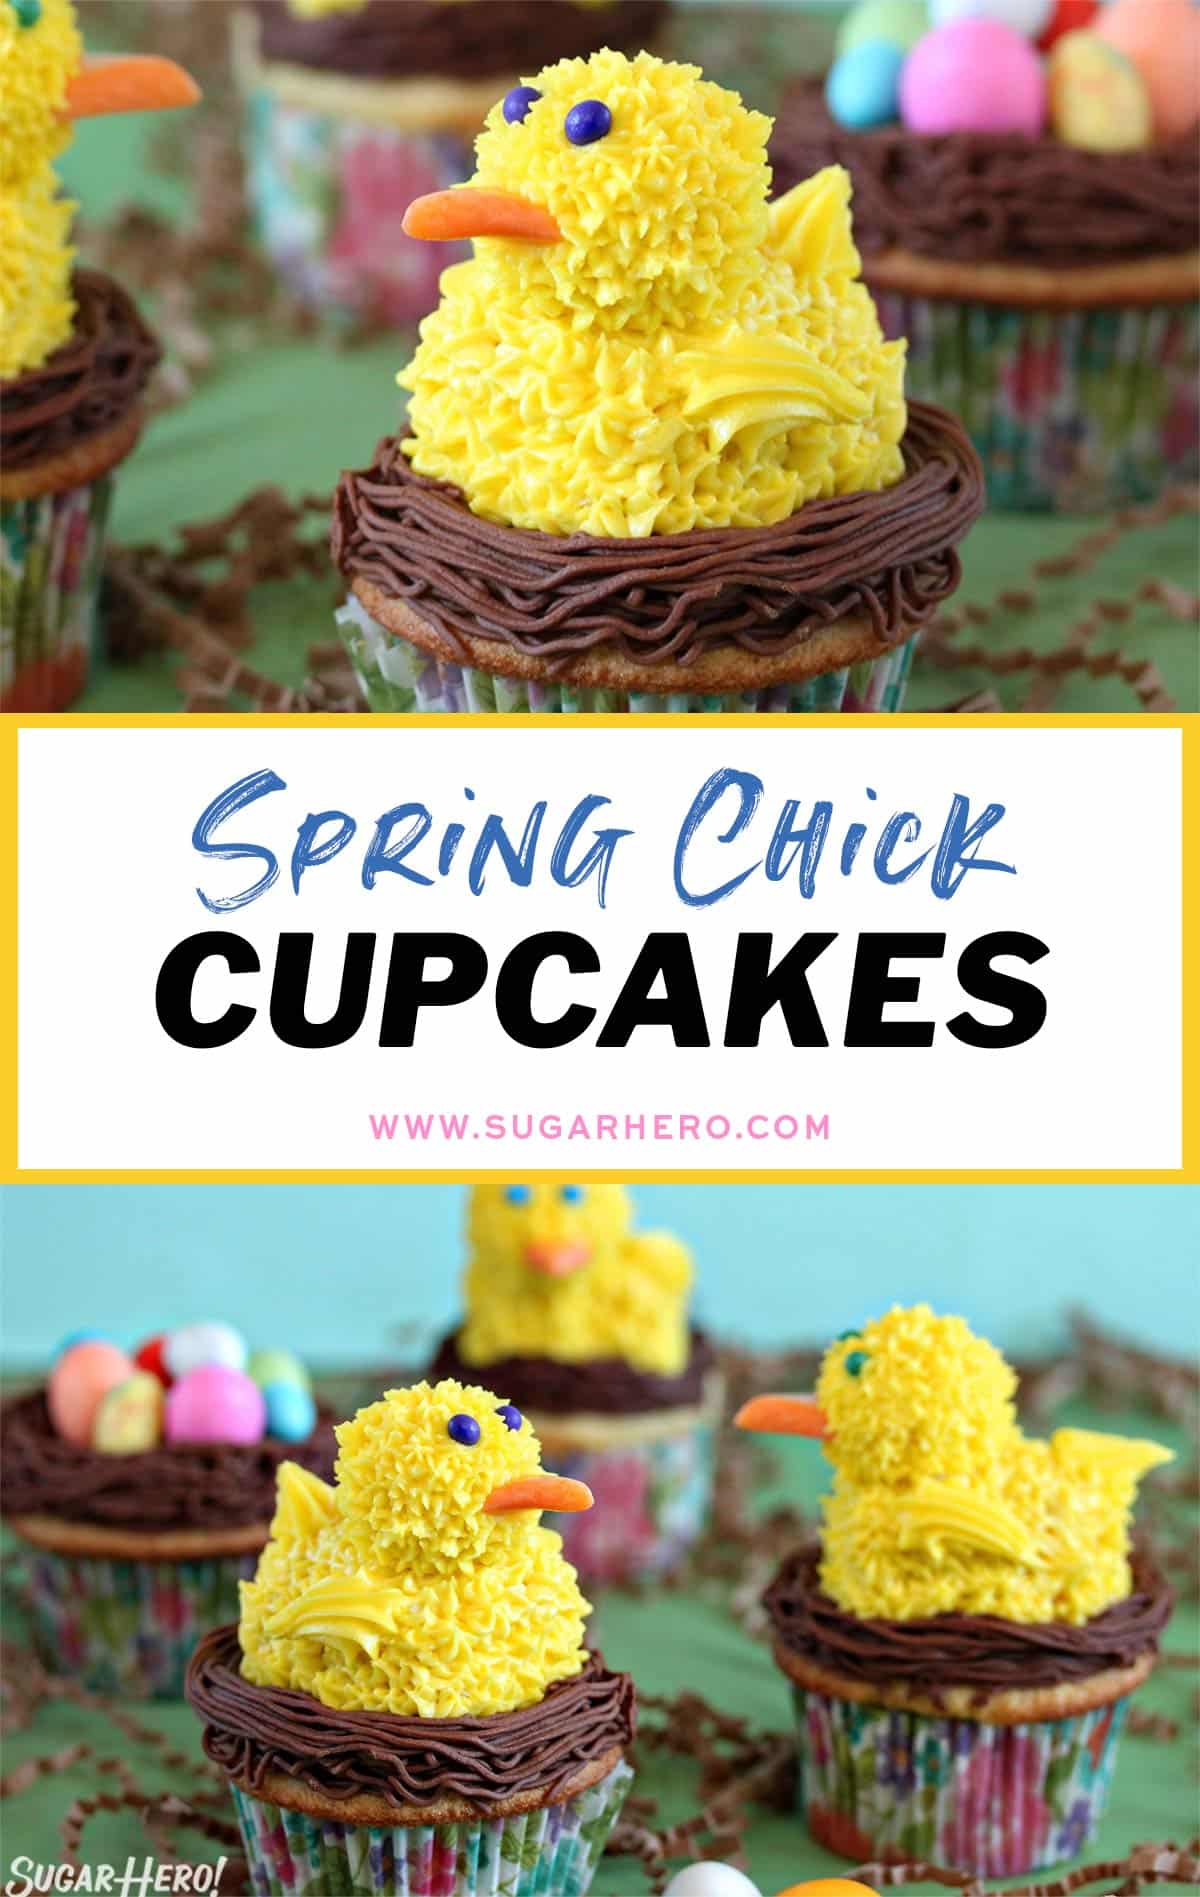
Spring Chick Cupcakes are a fun spring or Easter cupcake recipe. They start with a moist yellow cupcake, topped with a buttercream nest, and finished with a fuzzy yellow chick on top. They’re part recipe, part edible craft, and completely delicious!
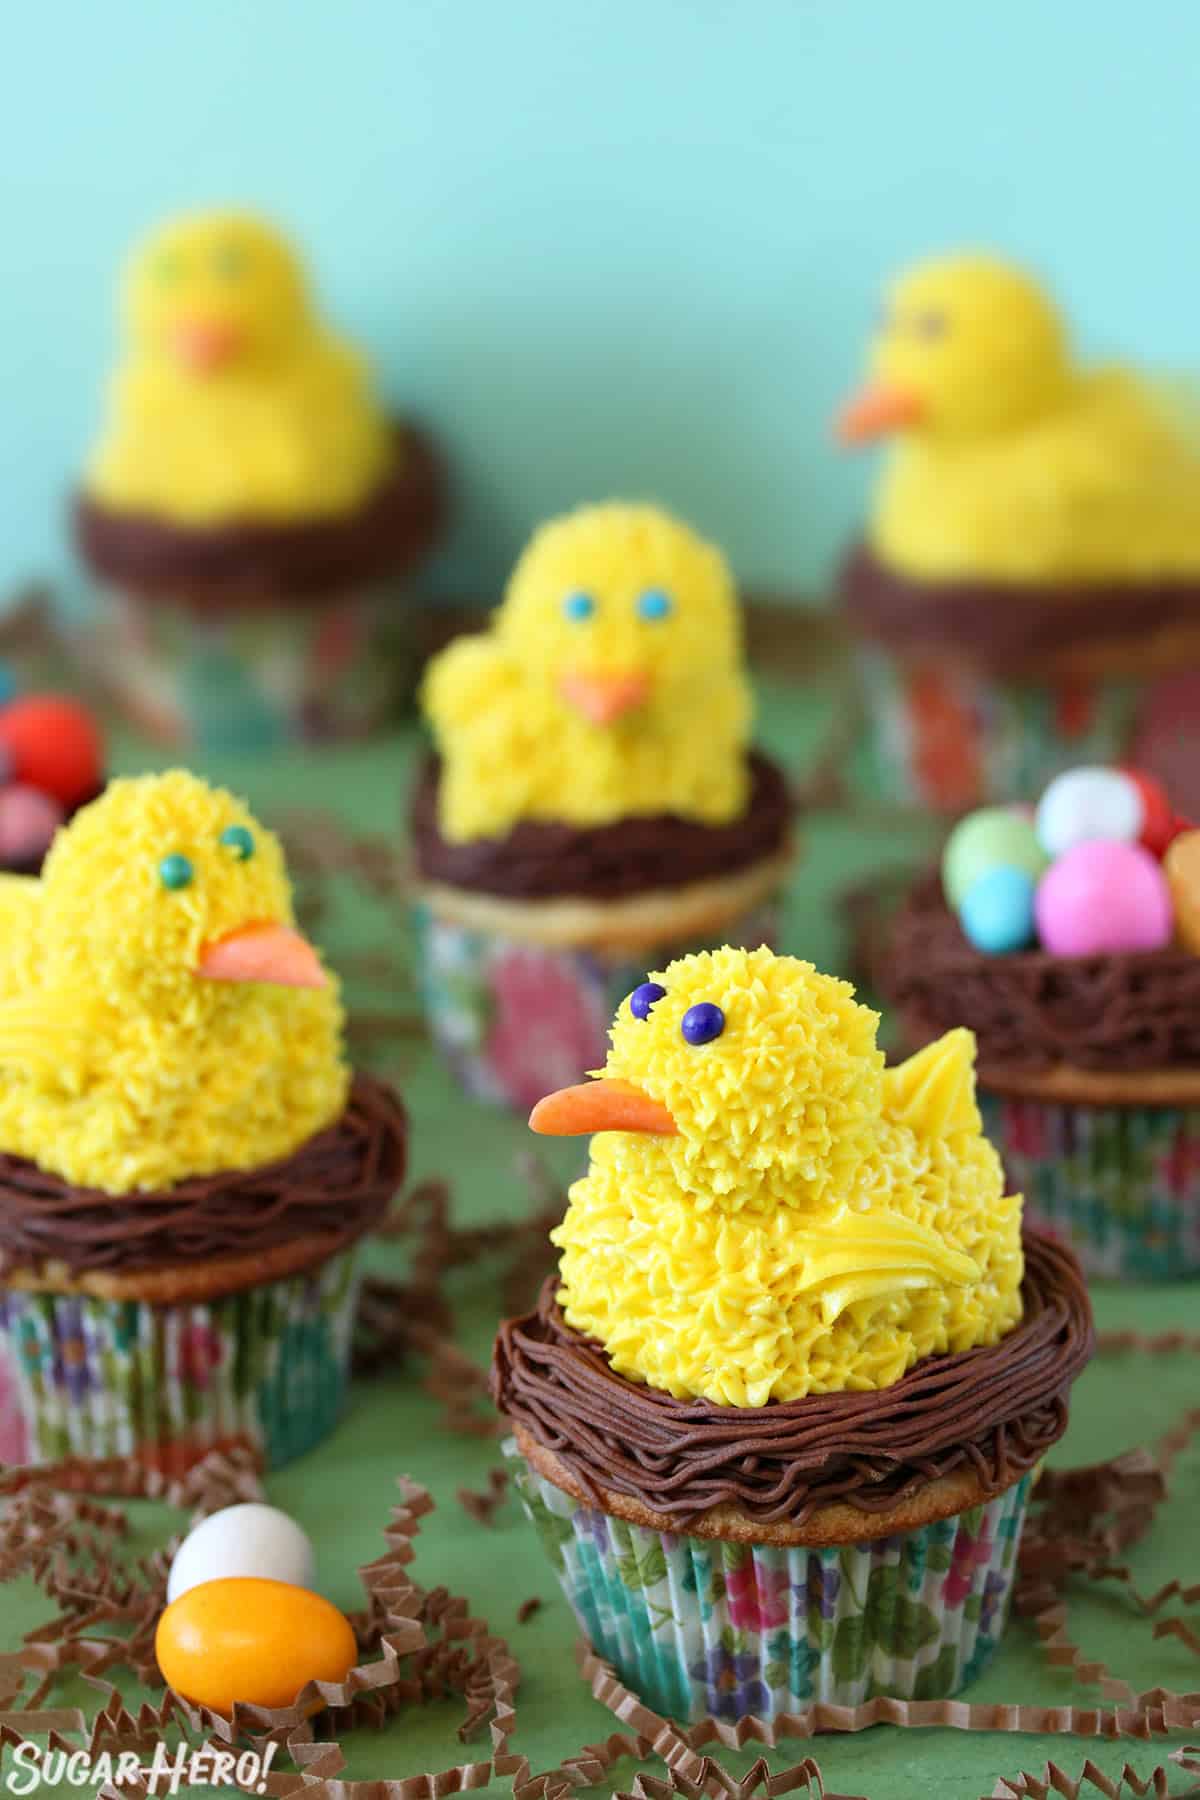
🐥 Peep These Easter Chick Cupcakes
These Spring Chick Cupcakes are what you might call “semi-homemade.” The cupcakes and frosting are made from scratch (although you’re free to cheat and swap in a cake mix for the cupcakes—I’ll never tell!)
But then the hard work’s over – the bodies, heads, and decorations on the chicks are made from store-bought goodies like Twinkies, truffles, and candy. Yum!
I don’t mean to make these sound like they’re a kids-only treat, because I think they’re perfect for any spring or Easter party. Who wouldn’t welcome a platter of these little guys at a spring potluck, Easter brunch, or egg hunt?
More Easter Cupcakes
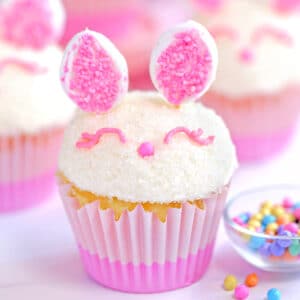
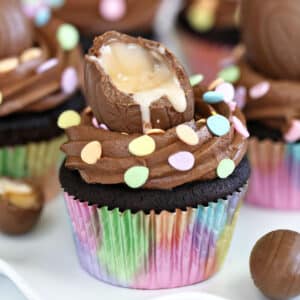
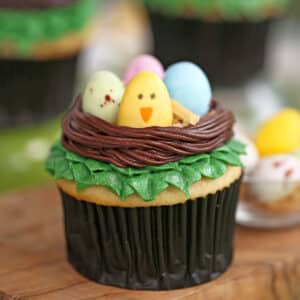
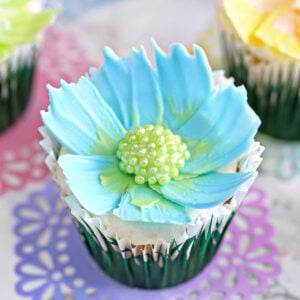
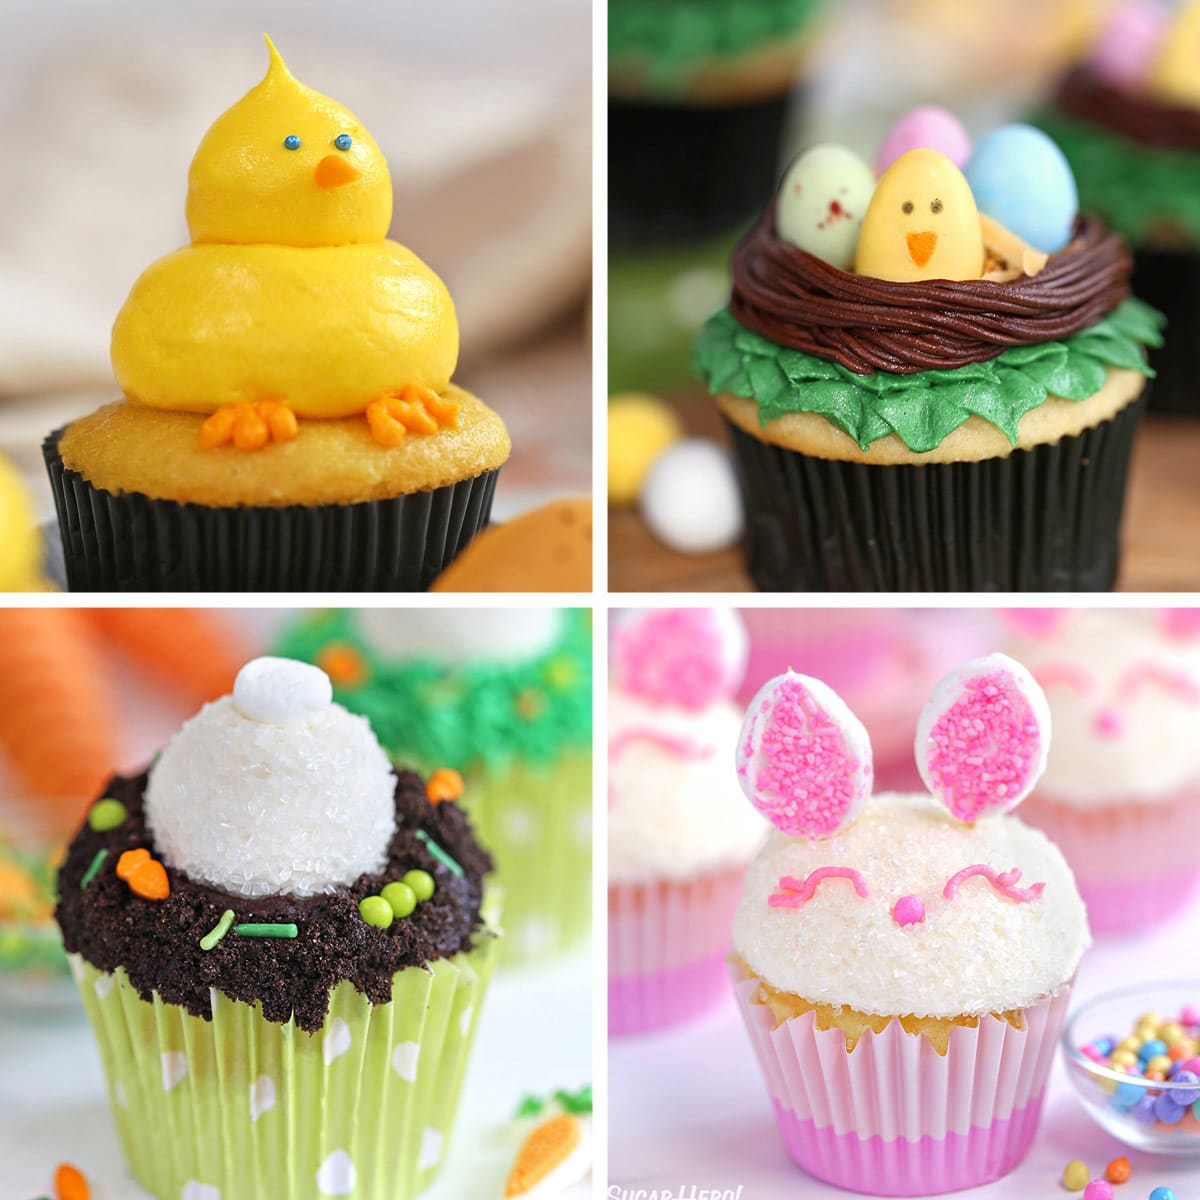
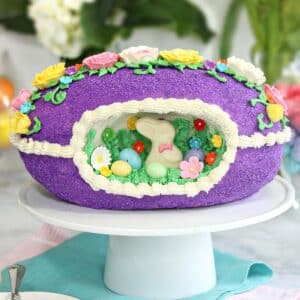
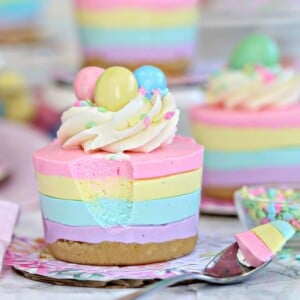
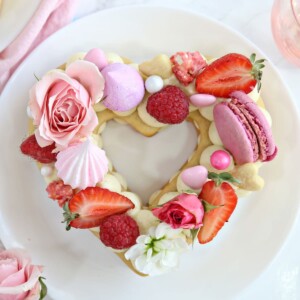
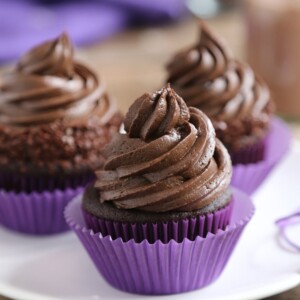
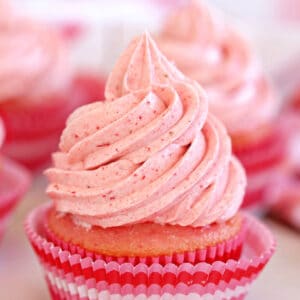
Don’t miss our other Easter cupcake recipes, like Double Chocolate Easter Cupcakes, Easter Bird’s Nest Cupcakes, Easter Bunny Cupcakes, Bunny Butt Cupcakes, Baby Chick Cupcakes, and Easy Chocolate Flower Cupcakes!
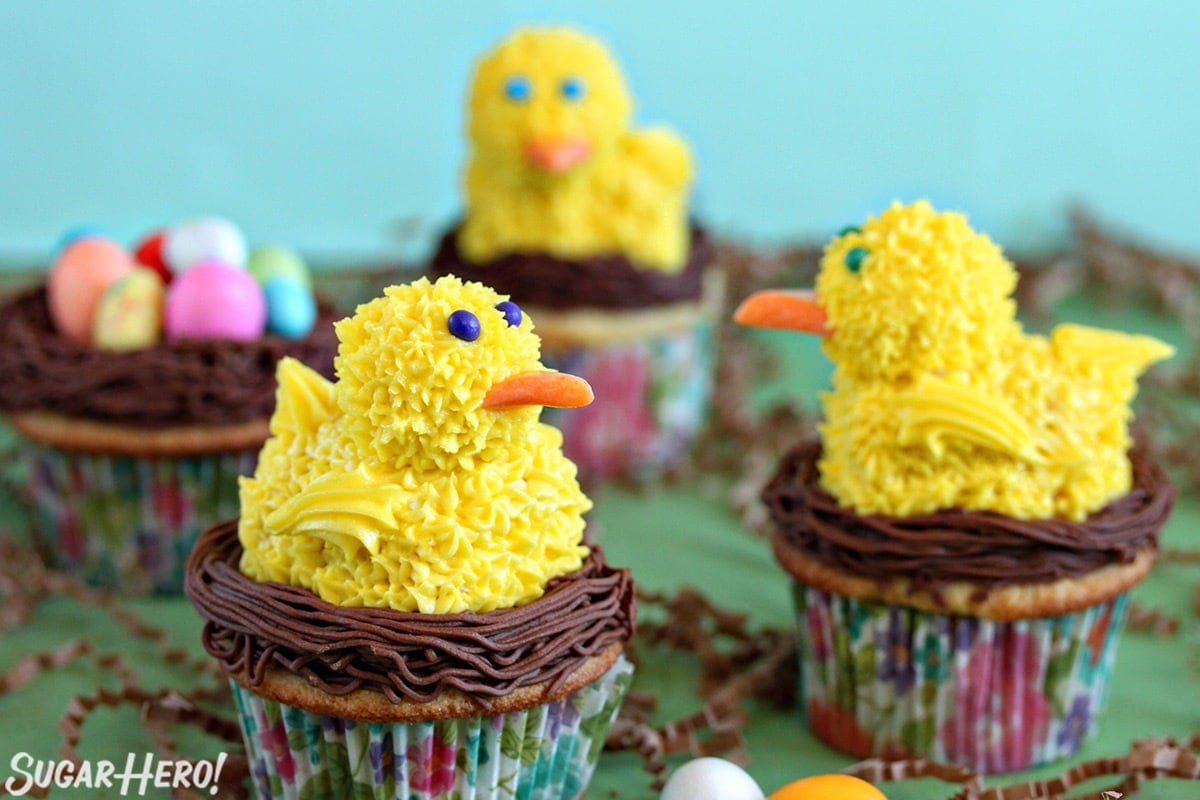
Table of Contents
🧾 What You’ll Need
Ingredients
These cupcakes require mostly baking basics, with a few ready-made treats thrown in. Here’s a few tips about ingredients and substitutions: (Links are affiliate links and I earn a small commission from qualifying purchases.)
- Unsalted butter: Using butter instead of oil gives the cupcakes more flavor, makes them less prone to a greasy texture, and also makes them sturdy enough to hold decorations on top. I always recommend unsalted butter, but if salted is what you have, omit the salt from the recipe to compensate.
- Eggs: Use large eggs, and for the best results, have them at room temperature before beginning.
- Sour cream: Adding sour cream to the batter makes them extra-soft and tender, and I love the very subtle tang it gives to them. Make sure your sour cream is at room temperature so everything blends together nicely.
- Powdered sugar:This is my powdered sugar of choice! It’s made from cane sugar instead of beet sugar, and produces smooth, consistent results.
- Unsweetened chocolate: The buttercream uses unsweetened chocolate to give it a deep, rich chocolate flavor. If you don’t have unsweetened, you can use a bittersweet chocolate instead, your frosting will just be a little sweeter.
- Twinkies: the chick’s bodies are built around Twinkies snack cakes. You can swap in other snack cakes, or use a mini cupcake or muffin instead. The important thing is to find something that’s the right size for your chick base.
- Lindt chocolate truffles: We’re using Lindt white chocolate truffles for the chick’s head.
- Orange Starbursts: Orange starburst candies are used to make the chick’s beaks.
- Candy eyeballs: I used colored rainbow chips for the eyes, but small candy eyeballs are another good choice.
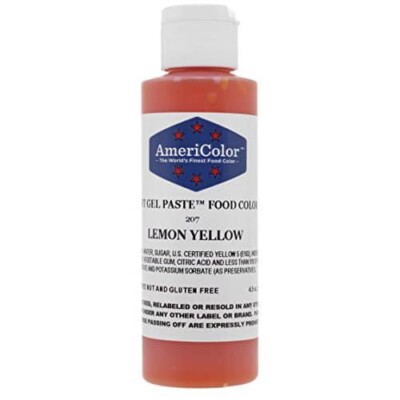
- Yellow gel food coloring:I used Americolor Lemon Yellow Gel Food Coloring. I recommend gel food coloring because it’s more concentrated, so you have to use less to get bright, vibrant colors.
Equipment
- Mixer: You will need some kind of mixer to make the cake batter and frosting. Either a stand mixer or hand mixer will work fine.
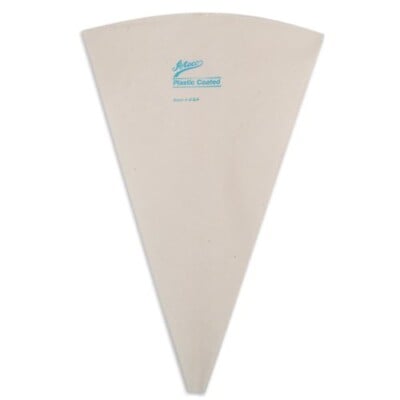
- Piping bags: I like these disposable piping bags (I wash them and re-use them to reduce waste!). You’ll also need couplers to keep the tips and the bags securely fastened.
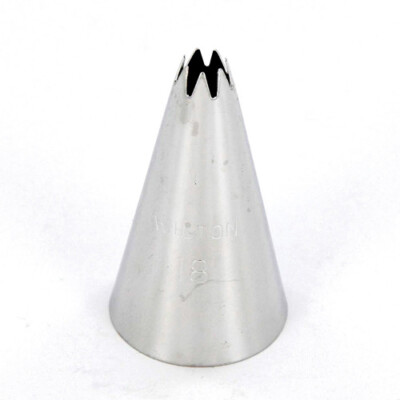
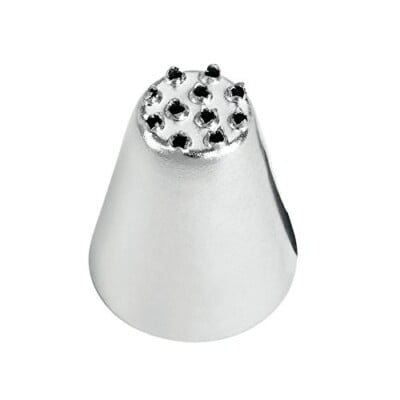
- Piping tips: I recommend using small star tip #18 and a multi opening grass tip to create the look of these chick cupcakes.
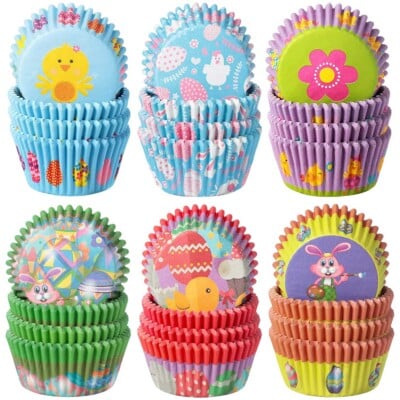
- Cupcake pan and wrappers: If you don’t already have a cupcake baking pan at home, I recommend this Faberware non-stick cupcake pan. It’ll make cleanup less of a headache – especially if you use some springy Easter cupcake wrappers as well.
🥕 More Easter Cupcakes
Leave a Review!
If you make this recipe, let us know! Leave a ⭐️⭐️⭐️⭐️⭐️ rating on the recipe below, and leave a comment, take a photo and tag me on Instagram @elabau, or use #sugarhero on IG!
Spring Chick Cupcakes
Ingredients
FOR THE CUPCAKES:
- 10.66 oz all-purpose flour, (2 1/2 cups)
- 1 tsp baking powder
- 1/2 tsp baking soda
- 1/2 tsp salt
- 8 oz unsalted butter, (1 cup), at room temperature
- 14 oz granulated sugar, (2 cups)
- 4 large eggs, at room temperature
- 1 TBSP vanilla extract
- 8 oz sour cream, (1 cup), full fat
FOR THE BUTTERCREAM:
- 24 oz powdered sugar, (6 cups)
- 8 oz unsalted butter, (1 cup), at room temperature
- 4 TBSP milk, plus more if necessary
- 2 tsp vanilla extract
- 1/4 tsp salt
- 4 oz unsweetened chocolate, finely chopped
- Yellow gel food coloring
TO DECORATE:
- 12 Twinkies
- 24 Lindt white chocolate truffles
- 6 orange Starburst candies
- 48 small candy eyeballs, or small rainbow baking chips
Instructions
TO MAKE THE CUPCAKES:
- Preheat the oven to 350 F. Line cupcake pans with 24 liners. Sift together the flour, baking powder, baking soda, and salt in a medium bowl. Set aside for now.
- Combine the butter and sugar in the bowl of a large stand mixer fitted with a paddle attachment. Mix on medium-high speed until light and fluffy, about 2-3 minutes.
- Add the eggs one at a time, beating well after each addition, then add the vanilla extract.
- With the mixer running on low, add a third of the flour mixture, then when the flour streaks have disappeared, add half of the sour cream. Add half of the remaining flour, the rest of the sour cream, then finish with the last of the flour. Stop the mixer and scrape down the bottom and sides of the bowl with a rubber spatula to fully mix the batter.
- Fill the cupcake tins until they’re two-thirds full, then bake at 350 for 20-22 minutes, until they start to brown and a toothpick inserted into the center comes out clean. Cool the cupcakes completely before frosting.
TO MAKE THE BUTTERCREAM:
- Place all of the ingredients in the bowl of a large stand mixer fitted with a paddle attachment. Mix on low speed until the sugar is moistened.
- Scrape down the sides of the bowl, then beat again on medium speed until light and fluffy, 2-3 minutes. You can add more milk or sugar, if desired, to get the consistency you want.
- Melt the unsweetened chocolate in the microwave, then let it cool until it is barely warm to the touch.
- Divide the frosting in half, and mix the melted chocolate into one half to make chocolate frosting. Color the remaining half with a few drops of yellow food coloring.
TO DECORATE:
- Fit a piping bag with a coupler and a multi-opening tip. Fill the bag with the chocolate frosting. Pipe a swirl of frosting on top of the cupcakes, covering the top completely, then go around the edge of the cupcakes several more times, building up the sides so that the frosting looks like a nest.
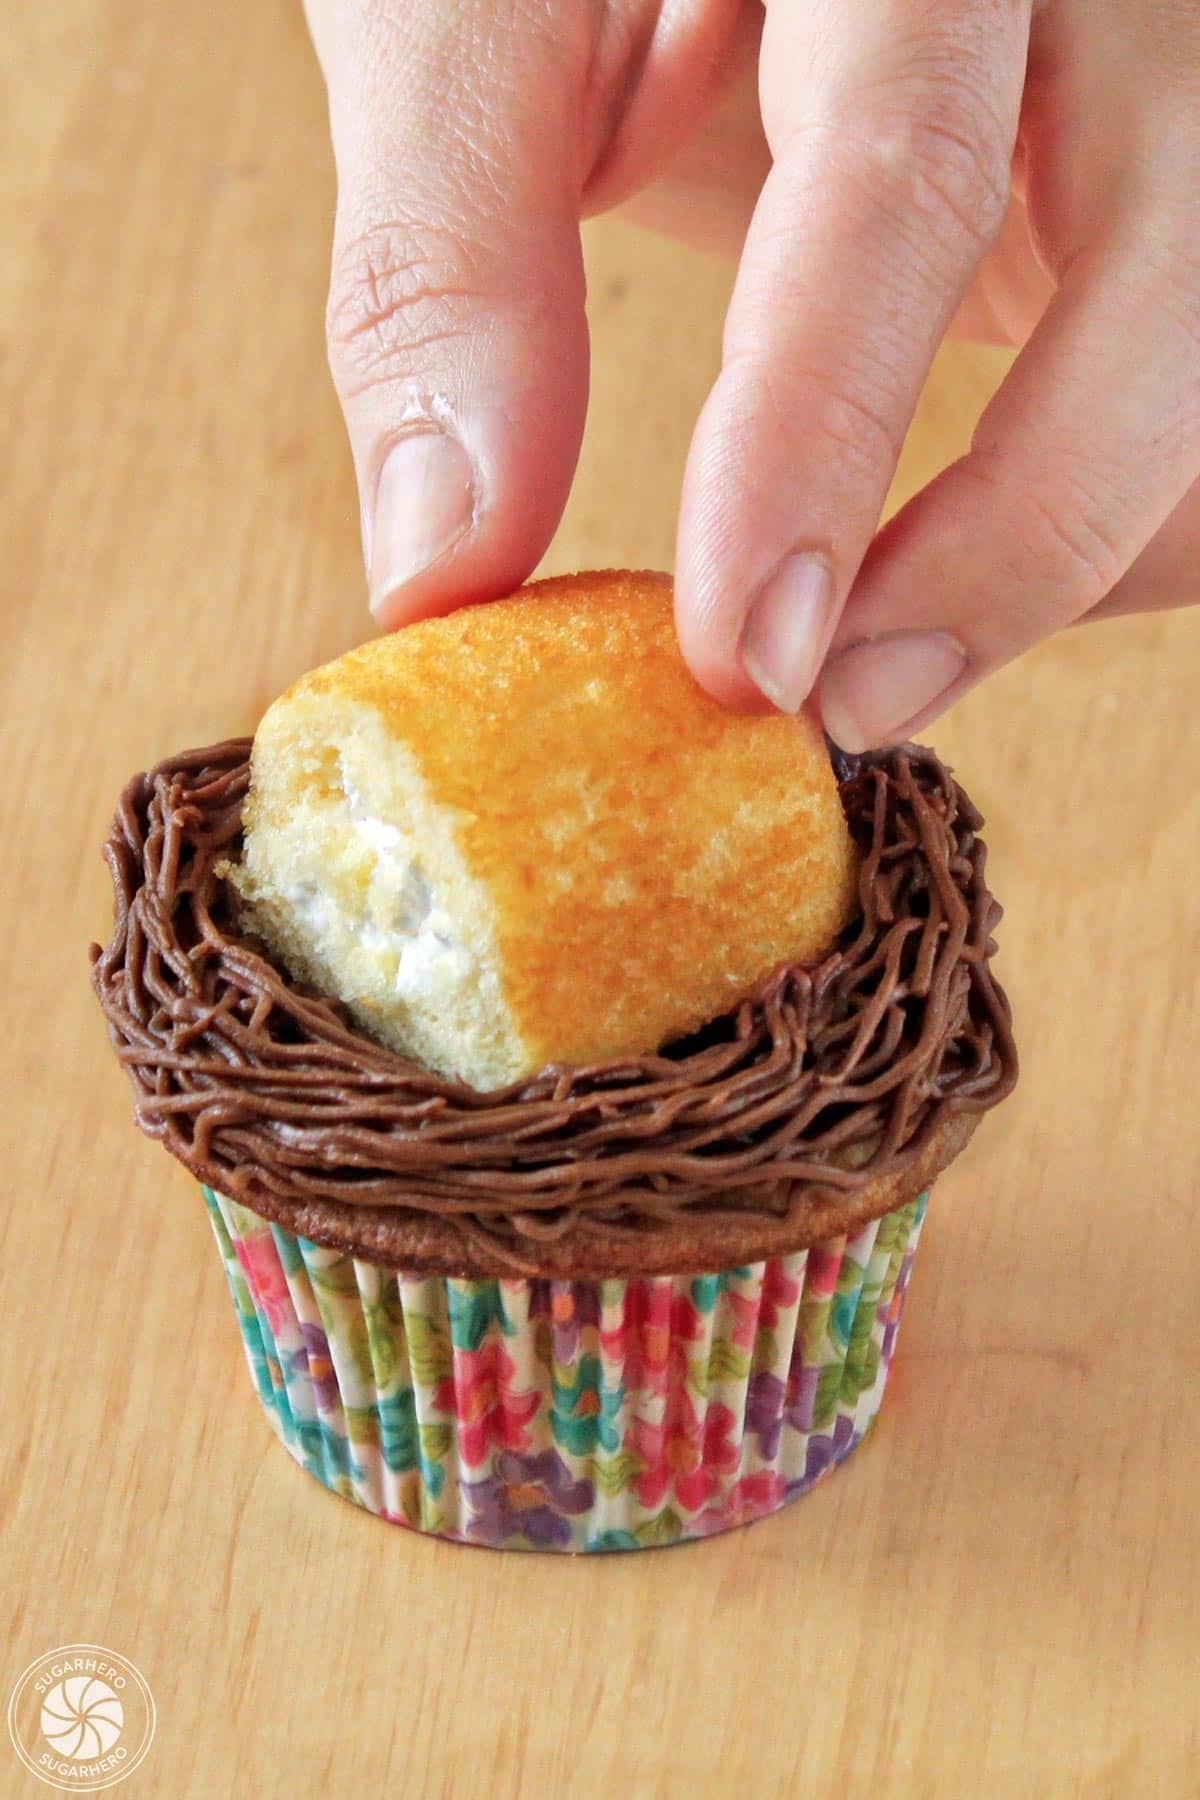
- Cut each Twinkie in half. Press half of a snack cake into the center of each frosting nest. (Tip: Depending on the size of your cupcakes, you may need to trim the cakes a bit more to get the best fit.)
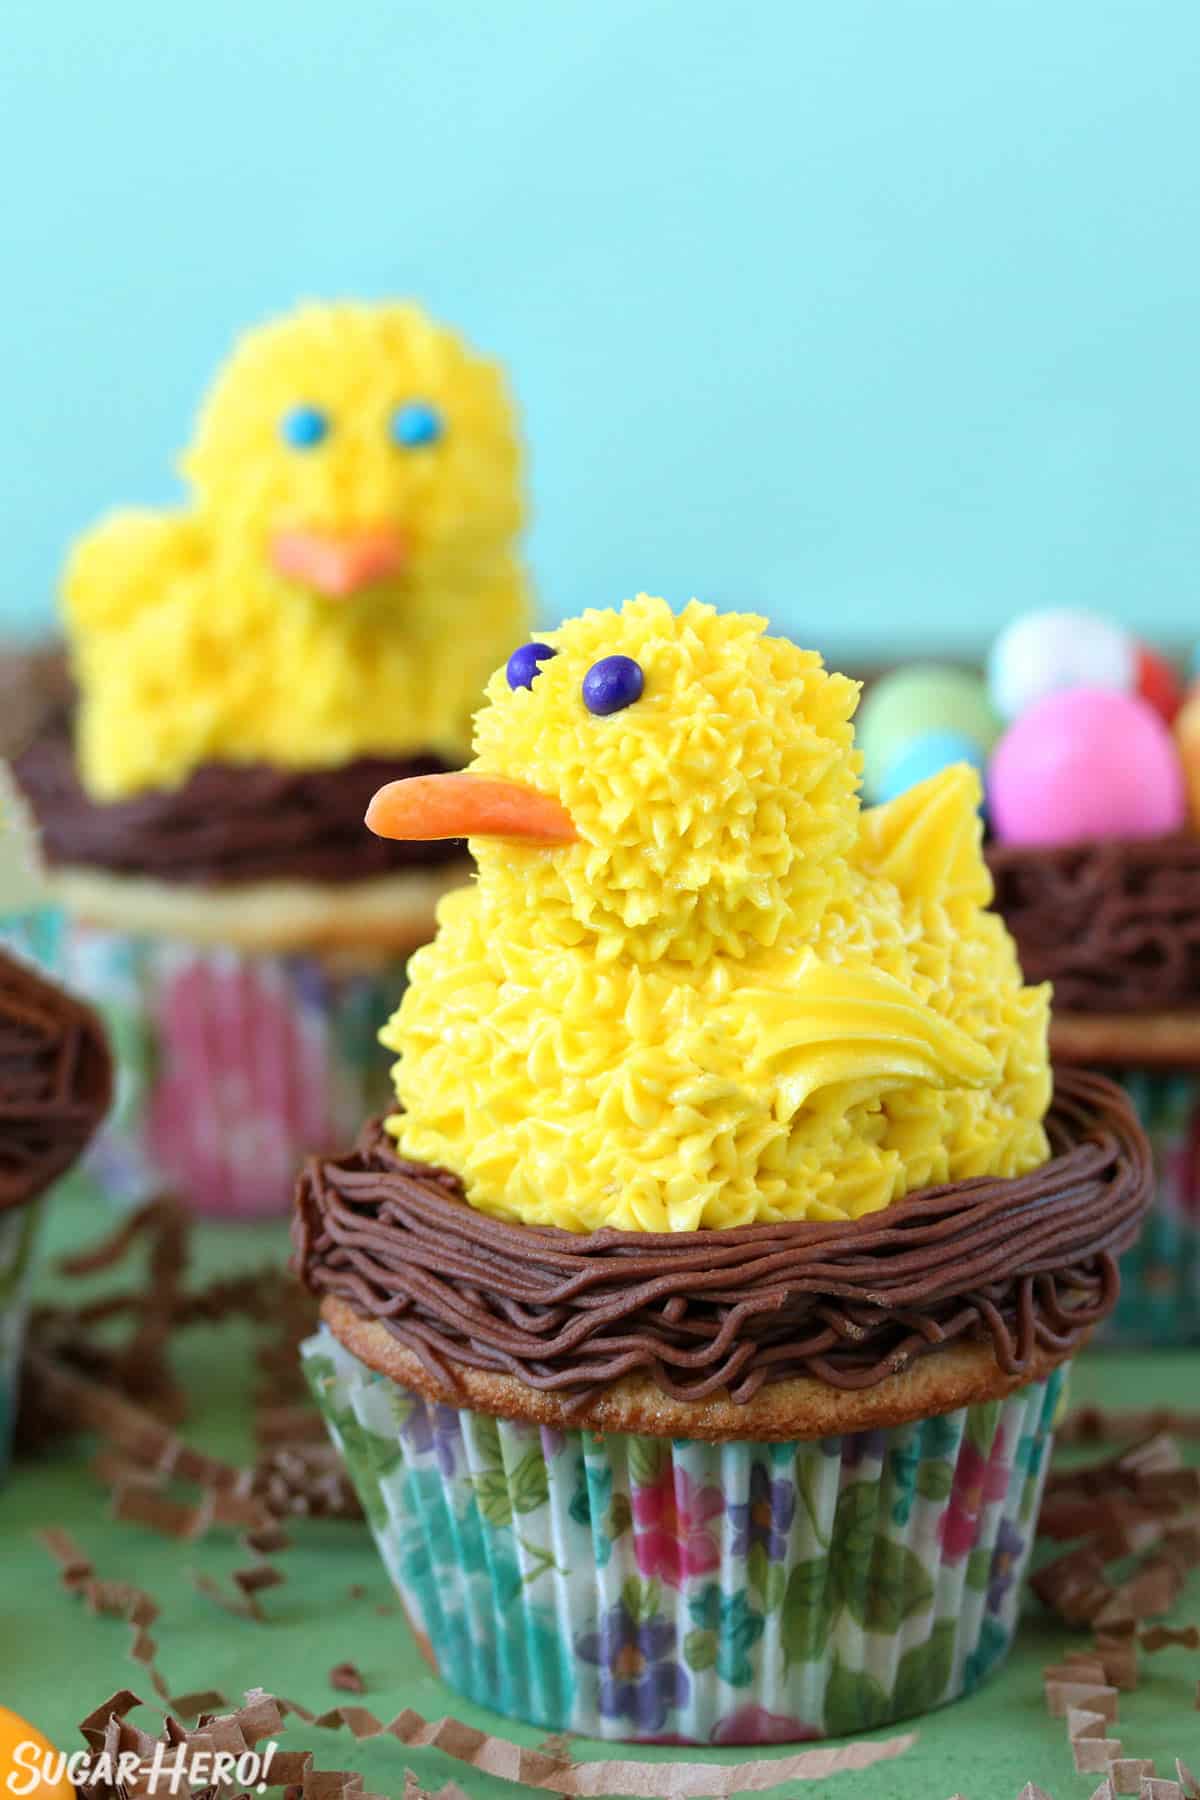
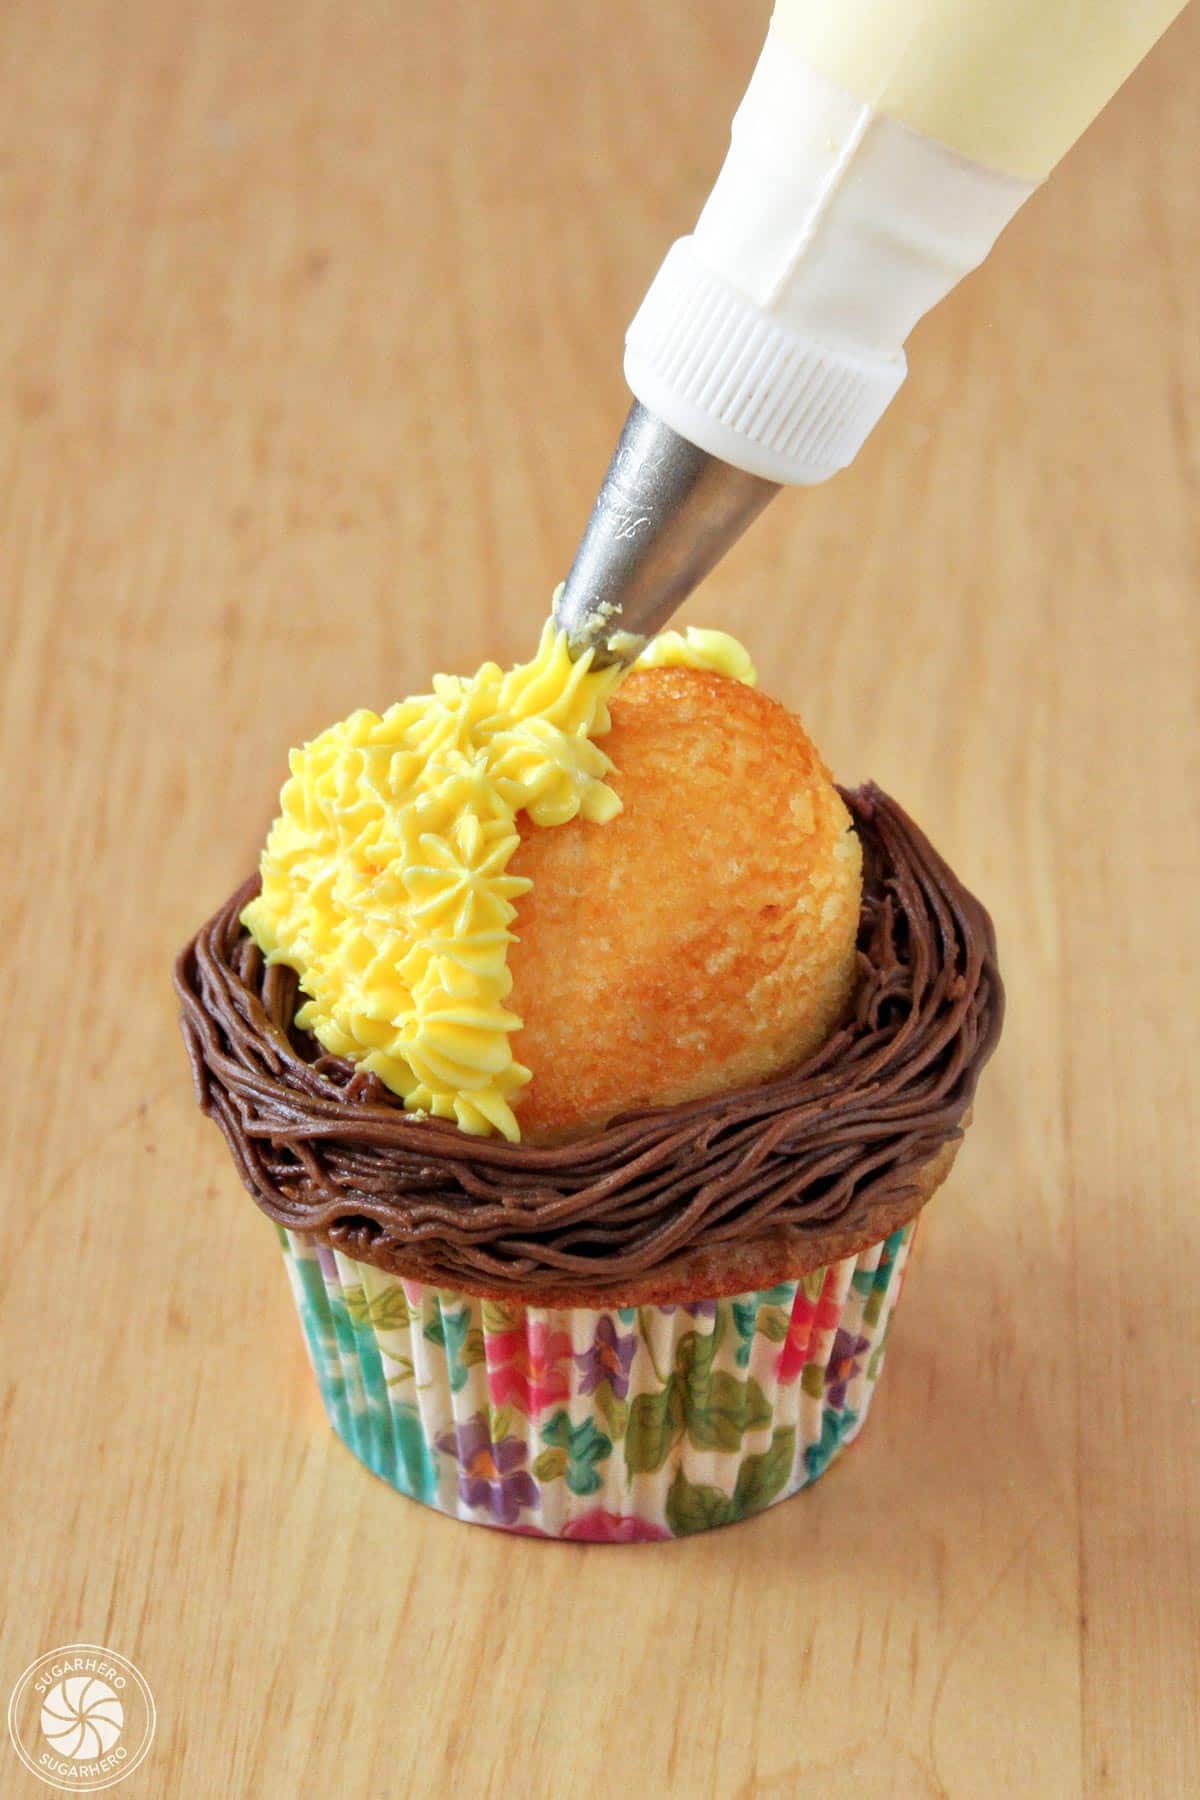
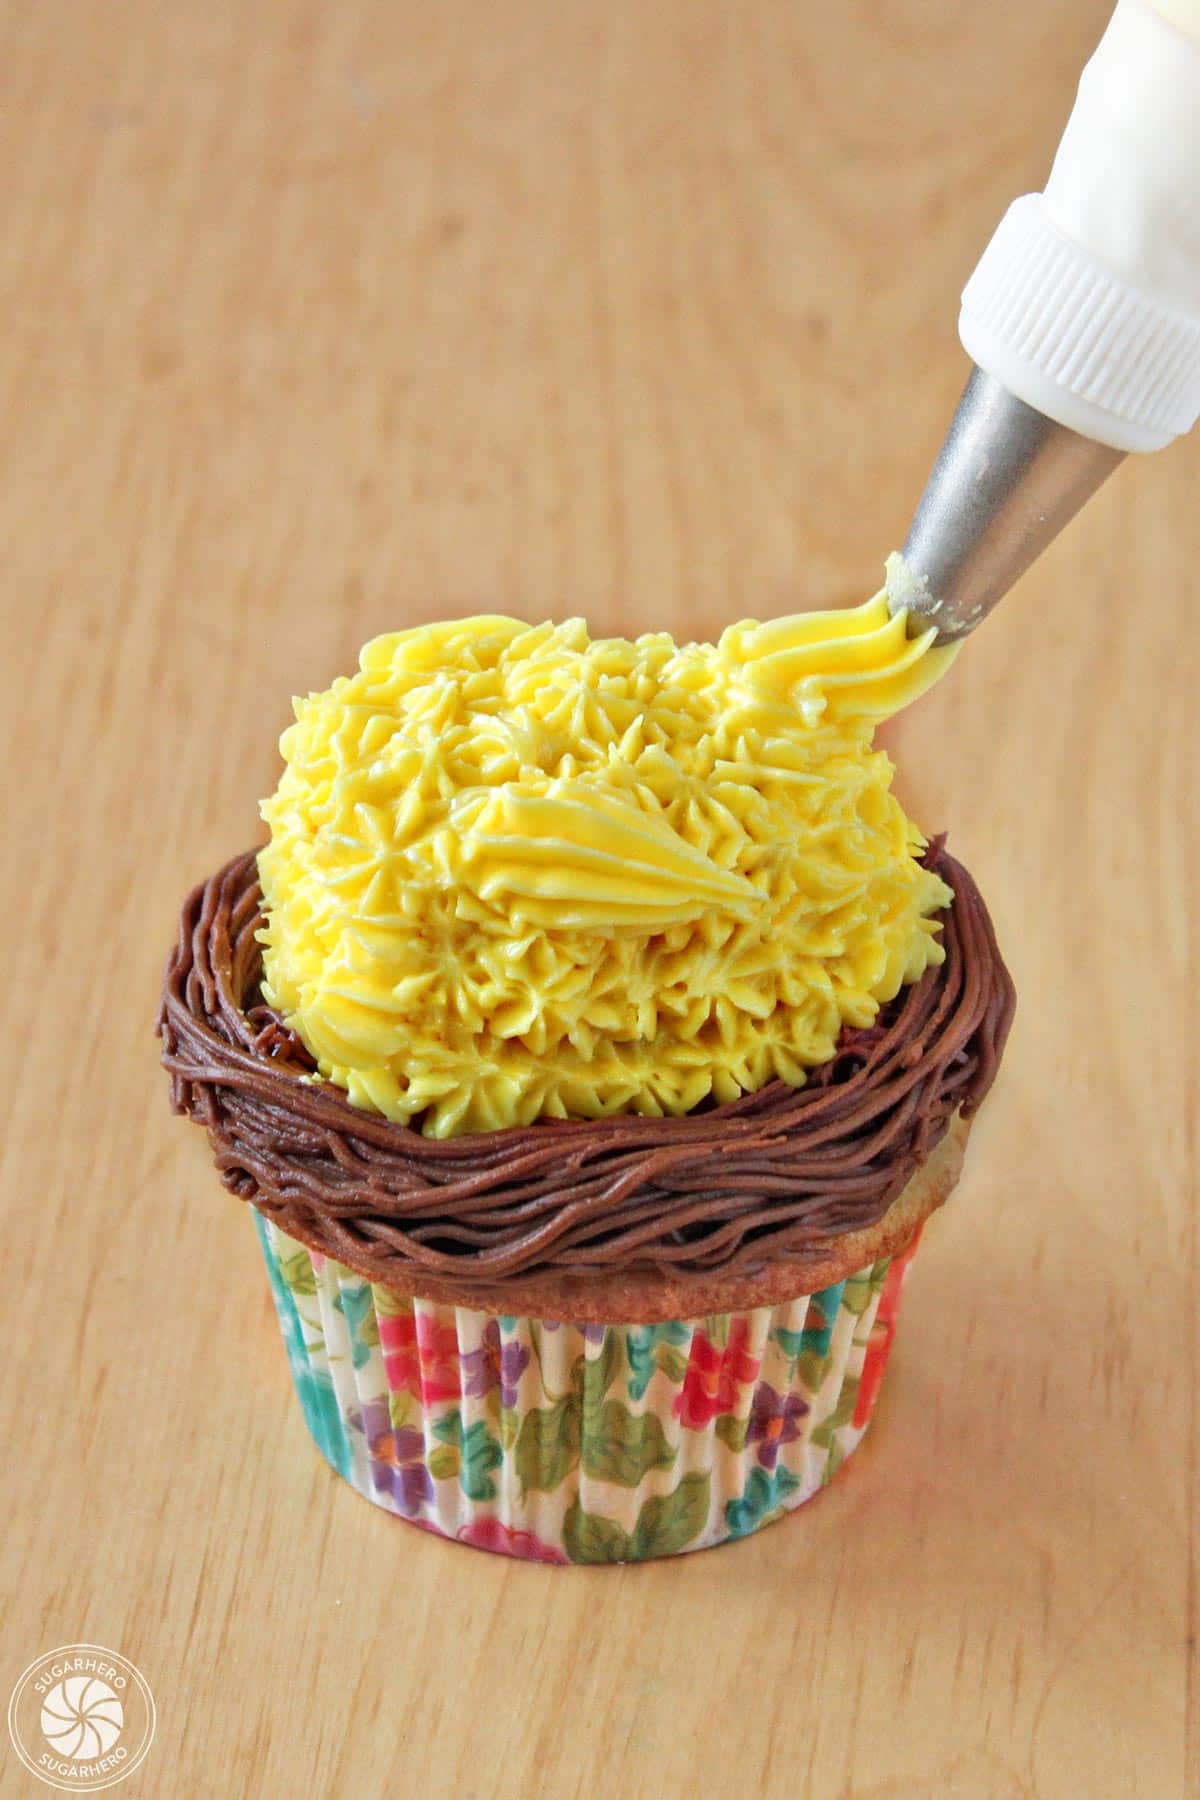
- Fit a second piping bag with a coupler and a small star tip. Fill the bag with the yellow frosting. Pipe small stars all over each Twinkie until it is covered. Pipe a swoop onto each side of the cake for wings, and add a tail on top.
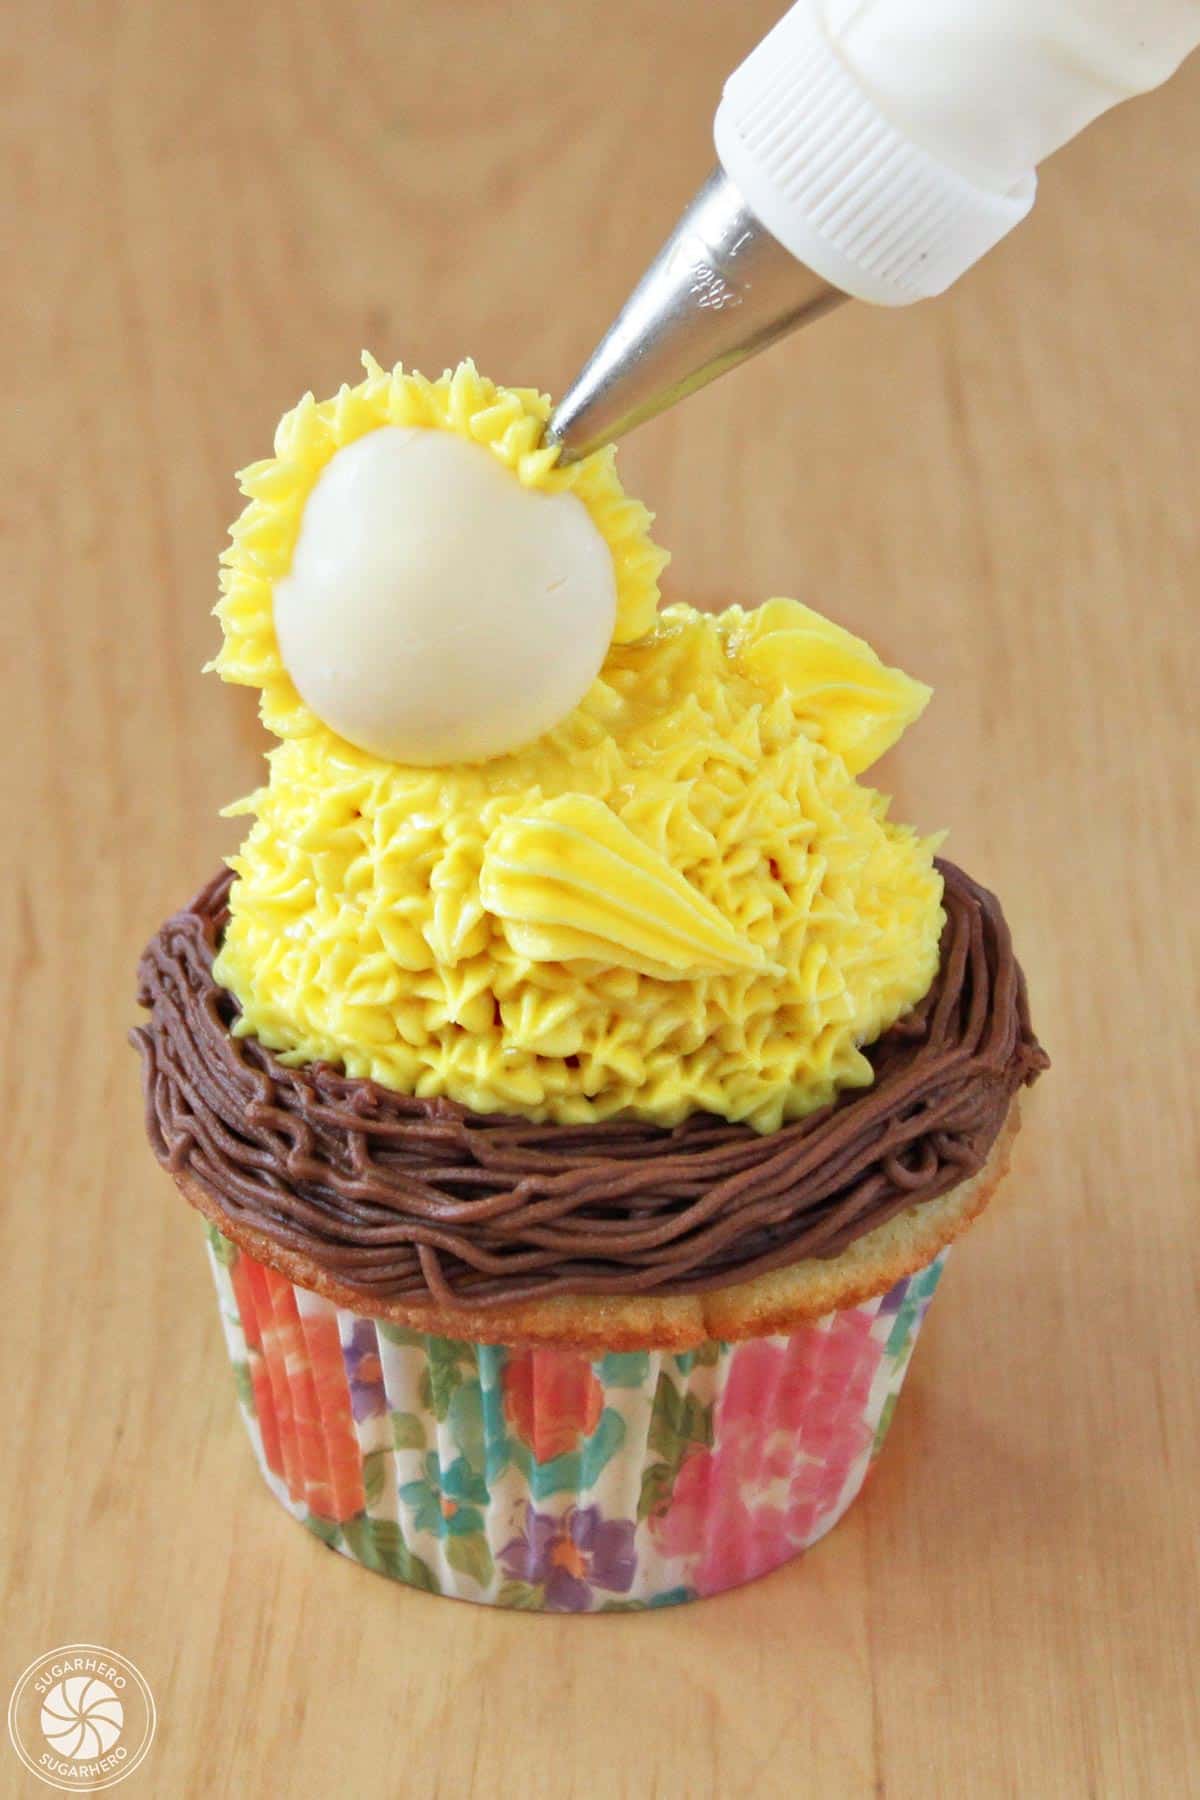
- Press a round truffle on top of each Twinkie for the chick’s head. Refrigerate the cupcakes briefly to set the frosting, which will give you more stability to finish decorating the head. Pipe yellow frosting stars all over the surface of each truffle.
- Cut the Starburst into four triangles each, and gently shape them until they are a beak shape. Press the candy beaks into the front of the chick’s head, and finish by adding small candy eyeballs or rainbow chips for eyes.
Measuring Tips
Our recipes are developed using weight measurements, and we highly recommend using a kitchen scale for baking whenever possible. However, if you prefer to use cups, volume measurements are provided as well. PLEASE NOTE: the adage “8 oz = 1 cup” is NOT true when speaking about weight, so don’t be concerned if the measurements don’t fit this formula.
Want to learn more about baking measurements and conversion?
Nutrition
📸 Photo Tutorial: How to Make Spring Chick Cupcakes
Here’s a photo tutorial showing how to decorate these chick cupcakes. Full instructions are included in the recipe card above.
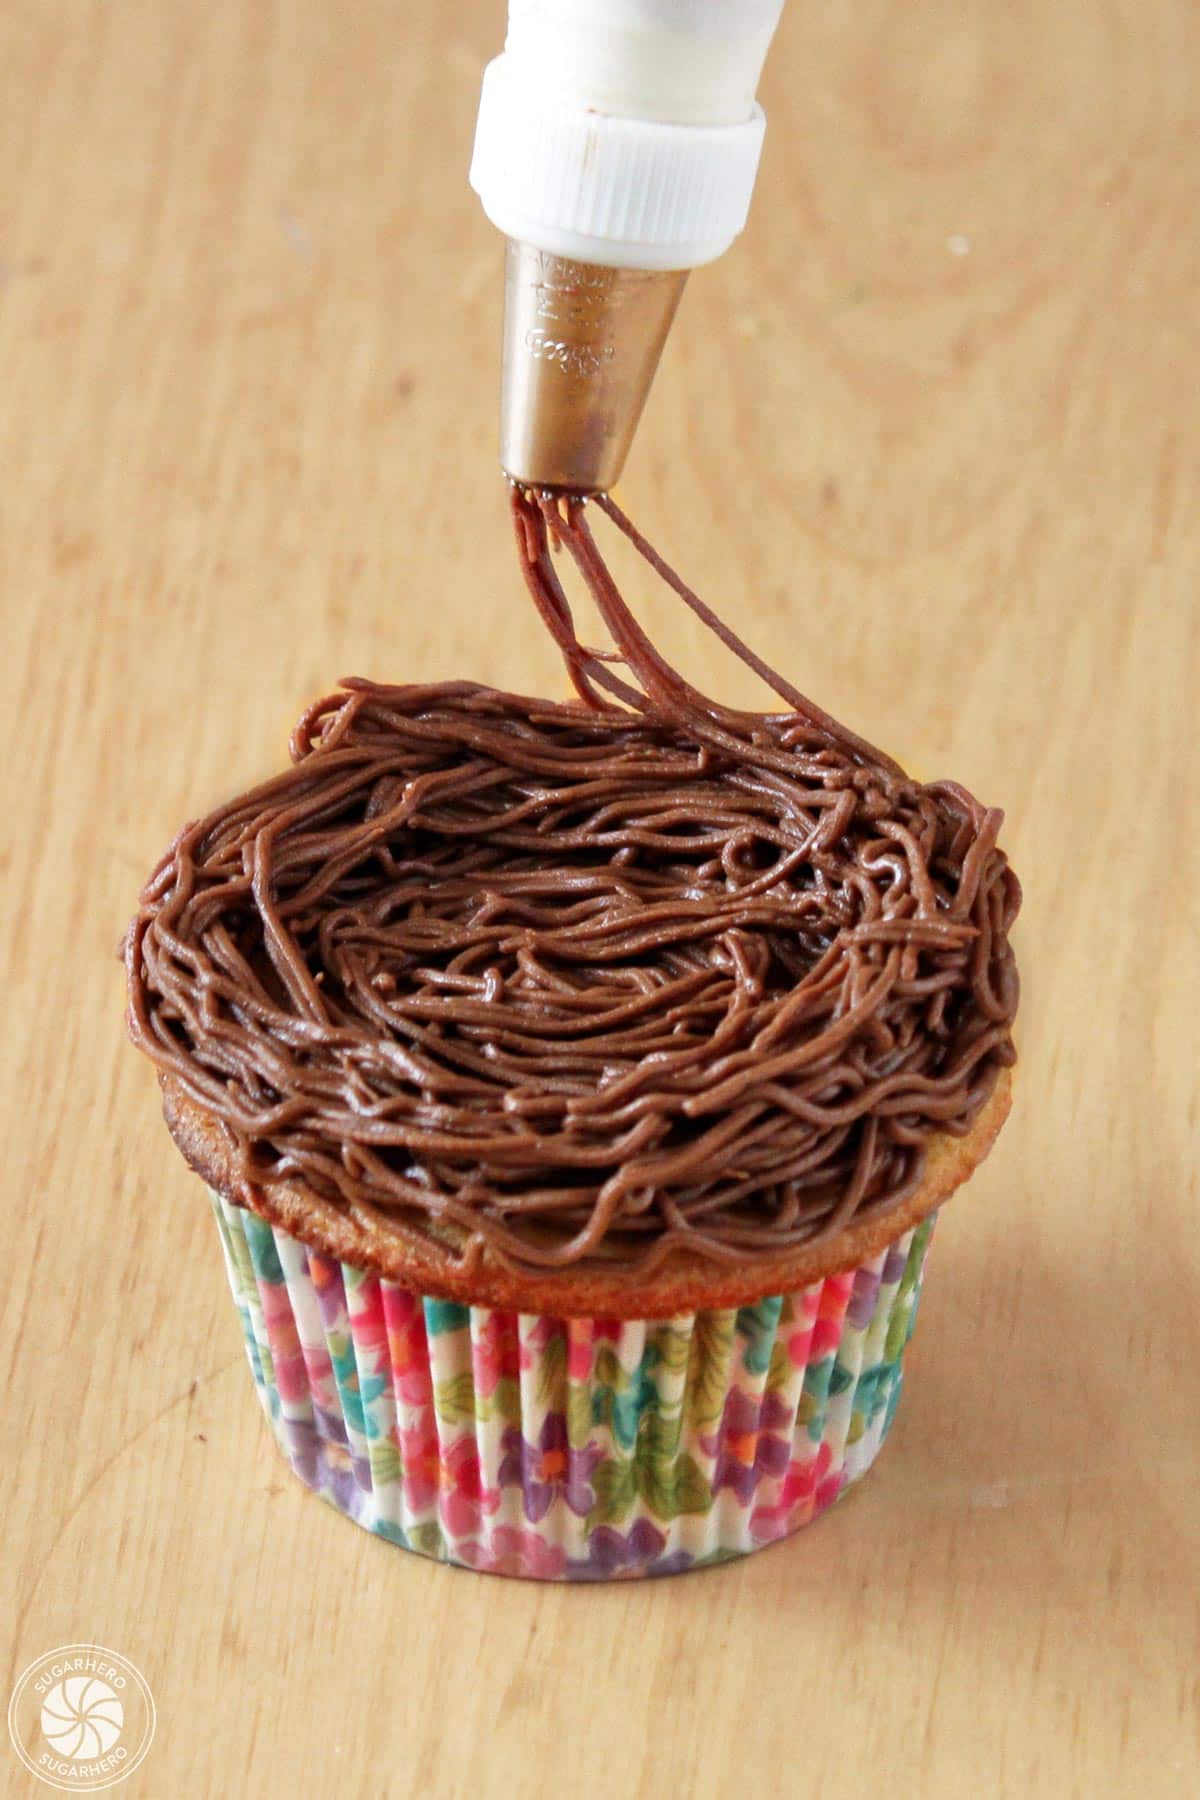
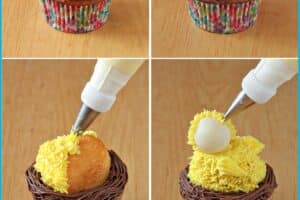
Make the Nests and Chick Body
- Bake cupcakes and let them cool. Prepare the frosting according to the recipe directions.
- Fit a piping bag with a coupler and a multi-opening (grass) tip. Fill the bag with chocolate frosting. Pipe a swirl of frosting on top of the cupcakes, covering the top completely, then go around the edge of the cupcakes several more times, building up the sides so that the frosting looks like a nest.
- Cut each Twinkie in half. Press half of a snack cake into the center of each frosting nest.
Cover the Chick Body
- Fit a second piping bag with a coupler and a small star tip. Fill the bag with yellow frosting. Pipe small stars all over each Twinkie until it is covered.
- Pipe a swoop onto each side of the cake for wings, and add a tail on top.
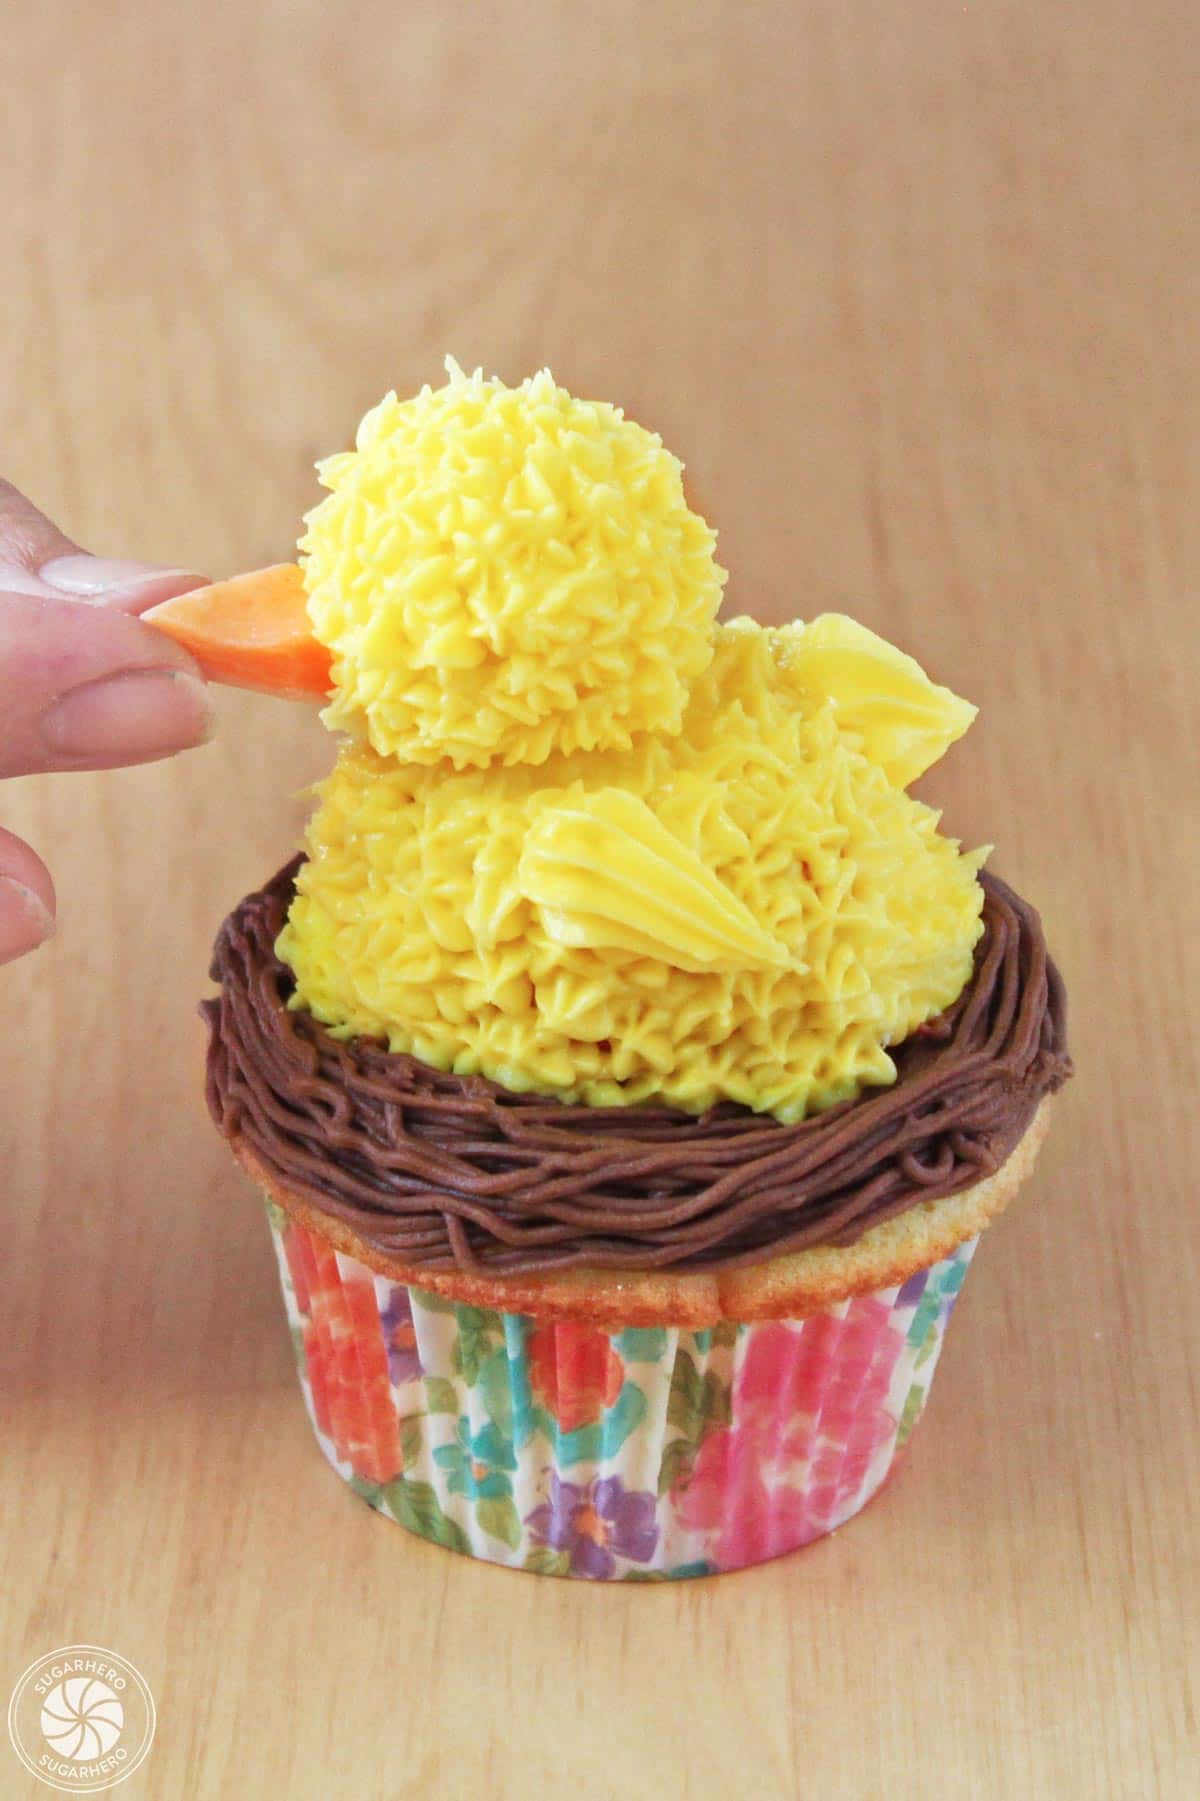
Cover and Decorate the Chick Head
- Press a round truffle on top of each Twinkie for the chick’s head. Refrigerate the cupcakes briefly to set the frosting, so the head stays on securely. Pipe yellow frosting stars all over the surface of each truffle.
- Cut the Starburst into four triangles each, and gently shape them until they are a beak shape. Press the candy beaks into the front of the chick’s head, and finish by adding small round candy eyeballs or rainbow chips for eyes.
💭 Variations
- Embellish the nest with colored coconut, chopped nuts, crunchy chow mein noodles or other candy you like.
- Use egg-shaped candies to nestle around the chick like jelly beans, mini eggs, etc.
- Add some personality to your chickies by piping hairbows and bowties! Or, be creative with the types of candy you choose for eyes.
- You can also use different types of snack cakes for the body like flavored Twinkies, Zingers, Gansitos, etc. You could even match your cake and buttercream flavors to the snack cake you choose!
Browse More:


This looks absolutely delicious and so cute! These are the perfect treat for the Easter season. Also, that frosting is looking tast-ee!
Hi Beth! I love, love, love this recipe for frosting. So yummy! I hope you enjoy!
These adorable little chick cupcakes are the perfect Springtime dessert. Perfect for Spring holiday brunches or dinners.
Hi Sharon! Thanks for commenting!
These are so stinkin’ cute! They probably won’t be as cute when I make the—might look like a total Pinterest fail, but you can bet I’ll try, lol.
Hi Dana! It’s hard to go wrong with these cuties! Just cover them in extra frosting if you make a mistake. LOL.