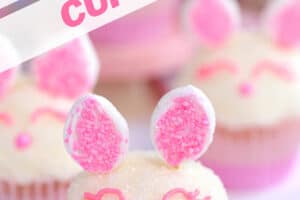
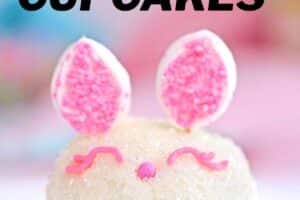
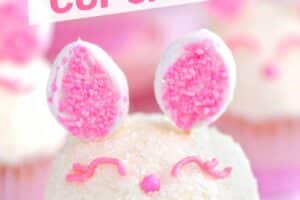
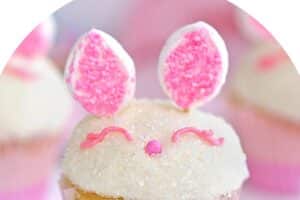


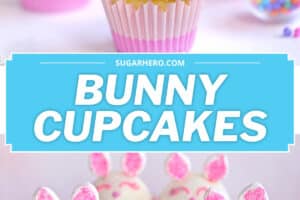
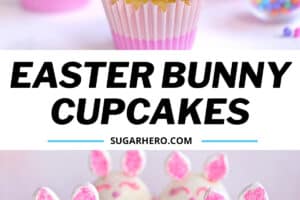
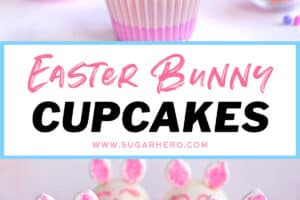
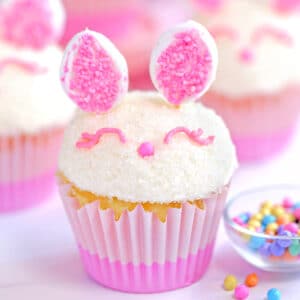
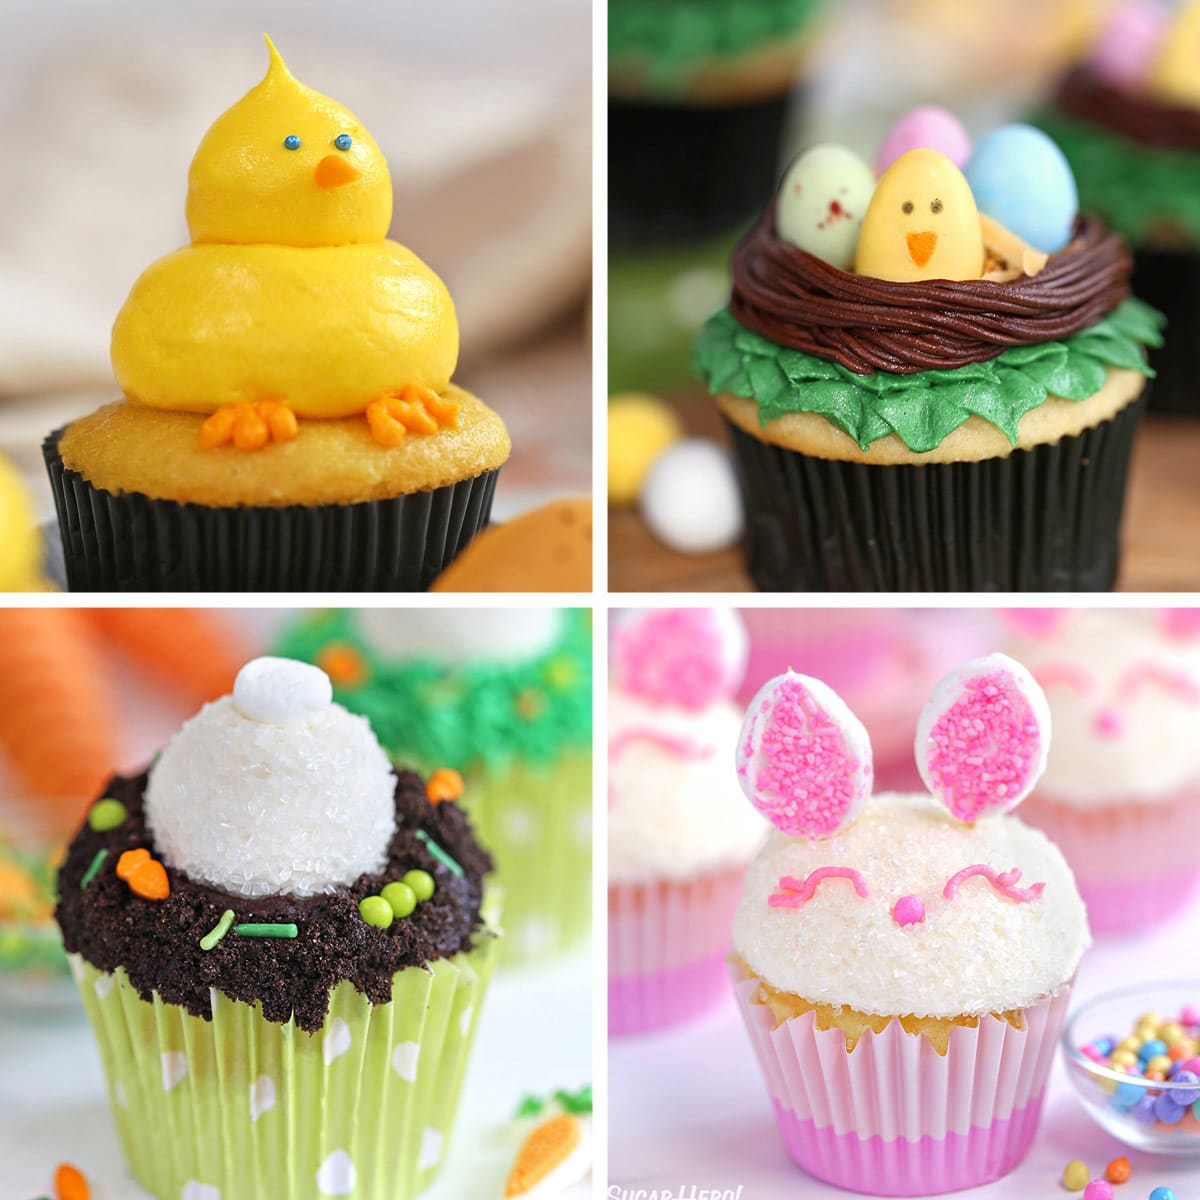
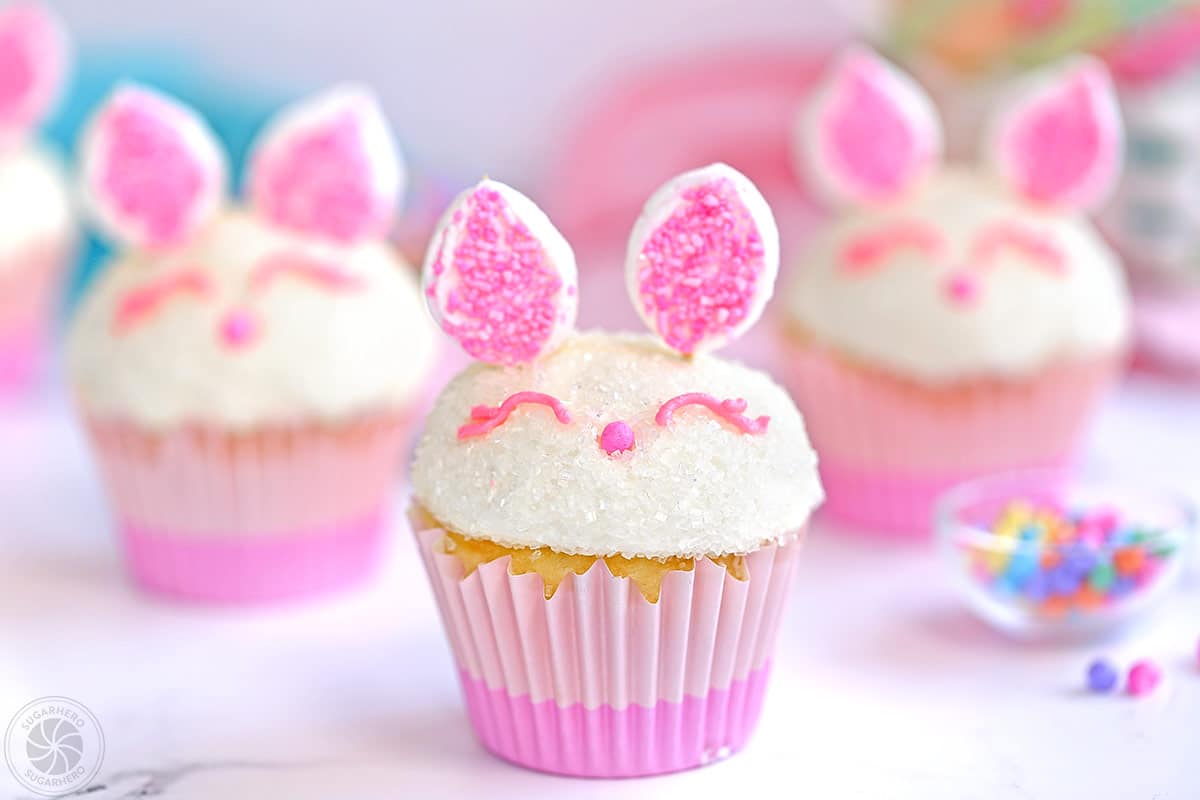
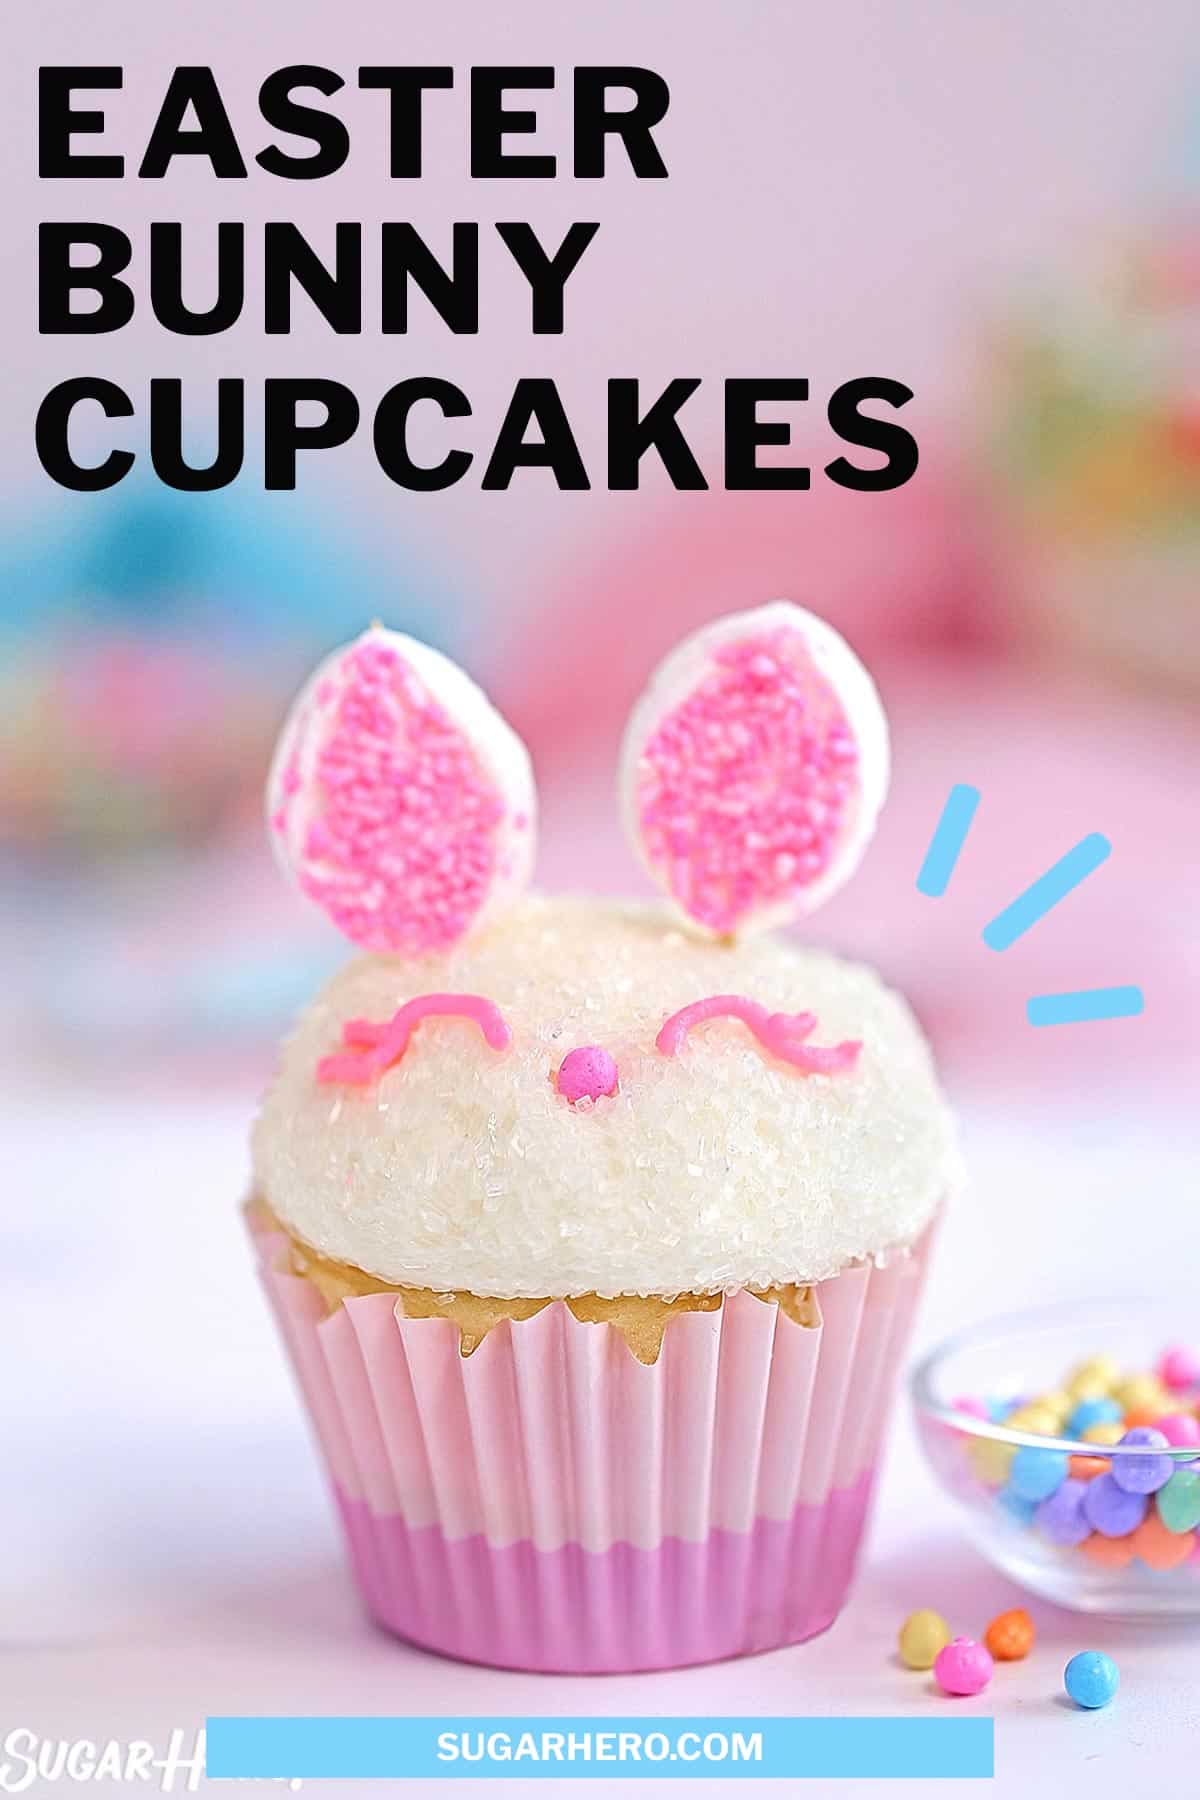
Make your Easter extra-special with these adorable Easter Bunny Cupcakes. Learn how to make an easy bunny face out of frosting, sprinkles, and marshmallows, and customize them by using your favorite cupcake and frosting flavors.
🐰 Easy Easter Bunny Cupcakes
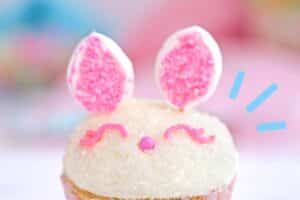
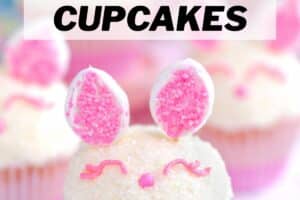
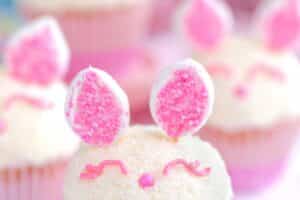
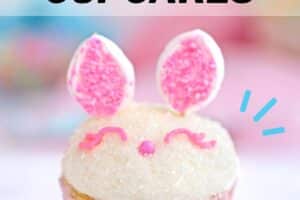
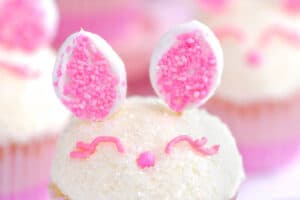
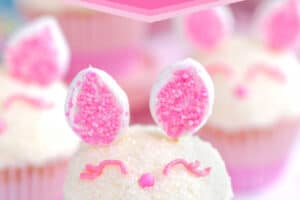
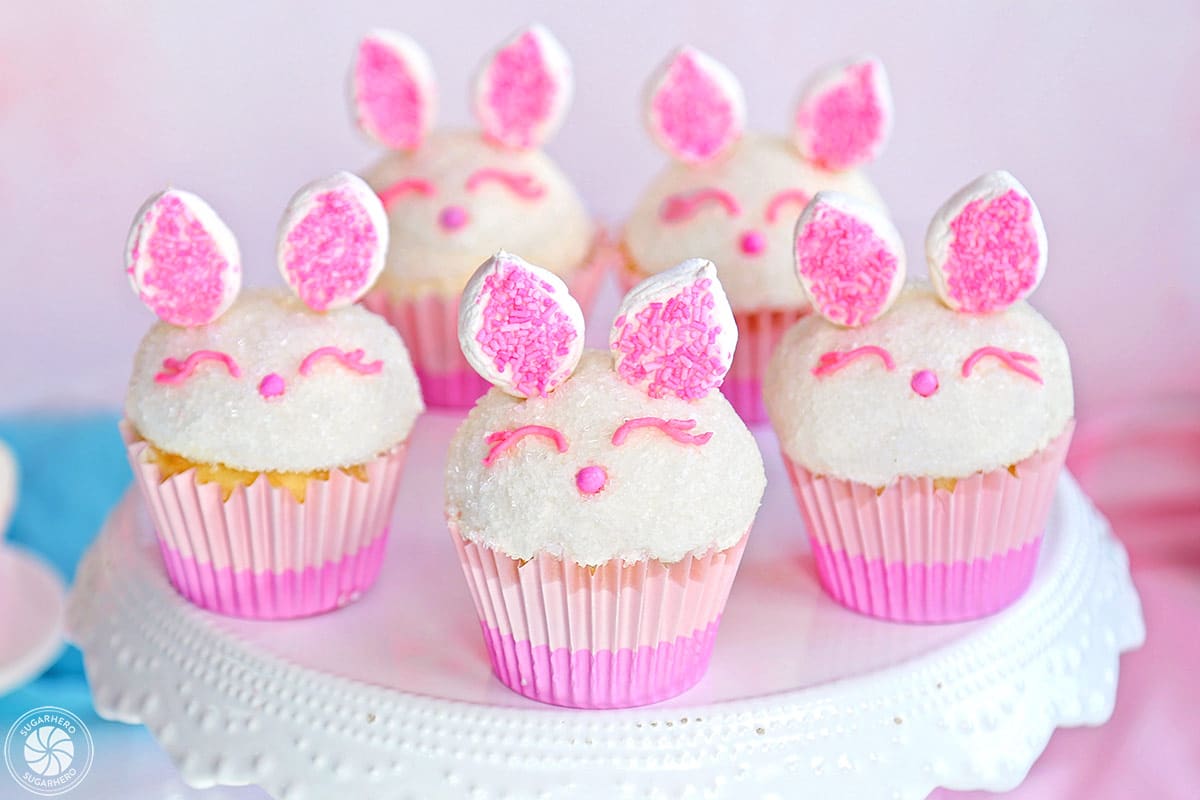
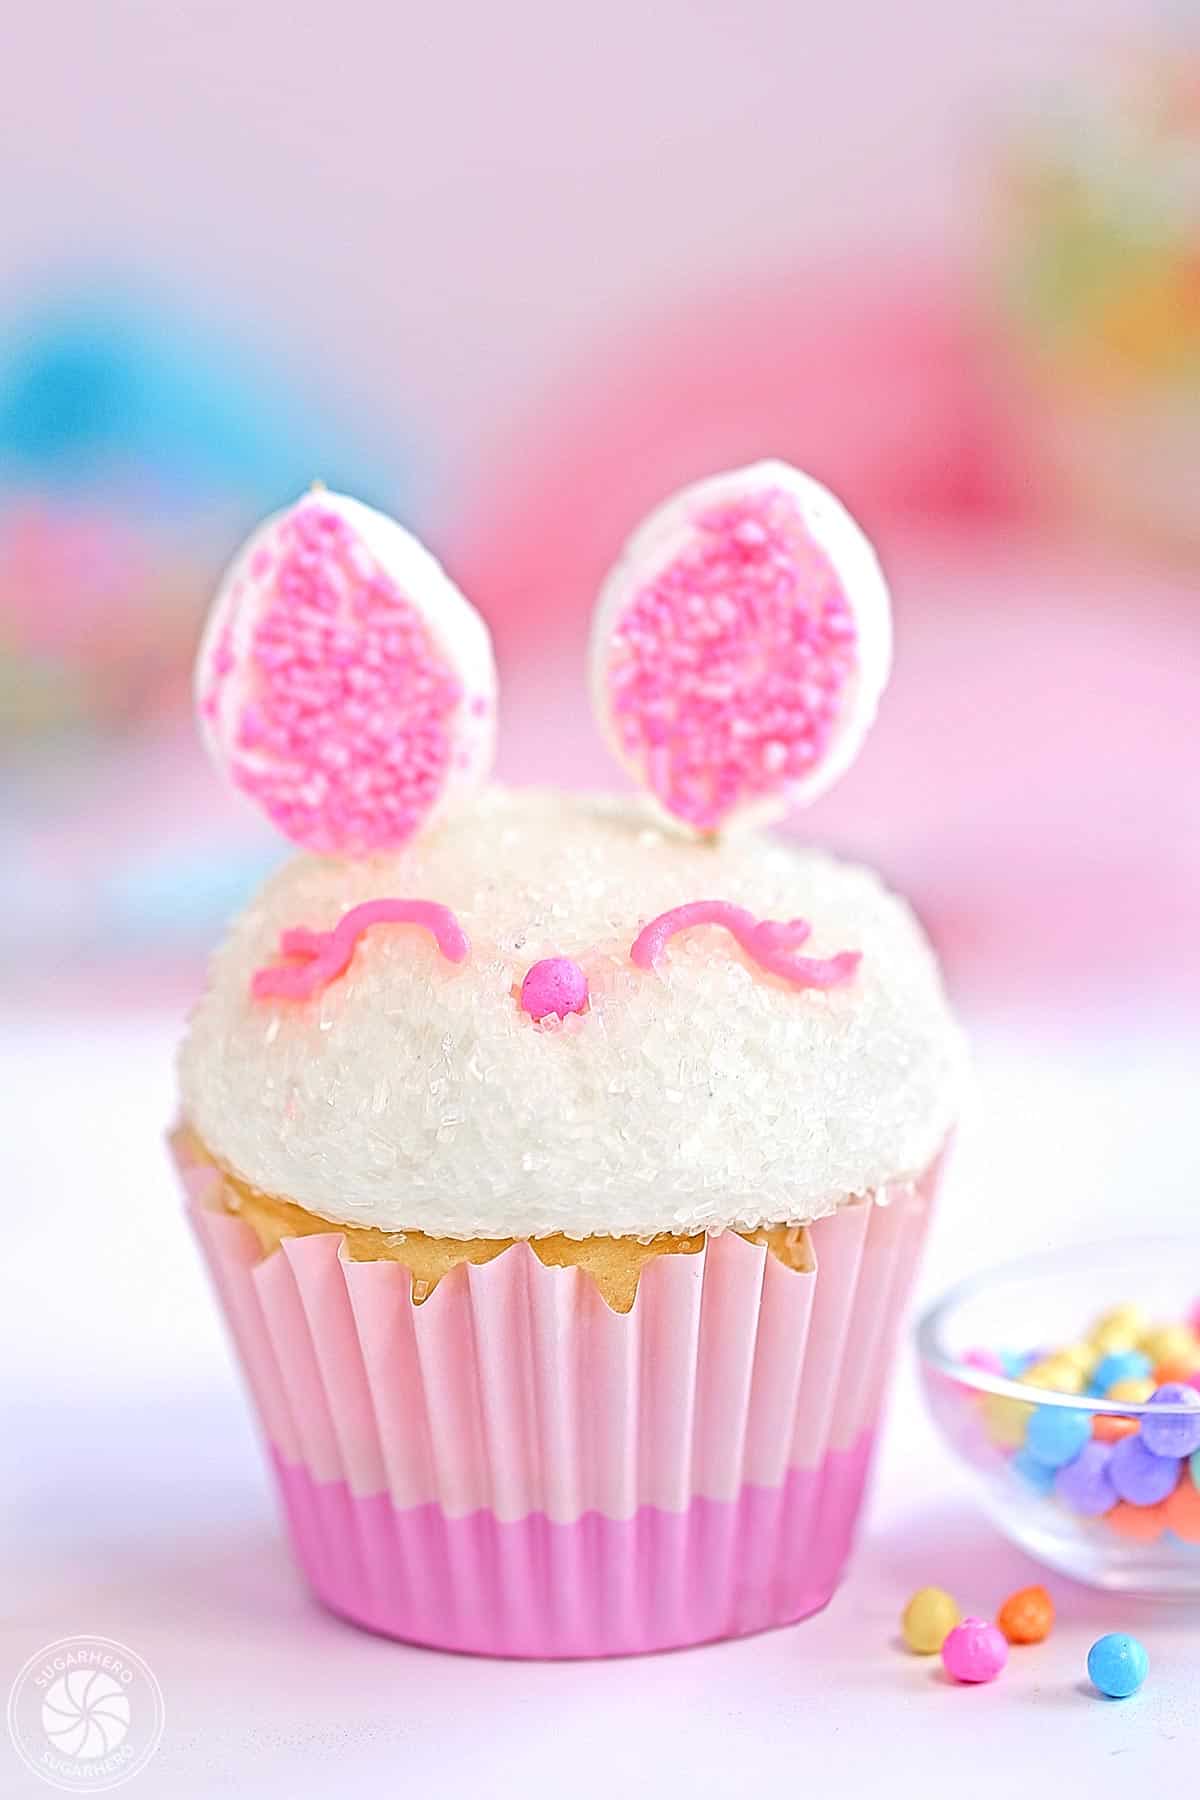
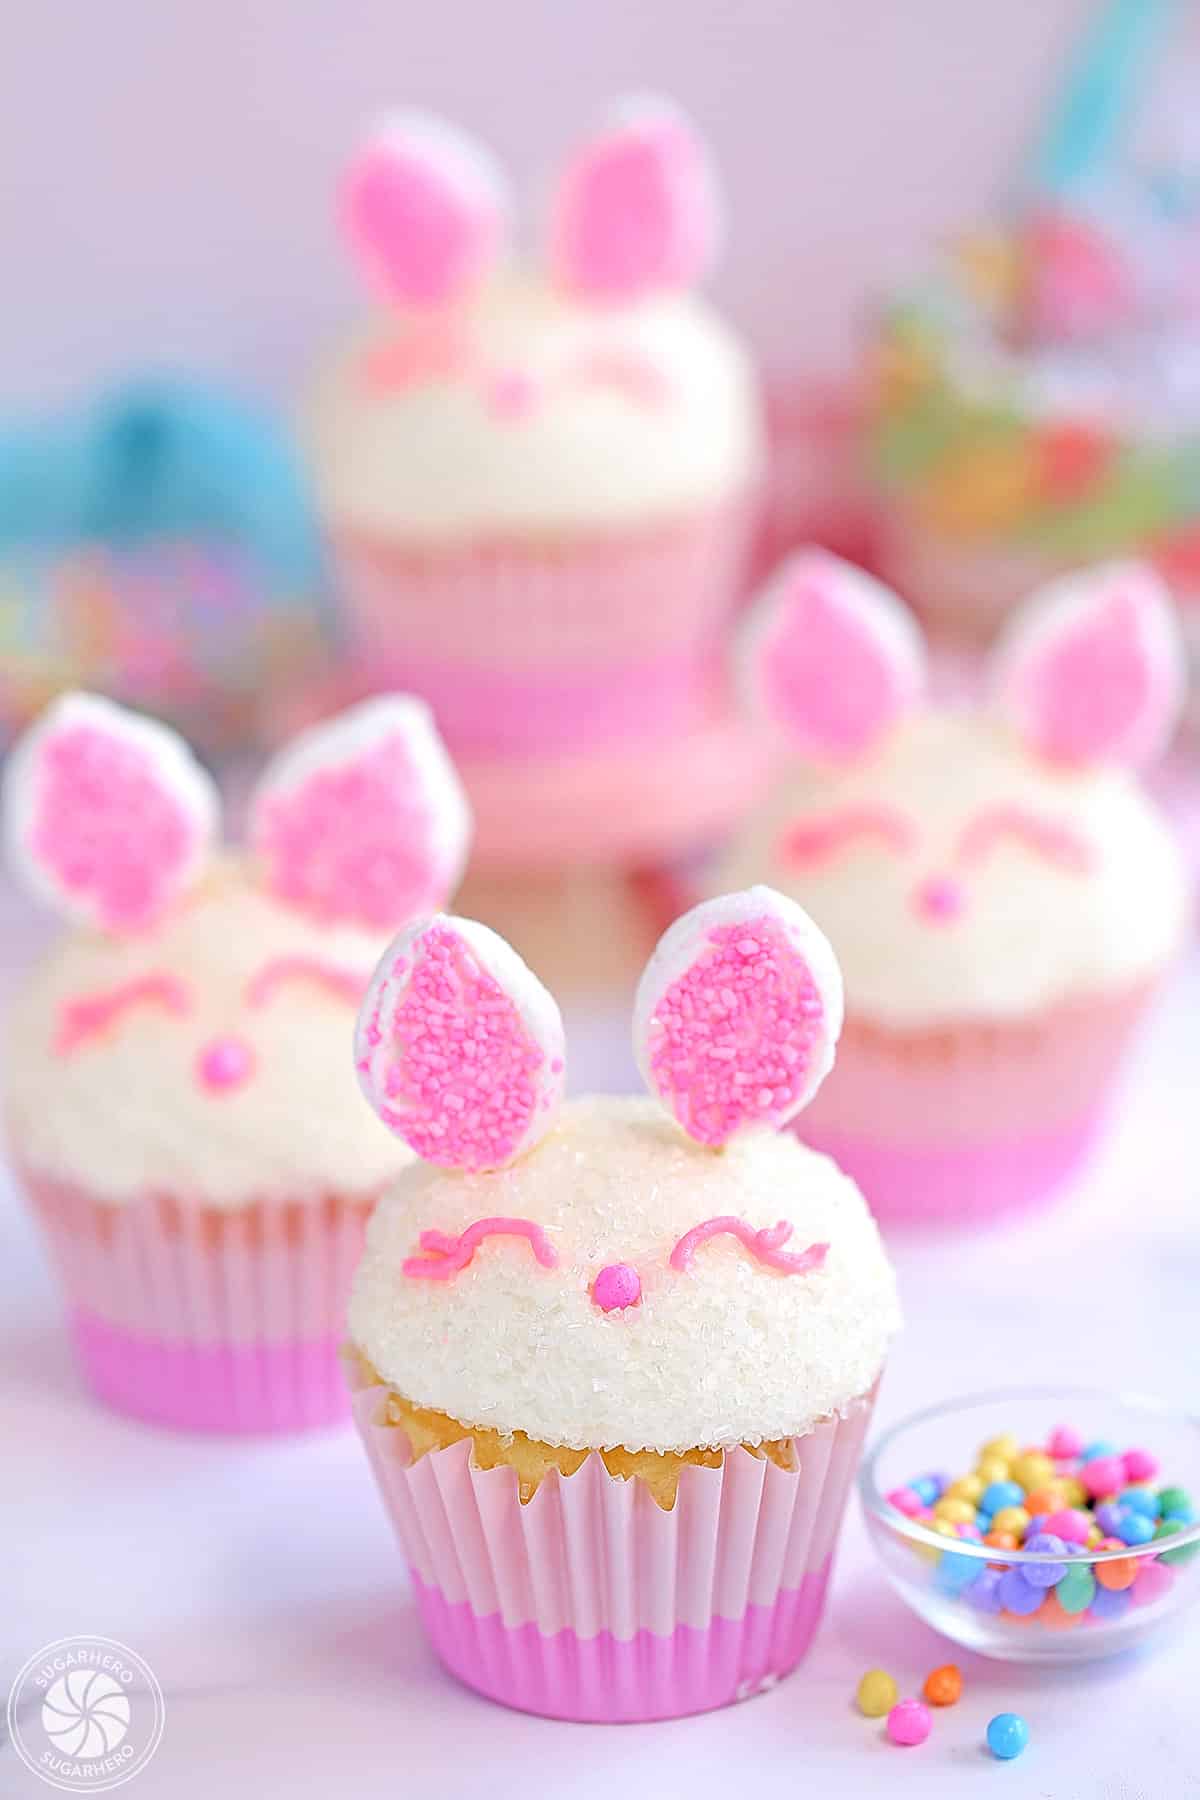
These bunny ear cupcakes are my favorite kind of holiday dessert: eye-catching, festive, fun to make with kids, and –of course– completely delicious!
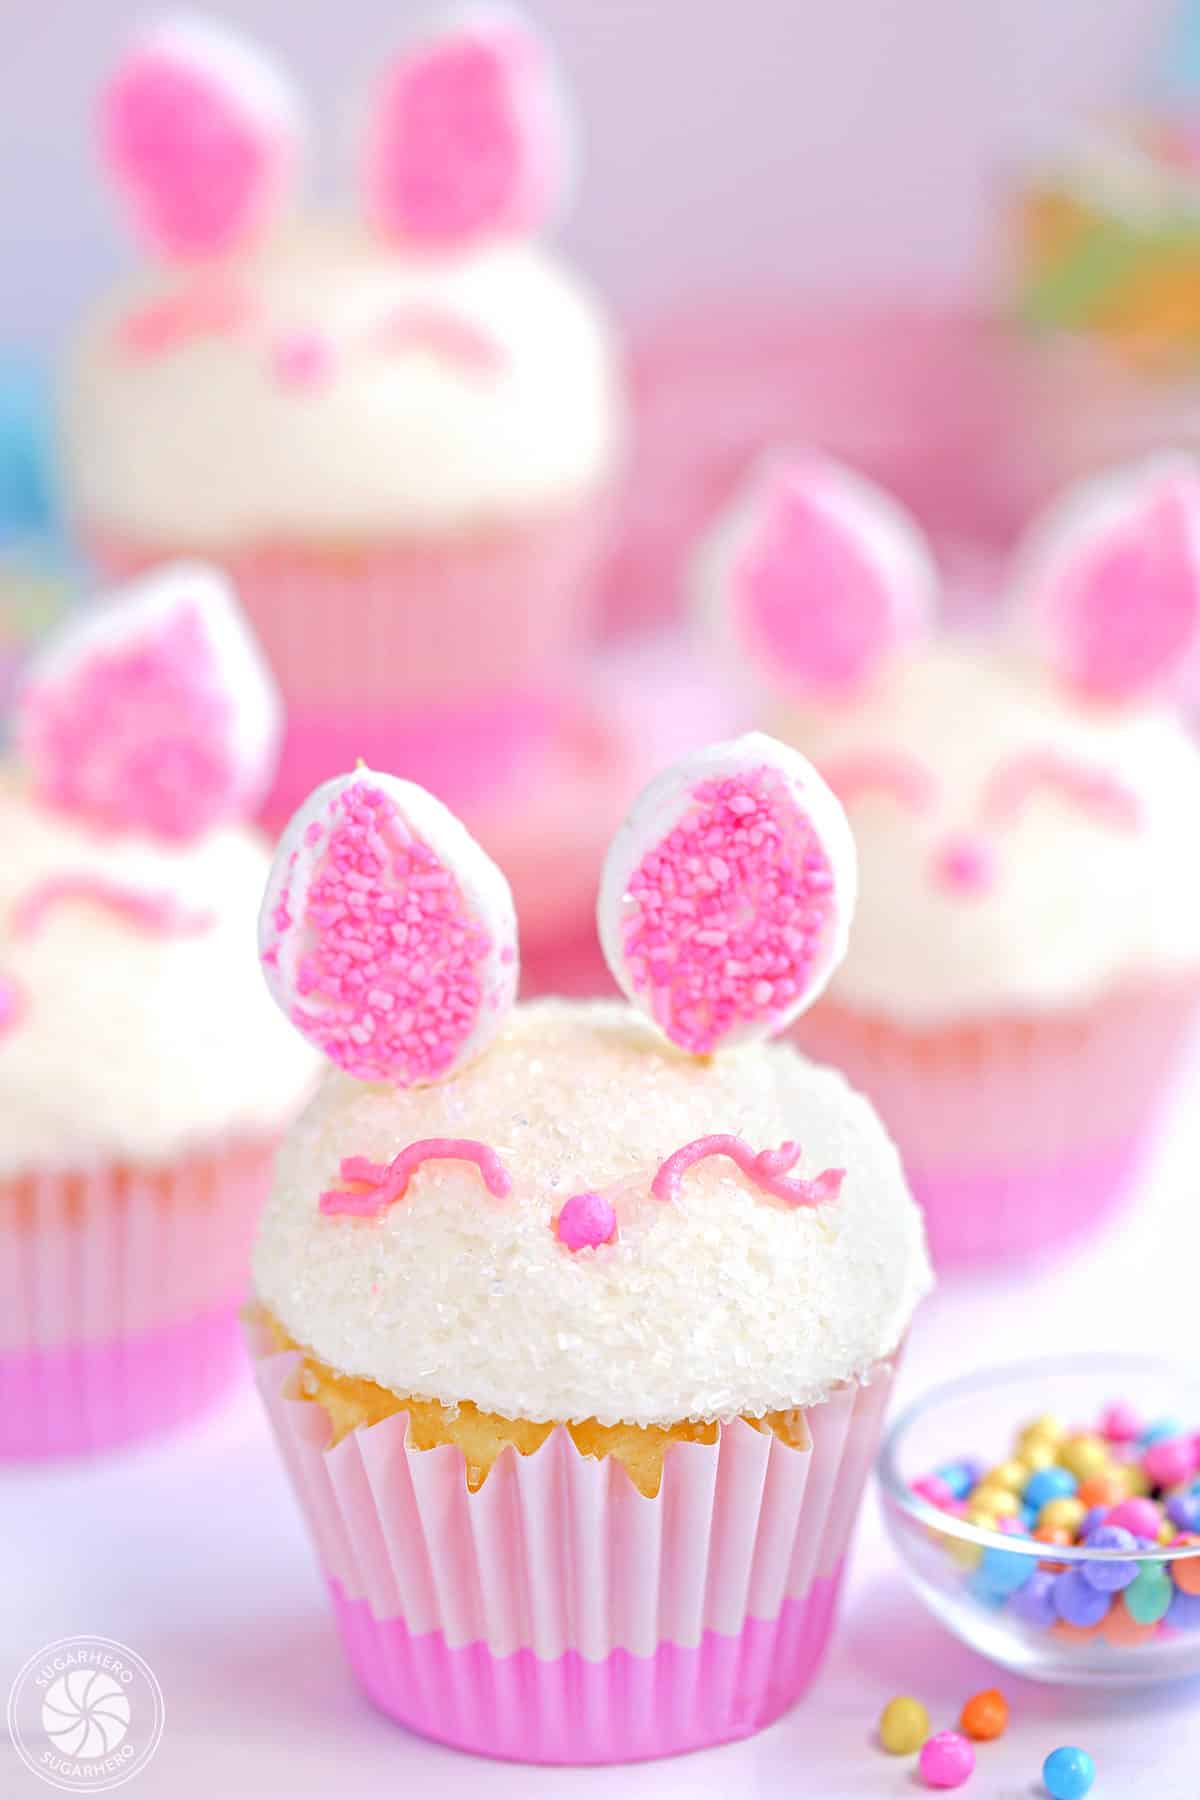
There are a million different ways to make Easter bunny cupcakes, and this is my personal spin on the concept. We’ve got a big mound of creamy buttercream for the head, pink & white marshmallow ears, and the sweetest bunny face with just a nose and delicate buttercream eyes. What could be better?
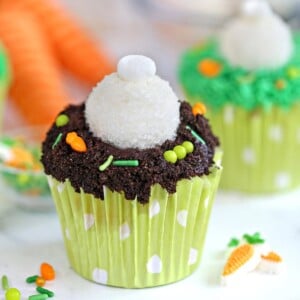
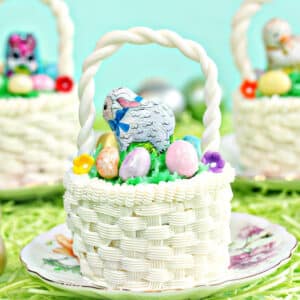
More Easter Cupcakes
These cute little bunny cupcakes are just the start – be sure to check out our full list of Easter dessert recipes!
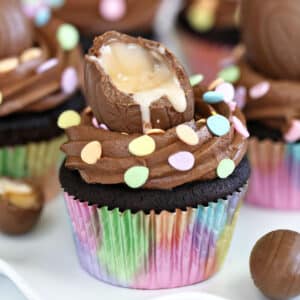
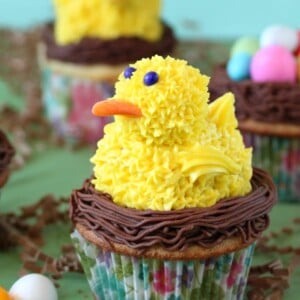
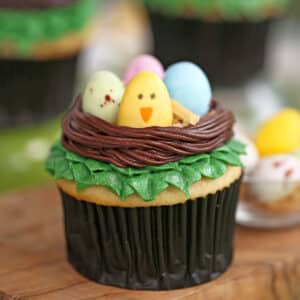
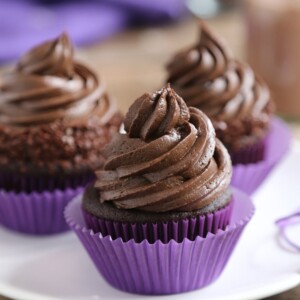
We have Spring Chick Cupcakes, Bunny Butt Cupcakes, Baby Chick Cupcakes, and Easter Bird’s Nest Cupcakes. Cadbury egg lover? Don’t miss our Double Chocolate Easter Cupcakes!
Table of Contents
🧾 What You’ll Need
Ingredients
You won’t need much in the way of specialty ingredients or equipment to make these cute Easter cupcakes –just a few pantry and decorating basics. (Links are affiliate links and I earn a small commission from qualifying purchases.)
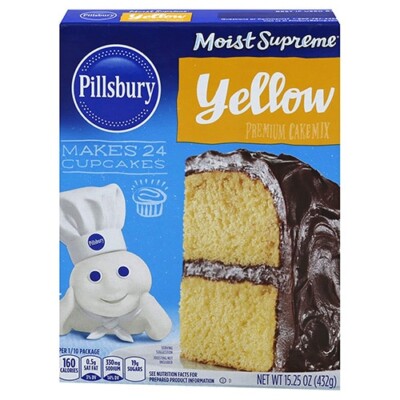
- Cake mix: Because these cupcakes are all about the decorating, I recommend keeping it simple and using a yellow or white cake mix. I like the way the bunnies look on light-colored cupcakes, but feel free to use lemon, strawberry, or chocolate cupcakes if that’s what you prefer.
- Frosting: We’re using a simple homemade buttercream frosting for the bunny heads. If you’re looking for a shortcut, I do not recommend using store-bought canned frosting (ie, the frosting sold in plastic cans near the cake mixes.) It is too soft for this decorating technique. If your grocery store sells American buttercream-style frosting in the bakery section, that should work just fine.
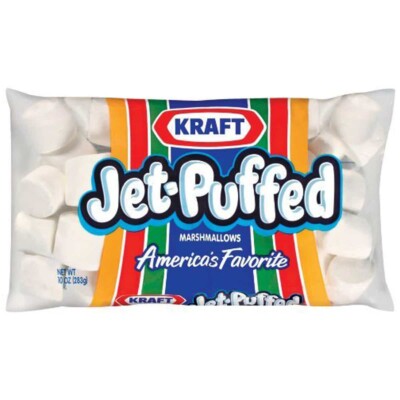
- Marshmallows: Our bunny ears are made from large marshmallows.
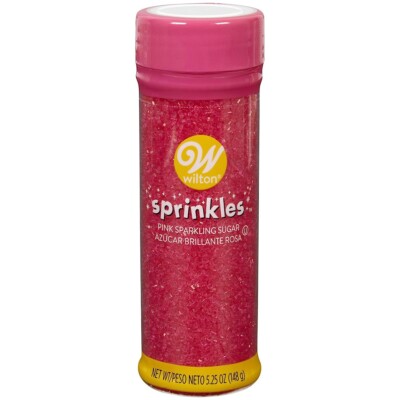
- Sprinkles: We’re using white sparkling sugar sprinkles for the bunny head, and and pink jimmies or pink sparkling sugar for the ears.
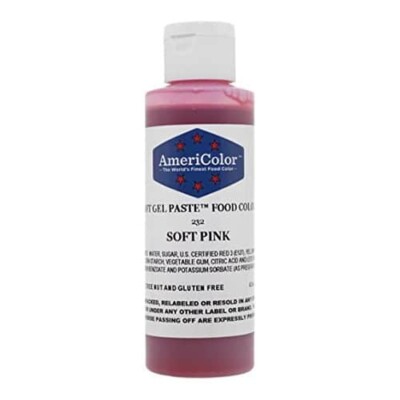
- Pink gel food coloring: Just a touch of pink color to make the bunny eyes! For this recipe, I used Americolor Pink Gel Food Coloring.
Equipment
- Piping bags and tips: I like these disposable piping bags (I wash them and re-use them to reduce waste!). I used a piping coupler to make the bunny head and a small round #2 tip to make the eyes.
- Shears: Kitchen shears or scissors are used to cut the marshmallows.
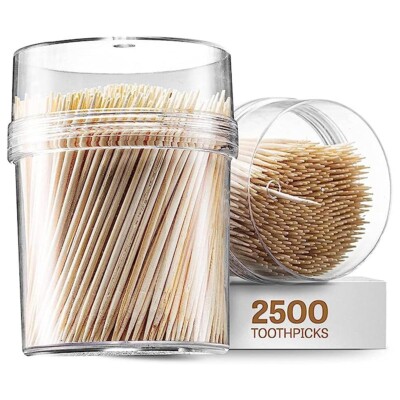
- Toothpicks: I recommend using long wooden toothpicks – their extra-long length keeps the ears more securely attached to the cupcakes.
🥕 More Easter Cupcakes
Leave a Review!
If you make this recipe, let us know! Leave a ⭐️⭐️⭐️⭐️⭐️ rating on the recipe below, and leave a comment, take a photo and tag me on Instagram @elabau, or use #sugarhero on IG!
Easter Bunny Cupcakes
Ingredients
For the cupcakes:
- 1 box yellow cake mix, plus ingredients to prepare mix
For the frosting:
- 6 fl oz pasteurized liquid egg whites, (3/4 cup, see Note below)
- 24 oz powdered sugar, (6 cups)
- 1/2 tsp salt
- 24 oz unsalted butter, at room temperature (6 sticks)
- 2 TBSP vanilla extract
For decorating:
- 1.5 cups white sparkling sugar
- 8 large marshmallows
- Pink jimmies, or pink sanding sugar
- Round pink sprinkles, or pink sugar pearl or pink Sixlet
- pink gel food coloring, I used Americolor Soft Pink gel color
Instructions
To make the cupcakes:
- Prepare the cupcakes according to the package instructions. Bake them and let them cool completely.
To make the frosting:
- Combine the whites, powdered sugar, and salt in the bowl of a large stand mixer fitted with a paddle attachment. Mix everything together on low speed, until the sugar is moistened and no dry patches remain. Turn off the mixer, scrape down the sides and bottom of the bowl with a spatula, then turn the mixer to medium speed. Beat on medium for 5 minutes.
- After 5 minutes, turn the mixer to medium-low and start adding the softened room temperature butter, 2-3 tablespoons at a time. Once all of the butter is incorporated, add the vanilla extract and mix it in.
- Stop the mixer and scrape down the bottom and sides once more. Turn the speed to medium and beat the buttercream for 10 minutes. At the end, you’ll have a frosting with a wonderfully light and creamy texture. If it still looks lumpy or curdled, just keep mixing it. It might take a bit longer depending on the power of your mixer and the temperature of your ingredients, but it WILL come together if you followed instructions.
- The frosting can be used right away, or stored in the refrigerator for up to two weeks, or the freezer for up to two months. If you have chilled the frosting, let it come to room temperature COMPLETELY and then beat it for several minutes to smooth it out and restore its texture before using it.
To decorate:
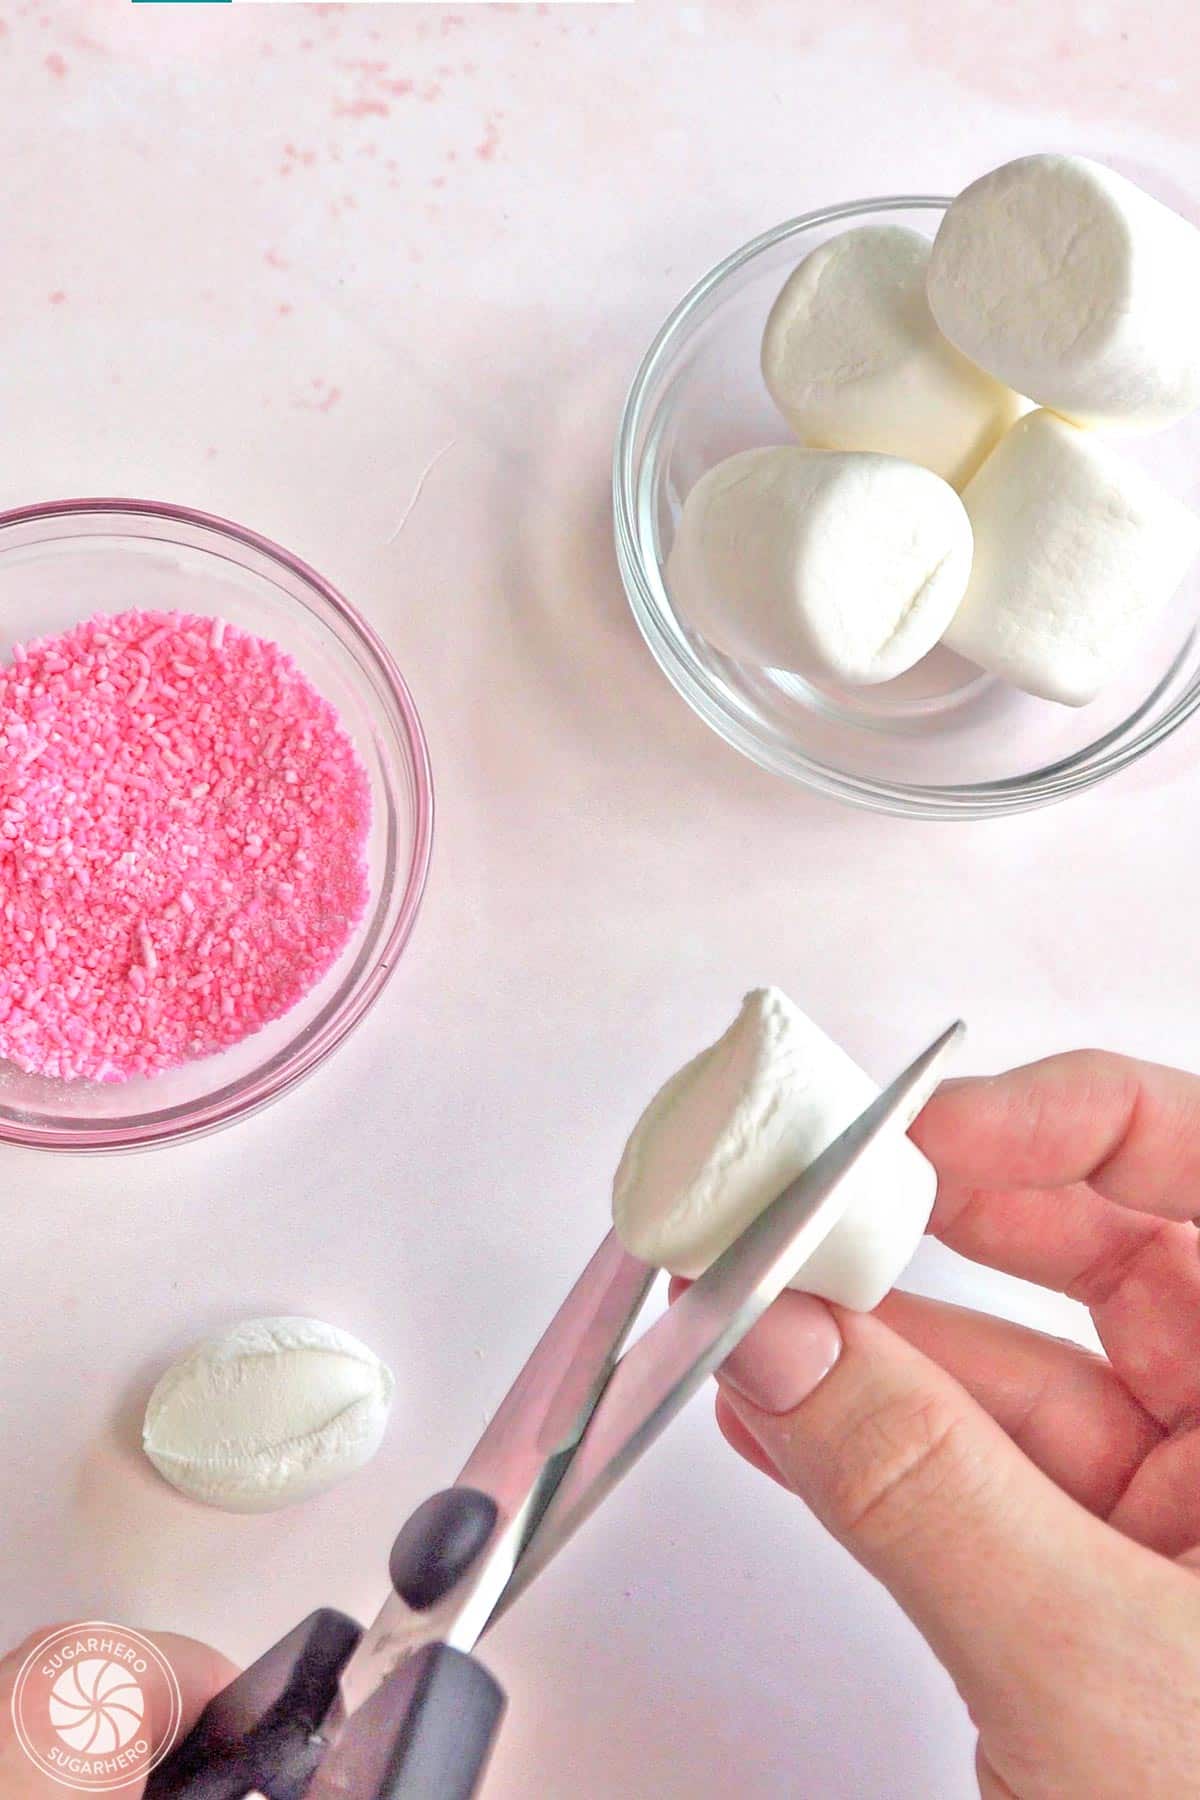
- Use kitchen shears to snip the large marshmallows into 3 pieces lengthwise. The cutting motion will naturally squish the marshmallow at the ends so it forms more of a diamond shape, but you can pinch the ends even more to accentuate the bunny ears shape.
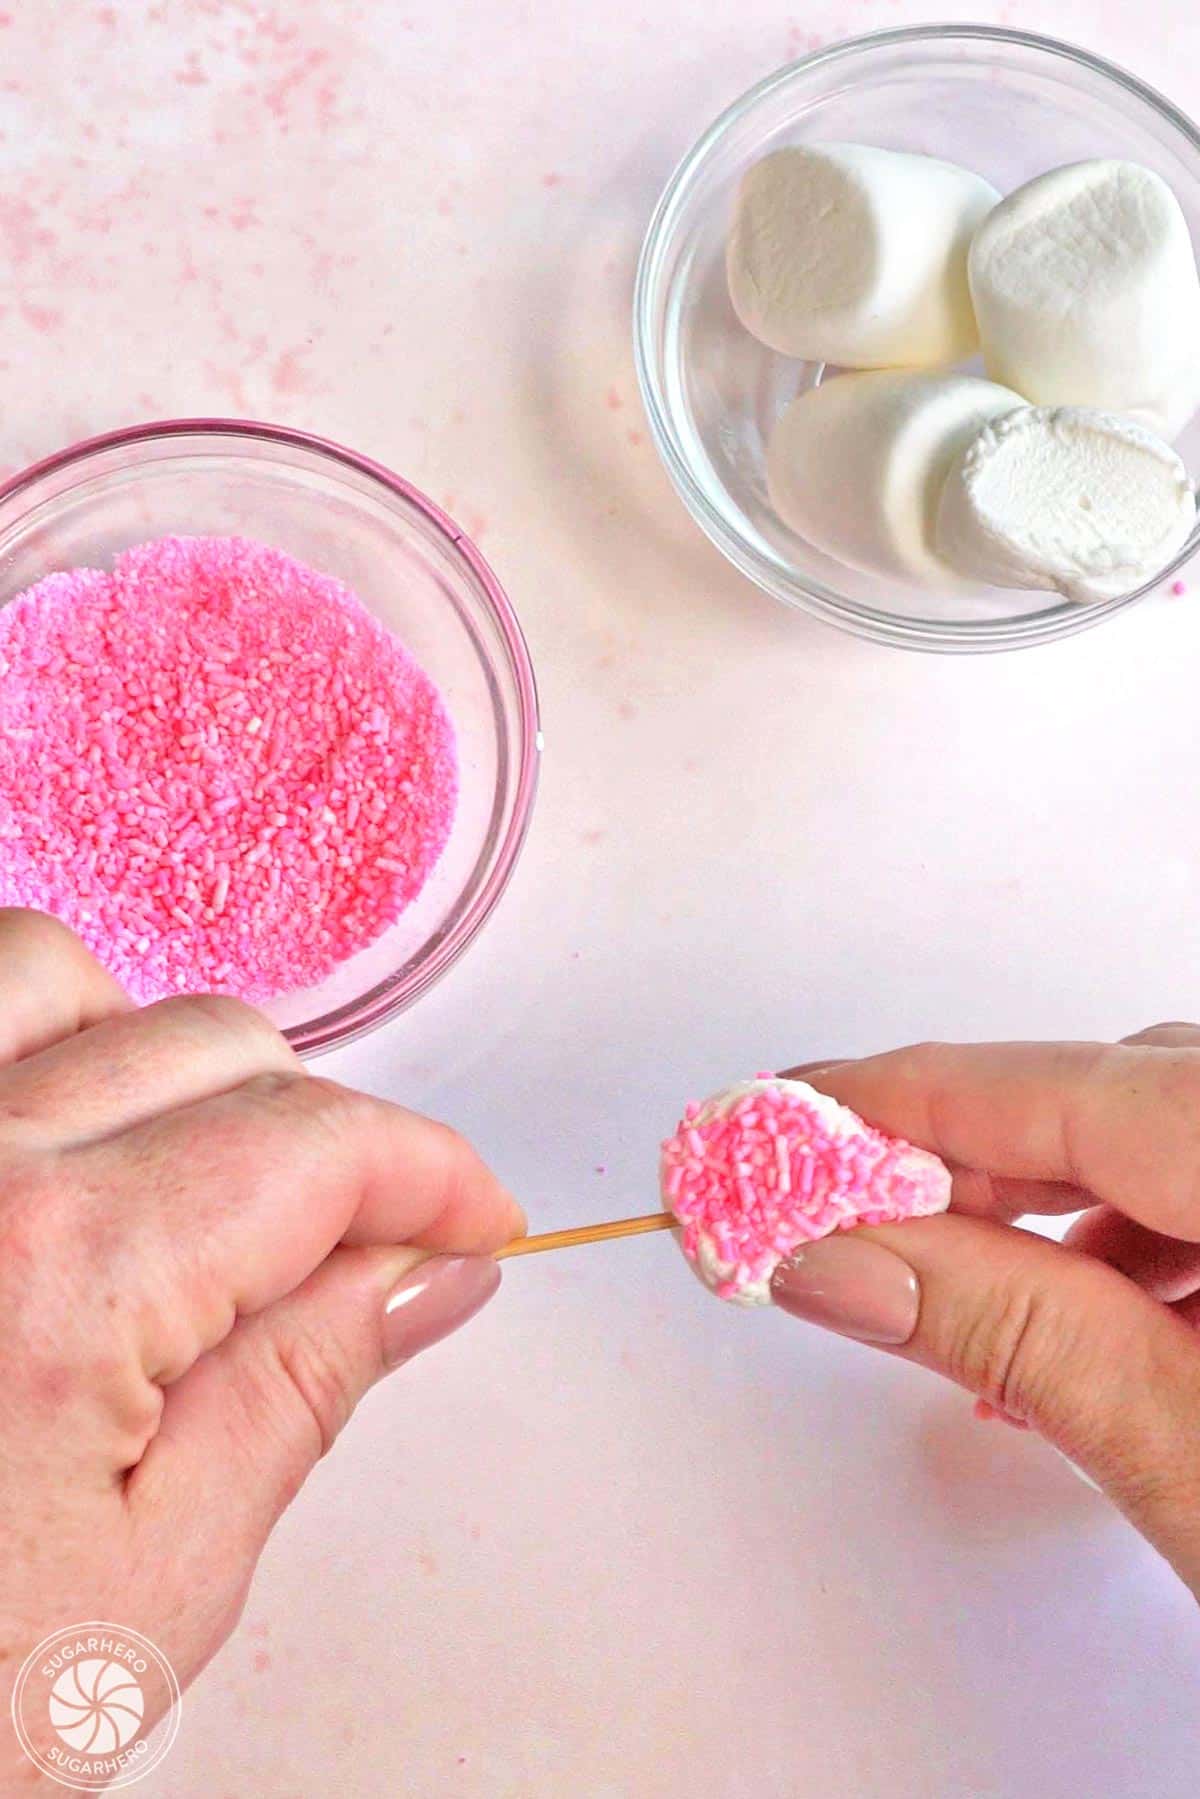
- Press the cut side of a marshmallow piece into a bowl of pink jimmies or sparkling sugar. Since the side is fairly sticky, the sprinkles should adhere well, and you can also press them in with your fingers to help them stick.
- Once all of the marshmallows have pink sprinkles, push a long toothpick partially into the bottom of each “ear.”
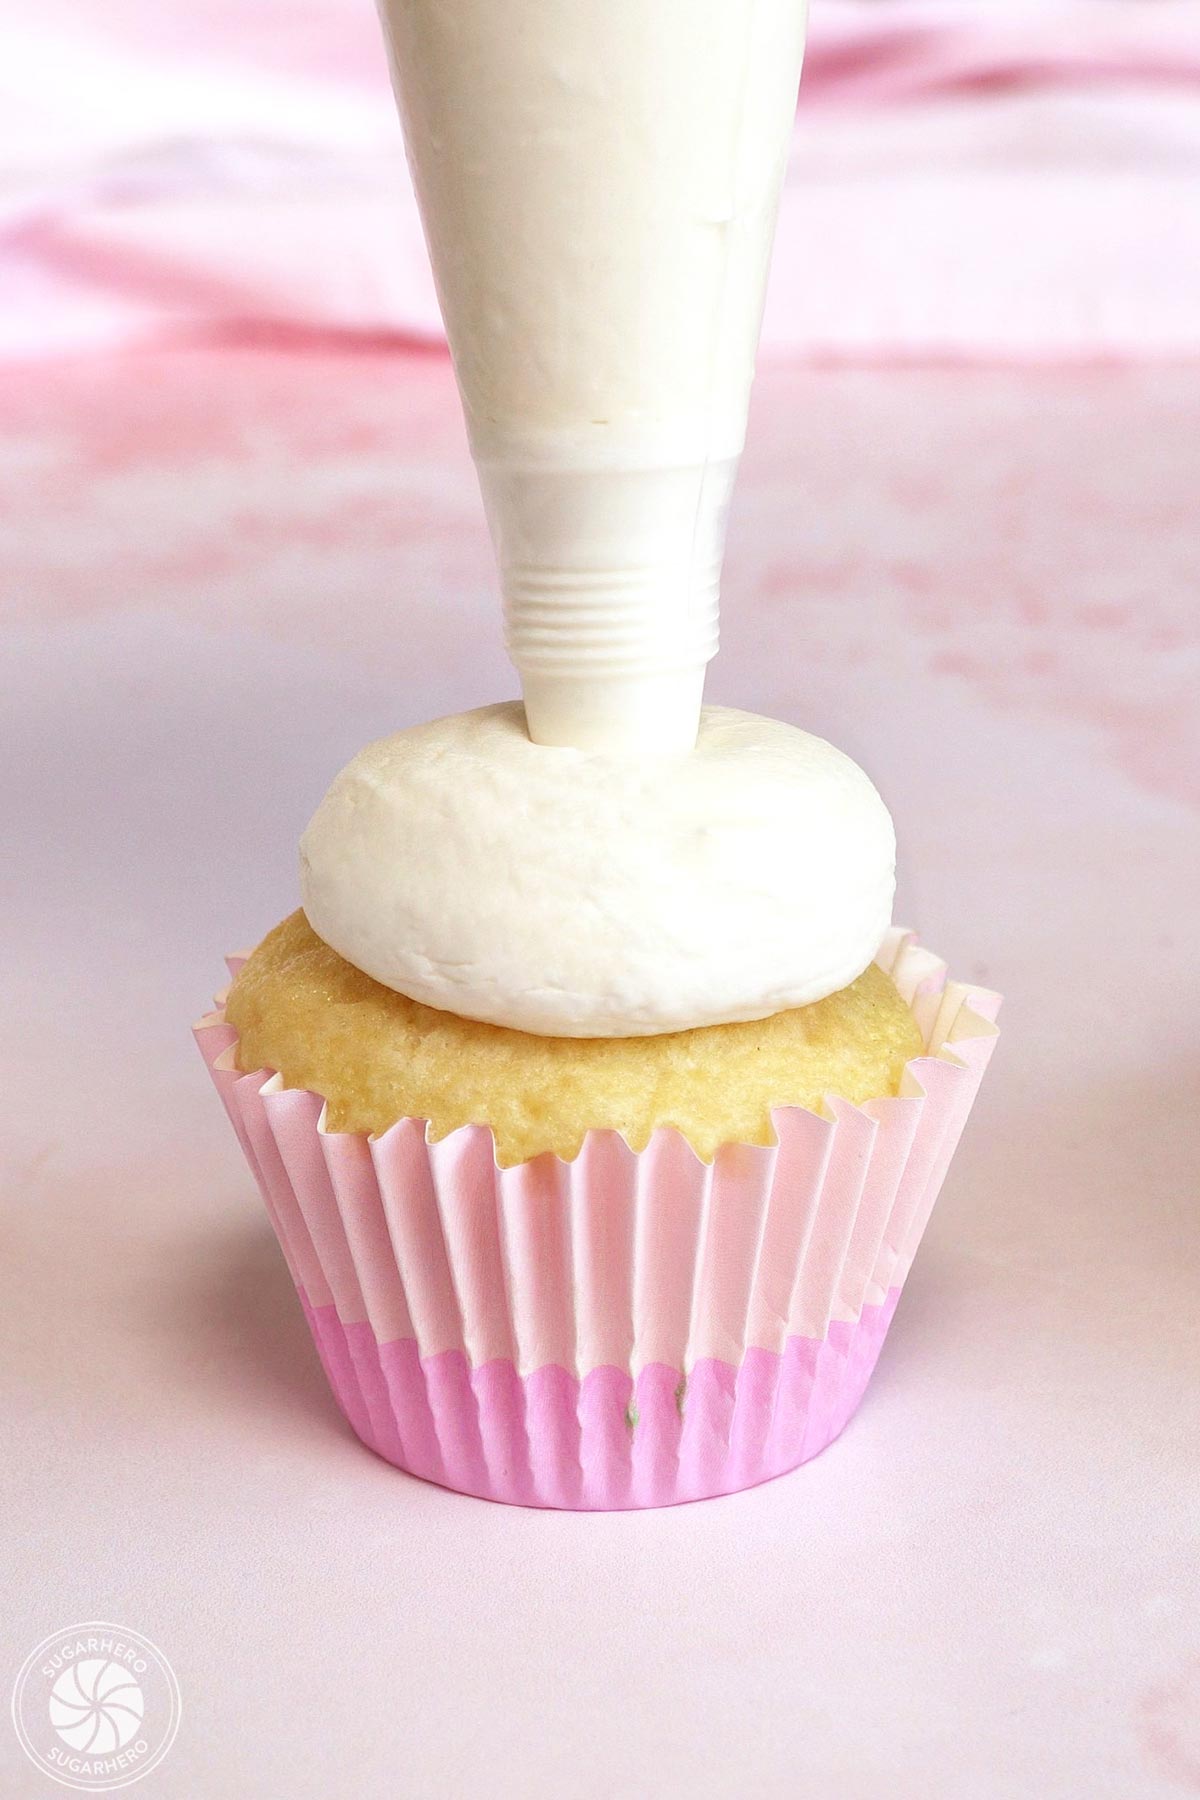
- Place the frosting in a piping bag fitted with a large round tip or coupler. Hold it perpendicular about a half-inch above a cupcake, and squeeze to form a large blob of frosting on top. Stop when it almost reaches the sides of the cupcake.
- Fill a bowl with white sanding sugar. Hold the cupcake at the base and press the top of the cupcake into the sugar, turning it around so the top and sides of the frosting are completely covered. Once dipped, you can use your hands to gently reshape the frosting so it’s smooth and round.
- Press two marshmallow ears into the top of the cupcake, making sure that they go through the frosting all the way down to the cupcake (they’re more secure this way.)
- Repeat with the rest of the cupcakes until they are all frosted and have ears. Take the remaining white frosting and add a bit of pink food coloring to it, then transfer it to a piping bag fitted with a small round attachment (I used a #2 tip).
- Add a round pink sprinkle or Sixlet to the center of the frosting for the bunny’s nose. Finally, pipe two eyes on each cupcake with the pink buttercream. (Alternately, you can use additional sprinkles, or candy eyeballs, or just skip the eyes entirely.)
- Your Bunny Cupcakes are now ready to be enjoyed! Store extras in an airtight container at room temperature for 2-3 days, or in the refrigerator for up to a week. If they have been chilled, allow them to come to room temperature before serving for the best taste and texture.
Recipe Notes
Measuring Tips
Our recipes are developed using weight measurements, and we highly recommend using a kitchen scale for baking whenever possible. However, if you prefer to use cups, volume measurements are provided as well. PLEASE NOTE: the adage “8 oz = 1 cup” is NOT true when speaking about weight, so don’t be concerned if the measurements don’t fit this formula.
Want to learn more about baking measurements and conversion?
Nutrition
📸 Photo Tutorial: How to Make Easter Bunny Cupcakes
Here’s how easy it is to turn regular cupcakes into cute bunny cupcakes. Full instructions are included in the recipe card above.
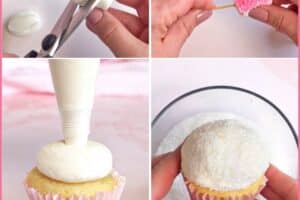
Make the Marshmallow Bunny Ears
- Use kitchen shears to snip large marshmallows into 3 pieces lengthwise. Pinch the ends of the marshmallow pieces to accentuate the bunny ears shape.
- Press the cut side of a marshmallow piece into a bowl of pink jimmies or sparkling sugar. Since the side is fairly sticky, the sprinkles should adhere well, and you can also press them in with your fingers to help them stick.
- Once all of the marshmallows have pink sprinkles, push a long toothpick partially into the bottom of each “ear.”
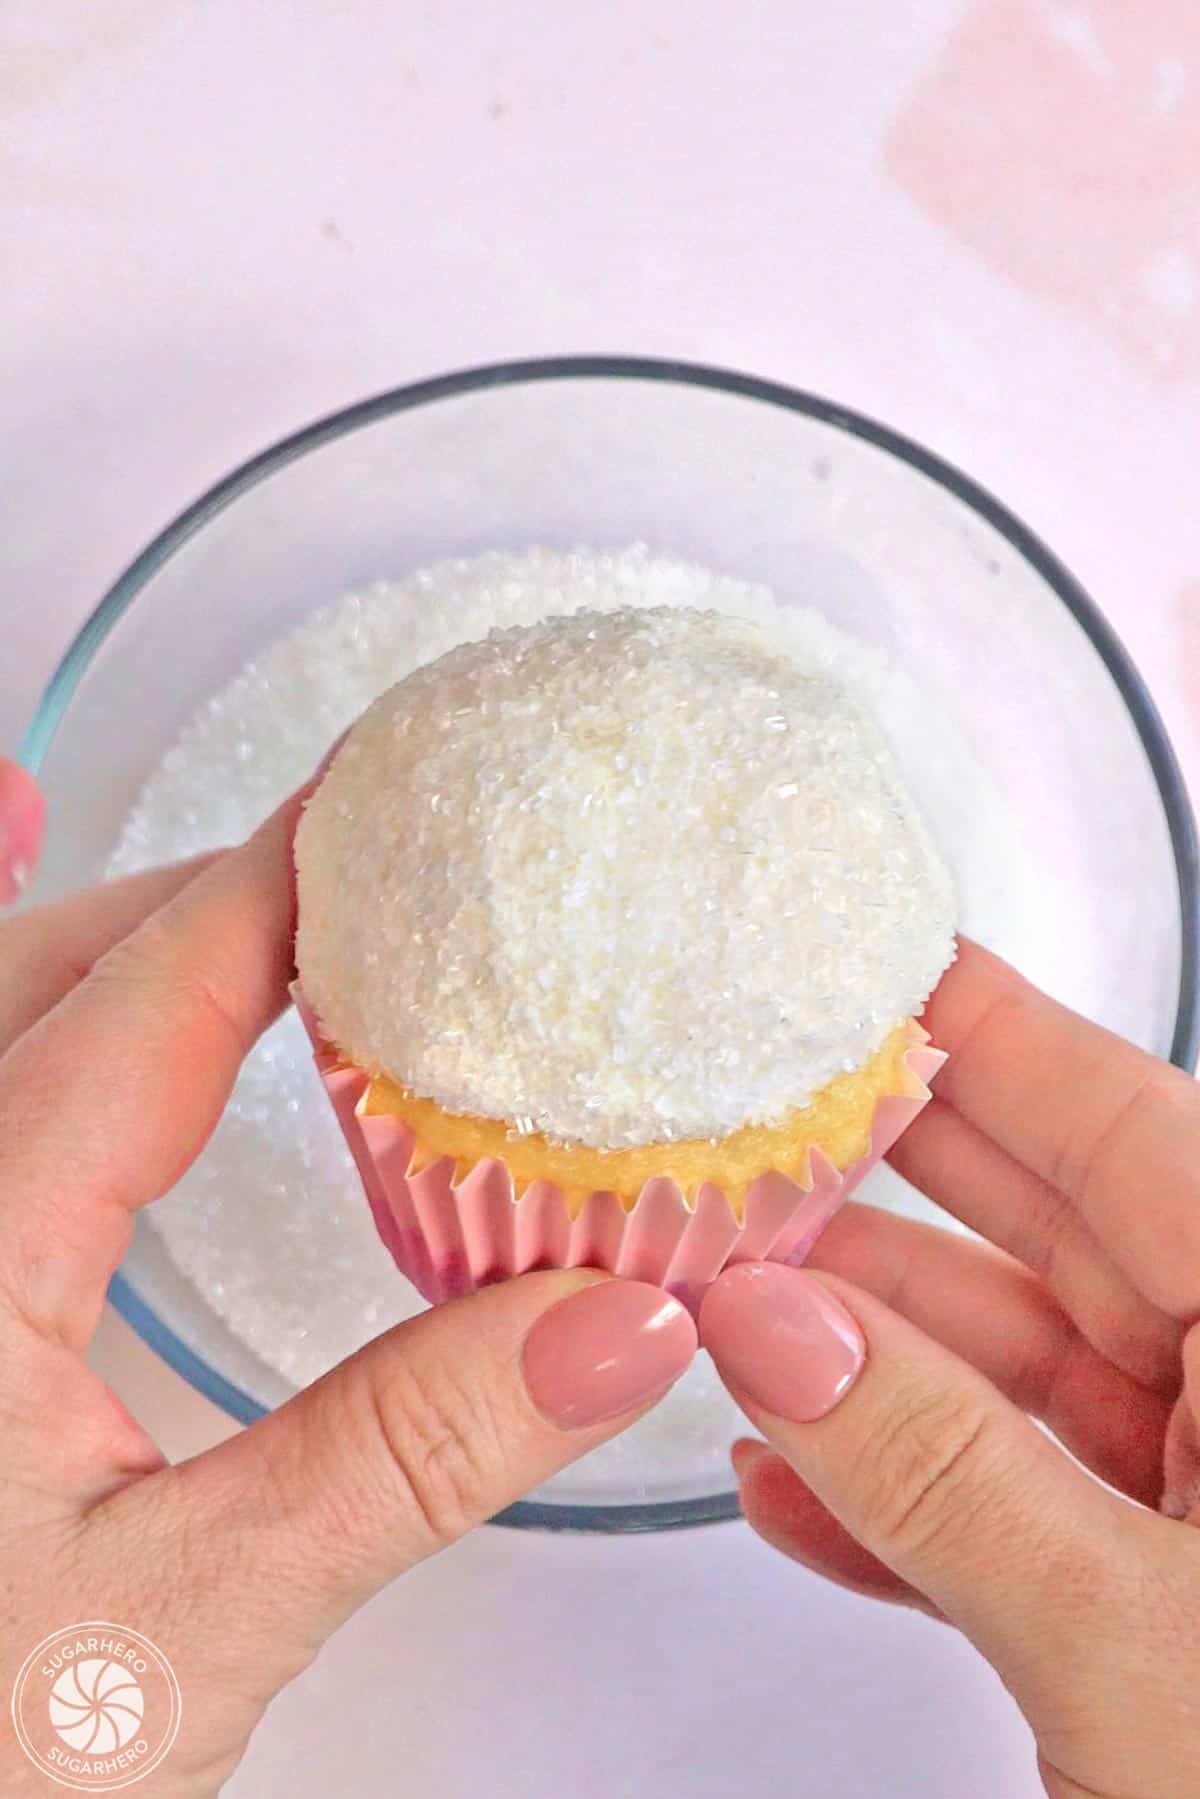
Add frosting for the head
- Pipe a large blob of vanilla frosting on top of each cupcake. Stop when it almost reaches the sides of the cupcake.
- Dip the top of the cupcake into a bowl of white sparkling sugar, turning it so all of the frosting is covered.
- If you need to, you can use your hands to gently reshape the frosting so it’s smooth and round.
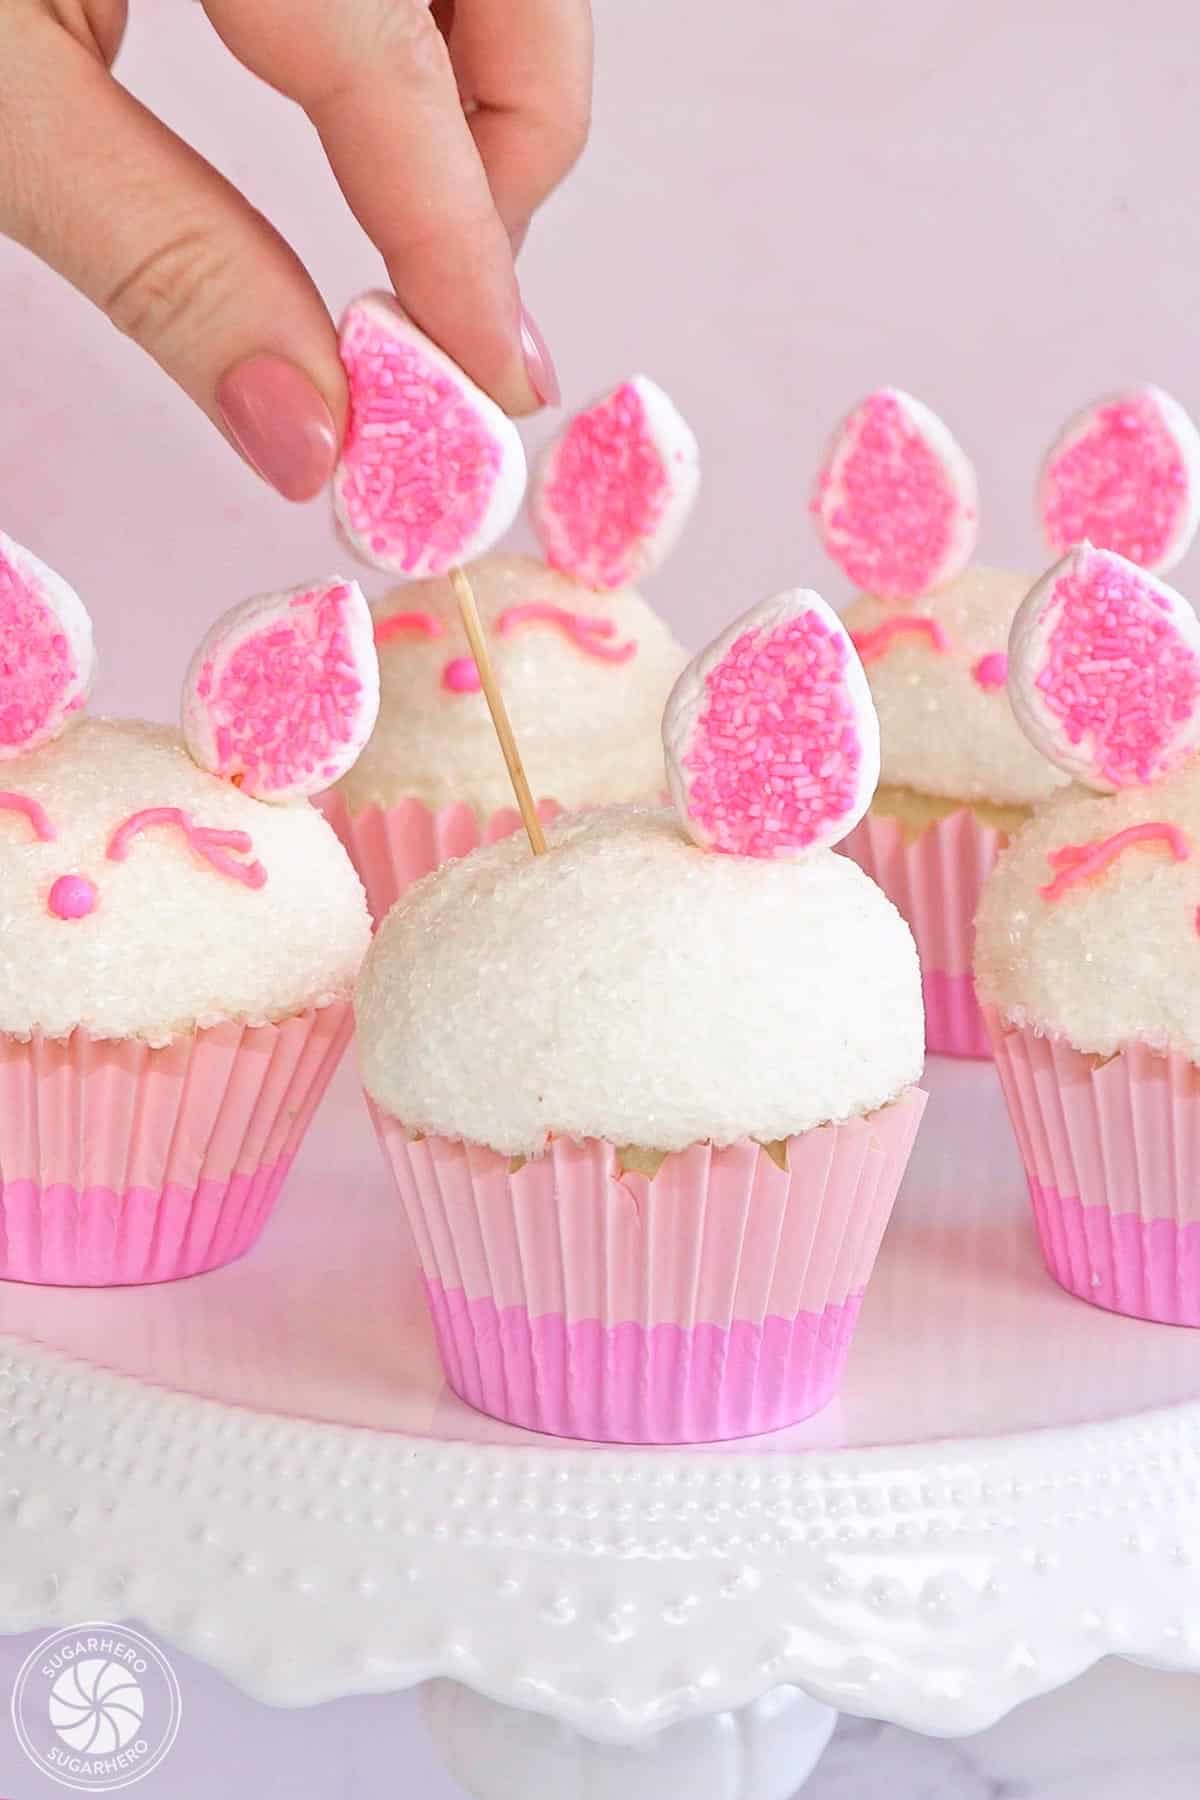
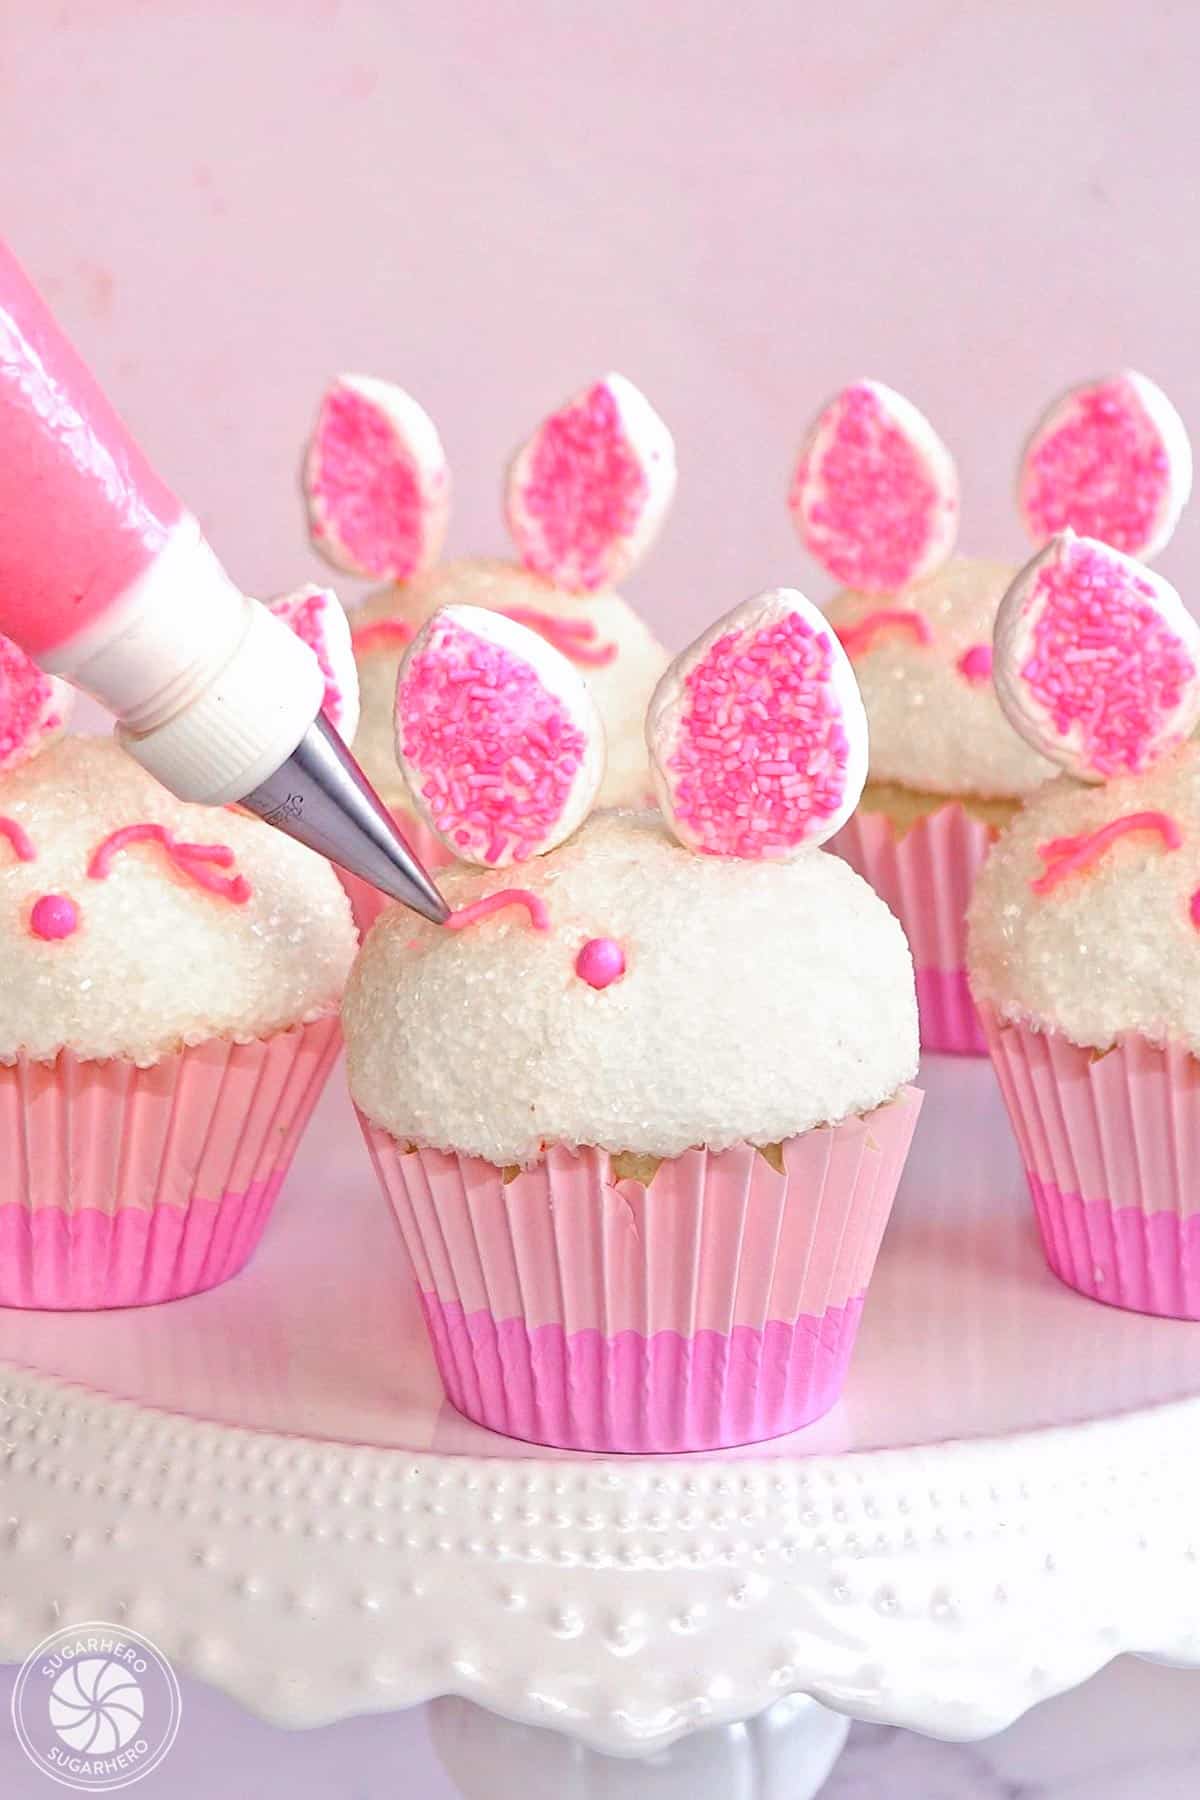
Add ears and bunny faces
- Press two marshmallow ears into the top of the cupcake, making sure that they go through the frosting all the way down to the cupcake.
- Add a round pink sprinkle or Sixlet to the center of the frosting for the bunny’s nose.
- Finally, pipe two eyes on each cupcake with pink buttercream.
💭 Variations
More fun ideas for customizing these sweet bunny cupcakes:
- Mix ‘n’ match the cake, marshmallow, sparkling sugar and buttercream flavors/colors. Imagine strawberry cake with strawberry buttercream, lemon cake with coconut buttercream, chocolate cake with chocolate sour cream frosting . . . you get the idea!
- Make a pastel rainbow of bunny ears and faces. This multi-colored sparkling sugar comes with pink, purple, yellow and green. Mix up colored buttercream to match the sprinkles and you’ll be all set.
- Add different textures to the bunny face by using flaked coconut, grated white chocolate, crushed graham crackers, or even nuts. You could also leave off the texture altogether and make the bunny face completely smooth.
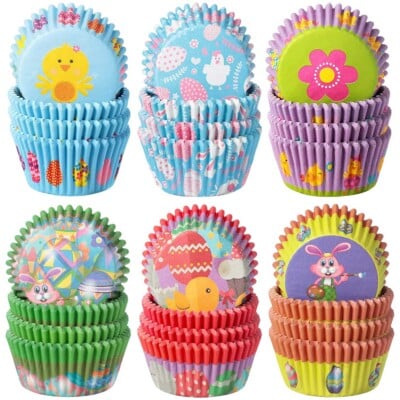
- Use fun cupcake wrappers. You could do a variety of pastel colors, pink to match the bunny ears or some fun Easter wrappers.
- Place a surprise inside the cupcake like jam, jelly beans or a truffle.
- If you don’t want to bother with piping the eyes and eyelashes, use additional sprinkles or candy eyes instead of pink buttercream.
- Give your bunnies some personality like piped hairbows, bowties, extra eyelashes, etc.
Browse More:


Made these with my girls and they were so fun and easy!
Hi Justine. I love that you got to have some fun with your girls!
Tested a small batch of these before Easter. So fun to make! Thank you so much!
Hi Sharon. So glad you enjoyed the recipe!
Definitely making these for Easter! My 4 year old can’t wait to help me, too!
Hi Megan. That sounds like such a fun project to make together. Happy Easter.
These are so cute. All the kids will love them
Hi Rhonda! Thanks for the comment. I really hope your kids enjoy them!