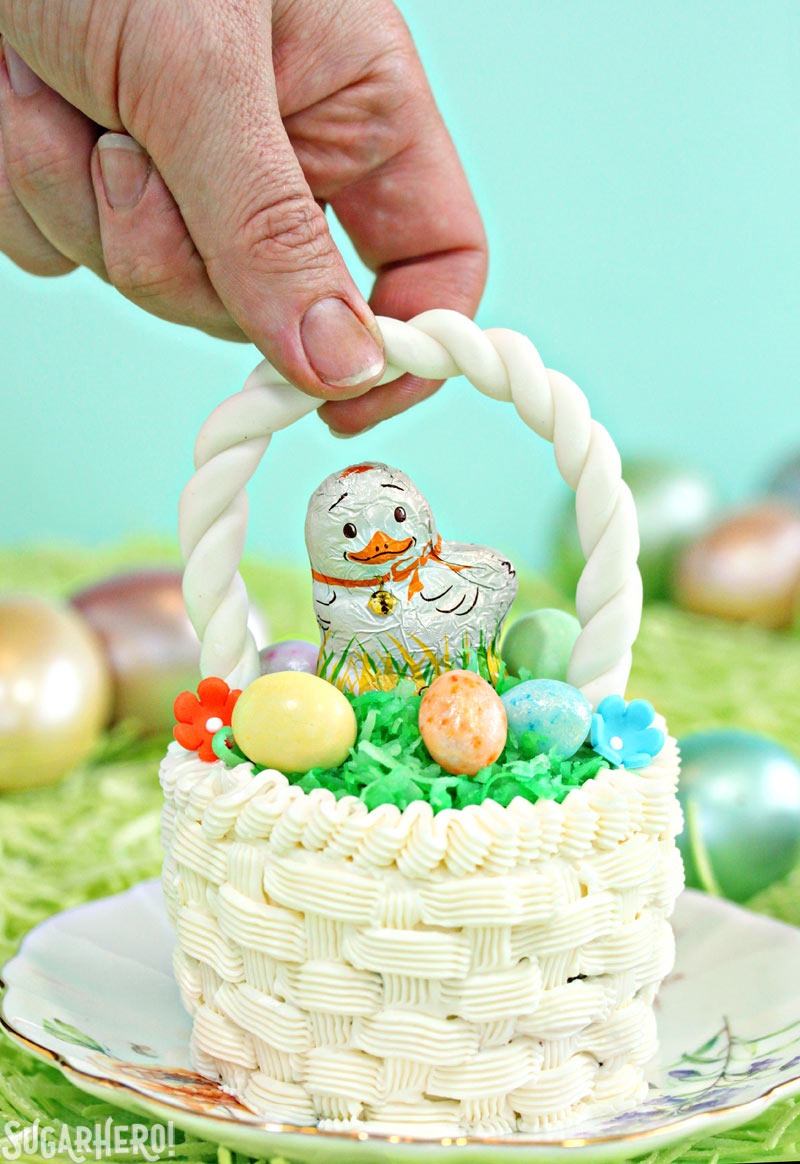
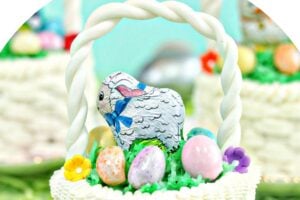
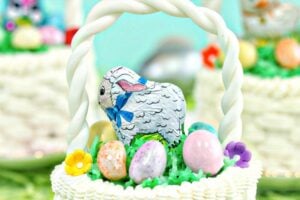
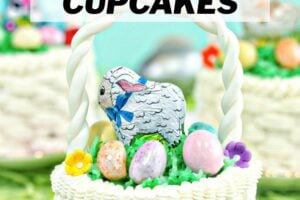
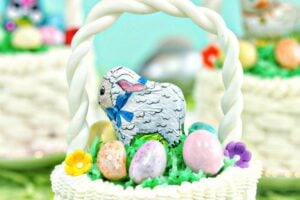
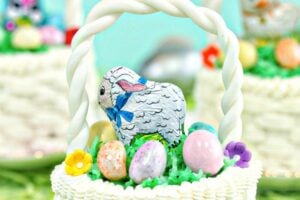
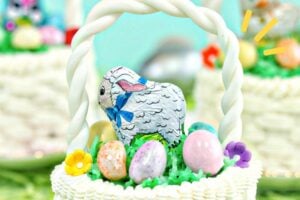
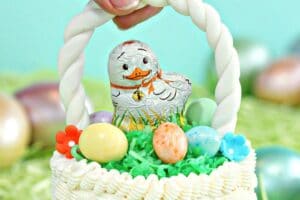
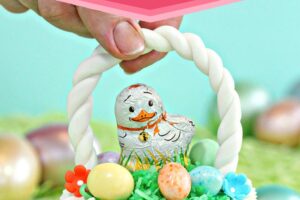
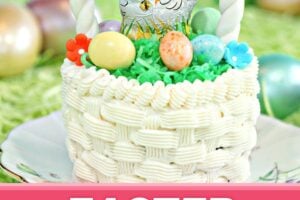
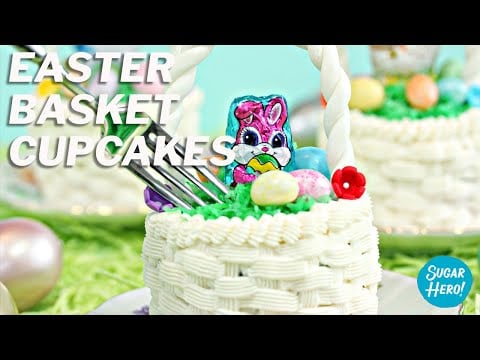
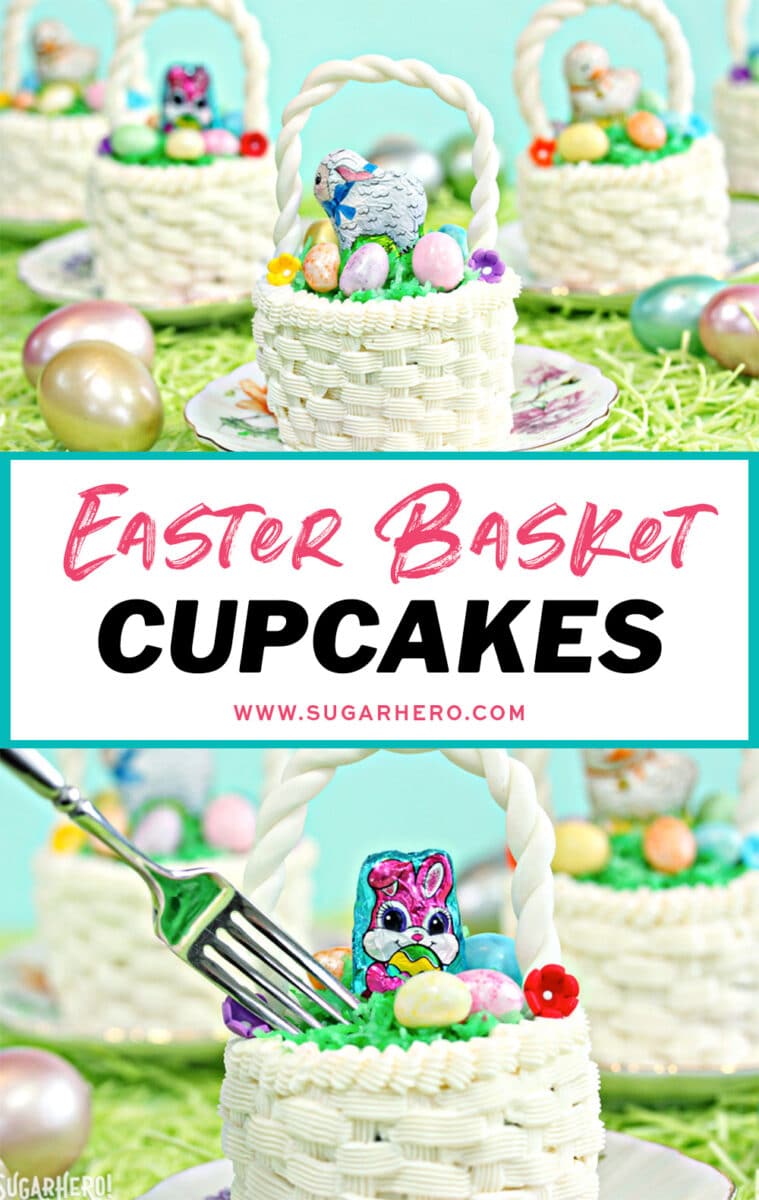
These Easter Basket Cupcakes are the perfect Easter dessert! They’re made up of rich chocolate cupcakes that are topped with Swiss meringue buttercream and decorated to look just like mini Easter baskets!
Easy Cupcake Easter Baskets
I don’t know about you, but something strange happens to me when I walk down an aisle full of Easter candy. It doesn’t matter what kind of mood I was in before because it immediately puts me in a good one. And then I want to buy ALL of the treats.
There must be some weird chemical in pastel food coloring that induces feelings of happiness and possibly compulsive buying followed by baking. Weird…
Anyway!
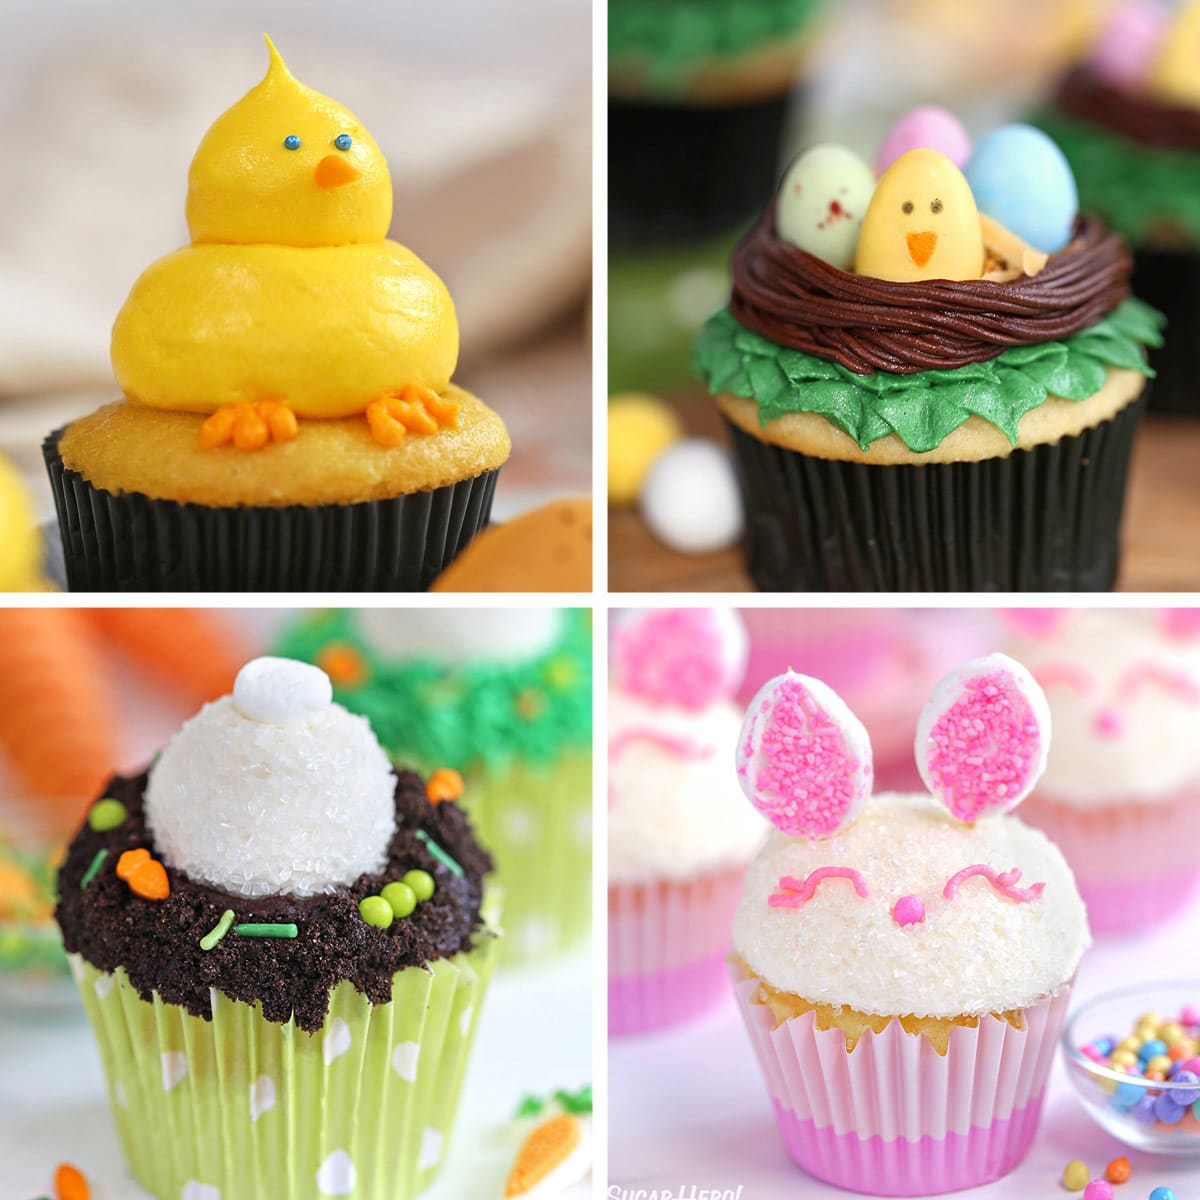
These Easter Basket Cupcakes are one of my all-time favorite Easter recipes. They start with moist and perfectly dense jumbo chocolate cupcakes that are filled with raspberry jam, topped off with Swiss meringue buttercream, then decorated to look just like a cute little Easter basket! If you love Easter cupcakes, don’t miss my Spring Chick Cupcakes, Double Chocolate Easter Cupcakes, Bunny Butt Cupcakes, and Easter Bunny Cupcakes! And if you are looking for a springy floral cupcake check out Lemon Meringue Teacup Cakes and Easy Chocolate Flower Cupcakes.
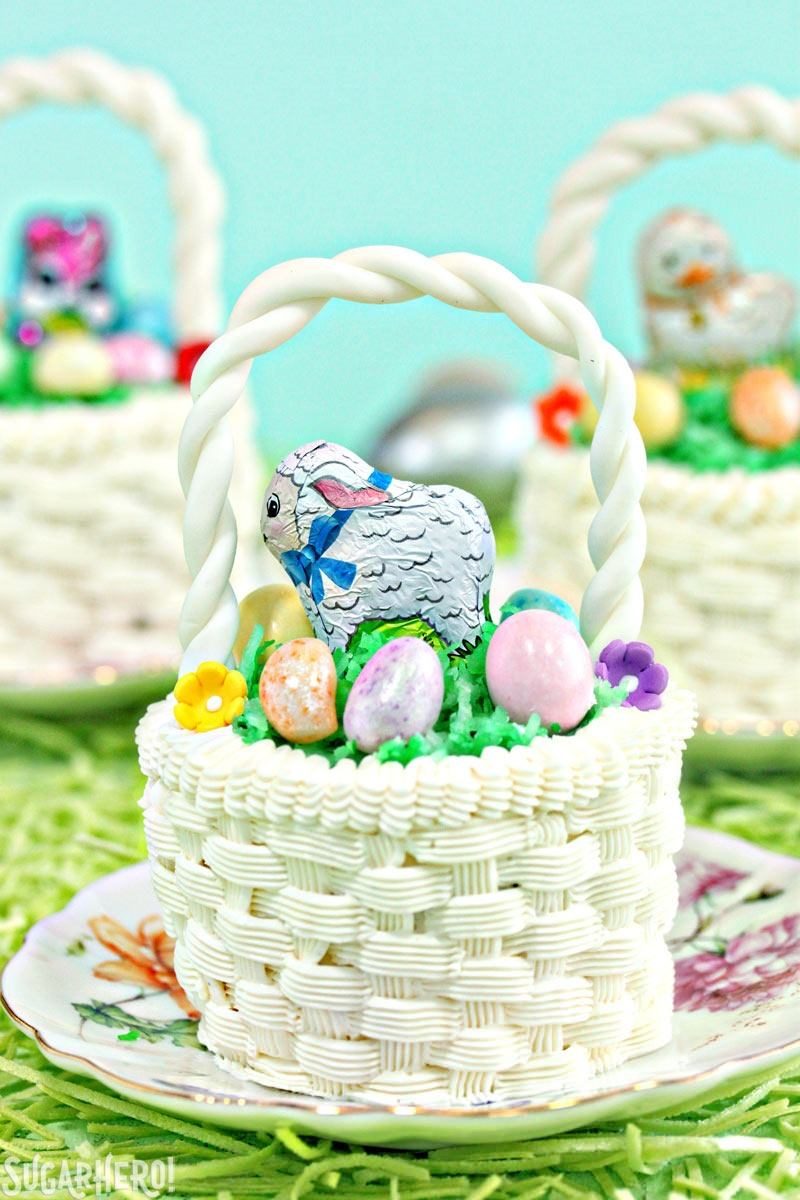
Table of Contents
🧾 What You’ll Need for Easter Basket Cupcakes
Ingredients
These Easter Basket Cupcakes are made with simple and accessible ingredients. Here are some things to keep in mind before you head to the grocery store! (Links are affiliate links and I earn a small commission from qualifying purchases.)
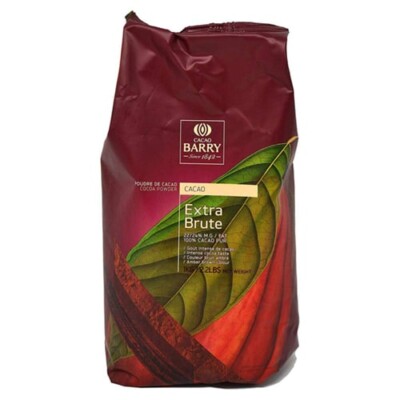
- Cocoa Powder: for the best chocolate flavor, you’ll want to use good quality cocoa powder. My favorite is Cacao Berry Cocoa Powder.
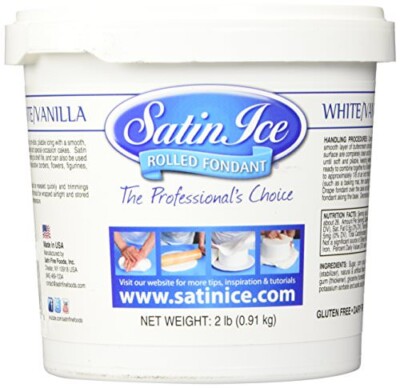
- White Fondant: we’re using white vanilla fondant to form the Easter basket handles. If you don’t want to use fondant, you can use licorice, or make non-edible handles out of pipe cleaners.
- Coconut: I use sweetened coconut to make the grass for the Easter baskets. Edible Easter grass also works well!
- Green Food Coloring: tossing green food coloring with the coconut makes it look like Easter grass.
- Vanilla Extract: we’re using vanilla extract in both the cupcakes and frosting to add flavor depth.
- Jelly Beans and Chocolate Easter Animals: Fill the baskets with your favorite Easter candies! I used jelly beans and chocolate Lindt Easter animals in mine.
Equipment
Here are the must-haves for pulling off these Easter Basket Cupcakes! (Links are affiliate links and I earn a small commission from qualifying purchases.)
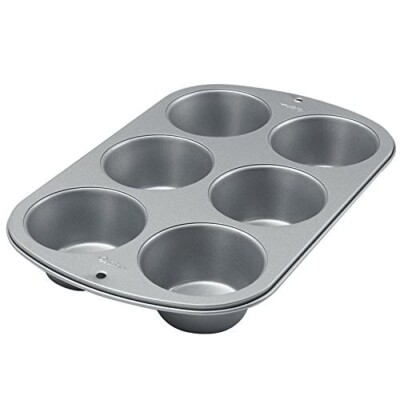
- Jumbo Muffin Pan: I definitely recommend making these with jumbo cupcakes, so you have a larger decorating surface. To make jumbo cupcakes, you’ll need a jumbo muffin tin.
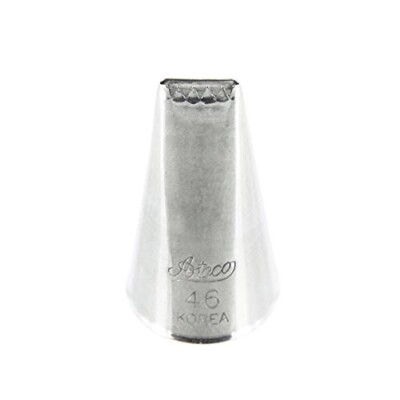
- Basket Weaving Piping Tip: a basket weaving piping tip allows you to easily pipe the basket weave design on the outside of the cupcakes.
- Piping bags: I always have a ton of these clear piping bags on hand. They’re great quality and I often wash and re-use them again and again to cut down on waste.
📋 Instructions
These adorable Easter cupcakes come together in just a few hours! Full instructions are included in the recipe card down below.
Make the Fondant Handles
- Divide the fondant into 12 equal portions and cover a baking sheet with wax/parchment paper. Dust it lightly with powdered sugar.
- Dust a clean work surface with powdered sugar, and roll one fondant ball into a snake. Fold it in half, so you have two ropes next to each other, then twist them together.
- Arrange the twists into a horseshoe shape and set them on the baking sheet. Let them sit for 24 hours.
Make the Cupcakes
- Add butter and sugars to a stand mixer and beat until light and fluffy. Add in the eggs, beating well after each addition, then mix in the vanilla.
- In a separate bowl, mix together buttermilk, sour cream, and water/coffee. In another separate bowl, sift together flour, cocoa powder, baking soda, and salt.
- With the mixer on low, add 1/4 of the flour mixture. Mix until the flour streaks disappear, then add 1/3 of the liquid. Alternate adding the dry and wet ingredients until fully mixed.
- Divide the batter into a greased jumbo muffin pan and bake at 350ºF for 23-25 minutes. Cool completely.
Make the Swiss Meringue Buttercream
- In your stand mixer, combine egg whites and granulated sugar. Choose a small saucepan that fits the base of your stand mixer bowl.
- Place the mixing bowl on top of the saucepan with water. Heat the egg white mixture, whisking often, until the egg whites are hot to the touch and the sugar is dissolved.
- Transfer the mixing bowl back to the mixer, fit with the whisk attachment, and beat until shiny and stiff.
- Reduce the speed to medium-low, add the butter, and whip until light and fluffy.
- Add the vanilla and salt, then store in the fridge until you’re ready to use.
Assemble the Easter Basket Cupcakes
- Take a sharp knife and cut a cone-shaped portion out of the center of each cupcake. Fill with raspberry jam, then cut the bottom off each cone and add the top back to the cupcake.
- Trim around the edges of each cupcake to remove any overhang, then spread a layer of buttercream over the top and sides.
Pipe the Basketweave Pattern
- Fill a piping bag with a basketweave tip with buttercream, then pipe a basketweave design on the sides of each cupcake and a zig-zag around the outer edge of the tops.
Finish Decorating the Cupcakes
- Place the coconut and a couple drops of green food coloring in a plastic bag and rub together until to coconut turns green.
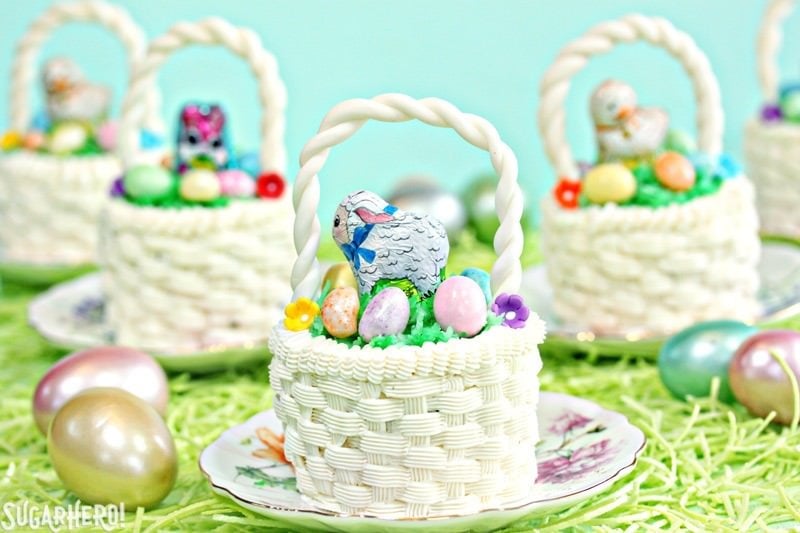
- Fill the inside of the cupcakes with green coconut, chocolate bunnies, and candy eggs, then top with a fondant handle.
💭 Variations for Easter Basket Cupcakes
I love these Easter Basket Cupcakes as-is, but here are a few ways you can switch things up!
- Use another filling. I love the raspberry jam in these cupcakes, but you could skip it and use another filling like Nutella, lemon curd, another type of jam, or even more buttercream for a cream-filled cupcake.
- Try another cupcake. You can never go wrong with chocolate cupcakes, or any chocolate dessert for that matter, but feel free to swap them out for another cupcake recipe if preferred.
- Add other candies. Anything goes! Use your favorite Easter-themed candies or just any candy at all. You really can’t go wrong!
💡 Tips for Easter Basket Cupcakes
- Let the handles harden. Allow the fondant basket handles at least 24 hours to harden before adding them to the cupcakes.
- Sift the dry ingredients. This helps prevent clumps from occurring in the batter!
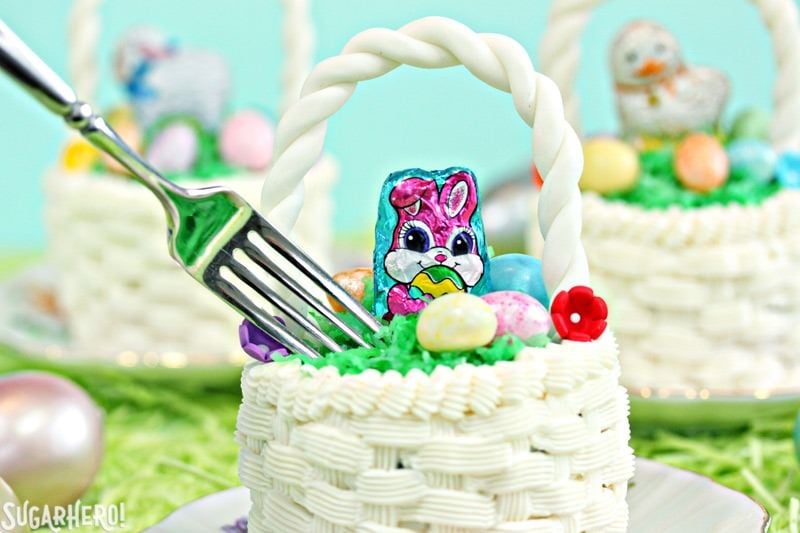
- Make jumbo cupcakes. Theoretically, you could use regular-sized cupcakes. However, that is a tiny surface for decorating. Consider going jumbo to save yourself the headache!
Make-Ahead and Storage Instructions
Yes! You can prep pretty much all of these cupcake components in advance for easy assembly later on.
The cupcakes can be baked ahead of time and stored in the fridge for up to 2 days or in the freezer for up to 3 months.
The fondant handles should be prepped ahead of time so they can harden for at least 24 hours. They can be made several days in advance.
The frosting can be made a few hours in advance, but I recommend using it the day of making it for the best texture.
Fully decorated cupcakes are best right away, but will last in an airtight container for 3-4 days.
Once the cupcakes are frosted and decorated, I definitely do not recommend freezing them. You can freeze the cupcakes before they are decorated, however. They will last for up to 3 months. When you’re ready to frost them, thaw in the fridge or on the counter.
💛 More Easter Desserts You’ll Love
- Easter Push-Up Pops
- Spring Chick Cupcakes
- Easter Nest Cake
- Easter Egg Brownies
- Fruit Pizza
- Marbled Easter Egg Truffles
- Peanut Butter Easter Eggs
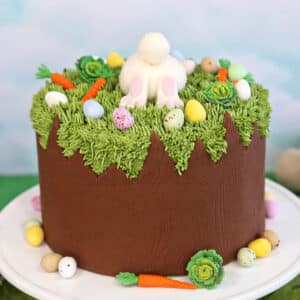
Chocolate Easter Bunny Cake
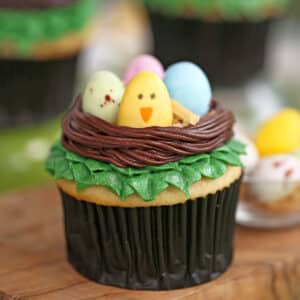
Easter Bird’s Nest Cupcakes
Don’t miss the step-by-step tutorial showing how to make Easter Basket Cupcakes – check out the web story here!
Leave a Review!
If you make this recipe, let us know! Leave a ⭐️⭐️⭐️⭐️⭐️ rating on the recipe below, and leave a comment, take a photo and tag me on Instagram @elabau, or use #sugarhero on IG!
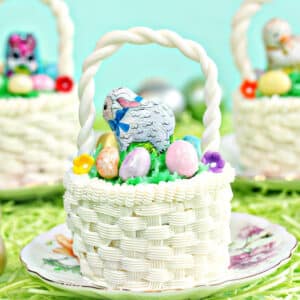
Easter Basket Cupcakes
Ingredients
For the Decorations:
- 8 oz white fondant
- 6 oz raspberry jam, (1/2 cup)
- 3.75 oz sweetened shredded coconut, (1 1/4 cups)
- Green gel food coloring
- 6 oz candy eggs, (1 cup), or other Easter candies
For the Chocolate Cupcakes:
- 6 oz unsalted butter, at room temperature
- 4.75 oz granulated sugar, (2/3 cup)
- 5 oz brown sugar, (2/3 cup)
- 2 large eggs, at room temperature
- 2 tsp vanilla extract
- 8 oz buttermilk, (1 cup), at room temperature
- 4 oz sour cream, (1/2 cup), at room temperature
- 2 tbsp water
- 7.8 oz all-purpose flour, (1¾ cups)
- 3 oz unsweetened cocoa powder, (1 cup)
- 1½ tsp baking soda
- ½ tsp salt
For the Swiss Meringue Buttercream:
- 9 large egg whites
- 14 oz granulated sugar, (2 cups)
- 1 lb unsalted butter, soft but still cool
- 1 tbsp vanilla extract
- 1/4 tsp salt
Instructions
To Make the Fondant Handles:
- Divide the fondant into 12 equal portions. Cover a baking sheet with waxed paper or parchment and dust it lightly with powdered sugar.
- Dust your work surface with powdered sugar, and roll one fondant ball out into a long skinny snake. Fold it in half, so you have two fondant ropes next to each other, and twist them together. Arrange the fondant twist into a horseshoe shape, and set it on the prepared baking sheet. Repeat with the remaining fondant until you have 12 basket handles. Let them sit and harden for 24 hours before putting them on the cupcakes.
To Make the Chocolate Cupcakes:
- Spray a jumbo muffin pan with nonstick cooking spray. Preheat the oven to 350 F.
- Add the butter and both sugars to the bowl of a large stand mixer fitted with a paddle attachment. Beat them together on medium-high speed, until light and fluffy, about 5 minutes. Add the eggs one at a time, beating well after each addition. Add the vanilla extract and mix it in.
- In a separate bowl, whisk together the buttermilk, sour cream, and water (or coffee, if using). In a different bowl, sift together the flour, cocoa powder, baking soda, and salt. With the mixer running on low, add a quarter of the sifted flour mixture. When the flour streaks have almost all disappeared, add a third of the liquid to the mixing bowl. When that’s incorporated, continue to add the drys and wets in an alternating pattern, ending with the dry ingredients.
- When the dry ingredients are nearly incorporated, stop the mixer. Scrape down the bottom and sides of the bowl with a rubber spatula, and finish mixing the cake by hand. Divide the batter into the jumbo muffin tin and bake at 350 F for 23-25 minutes, until a toothpick inserted into the center comes out with just a few moist crumbs attached. Cool the cupcakes completely before using.
To Make the Swiss Meringue Buttercream:
- Combine the egg whites and the granulated sugar in the bowl of a large stand mixer, and whisk them together. Choose a small saucepan that lets you fit the base of the stand mixer snugly into the top of the saucepan—this is your makeshift hot water bath. (Alternately, you can use a different bowl or an actual bain marie and then transfer the mixture to a mixing bowl once it’s heated.) Add an inch of water to the bottom of the saucepan, and bring the water to a simmer.
- Place the mixing bowl on top of the saucepan, making sure that the bottom isn’t in contact with the water, and heat the egg white mixture. Whisk frequently so that the egg whites don’t cook. Continue to heat the whites until they are hot to the touch, and when you rub a bit between your fingers, you don’t feel any grittiness from the sugar. Once the whites are hot, transfer the mixing bowl to your mixer and fit it with a whisk attachment.
- Beat the whites on medium-high speed until they are a shiny, stiff, voluminous meringue, and are no longer warm to the touch—feel the outside of the bowl, and make sure that it is around room temperature. Depending on your mixer and the temperature of your environment, this may take 15-20 minutes, or more. Reduce the speed to medium-low and add the softened but cool butter in small chunks, a tablespoon at a time, making sure to wait in between additions. It may separate or look a little gloopy at this point—fear not. Once all of the butter is added, increase the speed again and whip until it comes together and is light and fluffy. If, after 5 minutes, it hasn’t come together, refrigerate the mixing bowl for 5-7 minutes, to cool the mixture down, and whip it again until it has thickened and is smooth and silky. Add the vanilla extract and salt.
- The buttercream can be made in advance and kept at room temperature if you’re going to use it the same day, or refrigerated. If it has been chilled, let it sit at room temperature until completely soft, then re-whip it to get the smooth texture back before you use it.
To Assemble:
- Remove the cupcakes from the muffin pan. Take a sharp knife and cut a cone-shaped portion from the center of each cupcake. Fill the hole with a scoop of raspberry jam, coming almost all the way to the top. Cut the bottom off of the cone, and replace the top of the cupcake on top of the jam.
- Next, trim around the edges of the cupcakes to remove any overhang and make the sides straight. Place each cupcake on a small plate or cardboard round.
- Use a small spatula to spread a thin layer of buttercream over the top and sides of all of the cupcakes. It doesn’t have to be pretty or even, it’s just to trap the crumbs in and give you a blank canvas for piping.
- Fit a piping bag with a small basketweave tip, and fill it with buttercream. Pipe a basketweave design on the sides of the cupcakes, and pipe a zig-zag around the outer edge of the tops.
- Place the coconut and a few drops of green food coloring together in a plastic bag, and rub them together until the coconut turns an even shade of green. Fill the inside of the cupcakes with green coconut, chocolate bunnies, and candy eggs. Finally, insert a fondant handle into the top of each cupcake, pressing down so it’s firmly embedded in the cake.
Video
Recipe Notes
Measuring Tips
Our recipes are developed using weight measurements, and we highly recommend using a kitchen scale for baking whenever possible. However, if you prefer to use cups, volume measurements are provided as well. PLEASE NOTE: the adage “8 oz = 1 cup” is NOT true when speaking about weight, so don’t be concerned if the measurements don’t fit this formula.
Want to learn more about baking measurements and conversion?




very cute idea the kids will love doing these with me will make them this year ! thanks
These are perfect to make with the kiddos! Come back and let us know how it goes!
These look so adorable! Perfect for Easter to make with the kids!
Thanks Tania! They might be one of my favorite Easter cupcakes 🙂