






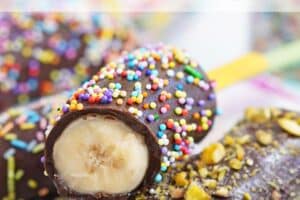






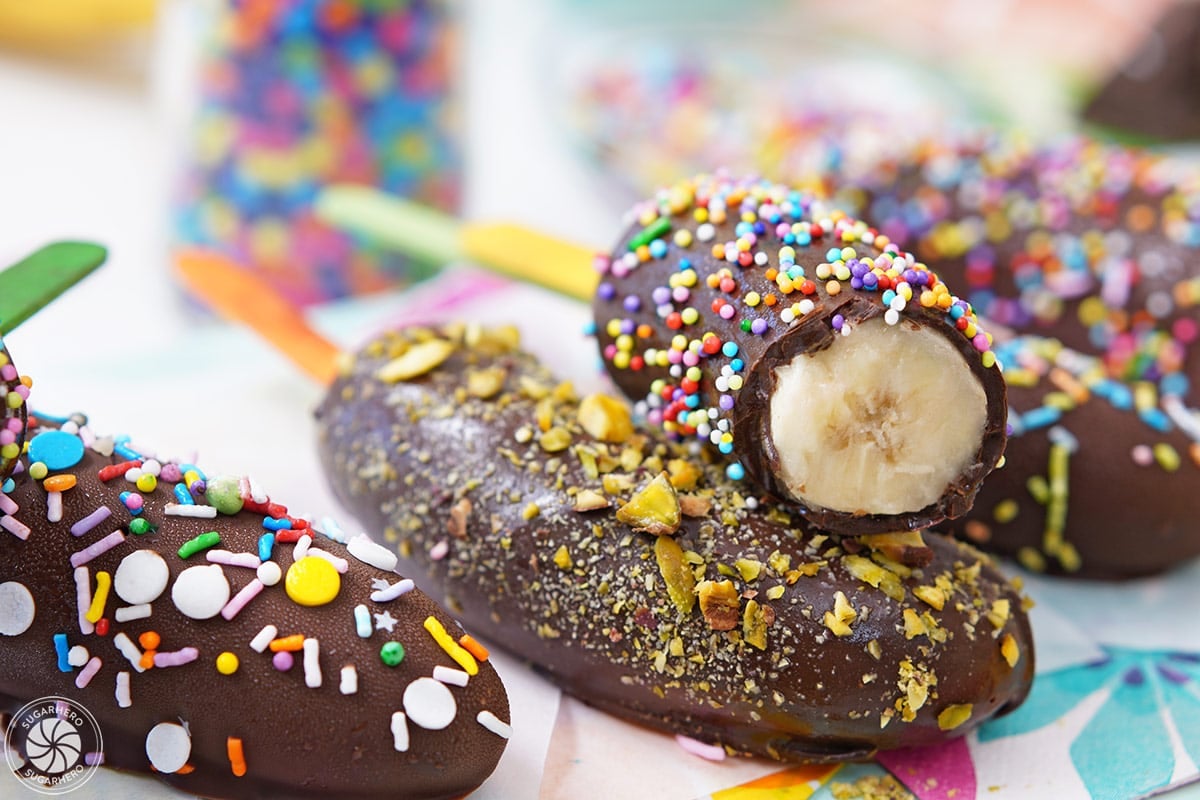
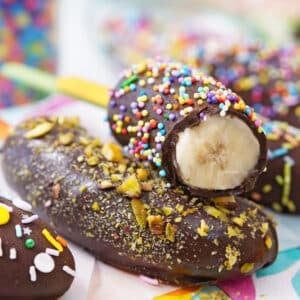
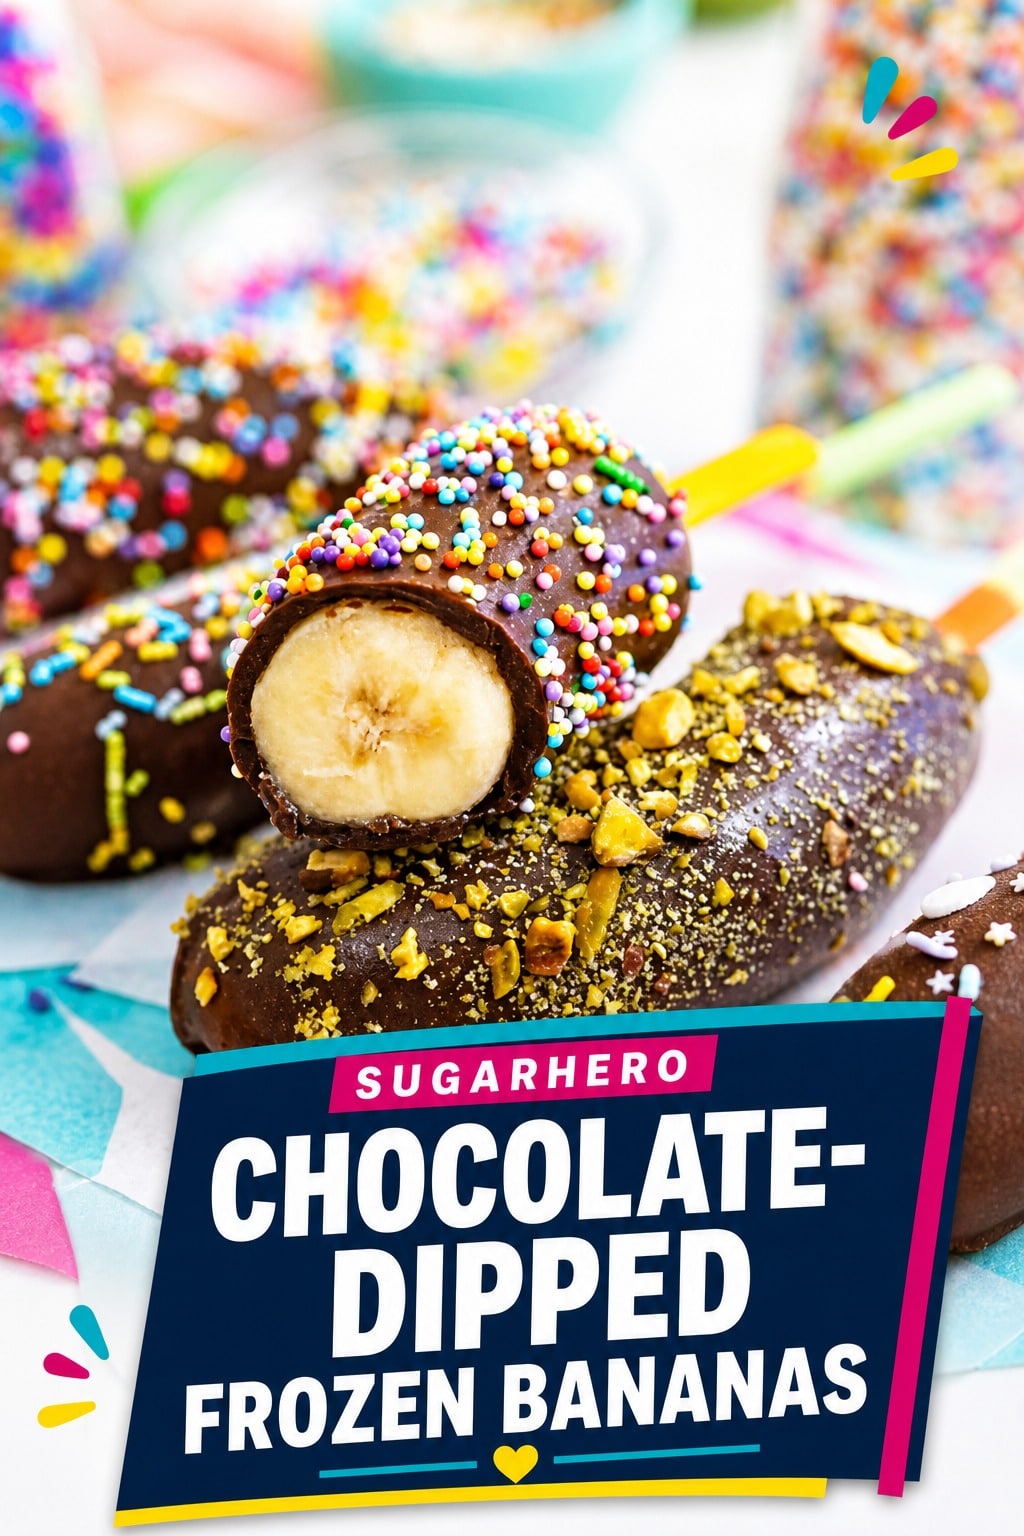
Looking for an easy summer dessert? These Chocolate-Dipped Frozen Bananas are refreshing, naturally sweet, and perfect for cooling off on warm days. They’re easy enough for beginners to make, and are fun to customize with all of your favorite toppings.

🍌 The Best Chocolate-Coated Bananas
Here’s a truth about myself I’ve learned through hard experience: the higher the temperature, the lower my desire to turn on the oven. Give me popsicles and a fan and the occasional frosty bevvie, please, but don’t make me do anything that involves setting my oven to 350 F.
This doesn’t mean I go without dessert (perish the thought!) Instead, I opt for no-bake treats and frozen goodies like these Chocolate-Dipped Frozen Bananas. Here’s why you’ll go bananas for them:
- the ingredient list is super-short (technically just 2 things!) and you can find the materials anywhere
- they take only about 10 minutes of active work time
- you choose your favorite toppings, so they’re completely customized
- they’re simple enough for beginners and kids to make
- they are DELICIOUS!
More Refreshing Desserts
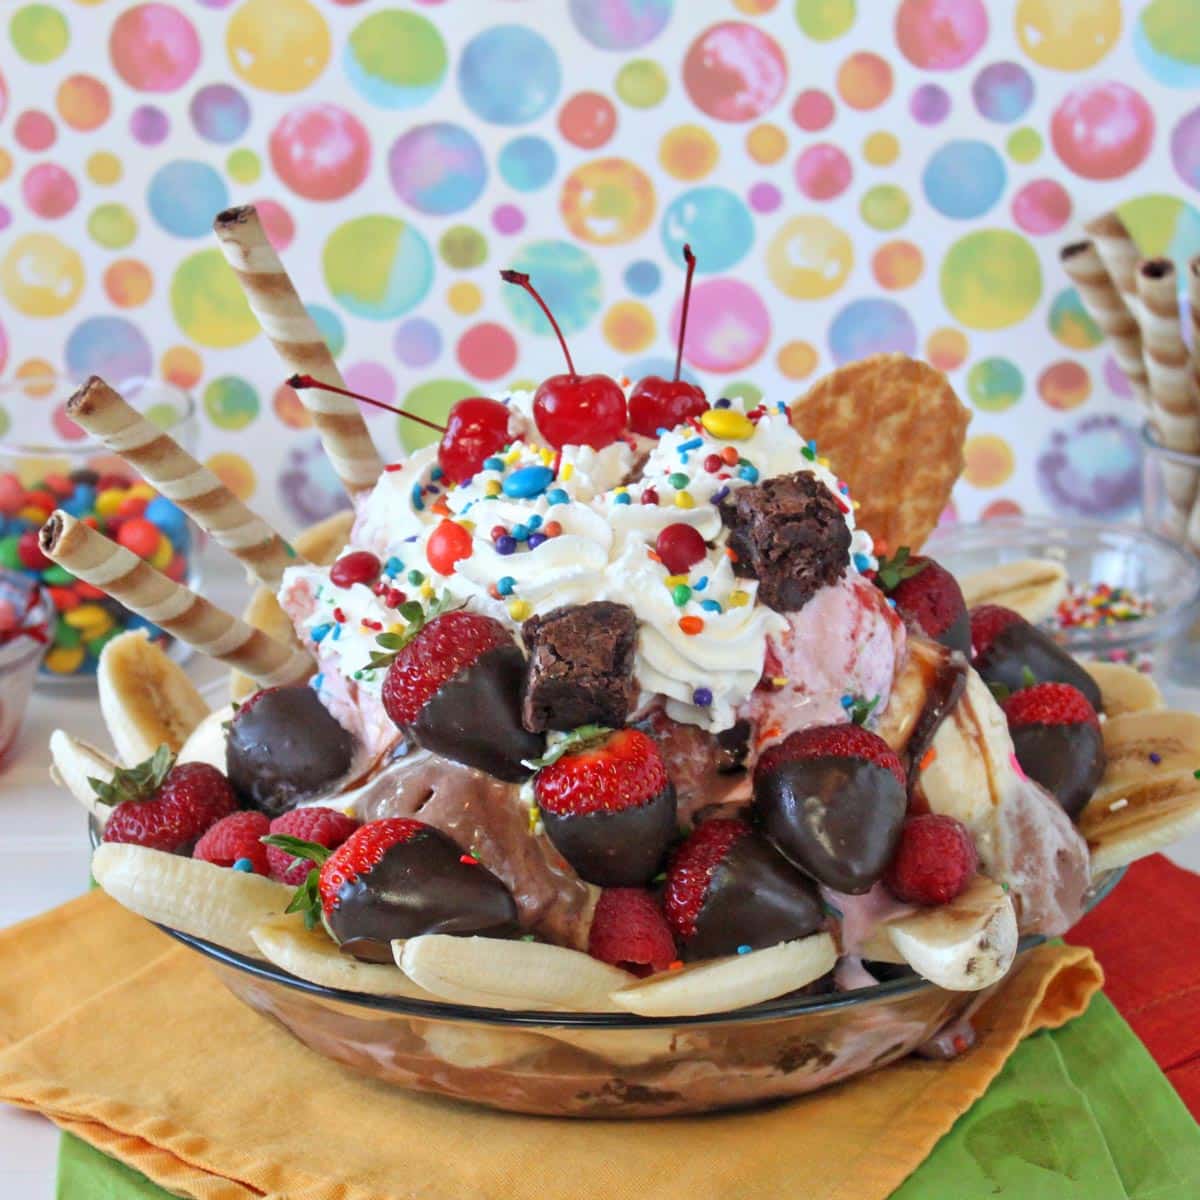
Banana-flavored desserts are a favorite at my house because they taste like summer! For more summery refreshment try this Banana Bread Tiramisu, these Mini Banana Split Cakes, or this Ultimate Banana Split!
Table of Contents
🧾 What You’ll Need
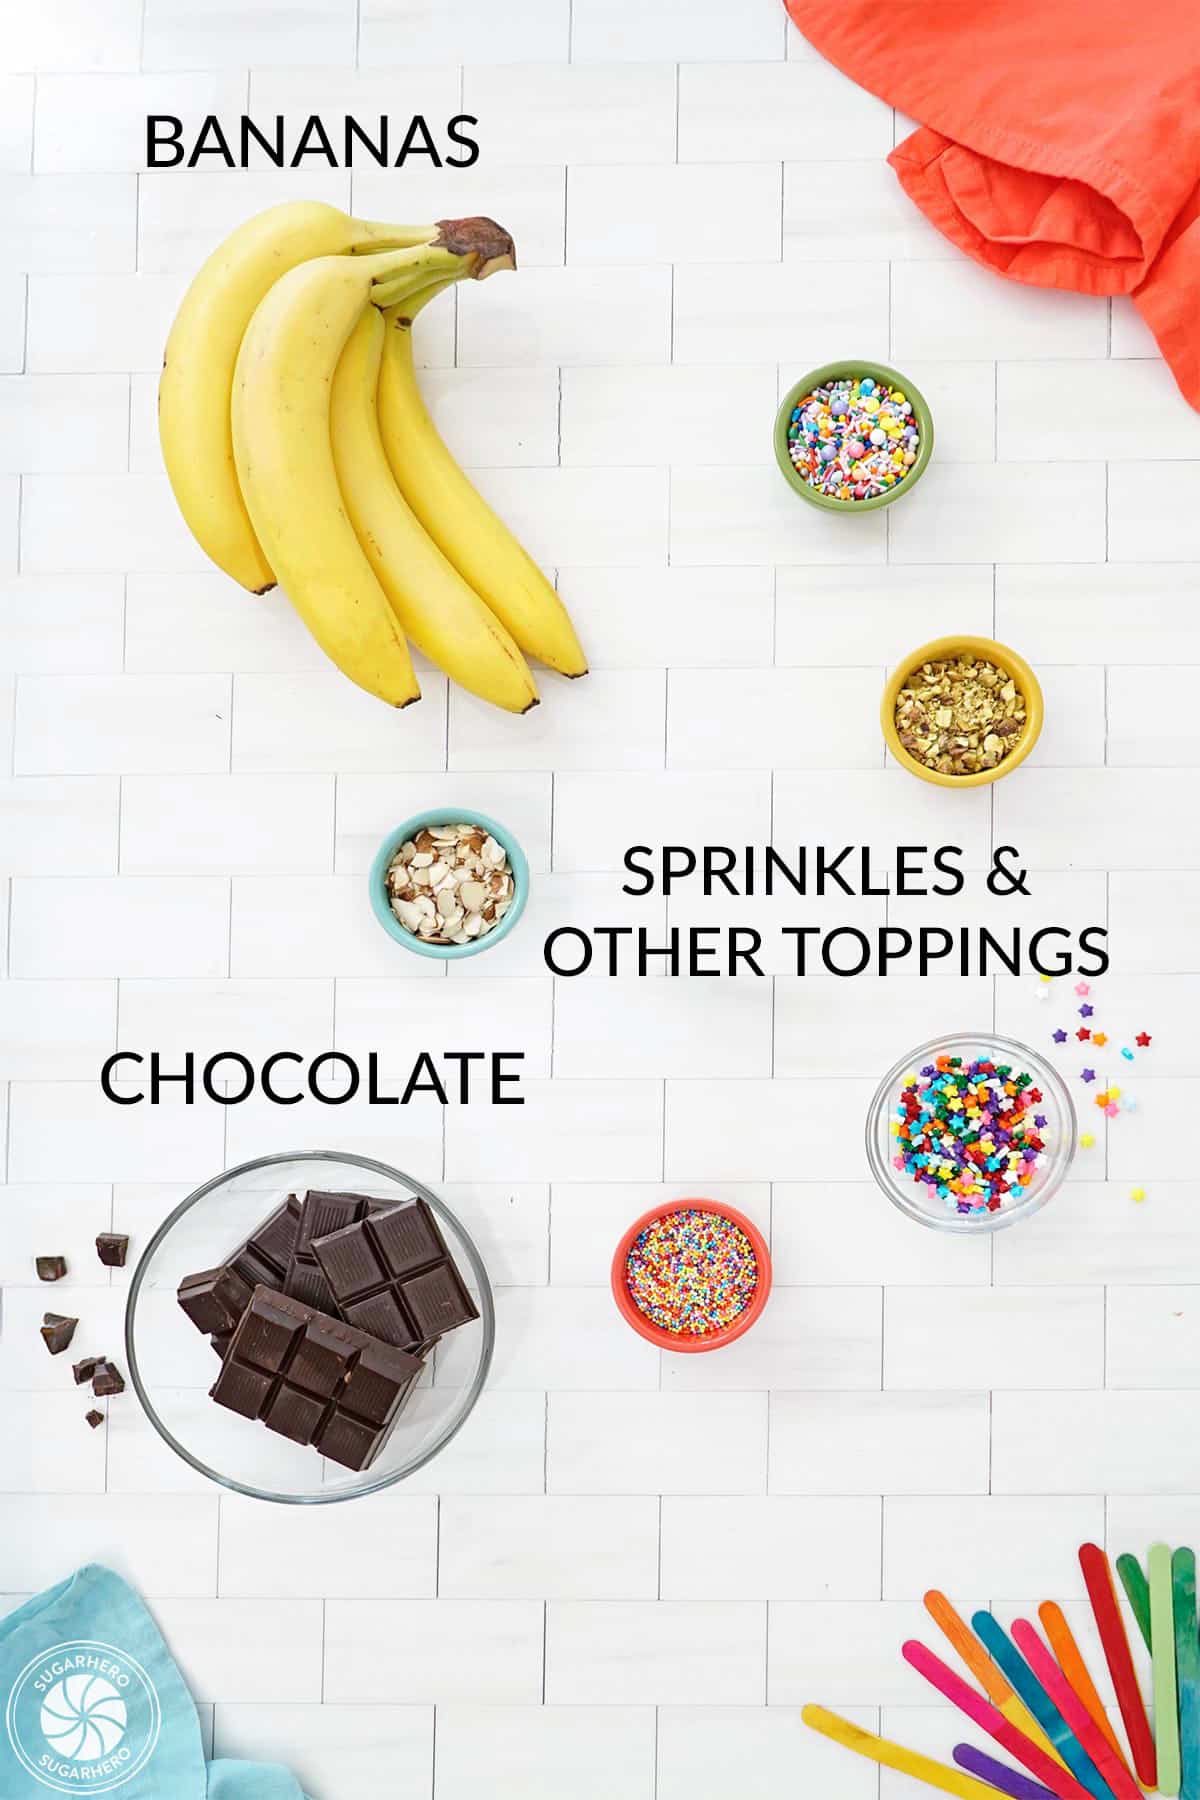
Ingredients
This quick chocolate covered treat only needs a few ingredients. Check out my top tips as you gather what you’ll need. Full ingredient amounts can be found in the recipe card below. (Links are affiliate links and I earn a small commission from qualifying purchases.)
- Large bananas: This recipe will make 10 frozen bananas. Choose large medium ripe bananas that are still somewhat firm and sweet. Avoid using overly ripe, mushy bananas — those are best for Banana Bread!
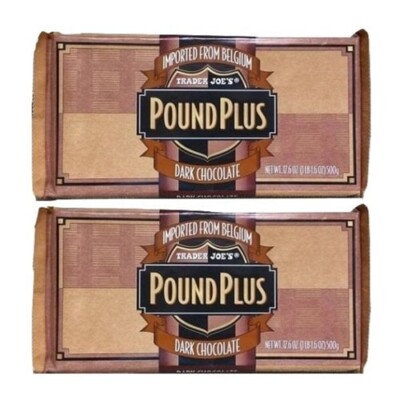
- Semi-sweet chocolate: Use a good-quality semi-sweet chocolate. Chocolate chips can work, but you may need to make a few adjustments – be sure to check out my Tips below.
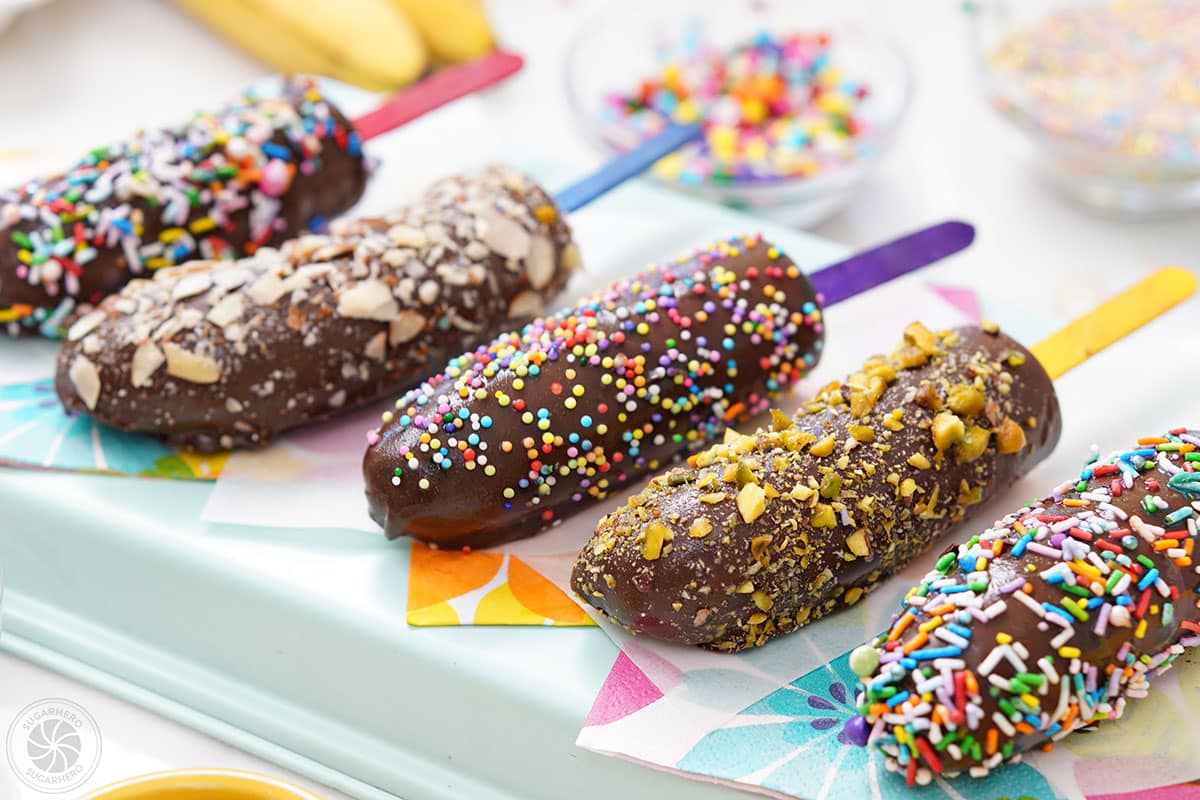
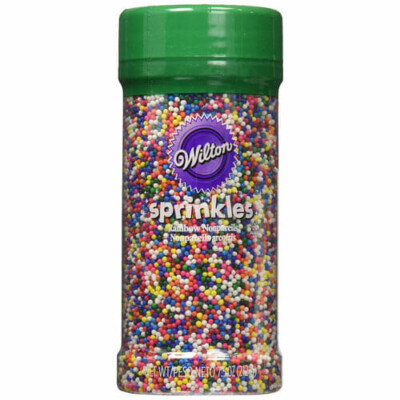
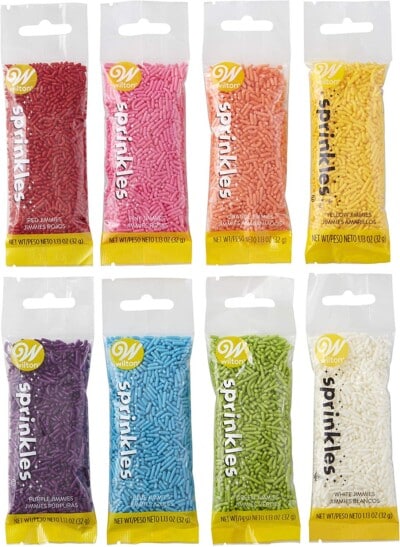
- Assorted toppings: You can use any type of topping you enjoy, like sprinkles, nuts, coconut, mini M&Ms, or chopped peanut butter cups, etc. I think my favorite variation was the salted pistachios, but really, anything that adds a little crunch is perfect. You can also drizzle the bananas with white chocolate.
Equipment

Ready to Make These?
- Get the recipe below 👇👇
- Scroll below the recipe for step-by-step photos
- Read important FAQs and more
💛 More Frozen Treats

Leave a Review!
If you make this recipe, let us know! Leave a ⭐️⭐️⭐️⭐️⭐️ rating on the recipe below, and leave a comment, take a photo and tag me on Instagram @elabau, or use #sugarhero on IG!

Chocolate-Dipped Frozen Bananas
Equipment
Ingredients
- 5 large bananas
- 24 oz semi-sweet chocolate, coarsely chopped
- Assorted toppings, sprinkles, nuts, coconut, etc.
Instructions
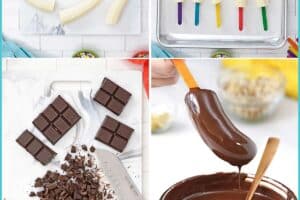
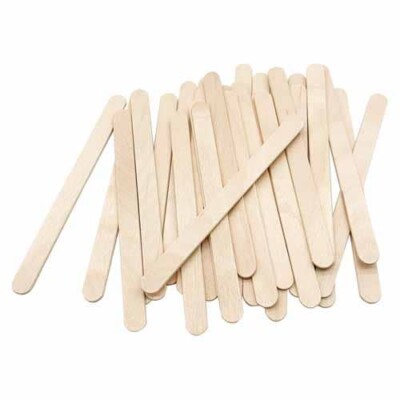
- Prep bananas: Line a baking sheet with parchment or waxed paper. Peel the bananas and cut them in half so you have 10 banana pieces. Skewer the cut end of each banana with a wooden stick, inserting it in until stable, and place them on the baking sheet.
- Freeze: Once all the bananas have been skewered, place the baking sheet in the freezer and freeze the bananas until firm, about 1 hour.
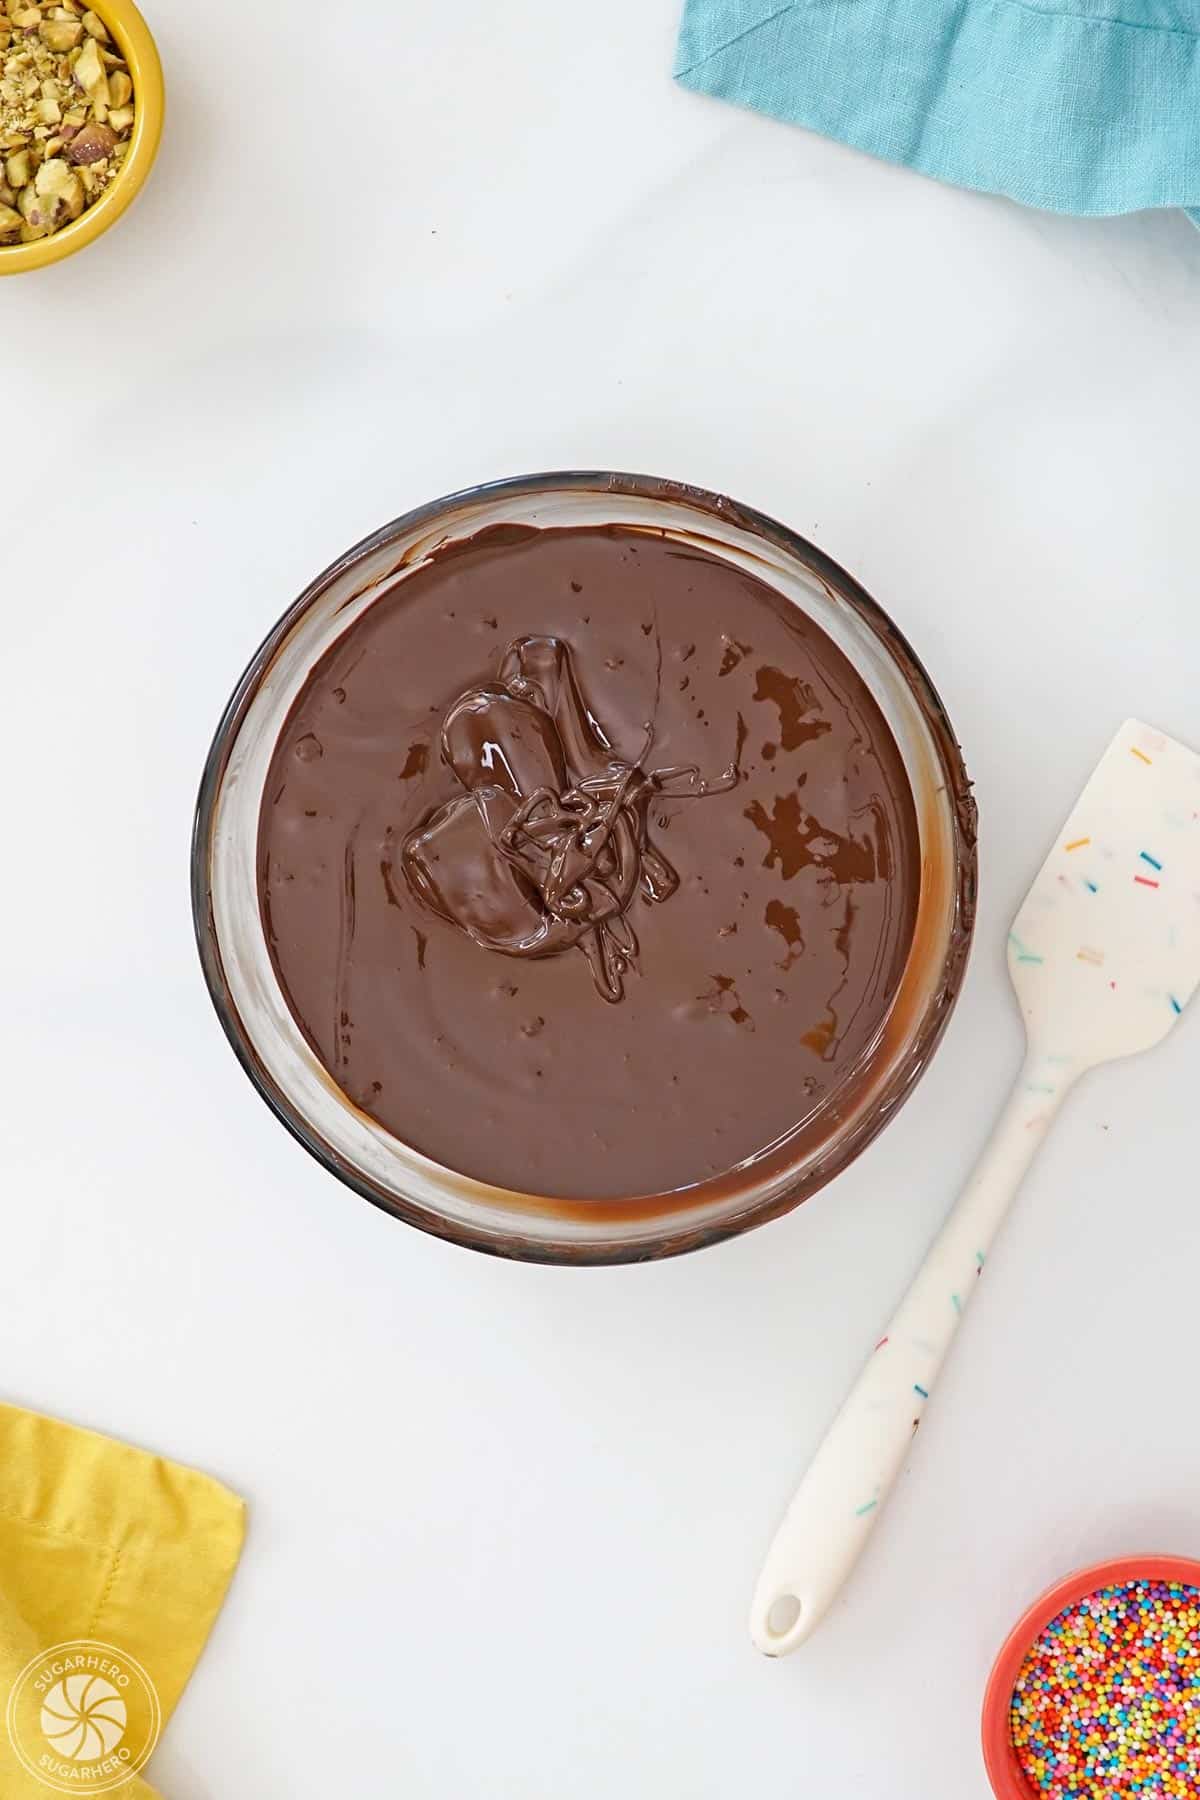
- Prepare toppings and melt chocolate: Just before the bananas are fully frozen, place your toppings in shallow bowls and arrange them so they are easily accessible. Place the chopped chocolate in a microwave-safe bowl and melt it in 30-second increments. Stir between each microwave burst until the chocolate is melted and smooth.
- Cover with chocolate: When your chocolate is melted and your toppings are ready, remove the bananas from the freezer. Hold one banana over the bowl of chocolate. Use a large spoon (or small ladle) and spoon a generous amount of chocolate over the banana, rotating it and spooning on more chocolate until it's covered. It's important to work quickly, since the chocolate will start to set soon after it touches the cold banana. Let the excess chocolate drip back into the bowl.
- Add toppings, repeat: Quickly move the banana over one of the bowls of toppings, and sprinkle the toppings over the banana, letting the extra drop back into the bowl. Place the banana back on the baking tray, and repeat until all of the bananas are coated with chocolate and decorated.
- Serve or store: The frozen bananas can now be served. If you won't be eating them right away, store them in an airtight container or zip-top plastic bag in the freezer for up to 2 weeks. If you are serving them straight from the freezer, allow them to sit at room temperature for 10-15 minutes before serving, for the best taste and texture.
Measuring Tips
Our recipes are developed using weight measurements, and we highly recommend using a kitchen scale for baking whenever possible. However, if you prefer to use cups, volume measurements are provided as well. PLEASE NOTE: the adage “8 oz = 1 cup” is NOT true when speaking about weight, so don’t be concerned if the measurements don’t fit this formula.
Want to learn more about baking measurements and conversion?
Nutrition
📸 Photo Tutorial: How to Make Frozen Chocolate Covered Bananas
Follow this step-by-step tutorial as you make your frozen bananas. You can also get a free printable copy of the instructions in the recipe card above.
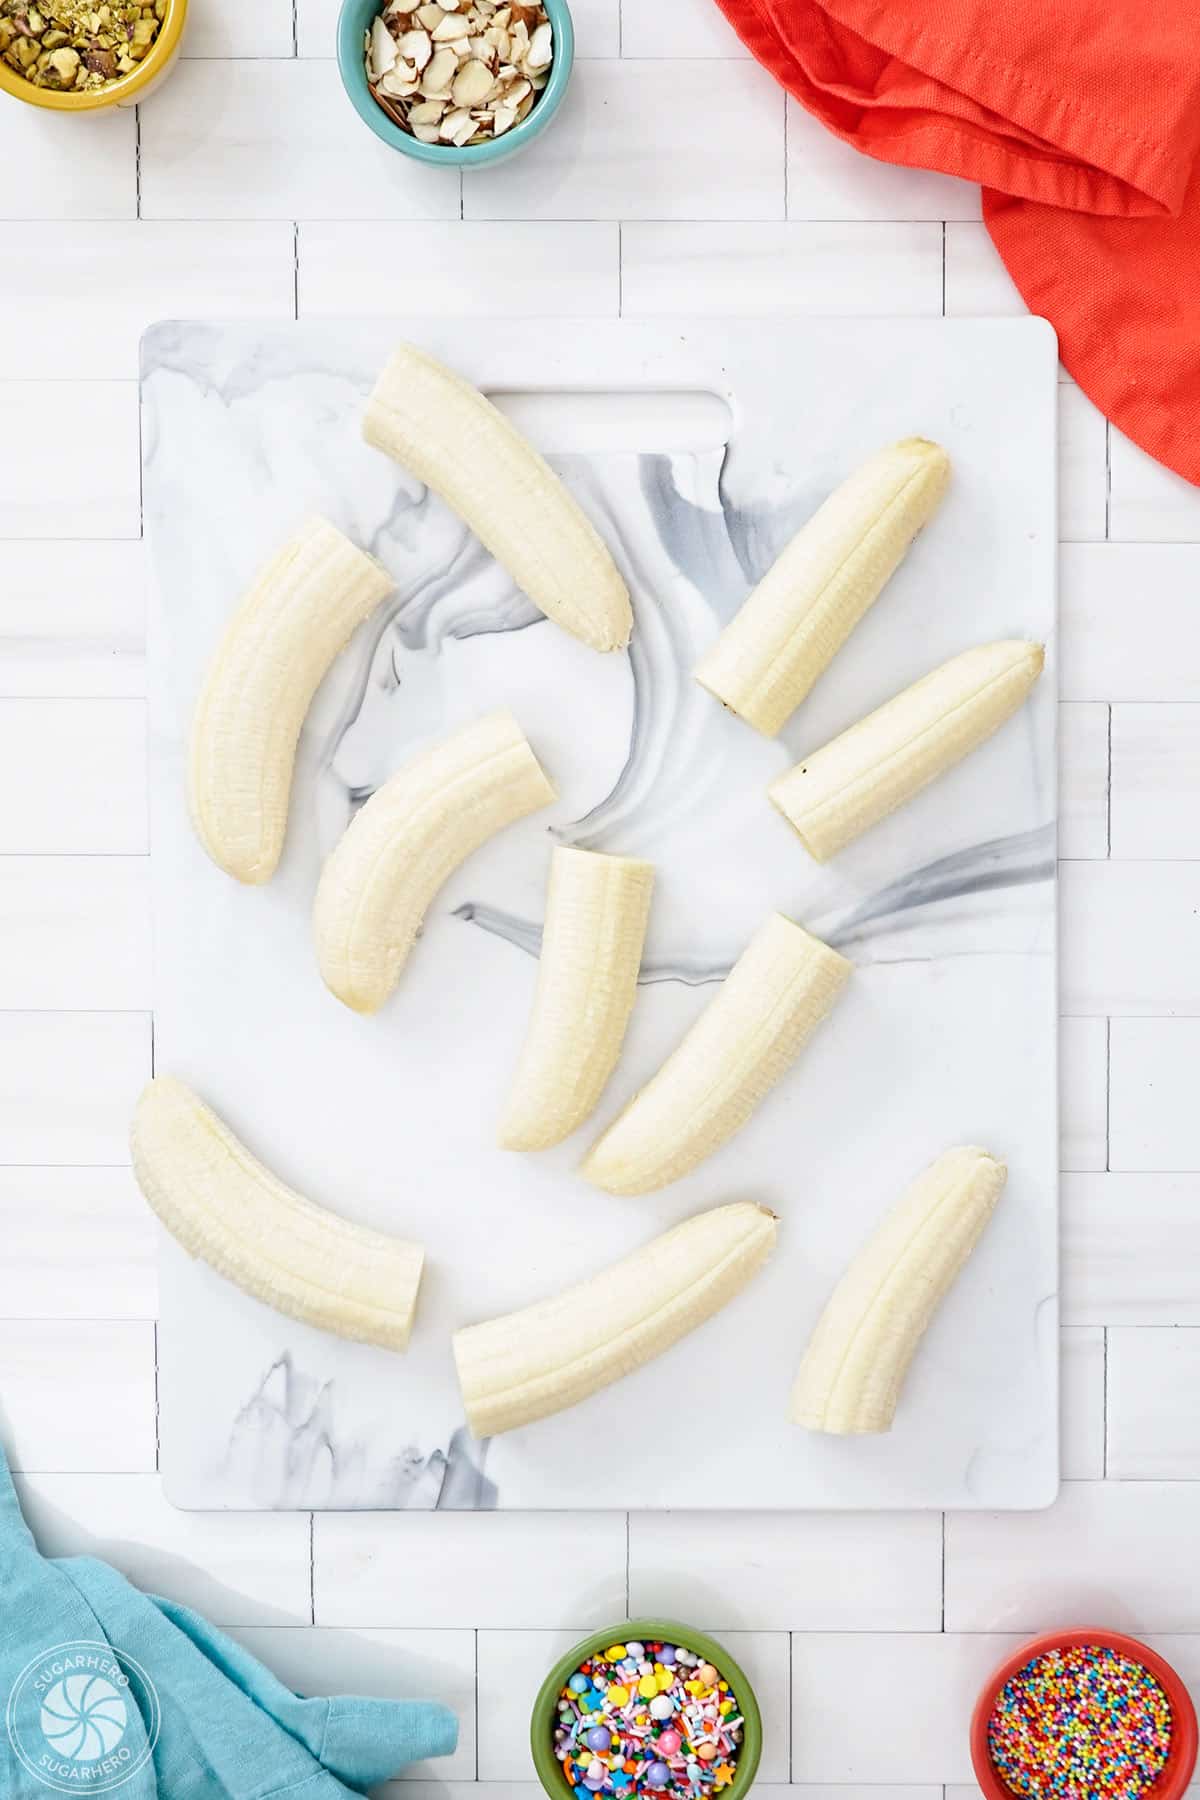

- Prep bananas: Peel the bananas, then cut them in half so you have 10 banana pieces.
- Skewer: Insert a wooden stick securely in each banana and place them on a parchment-lined baking sheet.
- Freeze: Place the baking sheet in the freezer and freeze the bananas until firm, about 1 hour.
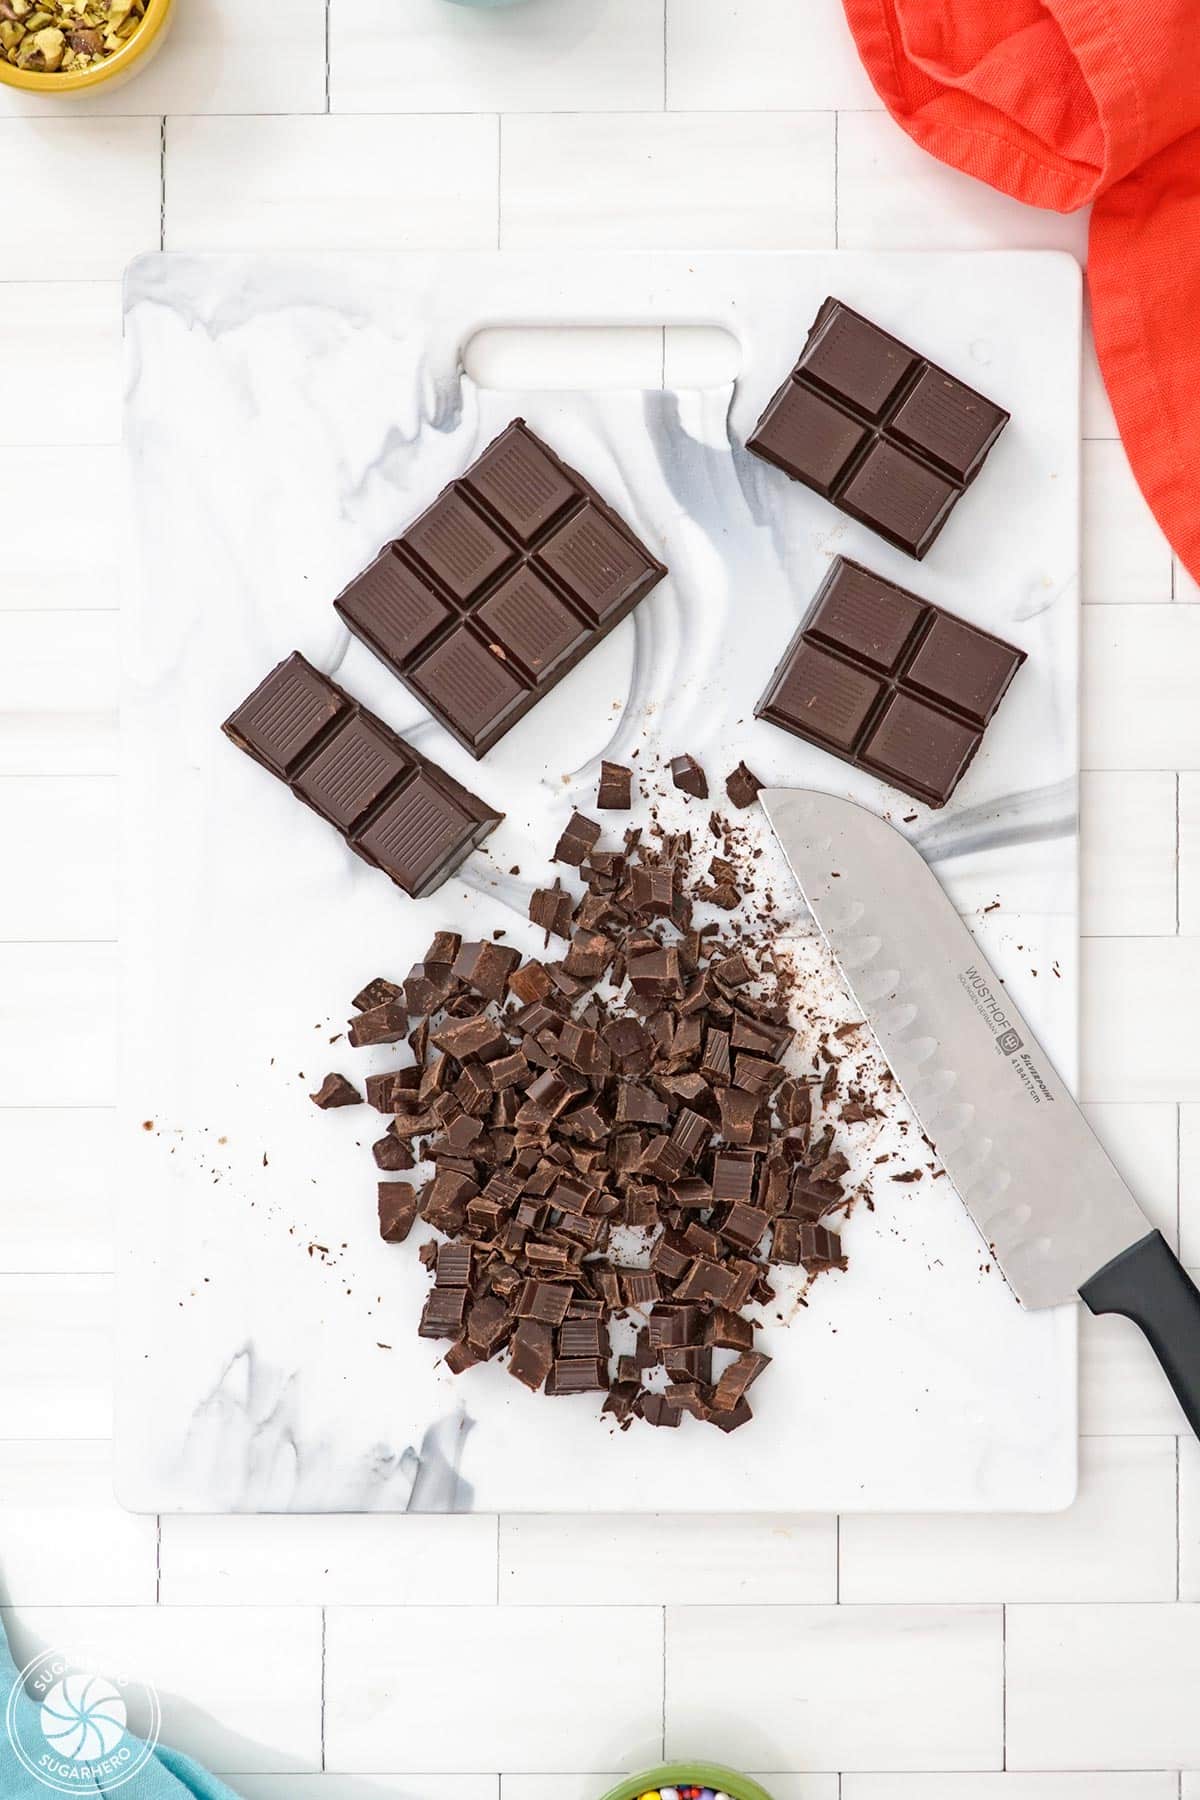
- Chop chocolate: use a large sharp knife to chop your chocolate into small pieces.
- Melt chocolate: Place the chocolate in a bowl and heat it in the microwave in 30-second increments, stirring between each microwave burst until melty and smooth.

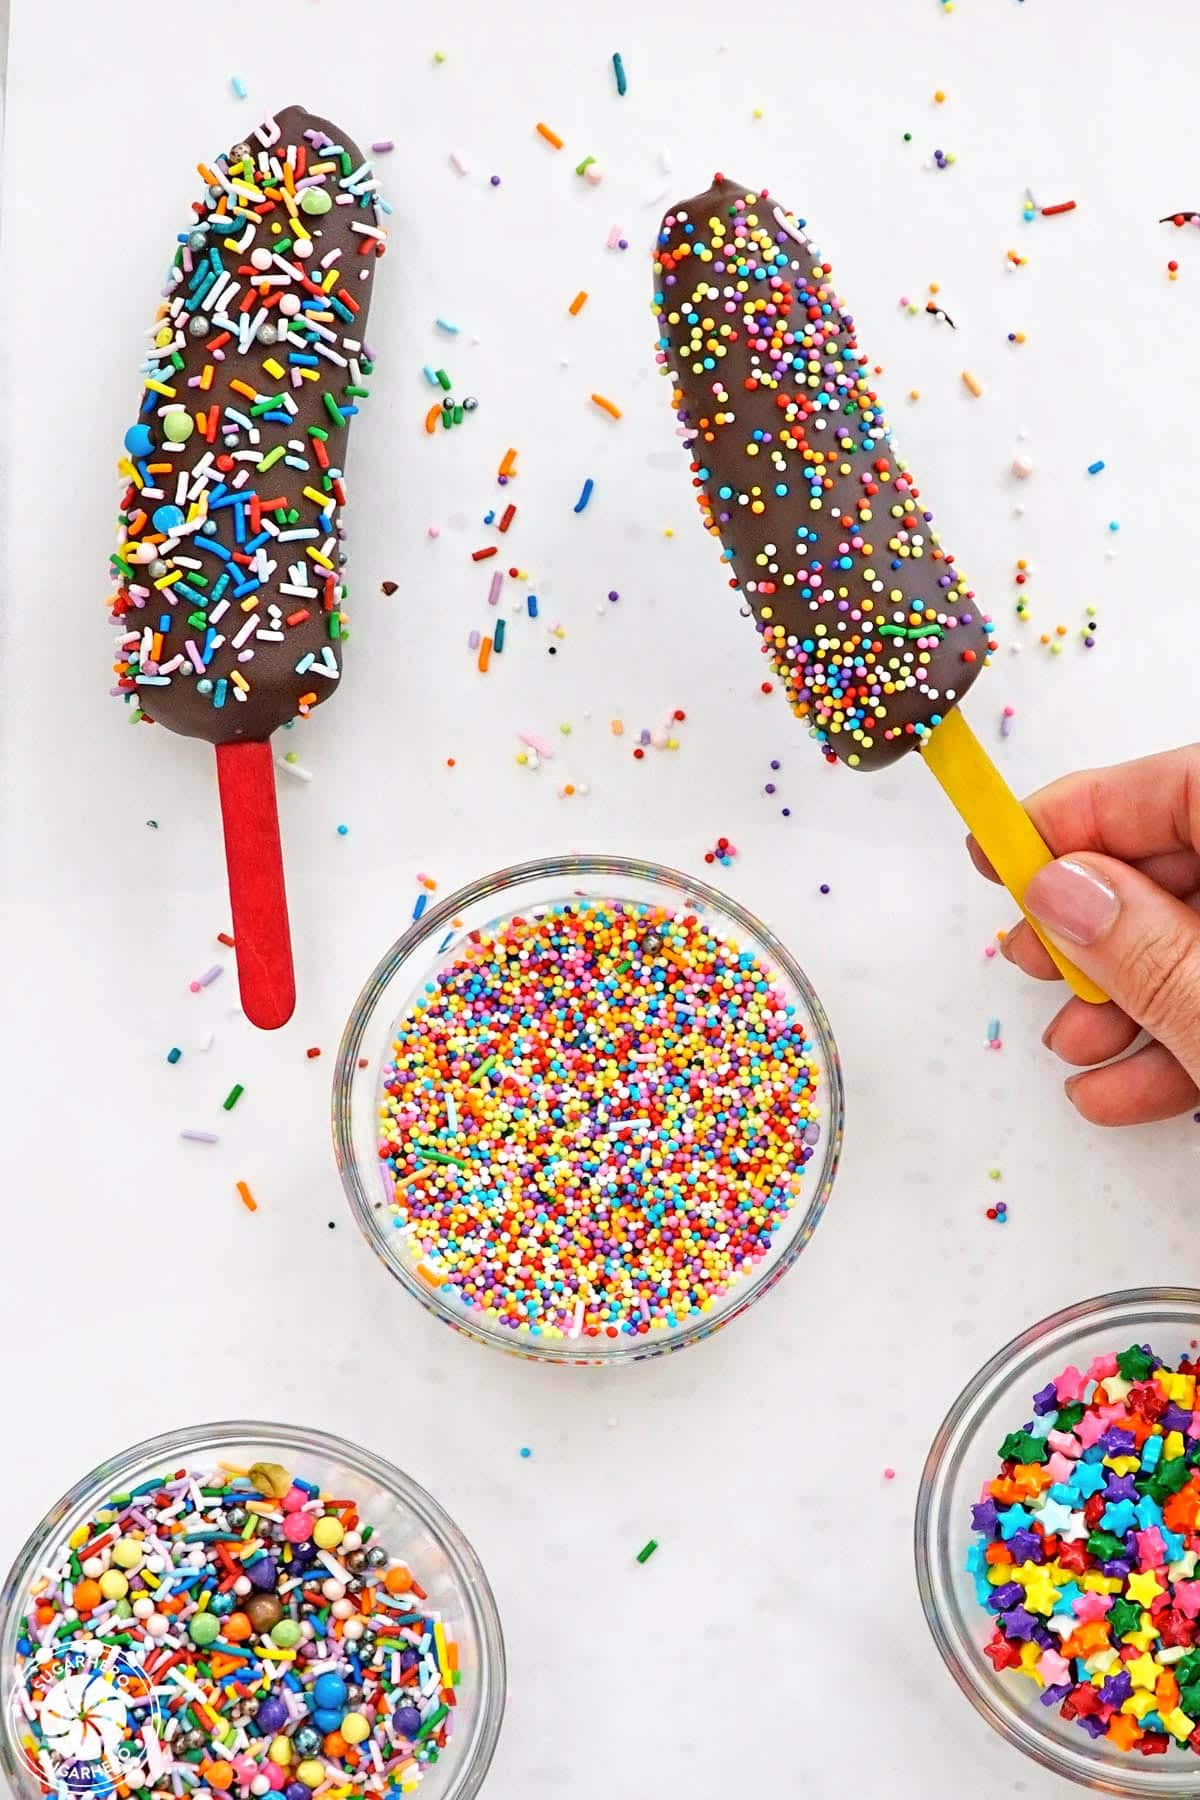
- Cover with chocolate: Remove firm bananas from the freezer. Hold a banana over the chocolate, and use a large spoon to ladle chocolate over it, rotating and spooning on more chocolate until it’s covered in a thick layer. Work quickly and let the excess chocolate drip back into the bowl.
- Decorate: The chocolate will start to set almost immediately, so it’s important to work quickly. Sprinkle the still-wet chocolate with your topping of choice, and place it back on the baking tray to set. Repeat until all of the bananas are coated with chocolate and decorated.
- Enjoy!

💡 Tips for Success
- Work quickly. The chocolate will set very quickly once it comes in contact with the frozen banana. To ensure that your toppings will stick, it’s important to quickly cover the banana in chocolate and transition to sprinkling the toppings immediately.
- Sprinkle the toppings. You might be tempted to roll the banana in toppings, but I’ve found that sprinkling is the key. Hold the banana over the topping bowl and sprinkle the top and sides (the bottom of the banana won’t need any toppings.) Excess toppings will fall back into the bowl, and you’ll avoid accidentally denting the chocolate.
- Avoid mushy bananas. If the bananas are overly ripe, it’s harder to stabilize the popsicle stick. For the best results, use just ripened, slightly firm bananas that will support a popsicle stick.
- To use chocolate chips: melted chocolate chips are usually thicker than normal melted chocolate, and it can be hard to get a smooth dip that way. If you want to use chocolate chips, add 1 tsp coconut oil or shortening to your melted chocolate, and stir until well-blended. If it’s still too thick, continue adding coconut oil or shortening in small amounts until you’re happy with the texture.
Storing Chocolate-Dipped Bananas
The bananas can be made several days in advance. Once the chocolate coating has set, transfer them to an airtight container or zip-top plastic bag, and keep them in the freezer for up to 2 weeks. Before enjoying, allow them to sit at room temperature for about 10 minutes, so that the bananas soften just a bit. It will give them a creamy, almost ice cream-like consistency, instead of their initial rock-hard texture.

















Thanks so much for the recipe and the very useful tips! I looked over other recipes and when I read yours I stopped and made my first batch of frozen bananas.
Hi Terri! You’re welcome! I’m so glad that the extra tips made the recipe easier to follow and that you got to enjoy some bananas. Cheers!