









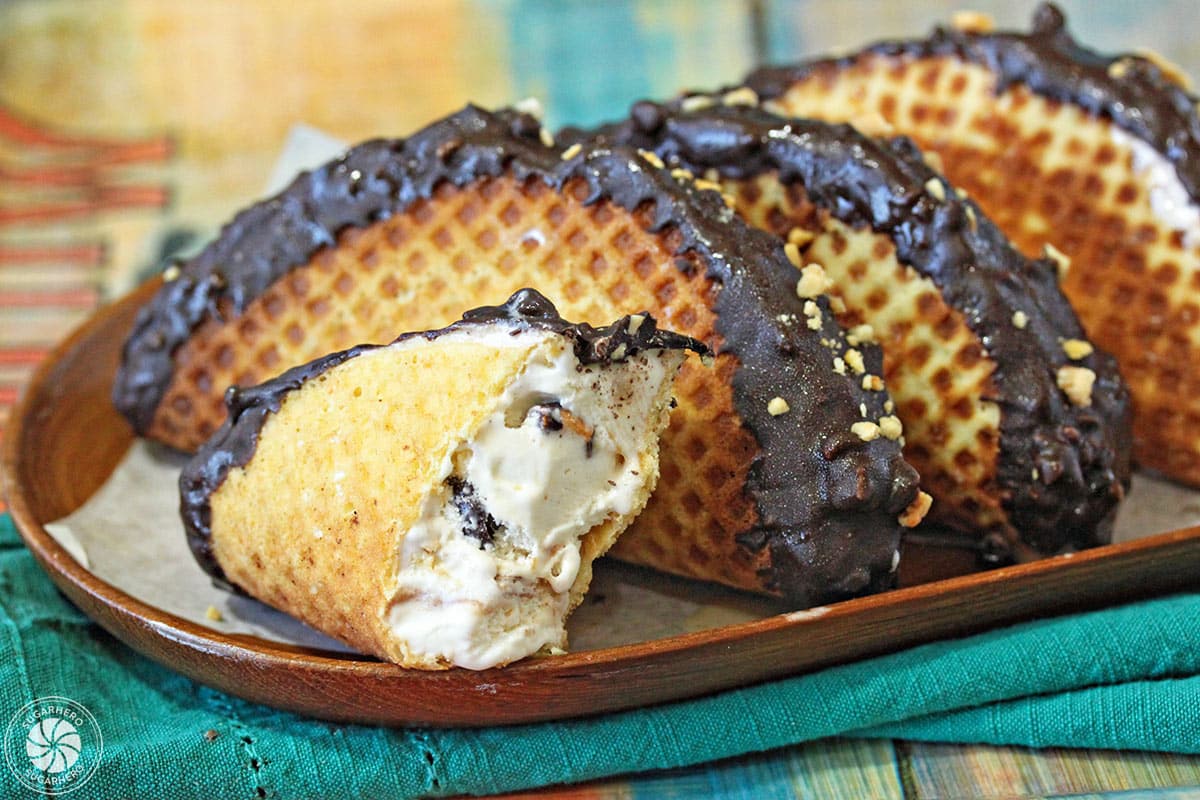
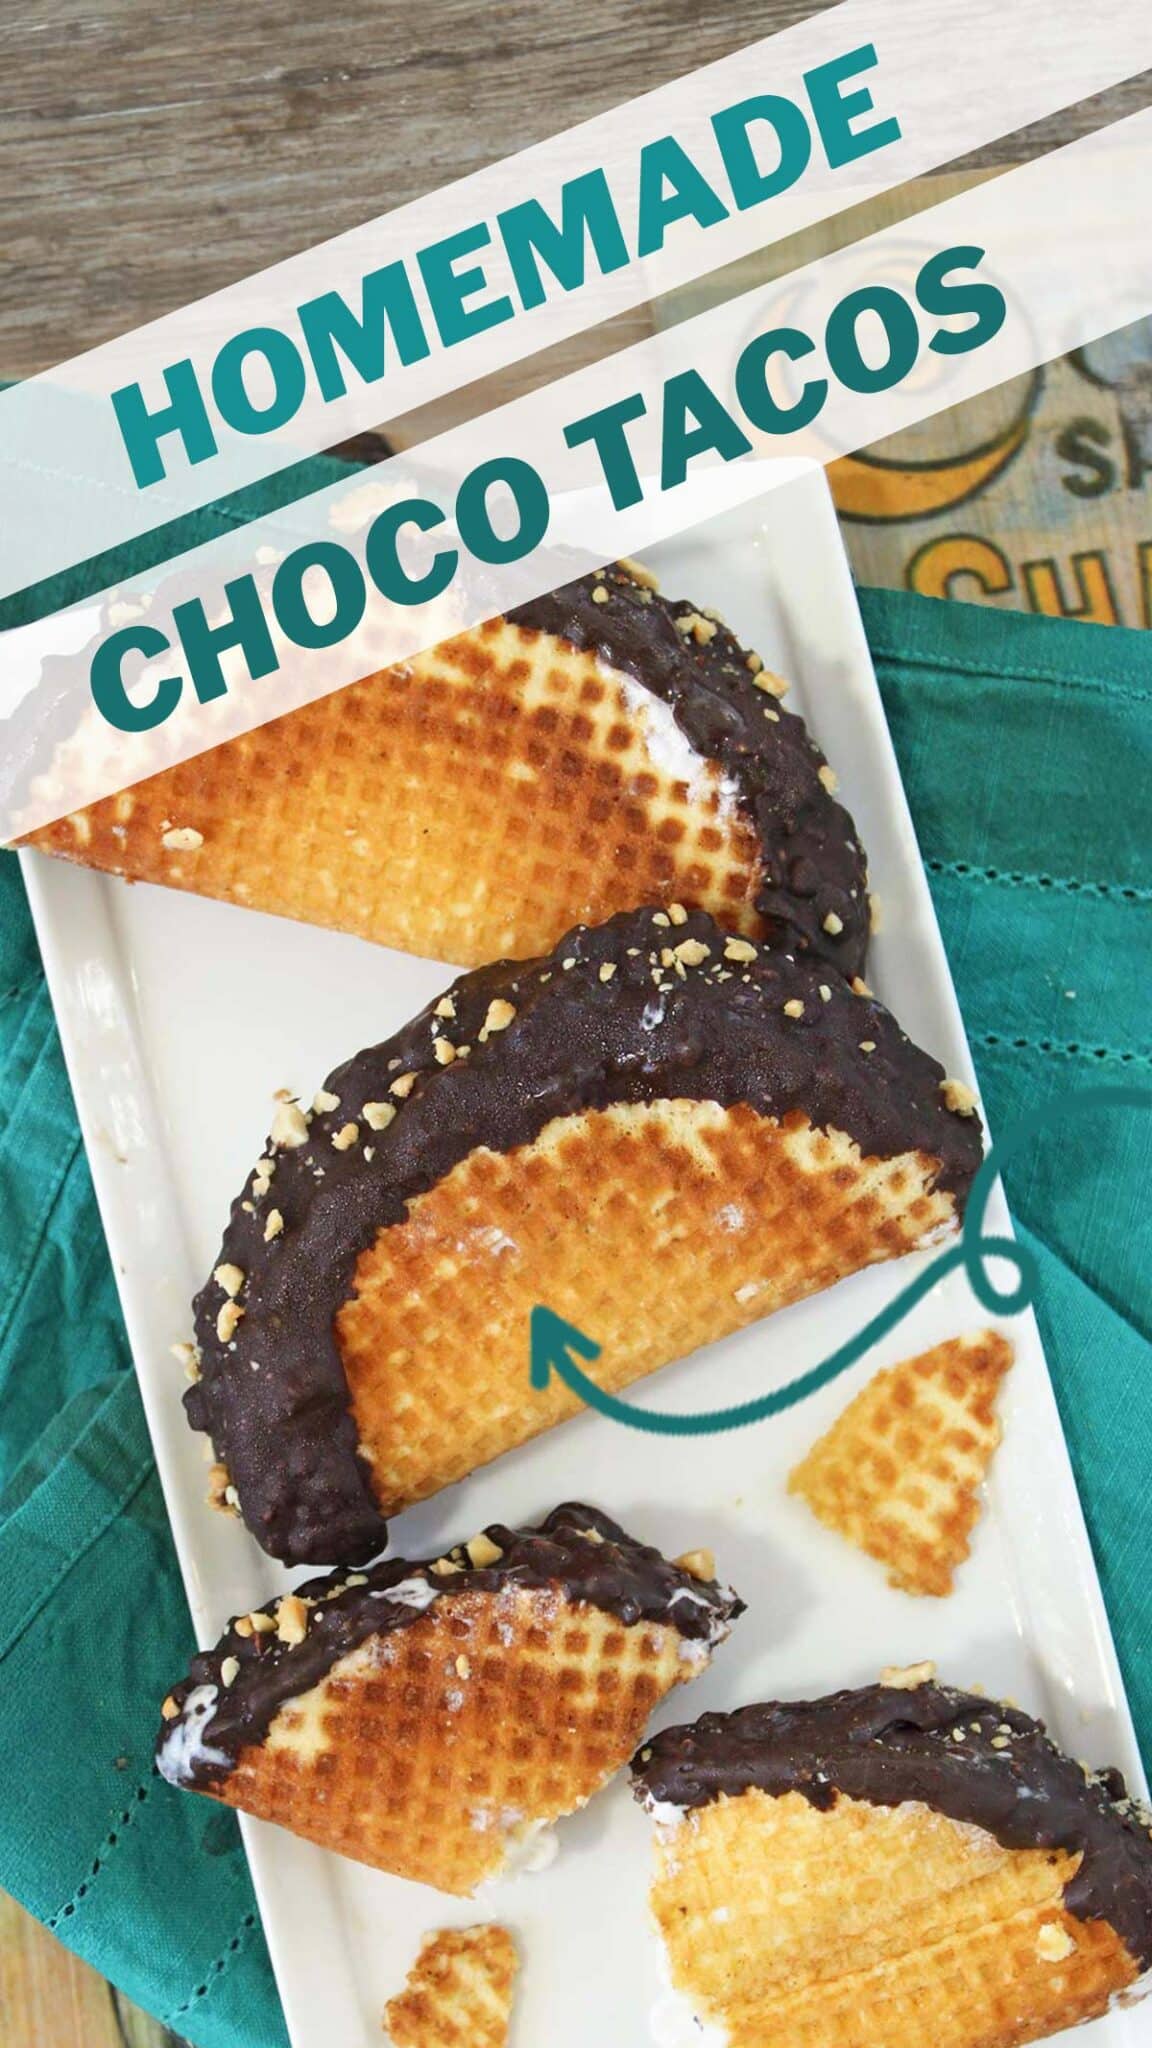
These fun Homemade Choco Tacos start with a crunchy chocolate-lined waffle cone “taco” that’s stuffed with a thick layer of your favorite ice cream. Finish the tacos with a dip in rich, glossy chocolate and a sprinkle of chopped peanuts!
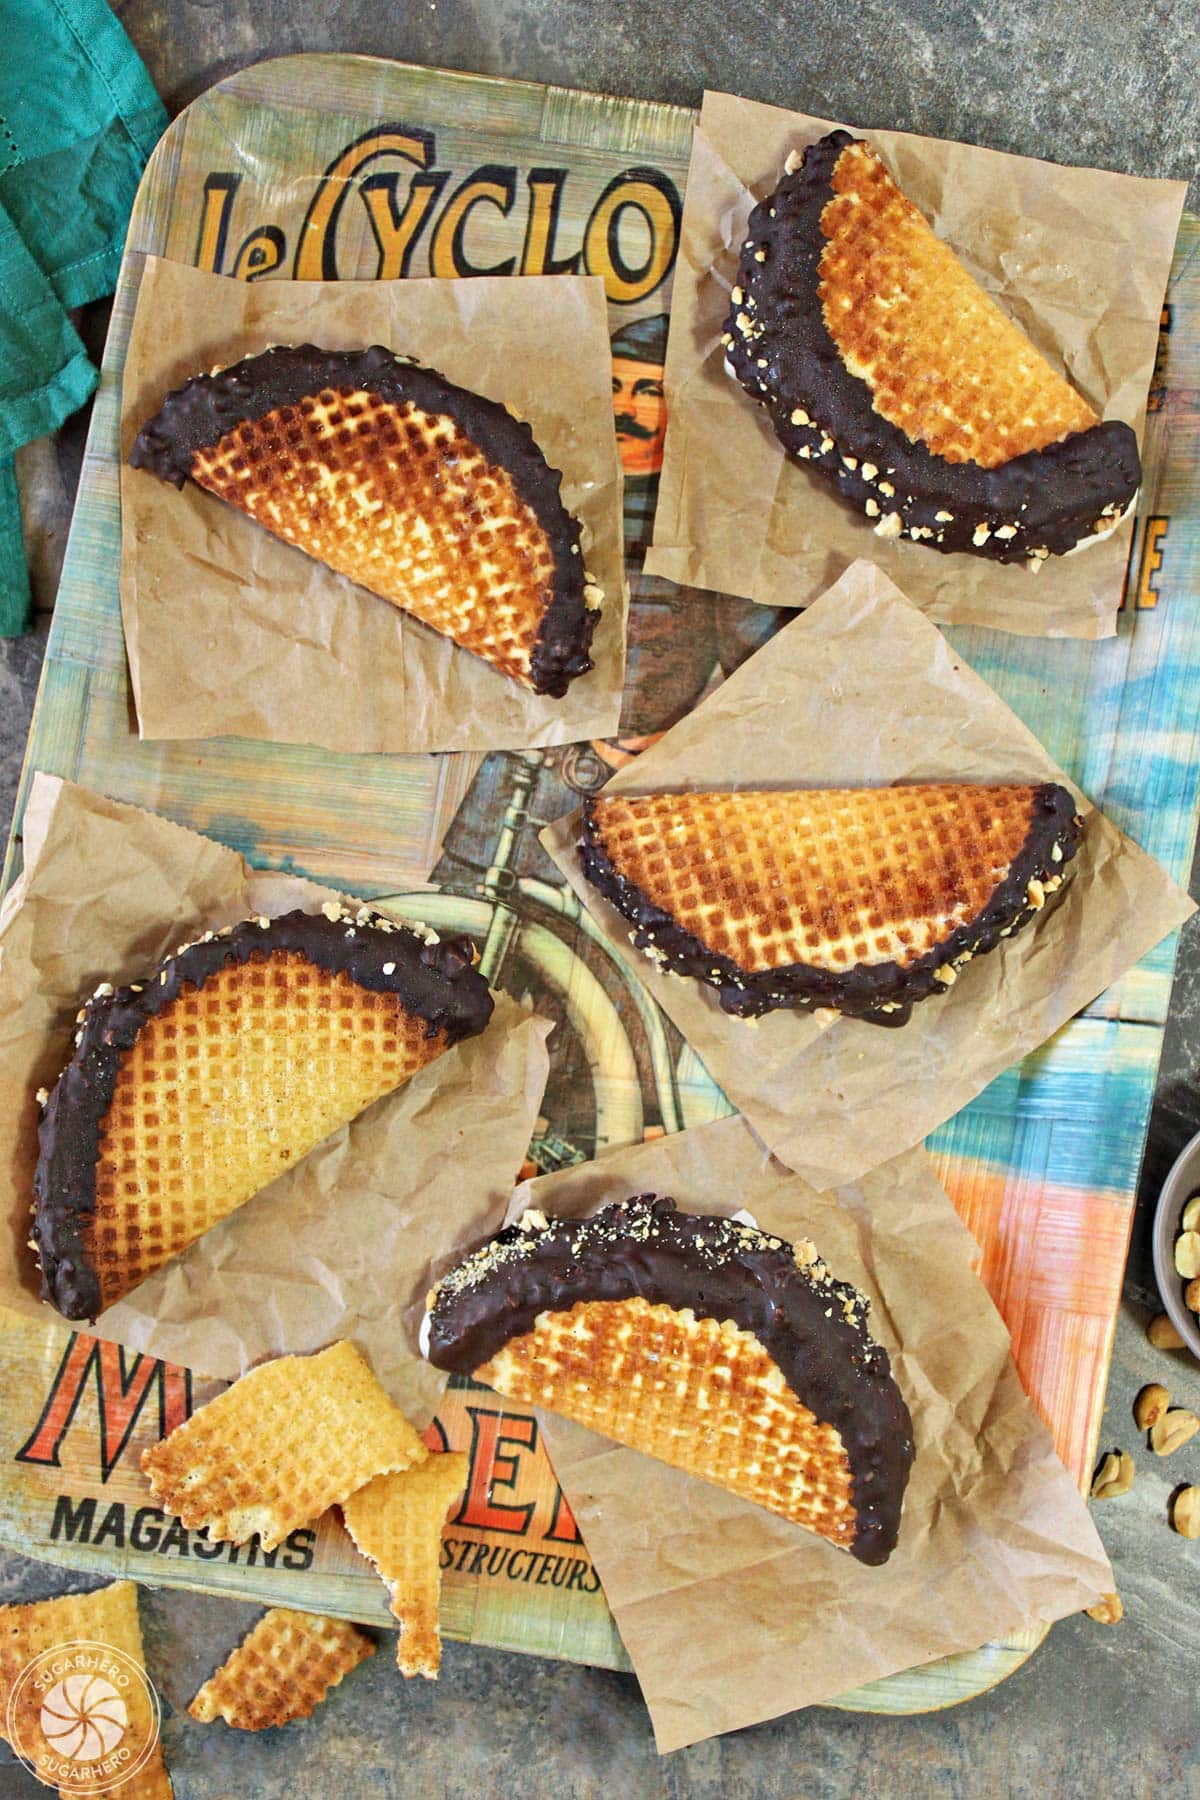
🍦 The Original Ice Cream Taco
Several years ago, I was trawling through my favorite thrift shop, looking for more baking treasures, when I spotted a waffle cone maker for just a few dollars. I convinced myself that my life wouldn’t be complete without that $5 gadget and into the cart it went. That night, I dreamed sweet, triumphant waffle cone dreams.
Aaaaand then it sat untouched in my kitchen for months. Womp-womp.
I finally decided to put it to good use in recreating one of my favorite childhood treats: Choco Tacos! Do you remember these? And can you believe they’re still around? These were my jam back in the day—I would always buy them from the ice cream man during the summertime.
If you’ve never had one, it’s basically a sweet shell, similar to a waffle cone, folded into a taco shape and filled with vanilla ice cream. The edges are dipped in chocolate and peanuts, to seal in the ice cream and provide a little crunch.
👩🏽🍳 Choco Taco Recipe
You can see what the originals look like on the left, compared with my version on the right:
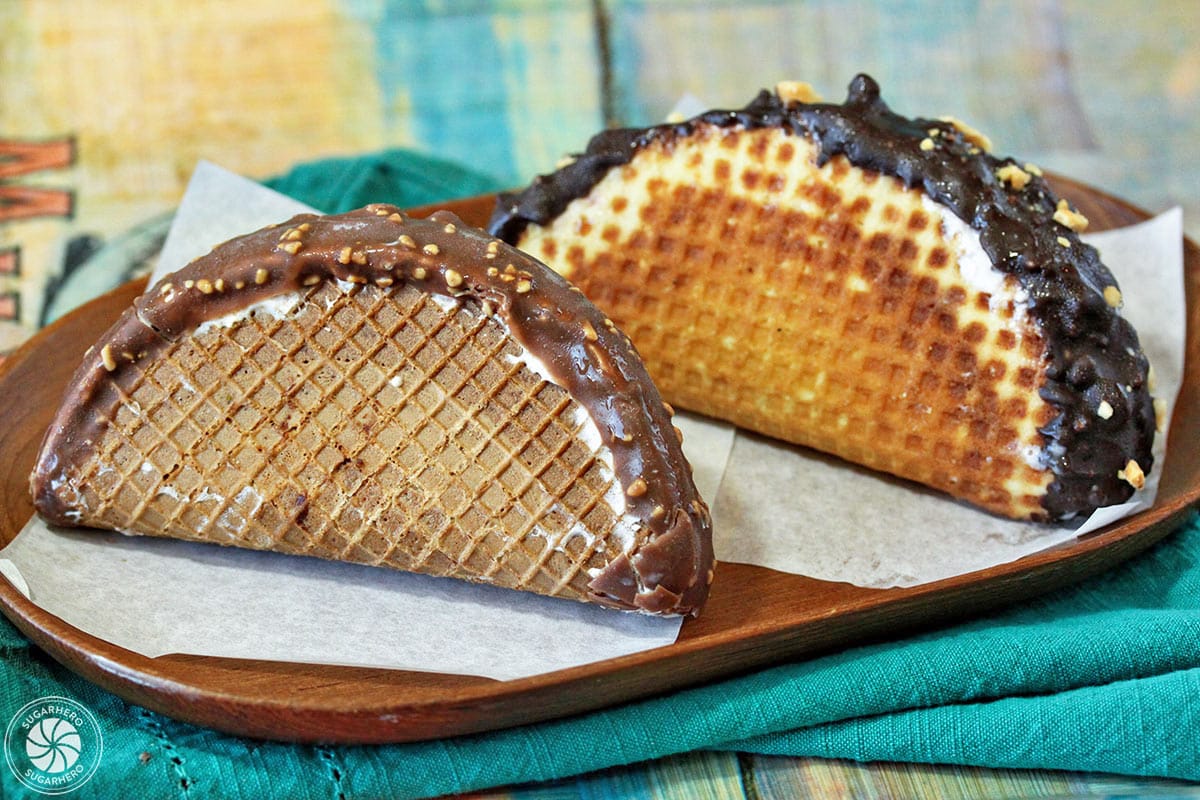
My interpretation starts with homemade waffle cones made in–you guessed it–a waffle cone maker! The inside shells are spread with a very thin layer of chocolate, to keep them from getting soggy from the ice cream. I filled mine with a store bought chocolate-caramel-pretzel ice cream, but you can fill yours with any store bought or homemade ice cream, gelato, sorbet, or sherbet—you do you!
I topped them off with semi-sweet chocolate and lots of salted peanuts. The overall effect is much like eating a regular waffle cone, but there are more bites of cone per ice cream (always a good thing, when you’re talking about a fresh homemade cone!) and the thick layer of chocolate around the edge really adds to the experience. Plus, you’re eating a taco! For dessert! Life just doesn’t get cuter than that. These would perfect for Cinco de Mayo!
- TIP: If you don’t have a waffle cone maker, you can still make this recipe! Check the Tips for Success for full directions.
Table of Contents
🧾 What You’ll Need
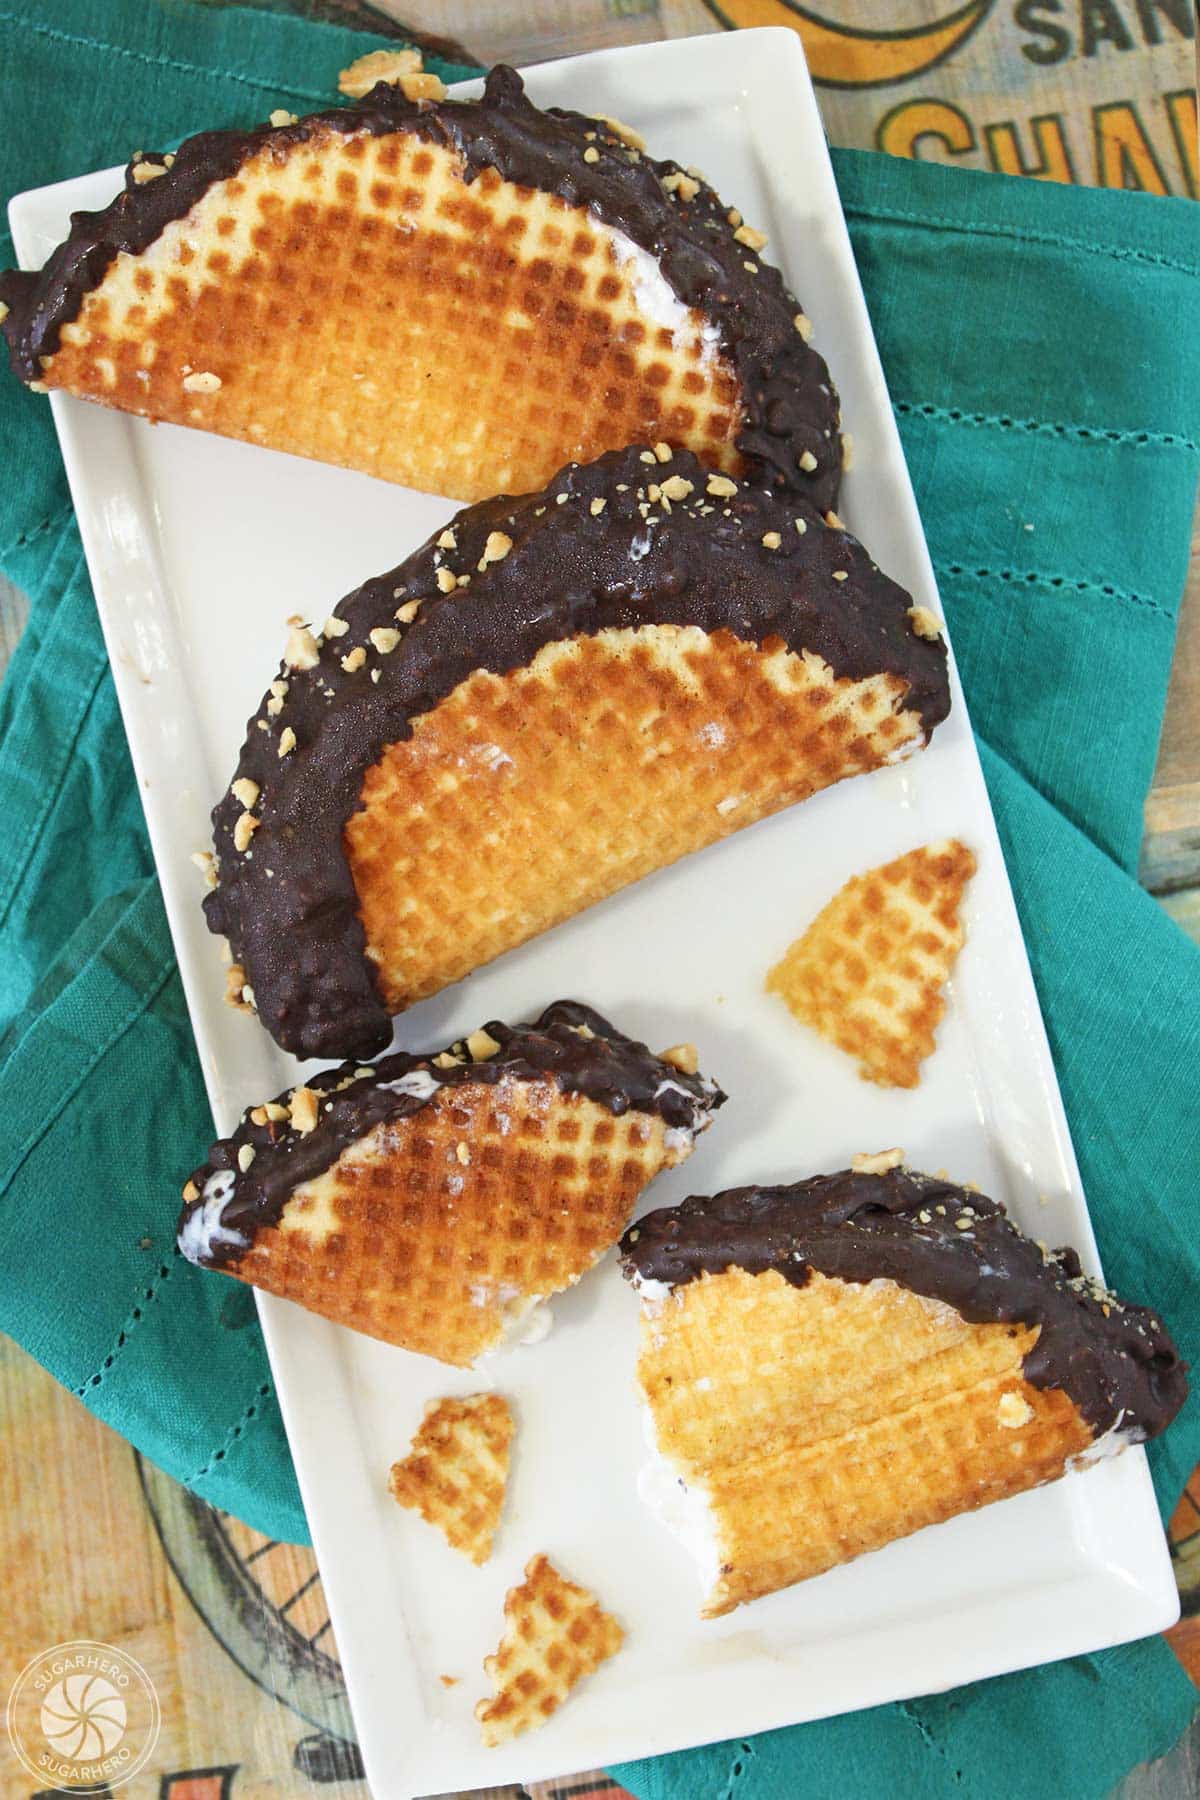
Ingredients
You’ll need a few pantry staples to make waffle cone tacos, plus the ice cream of your choice. Check out these tips as you gather your supplies. Full ingredient amounts can be found in the recipe card. (Links are affiliate links and I earn a small commission from qualifying purchases.)
- All-purpose flour
- Unsalted butter and salt: To ensure the cones are not overly salty, I recommend using unsalted butter and adding the salt separately. If you only have salted butter, omit the extra salt.
- Large eggs: Bring your large eggs to room temperature before getting started. They’ll need about 30 minutes to warm up.
- Granulated sugar
- Milk: I’d recommend 2% or whole milk. The extra fat in the milk adds to the flavor of the cones.
- Semi-sweet chocolate: Use high quality chocolate like Trader Joe’s Pound Plus Bars for the best results. Finely chop the chocolate before melting it.
- Chopped salted peanuts: Can be substituted with other salted nuts or left out.
- Ice cream: Use any store bought or homemade ice cream, gelato, sherbet, or sorbet.
Equipment
You can make this recipe with or without specialty tools. Keep reading for easy ways to work around the recommended equipment. (Links are affiliate links and I earn a small commission from qualifying purchases.)
- Waffle cone maker: The easiest way to make the waffle taco shells is with a waffle cone maker. They are relatively inexpensive, but if you don’t have one check the Tips for Success for alternative directions using an oven.
- Baking sheet and parchment paper: It’s helpful to line a baking sheet with parchment paper to catch drips from the waffle batter, ice cream, and melted chocolate. It will also make moving the choco tacos to and from the freezer easier.
- Taco mold: You can use a taco mold to shape the waffle into a taco shape or set it in the middle of an actual corn taco shell! Yes, that really works!
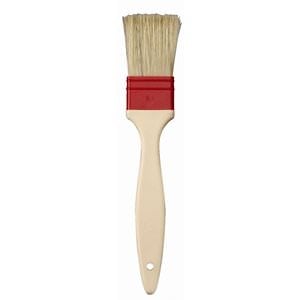
- Pastry brush: A pastry brush comes in handy when lining the inside of the waffle shell with chocolate.
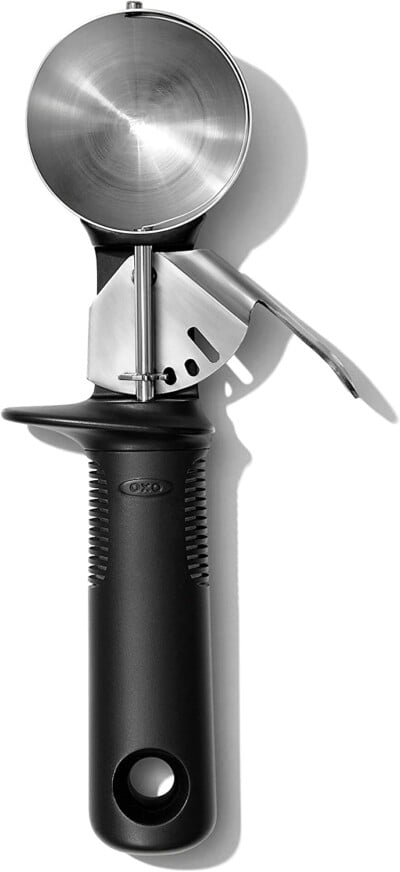
- Ice cream scoop: Use an ice cream scoop or a large spoon to get the ice cream into the waffle cone.
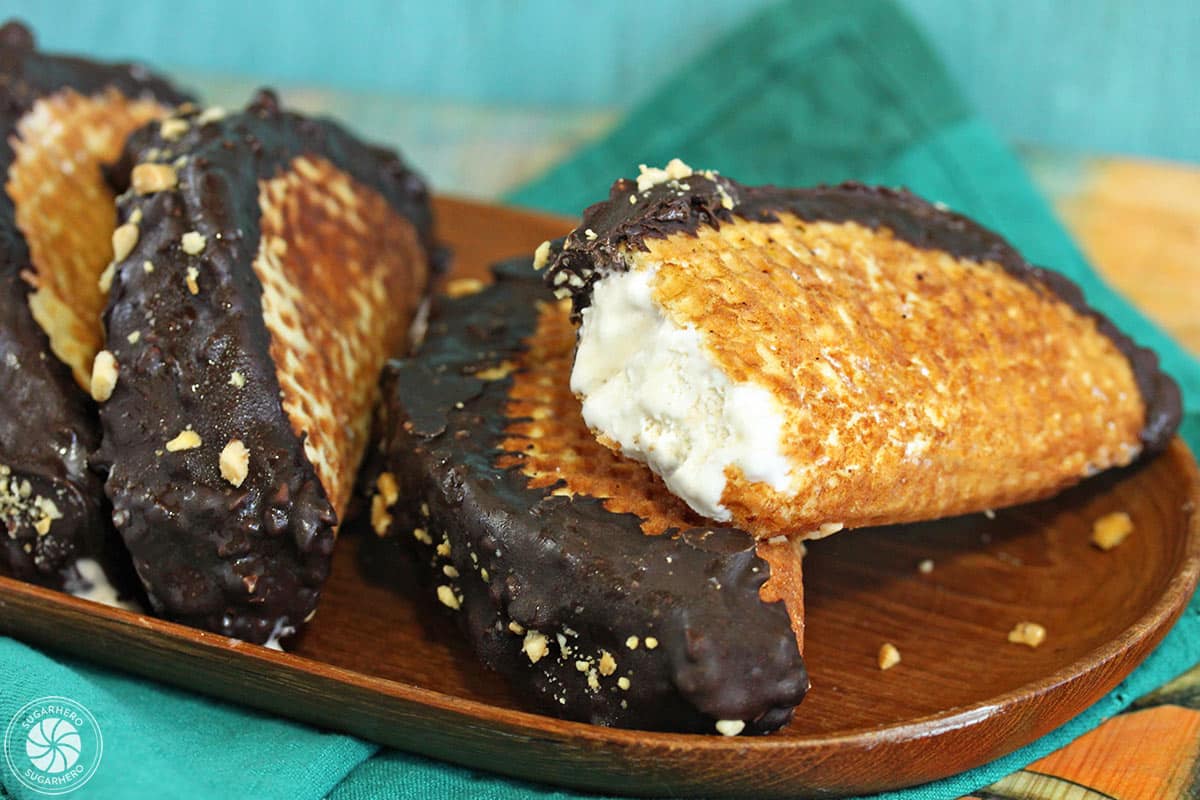
🍨 More Fun Frozen Desserts




Leave a Review!
If you make this recipe, let us know! Leave a ⭐️⭐️⭐️⭐️⭐️ rating on the recipe below, and leave a comment, take a photo and tag me on Instagram @elabau, or use #sugarhero on IG!


Homemade Choco Tacos
Ingredients
- 3 oz all-purpose flour, (2/3 cup)
- 1/4 tsp salt
- 2 large eggs, at room temperature
- 3.5 oz granulated sugar, (1/2 cup)
- 2 oz unsalted butter, (4 tbsp), melted
- 2 fl oz milk, (1/4 cup)
- 12 oz semi-sweet chocolate, finely chopped
- 1/2 cup salted peanuts, or other nuts, chopped – optional
- 1 1/2 quarts ice cream, homemade or store bought
Instructions
- Heat waffle cone maker: Preheat the waffle cone maker according to the manufacturer's instructions.
- Start waffle batter: In a small bowl, whisk together the flour and salt and set aside for now. In a large bowl, whisk together the eggs and sugar for about a minute, until thick and foamy.
- Finish waffle batter: Add the flour to the egg mixture and stir well, then add the melted butter and milk, whisking until smooth and homogenous.
- Make waffles: Pour a generous spoonful of batter in the waffle cone maker, about 3-4 tablespoons, and quickly use a spatula to spread it in an even layer. Close the lid and cook the waffle for 1-2 minutes, until golden brown. (For the first few waffles, you might need to tweak the cooking time or temperature until you get a feel for how long your particular appliance takes.)
- Shape immediately: Once the waffle is golden brown, use a spatula to ease it off of the maker. Form it into a taco shape—you can use a taco mold if you happen to have one, or set it in the middle of an actual corn taco shell! You can even fold the waffle in half between two upright books until it hardens and can be moved, about 1-2 minutes.
- Finish and cool: Repeat until all of your batter is used. You should get 9-10 tacos from this recipe. Cool the shells completely before you proceed.
- Soften ice cream: Get the ice cream out of the freezer, and let it sit and soften for a few minutes, until it is soft but not melted.
- Melt chocolate: While waiting for the ice cream to soften, melt the chocolate in a microwave-safe bowl, stirring after every 30 seconds to prevent overheating.
- Brush chocolate inside shells, freeze: Use a pastry brush to spread a very thin layer of chocolate on the inside of the waffle shells—this will keep the shells from getting soggy. Put the waffles in the refrigerator or freezer for 10 minutes to firm up the chocolate.
- Fill with ice cream, freeze: Scoop the softened ice cream into the waffle shells, packing it in gently and smoothing the top so it's even with the edges of the waffle. Freeze the ice cream-stuffed waffles until very firm, for at least an hour (or longer, depending on your freezer).
- Prepare chocolate and peanuts: Re-melt the remaining chocolate, and stir the chopped peanuts into the chocolate. Make sure the chocolate is warm and fluid, but not hot to the touch.
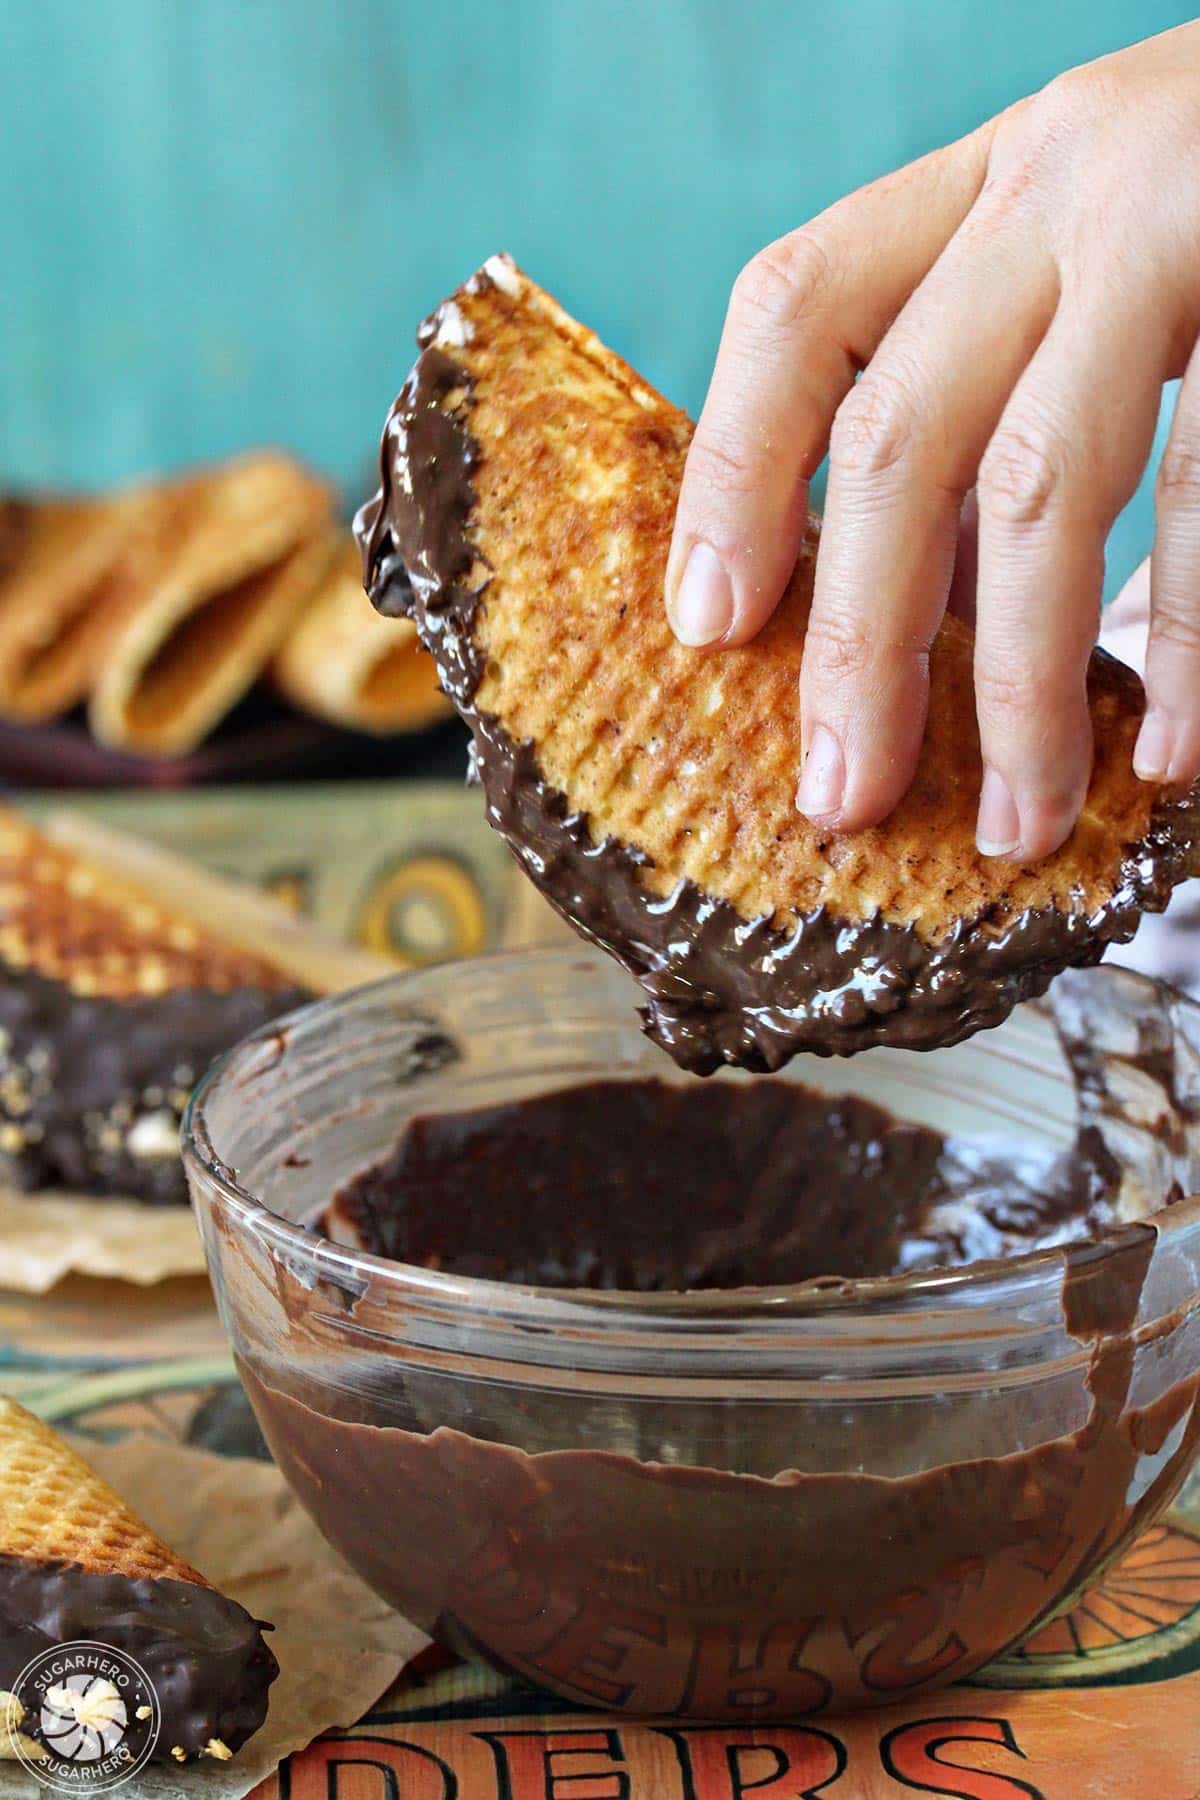
- Finish tacos: Working quickly, dunk the edges of a taco into the chocolate, turning it so that the ice cream is entirely sealed under a layer of chocolate. Repeat until all of the tacos have a chocolate coating around the edges. Allow chocolate to harden.
- Serve or store: You can serve the Choco Tacos once the chocolate hardens, or store them in an airtight bag or container in the freezer until ready to serve. Best if eaten within 2-3 weeks.
Recipe Notes
Measuring Tips
Our recipes are developed using weight measurements, and we highly recommend using a kitchen scale for baking whenever possible. However, if you prefer to use cups, volume measurements are provided as well. PLEASE NOTE: the adage “8 oz = 1 cup” is NOT true when speaking about weight, so don’t be concerned if the measurements don’t fit this formula.
Want to learn more about baking measurements and conversion?
Nutrition
💡Tips and FAQs for Success
If you don’t have a waffle cone maker, you can actually still make this recipe! Just spread the batter in very thin circles on parchment-lined baking sheets, and bake until golden brown. It’s a little more finicky, but worth it to have Choco Tacos!
The main reason a choco taco becomes soggy is when the ice cream comes in contact with the waffle cone shell. To prevent this from happening, make sure to brush a thin layer of chocolate on the inside of the taco shell before filling it with ice cream. The chocolate creates a barrier that helps to keep the waffle crisp.
It’s also important to keep the Choco Tacos fully frozen until you’re ready to enjoy. Semi-frozen or slightly thawed tacos will get melty and the ice cream is more likely to break through the chocolate barrier.
Choco Tacos can be stored in an airtight bag or container in the freezer. For the best taste and texture, enjoy within 2-3 weeks.



















I can I make the taco shells in a mini waffle maker? Or is there a specific sugar cone maker?
Hi Betsy, there is a special cone maker that I recommend using. The impressions on a regular waffle maker are probably way too deep to make ice cream cones. Here’s an example of a waffle cone maker:
http://amzn.to/2v6IC4Z
Hi Elizabeth, we made these and they came out delicious! Although ours didn’t look nearly as good as yours. We liked it so much we featured it on an article of ours.