It’s not enough to just own a candy thermometer: all culinary thermometers have to be tested and calibrated regularly for accuracy. Fortunately, the process is fast and easy! Our Step-by-Step Guide to Calibrating Your Thermometer will ensure your homemade candy turns out perfectly every time.

🌡Calibrating Your Candy Thermometer Like a Pro
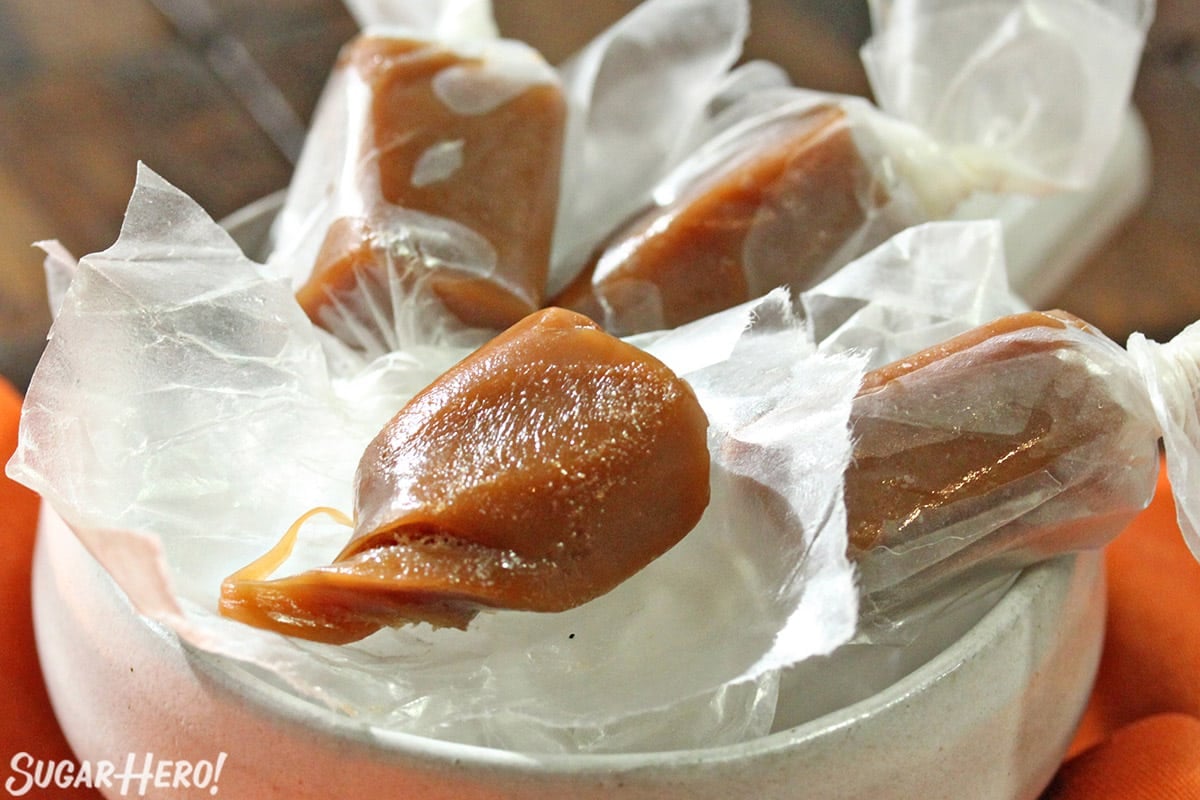
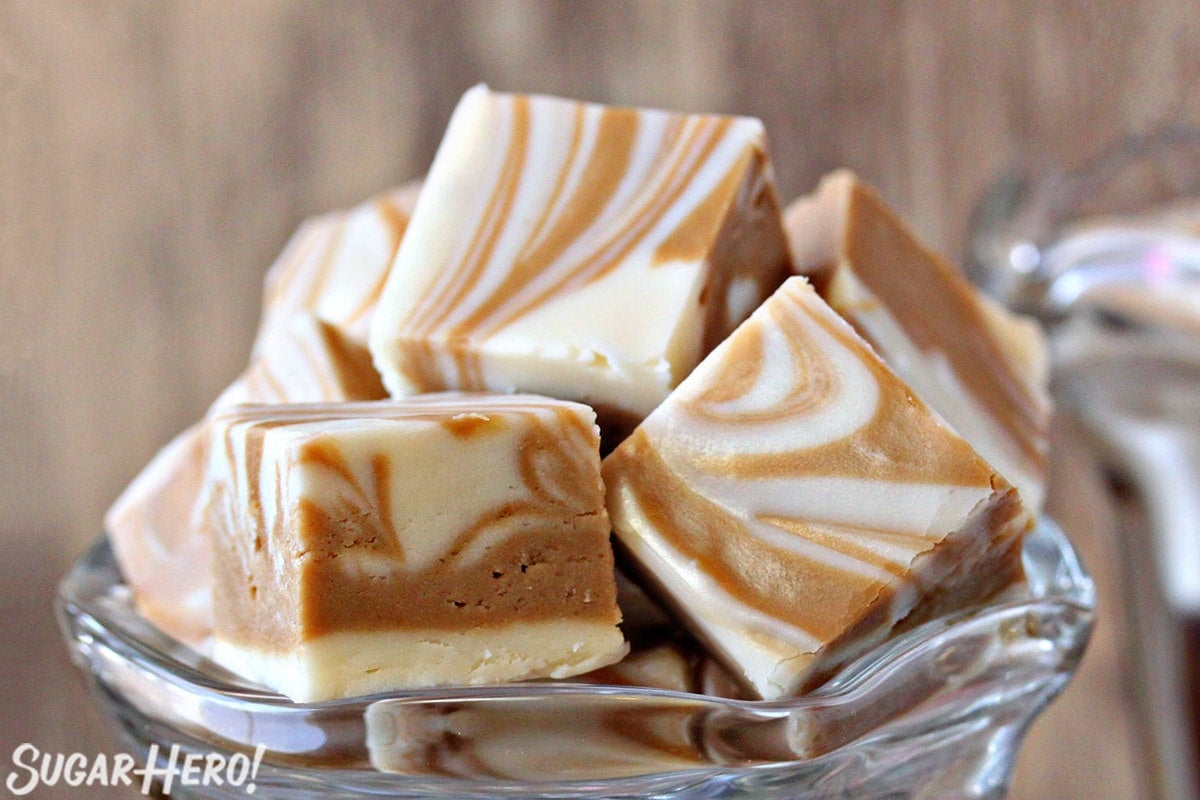
Delicious homemade candy begins with the right tools. Whether you’re making caramel, toffee, lollipops, or old-fashioned fudge, you’ll need a trusty candy thermometer to make sure your treats are cooked to the perfect temperature.
After all, in candy-making, cooking the recipe to the right temperature isn’t just a suggestion, it’s a necessity. A slight variation of a few degrees can mean the difference between your caramels being smooth and creamy, or rock-hard bricks, so using a thermometer is step 1 for candy success.
Unfortunately, a thermometer is not a “buy-it-and-forget-it” tool. Candy thermometers — in fact, ALL culinary thermometers — become less accurate over time, so it is essential that you test and calibrate your thermometer regularly. So whether you depend on a thermometer for deep frying doughnuts, making a tender pot roast, or whipping up crunchy peanut brittle, you’ll want to make calibration a regular part of your routine.
Pro Candy-Making Thermometer Tips
If you’re new to candy making and culinary thermometers, hop over to this step-by-step guide for How to Use A Candy Thermometer. It’s got loads of pro tips to help you get started.
Environment can impact the way your candy thermometer is read. If you live above sea level, it’s super important to learn Essential Tips & Techniques for Candy Making at High Altitude.
Table of Contents
❓ What is Calibration?
There are two parts to the calibration process: testing the thermometer in either freezing or boiling water to see if it displays the correct temperature, and then, if necessary, making adjustments to the thermometer so that it is accurate. This process of making adjustments is known as “calibration.”
🤔 How do you calibrate a thermometer?
The exact mechanism of calibration depends on what kind of thermometer you have. Here are some general guidelines, but when in doubt, consult your thermometer manufacturer’s manual or website for instructions.
- For manual probe thermometers: There is usually a nut or screw behind the dial that turns the needle that points to the temperature.
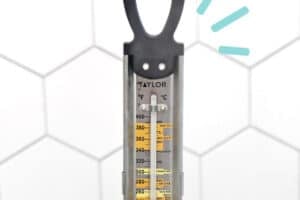
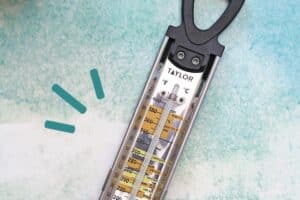
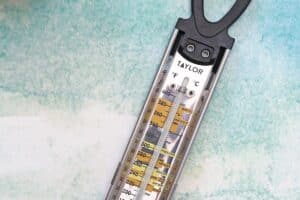
- For candy/deep fry thermometers: You can carefully push the central glass tube up or down to change where the red temperature line is.
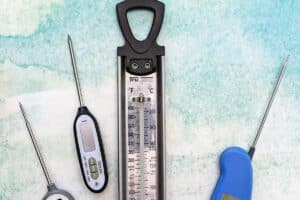
- For digital thermometers: Most have some kind of reset or calibration button – check your thermometer’s manual for details.
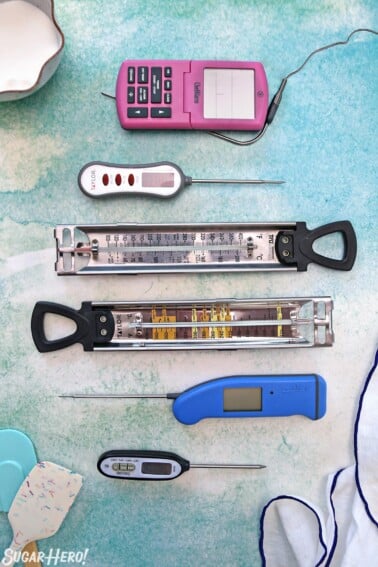
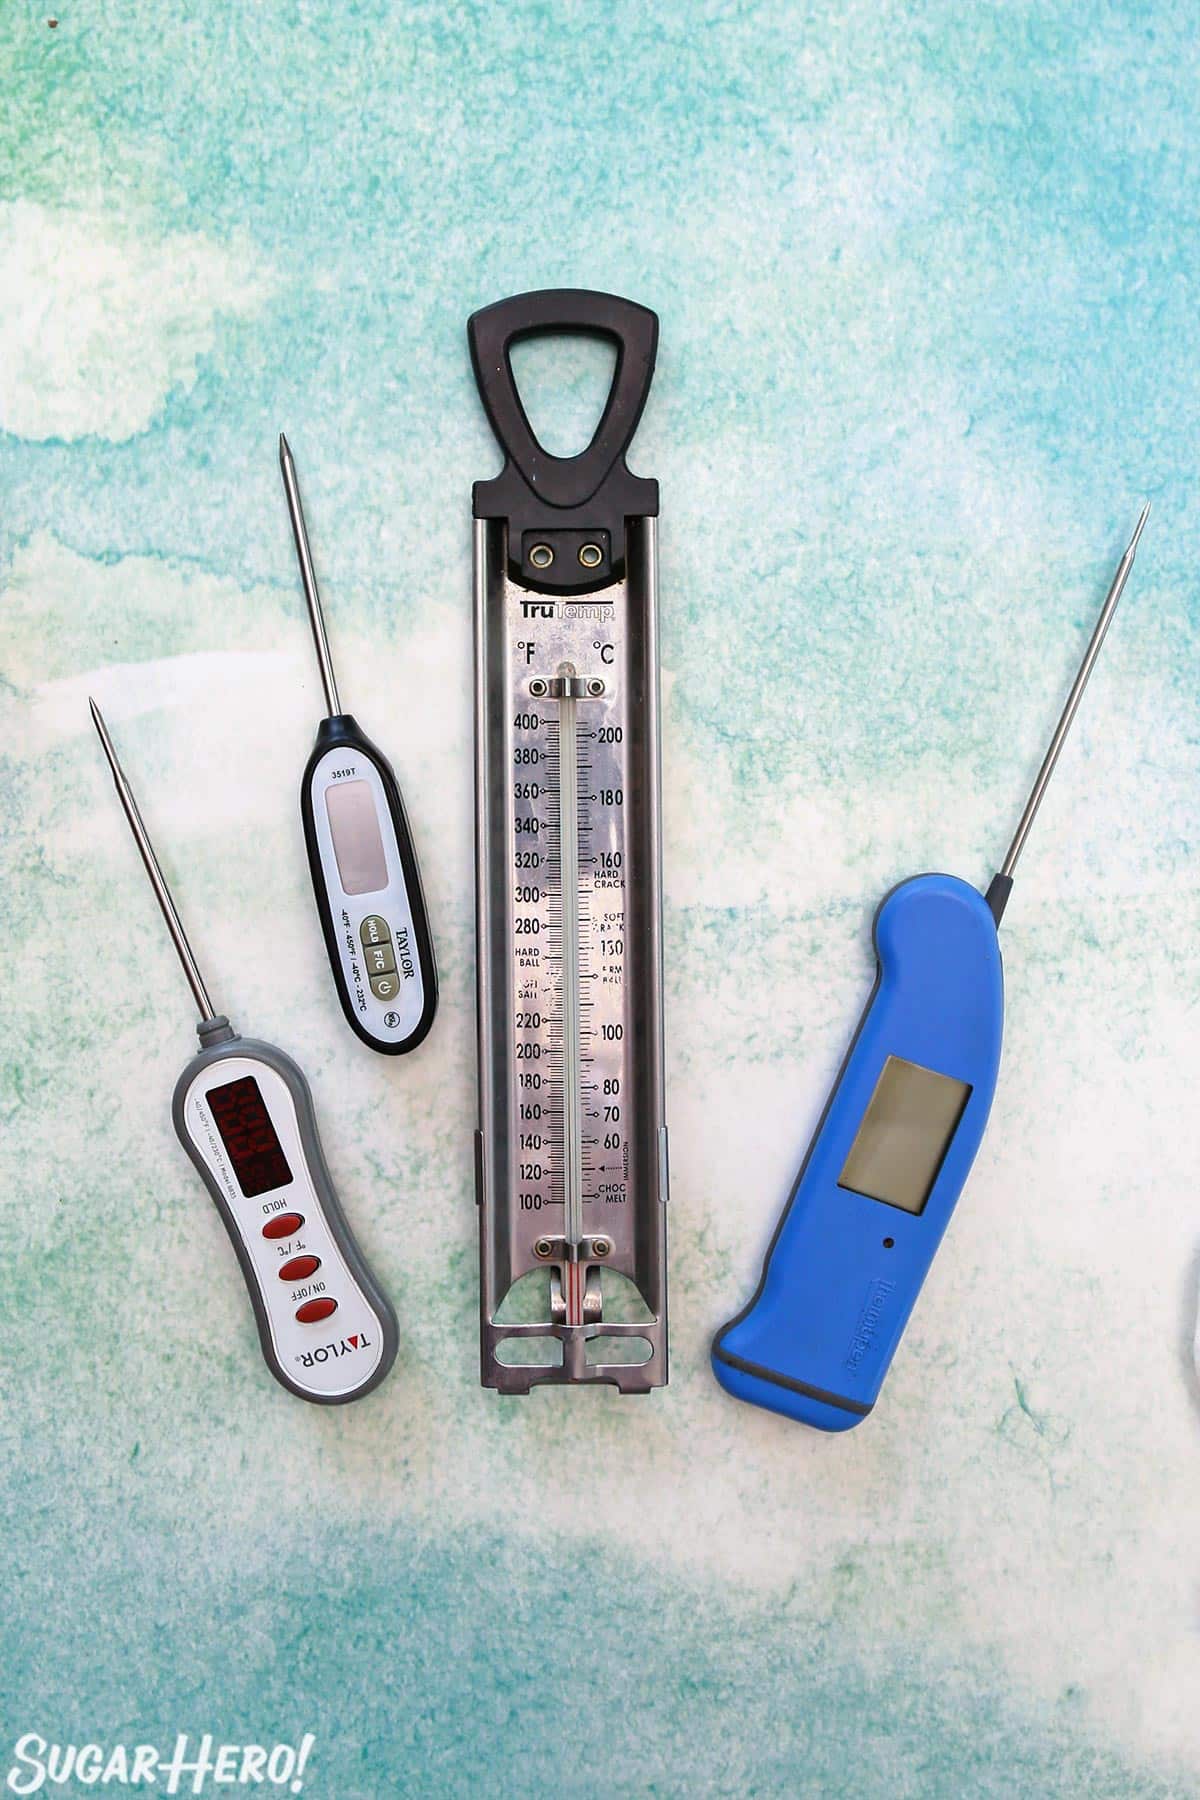
🧾 What You’ll Need
- Candy thermometer: Whether it’s a cheap bulb thermometer or an expensive digital version, all thermometers need a check-up now and then. Find lots more information on picking the perfect thermometer in our comprehensive Candy Thermometer Guide!
- Saucepan: You’ll want a medium-sized, 3-quart or 4-quart saucepan if you’re using the boiling water method.
- Water
- Ice cubes: If you’re using the ice water method.
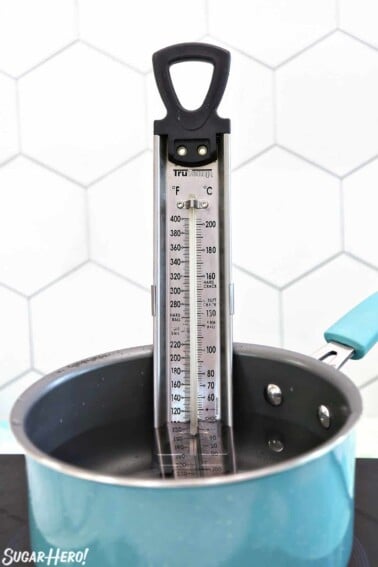
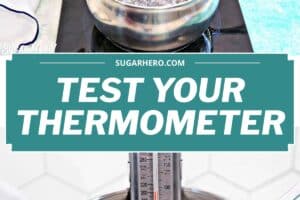
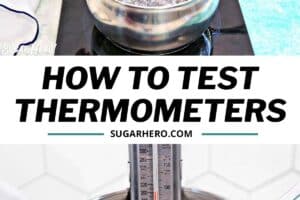
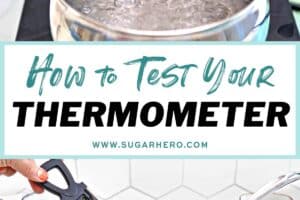
🔥 Calibrating with Boiling Water
This method is especially easy for those who live at sea level, but anyone can use it. If you live at a higher altitude, be sure to read our high altitude information below before you begin.
The Testing Process
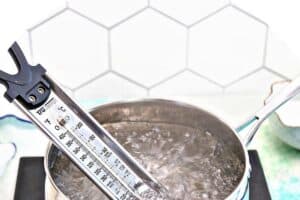
- Bring water to a boil: Fill a medium saucepan with 3-4 inches of water. Bring the water to a rolling boil, and let it boil for 2-3 minutes before inserting your thermometer.
- Insert thermometer: Place your thermometer into the pot of boiling water, making sure that the bulb is fully submerged, but not touching the bottom or sides of the pan, since this can give you an inaccurate reading.
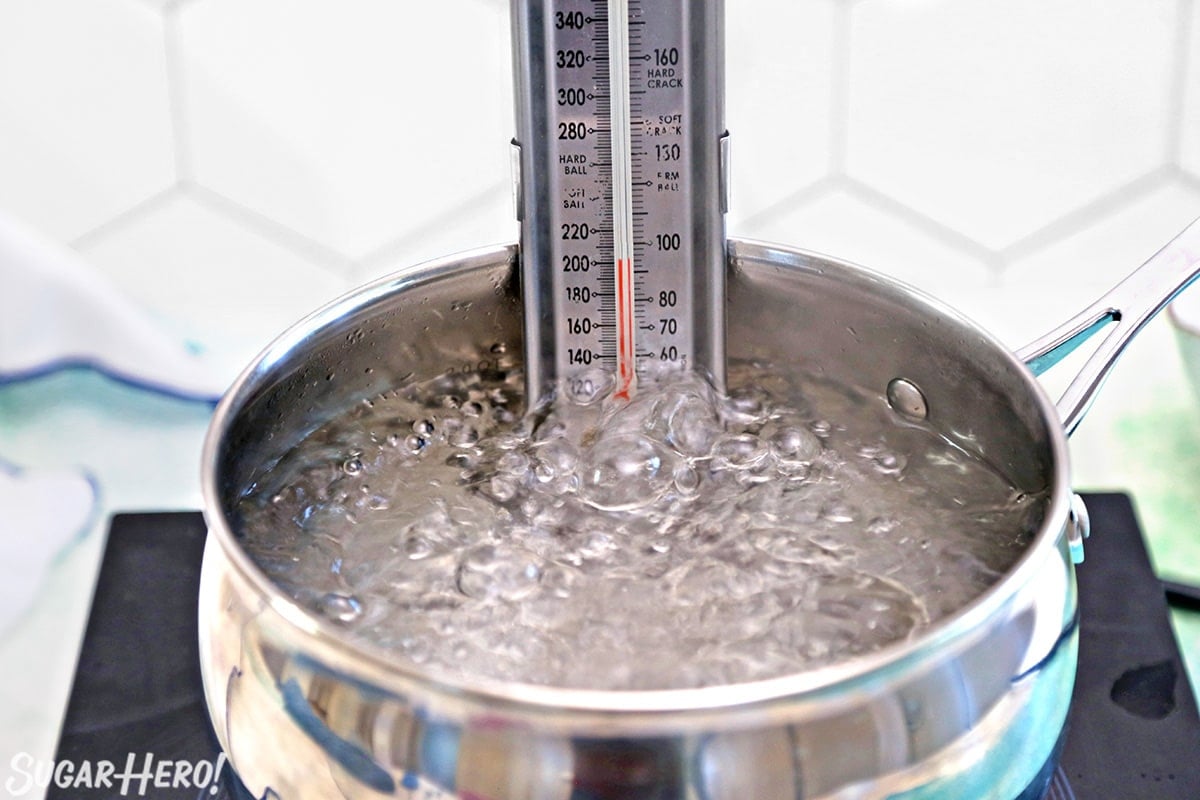
- Boil and check temp: Keep the thermometer in the boiling water for one minute, then check the temperature. (Some digital thermometers can give a near-instant reading, but mercury thermometers usually need more time to come to temperature. If you are using a mercury thermometer, make sure you are at eye level with the temperature markings so you get an accurate reading.)
The Calibrating Process
At sea level, water boils at 212° F, or 100° C. (Remember, high elevation will change this number!) If you are at sea level and your thermometer shows a different temperature, adjust it, using the calibration instructions above, so that it reads exactly 100° C or 212° F in boiling water.
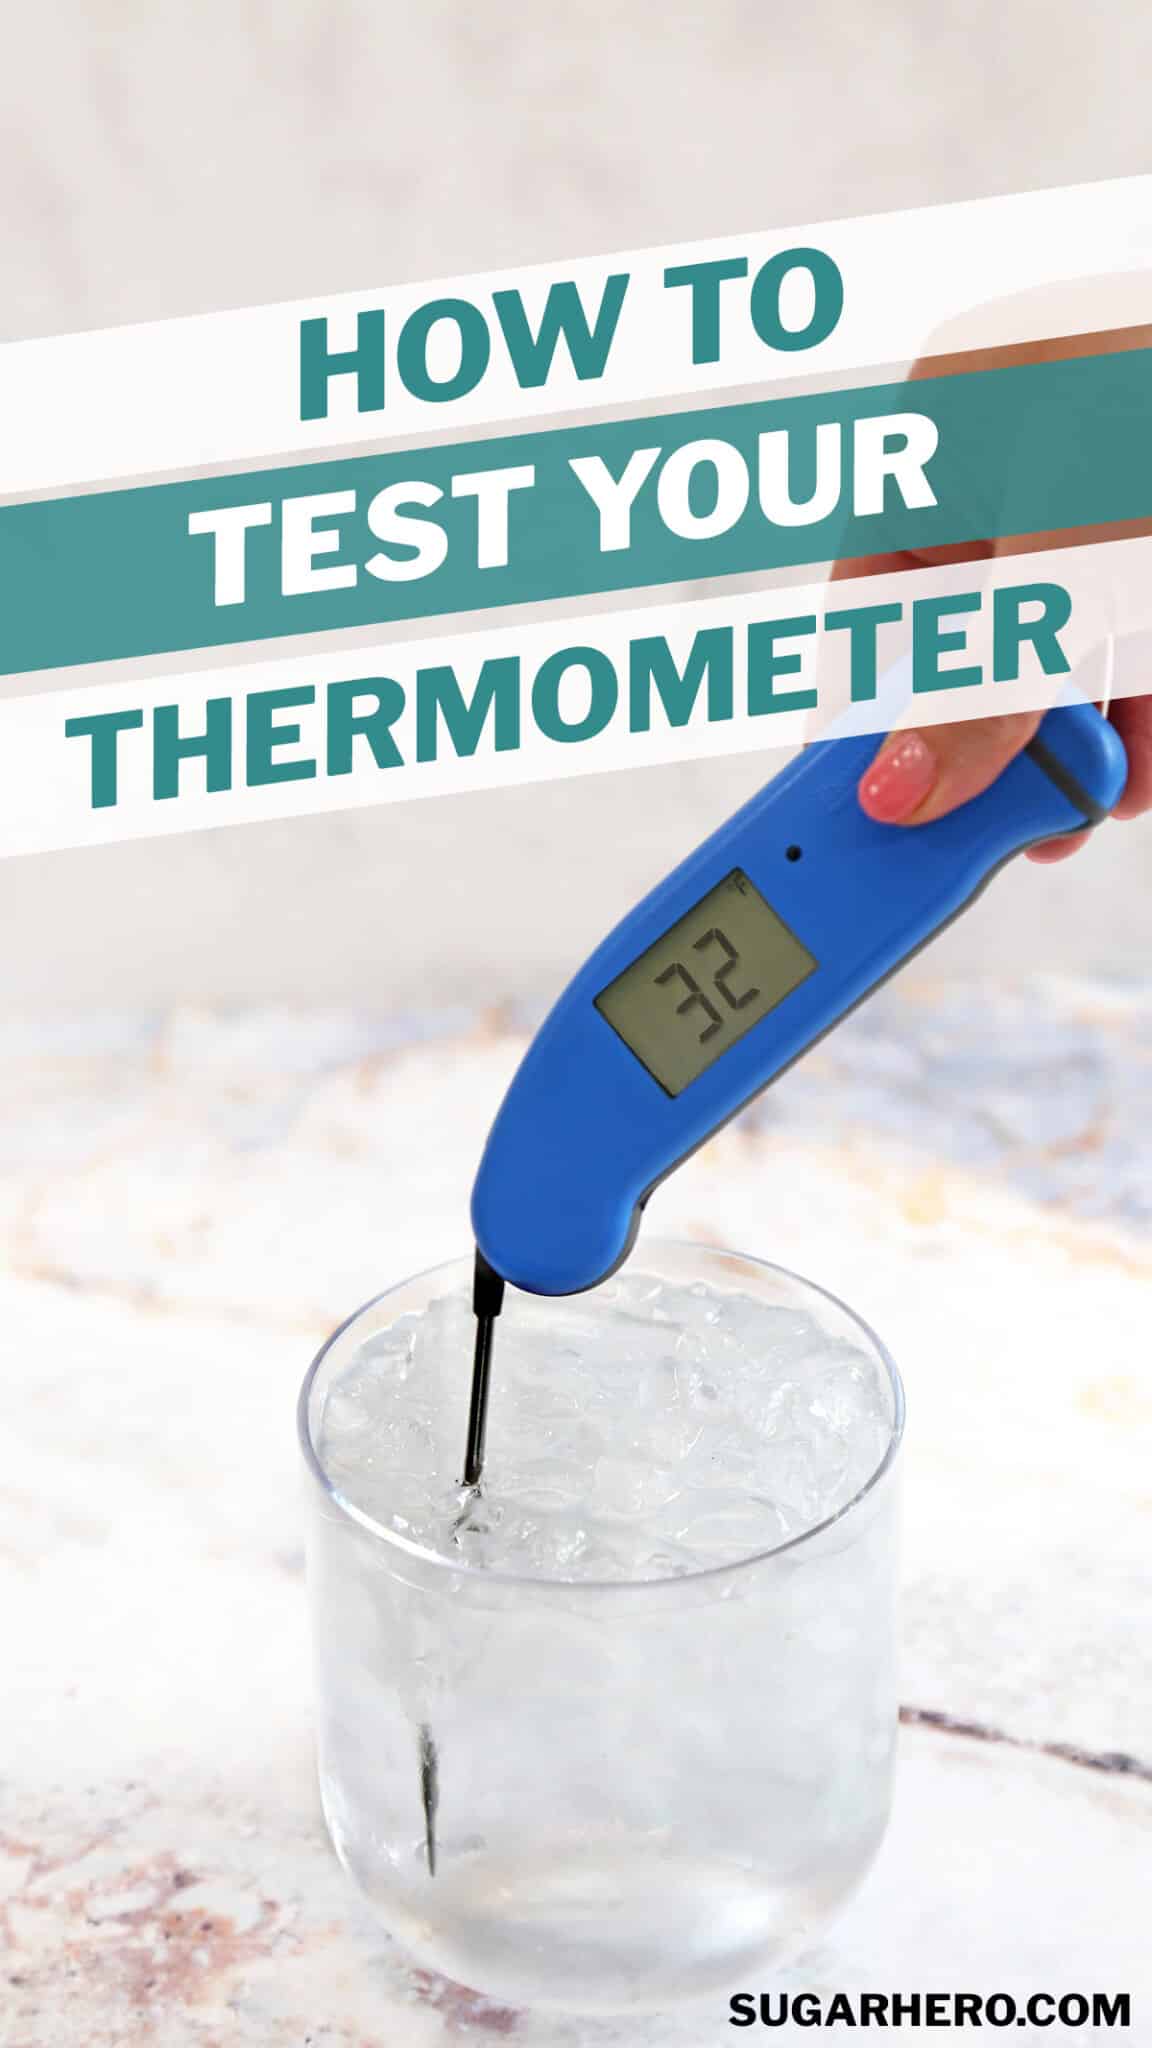
🧊 Calibrating with Ice Water
Also known as the “ice point method,” this option is not affected by high elevations.
The Testing Process
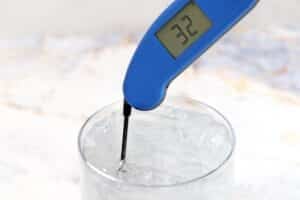
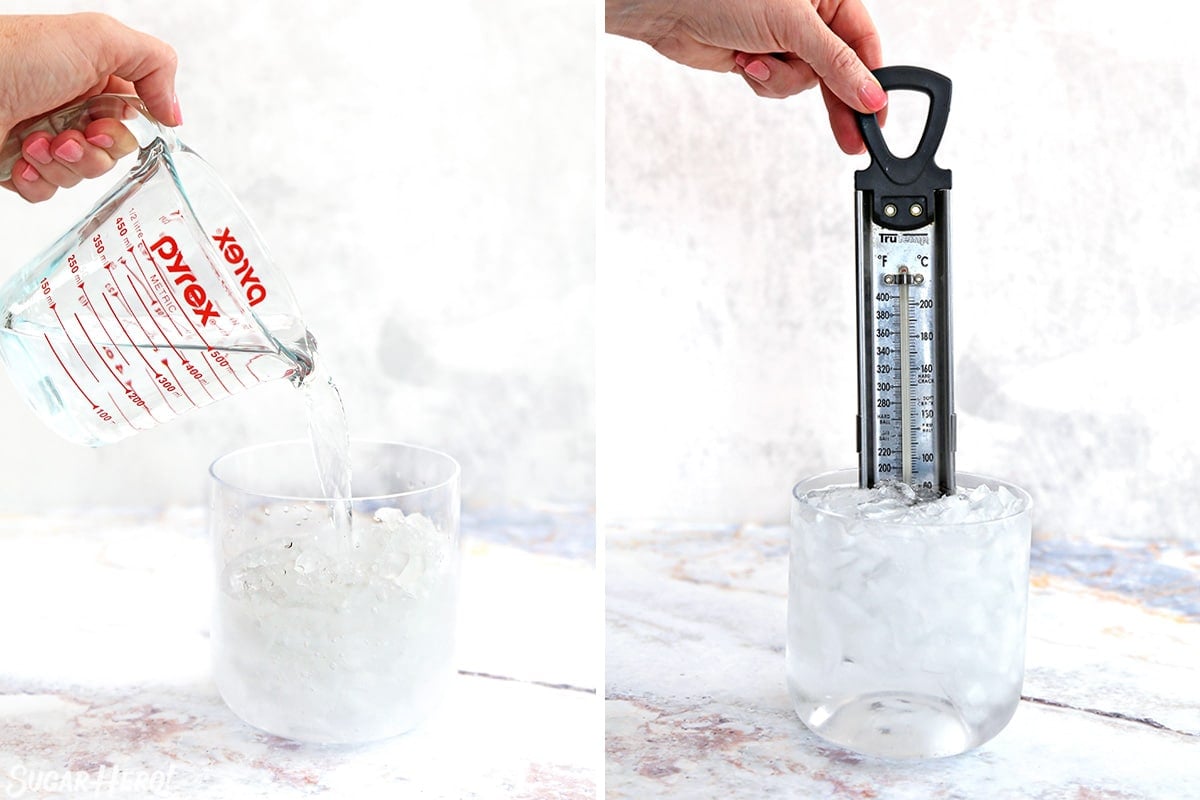
- Fill container with ice: Fill a deep glass with ice cubes or crushed ice.
- Add water: Add cold water all the way to the top, and stir well.
- Insert thermometer: Let the ice water sit for one minute, then insert your thermometer. Make sure the bulb of the thermometer is fully submerged, but not touching the bottom or sides of the glass.
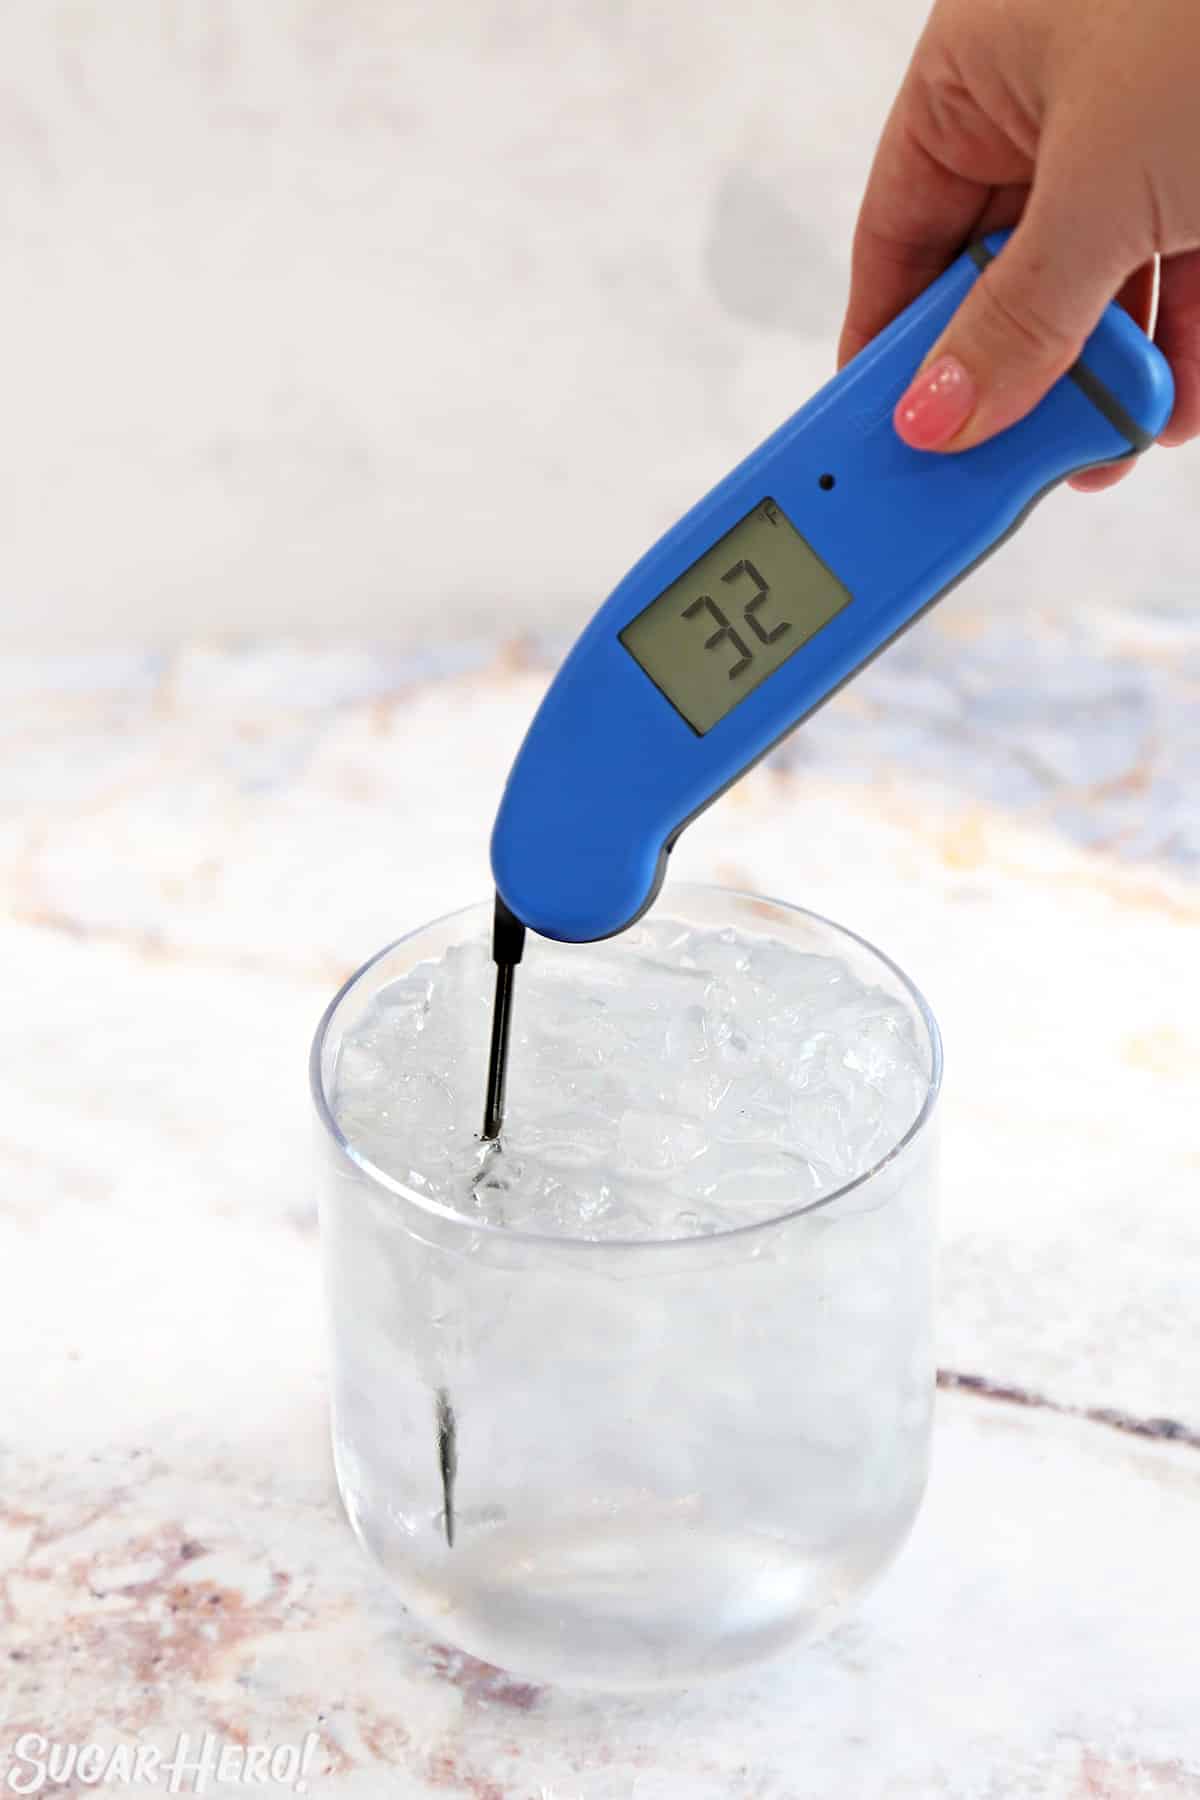
- Wait, then check temp: Wait one minute, then check the temperature. (If you are using a mercury thermometer, make sure you are at eye level with the temperature markings so you get an accurate reading.)
The Calibrating Process
A correctly calibrated thermometer should read 32° F, or 0° C. If your thermometer shows a different temperature, adjust it, using the calibration instructions above, so that it reads exactly 0° C or 32° F.
🗻 High Altitude Instructions
If you are calibrating a meat thermometer at high altitude, you should use the ice water test to ensure accuracy.
If you are calibrating a candy thermometer at high altitude, you can (and should!) use the boiling water test–you’ll just have to do a little math afterwards because at higher elevations water does not boil at 212° F/100° C (it will boil at a lower temperature). This means that if you live significantly above sea level, the boiling water test will not provide an accurate assessment of theremometer accuracy unless you calculate your personal thermometer adjustment.
How to Calculate Your Personal Thermometer Adjustment
- Conduct boiling water test: Follow the boiling water instructions and get your thermometer reading.
- Calculate the difference: Subtract your thermometer’s measurement from 212° F/100° C. This number is your personal thermometer adjustment and should be used going forward. Example: If your thermometer displays 207° F in boiling water, that is 5 degrees less than 212° F. You now know that you need to subtract 5 degrees (your personal adjustment) from the desired temperature outcome when you use that thermometer. So if a candy recipes calls for the candy to be cooked to 245° F, you should only cook it to 240° F.
For more help, read Candy Making at High Altitude: Essential Tips & Techniques.
💡 Calibration FAQs
Regularly! If you use your thermometer often, make it a habit to test it about once a month. If you rarely use it and it’s been in storage awhile, test it before beginning any candy project. Also test it if it has been dropped or mishandled.
Use the high altitude boiling water instructions, and find the difference (if any) between your thermometer’s readings and the temperature of boiling water. Make a note of this temperature difference and adjust your desired temps when cooking.
Yes, absolutely. You can use either the boiling water or ice water method to calibrate a meat thermometer. If you live at a high altitude, stick with the ice water method.
Store your candy thermometer in a secure place where it won’t be jostled, dropped, or banged around.
Yes, in a way. The altitude doesn’t change the thermometer itself, but it does change the target temperature of your candy recipe. Higher altitudes will lower the boiling point of water. Since the process of cooking candy like caramel sauce and toffee involves boiling off excess liquid, candy recipe temperatures need to be adjusted to compensate. See our comprehensive article about Making Candy at High Altitudes for more information.
If you suspect your thermometer is still not working after a round of testing and calibration, test it several times in a row and see if you get consistent readings. If the readings vary quite a bit, even after making adjustments, it is probably time for a new thermometer.
Calibration may seem a little superfluous, but it’s a simple step that can mean the difference between mediocre munchies and exceptional eats. With the right tools and knowledge, you’re on your way to making amazing candy, so calibrate with confidence and reap the rewards!