Ready for gourmet candy you can make at home? These Rosemary Raspberry Truffles are classic chocolate truffles, flavored with rosemary and raspberry. Plus, learn how to use a texture sheet to get this elegant wood grain pattern on your chocolates!
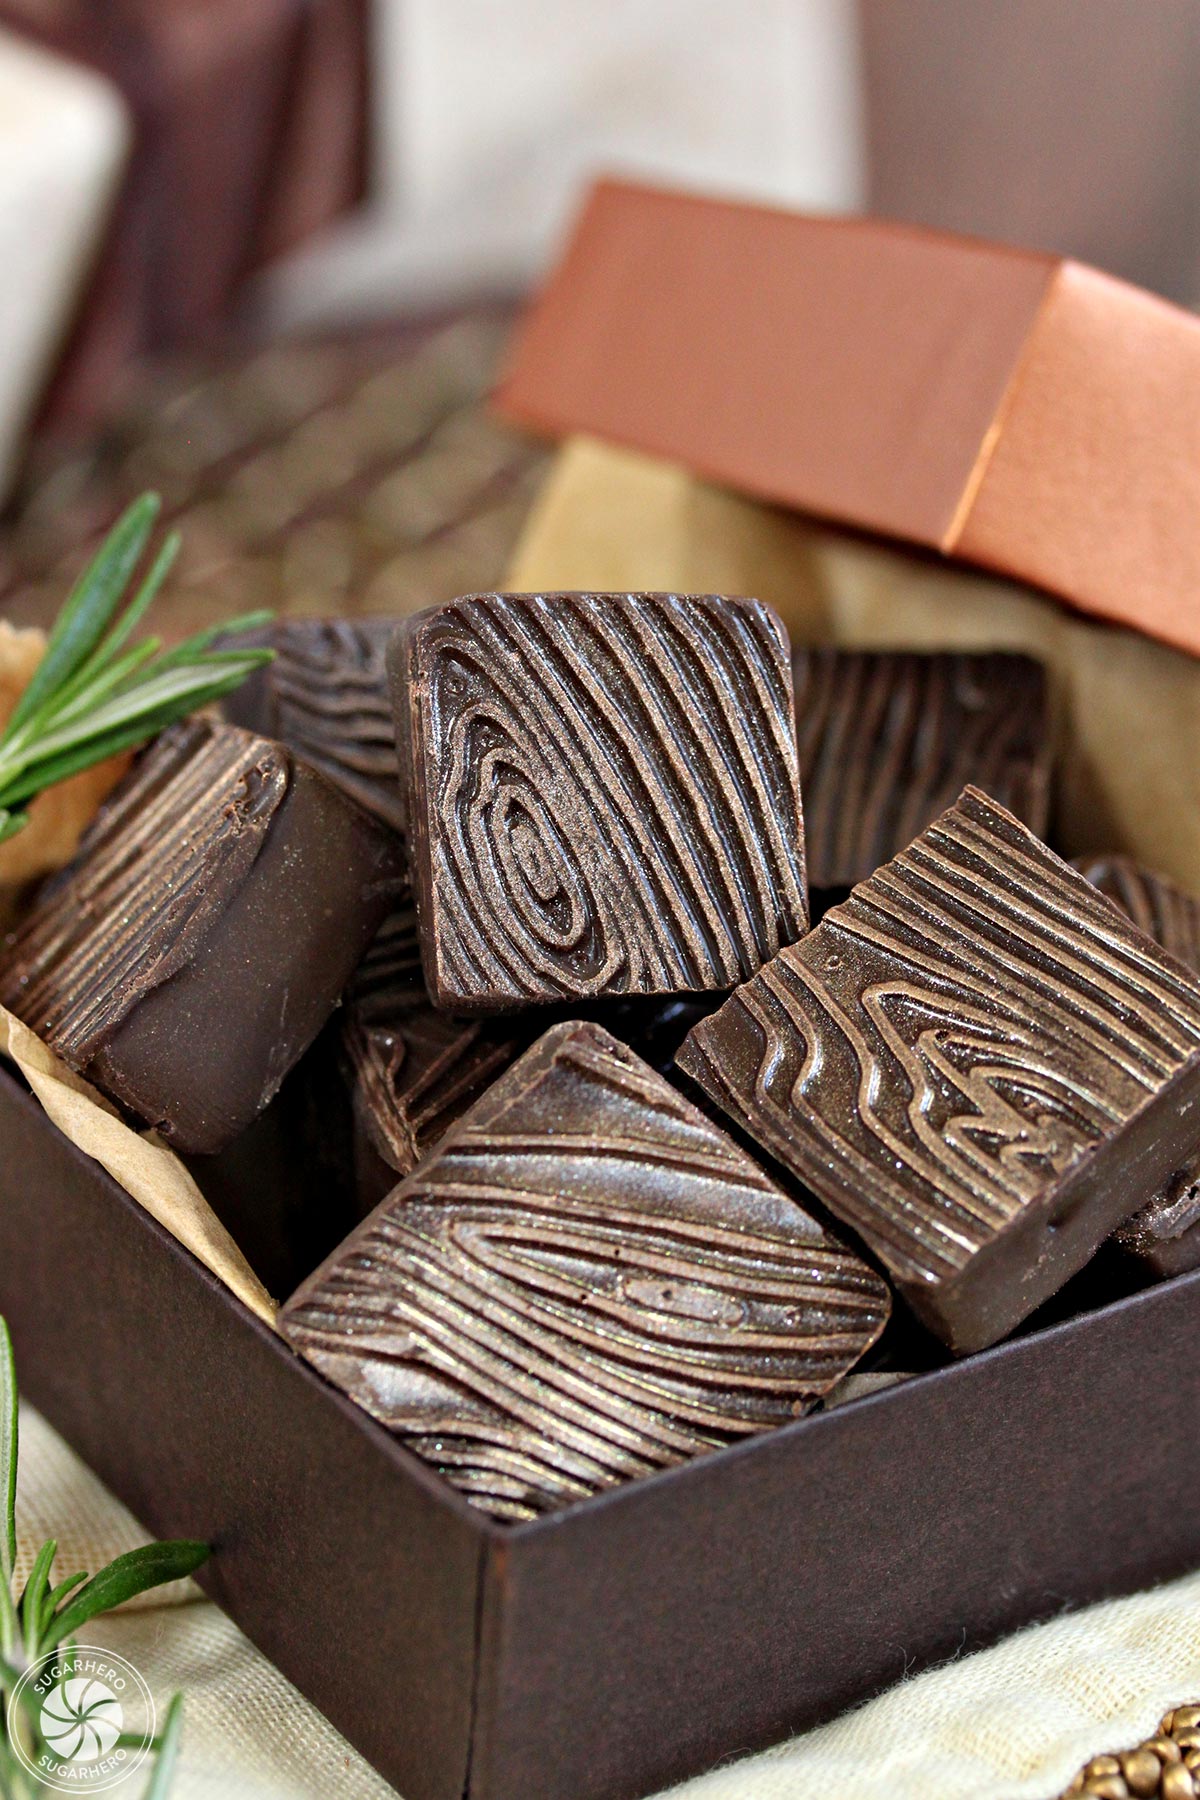
Gourmet Chocolate Truffles
Homemade truffles are my #1 recommendation whenever anyone asks what kind of candy is best for beginners. Truffles are very easy to make, don’t require many ingredients, and are almost impossible to screw up. Why? Because even an imperfect truffle still tastes really, really good. They’re made from chocolate and cream! What’s not to love?
But because they’re so easy, there are a million and one recipe for chocolate truffles out there already. I love a classic truffle, but today, I want to share a fresh and modern take on traditional truffles. So this variation, made with fresh rosemary and raspberries, was born.
Be sure to try these festive Champagne White Chocolate Truffles and Disco Truffles for New Year’s Eve. And if you like caramel, my Caramelized White Chocolate Truffles have a wonderful flavor.
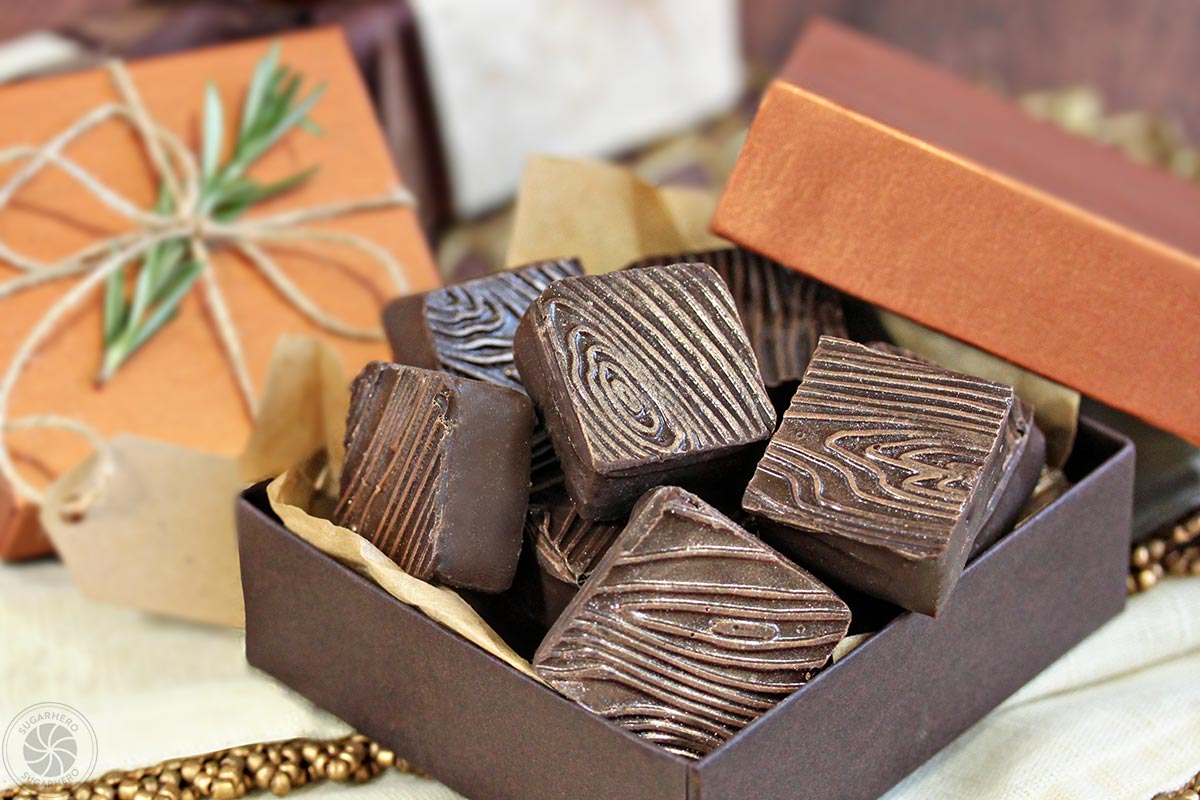
Flavoring Chocolate Truffles
Flavoring truffles is a really simple process. The easiest way is to use an extract or flavoring oil, and since there are a million and one possible extract flavors, you have a lot of flavoring possibilities!
Extracts are easy, but to get really fresh, authentic flavors, my favorite method is infusion. Infusion is when flavoring agents like herbs, spices, or citrus zest are left to sit in hot cream for a period of time before they’re strained out. It gives a really strong, pure flavor to the truffles without interfering with the finished texture.
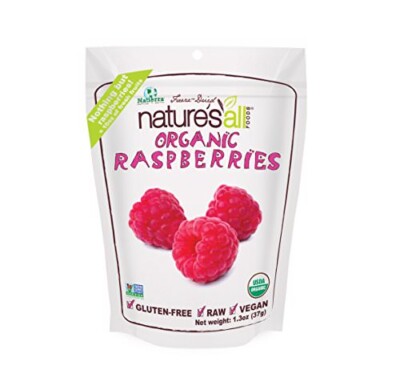
To make these rosemary raspberry truffles, I combined chopped fresh rosemary and raspberry powder (made from freeze-dried raspberries) with the cream and infused it (let it sit together) for 30 minutes.
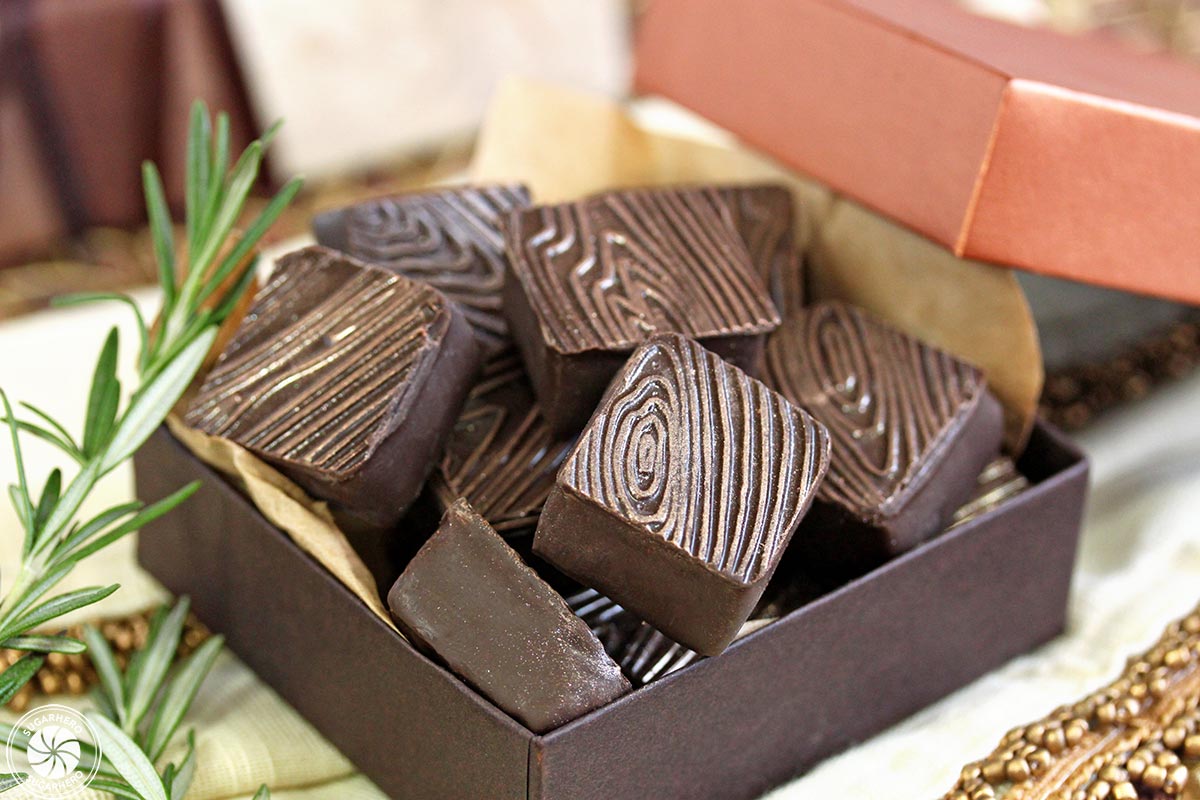
Letting the cream soak up those flavors for a half-hour seems like a small thing, but it delivers BIG flavor. The rosemary picks up the woodsy notes of the dark chocolate, and the raspberry adds some fruitiness that keeps the truffles from tasting like a forest floor.
It’s a unique combination, but still pretty subtle—friends might ask what’s different about these truffles, but I’ll bet hardly anyone is going to be able to pull out the distinct flavors without being told. If you’re not keen on either component, you can reduce or even eliminate them from the recipe and you’ll still end up with a wonderful dark chocolate truffle.
Adding Wood Grain Texture to Chocolate
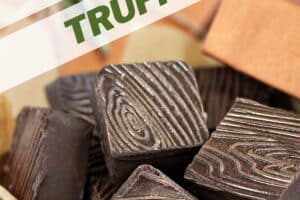
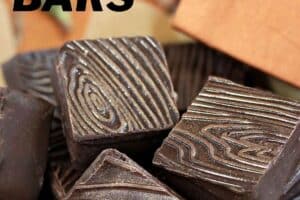
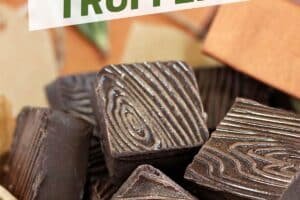
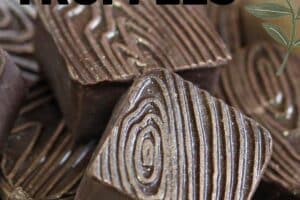
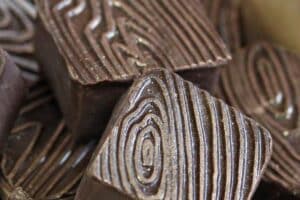
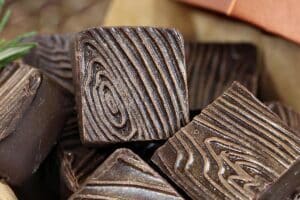
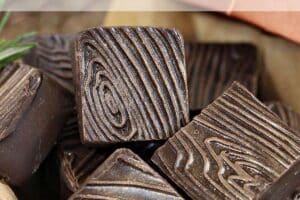
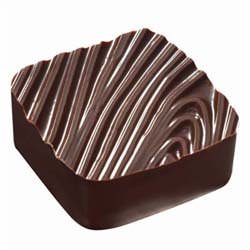
Since these truffles taste special, they need a special appearance to match. Taking a cue from the earthy rosemary flavor, I used a textured chocolate sheet to give the tops of the truffles an embossed wood grain pattern.
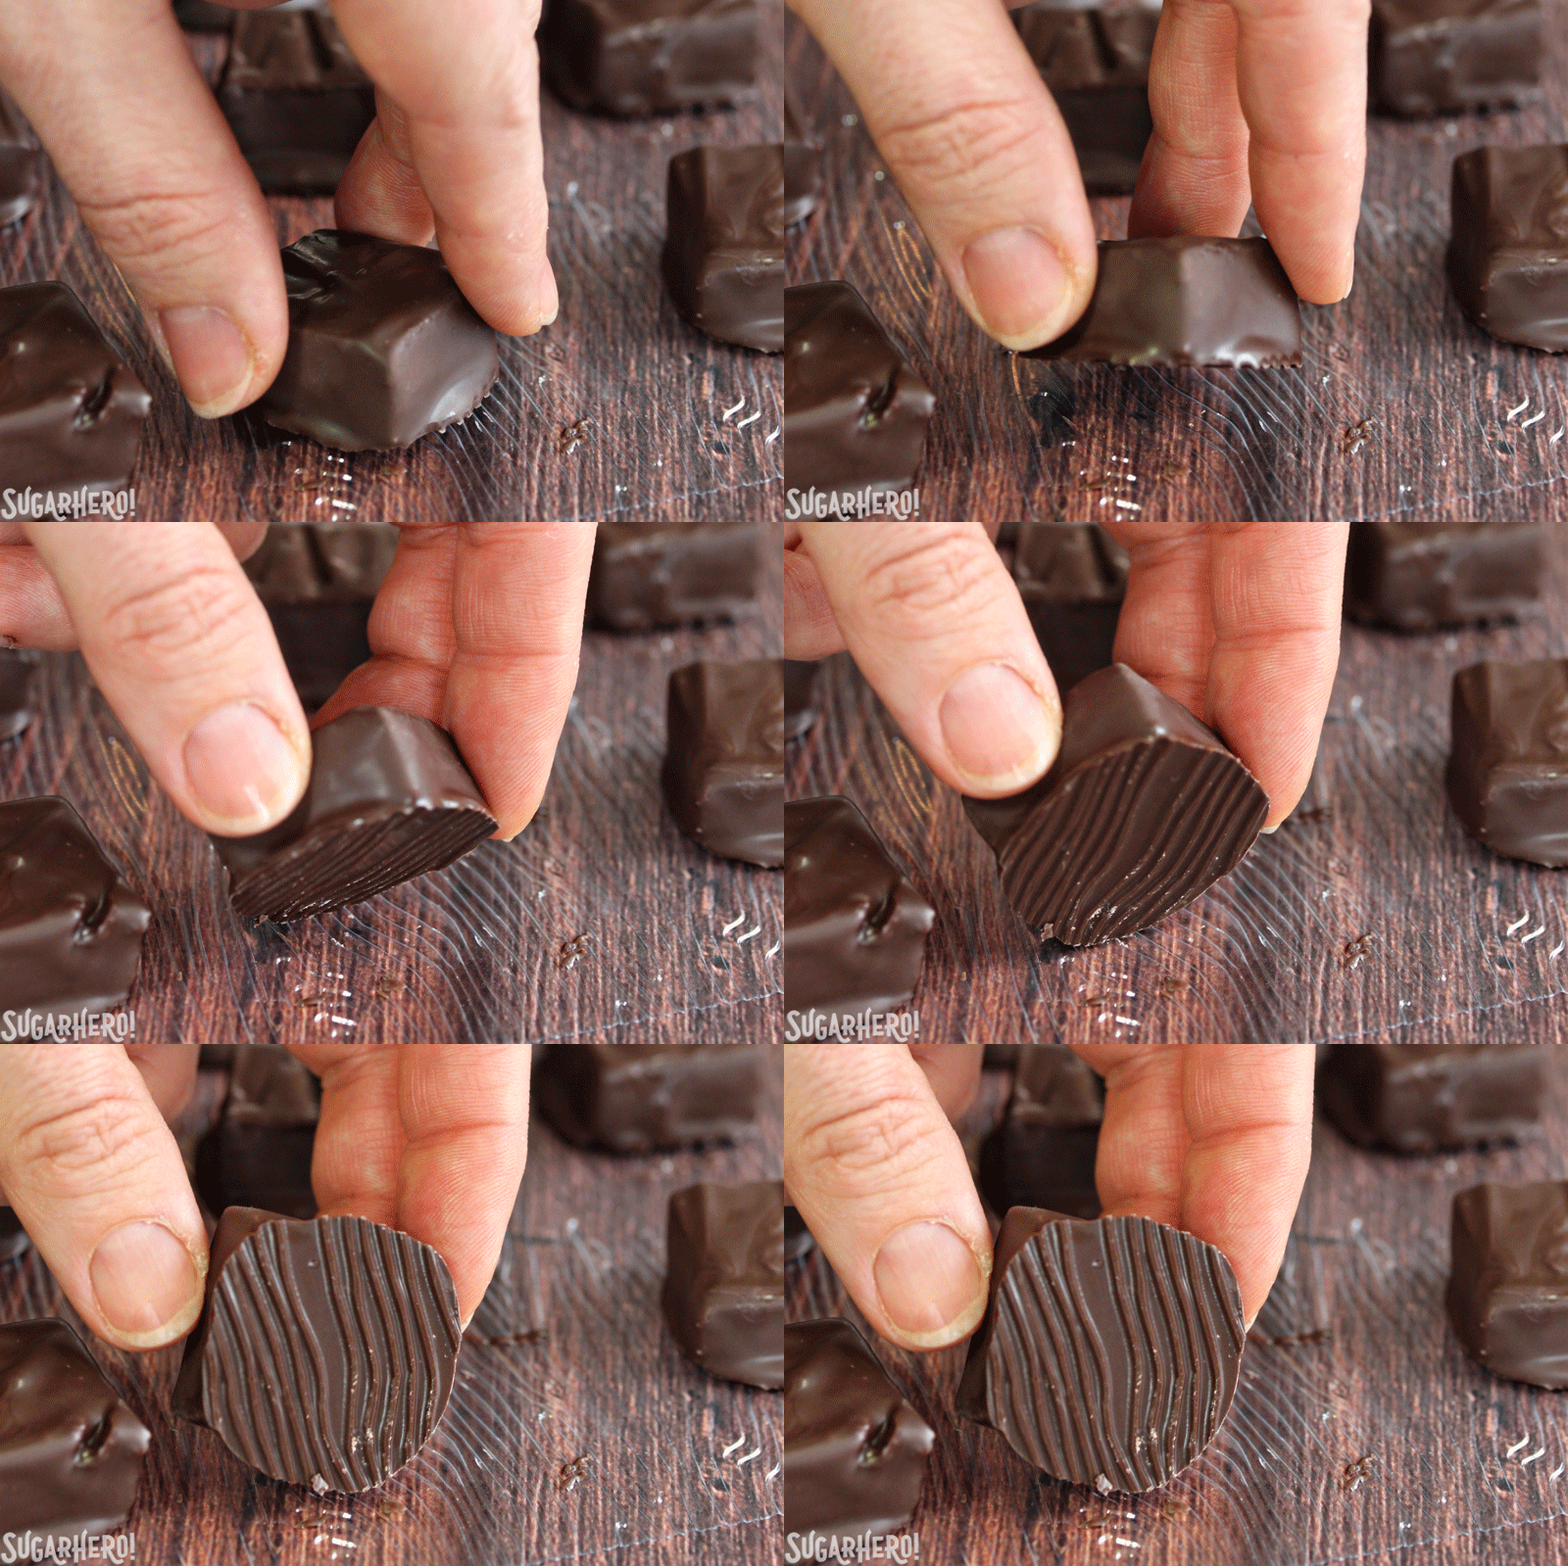
Textured chocolate sheets are exactly what they sound like—a large piece of sturdy plastic with a raised design on top. When wet chocolates are placed on the sheet, the chocolate is imprinted with the design, and the finished chocolates have a gorgeous embossed texture. I promise you, as good as they look in the pictures, they look even better in real life.
The textured chocolate sheet is thick, heavy-duty plastic that is long-lasting and easy to clean. It’s only $10, and you can buy them here! These sheets are amazing and they’re an easy way to make your candies look professional.
You don’t have to limit their use to truffles, either. This technique would also work well with chocolate-dipped caramels, toffees, cookies…basically any flat surface that can be covered in wet chocolate!
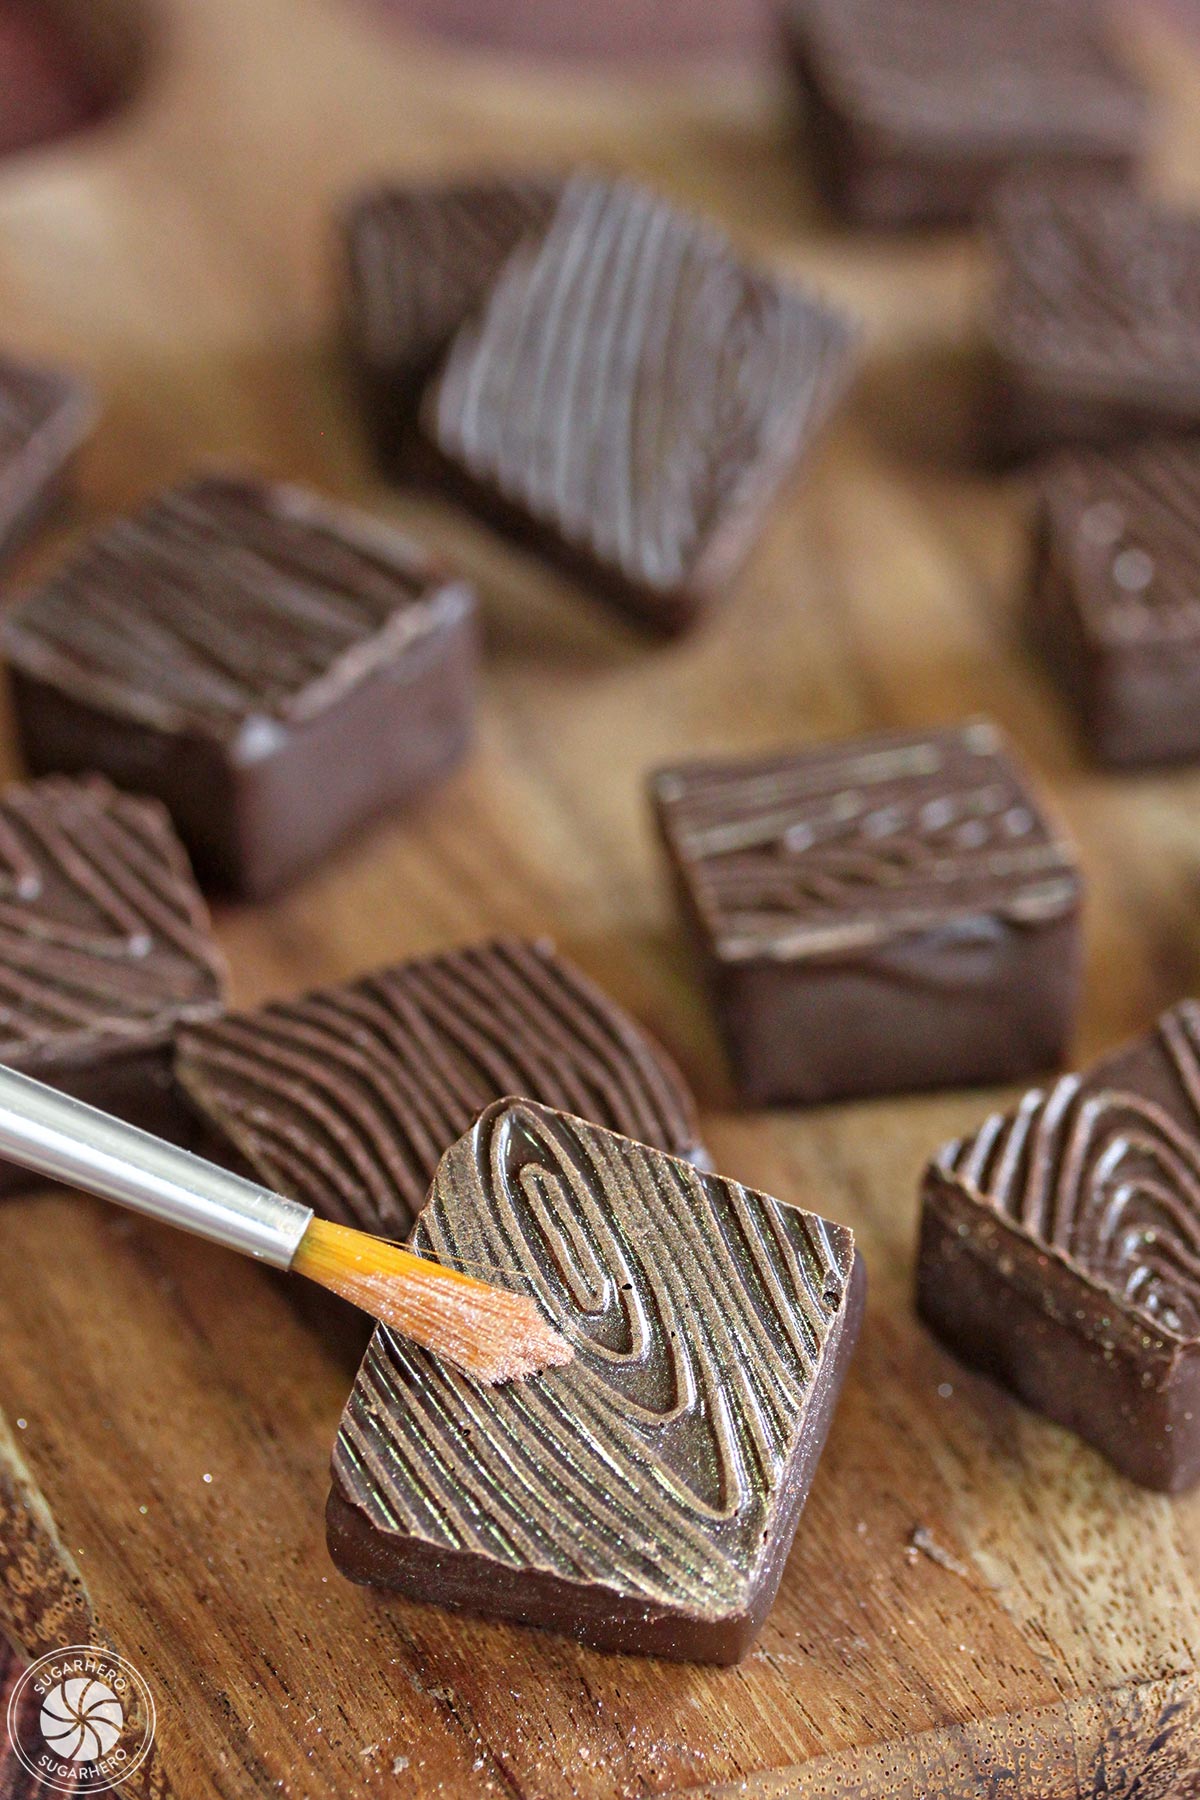
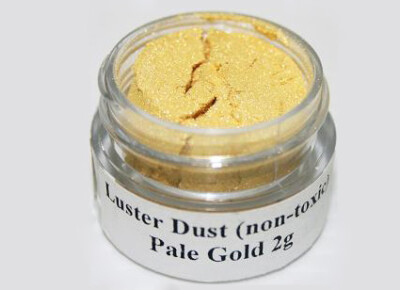
I really wanted the wood grain pattern to be noticeable, so I brushed the tops of the truffles lightly with luster dust. In addition to just giving the truffles a little more all-over sparkle, it really helped to delineate the patterns when a bunch of truffles were packaged together on plates and in boxes.
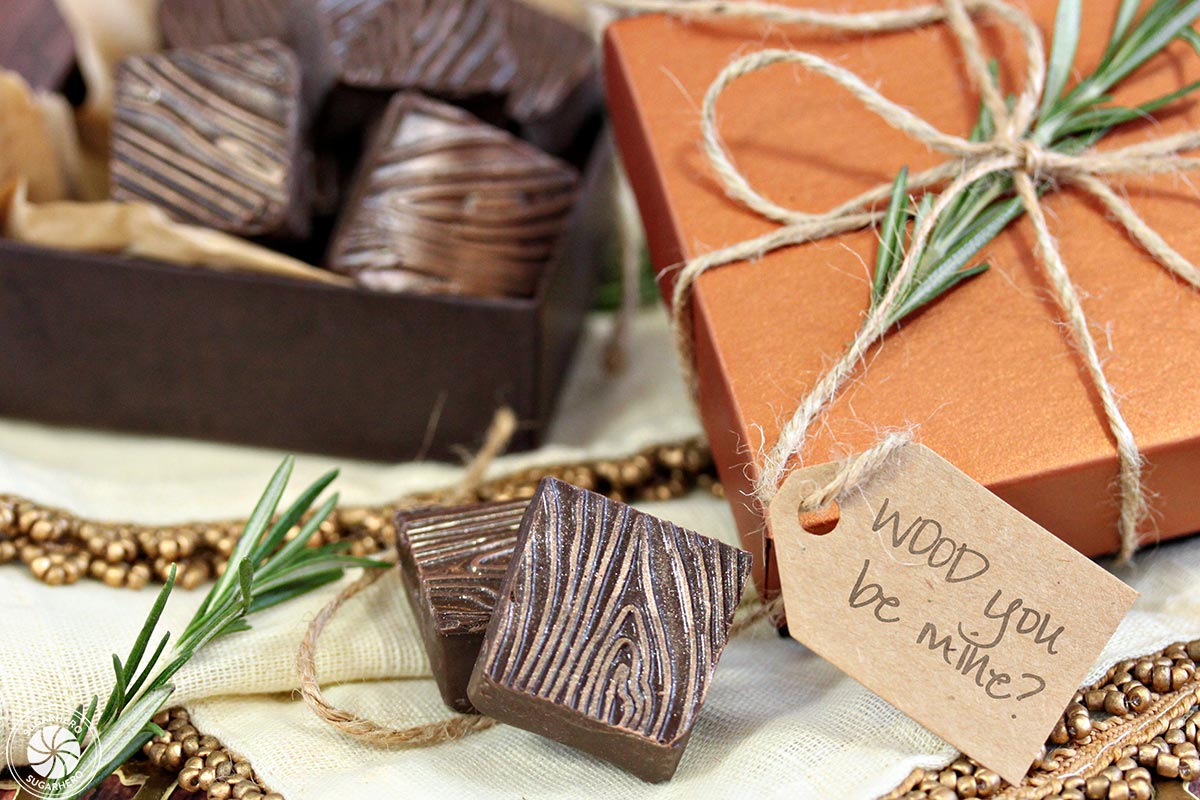
Speaking of packaging, if ever there was a truffle begging to be made into an edible gift, it is these babies! They’re so beautiful on their own, all you have to do is add a sprig of rosemary and some twine to a candy box, and the truffles will do the rest. A little gift tag with a groan-worthy pun never hurt anything, either.
Don’t miss our collection of Fun Valentine’s Day Dessert Ideas – see the whole web story here!
❤️ More Easy Candy Recipes
- Easy Microwave Fudge
- Pumpkin Fudge
- Dirty Coke Fudge
- Peanut Butter Cup Fudge
- Champagne White Chocolate Truffles
Rosemary Raspberry Truffles
Ingredients
- 1/2 cup freeze-dried raspberries, 0.3 oz
- 1 sprig fresh rosemary, approximately 5" , finely chopped
- 8 oz heavy cream
- 1 tbsp light corn syrup
- pinch of salt
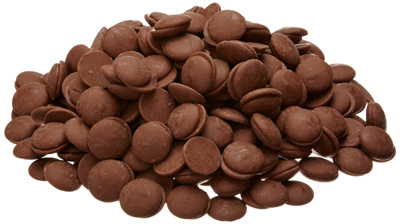
- 10 oz dark chocolate, finely chopped
- 1 tbsp unsalted butter
- 1 lb chocolate candy coating melts, can substitute regular chocolate for dipping chocolate if preferred
- Wood grain chocolate texture sheet, optional
- copper luster dust, optional
- gold luster dust, optional
Instructions
- Place the freeze-dried raspberries in a food processor and process until you have raspberry dust. Coarsely chop the rosemary sprig.
- Combine the chopped rosemary, powdered raspberries, and heavy cream in a medium saucepan and stir to mix everything. Place the pan over medium heat and bring the cream to a simmer, so that bubbles appear all along the sides of the pan. Once it comes to a simmer, take the pan off the heat, cover it with a lid, and let it sit at room temperature for 30 minutes to infuse the cream with flavor.
- After 30 minutes, take off the lid and whisk the corn syrup and a pinch of salt into the cream. Return the pan to the heat and bring the cream to a simmer again.
- While the cream is heating, place the 10 oz chopped chocolate in a medium bowl. Once the cream simmers, pour the hot cream through a fine mesh strainer over the chopped chocolate, to strain out the rosemary and any stray raspberry chunks.
- Let the bowl sit for 1 minute so the hot cream can soften the chocolate, then gently whisk until the chocolate is melted and smooth. Add the butter, and whisk until it melts into the ganache. The ganache should be thick and shiny, like pudding.
- Spray an 8″ square pan with a light coating of nonstick spray, and line the inside with plastic wrap, pressing as many wrinkles out as possible, and extending the plastic wrap up the sides of the pan. Pour the ganache into the prepared pan and use a small spatula or knife to smooth it into an even layer. Refrigerate the pan for at least 2 hours to firm up the ganache.
- Once the ganache is set, remove it from the pan using the cling wrap as handles, and peel the cling wrap off the back. Use a large sharp knife to cut it into small 1-inch squares. If the cuts start looking sloppy, wash the knife in hot water and dry it off between cuts.
- If you have the time, set the squares on a baking sheet covered with parchment and let them sit at cool room temperature overnight to develop a slight “skin.” This will make it easy to dip them at room temperature. If you don’t have the time, you can dip them right away, but dipping cold truffles sometimes causes the outside chocolate coating to crack, so it’s preferable to form let the ganache set whenever possible.
- When you’re ready to dip the truffles, place the chocolate candy coating in a medium microwave-safe bowl, and microwave in 30-second increments, stirring after every 30 seconds, until melted and smooth. Let the coating cool down until it is warm and fluid but not hot to the touch.
- Make sure the chocolate texture sheet is clean and dry, and place it face-up on a baking sheet. Using dipping tools or a fork, dip a truffle square into the melted candy coating, submerging it completely. Bring it up out of the chocolate and let the excess drip back into the bowl, then gently scrape the bottom of the truffle against the lip of the bowl to remove excess chocolate.
- Flip the truffle upside-down onto the texture sheet, so that the top of the truffle is on the bottom and the dipping tools are on the top. Pull the dipping tool away from the truffle and leave it on the texture sheet to set completely. Repeat until all of the truffles are dipped and placed on the sheet. (If they won’t all fit, do them in batches.) Refrigerate the tray to set the coating completely, for about 20-30 minutes.
- Once the coating is very hard and shiny, peel the chocolates off the texture sheet. If desired, use a dry brush to lightly brush the tops with luster dust. For the best taste and texture, serve the truffles at room temperature.
Recipe Notes
Measuring Tips
Our recipes are developed using weight measurements, and we highly recommend using a kitchen scale for baking whenever possible. However, if you prefer to use cups, volume measurements are provided as well. PLEASE NOTE: the adage “8 oz = 1 cup” is NOT true when speaking about weight, so don’t be concerned if the measurements don’t fit this formula.
Want to learn more about baking measurements and conversion?






I love this flavor trio! Rosemary is so good in desserts. The wood pattern is too cute! 🙂
Thanks June! This is the second or third rosemary dessert I’ve made recently, and I’m kind of addicted! 🙂
These look awesome ♥ Nice presentation too ♥
summerdaisy.net
Thank you so much, Summer!
Whoa, this is amazing! I thought these were made in candy molds at first. So cool!
Thanks Martha! The benefit of using texture sheets instead of molds is that you can make any shape you want–they’re awesome!
These look so lovely I can’t deal! You’re so talented it’s unfair! 😉 xx
Haha, thank you so much, Consuelo!
Oh my goodness girl I am going to be on your blog for days!! These desserts look so yummy!! It was so nice meeting you this weekend at the conference, can’t wait to check out even more recipes!
Thank you so much, Jennie! I loved meeting you as well. <3
What is the shelf life on the Rosemary Raspberry Truffles
Where do you buy your boxes? Thanks so much!
I got them at my local cake supply store! Thanks for asking, hope that helps!
I’m planning to make these for a party. Can you tell me what is the best way to store these and how long do they last? I’m wondering how far ahead I can make them so that I’m not preparing everything at the last minute. Thank you!
Hi! Great idea! Planning ahead is the best way to go. These can be stored at cold room temperature for two weeks. If it’s really warm where you are, you can keep them in the fridge which will extend their shelf life for a week or two but you run the risk of getting condensation on the chocolate from the refrigerator. Best of luck, let me know if you have any other questions.
Am I missing what stage the butter goes in?
Hi Ashley, I’m sorry about that! It’s whisked in after the chocolate and cream are combined. The recipe has been updated to reflect this. Thank you!