
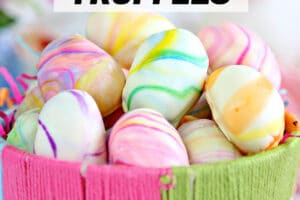


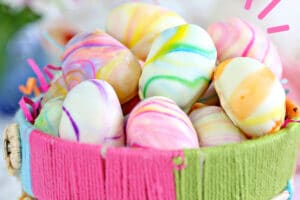
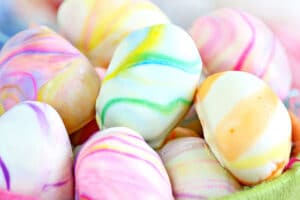
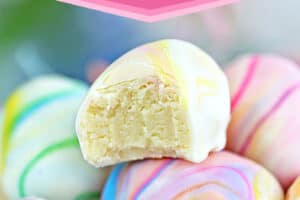


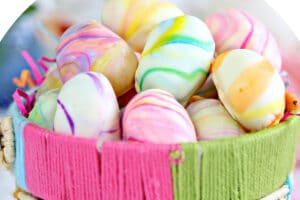
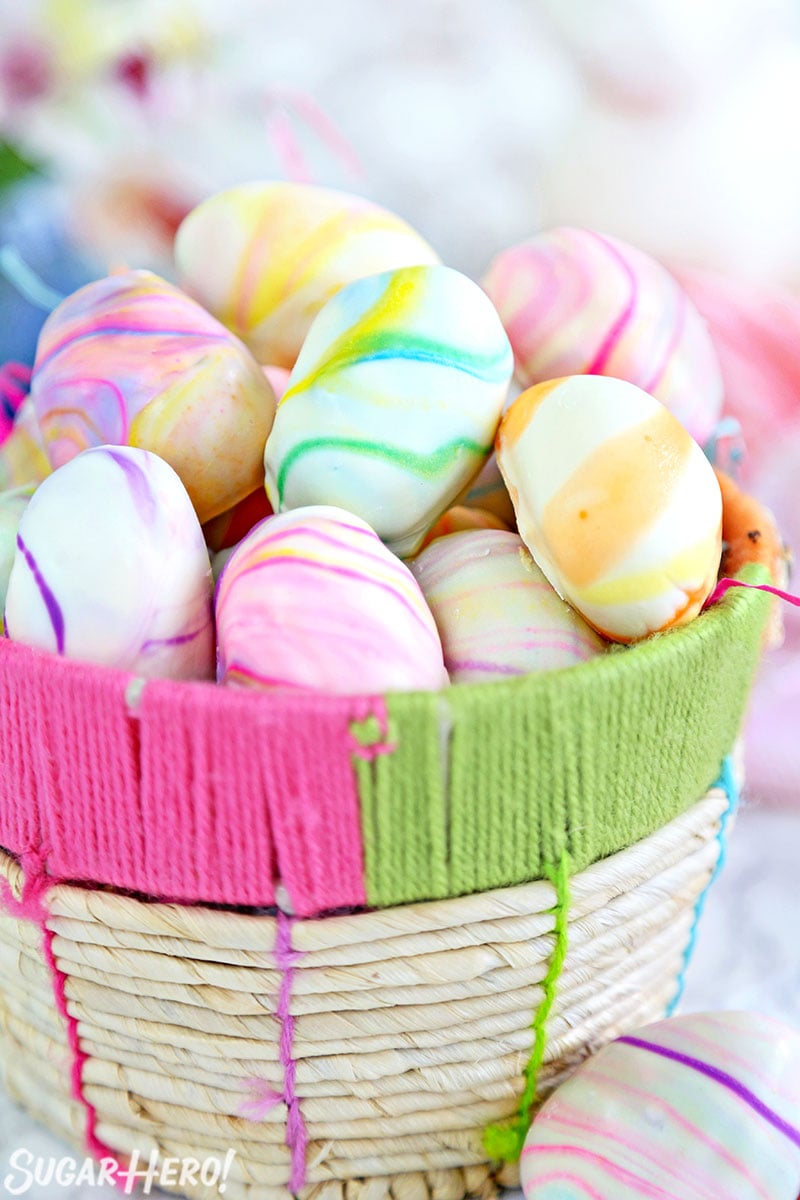
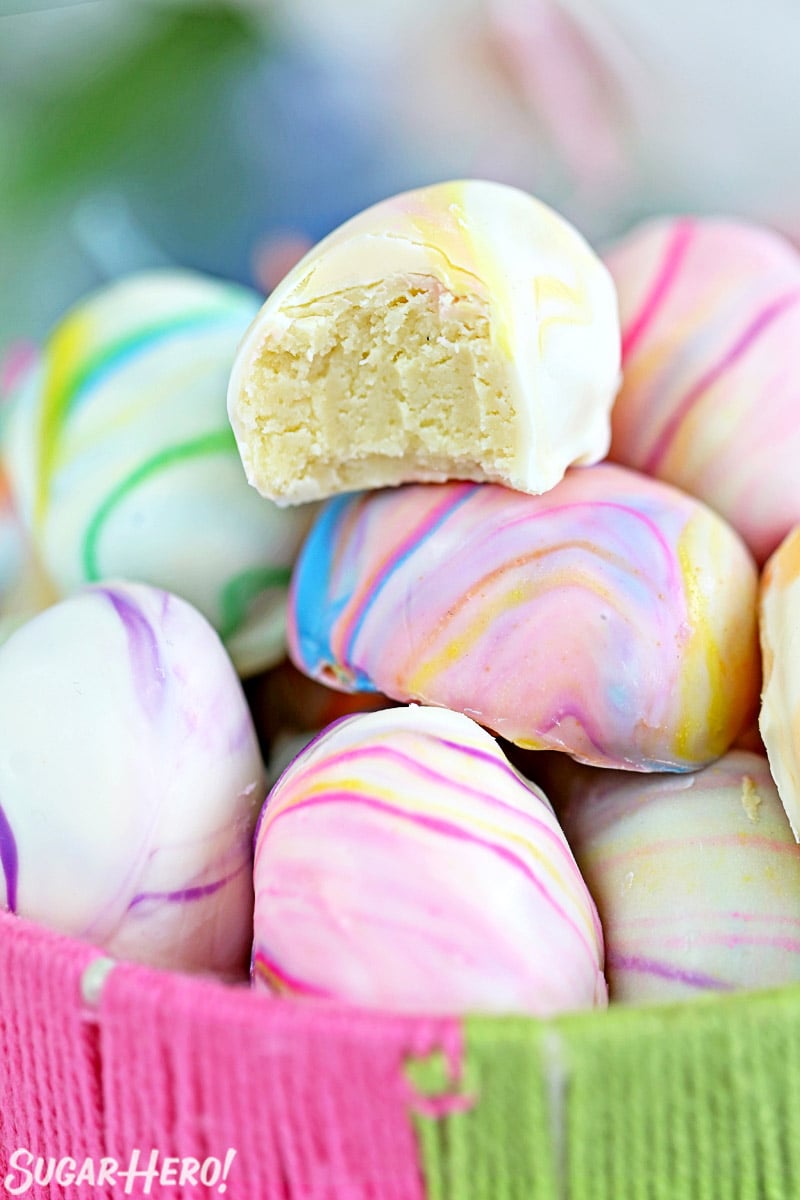
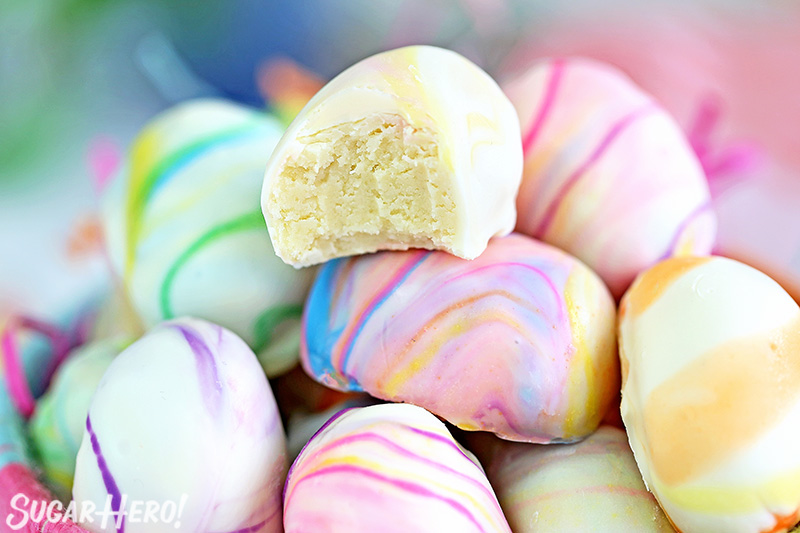
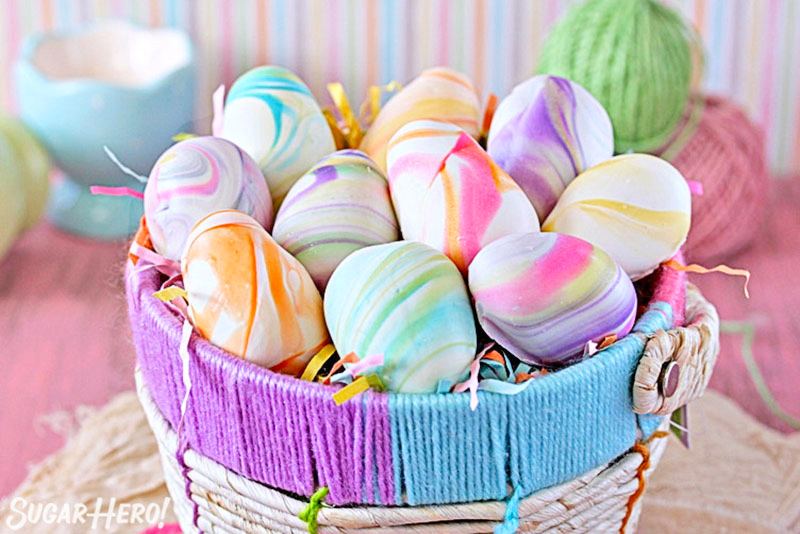
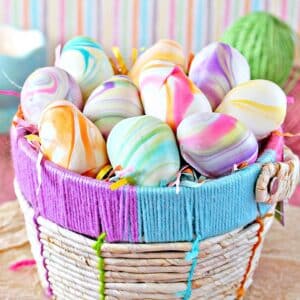
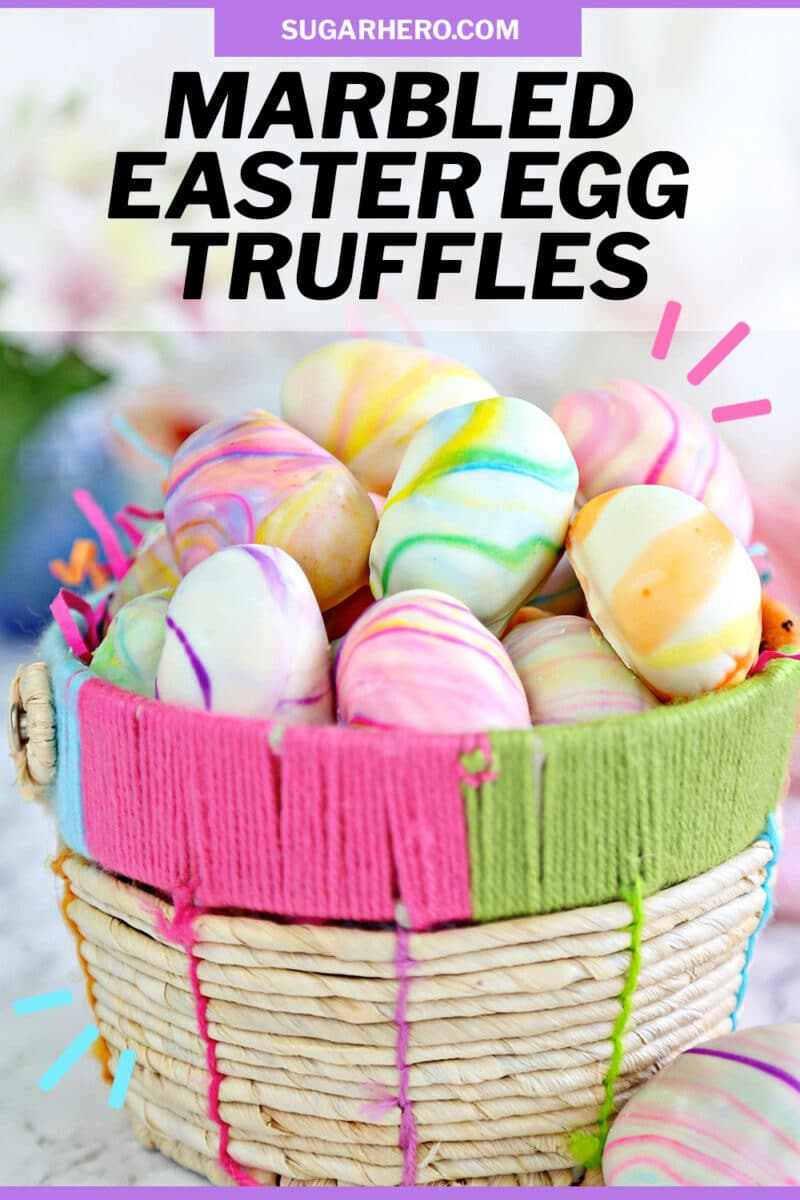
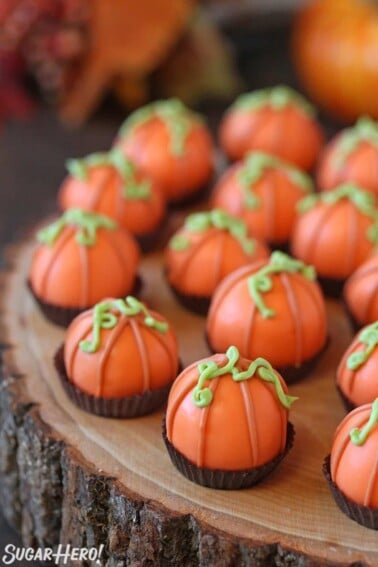
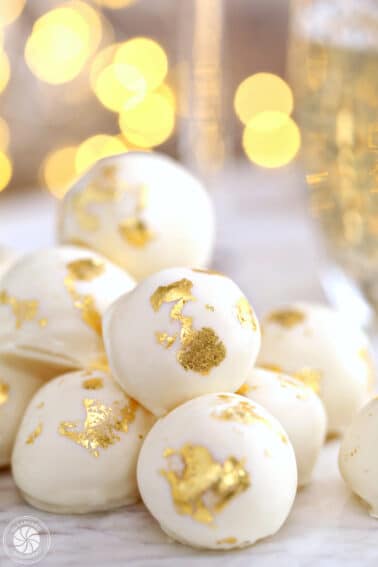
Marbled Easter Egg Truffles are a delicious homemade Easter egg candy! White chocolate truffles are coated with a marbled swirl of pastel colors to make these gorgeous, egg-shaped treats.
🍬 Homemade Easter Candy is the Best!
As a candyholic, it’s probably no surprise I’m obsessed with making my own homemade candy. Especially when it comes to Easter candy, I much prefer to go the DIY route and make my own Easter goodies. Homemade candy is superior in every way–fresher ingredients, fewer sketchy additives, and the ability to be customized in an infinite number of ways. Don’t believe me? Give my popular Peanut Butter Easter Eggs a try, and tell me they don’t kick the pants off their store-bought competition!
These white chocolate Easter Egg Truffles are the perfect example of homemade Easter candy done right. They start with a base of creamy white chocolate ganache–and no, it’s not caramelized this time around. We want a pure white base so that the decorations can pop against a blank canvas! The white chocolate filling is firm enough to roll and dip easily, but still smooth and supple when you eat it.
More Easter Recipes
If you’re looking for more gorgeous Easter recipes, checkout these delicious No-Bake Mini Cheesecakes, or adorable Easter Basket and Spring Chick cupcakes. Love chocolate? Try my ultra-fudgy Easter Brownies or Peanut Butter Eggs.
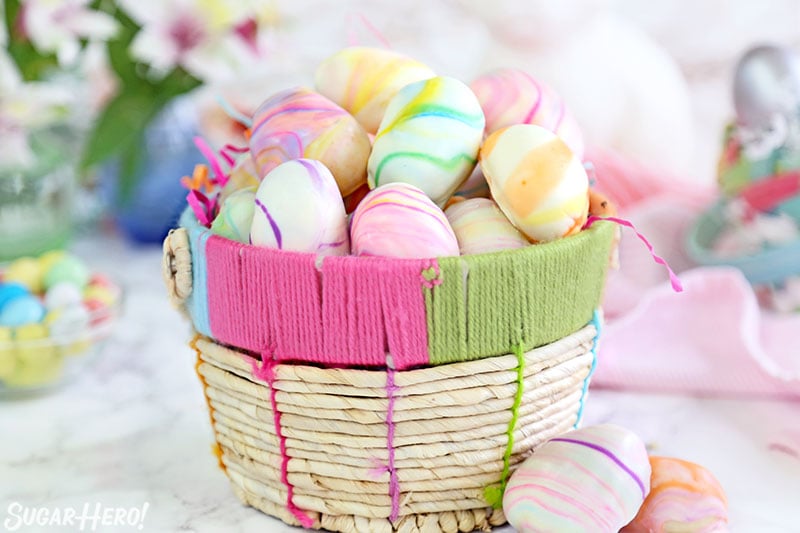
Table of Contents
🧾 What You’ll Need
Ingredients
Ready to get started? Check out these ingredient tips as you gather everything you’ll need. Full ingredient amounts in the recipe card below. (Links are affiliate links and I earn a small commission from qualifying purchases.)
- White chocolate: Not all white chocolate is created equal! The quality of the chocolate you use drastically impacts how your truffles will turn out. I recommend using high-quality white chocolate bars (like Lindt bars) or callets (like Callebaut) for the best results. Using “white chips” that are not real white chocolate might produce disappointing results. See the What is White Chocolate? explainer section below for more information and white chocolate recommendations.
- Vanilla: When I’m trying to keep these simple and classic, I’ll use vanilla bean paste or vanilla extract, but when I want to jazz them up a little, I’ll add a bit of lavender, lemon, or orange extract along with the vanilla. Anything light and springy will work wonderfully with the white chocolate.
- Heavy cream: Heavy cream or whipping cream will both work. I prefer heavy cream because of the higher fat content. More fat=more delicious!
- Butter: A bit of butter makes the truffle texture even smoother, creamier, and richer.
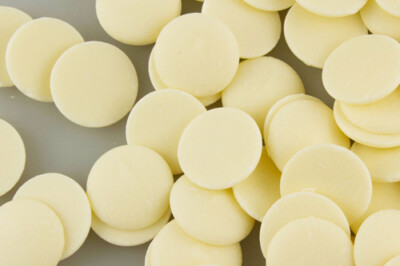
- White candy coating: This is what I use to coat the truffles. You could use more white chocolate, but a) that’s expensive, and b) it would need to be tempered in order to be stable at room temperature. I like the convenience of using easy-to-find white candy coating instead. Plus, using colored candy coating makes it easy to create the pastel swirls!
- Colored candy coating: You can pick a few colors, or use all the colors of the rainbow! I recommend at least 2-3 to give you a nice multi-colored swirl every time.
Equipment
You don’t need any specialty tools to make these white chocolate truffles, but you might find the rolling and dipping process easier with a few candy gadgets. (Links are affiliate links and I earn a small commission from qualifying purchases.)
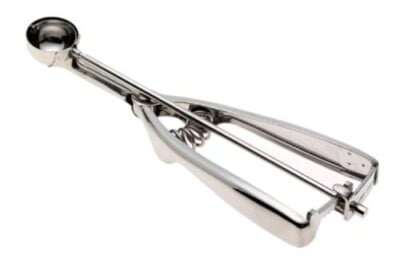
- Small candy scoop: Using a small scoop saves SO much time! You’re guaranteed to get round balls that are basically the same size, which is a lifesaver when doing lots of truffles. I use and like this 2 tsp scoop.
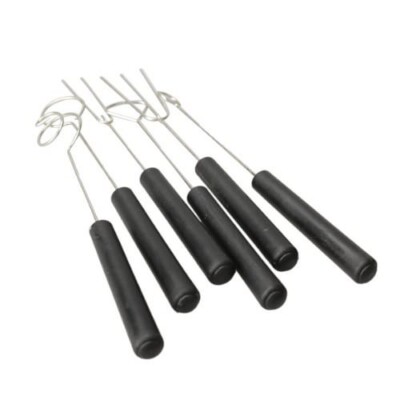
- Candy dipping tools: Sure, you can use a dinner fork to dip your truffles. But if you’re going to be dipping candy regularly, it’s worth it to invest in a good set of dipping tools. The thinner tines and specially-designed handles make it a breeze to get neat truffles every time.
- Small saucepan: Because the quantities of liquid in this recipe are so small, a small 1-quart saucepan is very helpful.
- Food processor: Using a food processor is optional, but if you have one, you’ll find it helpful. If you don’t have one, a whisk and bowl will do.
💡 White Chocolate Truffles FAQs
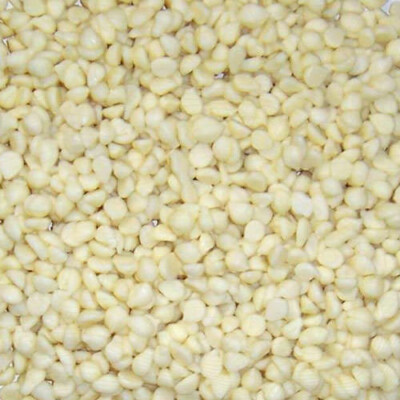
By definition, white chocolate must contain cocoa butter, the fat that comes from the cocoa pod. Cocoa butter is the secret sauce that gives all real chocolate its signature smooth, silky, melt-in-your-mouth texture. You might be surprised to learn that those white chocolate chips you buy at the store from Nestle or Ghirardelli aren’t white chocolate at all! If you look closely at the packaging, you’ll notice that many of them are called simply “white chips”, sans any mention of chocolate. White chips contain a different fat, usually palm kernel oil. They are designed to hold their shape when baking, and are typically much waxier and less flavorful than actual white chocolate. Because of these differences, the white chocolate you choose for this recipe has a big impact on the taste and texture of the truffles. I strongly recommend using real white chocolate–either chopped up white chocolate bars, or real white chocolate chips. If you do use “white chips,” the recipe will most likely work, but the ganache might be difficult to work with and you might be disappointed in the final flavor.
For real white chocolate bars, I recommend Lindt white chocolate. It’s widely available in stores, reasonably affordable (when compared to other white chocolates) and produces delicious white chocolate truffles. For real white chocolate chips, you will probably have to search online or in specialty stores. In my experience, it’s difficult to find real white chocolate chips in a standard grocery store. My favorite chips to use are Callebaut white chocolate chips, which I buy in bulk online.
I have also seen real white chocolate chips in Trader Joe’s stores around the holidays. They seem to be a seasonal item, and there is always the possibility that they will change the formulation in the future, but in my experience their white chocolate chips are, in fact, white chocolate, and they work well in candy recipes.
Since they contain cream and butter, these truffles do have a limited shelf life. I recommend storing them in an airtight container in the refrigerator for up to a week. Their taste and texture is much better when the truffles are at room temperature, so let them sit at room temp for at least 15-20 minutes before serving.
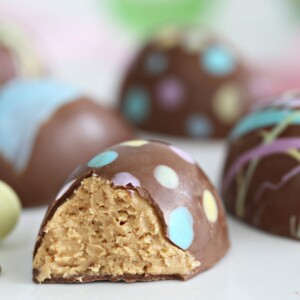
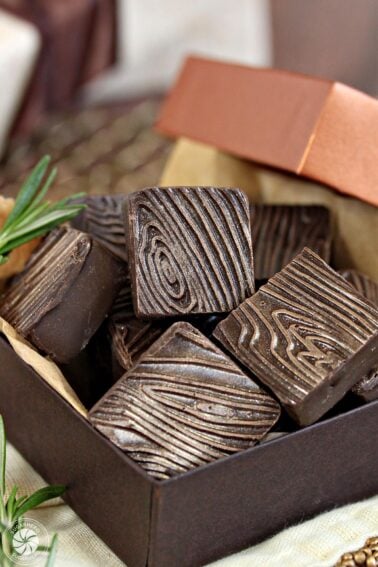
Peanut Butter Easter Eggs

Speckled Egg Cookies
Leave a Review!
If you make this recipe, let us know! Leave a ⭐️⭐️⭐️⭐️⭐️ rating on the recipe below, and leave a comment, take a photo and tag me on Instagram @elabau, or use #sugarhero on IG!
Marbled Easter Egg Truffles
Ingredients
- 12 oz white chocolate, melted
- 1/4 cup heavy cream
- 2 tbsp unsalted butter
- 1 tsp vanilla extract, or other flavor of your choice
- Powdered sugar
- 1 1/2 lbs white candy coating melts
- 2 oz each of different-color candy coating melts
Instructions
- Place the melted white chocolate in the bowl of a food processor.
- In a small saucepan combine the cream and butter; place the pan over medium heat. Bring the mixture to a simmer, stirring occasionally, but don’t allow it to boil.
- With the food processor running, carefully pour the hot cream mixture through the feed tube into the white chocolate. Process the mixture until smooth, stopping to scrape the sides of the bowl if necessary. If the oil starts to separate from the white chocolate, continue to process until it becomes smooth again and has the thick texture of cake batter. Add the vanilla extract and process briefly to mix it in.
- Scrape the white chocolate mixture into a bowl and chill in the refrigerator for 2 to 3 hours, or until very firm.
- Dust your hands with powdered sugar. Form the white chocolate into balls, then roll one end of each ball between your palms and pinch it gently to make an egg shape. Place the eggs on a baking sheet covered with parchment paper or waxed paper. Refrigerate the eggs while you prepare the candy coating.
- Melt the white candy coating in the microwave in 30-second increments, stirring after every 30 seconds to prevent overheating. Divide the white coating between 3 bowls–you will work with 1 bowl at a time, so keep 2 in reserve and just work with 1 initially.
- Place each color of candy coating disks in separate small bowls. Melt each color of candy coating.
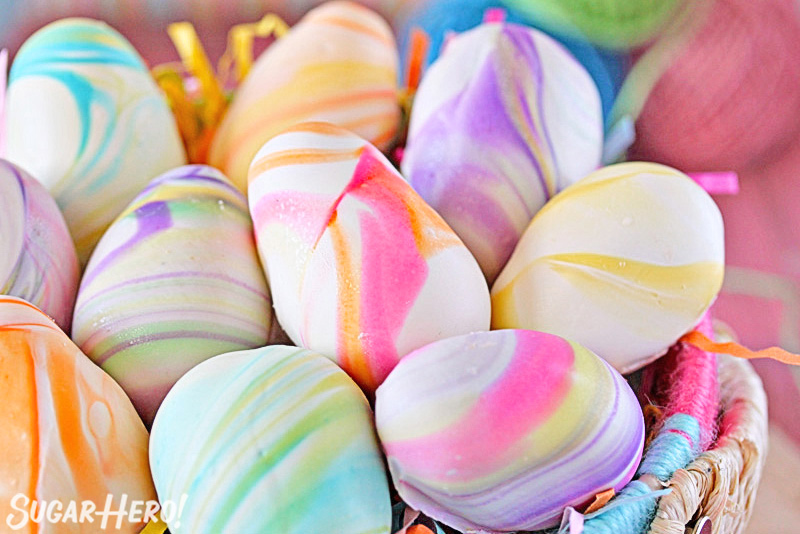
- Use a spoon to drizzle several different colors of candy coating on top of the first bowl of melted white coating. The colors will mix together as you dip the truffles, so try to choose colors that blend well and won’t immediately produce a muddy color. Don’t worry about swirling them together — the dipping process will handle that!
- Submerge a truffle completely in the coating. Use a fork or dipping tools to fish it out of the coating. As you bring it out of the bowl, swirl it around a little to make sure that the top is coated with a variety of colors. Place the truffle back on the baking sheet, and repeat with the next truffle.
- After dipping several truffles, the candy coating colors in the bowl will become indistinct, so at this point, drizzle more colored candy coating on top of the white coating to get vibrant swirls. Repeat until the coating in the bowl is too low for dipping or until the white coating is no longer white. Scrape the coating out of the bowl (it can be saved and used for another purpose) and use your reserved bowls of white coating just like you did the first. Repeat this process, using different colors, until all of your truffles are dipped.
- Refrigerate the tray to set the coating, about 15 minutes. For the best taste and texture, serve these truffles at room temperature.
Video

Measuring Tips
Our recipes are developed using weight measurements, and we highly recommend using a kitchen scale for baking whenever possible. However, if you prefer to use cups, volume measurements are provided as well. PLEASE NOTE: the adage “8 oz = 1 cup” is NOT true when speaking about weight, so don’t be concerned if the measurements don’t fit this formula.
Want to learn more about baking measurements and conversion?
Nutrition


Could I use regular chocolate instead of white chocolate? My granddaughter doesn’t like white chocolate. And would the outside coating cover the regular chocolate?
I can’t wait to try making these for Easter with my husband’s family! I am planning to display them in a wide, shallow Easter basket on top of candied lime peel “grass” using your recipe for candied peel in “The Sweet Book of Candy Making”. I love your cookbook and always have success following the recipes, so I know it’ll taste great! I just hope it turns out as pretty as I envision it.
How much vanilla? It doesn’t say a tsp or a tblsp.
1 tsp! Or more to taste. 🙂
Didn’t work at all. I followed the directions exactly. The chocolate seized and turned into a giant clumpy very oily blob. I kept processing and it didn’t improve at all. I now have it back on the stove trying to melt the chocolate back down but I’m pretty sure it’s ruined.
How cute are these. My kids are going to have so much fun making these.
Aren’t they fun!? I hope they love them!
Love all of your tips and tricks and I couldn’t agree more that quality white chocolate matters! These turned out so darling, cannot wait to gift them to family this weekend!
I’m so glad to hear that! Thank you for your comment Kathleen!
These are too good. Fantastic truffles that will be just perfect for the Easter this year!
Thanks Dionne!
Could these be any prettier!! I hope mine turn out this good, but I know my kids will enjoy making these! Thanks for sharing.
I’m sure they will turn out wonderfully! Thank you for your comment!
These little Truffles are so easy and cute too… I have made all of your truffles and they just keep getting better and better by the recipe. Thank you for always making desserts so fun and some very easy. I love them all. Happy Easter to you, and Thank you.
Happy Easter Donna! So glad you enjoyed this recipe. I really appreciate your kind words and the recipe review. All the best to you!
This will be my 3rd year making these White Chocolate Truffle Easter Eggs. They are my Favorite and that is all that counts here!!! My Family Loves them too and I do make Chocolate one’s as well and Put Sprinkles all over them. I Love all the recipes you send and I make some but some of them scare the heck out of me because they are so Beautiful. I don’t trust myself. Happy Easter to you and your Team.
Hi Donna! Happy Easter to you, too! Sounds like these truffles have become a family favorite at your house. I bet the chocolate ones with sprinkles are super cute, too. It makes us so happy to hear that you’re enjoying the blog and tapping into your creativity. Thanks for leaving a comment and review today. All the best to you!