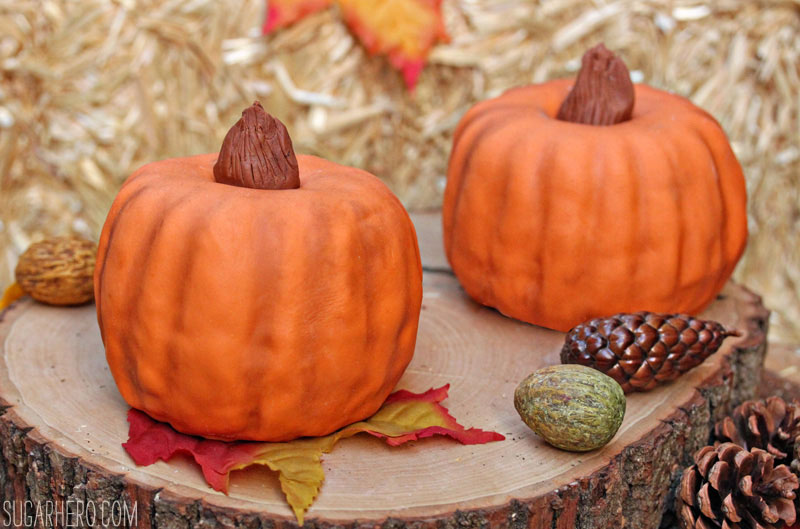
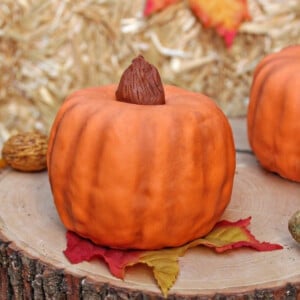
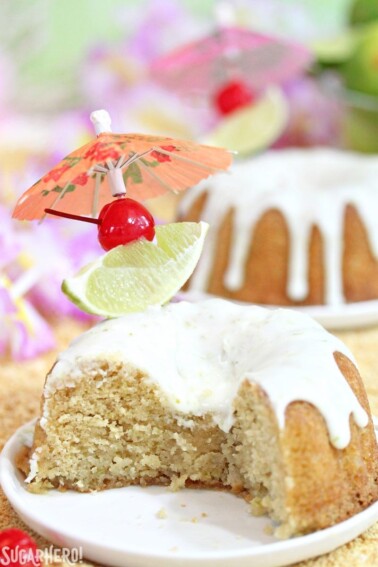
These cute Mini Pumpkin Bundt Cakes are made with a brown butter pumpkin cake batter, and are decorated with fondant to look like adorable mini pumpkins!

You know what I have zero interest in cooking? A pumpkin. Like a real, actual, grew-from-the-ground pumpkin. You can revoke my foodie card if you want, but I just can’t get excited about adding extra steps to my fall baking, what with the cutting and the roasting and the blending involved in making pumpkin puree to use as an ingredient. I admit I’m no stranger to making things needlessly complicated, but for some reason, this is where I draw the line. (Imagine me shaking my fist in a crotchety manner.)
You know what I have mega interesting in cooking? A bundt cake that looks just like a real, actual, grew-from-the-ground pumpkin! Thaaaaat’s the kind of extra work I can get behind! Baking and blending gourds? No, thank you. Frosting, stacking, and covering bundt cakes with fondant so they look like super-realistic pumpkins? Yes, please!
As a side note, you haven’t lived until you’ve set up a mini pumpkin patch scene in the outdoor communal area of your apartment building. If the neighbors didn’t already think I was insane, the sight of me scrambling around in the dirt taking pictures of cakes perched on hay bales probably convinced them.

These mini cakes start with a moist pumpkin cake made with brown butter instead of the traditional oil. The change is subtle, but the brown butter gives the cakes a deeper flavor that’s just a bit nutty. You can emphasize the savory character by adding some chopped walnuts or pecans to the batter, too! To make the pumpkin shapes, you can use any mini bundt molds that have the traditional “bundt” shape—none of those newfangled bundt roses or princess skirts or castles or whatever.
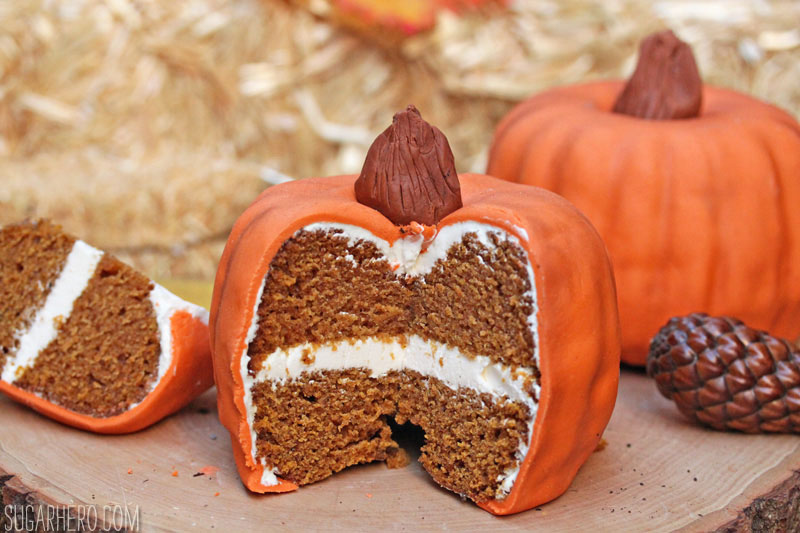
The cakes are frosted with a simple vanilla buttercream, although you can always get frisky and add some cinnamon to boost the fall flavor. After two bundts are stuck together to form a pumpkin shape and frosted on the outside, they’re covered with pumpkin-orange fondant. Ready to hear the real secret behind the accurate appearance of these pumpkins? I have two words for you: cocoa powder. Brush a liiiiittle bit of cocoa in the indentations of the pumpkin, and it gives them great dimension and realism! In case those heavily abbreviated instructions didn’t help, I have a little photo tutorial for you:

As adorable as these pumpkins are, and as much as they might appear to be wee little things from the pictures, they’re actually fairly substantial! Each pumpkin can probably serve two people, meaning you have the opportunity to slice into them and serve them in wedges, or just ceremoniously plop a pumpkin half on someone’s plate with a hearty “Bon appetit!” Is that a weird thing to do? Don’t ask me, I roll around in the dirt in front of my apartment building. I am not a good role model.

Anyhow. Friends. We have just a short time remaining before pumpkins are passe, so carpe that diem, seize that orange fondant, and make these already!
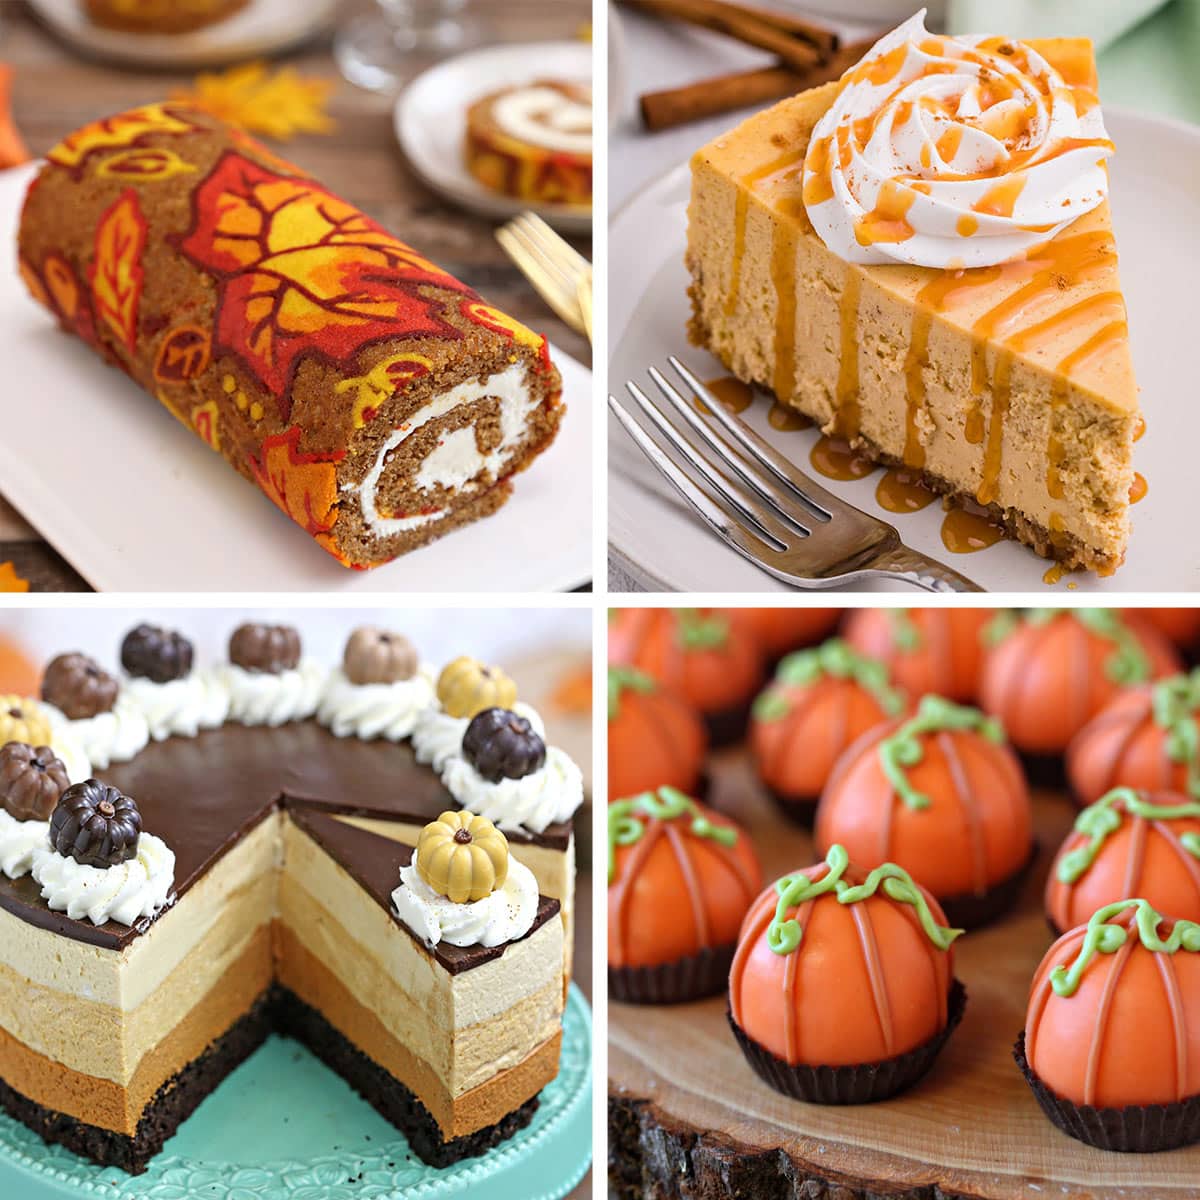
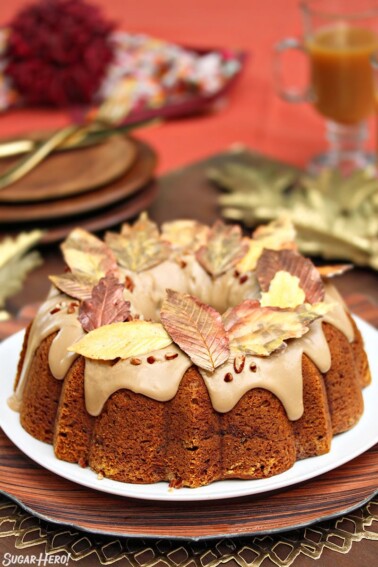
🧡MORE PUMPKIN DESSERTS🧡
If you love pumpkin as much as I do, check out my collection of pumpkin dessert recipes! Here are just a few of my favorites:
Pumpkin Marshmallows
Pumpkin Bread Truffles
Pumpkin Bundt Cakes
Ingredients
For the Brown Butter Pumpkin Cake:
- 10 oz unsalted butter
- 7.5 oz brown sugar, (1 cup)
- 10.5 oz granulated sugar, (1 1/2 cups)
- 3 large eggs
- 12.75 oz all-purpose flour, (3 cups)
- 2 tsp baking soda
- 1 tbsp pumpkin pie spice
- 1/2 tsp salt
- 15 oz pumpkin puree, (1 small can)
For the Frosting:
- 24 oz powdered sugar, (6 cups), sifted after measuring
- 8 oz unsalted butter, (1 cup, or 2 sticks), at room temperature
- 4 tbsp milk, more if necessary
- 2 tsp vanilla extract
- 1/4 tsp salt
To decorate:
- 1 lb fondant
- Assorted gel food coloring, I use Americolor gel food coloring. I used: orange, ivory, brown, red, yellow
- 2 tbsp chocolate chips
- unsweetened cocoa powder
- Yellow luster dust, optional
Instructions
To Make the Brown Butter Pumpkin Cake:
- Preheat the oven to 350 F. Spray a mini bundt pan with nonstick cooking spray, dust the inside lightly with flour, then turn it upside-down and knock out any additional flour.
- Cube the butter, and place it in a small saucepan over medium heat. Bring the butter to a low boil and allow it to cook, stirring occasionally, until it turns brown. You’ll notice a clearer layer on top and then brown bits at the bottom of the pan. This might take 5-10 minutes or so. Once the butter is brown, remove the pan from the heat and pour the butter into the large bowl of a stand mixer. Let the butter cool until it is warm but not hot.
- Add the sugars and mix the sugar and butter on medium-low speed until blended. Add the eggs one at a time, beating well after each addition. In a small bowl, whisk together the flour, baking soda, spice, and salt. With the mixer running on low, add a third of the flour, and once it is mostly incorporated, add half of the pumpkin puree. Continue to alternate adding the flour and pumpkin, and stop mixing when most of the flour streaks are gone. Finish mixing the batter with a spatula, scraping the bottom and sides of the bowl well.
- Pour the batter into the mini bundt cavities. Bake the cakes for 35-40 minutes, until the tops spring back when lightly pressed and a toothpick inserted into the center comes out clean.
- Let the cakes cool for 10 minutes at room temperature, then invert them onto a wire rack to cool completely. The cakes can be made several days in advance and kept, well-wrapped in plastic, until you’re ready to assemble them.
To Make the Frosting:
- Place all of the ingredients in the bowl of a large stand mixer fitted with a paddle attachment. Mix on low speed until the sugar is moistened. Scrape down the sides of the bowl, then beat again on medium speed until light and fluffy, 2-3 minutes. You can add more milk or sugar, if desired, to get the consistency you want.
To Assemble:
- Cut three small circles out of cardboard to fit underneath the pumpkin cakes. If the bundt cakes have large puffed tops, use a sharp serrated knife to cut off the tops so that they’re completely flat. Set three pumpkin cakes on the cardboard circles—these are your bottom layers.
- Spread a thick layer of frosting on top of one bottom cake layer, and press a second cake on top to form a pumpkin shape. Make sure you line up the ridges of the top and bottom cakes. Frost the outside of the pumpkin cake so it’s completely covered with buttercream. Run a spatula or your clean finger up the grooves in the pumpkin, removing excess buttercream so the texture shows through. Remove any excess buttercream from the hole on top of the pumpkin. Repeat with the remaining cakes, until you have three small pumpkins. Place the cakes on a baking sheet, and refrigerate for an hour so that the frosting firms up.
- While you wait for the cakes to chill, prepare your fondant. Dust your work surface with powdered sugar, and if you have food-safe plastic disposable gloves, now’s the time to wear them. Form your fondant into a disc, and add a quarter-sized squirt of orange gel food coloring. Fold the disc over on itself, so the food coloring is hidden inside, and start to knead it. You’ll gradually start to see streaks of color working their way to the outside of the fondant. Dust your work surface and hands as necessary to prevent sticking. Continue kneading and adding food coloring in this way, until you get a pumpkin color you like. I used mostly orange coloring, with a fair amount of ivory, and smaller amounts of red, yellow, and warm brown. Once the fondant is tinted, wrap it with plastic wrap until you’re ready to use it.
- To decorate the cakes, dust your work surface with powdered sugar. Place the cake on a sturdy can, cup, or some other surface that will elevate it off of the table—this makes it much easier to get a clean finish on the bottom. Take about a third of the fondant and roll it out into a circle than 1/4-inch thick. Drape the fondant over the cake. Try to smooth the fondant down, starting at the top, avoiding many wrinkles, if possible. (And if you do end up with wrinkles, try to get them all in the same place so that can be the back of the cake!) Trim any excess fondant from the bottom. Press down on top to create an indentation for the stem. Run your fingers along the ridges of the cake to press the fondant down into the creases. Repeat until all of the cakes are covered with fondant.
- Use a small food-safe paintbrush to lightly brush cocoa powder inside the indentations, to give the pumpkin a more realistic look. You can mix cocoa powder with powdered sugar to get a lighter shade, if your cocoa seems too dark. If you have yellow luster dust, apply a bit to the protruding ridges of the pumpkin, to add contrasting highlights. (This is definitely optional!)
- Finally, melt the chocolate chips in a small bowl in the microwave. Knead the remaining fondant and the melted chocolate together to turn your orange fondant into brown chocolate fondant. Divide it into thirds and form thick pumpkin stems. Press one stem into the top of each pumpkin, and make small cuts with a paring knife to give the stems texture. Your pumpkins are now ready to enjoy!
Recipe Notes
Measuring Tips
Our recipes are developed using weight measurements, and we highly recommend using a kitchen scale for baking whenever possible. However, if you prefer to use cups, volume measurements are provided as well. PLEASE NOTE: the adage “8 oz = 1 cup” is NOT true when speaking about weight, so don’t be concerned if the measurements don’t fit this formula.
Want to learn more about baking measurements and conversion?
Nutrition


Would you store these in the fridge? (because of the cream cheese…) The fondant I use doesn’t refrigerate well (Wilton) and I’m planning to make these for Thanksgiving. Any suggestions for filling/icing (other than American buttercream) that don’t need to be refrigerated?
The recipe says baking soda and your instructions say baking powder…which one is it?
Hi Abigail, It’s baking soda! Many apologies for the confusion, the recipe is updated now. Hope you enjoy!
OMG! Your receipts are amazing and just what I was looking for. I do have a question though, do you have anything on video, youtube or someway to watch how you make your masterpieces?
Hey Judy, I don’t have videos for every post but there is a video category you can go to, to see the ones I have! https://www.sugarhero.com/category/video-recipes/ I hope that helps! I am thrilled to hear you are enjoying the recipes so much! Thank you!
Very cute. Preppy kitchen guy made these to but used butter cream frosting. Still like tbem
I’m so happy to hear this! Thank you for your comment!