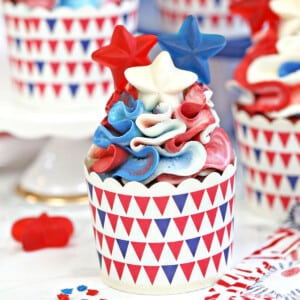
These Red, White and Blue Cupcakes are perfect for the Fourth of July! Moist red velvet cakes are topped with beautiful ruffles of red, white, and blue buttercream.

Happy almost-Fourth of July, folks! What better way to celebrate Independence Day than by gorging on red velvet cupcakes, topped with glorious ribbons of red, white, and blue buttercream?
*solemnly salutes cupcakes with misty eyes*
These cupcakes start with a typical red velvet cake batter—a little cocoa, a bit of buttermilk, and and a few squeezes of red food coloring, to make a moist and delicious cupcake with a slightly tangy flavor.
The REAL star of the show, though, is the red, white, and blue ruffled buttercream on top!

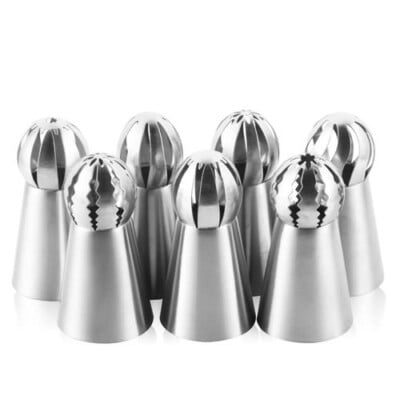
I bought a set of Russian Ball Piping Tips a few weeks ago, and have really enjoyed playing around with them. (They’re the funny-shaped cousins to the Russian Piping Tips I used to make the Spring in Bloom cake a few months ago.)
Whereas regular Russian tips make whole flowers with a single squeeze, these Russian ball tips make beautiful ruffled patterns on cakes and cupcakes in just seconds. I think the flower tips have more of a “wow” factor, but the ball tips are GREAT for quickly piping a ton of ruffles, beautifully and consistently. Plus they’re just dang fun to play with!

I also used the plastic wrap-in-piping-bag trick (last seen in the Hydrangea Cakes!) to create the red, white, and blue stripes for the ruffles. There are other ways to accomplish this multicolored frosting effect, but they tend to be messier and less precise. I am a plastic wrap CONVERT and will never go back to trying to stuff different colors of frosting into a piping bag with a spatula! I really recommend checking out the video above, because the process is much easier to understand visually. It’s fast, simple, and I love how the striped ruffles turned out.

Last note about the frosting: it is a buttercream, as opposed to a cream cheese frosting. Cream cheese is the traditional red velvet accompaniment, but it’s usually fairly soft and less stable at higher temperatures (ie, hot July days!) The Russian ball tips work better with a medium- or medium-stiff frosting, so I opted to skip the cream cheese and instead add a bit of cream cheese flavoring to regular buttercream. It’s not an exact substitute for the real thing, but the flavoring adds a nice tangy flavor without sacrificing the texture of the buttercream.

That’s all, folks! I hope those who are celebrating have a happy July 4th, and those who are not, have a great week full of cupcakes and ruffles. Cheers!
🤩More 4th of July Recipes
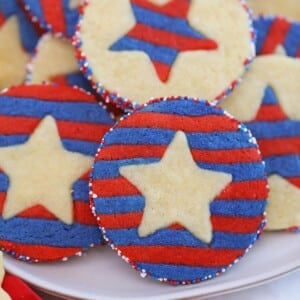
Stars and Stripes Sugar Cookies (Fourth of July Cookies)
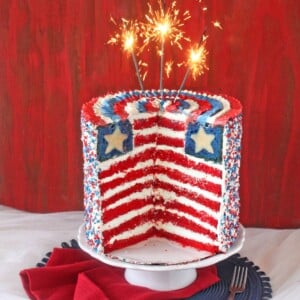
American Flag Layer Cake
Red, White and Blue Cupcakes
Ingredients
For the Red Velvet Cupcakes:
- 11.25 oz all-purpose flour, (2 1/2 cups)
- 10.5 oz granulated sugar, (1 1/2 cups)
- 1 tsp baking soda
- 1 tsp salt
- 2 tbsp unsweetened cocoa powder
- 8 fl oz vegetable oil, (1 cup)
- 12 fl oz buttermilk, (1 1/2 cups)
- 2 large eggs
- 2 tbsp red gel food coloring
- 1 tsp white vinegar
- 2 tsp vanilla extract
For the Buttercream:
- 4 fl oz pasteurized liquid egg whites, (1/2 cup)
- 16 oz powdered sugar, (4 cups)
- ¼ tsp salt
- 16 oz unsalted butter, at room temperature
- 2 tbsp vanilla extract
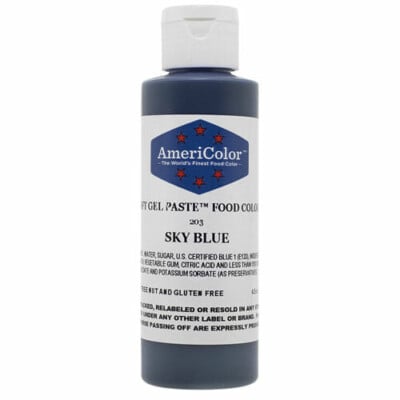
- red gel food coloring, I like Americolor brand gel food coloring
- blue gel food coloring
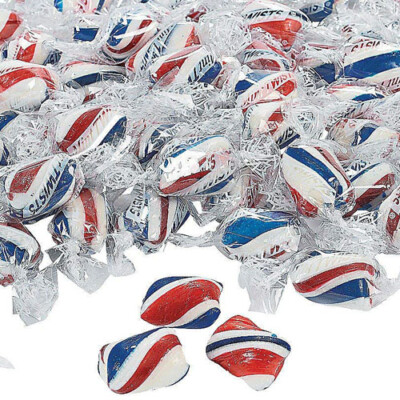
- Candies for the top of the cupcakes, optional but cute!
- Russian Ball Pastry Tip, or other piping tip of your choice!
Instructions
To Make the Red Velvet Cupcakes:
- Preheat the oven to 350 F. Line cupcake pans with 24 paper liners.
- In a large bowl, sift together the flour, sugar, baking soda, salt, and cocoa powder.
- In the bowl of a large stand mixer fitted with a paddle attachment, combine the vegetable oil, buttermilk, eggs, red gel food coloring, vinegar, and vanilla extract. Mix on medium-low speed until well-combined.
- Add the dry ingredients and mix on low speed until combined. Scrape down the bottom and sides of the pan with a spatula, then mix on medium speed until the cake batter is smooth and all the lumps of flour have disappeared.
- Divide the cake batter between the cupcake cups. Bake the cake at 350 F for 20-25 minutes, until they spring back when lightly pressed with your fingertips. Cool completely before frosting.
To Make the Buttercream and Decorate:
- Combine the whites, powdered sugar, and salt in the bowl of a large stand mixer fitted with a paddle attachment. Mix everything together on low speed, until the sugar is moistened and no dry patches remain. Turn off the mixer, scrape down the sides and bottom of the bowl with a spatula, then turn the mixer to medium speed. Beat on medium for 5 minutes.
- After 5 minutes, turn the mixer to medium-low and start adding the softened room temperature butter, 1-2 tablespoons at a time. Once all of the butter is incorporated, add the vanilla extract and mix it in. Stop the mixer and scrape down the bottom and sides once more. Turn the speed to medium and beat the buttercream for 10 minutes. At the end, you’ll have a frosting with a wonderfully light and creamy texture. It can be used right away, or stored in the refrigerator for up to two weeks, or the freezer for up to two months. If you have chilled the frosting, let it come to room temperature and then beat it for several minutes to smooth it out and restore its texture before using it.
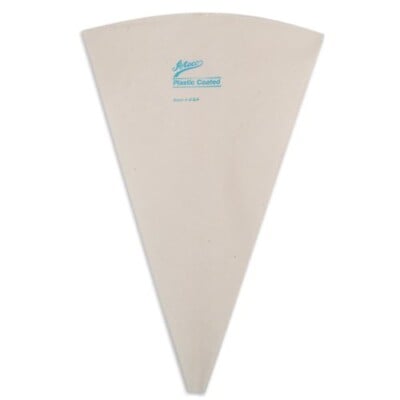
- Divide the frosting into three portions: one should be about twice the size of the other two. Leave the largest portion white, and color one of the smaller portions bright red, and the other small portion blue. Put each color into a disposable piping bag, and snip off the tip so you have a ½-inch opening. Fit a larger piping bag with a Russian Ball Tip and set aside for a moment.
- Spread out a piece of plastic wrap about 16 inches long. Pipe two long lines of white frosting next to each other, at least 8-10 inches long. Pipe a line of red frosting next to that, then two more lines of white, then a line of blue. Repeat this whole pattern one more, so that you have a rectangle of frosting lines on the plastic wrap. (Refer to the video if this is unclear.) Roll the frosting over itself to make a cylinder. Grasp the ends of the plastic wrap in each hand, and twirl it quickly so the frosting is burrito-shaped and the ends of the plastic are tightly twisted. Snip off one of the plastic wrap “tails” and insert the frosting cylinder into the piping bag, snipped-side down.
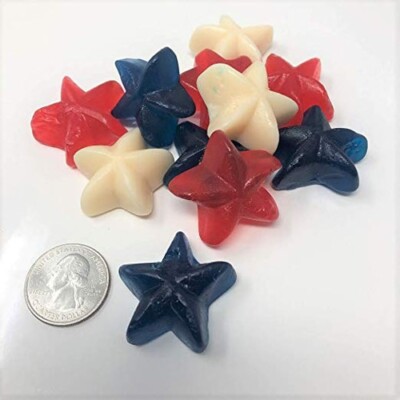
- Hold the piping bag perpendicular right on top of a cupcake, and start squeezing firmly. Once the frosting has come out and almost covered the top of the cupcake, start twisting the bag gently while you squeeze and pull up—this forms the ruffle design. Once at the top, stop squeezing and pull the tip away. You’ll be left with a hole in the middle of the ruffles, so I suggest filling it with candy! I used gummy stars, but gumballs or rock candy would also look cute.
- Repeat with the remaining cupcakes, making and filling a second striped piping bag when necessary. Serve and enjoy!
Video

Recipe Notes
Measuring Tips
Our recipes are developed using weight measurements, and we highly recommend using a kitchen scale for baking whenever possible. However, if you prefer to use cups, volume measurements are provided as well. PLEASE NOTE: the adage “8 oz = 1 cup” is NOT true when speaking about weight, so don’t be concerned if the measurements don’t fit this formula.
Want to learn more about baking measurements and conversion?


The frosting on these cupcakes is awesome! Happy fourth!
Thank you!! Happy late fourth to you as well! 🙂
Happy late fourth to you too! Thank you!
So festive! Your ruffles turned out beautifully!
Thank you so much! They were definitely fun to make!
Thank you so much!
About how many drops of each color do you use? I have a hard time with red frosting. I love the saran wrap trick. It was one of the best tricks I ever stumbled upon online! I’m never going back either 🙂
I use Americolor Gel Food Coloring which is very intense. I start with 1/2 tsp of coloring and adjust as needed. If you use a different brand, you may have to add significantly more. Yay! Glad the saran wrap trick worked for you.
Super cute cupcakes as well as your other creations you post(awesome watermelon cake!) I’m fairly new with the Russian ball tips, is there another type of frosting that will work well that does not include raw egg whites? Also where did you get those cute star candies/ gummies for the topping? Thanks so much!
Hey Gina, Thank you so much! I am happy to hear you are enjoying my site! I think I got them at a local store but I found some on amazon that look like they will work perfectly. https://amzn.to/2Fb9x2A I totally understand your reservations about the egg whites I just wanted to let you know since this recipe calls for pasteurized egg whites they are completely safe to eat, they have already been heat treated to kill bacteria which is why the recipe calls specifically for pasteurized eggs whites. That being said you can definitely use a regular Swiss Meringue I can share the one I prefer right here. https://www.sugarhero.com/swiss-meringue-buttercream-recipe/