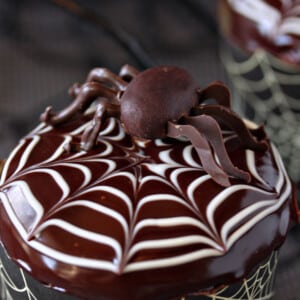
These Spiderweb Cupcakes are a cute and easy Halloween dessert! The spiderwebs are made from white chocolate and chocolate ganache, so they’re as delicious as they are beautiful. Add a cute chocolate spider on top for the perfect finishing touch!
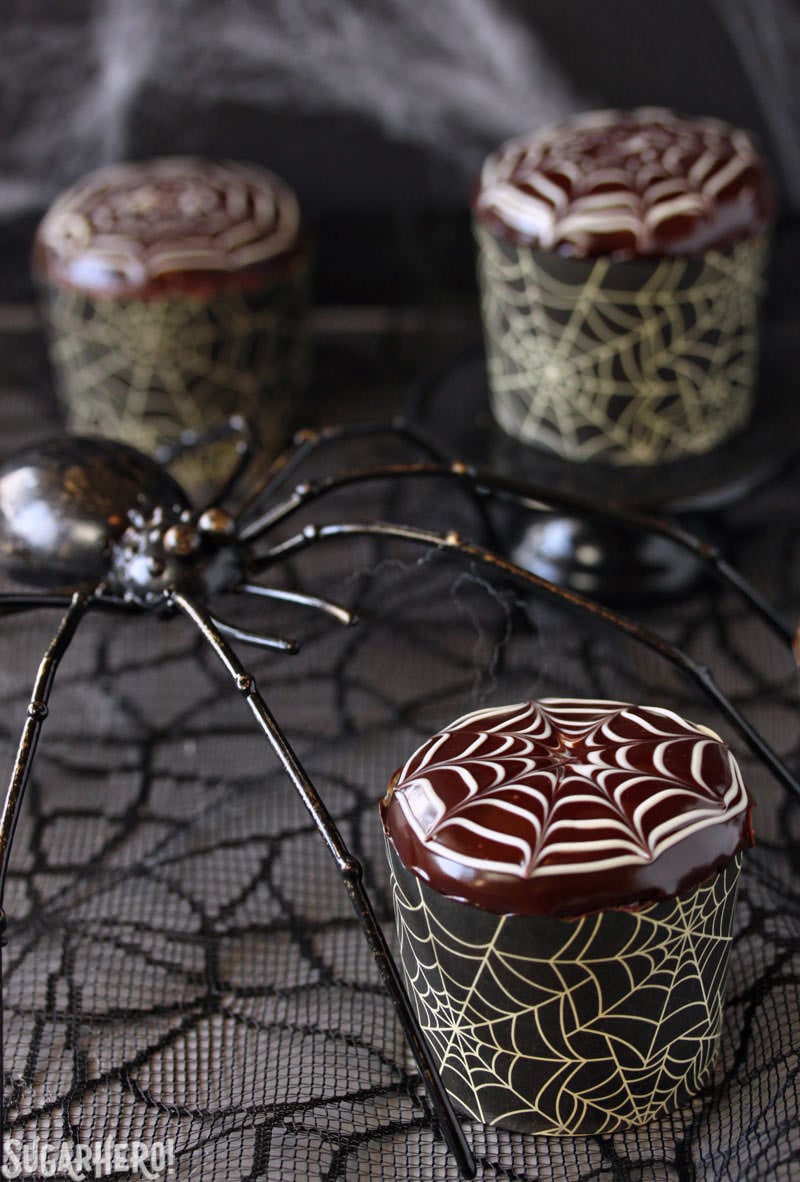
I wasn’t always the biggest Halloween enthusiast (although I always did like the candy…) but since becoming a parent, I’ve gotten into it in a weird way. I think it’s because I now have a small person I can force into whatever cheesy costume I can dream up. Last year we went as The Lion, the Witch, and the Wardrobe, and this year we have an even more opaque (but still fun!) family theme. It’s still in progress, but if it all works out the way I hope, I’ll post pictures next week.
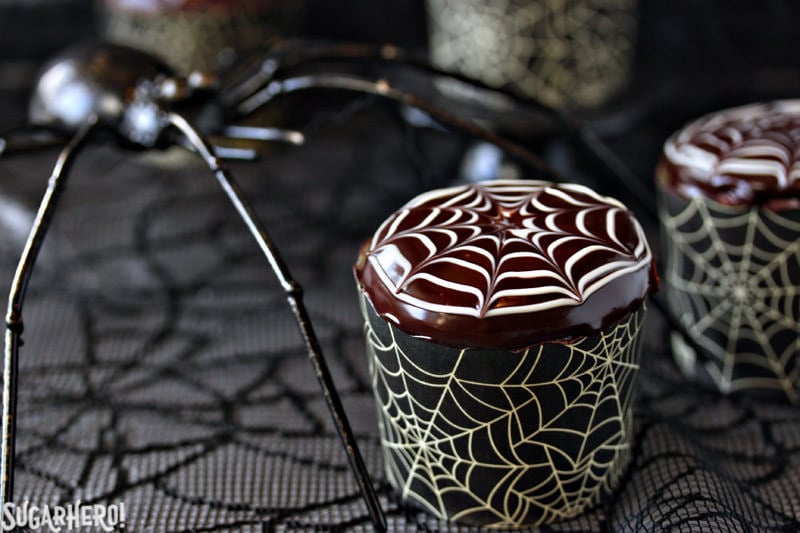
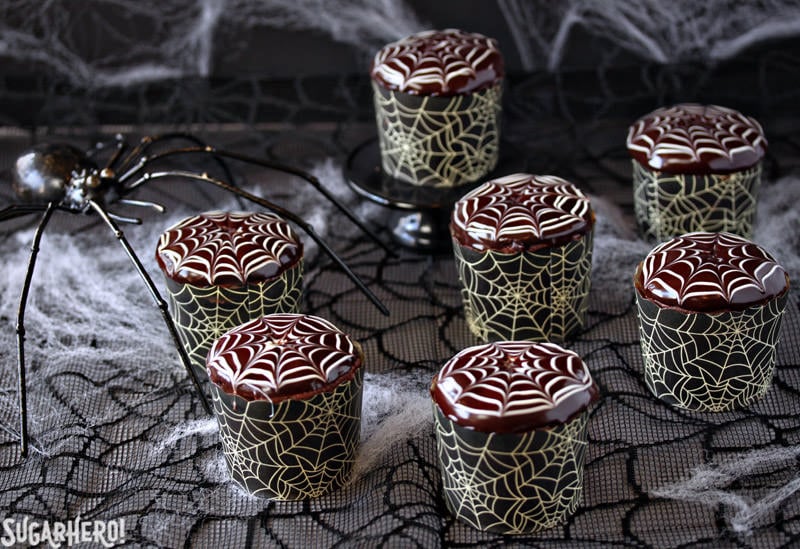
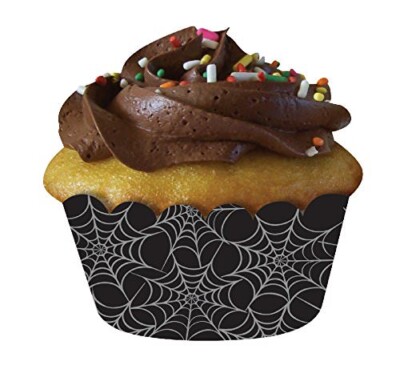
In addition to planning costumes like a crazy pageant mom, I’m now that person snatching up all the Halloween knick-knacks and decorations and themed cupcake liners and other nonsense. Who am I? I don’t even know. All I know is that my newfound obsession with Halloween led me to create these spiderweb cupcakes, and for that, I am not sorry.
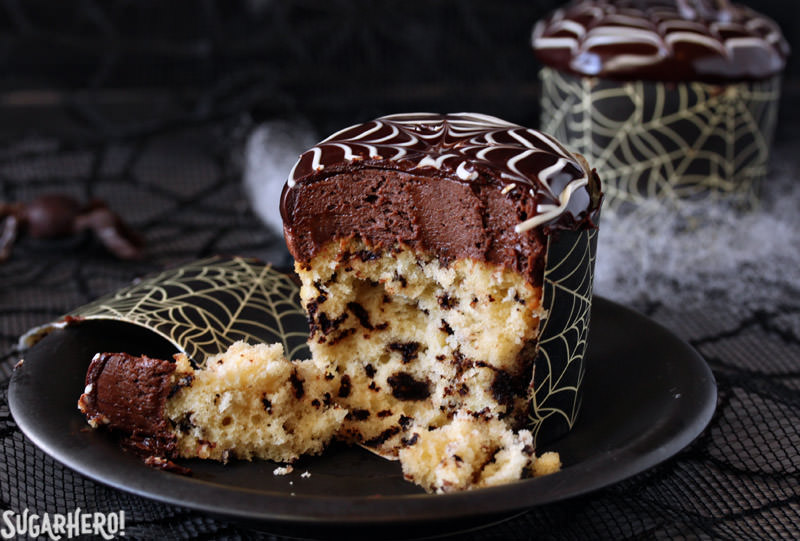
To make them appropriately spooky, I added a handful of chocolate sprinkles to my vanilla cupcake batter, which gives them either a delightfully speckled appearance or a crushed-bugs-in-the-batter appearance, depending on whether you’re a glass half-full or half-empty sort of person. They’re topped with chocolate buttercream, and then a decorative spiderweb pattern made of chocolate ganache and melted white chocolate.
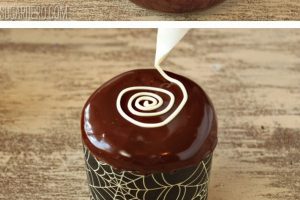
You’ve probably seen the spiderweb trick before, but in case you haven’t, here’s an easy collage showing how it’s done. It is super simple and almost impossible to mess up, as long as you drag the toothpick through the chocolate while it’s still wet.

I finished off my spiderweb cupcakes with—what else?—chocolate spiders! These are made from chocolate plastic, an ingenious product with a terrible name. It’s made from only 2 ingredients, chocolate and corn syrup, but has an almost fondant-like texture and is good for sculpting things and covering cakes. I formed the bodies out of chocolate plastic, then made little legs from chocolate candy coating. They were the perfect touch to my spooky sweets.
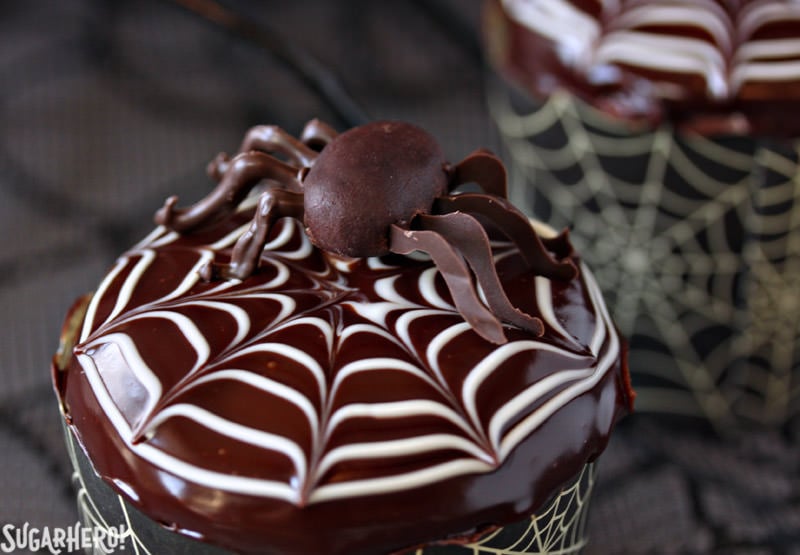
“But how do I make these chocolate spiders?” you might wonder. Never fear, additional photo tutorial to the rescue! These are also pretty easy, but they do take more time, what with the 8 legs per spider and all. Just make sure the legs are well-chilled, so they stay solid, and give yourself some time for assembly, and you’ll be set.

I demonstrated how to make these tasty cupcakes LIVE through Facebook Live! If you’d like to watch it click here!
More Halloween Recipes You’ll Love 🧡
- Red Velvet Hot Chocolate
- Spiderweb Naked Red Velvet Cake
- Bloody Truffles
- Donut Hole Eyeballs
- Breaking Bad Candy Recipe
- Candy Bar Cheesecake
Breaking Bad Blue Rock Candy
Slice and Bake Halloween Cookies
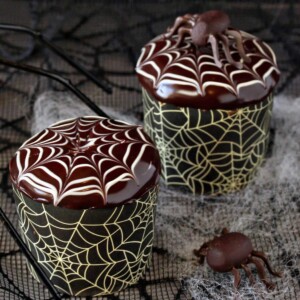
Spiderweb Cupcakes and Chocolate Spiders
Ingredients
For the Cupcakes:
- 1 1/2 cups all-purpose flour
- 1/2 tsp baking powder
- 1/4 tsp baking soda
- 1/4 tsp salt
- 6 oz unsalted butter, at room temperature
- 1 cup granulated sugar
- 3 large eggs, at room temperature
- 2 tsp vanilla extract
- 1/2 cup buttermilk, at room temperature
- 1/2 cup chocolate sprinkles
For the Chocolate Buttercream:
- 8 oz semi-sweet or bittersweet chocolate, finely chopped
- 8 oz unsalted butter, at room temperature
- 1 1/2 lbs powdered sugar, (6 cups)
- 1/4 cup unsweetened cocoa powder
- 1/3 cup milk
- 2 tsp vanilla extract
- 1/4 tsp salt
For the Chocolate Ganache:
- 4 oz semi-sweet chocolate, finely chopped
- 3/4 cup heavy cream
Instructions
To Make the Cupcakes:
- Preheat oven to 350 F. Combine the flour, baking powder, baking soda, and salt in a small bowl, and whisk them together. Set aside for a moment.
- Place the butter and sugar in the bowl of a stand mixer fitted with a paddle attachment. Beat on medium speed until light and fluffy, about 3 minutes. Add the eggs one at a time, beating well after each addition, then add the vanilla extract.
- Turn the mixer speed to low and add about a third of the dry ingredients. Once the dry ingredients are incorporated, add half of the buttermilk and mix it in. Add half the remaining drys, then the rest of the buttermilk, and finish with the remaining dry ingredients. Stop the mixer when just a few streaks of flour remain. Finish mixing by hand with a rubber spatula, scraping the bottom and sides of the mixing bowl well. Add the chocolate sprinkles and stir them in.
- Scoop the batter into cupcake liners—you will get about 12 cupcakes if you use large bake cups, and closer to 16 if you use traditional liners. Bake for 20-23 minutes at 350 F, until the tops spring back lightly when touched. Cool completely.
To Make the Chocolate Buttercream:
- Place the chocolate in a microwave-safe bowl, and microwave in 30-second increments, stirring every 30 seconds until melted and smooth. Set aside to cool until the chocolate is at room temperature.
- Put the butter, powdered sugar, cocoa powder, milk, vanilla extract, and salt in the bowl of a stand mixer fitted with a paddle attachment. Beat the mixture on low speed until the dry ingredients are incorporated. Raise the speed to medium and beat for about 2 minutes, until light and fluffy. Add the melted room temperature chocolate, and beat until incorporated. If the frosting is very stiff, add small amounts of milk until it is the consistency you want.
- Chocolate Buttercream can be made in advance and stored in the refrigerator for up to a week. If you have made it in advance, let it come to room temperature and re-beat until light and fluffy before using.
To Make the Chocolate Ganache:
- Place the finely chopped chocolate in a small bowl. Pour the heavy cream into a small saucepan and place the pan over medium heat. Heat the cream until it simmers and small bubbles appear along the sides—but do not let it boil.
- Pour the hot cream over the chopped chocolate and let it sit and soften the chocolate for 1 minute. After a minute, whisk everything together until the chocolate is melted and your mixture is smooth and shiny. Use immediately, while still warm and fluid. If it gets too cool and thick, heat it in short bursts in the microwave and whisk well, until it is once again fluid.
To Decorate:
- Pipe a generous swirl of chocolate buttercream on top of each cupcake. Use a knife or offset spatula to smooth the top down so that it is a flat surface.
- Melt 1/4 cup of white chocolate chips, and place them in a paper cone or zip-top plastic bag with a small hole snipped in the corner. Hold a cupcake at the bottom, and dip the top into the warm ganache so that the buttercream is entirely covered. While the ganache is still wet, draw a spiral with the white chocolate on top of the cupcake, starting in the center and moving to the outer edge.
- Take a toothpick and drag it from the middle to the outer edge of the cupcake, creating a wavy line in the white chocolate. Repeat this step until you have a spiderweb-like pattern on top of your cupcake. Dip and decorate the rest of the cupcakes in a similar manner. Top with a chocolate spider.
- Refrigerate the cupcakes briefly to set the ganache. For the best taste and texture, serve them at room temperature.
Recipe Notes
Measuring Tips
Our recipes are developed using weight measurements, and we highly recommend using a kitchen scale for baking whenever possible. However, if you prefer to use cups, volume measurements are provided as well. PLEASE NOTE: the adage “8 oz = 1 cup” is NOT true when speaking about weight, so don’t be concerned if the measurements don’t fit this formula.
Want to learn more about baking measurements and conversion?
Nutrition
Chocolate Spiders
Ingredients
- 2 oz semi-sweet chocolate, (about ⅓ cup finely chopped)
- 1½ tbsp light corn syrup
- 4 oz chocolate candy coating melts
Instructions
- Place the chocolate in a small microwave-safe bowl and microwave in 30-second increments, stirring every 30 seconds until melted and smooth. Add the corn syrup and mix it in—the mixture will become thicker. Scrape it out onto a piece of cling wrap and wrap it well. Let sit overnight, until firm.Knead the chocolate to soften it and smooth it out. Pinch off walnut-size pieces and roll them into ovals between your palms. Use a toothpick to poke four holes in each of the long sides, where the legs will go. Work the toothpick up and down a little, to create a large hole—you will need some wiggle room!Melt the candy coating in the microwave, and pour some of it into a paper cone or zip-top plastic bag with a tiny hole cut in the corner. Line a baking sheet with waxed paper or parchment, and pipe out lots of small spider legs. Use your spider bodies as a guide to help you know how large to make them. They need to be sturdy enough to support the body, so go over the legs once or twice until they’re a good thickness. Make more than you need, because some will inevitably break during assembly! Once your legs are piped, refrigerate the tray to set the legs.To assemble the spiders, dip the tip of a leg in melted candy coating, then gently insert it into one of the holes in the body. Repeat until the spider has 8 legs. I found it was easiest to do one side, then flip the body upside down and insert the legs on the other side, and let the spider dry upside down. If the legs start breaking or melting, refrigerate them until they are firm again. Once the chocolate has set, your spiders are ready to be used!
Measuring Tips
Our recipes are developed using weight measurements, and we highly recommend using a kitchen scale for baking whenever possible. However, if you prefer to use cups, volume measurements are provided as well. PLEASE NOTE: the adage “8 oz = 1 cup” is NOT true when speaking about weight, so don’t be concerned if the measurements don’t fit this formula.
Want to learn more about baking measurements and conversion?






Love these little tutorial graphics–smart lady!
P.S. I think you should reprise your guys’ 30 Rock costumes and turn Asher into a mini little Tracy Jordan. Red leather jacket and a big gold chain and a pet alligator and that boy is good to go! Think on it, gurl.
That would be awesome! I really want his first full sentence to be “live every week like it’s shark week.” On the other hand, he would also make an amazing Jack Donaghy…so many decisions…
Oh, you’re right. He does have an exquisite head of hair.
Excuse me, head suit. He has an exquisite head suit.
very intricate design! the inside of the cupcake looks delish!
Thanks Dina! Adding chocolate sprinkles is so simple, but made them super fun and Halloweenie. (Yes, that’s totally a word.)
the cupcakes look amazing! You’re so talented!
Thank you, Rachel, much appreciated!
These are adorable! And I love that you made the spiders edible. There’s something weirdly satisfying about eating a chocolate spider.
Right? It’s like, “take that, gross thing, I’mma eat you up!”
My family didn’t celebrate Halloween growing up, but somehow over the years, I’ve gotten really into it!! And I’m really digging your cupcakes, esp those cute spiders!!
What’s NOT to love about a holiday that glorifies candy?! It’s amazing it took me this long to get into it. 🙂
Really cool looking.
Hello,
where did you get the cupcake liners? They look taller than what you can buy at the store.
Hi Bethany,
It’s been a few years, but I believe I got them at Cost Plus World Market! And yes, they’re taller than normal liners for sure. If you can’t find them you can use regular liners and you’ll probably just get a larger yield from the recipe.
Awesome and creative work
Thank you so much 🙂
Thank you!!
HOW CUTE! For the cupcake batter, it says 6oz of butter. Would it be best to use salted or unsalted butter here? Thanks! Chris