


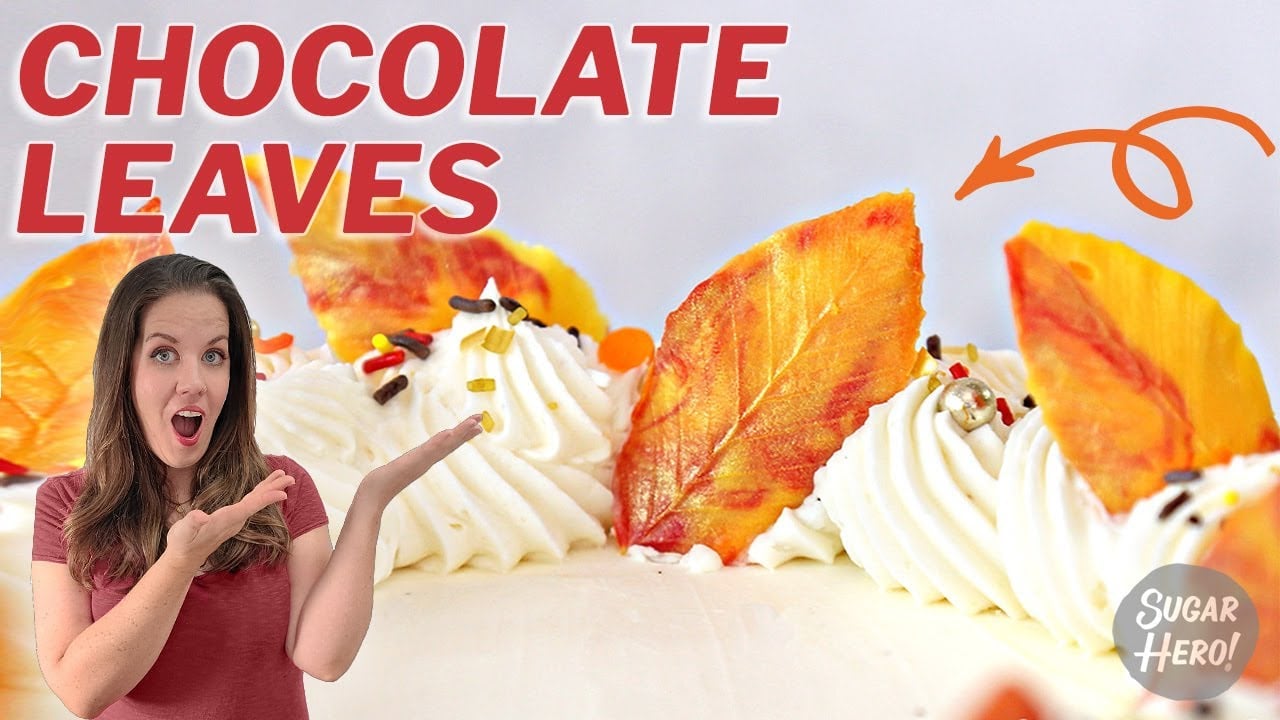
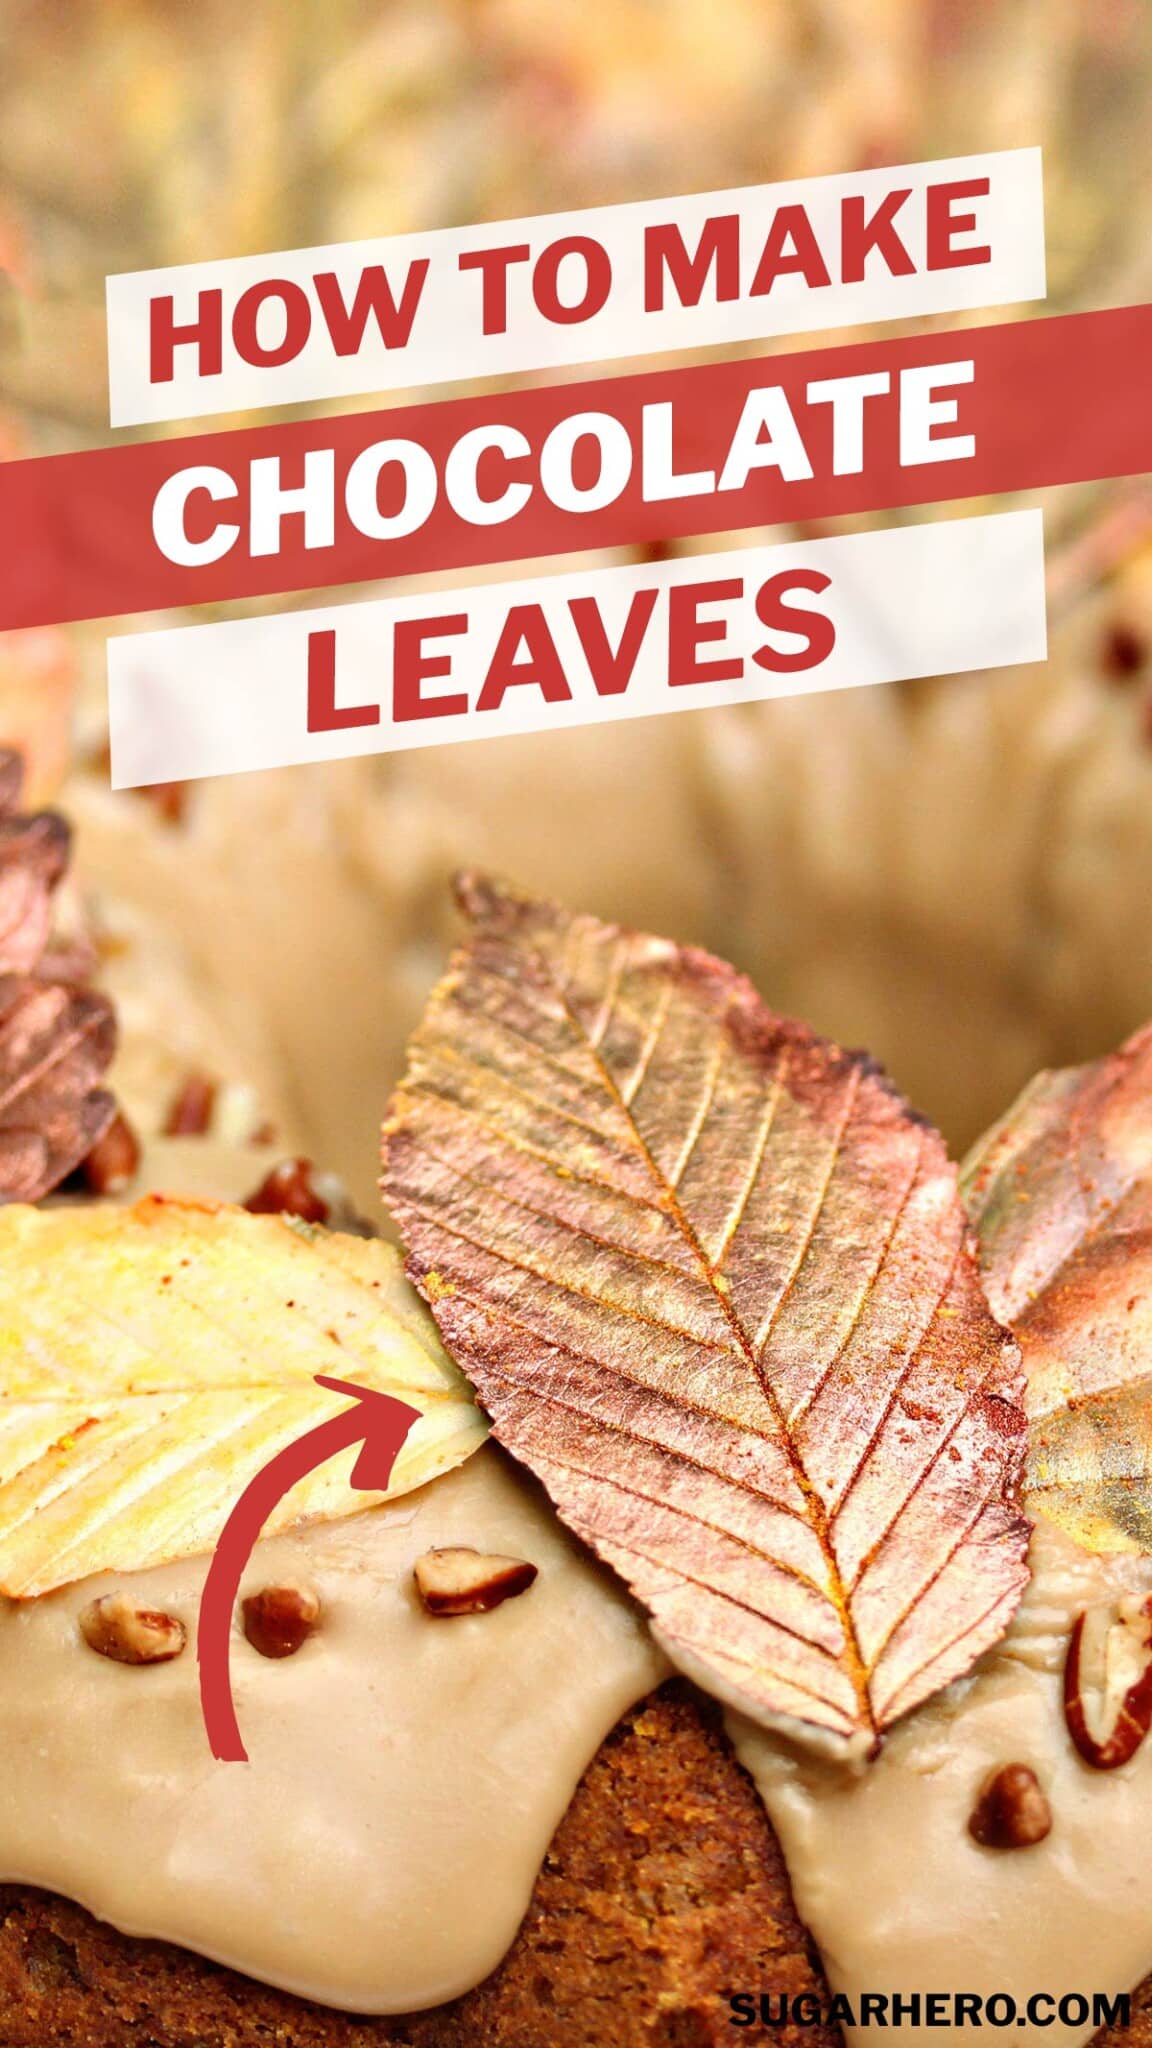
Chocolate Leaves are easy cake decorations that add a touch of natural beauty to any dessert! Learn how to make edible chocolate leaves, plus tips on making marbled or swirled leaves, and decorating them with luster dust.
🍂 Easy Chocolate Leaf Decorations
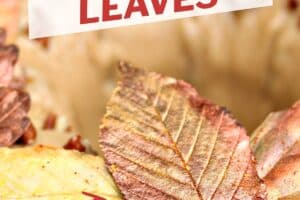
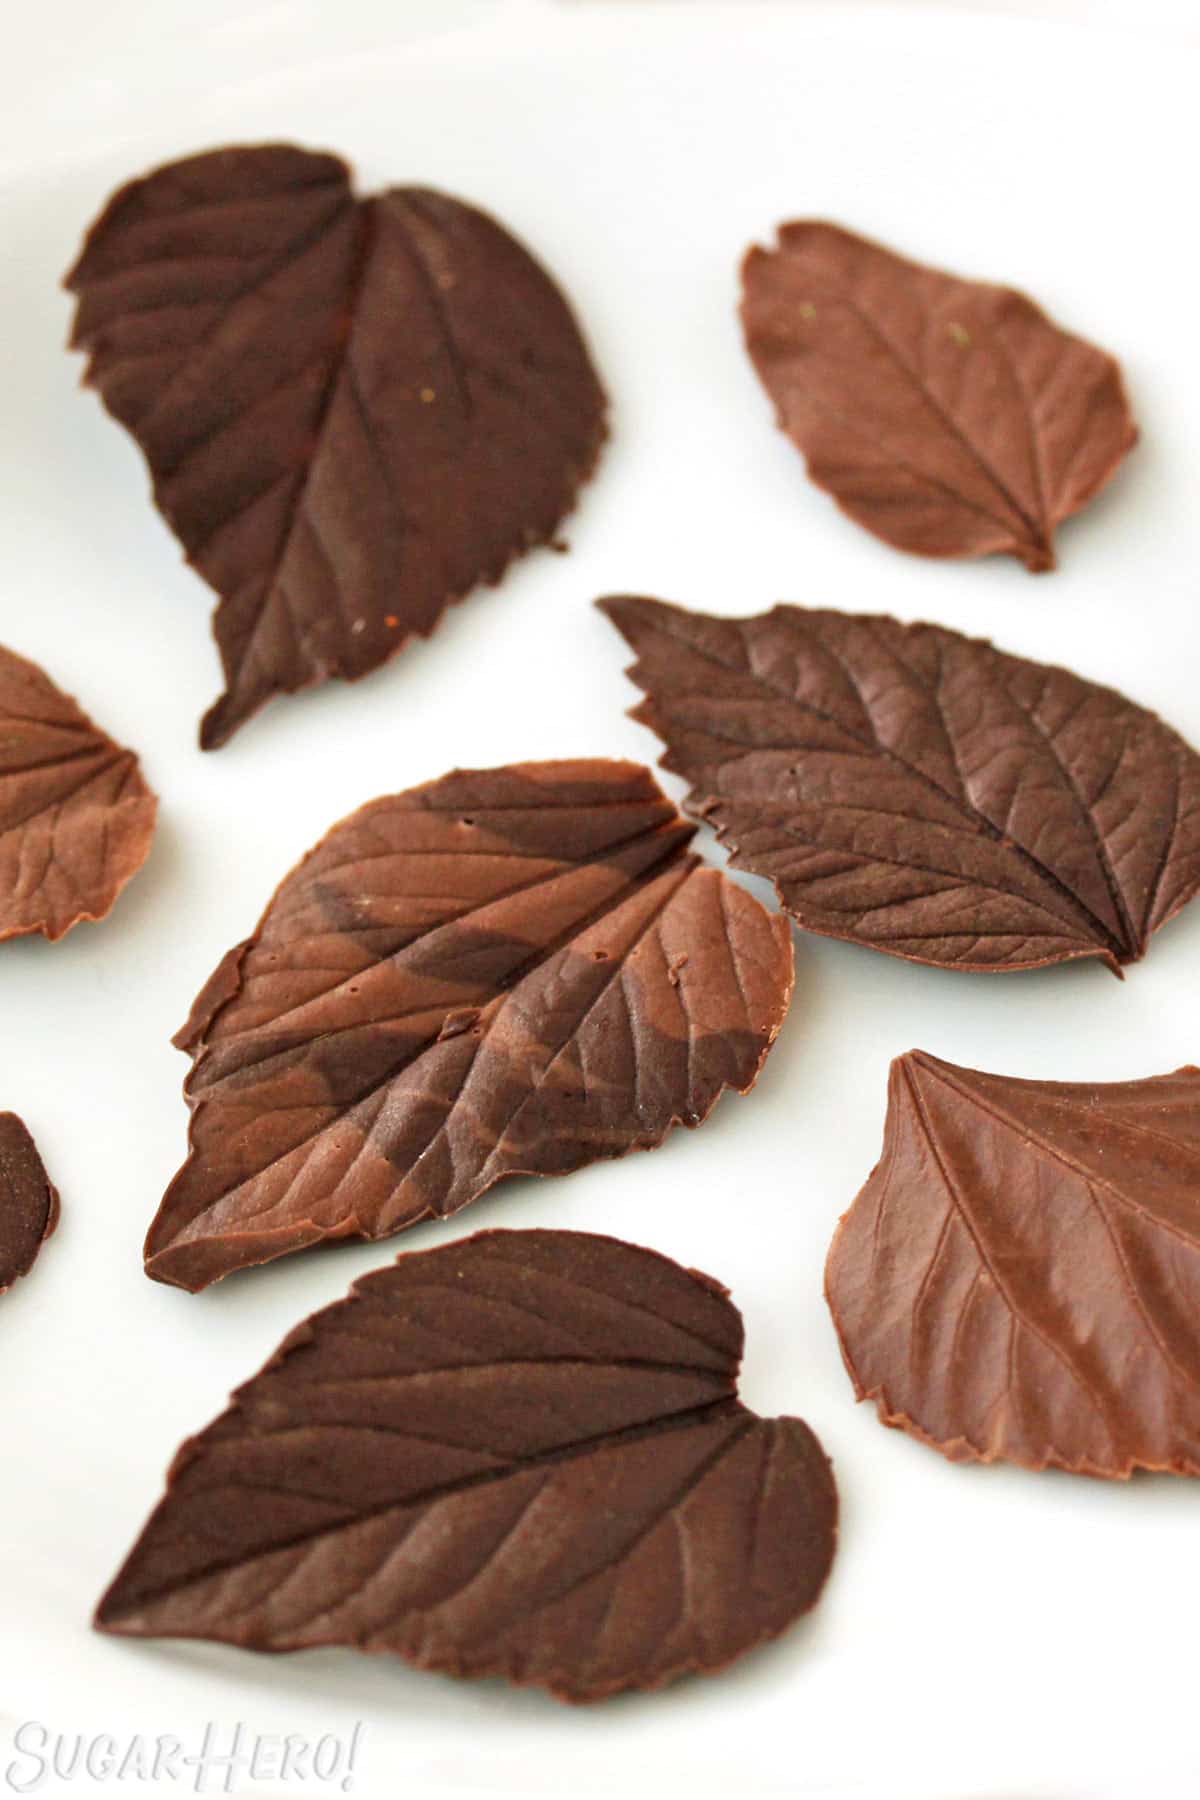
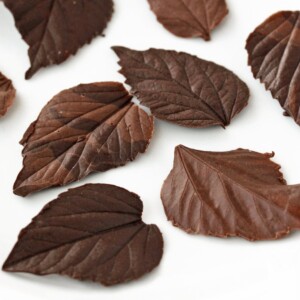
Chocolate leaves are one of my favorite ways to decorate fall desserts. They’re easy to make, beautiful, and (as the name suggests) you need just two basic supplies – chocolate (or candy coating) and leaves!
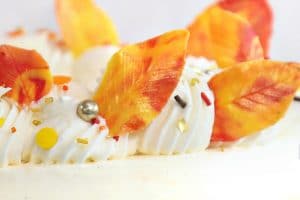
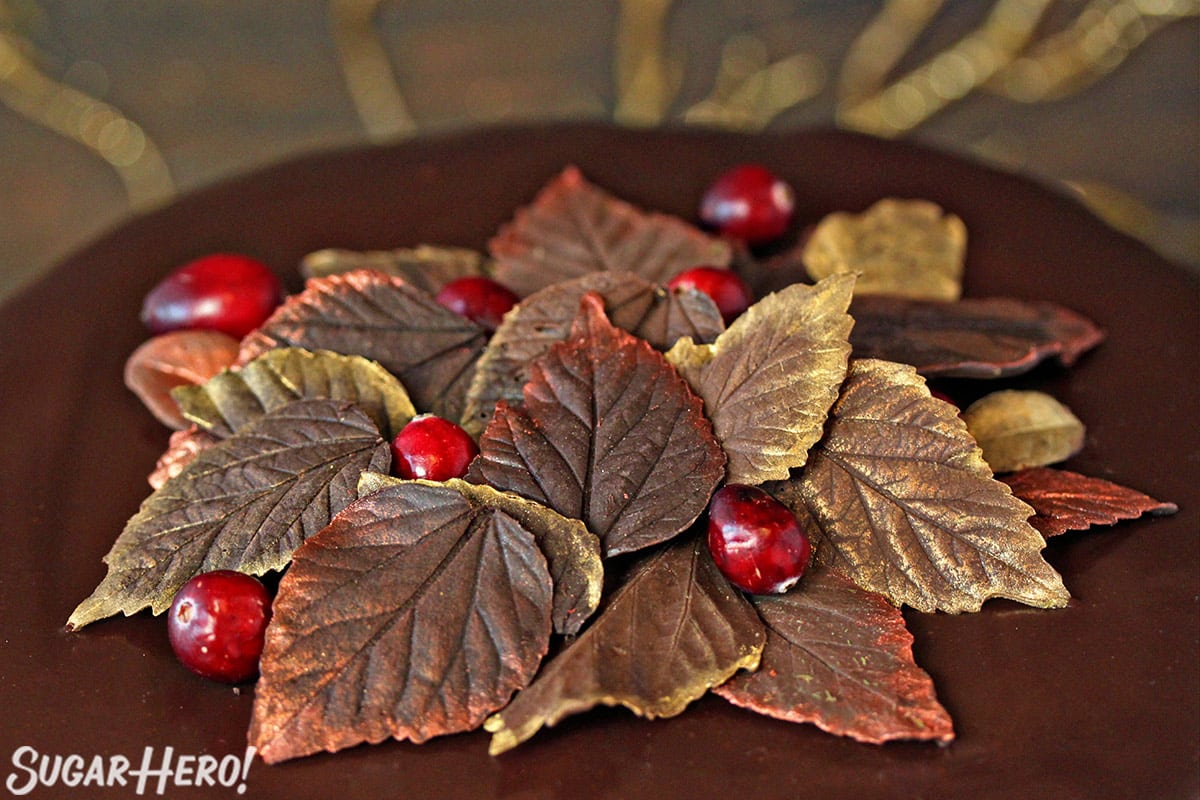
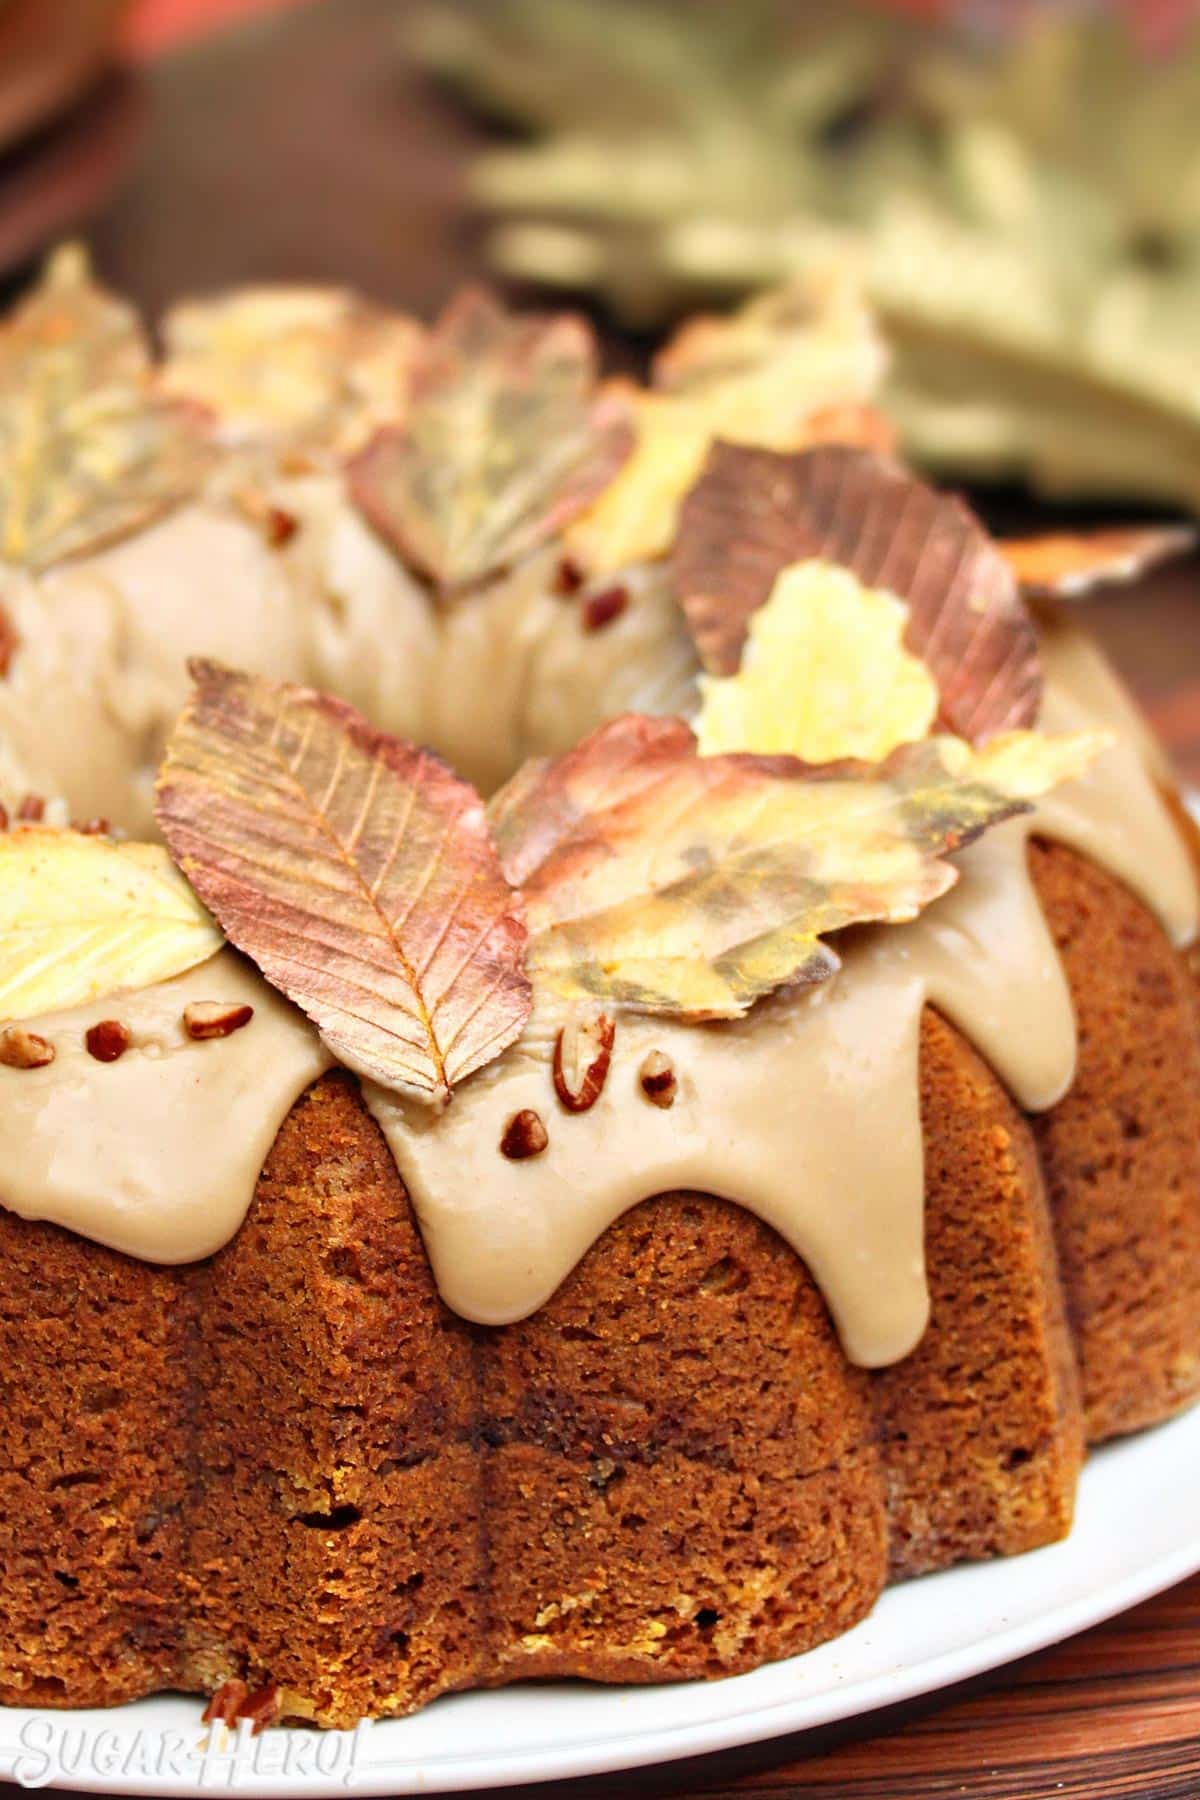
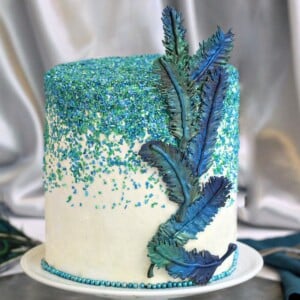
They can be left plain, or dressed up with a bit of marbling or a brush of luster dust. Stick one on a cupcake, or ring a whole cake with a wreath of chocolate leaves – however you use them, they’re a gorgeous decoration! And, if you enjoy making easy chocolate decorations, try my Chocolate Feathers tutorial.
Looking for some fall dessert inspiration? Pair your chocolate leaves with our Brown Sugar Cranberry Cake, Pumpkin Pound Cake, Festive Fall Layer Cake, or Pumpkin Chocolate Mousse Cake!

Table of Contents
🧾 What You’ll Need
The ingredient & equipment may seem self-explanatory, but there are a few things you should know to get the best results! Here’s what you’ll need:
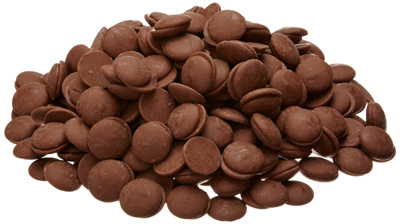
Candy Coating (vs Chocolate)
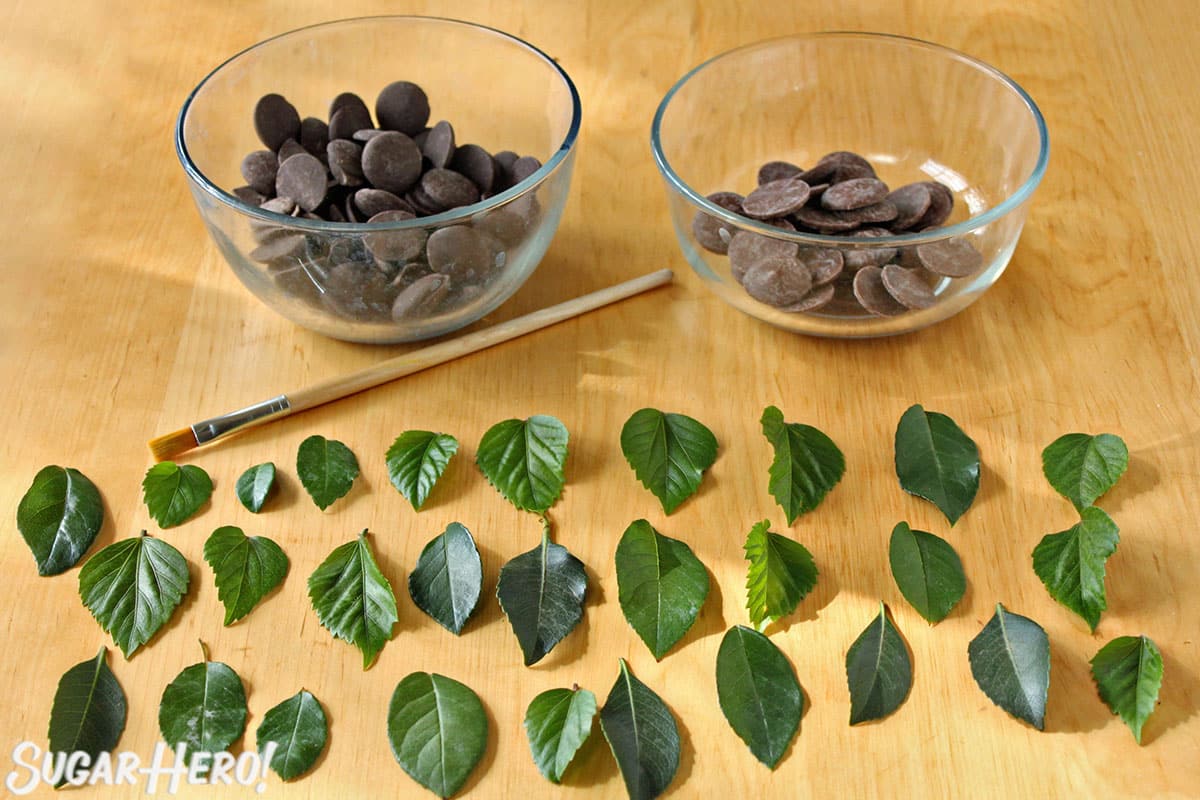
Yes, I call these “chocolate leaves,” but in most cases I do recommend using candy coating instead. Here’s why:
Real chocolate (like chocolate bars, or many types of chocolate chips) cannot simply be melted and used for decorations. It needs to be “tempered,” which is a process of heating and cooling the chocolate to certain temperatures so it stays hard and shiny once set. (Read more about how to temper chocolate here.) If chocolate is not tempered, it will most likely be soft, dull, streaked, or even grayish. That tastes fine, but it’s not appetizing! Tempering solves this problem, but it adds a lot of time and effort.
Candy coating, on the other hand, is designed to be used for dipping and decorations. It sets hard and shiny without the need for tempering, and can be re-melted and re-used again and again. It comes in a variety of colors, and is typically either vanilla flavored or chocolate flavored. I recommend Merckens, Ghirardelli, or Wilton brand.
There’s no doubt that real chocolate tastes better than candy coating, and for recipes where chocolate is the star, I would definitely recommend tempering real chocolate. But for chocolate leaves, which are most often used sparingly as a garnish on another dessert, I think candy coating is an easier, cheaper substitute, and that is why I recommend it in this tutorial.
Leaves
The two most important things to consider when choosing leaves are: 1) food safety, and 2) ease of use.
Food safety: Because these leaves will come into contact with food, it’s important that they don’t have traces of pesticides, preservatives, or other harmful chemicals sprayed on them. I recommend using leaves from a source you trust: either from a plant you grow yourself, or from a trusted friend or neighbor. Be sure to wash the leaves well and dry them thoroughly before using them.
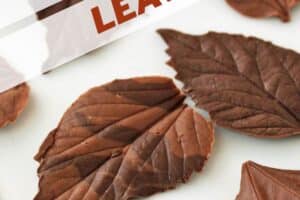
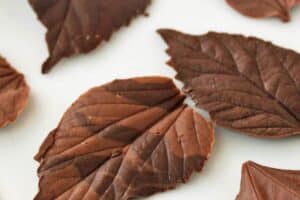
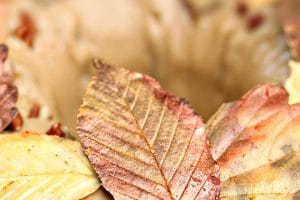
Ease of use: The best leaves to use are sturdy and have a pronounced pattern of veins on the back. Citrus leaves, like lemon leaves, are some of my favorites. They’re easy to use and produce gorgeous chocolate leaves. Most other leaves will work, but some are more delicate and prone to tearing than others. It’s also nice to have a mix of shapes and sizes, so don’t hesitate to use several different kinds of leaves for your project.
Edible luster dust
Luster dust is optional, but really makes these leaves pop! “Luster dust” typically refers to a type of powdered coloring with a metallic sheen (hence the name). Not all luster dust is created equal, however. If you want your leaves to be edible (as opposed to simply decorative) make sure you use edible luster dust. My favorite edible luster dust comes from The Sugar Art. Some dusts are not intended for consumption and are labelled “non-toxic,” so make sure you purchase the right dust for your needs.
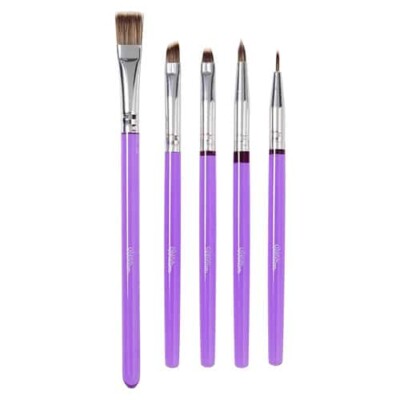
Food-safe paintbrush
You don’t have to buy a specific set of “food paintbrushes,” but you should use a clean brush that has not been used with real paint or other non-edible substances. I have a regular set of paintbrushes that I keep in the kitchen and use exclusively for food and decorating. Most craft stores sell individual brushes that you can pick up for a few dollars, or this affordable Wilton 5-piece set is specifically designed for decorating desserts.
📋 Instructions
How to Make Chocolate Leaves
Once you’ve gathered everything, making chocolate leaves is a fast process. Grab a printable version of these instructions in the recipe card below.
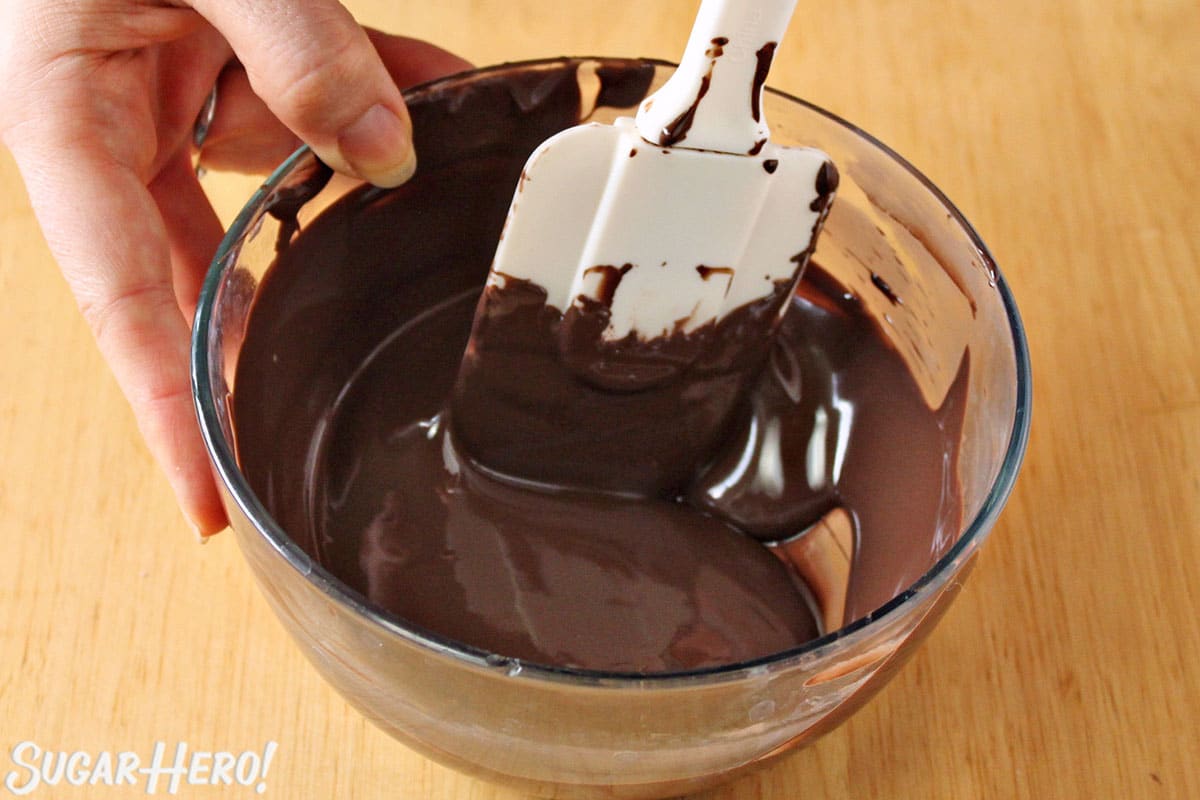
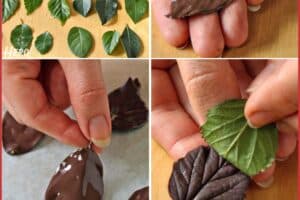
Melt the candy coating
Place the candy coating in a microwave-safe bowl and microwave in 30 second increments, stirring regularly, until melted and smooth.
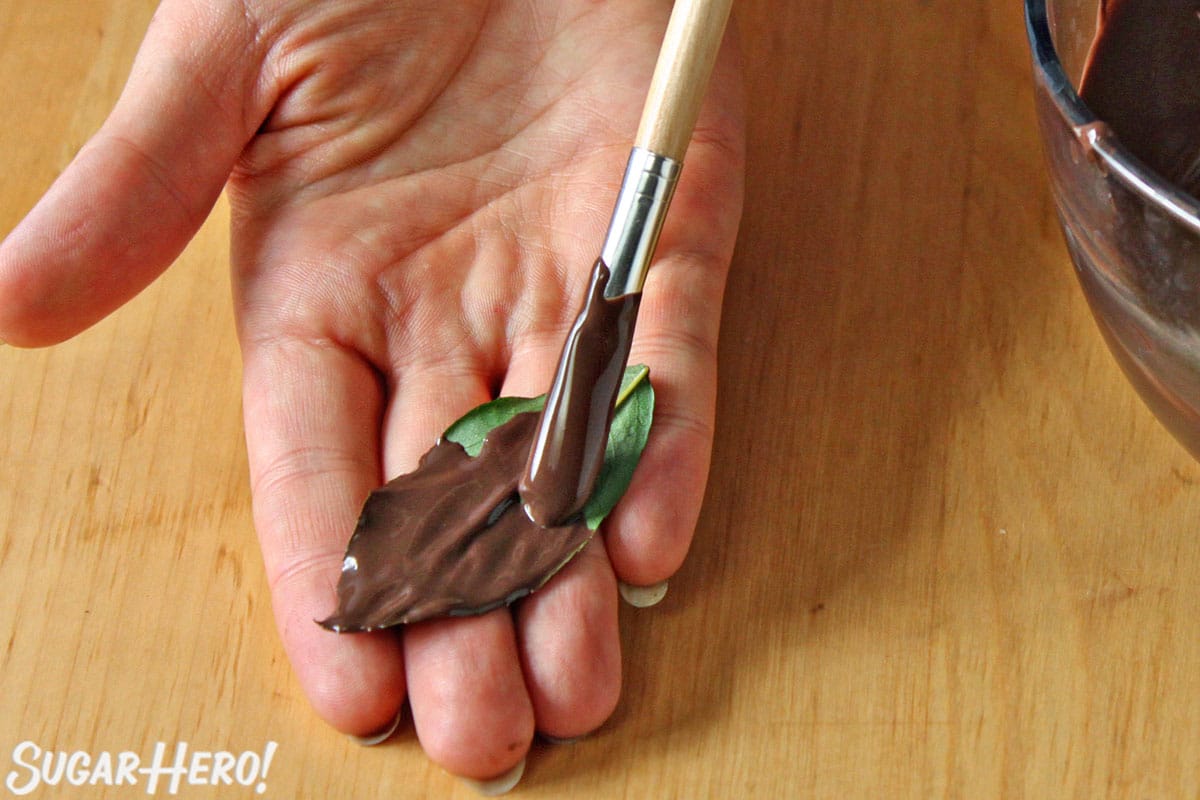
Paint the leaves
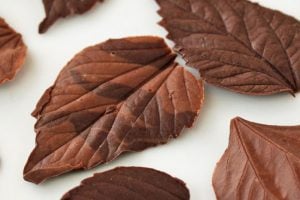
Brush an even layer of melted coating on the underside of the leaf (the side with pronounced veins.) Make sure that the chocolate extends all the way to the edges, and that there are no translucent spots where the chocolate layer is thin.

Set the leaf on a parchment-covered baking sheet and repeat with remaining leaves.
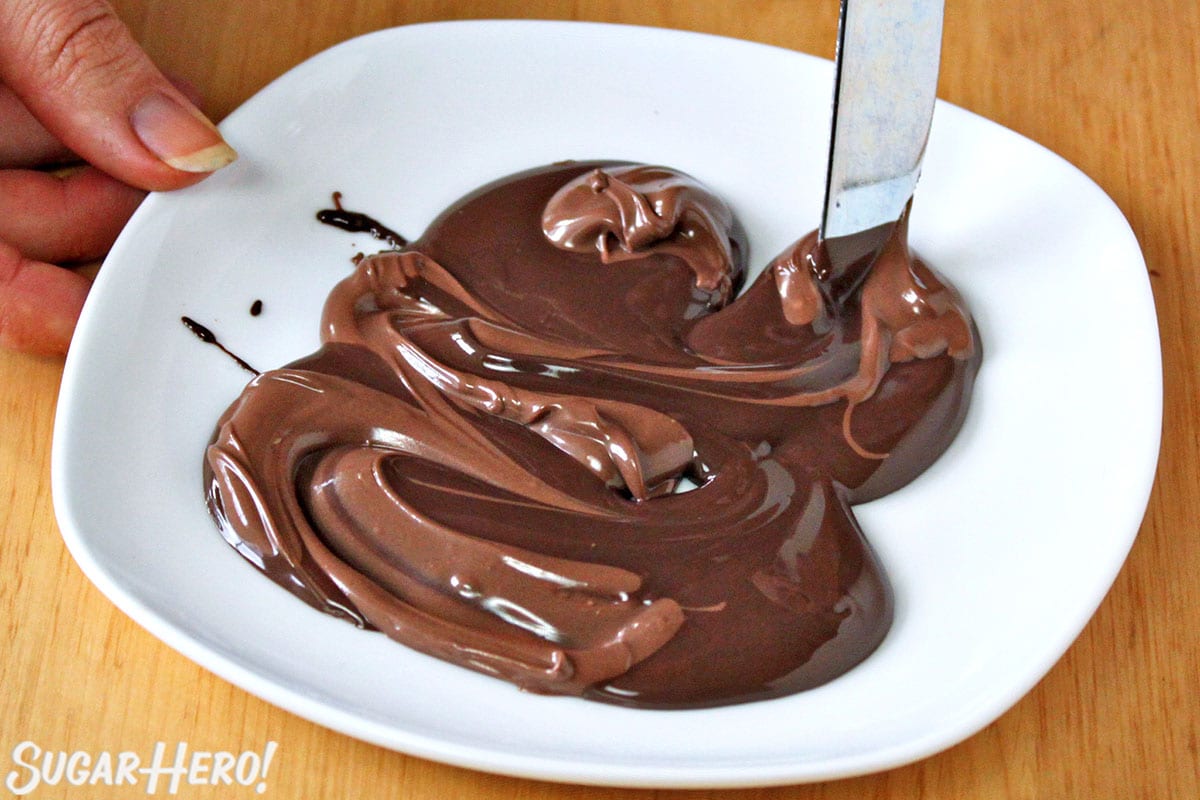
To make marbled leaves:
If you want to make multicolored leaves, you will need at least one contrasting color of melted candy coating. Pour the different colors of candy coating onto a large plate, drizzling and swirling them together in random patterns.
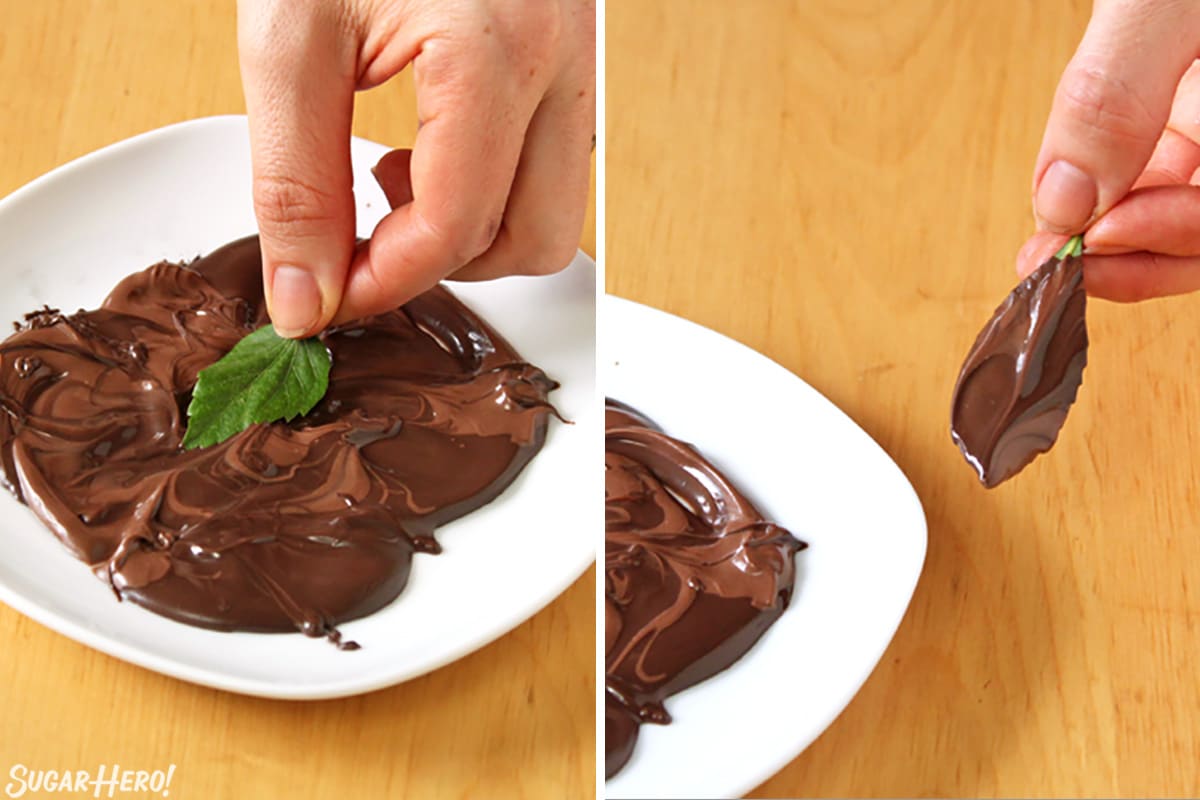
Hold a leaf by the stem and drag the top of the leaf through the chocolate puddle, creating a marbled design. Check the leaf to make sure there are no transparent areas, then clean off the sides of the leaf for a smooth edge.
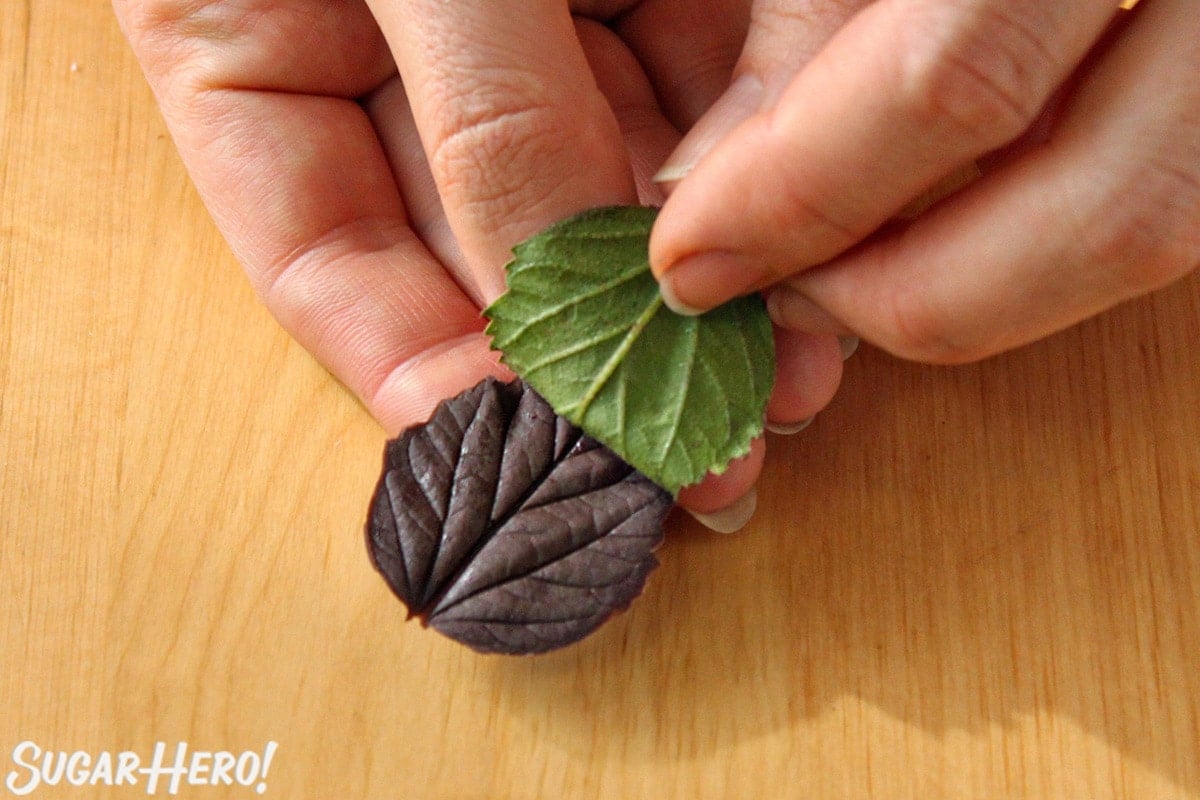
Place the tray of chocolate leaves in the refrigerator to set for. Once set, carefully peel the leaves from the chocolate.

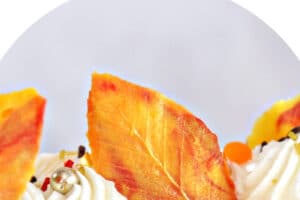
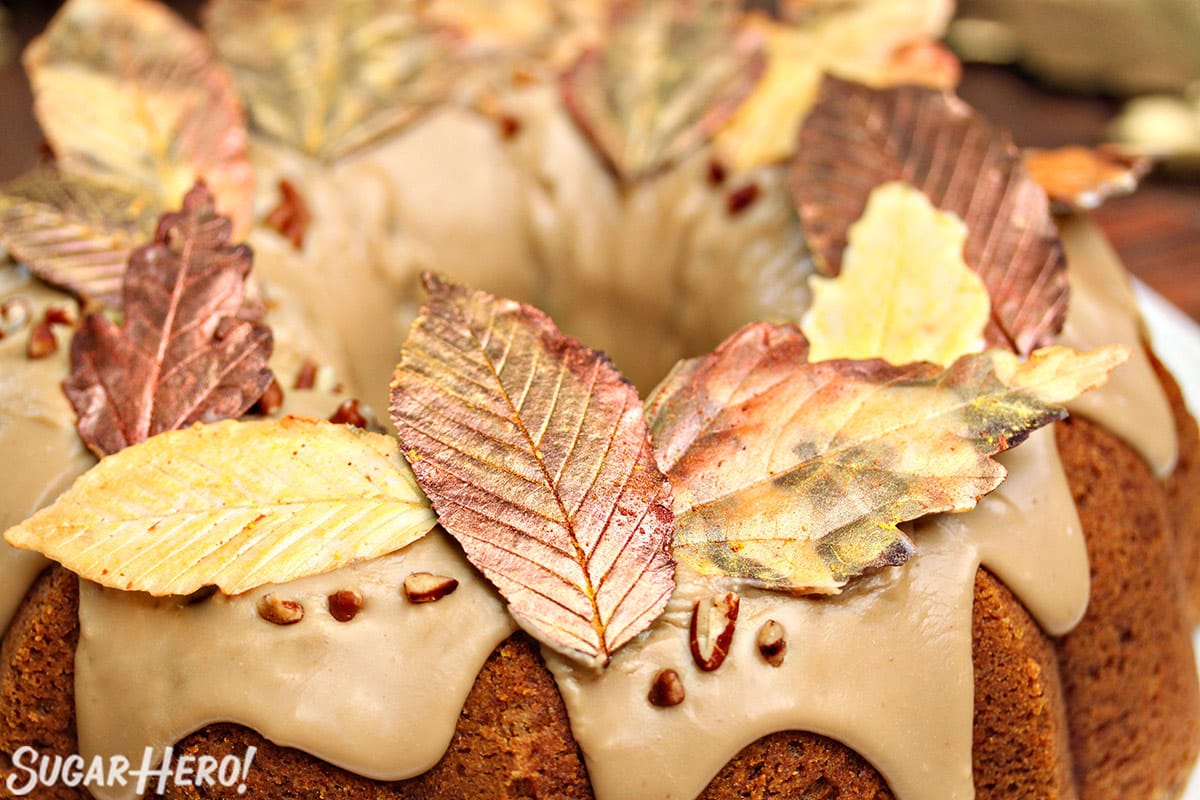
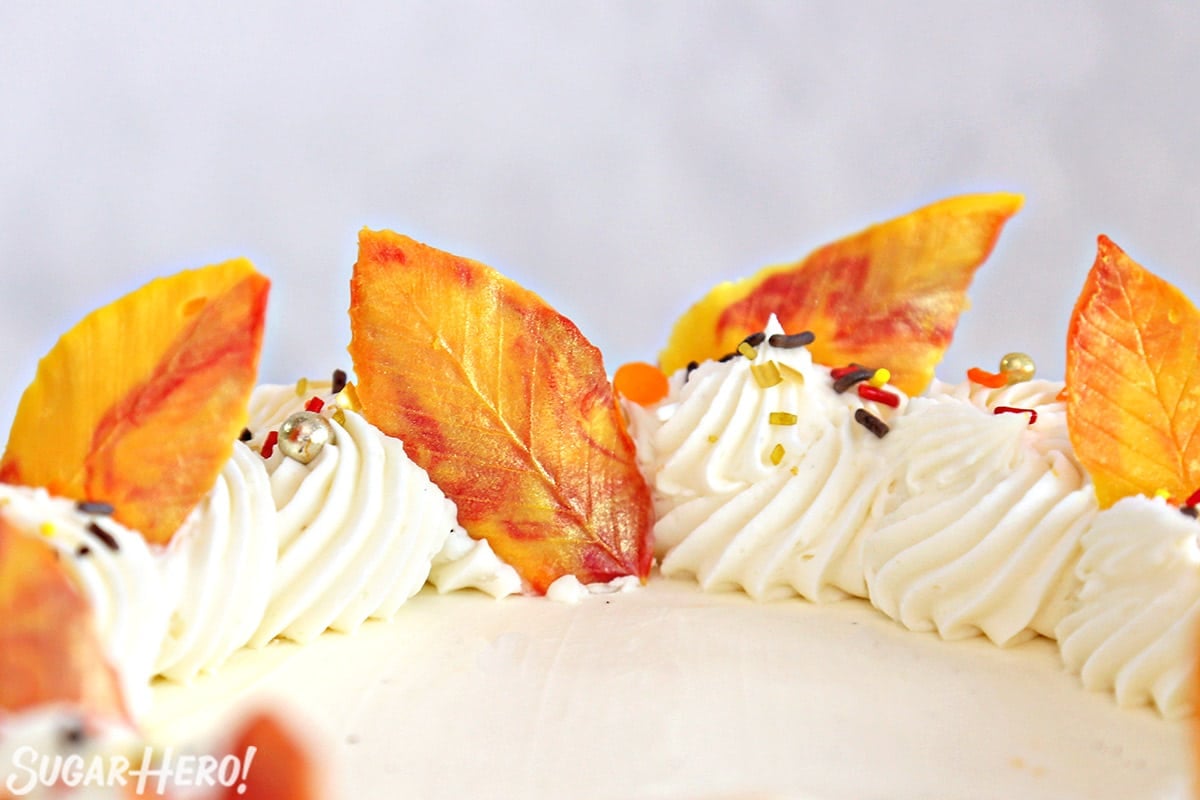
You can use them right away, or paint the leaves with edible luster dust to make them really pop!
💡 Tips and FAQs
🍁 What to decorate with chocolate leaves
So you’ve made your leaves — now what? Use them as decorations on one of these desserts!
- Brown Sugar Cranberry Cake
- Orange Bundt Cake
- Pumpkin Spice Cupcakes
- Pumpkin Spice Cheesecake
- Pumpkin Chocolate Mousse Cake
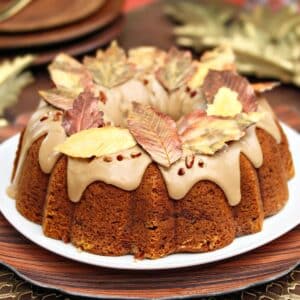
Cinnamon Swirl Pumpkin Bundt Cake
Chocolate Feathers
Don’t miss the step-by-step tutorial showing how to make Chocolate Leaves – check out the web story here!
Leave a Review!
If you make this recipe, let us know! Leave a ⭐️⭐️⭐️⭐️⭐️ rating on the recipe below, and leave a comment, take a photo and tag me on Instagram @elabau, or use #sugarhero on IG!
Chocolate Leaves
Ingredients
- 24 leaves, washed and patted dry
- 8 oz chocolate candy coating melts, or tempered chocolate
- Edible luster dust, to decorate (optional)
Instructions
- Cover a baking sheet with parchment or waxed paper, and lay the washed and dried leaves on the baking sheet, vein side up.
- Place the candy coating in a microwave-safe bowl and microwave in 30 second increments, stirring regularly, until melted and smooth.
To make single color leaves:
- Dip a food-safe paintbrush in the melted coating, and brush an even layer on the leaf (the side with pronounced veins.) Make sure that the chocolate extends all the way to the edges, and that there are no translucent spots where the chocolate layer is thin.
- Replace the leaf, wet chocolate side up, on the baking sheet and repeat with remaining leaves and chocolate.
To make marbled leaves:
- If you want to make swirled or multicolored leaves, you will need at least one contrasting color of melted candy coating. (Multiple colors can also be used.)
- Pour the different colors of candy coating onto a large plate, drizzling them together in random patterns. I recommend having a larger proportion of lighter colors, since the motion of running the leaves through the chocolate will begin to mix the colors and the lighter colors will soon turn darker.
- Hold a leaf by the stem and drag the top of the leaf through the chocolate puddle, creating a multicolored design. Check the leaf to make sure there are no transparent areas. Clean off the sides of the leaf for a smooth edge. Replace the leaf, wet chocolate side up, on the baking sheet and repeat with remaining leaves and chocolate.
- Place the tray of chocolate leaves in the refrigerator to set for at least 15-20 minutes. Once set, carefully peel the leaves from the chocolate. Try not to handle the leaves too much to prevent your body heat from melting the chocolate.
- Once the leaves have been removed, the chocolate leaves can be used immediately, or further decorated with edible luster dust.
- Store chocolate leaves in an airtight container at cool room temperature. Separate layers with parchment or waxed paper so they don’t get scuffed during storage.
Video
Recipe Notes
Measuring Tips
Our recipes are developed using weight measurements, and we highly recommend using a kitchen scale for baking whenever possible. However, if you prefer to use cups, volume measurements are provided as well. PLEASE NOTE: the adage “8 oz = 1 cup” is NOT true when speaking about weight, so don’t be concerned if the measurements don’t fit this formula.
Want to learn more about baking measurements and conversion?


Thank you so much for sharing this! I wanted to make an upscale cake for Thanksgiving and needed this!
How exciting! I’d love to see how it turns out!
These leaves are absolutely gorgeous! I never knew it was so easy to make them this way, so cool that the leaves peel right off! Definitely need to try this out for myself.
Hi Nathan! I love how easy these are, too. I hope you get to try it!
How creative! It’s ALMOST like an edible art project. I’m sure my kids will enjoy making these!
Thanks for sharing!
Hi. I definitely think it counts as edible art! I hope your kids have fun with them!
These are SO realistic! I can’t wait to give these a try myself – yum!
Isn’t it cool how the details of the leaves imprint in the chocolate. They are so fun to make.
I could decorate so many of my favorite cakes with these… Fantastic recipe!
Thank you Mahy!
Hi….. I have what is probably a stupid question, but where can we get the leaves like you’re using? Do you have a link?
Thank you!
Hi. That’s not a stupid question. The leaves I used were just from my backyard. The blog post itself has some tips for picking leaves, but the biggest suggestion I have is to make sure the leaves are clean and free of any pesticides.
Thanks so much for sharing your ideas doing my granddaughter cake and she what’s a tinkerbell cake for her and I need to make leaves to put on her cake and you had a great idea thanks for that have a great night
Hi! So glad this will help you will your granddaughter’s cake. I hope it turns out exactly how you are envisioning it. Happy baking!