
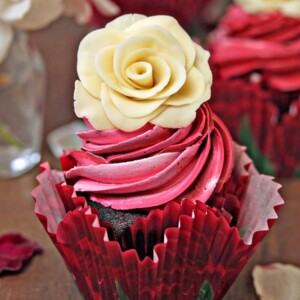
Chocolate Rose Cupcakes are moist chocolate cupcakes, topped with a beautiful swirl of red frosting and a sweet white chocolate rose. Learn how to make these hand-formed edible roses, and use them on cupcakes, cakes, and so many more desserts!

When it comes to Valentine’s Day desserts, there are a few standards we can always count on. You’re guaranteed to find chocolate goodies, and red velvet cake, and heart-shaped treats as far as the eye can see. What other traditions could possibly be left?

Riiiiiight, the flowers! I’m too practical (some might say heartless) to be a big fan of roses as gifts—I’d rather Jason take that money and buy me something that won’t die in a week. But that doesn’t mean I’m opposed to gifting myself a bunch of these edible rose cupcakes. Sistas are doing it for themselves! And by “it,” I mean “baking chocolate-rose cupcakes and frosting them with rose-vanilla bean buttercream and topping them with edible white chocolate roses.” And that is why I usually just say “it.”

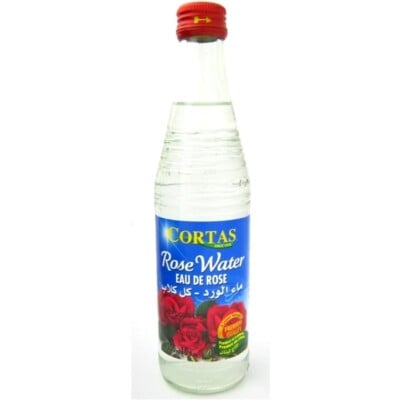
I’ve been thinking about adding rose water to chocolate cake ever since I read about this Chocolate Cranberry Cake on Brave Tart. Stella added a bit of rose water in addition to cranberry juice to a chocolate cake, and it just sounded like the most dreamy combination. The rose flavor in these cupcakes is subtle, and if you’re not looking for it you might not even notice it—but when you do notice it, you’ll appreciate how it rounds and smooths out the chocolate flavor.
Never satisfied with subtlety, I topped the chocolate-rose cupcakes with a rose and vanilla bean-flavored Swiss meringue buttercream in bright swirls of pink and burgundy. Roses and vanilla work so well together, and instead of clashing, their floral flavors blend and balance the dark, bittersweet cupcake.

But let’s talk about the real showpiece of these cupcakes, the edible white chocolate rose on top. They’re made with something called “chocolate plastic,” which is literally just chocolate and corn syrup mixed together. It couldn’t be easier to make! You could also make them with fondant or gumpaste, but I think that the white chocolate plastic has the best flavor of three, so this is one decorative topper that people might actually want to eat. (That doesn’t happen very often in the realm of fondant decorations.)
They’re not too tricky to make, although the first few might be a little “unique” as you get comfortable with the technique and learn what works best for you. Any truly tragic specimens can just be re-rolled, though, so there’s no downside in experimenting and giving them a try! I do recommend making them a day or two ahead of time, to give them time to firm up so they keep their shape on the cupcakes.

 More Flower Desserts You’ll Love
- Fondant Flower Cupcakes
- Spring in Bloom Cake
- Strawberry Swirl Bundt Cake
- Giant Rose Cake
- Rosette Cupcakes
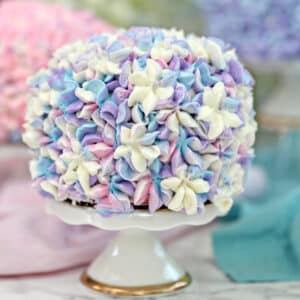
Hydrangea Cakes
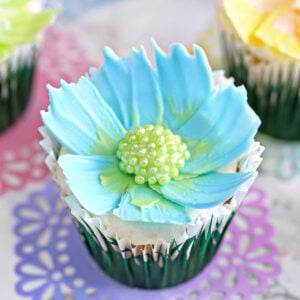
Easy Chocolate Flower Cupcakes
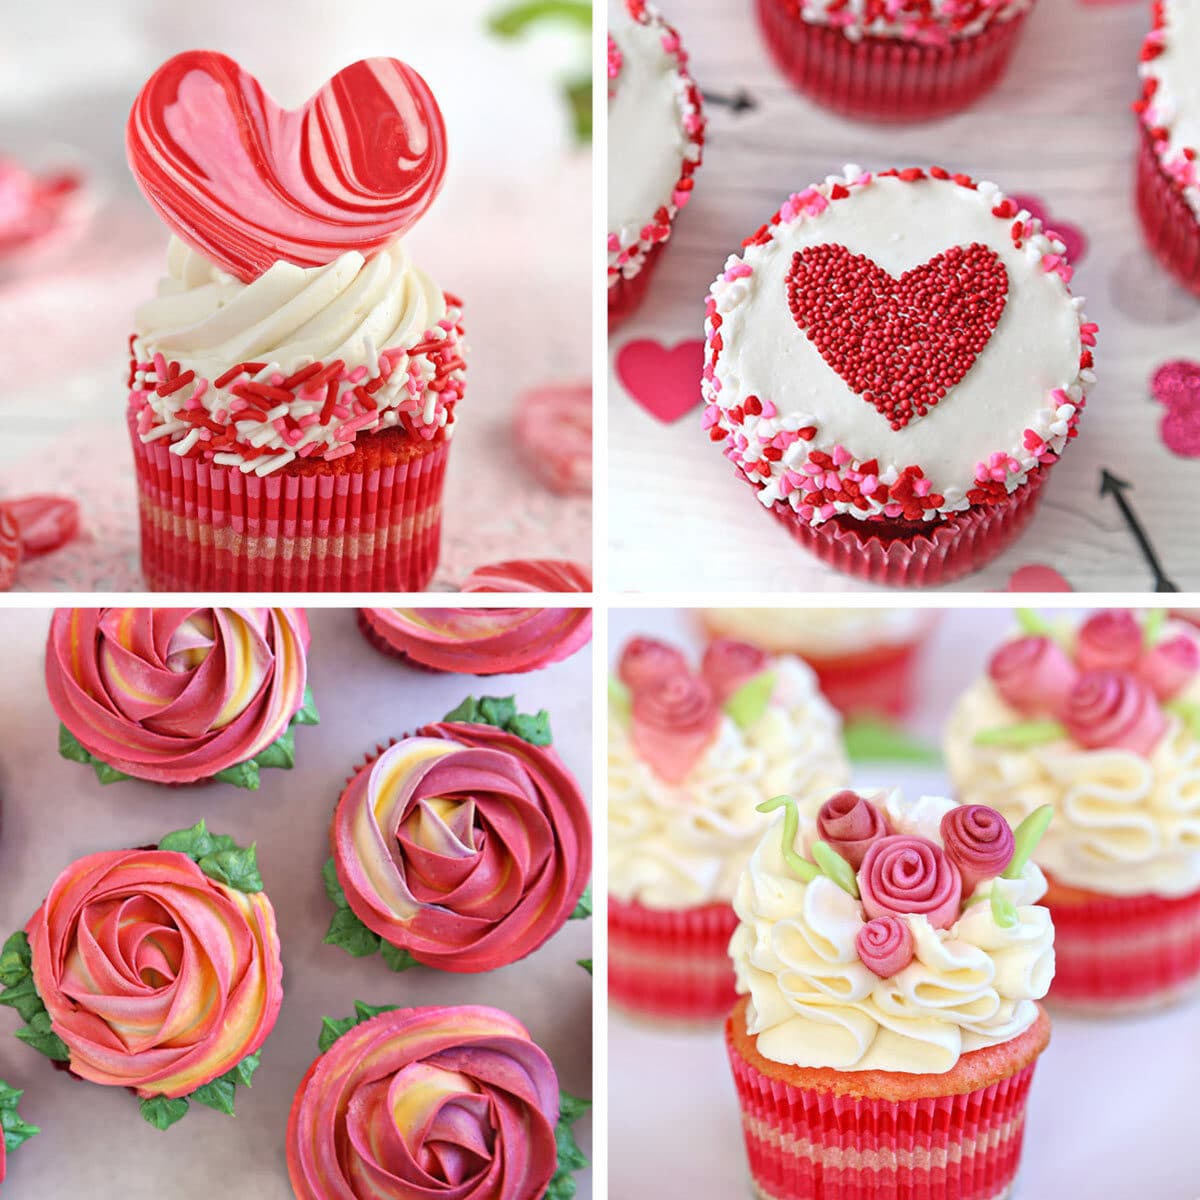
Don’t miss our collection of Fun Valentine’s Day Dessert Ideas – see the whole web story here!
Chocolate Rose Cupcakes
Ingredients
For the Chocolate Rose Cupcakes:
- 1 3/4 cups all-purpose flour, (7.8 oz)
- 1 cup unsweetened cocoa powder, (3 oz), good-quality
- 1 1/2 tsp baking soda
- 1/2 tsp salt
- 1 cup buttermilk, at room temperature
- 1/2 cup sour cream, full-fat, at room temperature
- 2 TBSP water
- 6 oz unsalted butter, at room temperature
- 2/3 cup granulated sugar, (4.75 oz)
- 2/3 cup brown sugar, (5 oz), lightly packed
- 2 large eggs, large, at room temperature
- 2 tsp vanilla extract
- 2 TBSP rose water
For the Rose Buttercream:
- 14 oz granulated sugar, (2 cups)
- 9 large egg whites, room temperature
- 1 lb unsalted butter, softened but still cool
- pinch of salt
- 2 tsp vanilla paste , or 1 1/2 TBSP vanilla extract
- 2-3 TBSP rose water, to taste
- pink gel food coloring, and/or red and burgundy food coloring
For the White Chocolate Roses: (made 1-2 days in advance)
- 8 oz white chocolate, finely chopped
- 2.25 oz light corn syrup, (1/4 cup)
Instructions
To Make the Chocolate Rose Cupcakes:
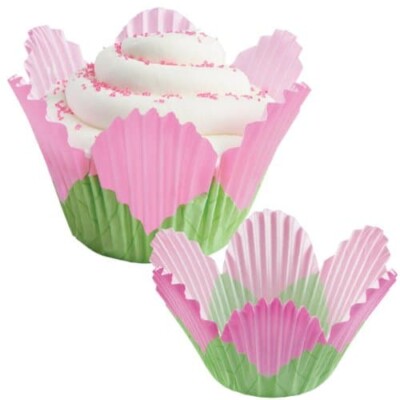
- Preheat the oven to 350 F. Line 16-18 cupcake cavities with paper liners. (If you’re not using the large rose liners, you might get up to 18 cupcakes from this recipe.)
- In a bowl, sift together the flour, cocoa powder, baking soda, and salt. In a separate bowl or large mixing cup, whisk together the buttermilk, sour cream, and water.
- In the bowl of a large stand mixer fitted with a paddle attachment, beat together the butter and sugars until they’re light and fluffy, about 3-4 minutes. Add the eggs one at a time, beating well after each addition, then add the vanilla extract and rose water.
- With the mixer running on low speed, add a third of the dry ingredients. When it’s mostly mixed in, add half of the liquid ingredients. Continue to alternate adding drys and liquids, ending with the dry ingredients. When the drys are almost all mixed in and only a few streaks of flour remain, stop the mixer and finish mixing by hand with a spatula. Scrape down the bottom and sides of the bowl.
- Scoop the batter into the lined cupcake pans. Bake in the preheated oven for 20-23 minutes, until the tops of the cupcakes spring back when lightly pressed. Cool completely.
To Make the Rose Buttercream:
- Combine the egg whites and the granulated sugar in the bowl of a large stand mixer, and whisk them together. Choose a small saucepan that lets you fit the base of the stand mixer snugly into the top of the saucepan—this is your makeshift hot water bath. (Alternately, you can use a different bowl or an actual bain marie and then transfer the mixture to a mixing bowl once it’s heated.) Add an inch of water to the bottom of the saucepan, and bring the water to a simmer.
- Place the mixing bowl on top of the saucepan, making sure that the bottom isn’t in contact with the water, and heat the egg white mixture. Whisk frequently so that the egg whites don’t cook. Continue to heat the whites until they are hot to the touch, and when you rub a bit between your fingers, you don’t feel any grittiness from the sugar. Once the whites are hot, transfer the mixing bowl to your mixer and fit it with a whisk attachment.
- Beat the whites on medium-high speed until they are no longer warm to the touch—feel the outside of the bowl, and make sure that it is around room temperature. Depending on your mixer and the temperature of your environment, this may take 10-20 minutes, or more. Reduce the speed to medium-low and add the softened but cool butter in small chunks, a tablespoon at a time, making sure to wait in between additions. It may separate or look a little gloopy at this point—fear not. Once all of the butter is added, increase the speed again and whip until it comes together and is light and fluffy. If, after 5 minutes, it hasn’t come together, refrigerate the mixing bowl for 5-7 minutes, to cool the mixture down, and whip it again.
- Add the salt, vanilla paste, and 2 tbsp rose water, and mix until well-blended. Taste the buttercream and add more rose water or vanilla paste if desired. Add any food colorings you’d like—to get the multicolored effect I did, divide the buttercream into two or three batches and color them different shades of pink and burgundy.
- The buttercream can be made in advance and kept at room temperature if you’re going to use it the same day, or refrigerated. If it’s been chilled, let it sit at room temperature until it softens, then re-whip it to get the fluffy texture back before you use it.
- To assemble the cupcakes, fit a large pastry bag with an open star tip. Fill it with the buttercream—if you’re using different shades of frosting, spread equal amounts of the different colors along the sides of the bag, so that they all squeeze out at the same time. Pipe a large swirl of frosting on top of each cupcake, and top with a white chocolate rose. Store the cupcakes in an airtight container at room temperature, and enjoy within 3-4 days.
To Make the White Chocolate Roses: (1-2 days in advance)
- Place the white chocolate in a microwave-safe bowl, and microwave the chocolate until melted, stirring after every 30 seconds to avoid overheating the chocolate. Remove the melted chocolate from the microwave, and stir until smooth. Add the corn syrup and stir until the mixture is thoroughly combined. It will get thicker.
- Spoon the chocolate onto a large sheet of plastic wrap, and wrap it securely. Allow the chocolate to cool and solidify at room temperature, for at least 6 hours or overnight.
- Dust your hands and work surface with powdered sugar, and knead the hardened chocolate until smooth and pliable. If it’s very hard, microwave it in short 5-second bursts until it becomes soft enough to work with, but don’t overheat it, or it will be too soft to roll and shape.
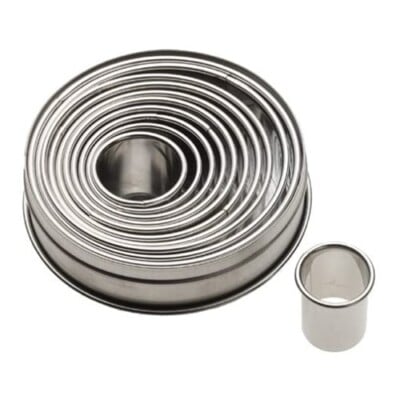
- Work with half of the batch of chocolate at a time, and keep the other half well-wrapped to prevent drying. Dust a rolling pin with powdered sugar and roll the chocolate out into a very thin layer, less than 1/8” thick. Use a small (1 or 1 1/2”) round cutter to cut circles from the chocolate. For one full-sized rose, you will need nine circles, and for rosebuds, you will need 4-5. The size of the circle cutter determines the size of your finished rose. A 1.5” cutter will yield a full-sized rose that is approximately 3” wide.
- Begin by forming the center of your rose: take one of the cut circles and roll it into a cylinder. Leave a small hole at the top of the cylinder. Take another circle, and use your fingers to flatten one end of it until it is paper-thin. This will be the top of the petal, and it helps give the rose a more delicate look. Wrap your petal around the cylinder, making the top of the petal level with the top of the cylinder, pressing it at the bottom to adhere the chocolate.
- Thin out the edge of another circle to add a second petal to your blossoming rose. The trick to getting a lifelike rose is to slip the second petal underneath the edge of the first one. Add a third petal whose edge starts just under the second one to complete the first layer of petals. If you want to make a rosebud, your flower is now complete. To make a full rose, continue adding pedals, thinning the top edges as before, and sliding the edge of each new petal under the previous one as with the first layer. Curl the outer petals back slightly to make your rose bloom. Pinch off any extra chocolate at the base of the flower, and re-roll it with the scraps to create more roses.
- Allow the roses to sit at room temperature and dry for 24 hours. Once set, they can be stored in an airtight container indefinitely.
Recipe Notes
Measuring Tips
Our recipes are developed using weight measurements, and we highly recommend using a kitchen scale for baking whenever possible. However, if you prefer to use cups, volume measurements are provided as well. PLEASE NOTE: the adage “8 oz = 1 cup” is NOT true when speaking about weight, so don’t be concerned if the measurements don’t fit this formula.
Want to learn more about baking measurements and conversion?
Nutrition
THE BEST VALENTINE’S DAY CUPCAKES
27 cute and delicious Valentine’s Day cupcake ideas — click here to get all the recipes!


These cupcakes looks so beautiful <3 Gonna give it a try soon
Hey Marie, I am so glad to hear it! I would love to hear how it goes, thank you for the feedback!
I was wondering how well, the chocolate plastic holds up. Living in the south I’m concerned they may melt. Any words of wisdom?
Thank you for this recipe. The cupcakes was awesome. I used this mould for making the cupcakes.
Really liked how it turned out.
I’m so glad to hear that!