Customized Chocolate Molds allow you to create the perfect size candy, hard-to-find shape, or meaningful object for any baking project. These molds are fun and surprisingly easy to make!
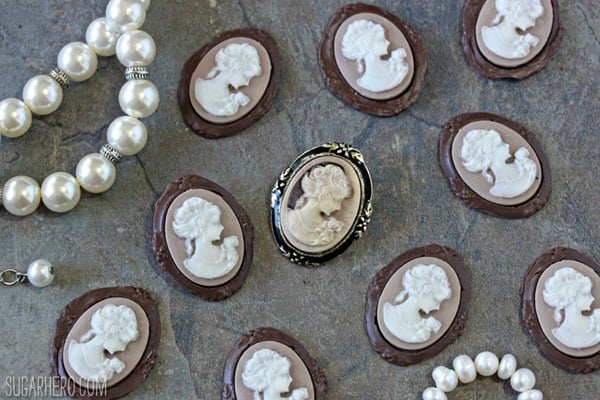
I own a lot of candy molds. It’s practically a requirement for a candy writer—plus, they’re so inexpensive, it’s easy to buy one here or there and not realize there’s a problem until I’ve amassed a small Mount Everest of candy molds on top of my kitchen shelves. Between candy supply stores and the internet, it’s not hard to find a mold for almost any occasion.
But what if you need a certain size, or a hard-to-find shape, or want to make a personalized mold from a sentimental object? Then it’s time to put your crafty pants on and make your own chocolate mold!
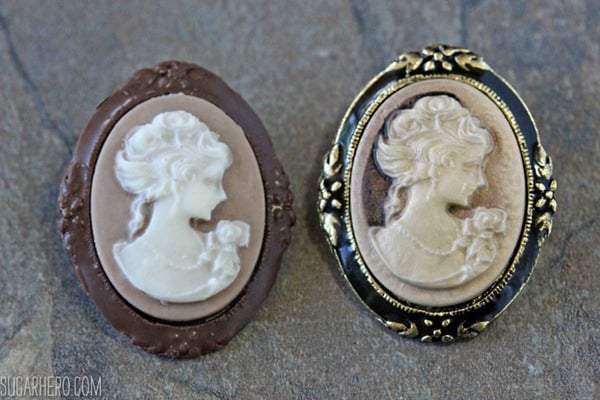
Lately I’ve been experimenting with making my own chocolate molds, and it’s really fun (and surprisingly simple!) I’m going to feature a few upcoming recipes with customized chocolates, so before I post those, I thought it would be helpful to devote a whole post explaining how I make the molds.
There are some methods for making molds that don’t require much in the way of specialized ingredients. For instance, this post explains how to make a chocolate cast out of common kitchen ingredients like brown sugar, powdered sugar, flour, etc. Although I’ve had a little success with these methods, the end result is invariably messy and imprecise. To get really good, clean results, we’re going to have to call in the big guns and buy silicone to make our own silicone molds.
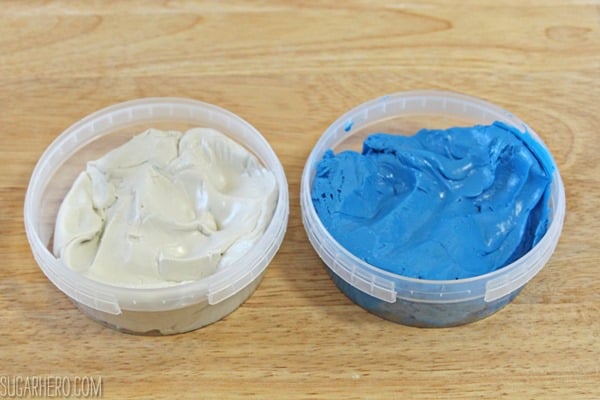
I bought my silicone online from Make Your Own Molds (not an affiliate link or sponsored post). They have several different types, but what you’ll see in this tutorial is Silicone Plastique. There are other suppliers and types out there, so if you go with a different brand, be sure to follow their instructions in case they’re different than the method I’m using here.
Silicone Plastique is sold by the pound, and comes in two parts: a blue part and a white part. (And yes, that is the extent of my scientific knowledge about this product!) So if you order one pound, you’ll get 8 ounces of each. Start by measuring out equal amounts of the white and blue. If you don’t have a scale, you can also measure them out by volume. After they’re mixed together they can’t be stored and re-used later, so try to estimate how much you’ll need and don’t mix up more than what’s required.
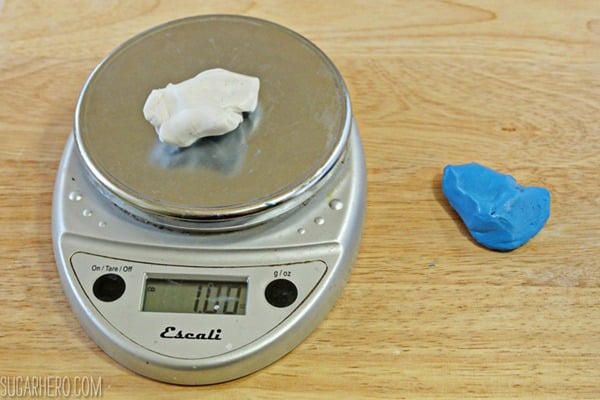
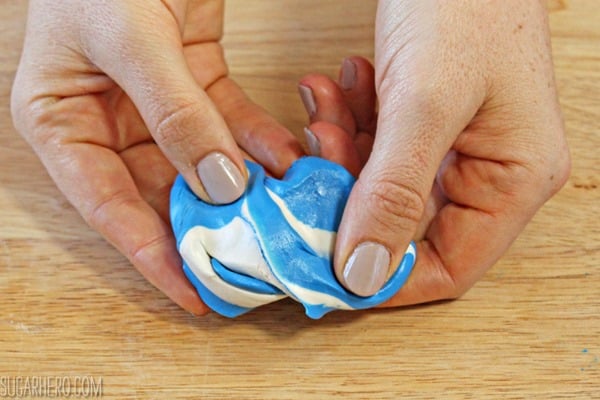
Next, knead the blue and white together until it’s a solid color, without any streaks. It’s a nice soft dough, a bit like Play-Doh but less sticky (and without that Play-Doh smell!). Once the two components are mixed together, you have a work time of about 15 minutes in which to make your mold, and then it needs about an hour at room temperature to cure before you can start using it.
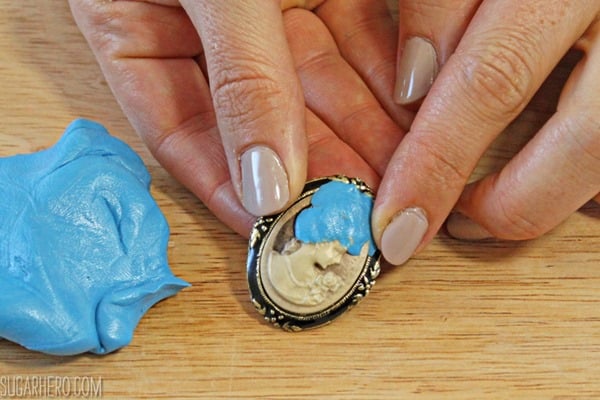
Press a very thin layer of Plastique onto the surface of the object you’re going to mold. This step is crucial to making sure that you get a high level of detail—just jamming the object into a clump of Plastique isn’t going to get you great results. So pinch off small pieces and press them firmly into the surface, until the entire front is covered.
In this example I’m molding this Cameo Brooch, but let’s pretend that it’s a meaningful family heirloom instead. Almost anything can be molded, although you should use good judgment—some textures, like furry or hairy fabrics, won’t turn out well, and objects that don’t have a raised surface won’t give you the level of detail you see in these pictures.
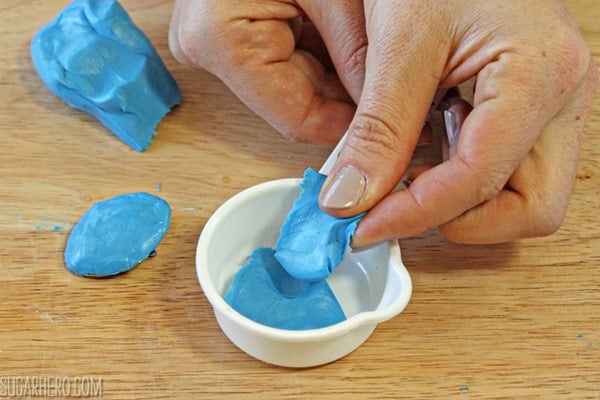
So after the surface is covered with a thin layer, you want to press it into a thicker layer of Plastique. I tried this two ways: by just forming some Plastique into a glob and pressing the object on top, and by molding the Plastique in a small container before adding the object. I liked the container method better—I felt like it gave me more control, made it easier to get a thinner layer of Plastique underneath the object, and has a slightly neater result.
In this example, you’ll see I used a small measuring cup, but any appropriately-sized container will work. Add enough Plastique to make a layer about a quarter-inch thick.
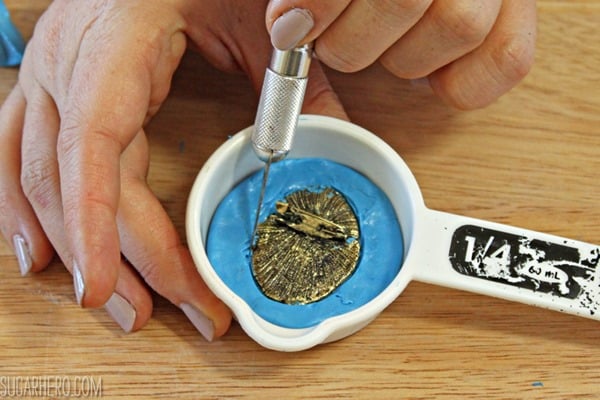
Press the object firmly into the Plastique, until the back is flush with the top of the silicone. (Remember, you need to be doing this within your 15-minute window, so it will bond properly with itself.) Run your fingernail, a knife, or a razor lightly around the edge, removing any Plastique that overlaps the back, and making a clean edge for the top of your mold. Let it set for at least an hour at room temperature.
After an hour, you’re ready to see magic happen! Pop that baby out of the measuring cup, then gently pull the object away from the mold. You now have a sturdy, flexible mold that can be used for chocolates, hard candy, gelatin, ice, soap, and on and on…
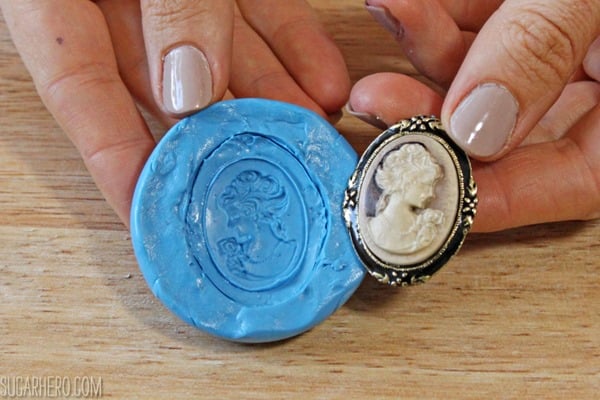
I’ve only tried the mold with chocolate so far, and it works great. I will say that the thinner the mold is, the more flexible it is, which makes it easier to unmold delicate shapes without any breakage. The big downside to this method is that you end up with only one cavity, so if you need to make a large amount of candies, you’ll either have to make more molds with the same object, or spend a long time making them one at a time. It’s worth it, though, to get this custom level of detail:
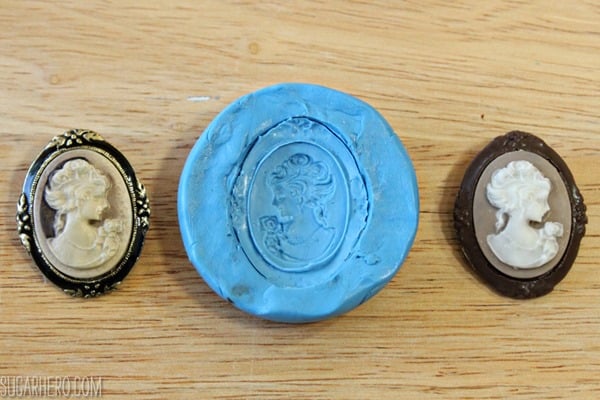
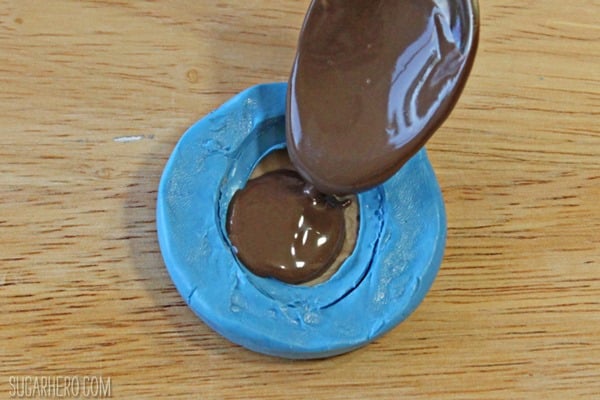
If you want to make a solid color, all you have to do is pour in your chocolate and let it set. But if you want to achieve a multi-colored effect, like you see on these cameos, you’ll want to do a little painting first. Melt your chocolate of choice (I’m using candy coating in this example) and paint your mold using a small paintbrush. I like to get tiny brushes from the craft store for this purpose.
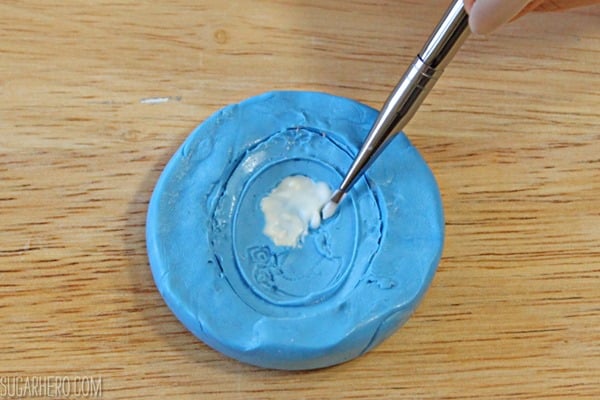
If you’re using multiple colors, repeat this step until all the parts of the mold are painted the color you want. I didn’t refrigerate the mold in between steps, but if your colored areas are very close together, or your colors are smearing, you might want to try a brief chill in between.
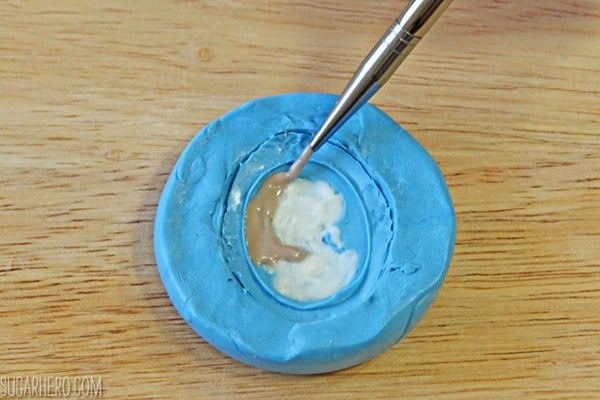
Finally, pour in enough chocolate just to come up level to the top of the mold, and tap it against the counter a few times to spread it into an even layer and get out any air bubbles. Refrigerate the chocolate for 10-15 minutes, then gently flex the mold to remove it.
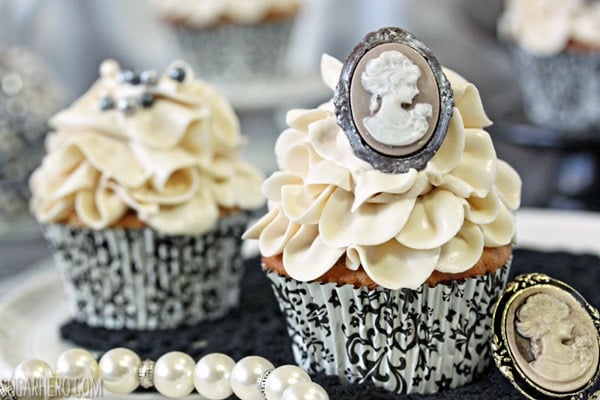
That’s it! You can now make some gorgeous custom chocolates. It’s fun to do this with just about any random shape, but this is also a great way to make something really meaningful for someone you love. Imagine molding some sentimental jewelry, medals, or other keepsakes to commemorate a birthday, anniversary, or other special occasion. (Again, using your best judgment!) I used my cameo chocolates to embellish my Earl Grey Lavender Cupcakes and they were so elegant!
I hope this tutorial is helpful, and I would love to see what you make if you give it a try!
🤎More Chocolate Tutorials
- How to Temper Chocolate
- How to Make Chocolate Leaves
- How to Make Chocolate Feathers
- How to Make Chocolate Bowls
- How to Make Chocolate Flowers
- How to Make a Chocolate Rose
This post contains Amazon affiliate links. For more information, see my Affiliate and Advertising Policy.




Do you make your own chocolate or use store-bought melts?
What about using food grade liquid silicone? I bought 2,000g online for $20 so some are definitely cheap enough. I make molds for making 1-shot “lost wax” originals, only on a large scale. I was thinking of doing this for chocolate as well.
Also, you can use “mold release” sprays which enable the silicone to pop free of your original object (e.g. your brooch) w/o having to use a knife or anything. You can even immerse an object into silicone and then cut the resulting silicone blob into 2 halves for making injection molds. I’ve done this by sticking the original onto a cone-shaped sprue and submerging the whole thing into the silicone, so when separating the blob into 2 halves, 1 side has an impression left from the sprue/cone which makes a nice funnel for pouring my hot wax…or hopefully soon melted chocolate. 😀
Hi Lloyd, I love all of these ideas! This blog post is 9 years old now (!!!) and can definitely use some updating to reflect all the great new products available these days. Thanks for sharing!
Great article! For anyone looking to take their chocolate-making to the next level, I highly recommend checking out PJBold.com. They offer a fantastic range of silicone and polycarbonate chocolate molds that are perfect for creating intricate designs. Whether you’re a beginner or a pro, their molds are made from top-quality materials and are super easy to use and clean. If you’re serious about making beautiful chocolates, PJBold is worth a look!
Hi Maria. So glad you enjoyed the article! Thank you so much for the helpful share for other readers. Have a great day!