


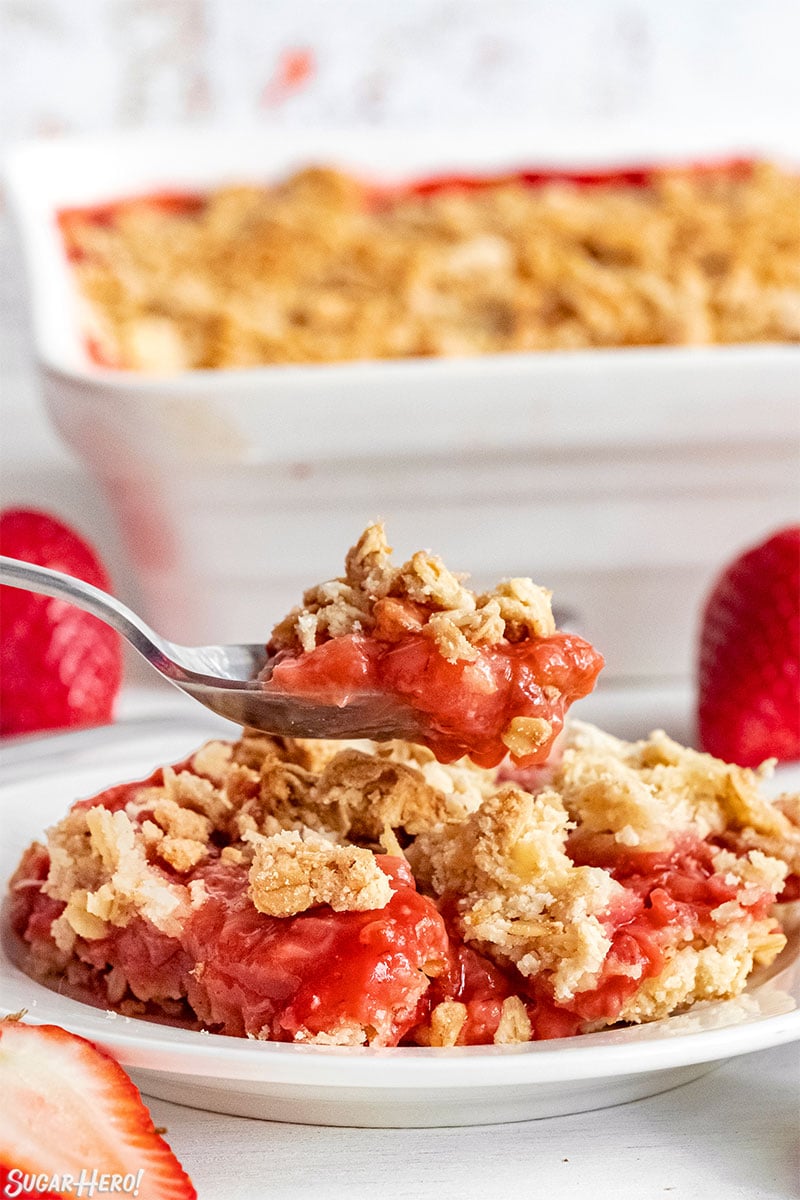
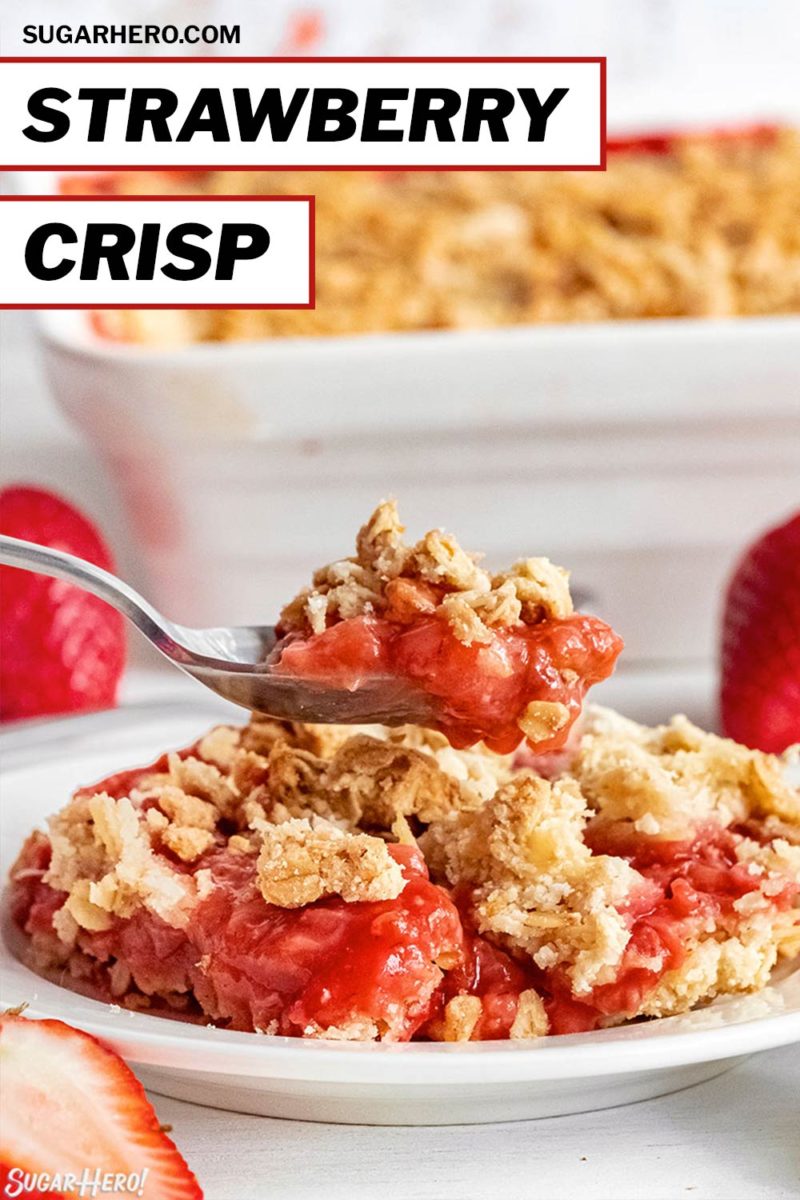
Strawberry Crisp is summer’s answer to fall’s apple crisp. Warm, easy to make, and a great companion to ice cream, this easy strawberry dessert is a fantastic way to end the day an enjoy the fresh tastes of the season.
🍓 Easy Strawberry Dessert
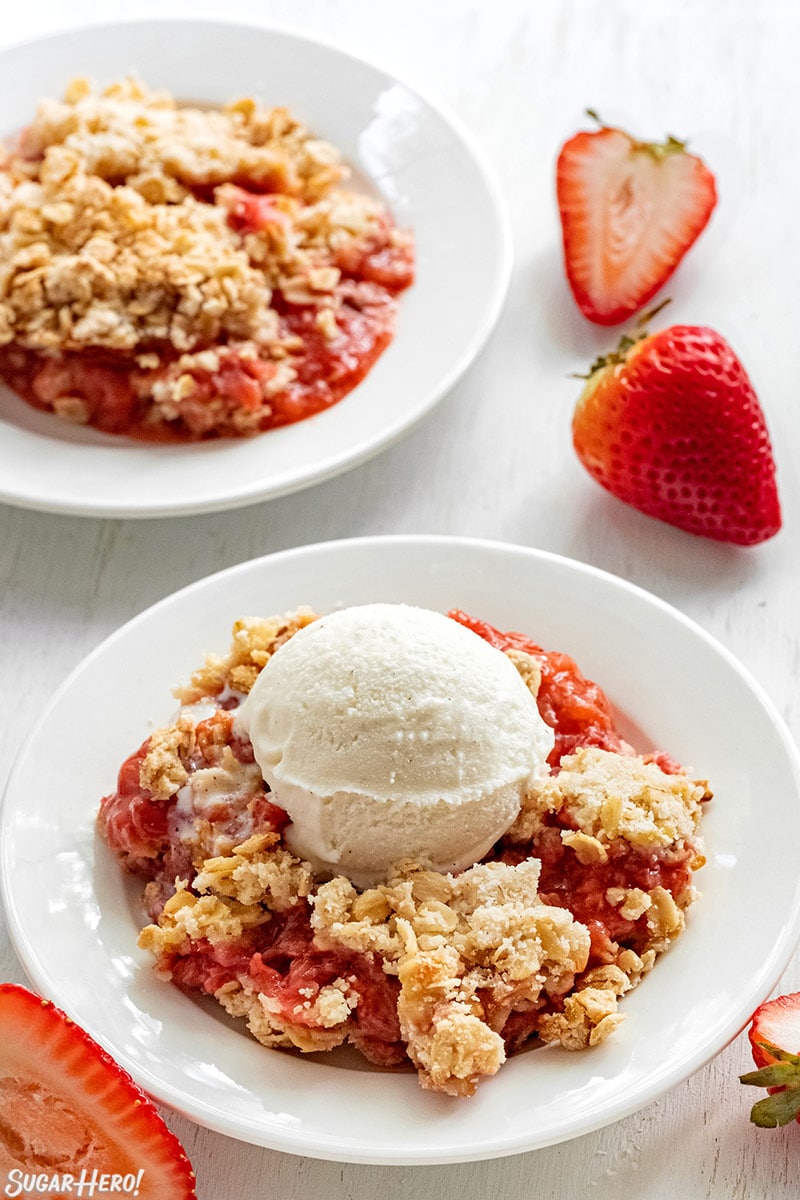
This classic strawberry crisp is the quintessential summer dessert – easy to make, with simple flavors that allow the fresh ripe strawberries to shine, and best enjoyed with LOTS of melty ice cream on top. If that doesn’t scream summertime, I don’t know what does!
But, thanks to the magic of this modern world we live in, strawberries are easy to come by year-round, meaning it’s never the wrong time to enjoy this strawberry crisp. You can even use frozen berries if that’s what’s available to you. And if you’re in the mood for more delicious fresh strawberry desserts, check out my Strawberry Buttercream, Strawberries and Cream Layer Cake, or Chocolate-Covered Strawberries!
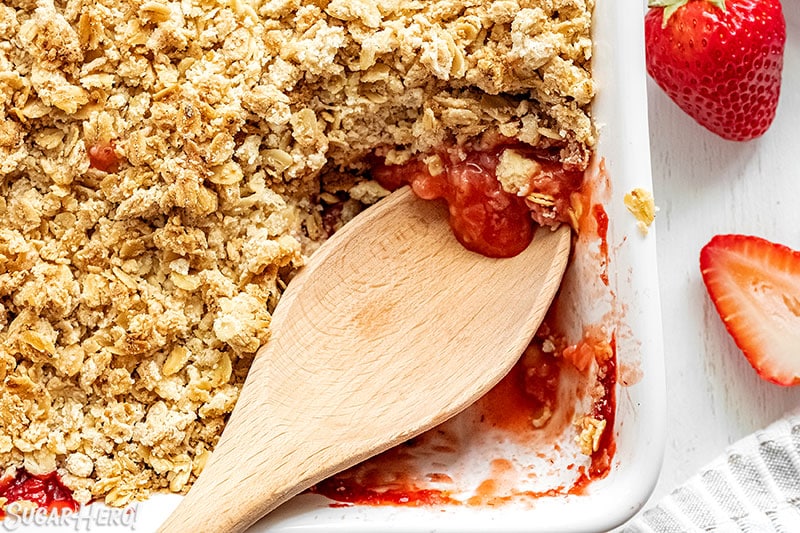
Table of Contents
What is a crisp?
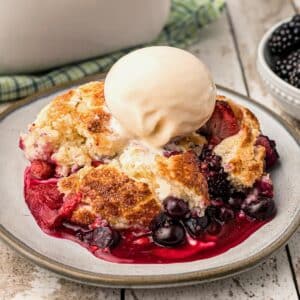
Crisps, cobblers, and crumble desserts are often grouped together because they share a lot of similarities. They’re all easy, fruit-based desserts that feature lots of cooked fruit, and then some kind of topping — either biscuit, cake, oat or nut toppings. The names are sometimes used interchangeably, but they actually have key differences!
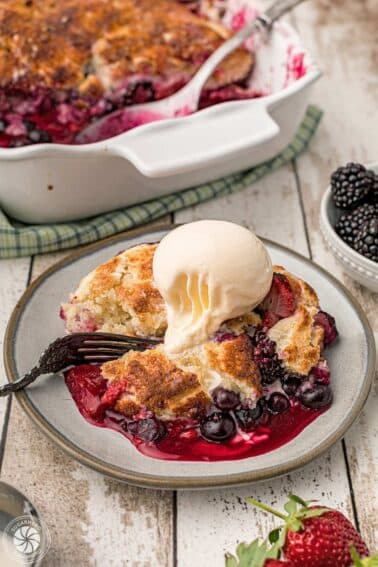
Cobblers are traditionally made with a biscuit topping. Now, that can be very literal (think round biscuits cut out and placed precisely on the fruit) or a more casual interpretation, like this my Mixed Berry Cobbler, which has a buttermilk biscuit-inspired topping that’s plopped willy-nilly on top…or, some might say, cobbled together. (theatrical wink) Cobblers can also be made with a softer, more cake-like topping–some recipes even use a cake mix!
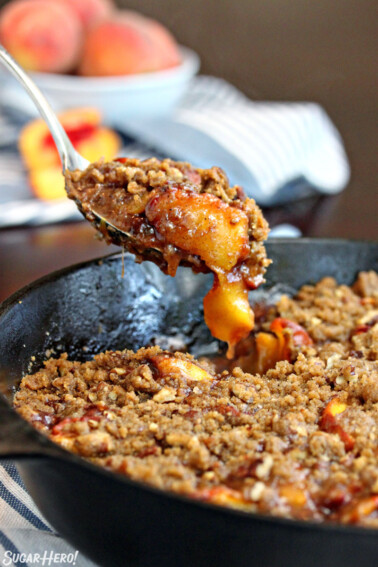
Crisps are made with an oat-based streusel. It’s typically scattered on top of the fruit in clumps, and bakes up buttery and crisp–hence the name. If you’re looking for a killer crisp recipe, this Brown Butter Skillet Peach Crisp is a must-make for my family every year!
Crumbles are also made with a streusel topping, but without the oats. In this case, the topping is usually a combination of butter, sugar, flour, and spices like cinnamon. My favorite Blueberry Crumble Pie recipe includes almonds in the streusel topping to provide a nice crunch.
🧾 What You’ll Need
Ingredients
One of the nice things about crisps is, you probably already have a lot of the ingredients at home already. You will likely only need to pick up a couple of items, like fresh strawberries, to get baking.
(Links are affiliate links and I earn a small commission from qualifying purchases.)
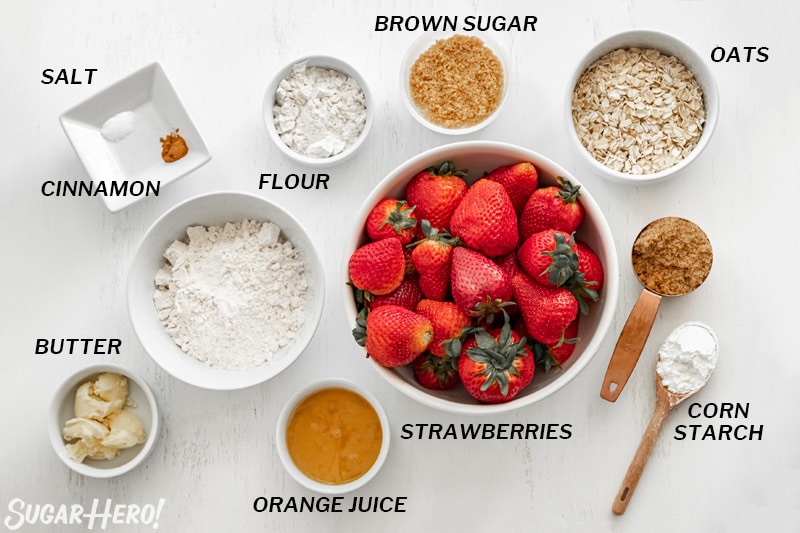
- Fresh strawberries: If you are lucky enough to live near a farm or farm stand, those are the best places to get strawberries. If not, you should be able to find them in your local store all year long. And if you prefer, you can use frozen strawberries. Just make sure you fully defrost them and drain them of all excess liquid before using.
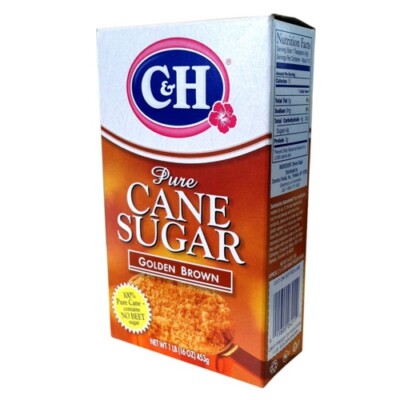
- Brown Sugar: You’ll need brown sugar for both sweetening the batter and for the crispy crumb topping.
- All-Purpose Flour: If you need to make this gluten free, you can. I recommend using a 1:1 ratio for the all purpose flour. Also, you’ll want to make sure the cornstarch and oats are certified gluten free.
- Orange Juice Concentrate: If you don’t have this on hand, you can use regular orange juice as a substitute.
- Corn Starch: This helps to bind the ingredients together as they bake.
- Cinnamon: Cinnamon gives a bit of spice and added flavor for the crisp.
- Salt: Salt helps make the flavors pop a bit.
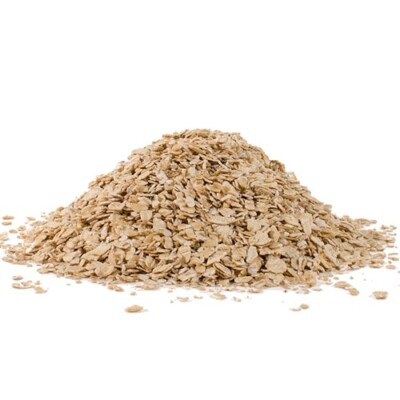
- Old Fashioned Rolled Oats: The oats are the base of the crispy topping. I recommend regular rolled oats, but quick oats can also be used in a pinch.
Equipment
You don’t need much to make the crisp, but a few pieces of equipment will make your life a bit easier! (Links are affiliate links and I earn a small commission from qualifying purchases.)
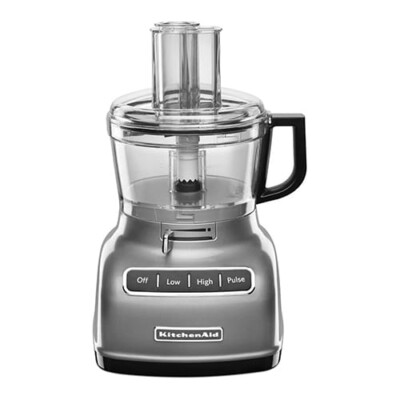
- Food Processor: I use my food processor a lot! No kitchen is really complete without one, since it can make some tasks so much easier. For this recipe, it quickly replaces the need to chop up the strawberries into chunks.
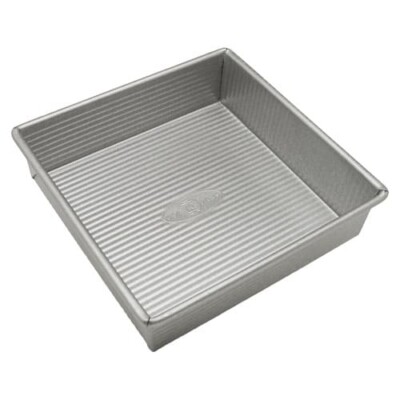
- 8×8 Pan: A simple square shaped 8×8-inch pan is another great addition to any kitchen, and one of the sizes I recommend people who do a lot of baking keep on hand.
- Large Mixing Bowl:You don’t need anything fancy here. A large bowl makes it a lot less messy when baking, and can help prevent spills while you mix up your ingredients.
📋 Instructions
Here are the basics for making this Strawberry Crisp! A more detailed printable recipe is below.
Prep the strawberries
- Before doing any prep, preheat your oven to 375° F / 190° C.
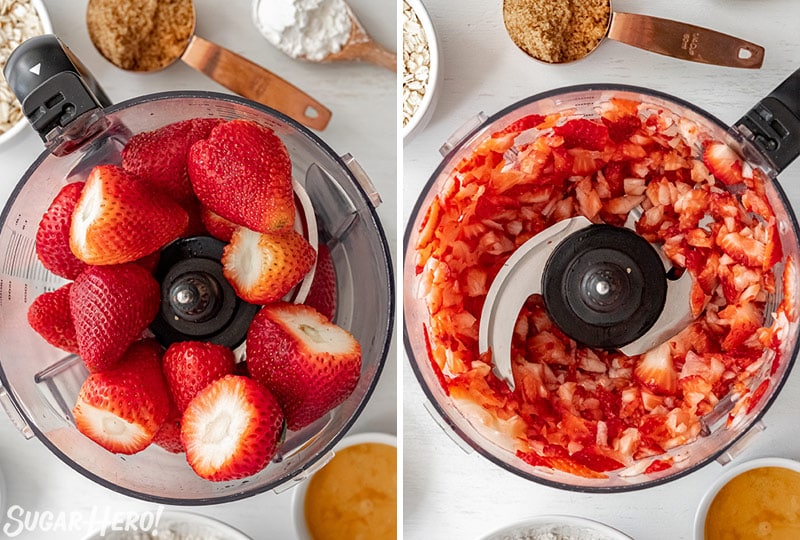
- Start by washing the strawberries and gently patting them dry.
- Use a small pairing knife to remove the stems and then place them in a food processor.
- Blend or pulse for 10 to 20 seconds or until the strawberries are broken down some. You will still want to have some medium sized chunks.
- If you do not have a food processor, chop them up well with a kitchen knife.
Make the filling
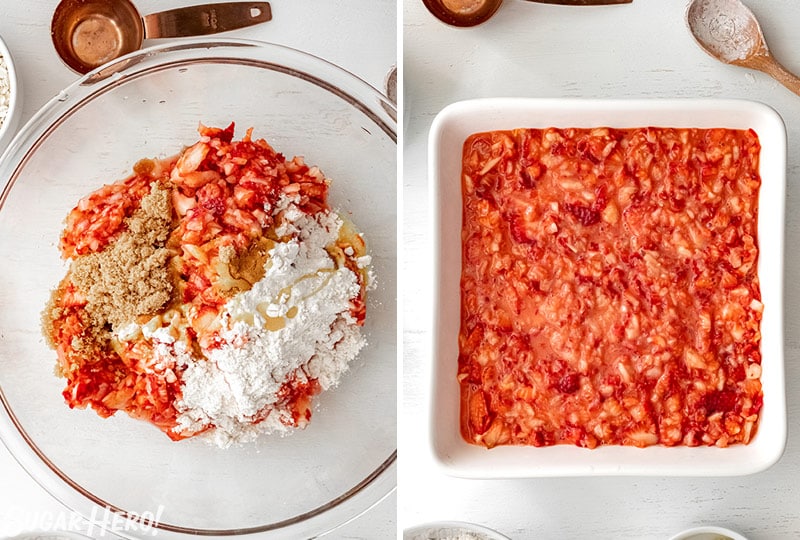
- In a large mixing bowl, combine the filling ingredients, including the chopped strawberries, ¼ cup brown sugar, 3 tablespoons of flour, orange juice concentrate, corn starch, cinnamon, and salt. Mix the ingredients well.
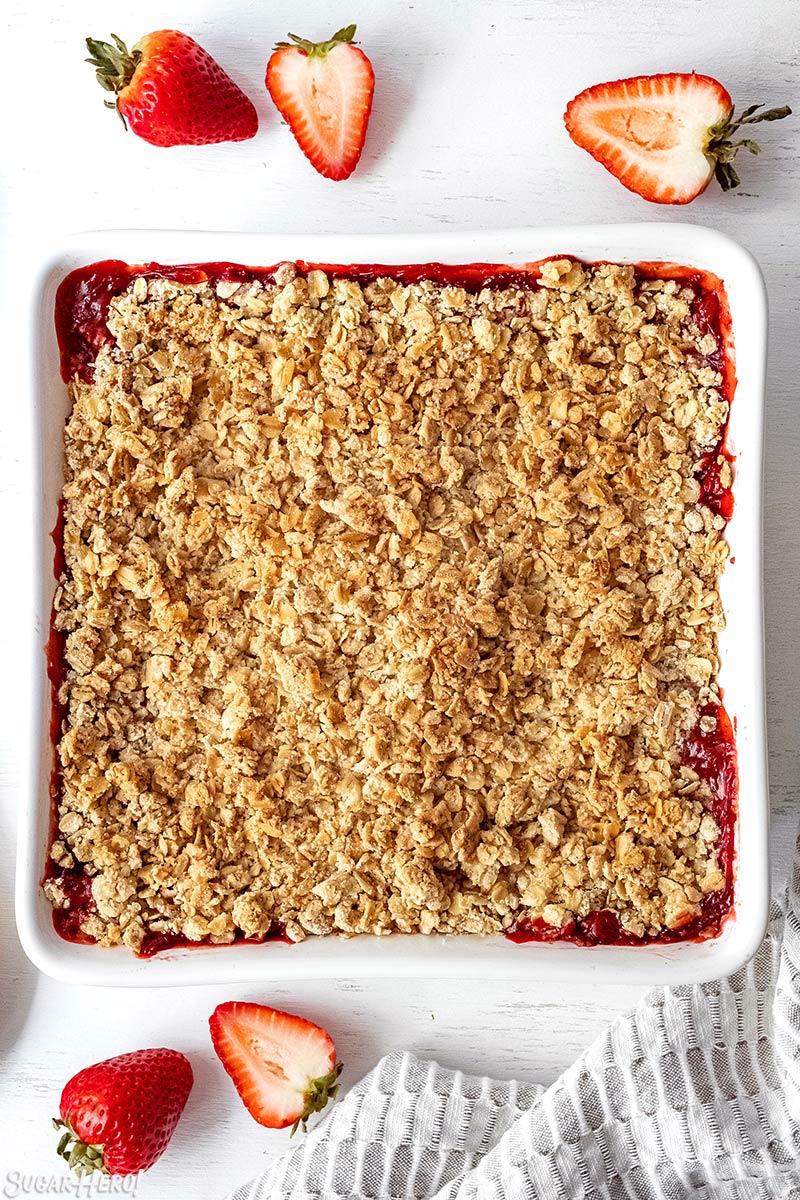
- Once mixed, pour the strawberry mixture into an 8×8 baking dish and spread evenly.

Make the topping and bake!
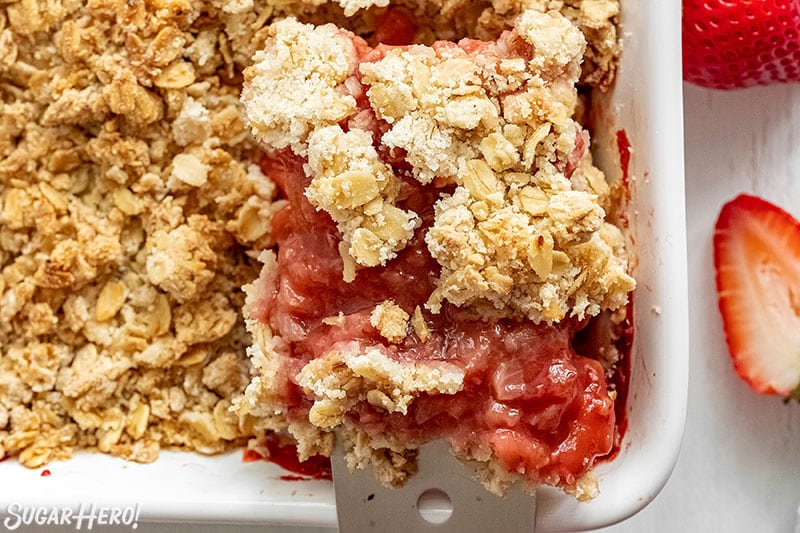
- In a new bowl, combine the crisp ingredients, including the rolled oats, ¾ cup of flour, ¼ cup brown sugar, and 3 oz butter. Use your hands to mix them together well.
- Spread the crisp topping over the filling until it covers the entire pan.
- Bake the strawberry crisp at 375 F for 30 minutes. When it is done, you can turn on the broiler and broil the top for 1 to 2 minutes longer to give it a more of a golden brown color. Just be careful not too broil it for too long or it will burn!
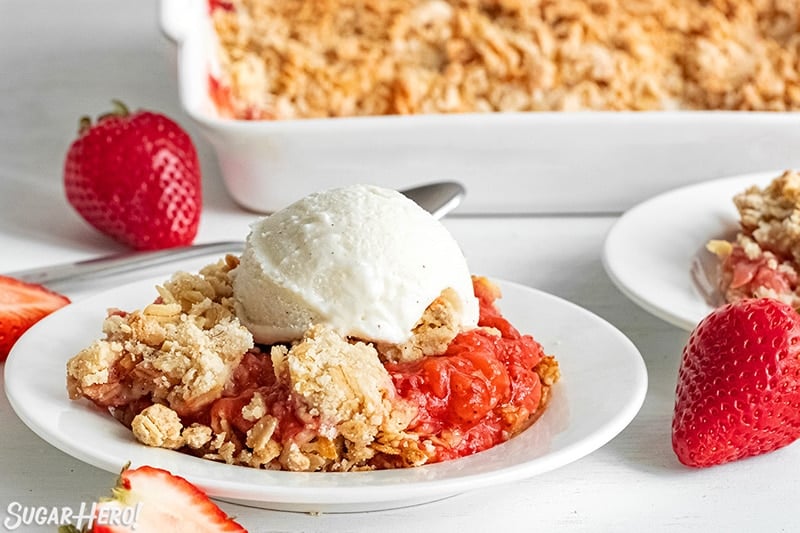
- Allow it to cool for about 15 to 20 minutes before serving with ice cream, whipped cream, or a simple dusting of powdered sugar.
💭 Variations
Using other fruit
Crisps work great with a variety of fruit! And if you make this during the summer months, you should be able to find plenty of fresh fruit to choose from. A couple of my favorite variations include:
- Use pitted peaches, cherries, or nectarines in place of the strawberries. If you love peaches, check out this Brown Butter Peach Crisp!
- Sub in blueberries, raspberries, or blackberries.
- Mix and match different berries to create a combo crisp. You can check out this Mixed Berry Cobbler for some more inspiration!
If you decide to make the crisp with another fruit, you may need to experiment a bit. If the fruit is super sweet, like peaches tend to be, you may need to reduce the amount of sugar you use. You may also find you might need to adjust the amount of corn starch if they are super juicy. No matter what fruit you use, make sure to roughly chop it. You still want to have larger chunks to give the filling texture and body.
Using frozen strawberries
No fresh berries? No problem? Frozen berries work great in this crisp–and actually, sometimes they can be preferable, if your fresh berries are terribly expensive or out of season.
To use frozen berries, place them in a wire colander set in the sink or over a bowl, and let them come to room temperature. They will give off some liquid as they defrost, and you don’t want that excess liquid in your crisp. Once they’re no longer frozen, proceed with the recipe as written!
💡 Tips and FAQs
If you are new to baking, a simple crisp is a great way to get started. There really isn’t much you can do to mess it up entirely!
Some tips you might find helpful include:
- Don’t pulverize the strawberries! You’re not making jam here. You want them to be in large chunks so you get some extra texture from them in the filling.
- If you decide to broil the top, keep a close eye on it. It can go from tasty to burned in a matter of seconds! You also may need to adjust how high your rack is.
- Always reheat leftovers for the best taste when serving it again. Warm crisp = true love.
What can I do with a bunch of extra strawberries?
Talk about a life saver here! If you are lucky enough to get to go strawberry picking (highly recommend!) you might find yourself with so many strawberries that you don’t know what to do with them all! Putting them in a crisp like this is the perfect solution! If you still have extra, you can also make them into jam or bake some other strawberry desserts like my Strawberry Rhubarb Pie or Grownup Strawberry Short Cake.
Make-Ahead and Storage Instructions
You can make this recipe a day or two in advance of a get together. I recommend fully baking it, allowing it to cool, and then storing with a tight plastic wrap seal on top in the fridge. It should last about 3 days.
When you are ready to serve it, I highly recommend reheating it so it is warmed through. And, of course, you want to serve it with ice cream or whipped cream!
Don’t miss the step-by-step tutorial showing how to make a Strawberry Crisp – check out the web story here!
🍓 More Delicious Berry Recipes
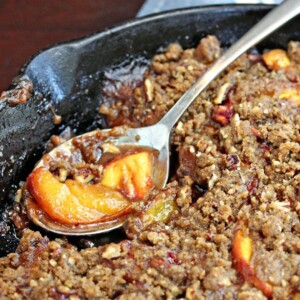
Cast Iron Peach Crisp (With Brown Butter Streusel)
Mixed Berry Cobbler
Leave a Review!
If you make this recipe, let us know! Leave a ⭐️⭐️⭐️⭐️⭐️ rating on the recipe below, and leave a comment, take a photo and tag me on Instagram @elabau, or use #sugarhero on IG!

Strawberry Crisp
Ingredients
For the Strawberry Filling:
- 2 lbs fresh strawberries
- 1.87 oz brown sugar, (¼ cup)
- 3 TBSP all-purpose flour
- 2 TBSP frozen orange juice concentrate, can substitute orange juice
- 1 TBSP cornstarch
- ¼ tsp ground cinnamon
- ¼ tsp salt
For the Crisp Topping:
- 2.5 oz old fashioned rolled oats, (¾ cup)
- 3.18 oz all-purpose flour, (¾ cup)
- 1.87 oz brown sugar, (¼ cup)
- 3 oz unsalted butter, (6 TBSP) can use salted or unsalted
Instructions
- Preheat your oven to 375° F / 190° C.
- Wash the strawberries and gently pat them dry. Remove the stems, then place them in a food processor. Blend or pulse for 10-20 seconds, until the strawberries are broken down but there are still some medium-sized chunks. If you do not have a food processor, chop them well with a kitchen knife.
- In a large mixing bowl, combine the filling ingredients: chopped strawberries, ¼ cup brown sugar, 3 tablespoons flour, orange juice concentrate, corn starch, cinnamon, and salt. Mix well.
- Pour the strawberry mixture into an 8×8 baking dish and spread evenly.
- In a separate large mixing bowl, combine the crisp ingredients: the rolled oats, ¾ cup of flour, ¼ cup brown sugar, and 3 oz butter.
- Toss the ingredients together with your hands, then rub them between your fingers to break down the butter and get a good crumbly texture.
- Sprinkle the oat mixture over the strawberries, scattering it evenly over the top of the pan.
- Bake the strawberry crisp at 375 F for 30 minutes. At the end, you can turn on the broiler and broil it for 1-2 minutes longer to give the top more of a golden brown color.
- Once the crisp is done baking, let it cool for 15-20 minutes at room temperature, then serve warm, with a big scoop of whipped cream or vanilla ice cream on top.
- Leftovers can be stored in the refrigerator for up to 3 days, and are best enjoyed reheated.
Recipe Notes
Measuring Tips
Our recipes are developed using weight measurements, and we highly recommend using a kitchen scale for baking whenever possible. However, if you prefer to use cups, volume measurements are provided as well. PLEASE NOTE: the adage “8 oz = 1 cup” is NOT true when speaking about weight, so don’t be concerned if the measurements don’t fit this formula.
Want to learn more about baking measurements and conversion?
Nutrition


This looks so delicious. I can’t wait to try this. I love added oats in crisp. Yum!
Thanks Natalie, the oats really take it up a notch!
This strawberry crisp turned out amazing! My kids absolutely loved it. Thanks for sharing!
Thanks, Wajeeha! I’m so glad your kids enjoyed the crisp!
That looks delicious! I will definitely be making this soon!
Thank you Tavo, let us know how it turns out!
Now this is the recipe to enjoy over the last days of summer. So yummy and so inviting!
Thanks for your comment Mahy! This is a great recipe to close out summer and use up all that delicious fruit!
This is a great recipe! Tasty, rich and easy to prepare, all while using my favorite fruit of all time!! I will be making this again soon!
Thanks for your feedback, Elle! You can’t go wrong with strawberries!