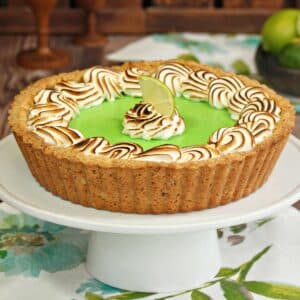
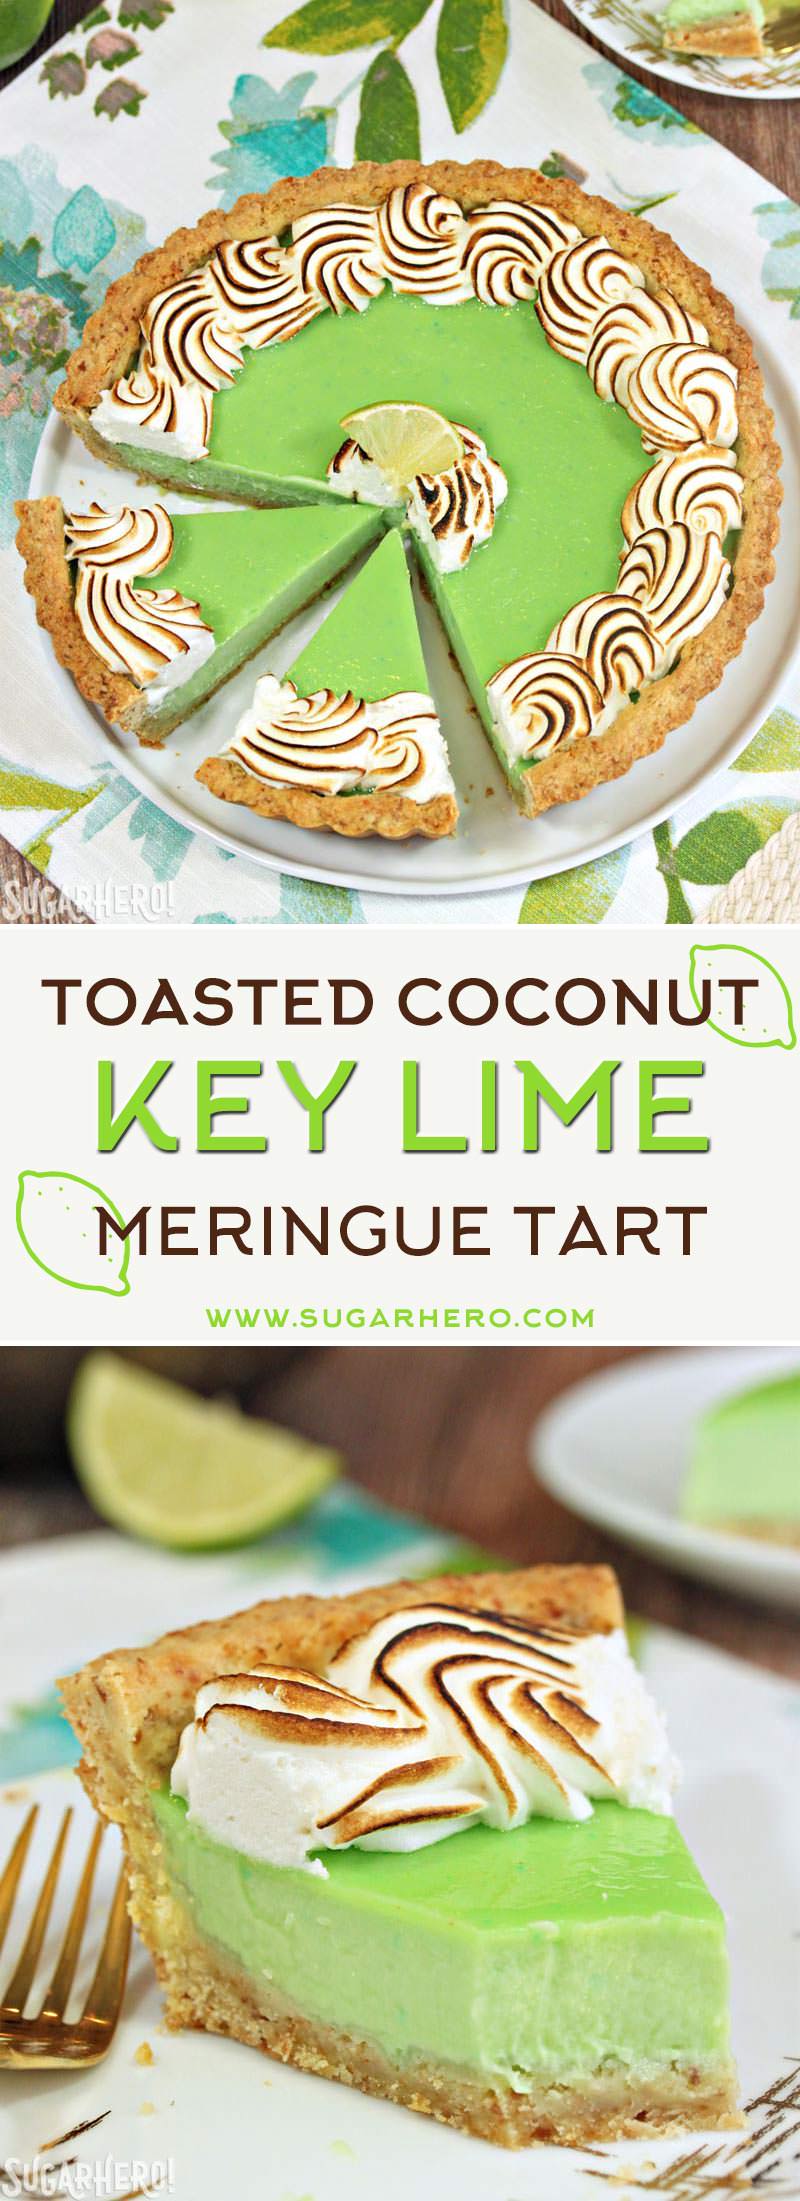
Say hello to your new favorite spring dessert! This Toasted Coconut Lime Meringue Tart is a light, fresh tart with a tangy lime filling and toasted coconut meringue on top.
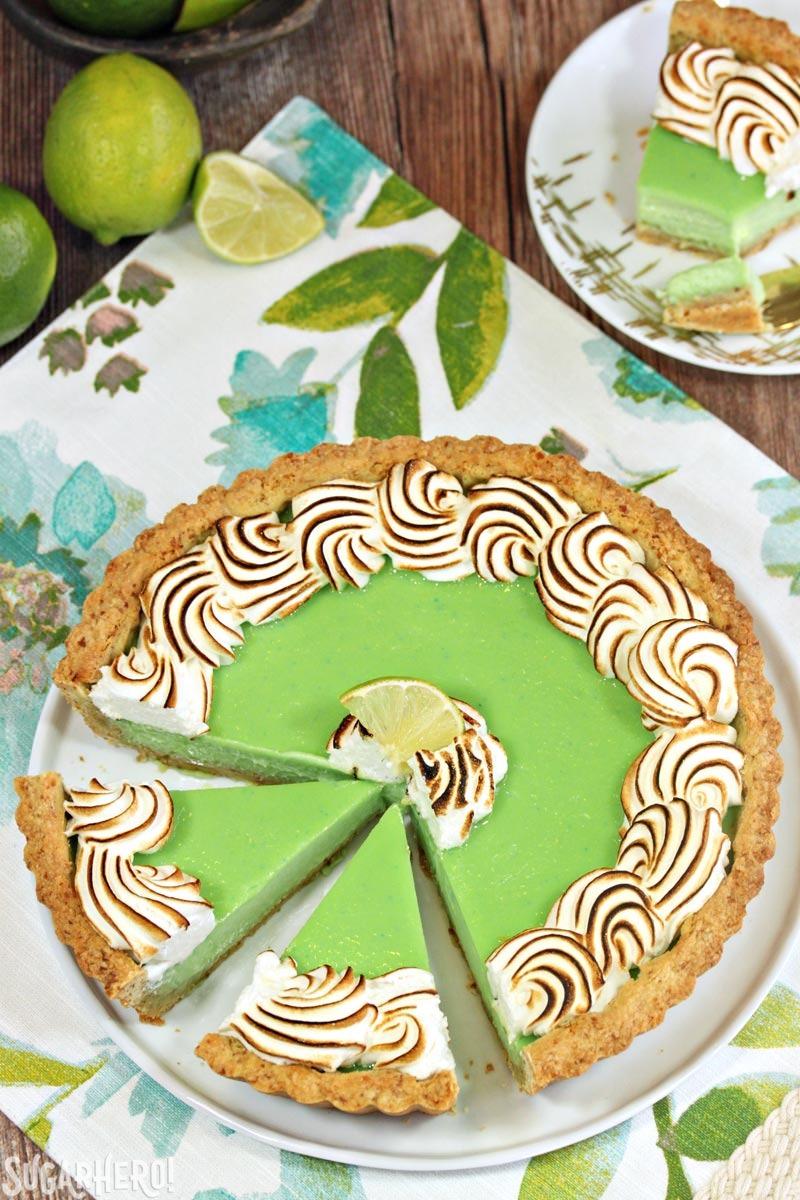
Happy Pi Day 2017! I am about as far from a math nerd as you can get—where my fellow English majors at?!—but as a shameless baking nerd, I get excited about Pi Day every year. Since it’s just a few days before St. Patrick’s Day, I thought I would kill two birds with one delicious pie-shaped stone, and share a green pie that’s perfect for both holidays.
[Obviously, pie is an ANYTIME food, and you can enjoy this year-round. But you know me, always trying to score those seasonal brownie points.]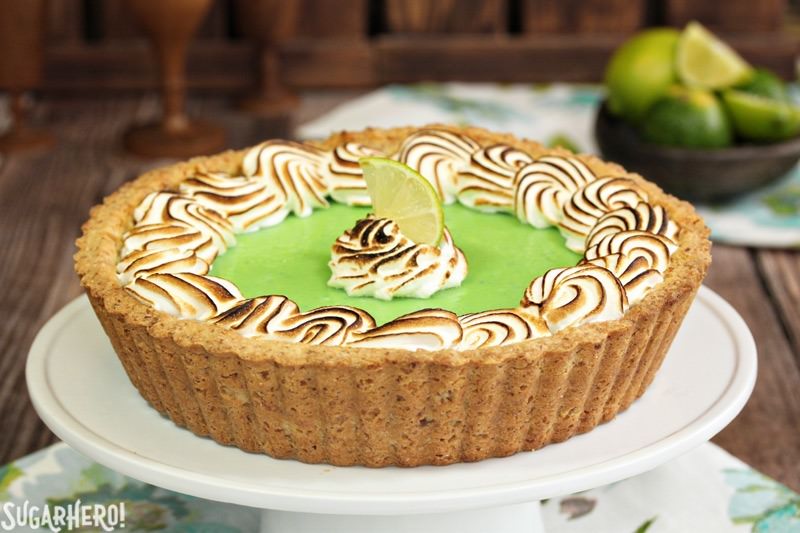
First, I have to cop to some false advertising: this pie is actually a tart. Sorrrrrry. But until the math nerds out there come out with Tart Day, I’m going to consider it a “general crusted dessert with squishy filling” free-for-all.
Second, is there anything better than the smell of toasting coconut? THERE IS NOT. This tart starts with a big handful of toasted coconut, mixed right into the buttery tart dough. The filling is a baked lime custard with the most lovely texture. It holds its shape when cut, but because it’s custard-based and not gelatin-based, it’s still soft and supple, not overly firm and weirdly jiggly. You can use any type of lime you like. Check out my detailed blog post about the difference between regular limes and key limes!
I decided to finish the tart with toasted swirls of coconut-flavored meringue. I LOVE toasted meringue and thought it was the perfect way to tie the crust and filling together, but it doesn’t have a ton of staying power–it’s really best the same day it’s made. So if you’re hoping to enjoy this over a longer time period, I’d recommend a coconut-flavored whipped cream instead.
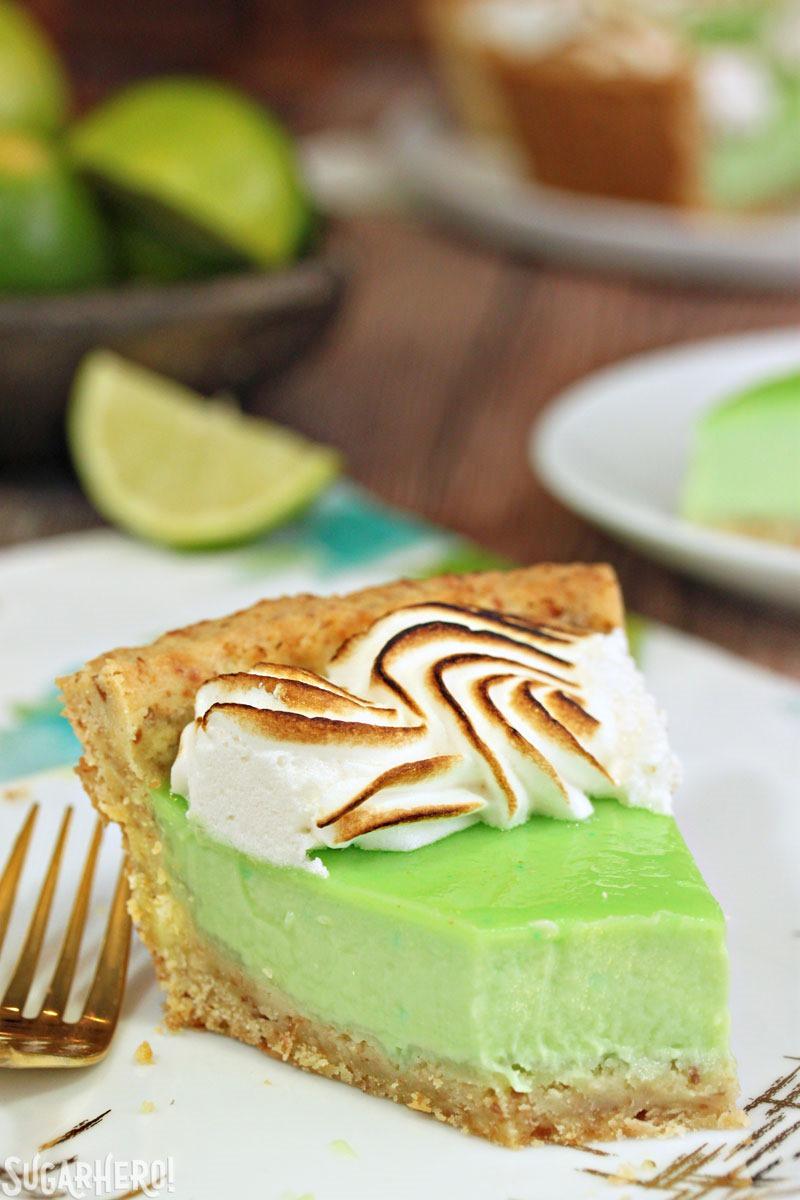
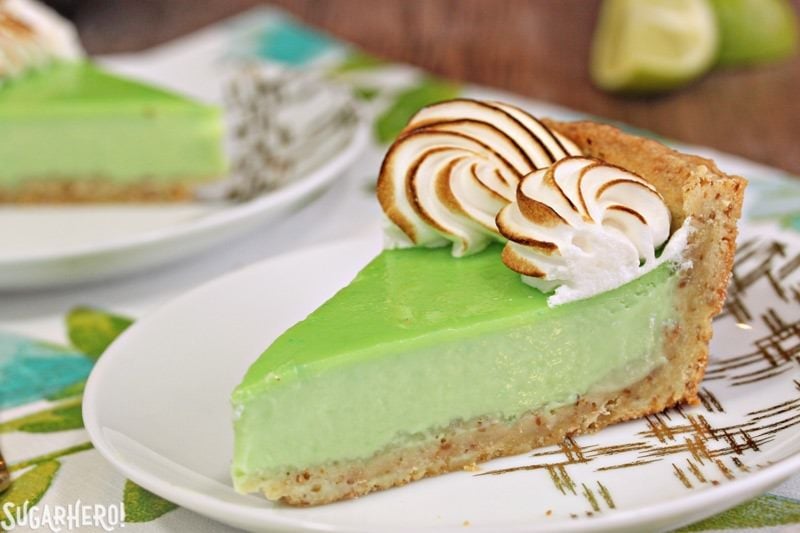
One quick word of warning: use a light hand with the green food coloring, if you decide to use it! I thought I was being restrained, but as the tart baked, the top took on a much darker color, giving me something of a day-glow green tart.
You can see the difference in the cut slices—the inside of the tart is a delicate, gentle green, while the top is…whatever the opposite of gentle is. So I would recommend using LESS color than you think you need, because the baking process will definitely make it darker! Or you can skip the color altogether, and your tart will be a custardy yellow color.
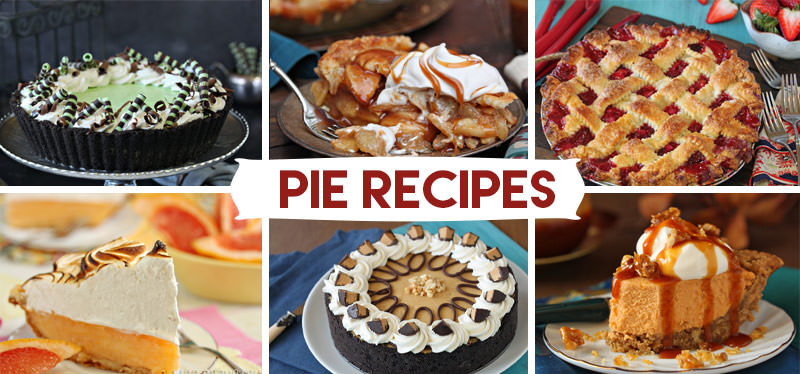
I hope you all are able to celebrate Pi Day in style! If you need more inspiration, you can see my whole collection of pie (and tart!) recipes here:
💚More Lime and Coconut Dessert Recipes
- Lime Cream Cheese Frosting
- The Best Coconut Brownies
- Key Lime Pie
- Coconut Macaroons
- Lime-Coconut Pie
- Toasted Coconut Chocolate Trifles

Coconut Macaroon Tart With Passion Fruit Cream

Blueberry Toasted Coconut Tart
Toasted Coconut Lime Meringue Tart
Ingredients
For the Toasted Coconut Cookie Crust:
- 2 oz sweetened shredded coconut, (⅔ cup)
- 11 oz all-purpose flour, (2 ½ cups)
- 4 oz powdered sugar, (1 cup)
- ½ tsp salt
- 8 oz unsalted butter, cold and cubed
- 2 large egg yolks
For the Lime Filling:
- 10 fl oz heavy cream, (1 ¼ cups)
- 6 oz granulated sugar, (¾ cup + 2 TBSP)
- 6 large eggs, at room temperature
- 6 fl oz fresh lime juice, (3/4 cup), freshly squeezed
- Green gel food coloring, optional
For the Meringue:
- 2 large egg whites, at room temperature
- 1/3 cup granulated sugar
- 1/2 tsp coconut extract
- 1/2 tsp vanilla extract
- Pinch of salt
Instructions
To Make the Toasted Coconut Cookie Crust:
- Preheat the oven to 350 F. Scatter the coconut on a small baking sheet and bake the coconut for 5-10 minutes, until the coconut is a light brown color and has an amazing toasted coconut smell. Stir every 3-4 minutes, so that it doesn’t burn around the edges. Coll the coconut completely.
- Place the coconut in the bowl of a large food processor (14 cups) and process briefly until it’s in small pieces. If you don’t have a large food processor, you can either make two half batches and combine them, or make the crust by hand using a pastry blender.
- Add the flour, sugar, and salt to the food processor, and pulse briefly until everything is well-blended. Add the cold cubed butter and pulse until it is in small pea-sized pieces. Finally, add the egg yolks and pulse in long 5-second bursts until the dough starts clumping together.
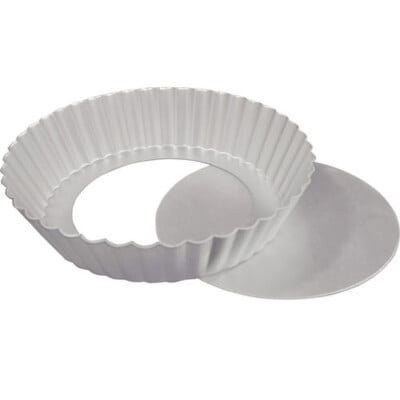
- Turn the dough out of the food processor and knead it lightly several times to incorporate any extra flour. At this point, the dough can be wrapped and refrigerated for several days. If you’re ready to use it now, spray a deep-dish 9-inch tart shell with a removable bottom with nonstick cooking spray.
- Press the dough in an even layer into the bottom and sides of the pan. Freeze the shell for 30 minutes, and while it’s in the freezer, preheat the oven to 375 degrees F. Spray the top of the tart dough with nonstick spray, then press a sheet of foil onto the shell, shiny side down, and fill the foil with dry beans, rice, or pie weights.
- Bake the tart shell for 20-25 minutes, until the sides start to take on a little color and the center no longer looks raw, then carefully remove the foil and weights. Bake for an additional 10 minutes, until the shell is light brown. You might want to cover the sides with foil to prevent them from getting too dark. Let the shell cool completely before filling it.
To Make the Lime Filling:
- Preheat the oven to 270 F. Combine the cream and sugar in a medium saucepan, and place over medium heat. Whisk occasionally while the mixture heats up, until the sugar dissolves and the cream comes to a simmer.
- Meanwhile, whisk the eggs together in a separate bowl. Once the cream is at a simmer, whisk the eggs while you drizzle the hot cream into the eggs slowly. Finally, add the lime juice and whisk well. If you’re using food coloring, add just a drop or two of green food coloring. The color will intensify as it bakes, so use less than you think you need to get a nice green color.
- Pour the filling into the baked and cooled tart shell. Bake the tart at 270 F for 60-70 minutes, until the edges are set but the filling jiggles slightly when the pan is tapped. Remove the pan from the oven and cool to room temperature, then once at room temperature, refrigerate the tart until completely chilled. (Don’t try to cut it before it’s cooled completely!)
To Make the Meringue and assemble:
- Combine the egg whites and the granulated sugar in the bowl of a large stand mixer, and whisk them together.
- Choose a small saucepan that lets you fit the base of the stand mixer snugly into the top of the saucepan—this is your makeshift hot water bath. Add an inch of water to the bottom of the saucepan, place the pan over medium heat, and bring the water to a simmer.
- Place the mixing bowl on top of the saucepan, making sure that the bottom isn’t in contact with the water, and heat the egg white mixture. Whisk frequently so that the egg whites don’t cook. Continue to heat the whites until they are hot to the touch, and when you rub a bit between your fingers, you don’t feel any grittiness from the sugar. Once the whites are hot, transfer the mixing bowl to your mixer and fit it with a whisk attachment.
- Beat the whites on medium-high speed until they are a shiny, stiff, voluminous meringue, and are no longer warm to the touch—feel the outside of the bowl, and make sure that it is around room temperature. Add the coconut extract, vanilla extract and salt and mix them in.
- Transfer the meringue to a pastry bag fitted with a large star tip. Pipe a border around the outer edge of the tart, and if desired, add a meringue rosette to the center as well. If you want to toast the meringue, use a kitchen torch to toast the outside of the meringue until it is a golden brown color. The meringue layer is best the day it is made, but it does have some staying power, so leftovers can be kept in the refrigerator and enjoyed for several days afterward.
Recipe Notes
Measuring Tips
Our recipes are developed using weight measurements, and we highly recommend using a kitchen scale for baking whenever possible. However, if you prefer to use cups, volume measurements are provided as well. PLEASE NOTE: the adage “8 oz = 1 cup” is NOT true when speaking about weight, so don’t be concerned if the measurements don’t fit this formula.
Want to learn more about baking measurements and conversion?
Nutrition
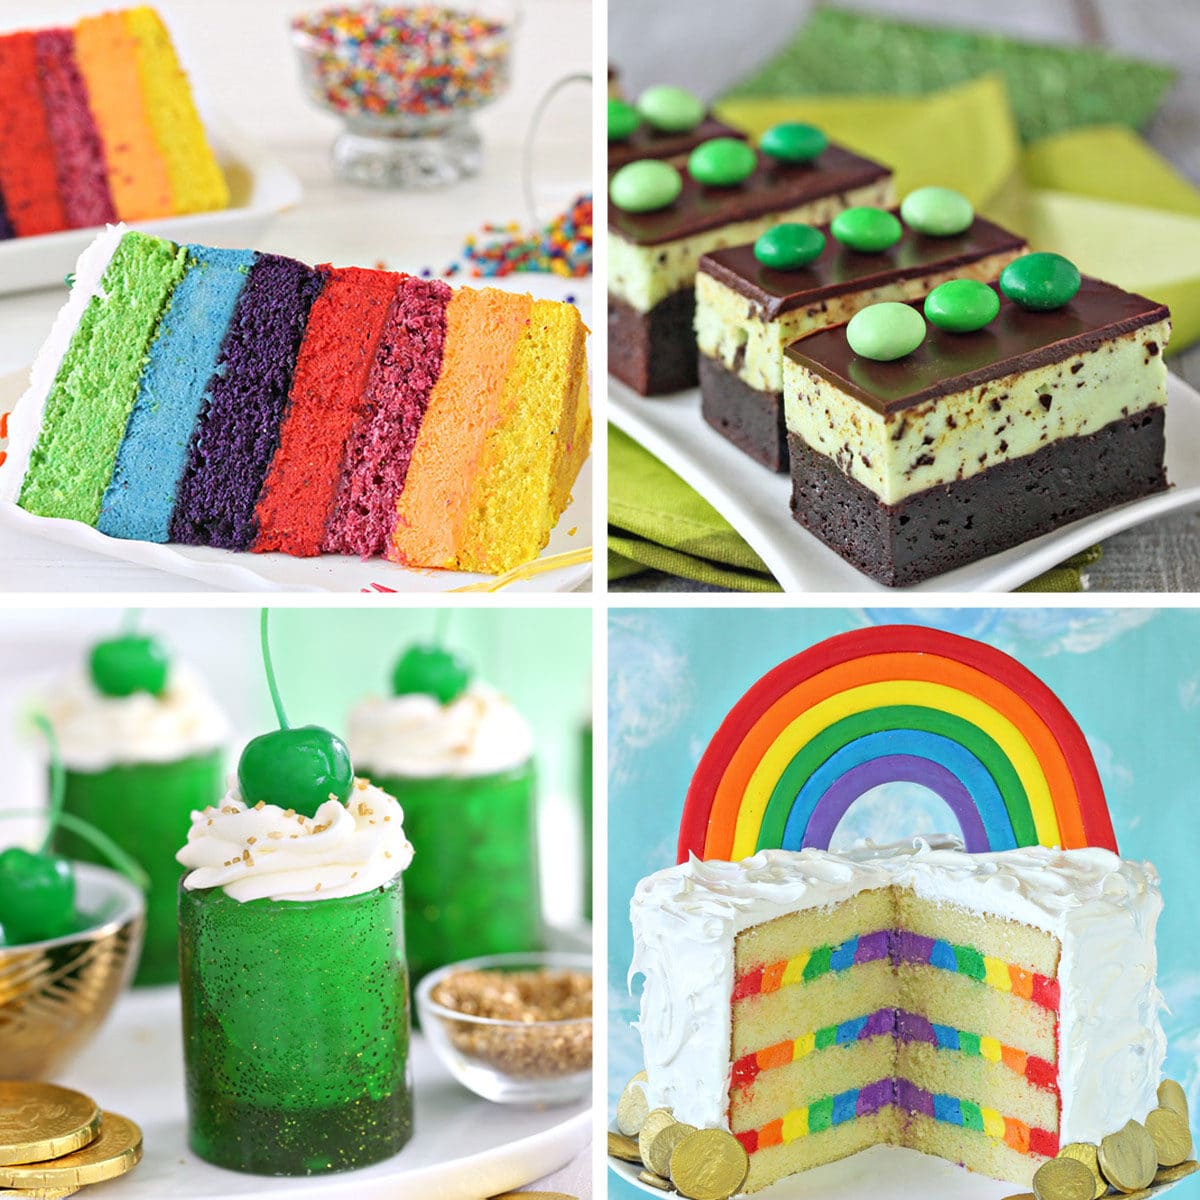
ST. PATRICK’S DAY DESSERTS 🍀
We’ve rounded up 23 of our FAVORITE rainbow dessert recipes & ideas that are sure to make you smile — click here to get all the recipes!





Tart or Pie, this thing is gorgeous!
I don’t know which I’ll comment on! I’m speechless! I rather the two tone green. The flavors in this combination are simply amazing!
I love coconut and lime so this looks great. And the pretty green color would also be perfect for St. Patrick’s Day!
What a beautiful pie! Love that color!
Oh my this looks so good! And I love how pretty the meringue turned out! This is like spring on a plate!
I think the beauty of this treat excuses its tart qualities and combining pi day with green colors for St. Patty’s day was genius!
Does I use 6 whole eggs or just egg yolks for the filling
I have tried to make this crust as well as the crust for the grapefruit mint tart. I have tried each twice and the dough is impossible to work. It just disintegrates! It is too dry to even get it into the tart tin. It just falls apart like wet tissue paper. Wasted lots of money on ingredients too!
Hi Richard, I’m sorry to hear you’ve had trouble with the crust. As you’ve noticed, this is a crust recipe I use frequently, because it’s one that I’ve had a lot of success with, so I’m confident that it works and holds together. But like in all things baking, there can be variations due to how ingredients are measured, egg yolk size, etc. Are you using a kitchen scale or cup measurements? If you are using cup measurements, I suggest you spoon the dry ingredients into the cups and level off with the back of a knife rather than scooping and packing the drys. And for eggs, using large eggs rather than medium are always suggested.
The crust definitely needs those long 5-second pulses to come together. Short 1-second bursts will not do it. If you have measured properly, used a large egg yolk, and done the long pulses, and it still has not come together, you can add a splash or two of milk, just enough to bring it together, then pulse for a few more seconds until you have a nice dough. I hope this helps, and feel free to send me an email if you need more troubleshooting help.
Do I need to cook the tart before doing the meringue?
Yes, definitely make sure it’s cool first! 😀