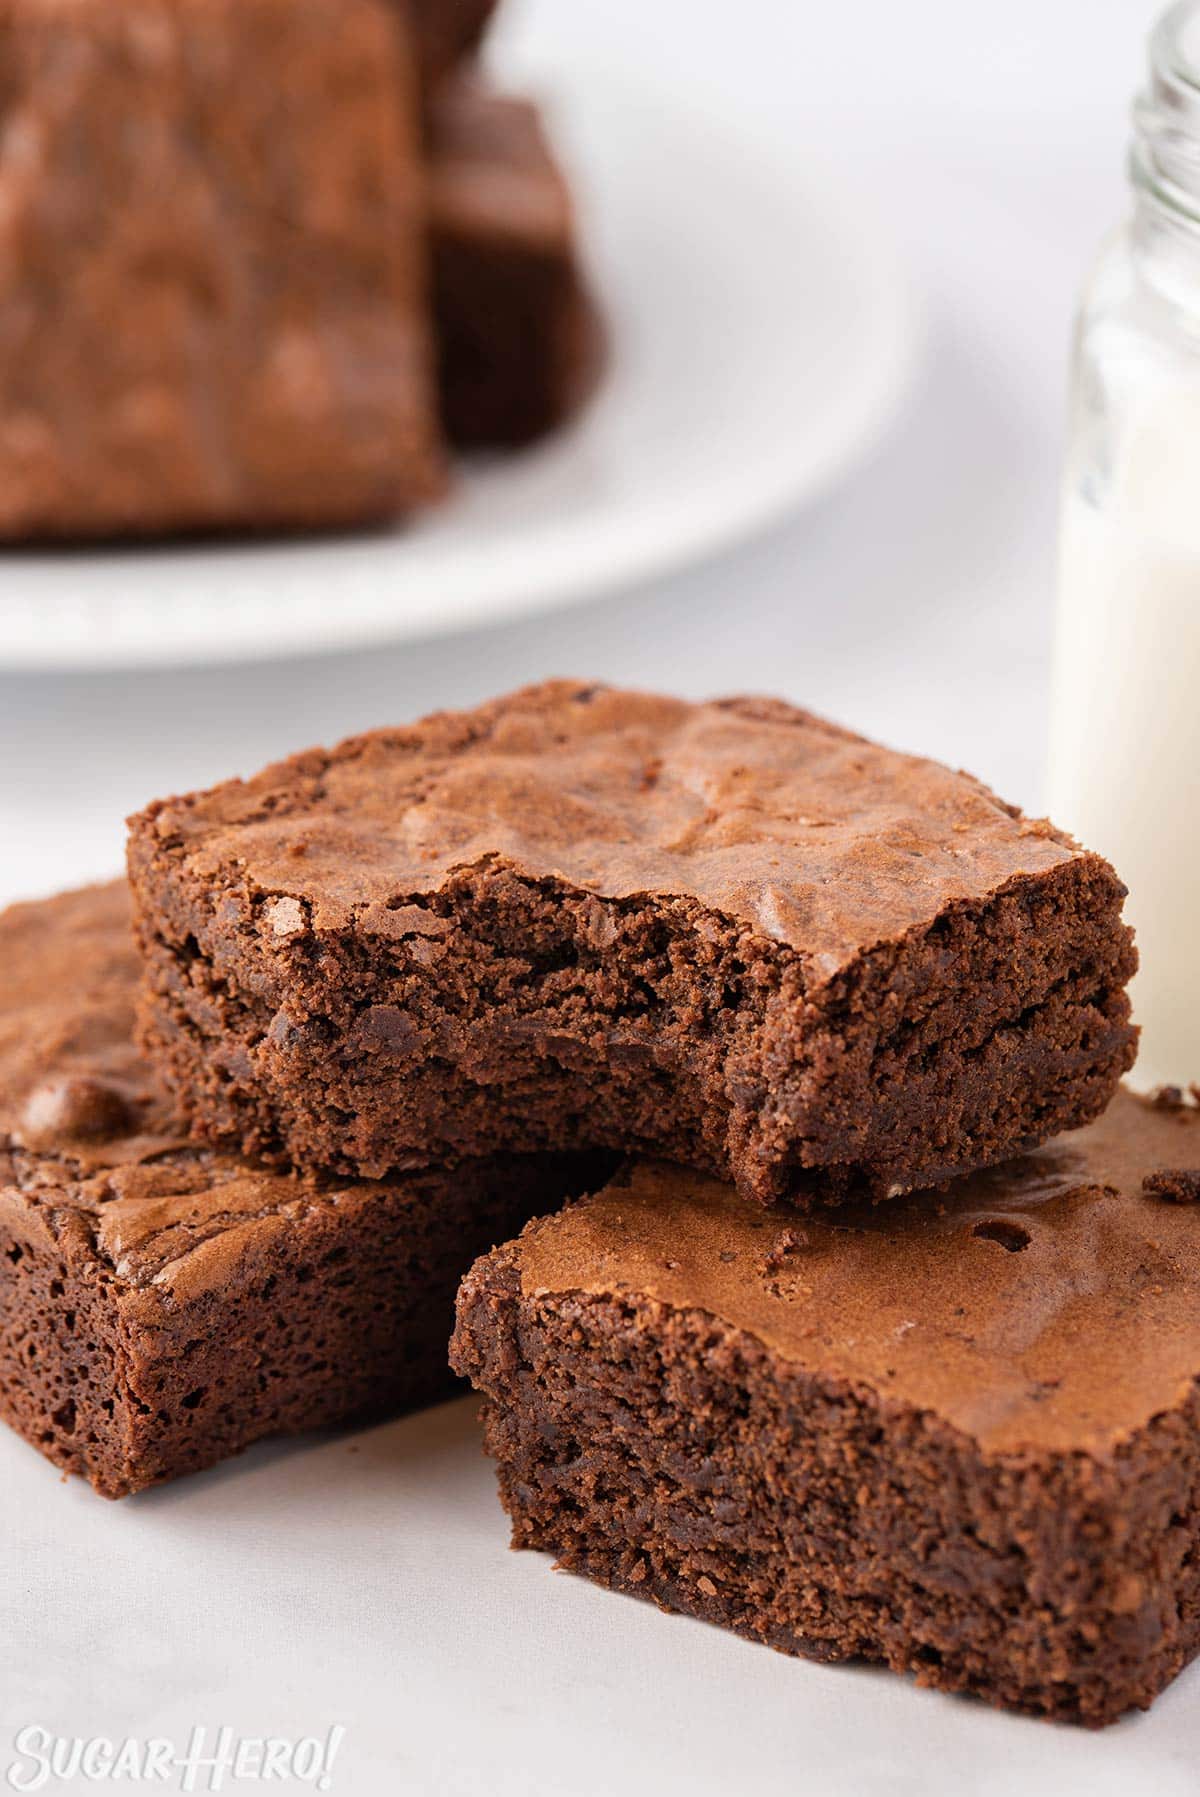
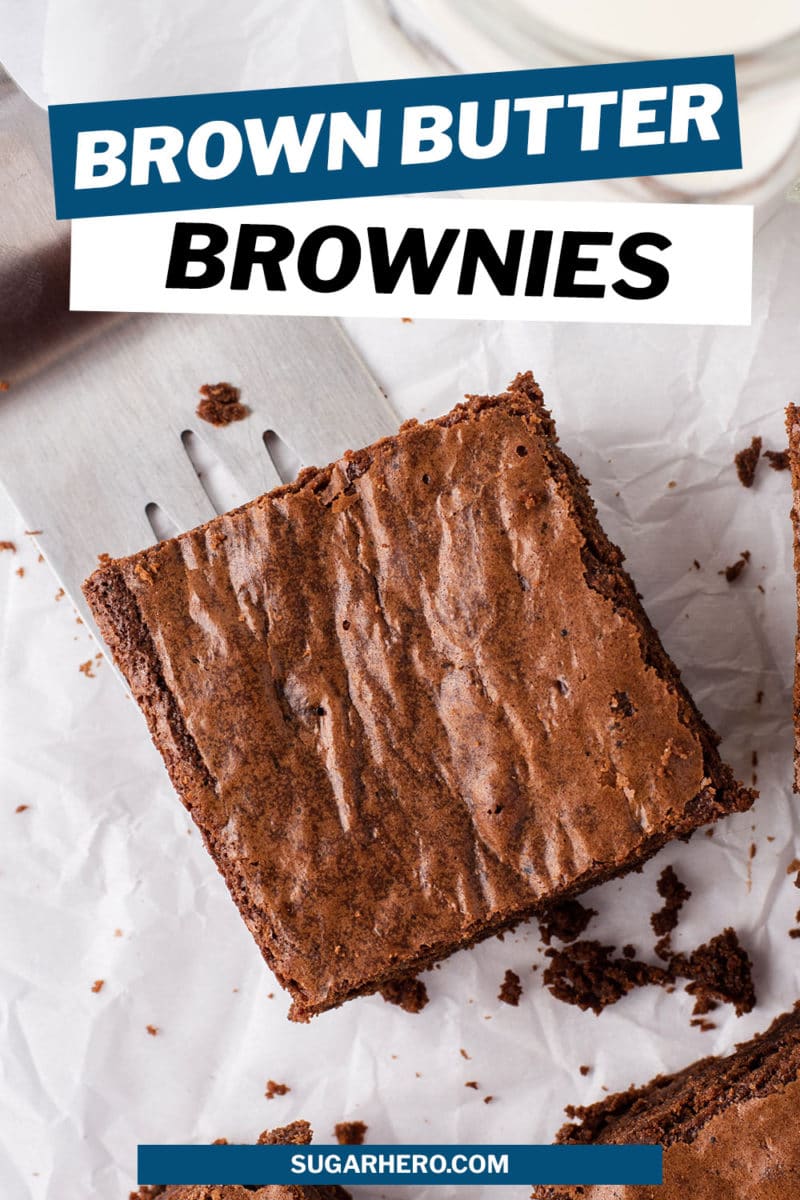
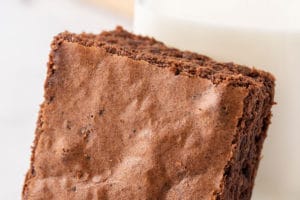
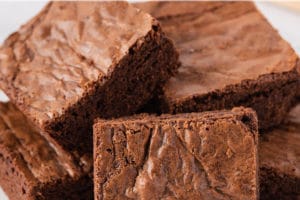
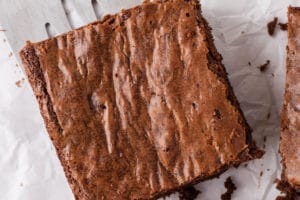
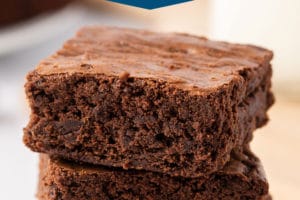
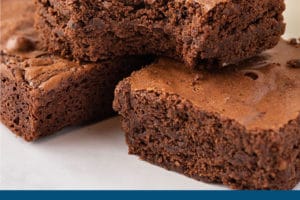
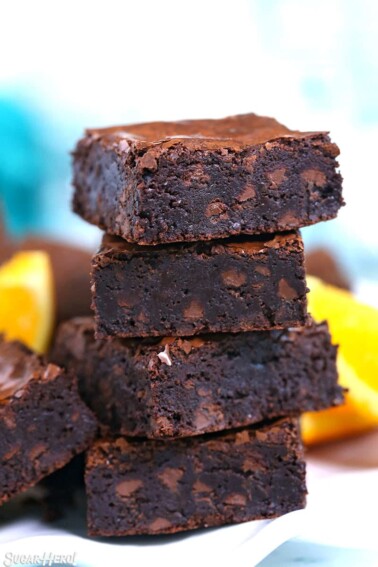
Brown butter is the secret ingredient that makes these homemade Brown Butter Brownies insanely rich and delicious! They have a shiny, crackly crust and the deep caramelized flavor of brown butter. If you’ve never browned butter before, you’ll be amazed at how easy it is, and how much it improves the typical brownie.
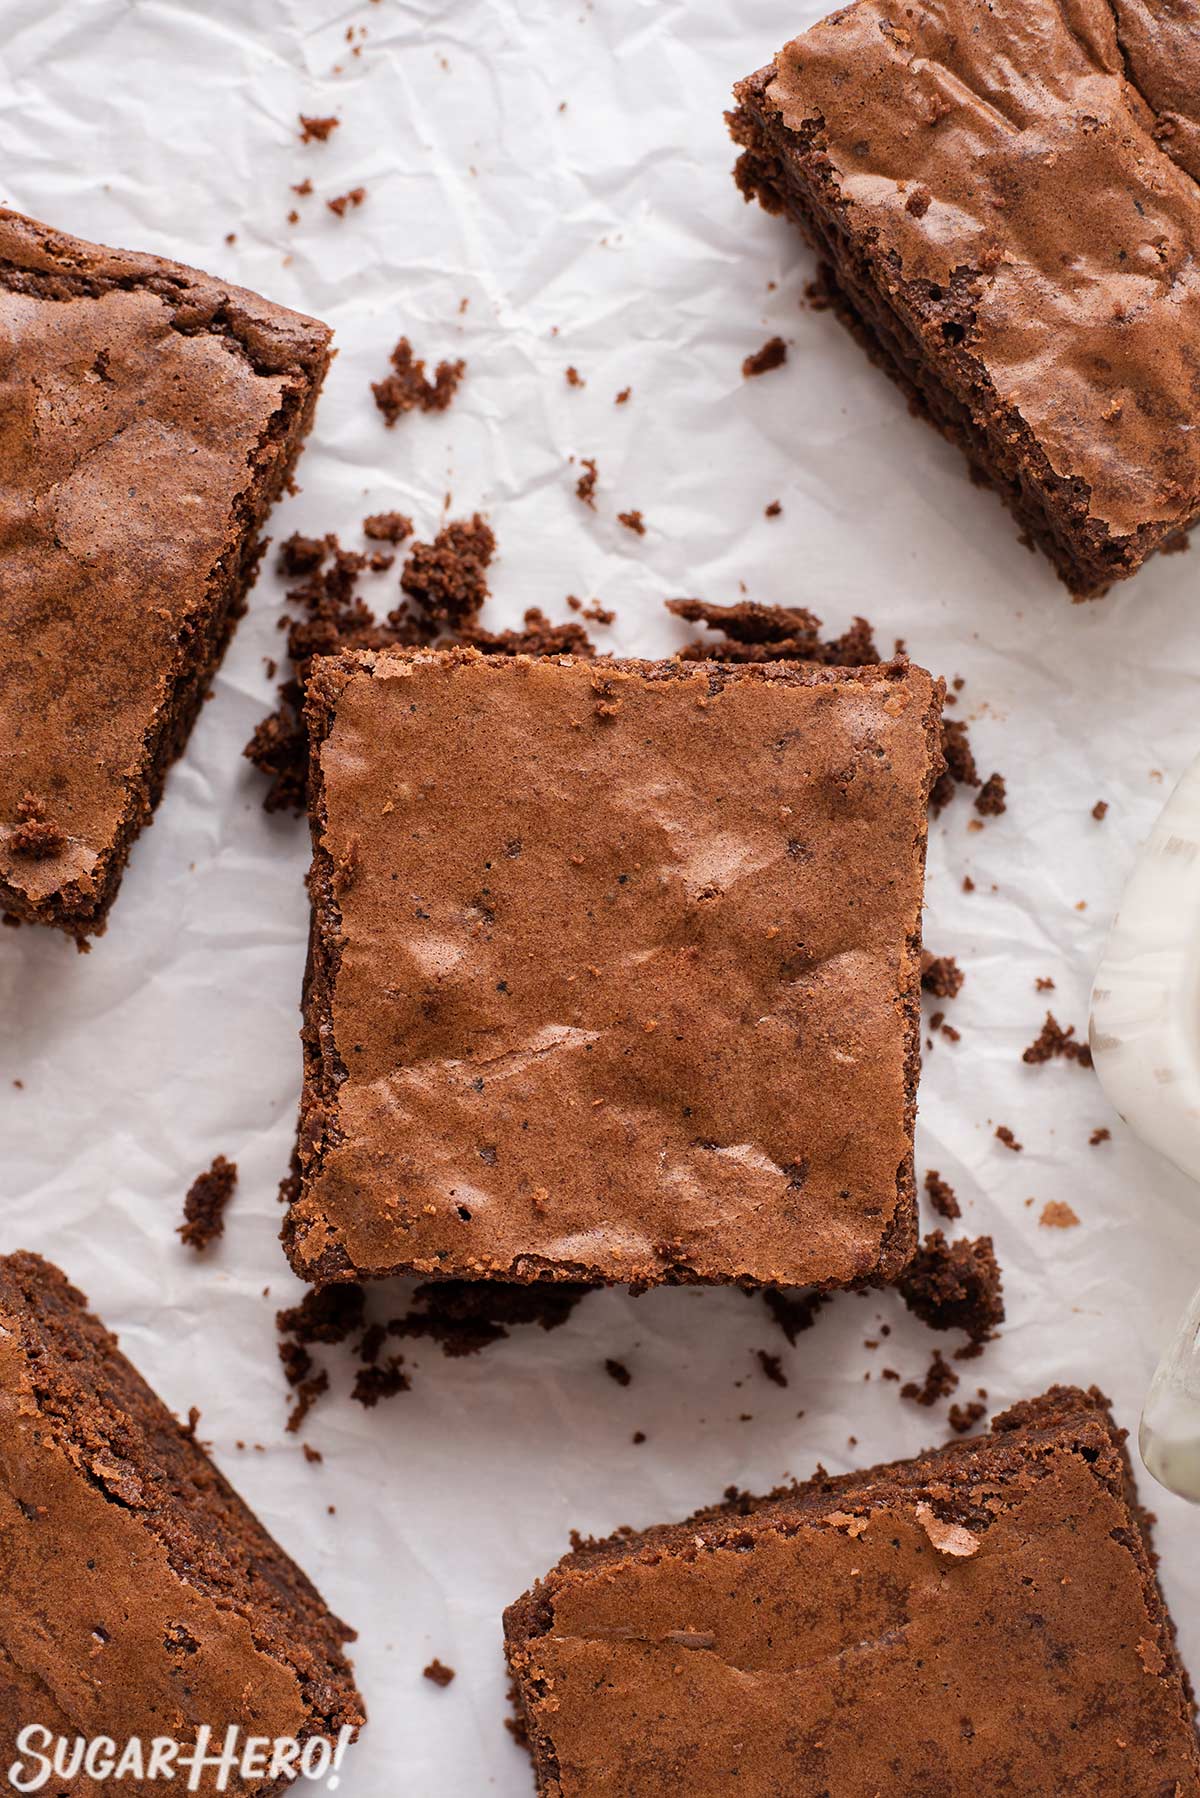
🧈 Brown butter improves ANY brownie recipe
You may like brownies. You make even think you love brownies. But I posit to you, dear reader, that until you’ve tried brownies made with brown butter, you cannot know true brownie love! Dramatic? Perhaps. A sweeping generalization? Most definitely. But hey, if I can’t make my blog sound like a culinary sequel to The Notebook, what’s the point of even having one?
ANYHOW. Here’s why you’re going to want to run, not walk, into the kitchen and start browning some butter:
- Brown butter is easy to make. You just heat butter in a skillet, stirring it occasionally, and through the magic of culinary science, it transforms into a golden brown liquid with a delicious nutty, slightly caramelized flavor. It’s like butta, only betta!
- Once you’ve browned the butter, this recipe is really straightforward, and not very different from any other homemade brownie recipe. So you’re adding about 10 minutes of (mostly inactive) work to your brownies, and in return, you’re getting a huge brownie upgrade. Because…
- Brown butter brownies take all your favorite things about brownies, and turn them up to 11. Moistness? Yeah they’ve got it. Flavor? They’re bursting with it, from melted chocolate, cocoa powder, a little espresso, AND brown butter!
More Chocolate goodies
So treat yourself, and give these brownies a try. And if you’re craving more chocolate, don’t miss our Chocolate-Orange Brownies, Peanut Butter Cup Brownies, and (my personal favorite) Salted Fudge Brownies!
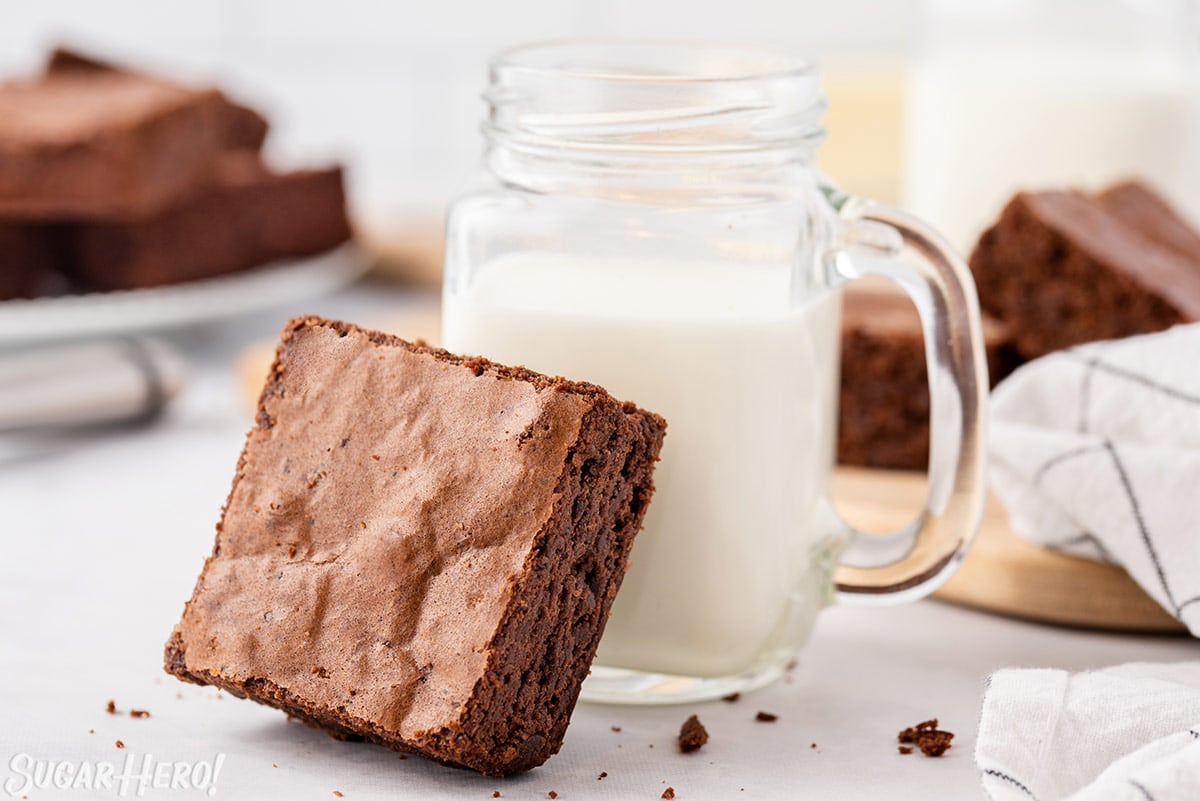
Table of Contents
🧾 What You’ll Need
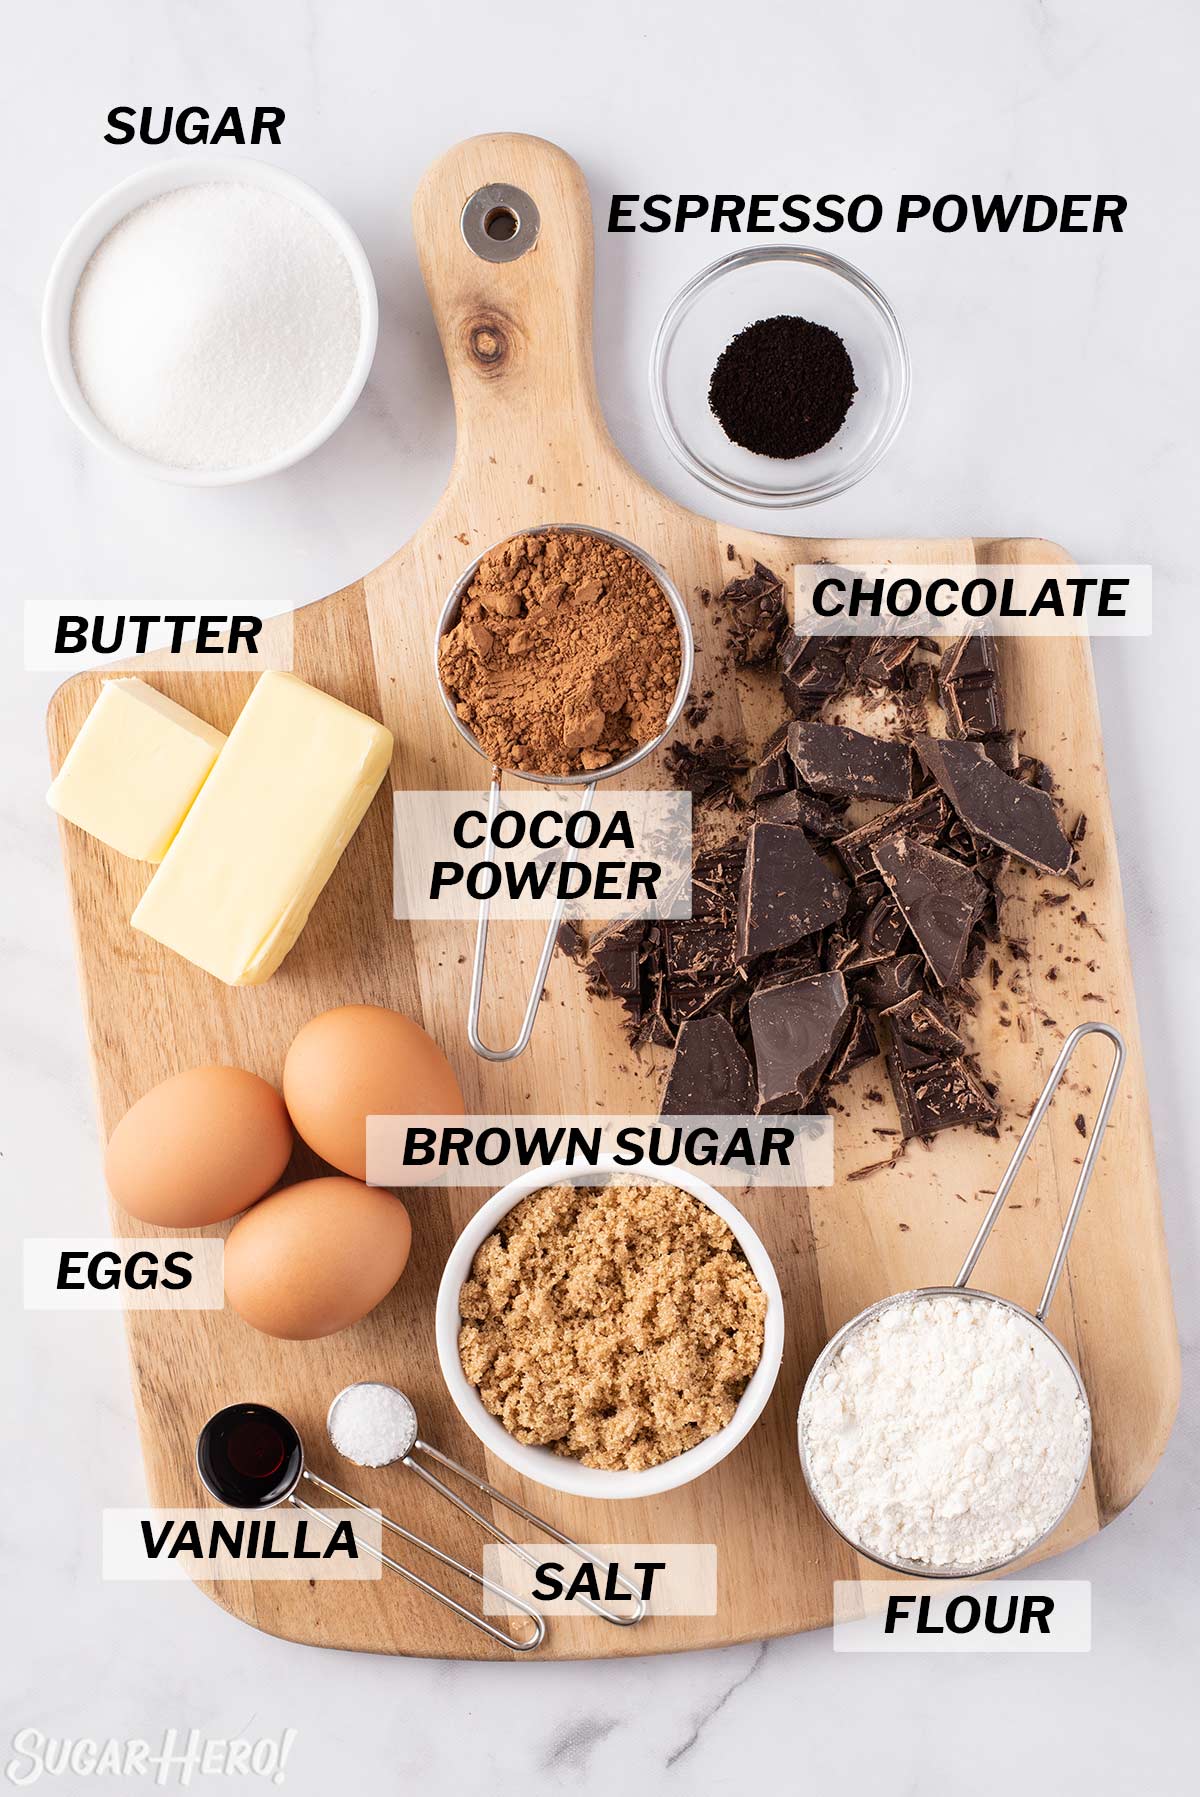
Ingredients & Substitutions
If you’re typically a box mix person, you are in for a very happy surprise! Homemade brownies are a little more work, but when they taste this good, it’s totally worth it. Here are a few things to keep in mind as you gather ingredients. (Links are affiliate links and I earn a small commission from qualifying purchases.)
- Butter: Since these are brown butter brownies, butter is obviously a key ingredient! I recommend using unsalted butter, so you can precisely control the amount of salt in the recipe–salted butter is unpredictable and can result in brownies that are too salty.
- Semi sweet chocolate bar: I recommend chopping up your favorite semi-sweet bar, but chocolate chips will work as a substitute in a pinch.
- Sugars: You’ll want both granulated and brown sugar for this recipe. Granulated helps to develop that signature crackly crust, and brown sugar adds a subtle caramelized flavor and helps keep brownies moist.
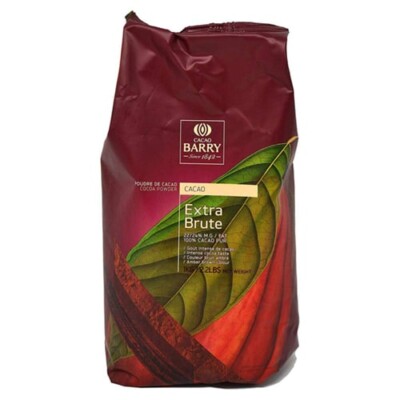
- Unsweetened cocoa powder:Since these brownies get a lot of their chocolate flavor from cocoa powder, I recommend using a high-quality cocoa powder. My personal favorite is Cacao Barry Extra Brute – it hits that sweet spot between very high quality but also pretty affordable since it is sold in bulk. Whatever you use, make sure that it is dutch-processed (also known as alkalized), because that will make a huge difference in the final taste and texture.
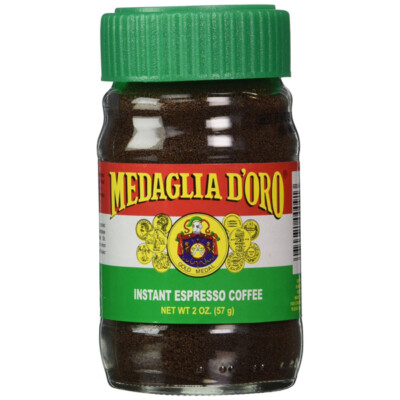
- Espresso powder:Adding a touch of espresso powder doesn’t make your brownies taste like coffee — it just intensifies the chocolate flavor and makes them irresistibly deep and rich. This is my favorite brand of espresso powder, and it can be found online or in the coffee section at many grocery stores. If you don’t have any and don’t care to buy some, it can also be omitted.
Tools & Equipment
You don’t need much in the way of special equipment, but the right pan and tools will make it even easier to nail these brownies. (Links are affiliate links and I earn a small commission from qualifying purchases.)
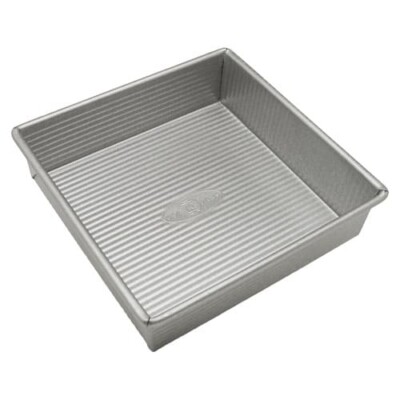
- 8×8 Baking Pan: This 8×8 pan is perfect for making 9 large brownies. You can also use a 9×9 pan if that’s what you have, but the cooking time will probably be a bit shorter, and the brownies will be thinner than the ones pictured.
- Skillet:you can brown butter in a saucepan, but my preferred pan is actually a wide skillet with a light-colored bottom, like this affordable Cuisinart one. The increased surface area makes the process faster, and the light bottom makes it easy to see when the butter is the right color.
- Stand Mixer: You can use a stand mixer or a hand mixer for this recipe.
📋 Instructions
Here’s a quick walkthrough of how to make brown butter brownies, and you can find printable instructions down in the recipe card.
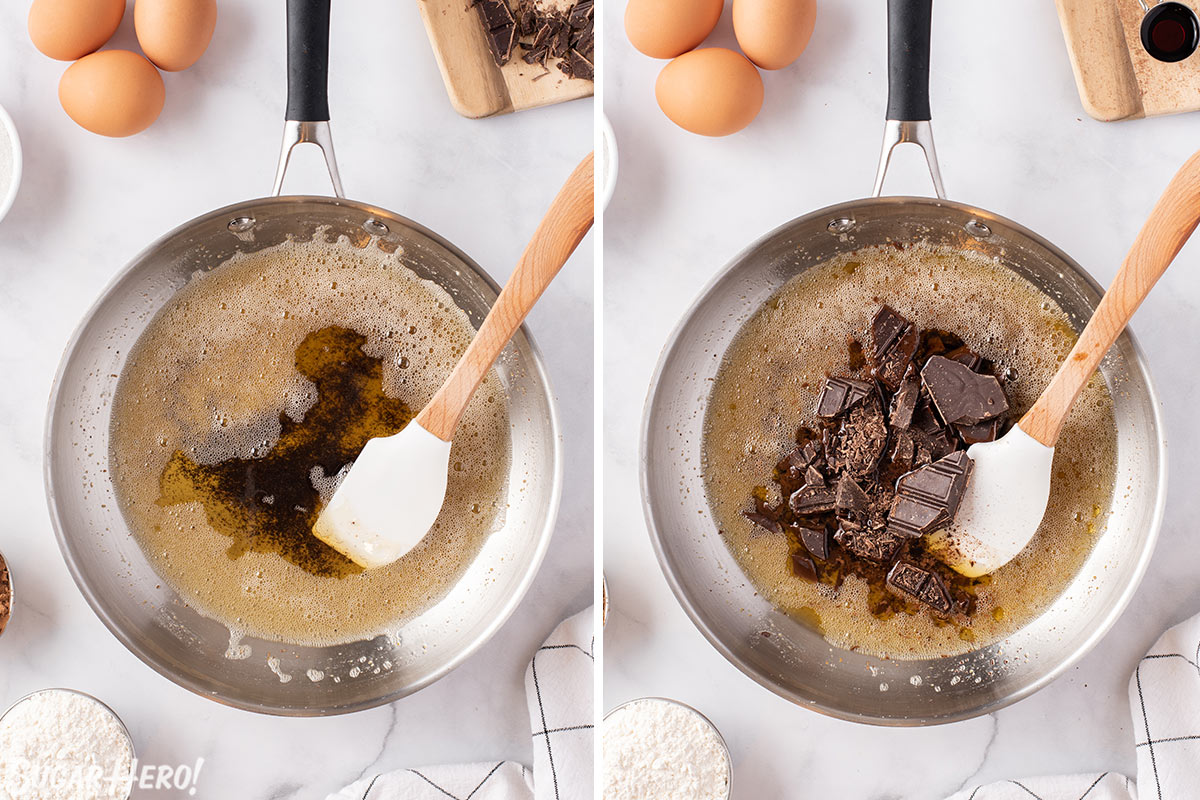
How to brown the butter
- In a small saucepan or skillet, melt the butter over medium heat until brown flecks appear and the butter begins to to turn an amber color. Stir with a rubber spatula when the butter begins to bubble.
- Once the butter is browned, add the chocolate to the pan and mix together with a rubber spatula until combined and smooth. Set aside the chocolate butter mixture to the side.
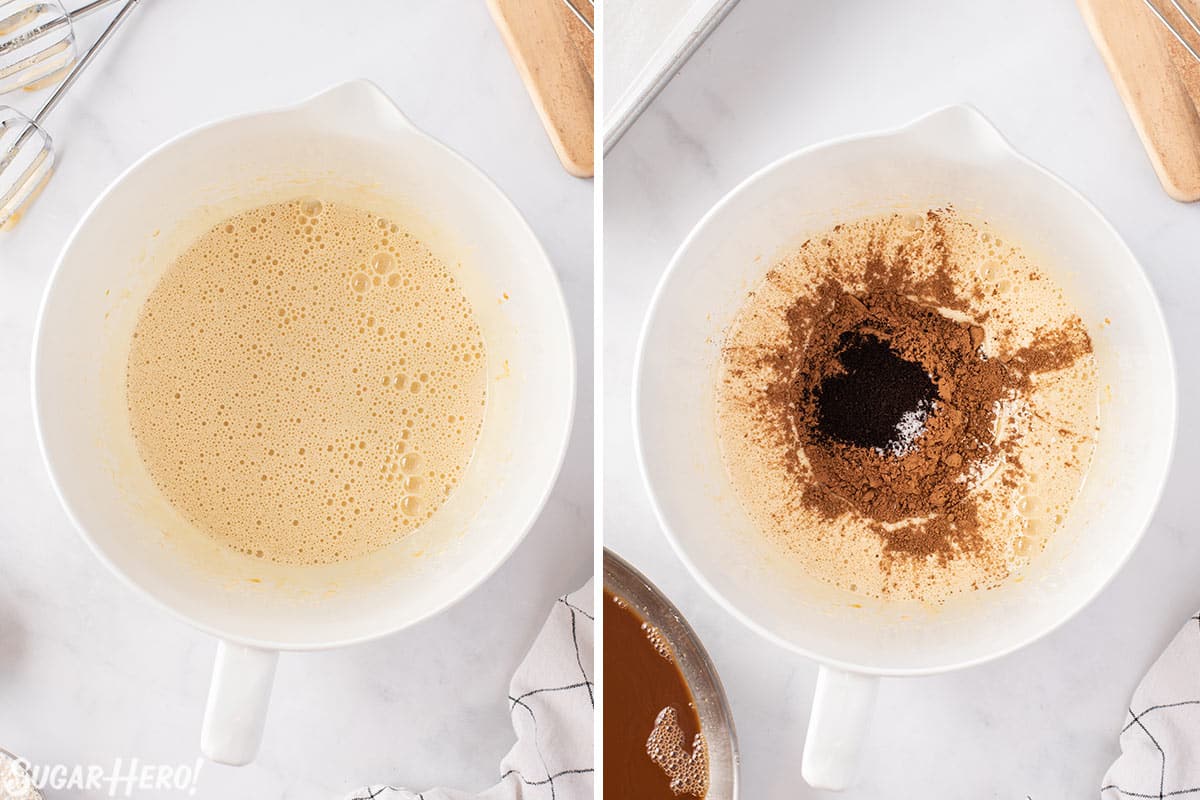
Mix the brownie batter
- When you’re ready to mix the batter, preheat the oven to 350. Line an 8 x 8 baking pan with parchment paper, allowing for overhang. Lightly spray the parchment with oil and then set aside.
- In a large mixing bowl, use an electric mixer to beat the eggs, sugar and vanilla extract on high for 3 minutes. The mixture will be light, voluminous and smooth.
- Once the wet ingredients are ready, fold in the flour, cocoa powder, espresso powder, and salt and mix until just combined and there are no longer streaks of flour.
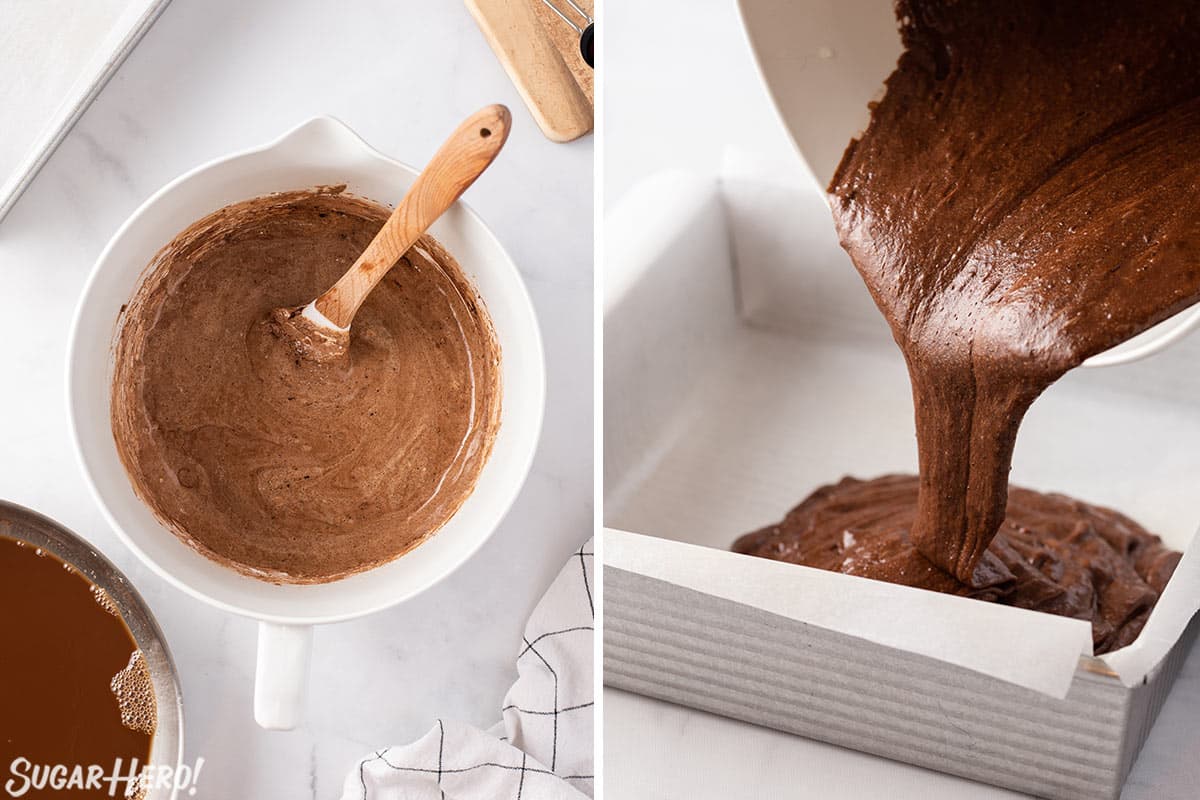
- Fold in the butter and chocolate mixture to the bowl and fold with a rubber spatula until just combined. The final batter will be airy and thick feeling.
- Scrape the batter into a pan lined with parchment or foil.
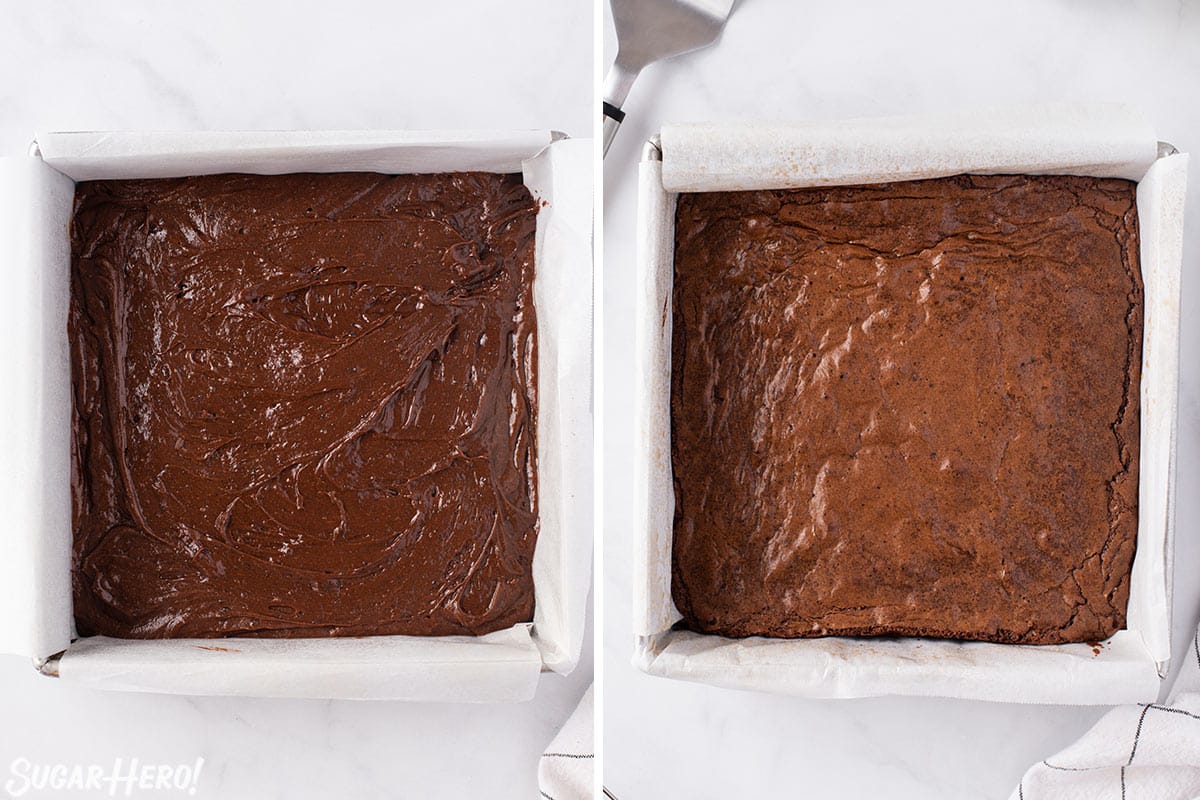
- Bake on the middle rack for about 35 minutes or until a toothpick comes out clean from the center.
- Carefully, remove the pan from the oven and let the brownies sit in the pan for 10 minutes. Lift them out of the 8×8 pan using the overhung parchment paper and then set on a wire rack in the refrigerator for 30 minutes. Finally, return them to room temperature to cut and serve.
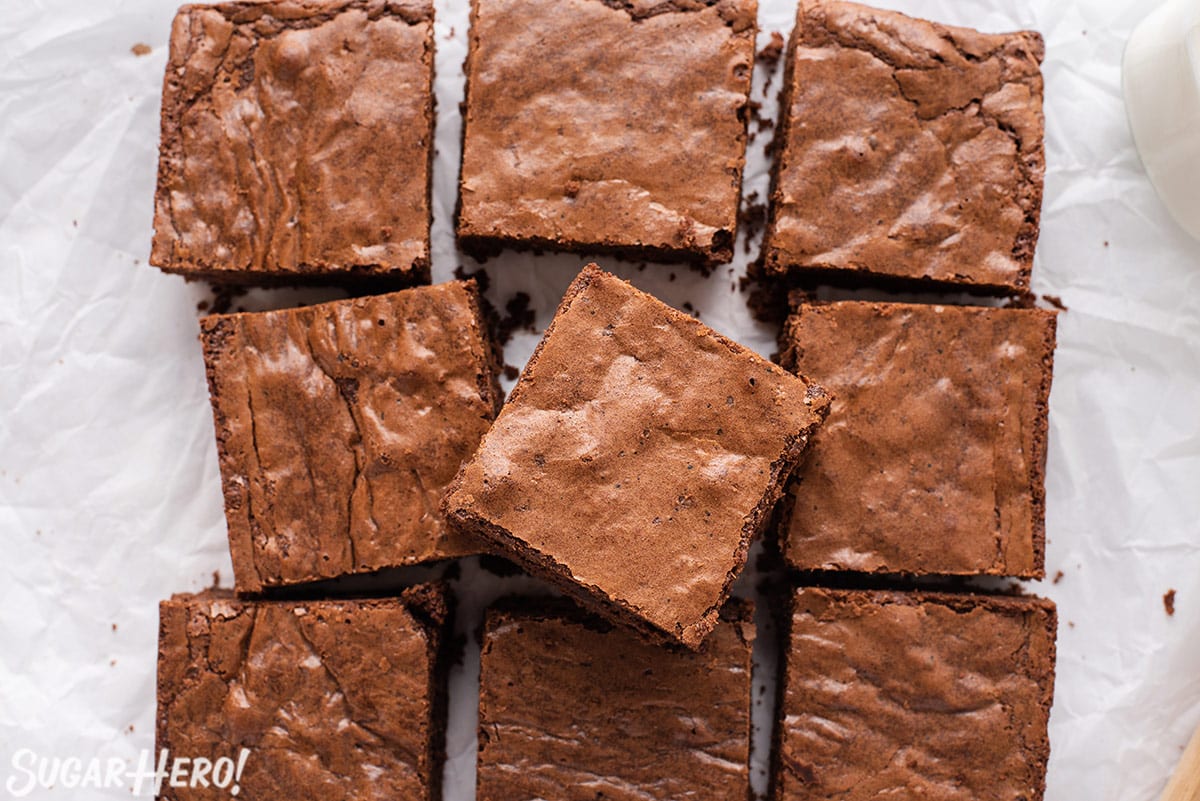
- Slice into 9 equal squares and dig in!
💡 Tips and FAQs
The following are some tips and questions that might help you when you are baking.
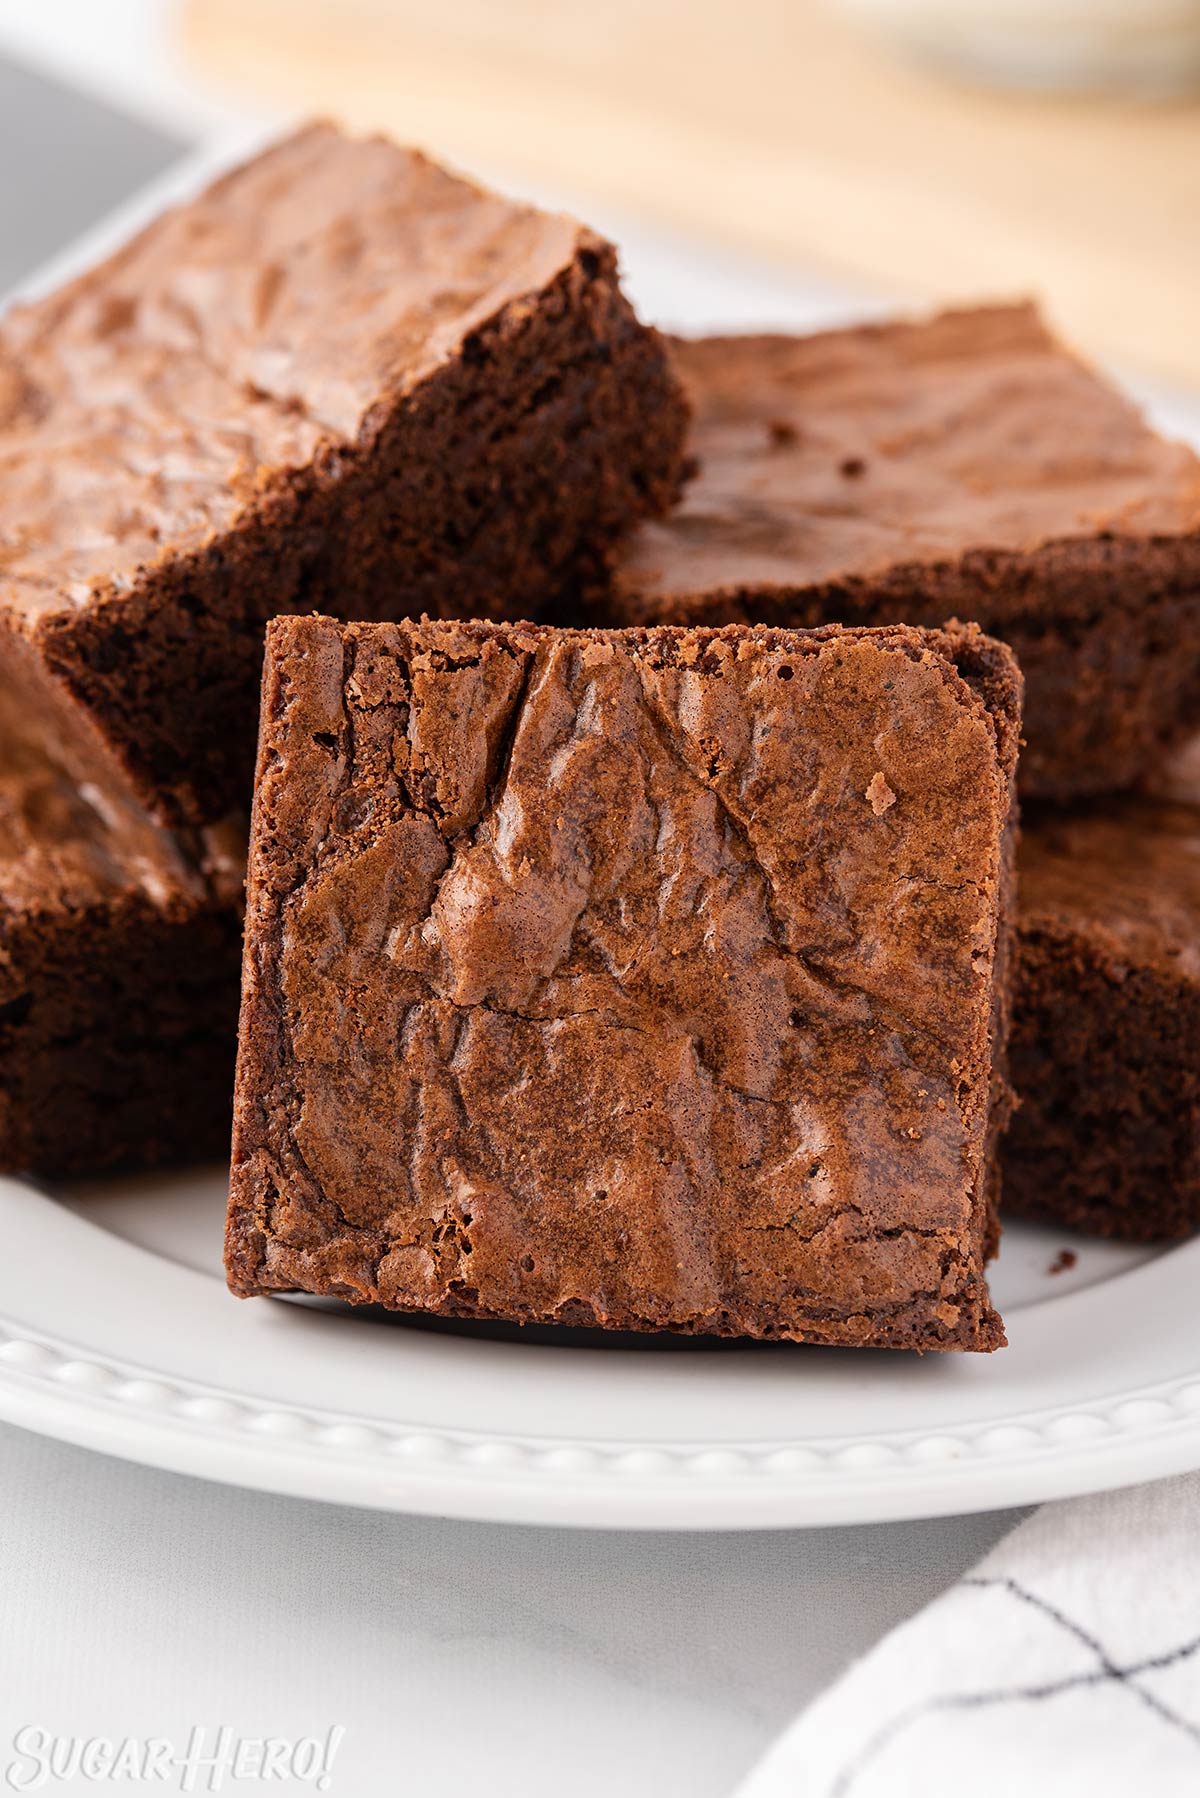
Using browned butter enhances the chocolate flavor in the brownies. Many brownie recipes call for melted butter, but by taking the step a little further to make browned butter, you can deepen the rich chocolate flavor. Plus, if you’ve ever browned butter, you know how heavenly the nutty, buttery smell is as it cooks!
Whisking the eggs and sugar on high for a few minutes will add a lot of air to the brownies, which creates a lighter texture. That’s why the recipe calls for folding in the ingredients – you don’t want to lose the airy texture you’ve just created.
While these brownies aren’t cakey, the air helps the brownies keep their lifted shape, even with all their density. This step also contributes to the shiny, crackly crust that makes a brownie, a brownie!
Cut slightly more than enough parchment paper to cover the bottom and sides of the pan. Place your pan in the center of the parchment paper and remove the corners of the parchment paper at 90 degree angles.
This should make it so that when you now insert the paper into the pan, the four sides slide in and fold up easily. Trim the corners as necessary to best fit your pan. The overhang will help you remove the brownies from the pan easily.
Believe it or not, these brownies are even better the next day! So feel free to make them ahead to get the best flavor.
These will keep fresh in an airtight container at room temperature for up to 4 days. Chances are, they won’t last that long anyway!
🍫How to Top Your Brownies
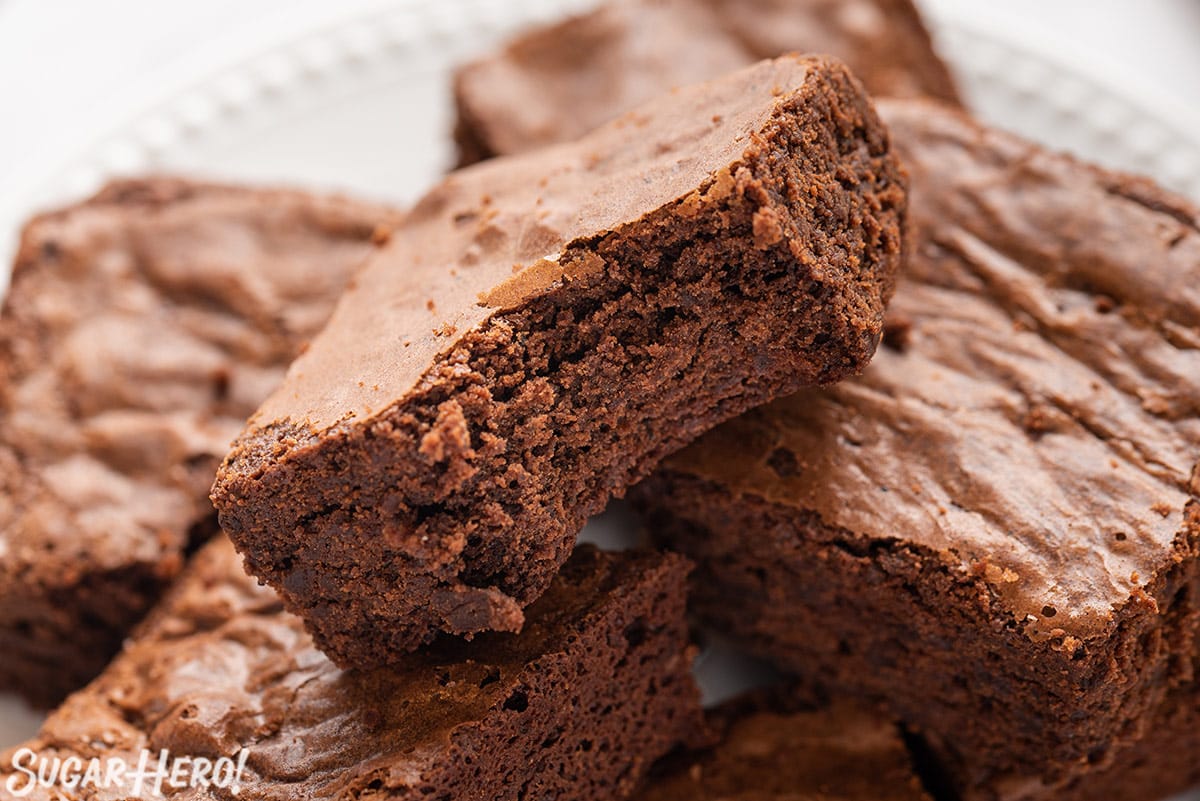
The only thing that can top a brownie is a brownie topped with more chocolate!
- Chocolate Sour Cream Frosting
- Sugar-Free Chocolate Spread
- Chocolate Chip Cookie Dough Frosting
- Dairy-Free Coconut Chocolate Spread
- Homemade Hot Fudge Sauce
- Lick-The-Knife-Clean Chocolate Spread
🍫 More Brownies and Bars
If you love this Brown Butter Brownie recipe, try one of these!
- Salted Fudge Brownies
- Dude Food Magic Bars
- Peanut Butter Cup Brownies
- Chocolate-Orange Brownies
- Seven Layer Bars
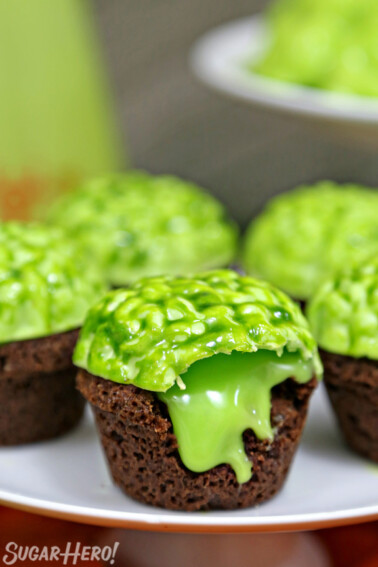
- Cosmic Brownie Mini Cakes
Don’t miss the step-by-step tutorial showing how to make Brown Butter Brownies – check out the web story here!
Leave a Review!
If you make this recipe, let us know! Leave a ⭐️⭐️⭐️⭐️⭐️ rating on the recipe below, and leave a comment, take a photo and tag me on Instagram @elabau, or use #sugarhero on IG!
Brown Butter Brownies
Ingredients
- 6 oz unsalted butter, (¾ cup)
- 4 oz semi-sweet chocolate, coarsely chopped
- 3.5 oz granulated sugar, (½ cup)
- 3.75 oz light brown sugar, (½ cup)
- 3 large eggs, at room temperature
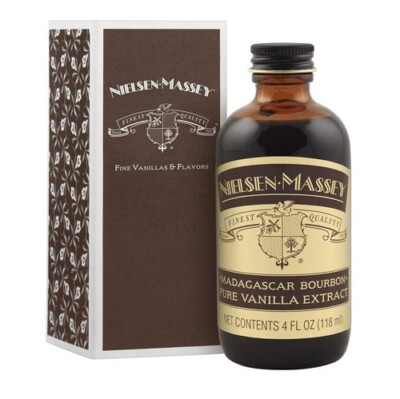
- 1 tsp vanilla extract
- 2.13 oz all-purpose flour, (½ cup)
- 1 oz unsweetened cocoa powder, (⅓ cup)
- 1 tsp instant espresso powder
- ½ tsp salt
Instructions
- Preheat the oven to 350. Line an 8 x 8 baking pan with parchment paper, allowing for overhang. Lightly spray the parchment with oil and set aside.
- In a small saucepan or skillet, melt the butter over medium heat until brown flecks appear and the butter begins to amber, swirling the pan or stirring with a rubber spatula when the butter begins to bubble. Once the butter is browned, add the chocolate to the pan and mix together with a rubber spatula until combined and smooth. Set aside.
- In a large mixing bowl, use an electric mixer to beat the eggs, sugar and vanilla extract on high for 3 minutes. The mixture will be light, voluminous and smooth.
- Fold in the flour, cocoa powder, espresso powder and salt and mix until just combined and there are no longer streaks of flour.
- Fold in the butter and chocolate mixture to the bowl and fold with a rubber spatula until just combined. The final batter will be airy and thick.
- Pour the mixture into the prepared pan. Bake on the middle rack for about 35 minutes, or until a toothpick comes out clean.
- Remove from the oven and let the brownies sit in the pan for 10 more minutes. Lift them out of the 8×8 pan using the overhand and set on a wire rack to cool completely. Once cool, slice into squares and serve.
- Brownies can be stored in an airtight container at room temperature for 4 days, or in the refrigerator for up to a week.
Measuring Tips
Our recipes are developed using weight measurements, and we highly recommend using a kitchen scale for baking whenever possible. However, if you prefer to use cups, volume measurements are provided as well. PLEASE NOTE: the adage “8 oz = 1 cup” is NOT true when speaking about weight, so don’t be concerned if the measurements don’t fit this formula.
Want to learn more about baking measurements and conversion?
Nutrition





I’m in chocolate heaven eating these brownies! I love the addition of the espresso. Just a hint of flavor!
Thanks so much, Mirlene! I agree–the espresso makes all the difference!
Brown butter really makes everything better, and that goes double for these brownies! The Buttery flavor made them completely irresistible!
YES, brown butter fan club assemble! Haha thanks Chenée.
Oh my gosh, this recipe was sooooo delicious! I was skeptical that browning the butter would make much difference in a brownie recipe, but it really makes them rich and buttery, and offsetting that with the bit of espresso really balances everything perfectly. I think I have a new favorite brownie recipe!
Lisa I am thrilled to hear that you liked the brownies! Thanks for the feedback and I’m glad they were a hit.
I love these brownies and those crumbs had my mouth watering great job will try this weekend
Thanks Claudia! Please let us know how it goes when you give it a try.
Best brownies I’ve ever had!! Made these for a potluck and everybody was in heaven! Great recipe!
Yay! So glad to hear they were a hit!