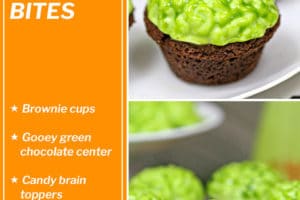
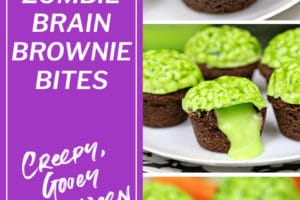


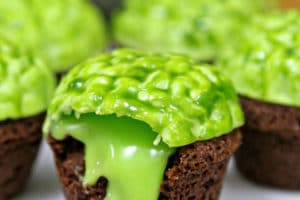
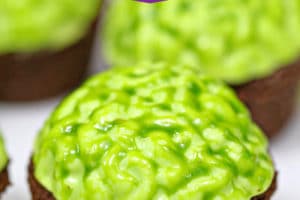
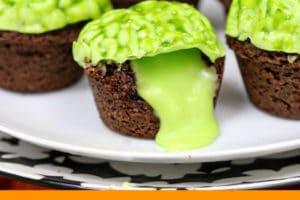


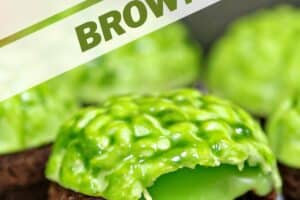


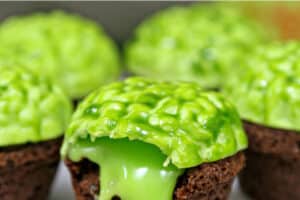
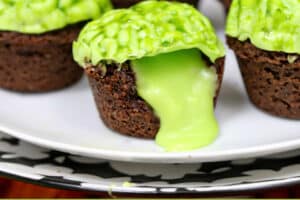

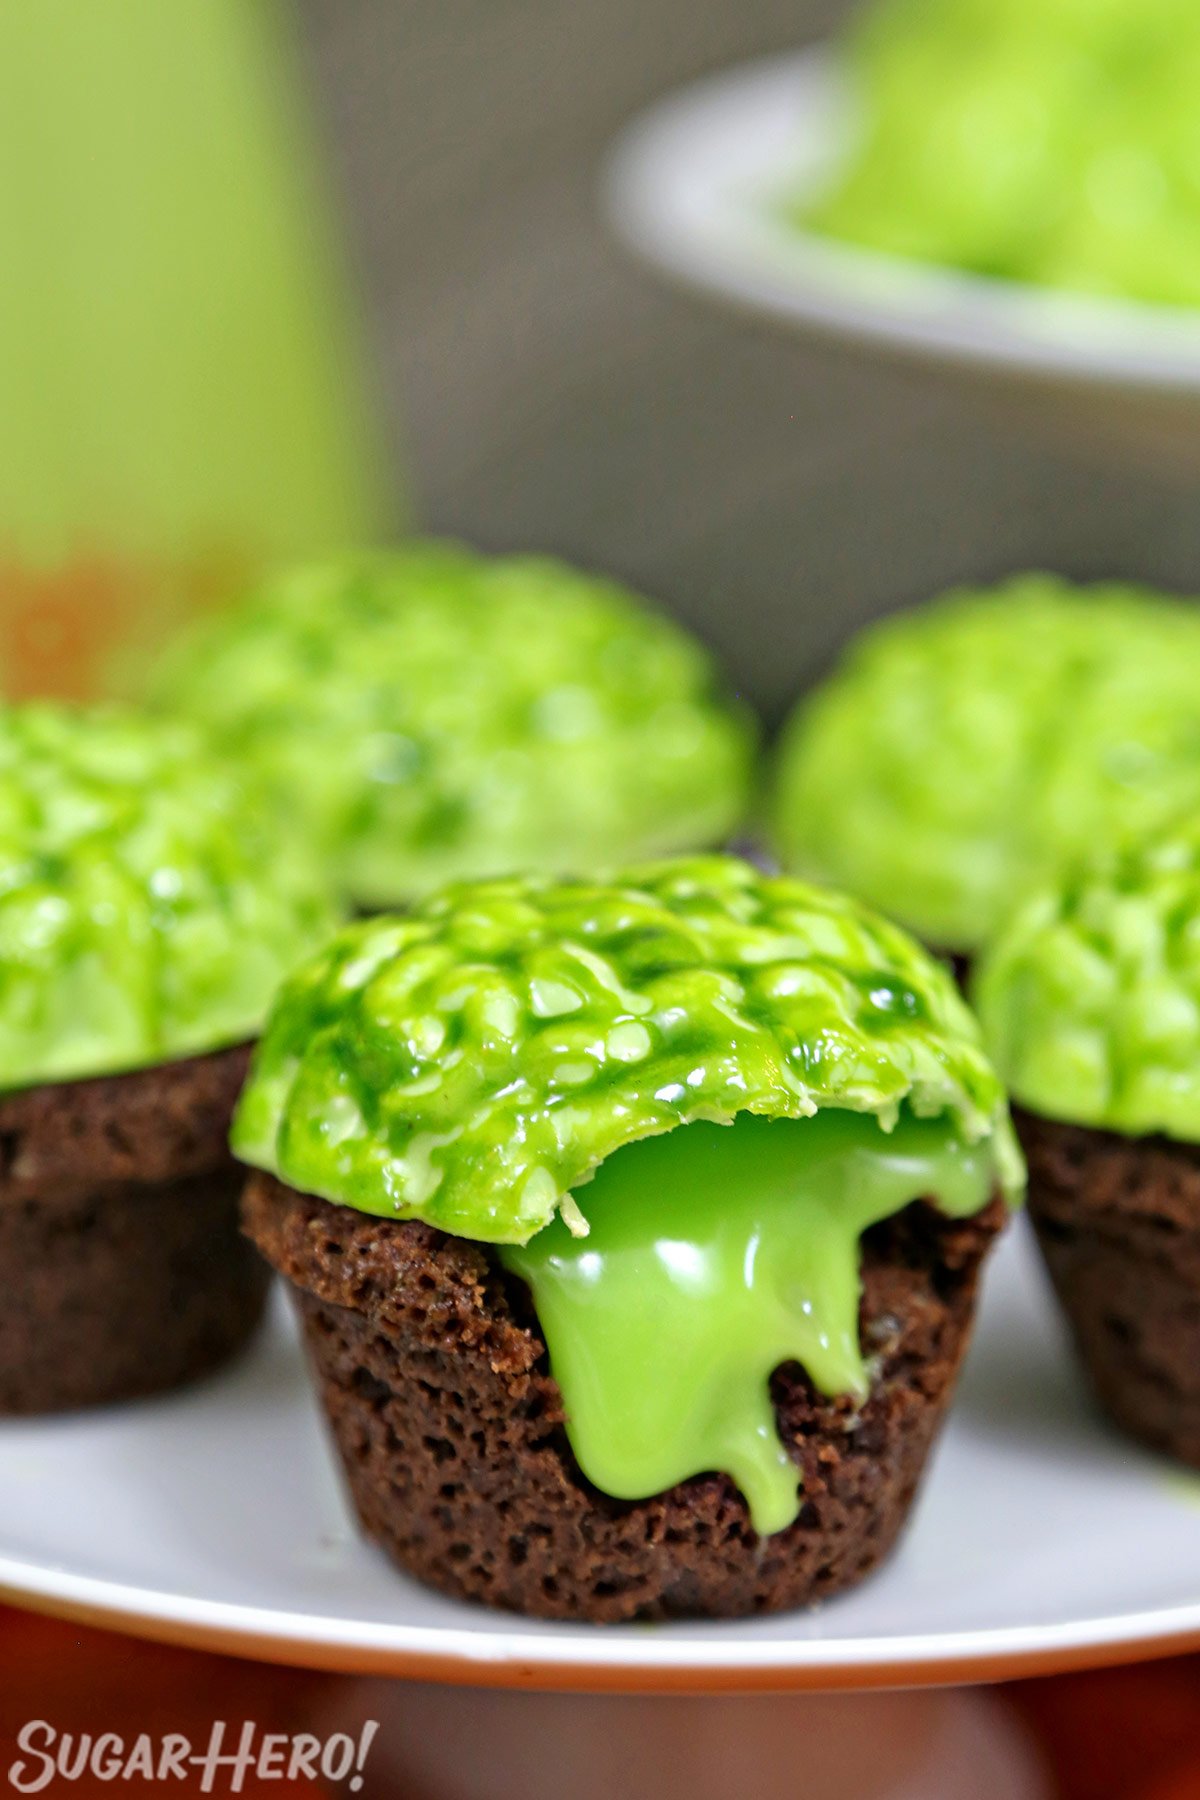
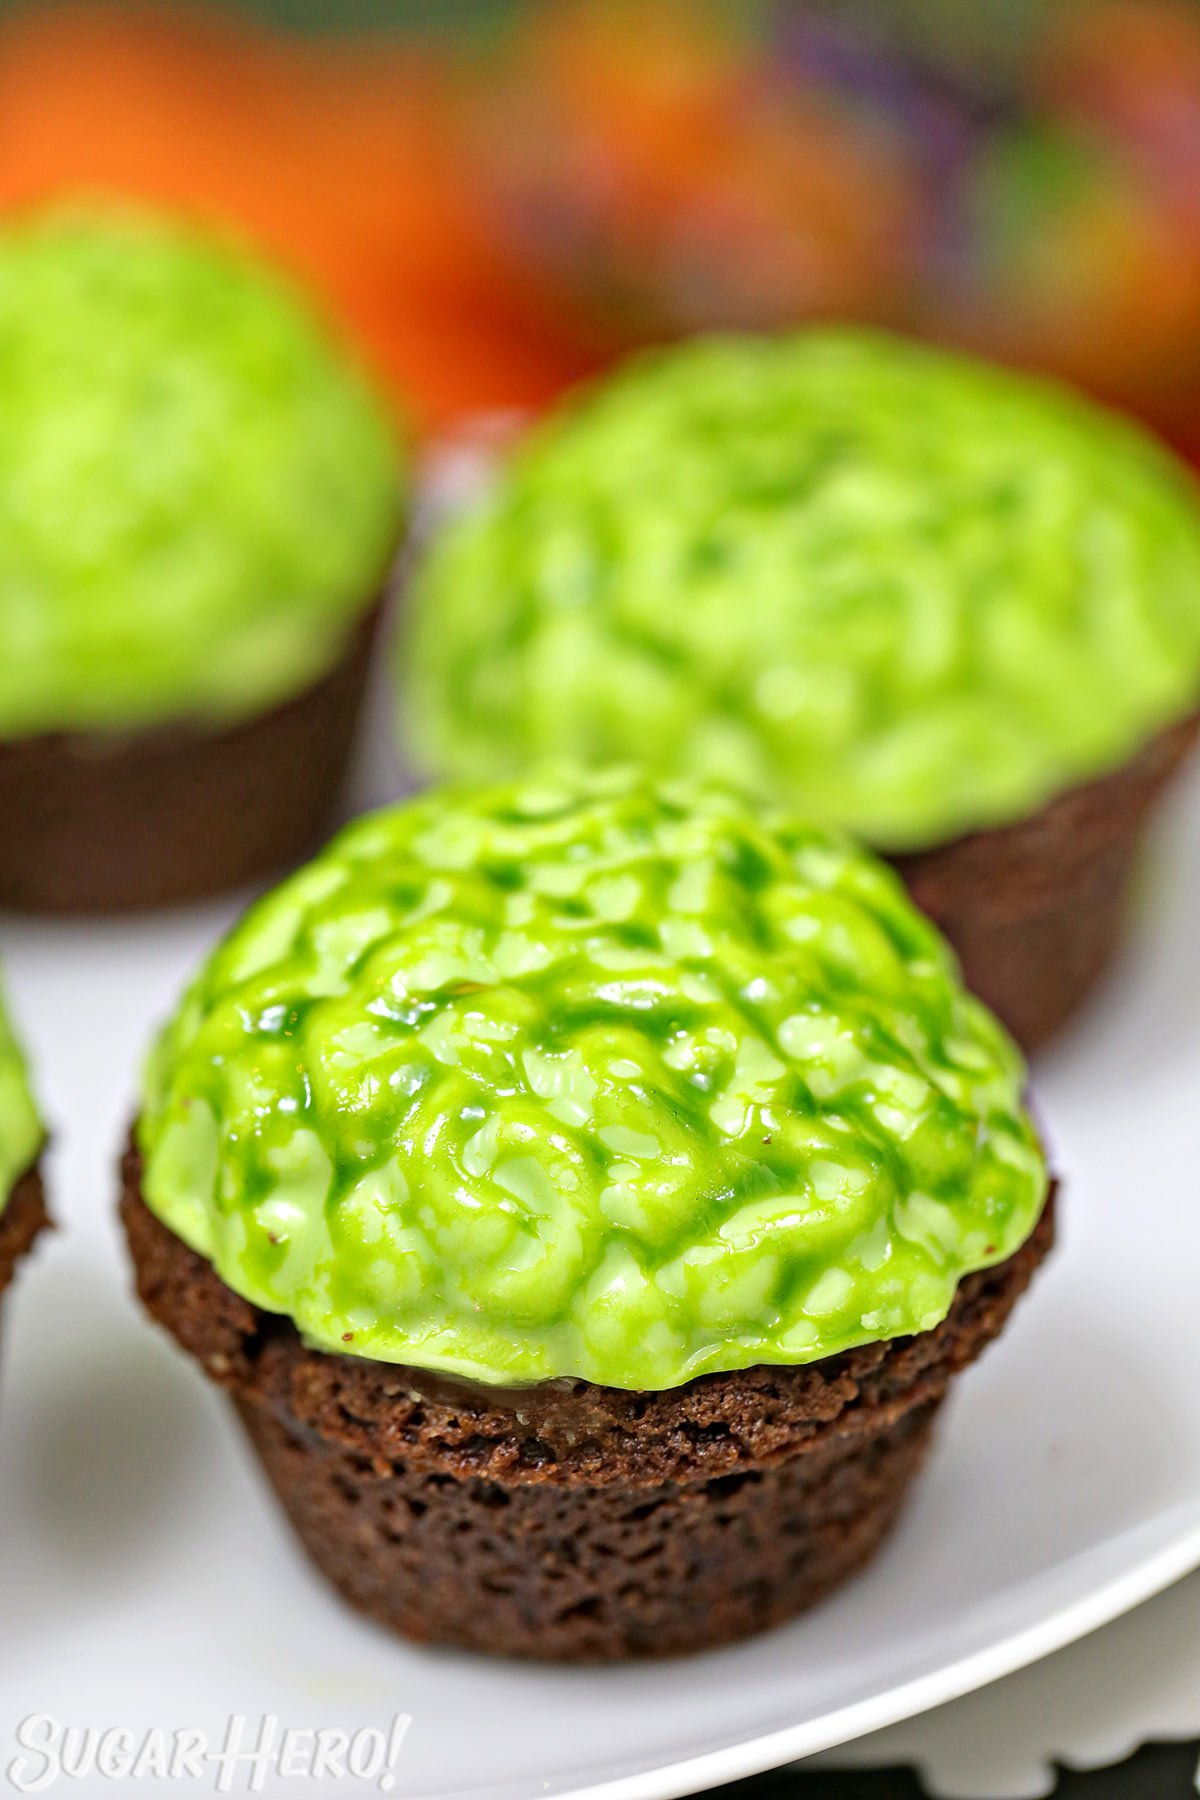
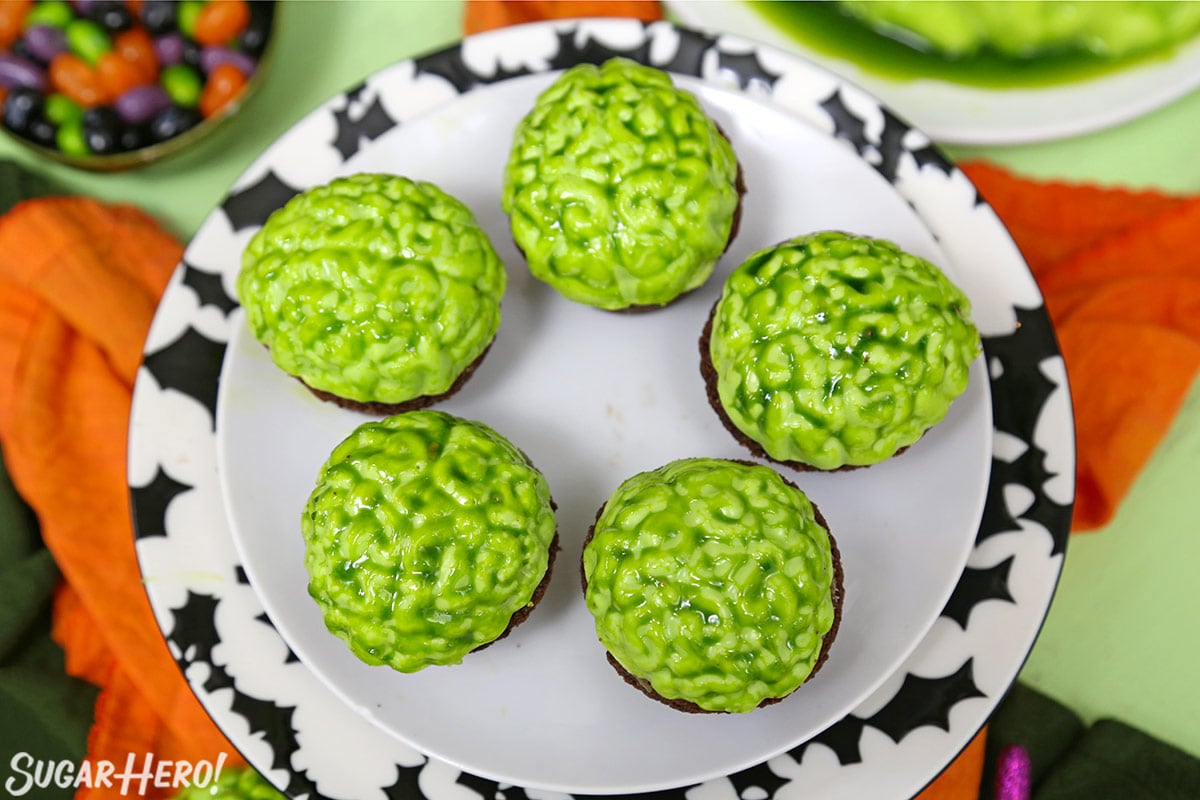
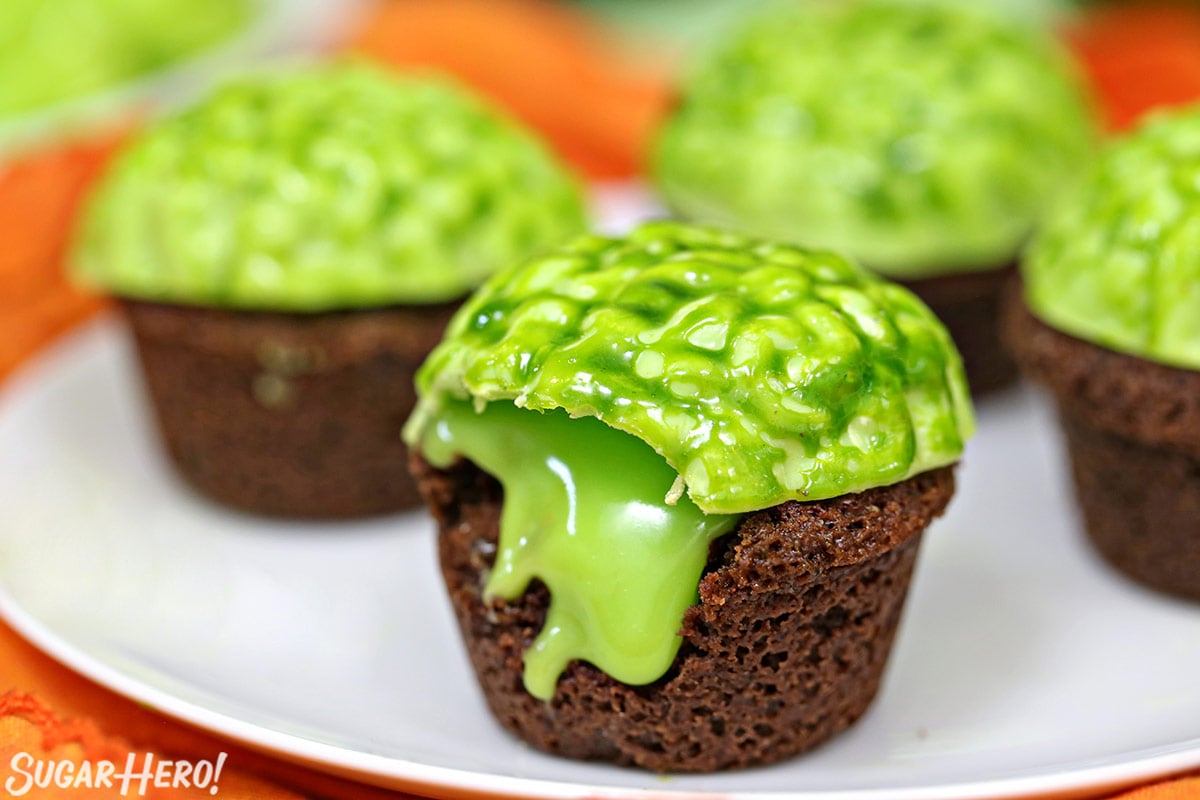
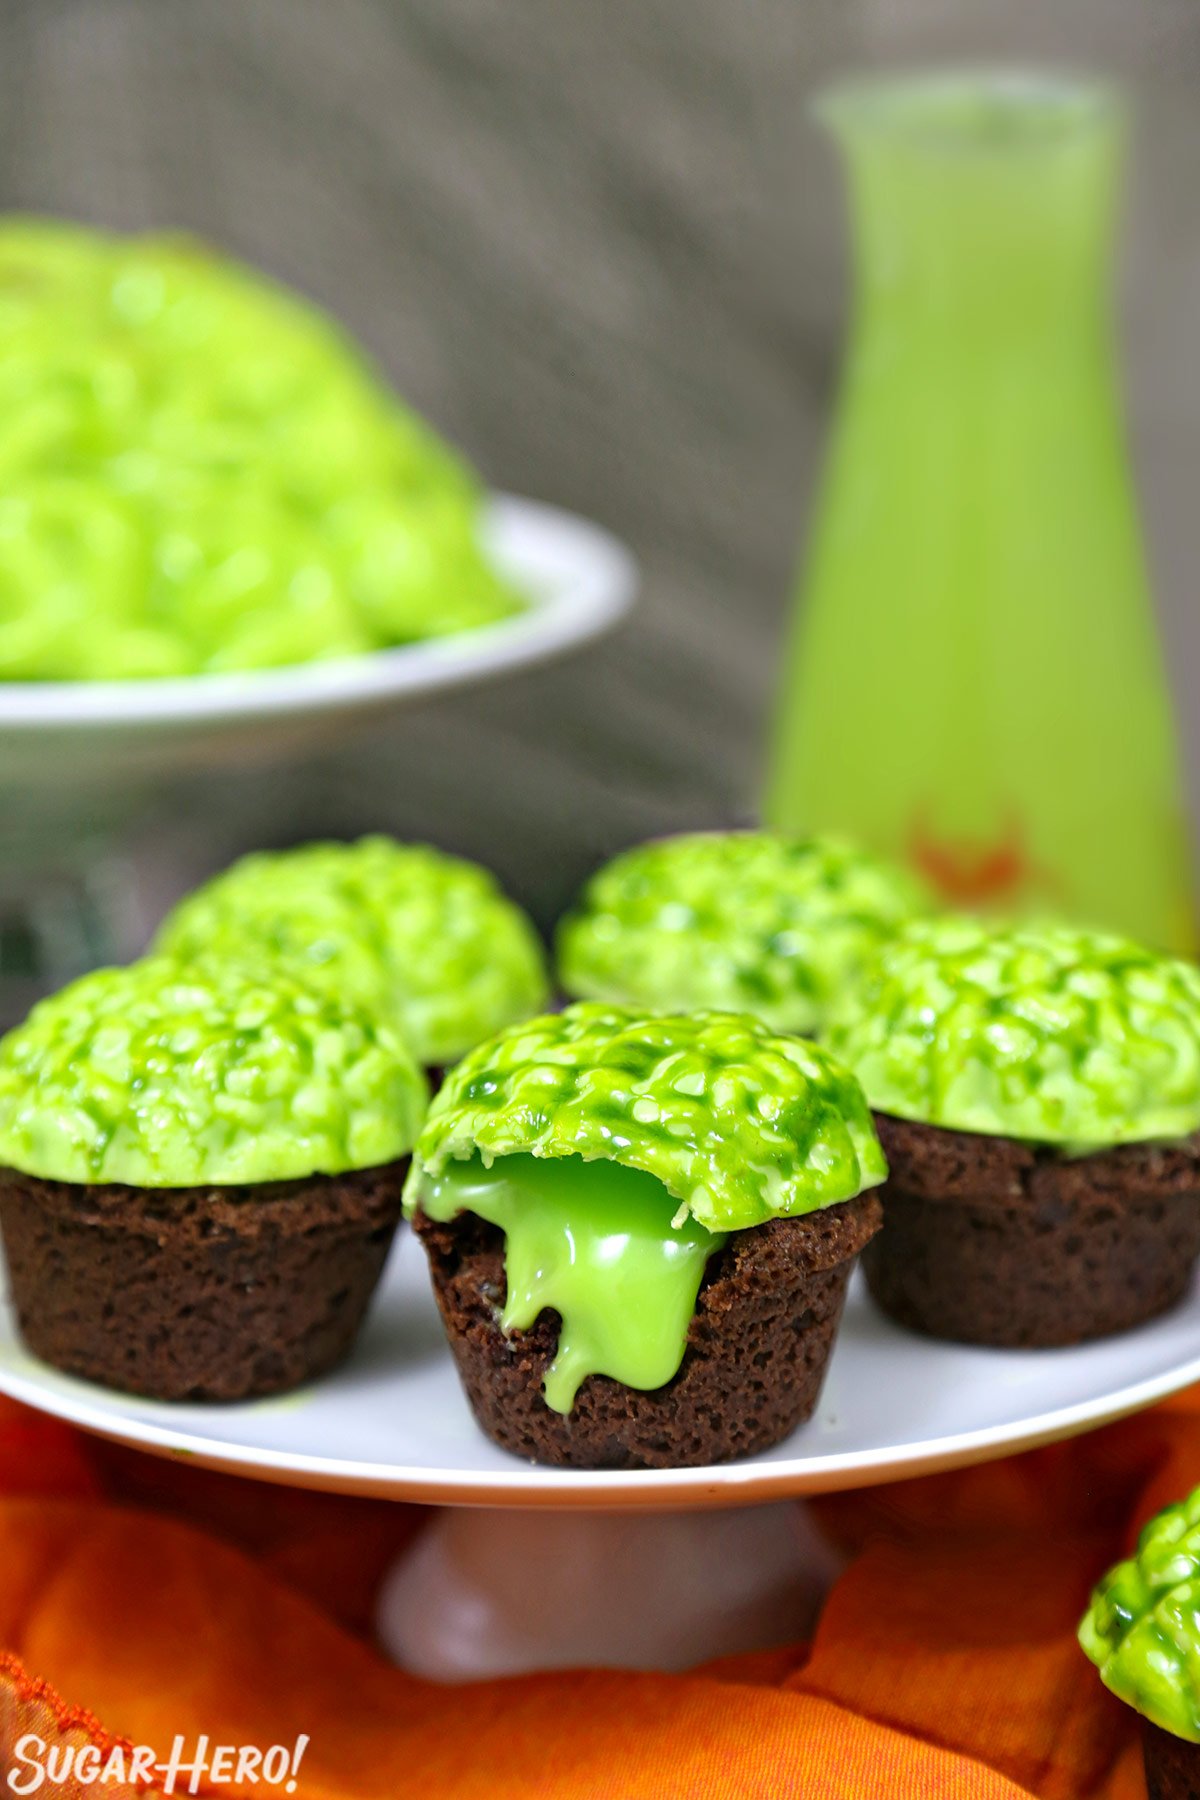
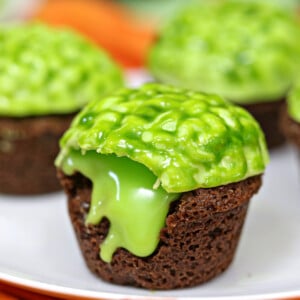
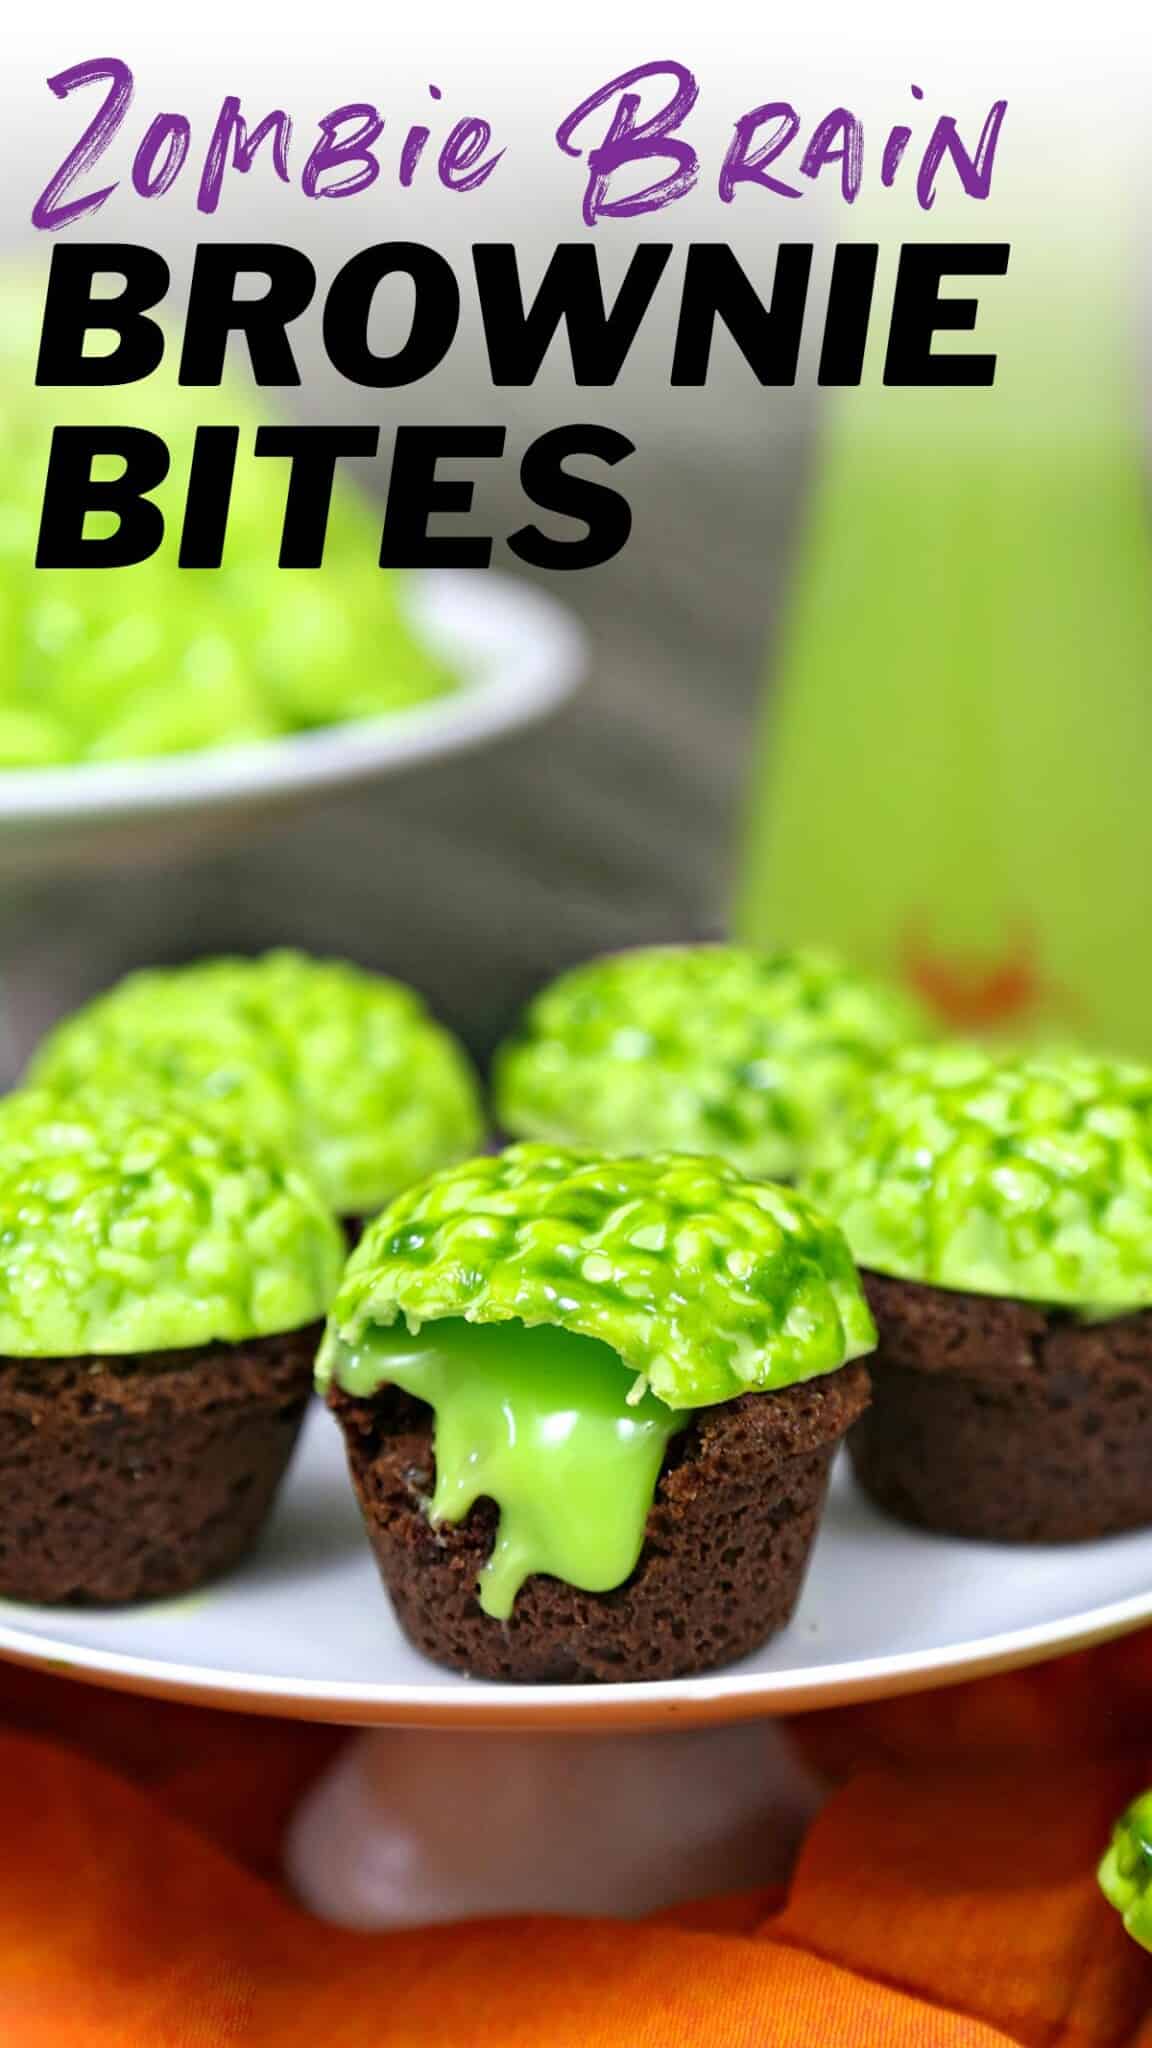
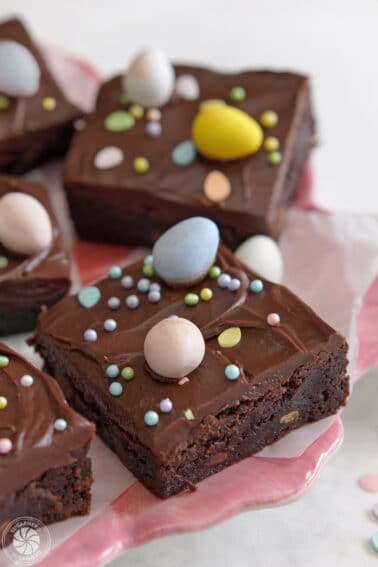
Zombie Brain Brownie Bites are bite-sized brownies, topped with a bright green zombie brain that oozes green chocolate “slime” when you bite into it!
🧠Halloween Brownie Bites
If you’re a fan of spooky sweets and creepy candies, then these so-gross-they’re-good Zombie Brain Brownie Bites are for you! These bite-sized fudgy brownie cups have a candy “brain” on top that hides a sweet green ganache that oozes when you bite into them.
Let’s break down the 3 main components:
- Brownies: brownies are baked in mini muffin tins so they’re cute and perfectly pop-able. (You could also make this with your favorite cupcake recipe or make them full-size, depending on the size of your brain candy mold.)
- Green goo: it’s a simple mixture of heavy cream and candy melts, but “goo” is so much more fun to say!
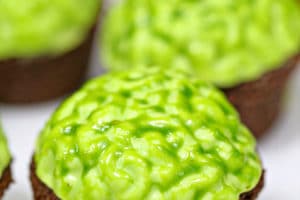
- Candy brains: a hollow brain made from candy melts that perches on top of the mini brownies like a jaunty, slightly disgusting cap.
Ready to go? Put on your experimental mad scientist lab coat, customize these how you want, and then finish with a long, low, evil laugh. And if you’re in the mood for more Halloween inspiration, check out some of our most popular Halloween dessert recipes. We’ve got Brain Cupcakes, Slice and Bake Halloween Cookies, Bloody Truffles, Witch’s Brew Halloween Punch, and much more!
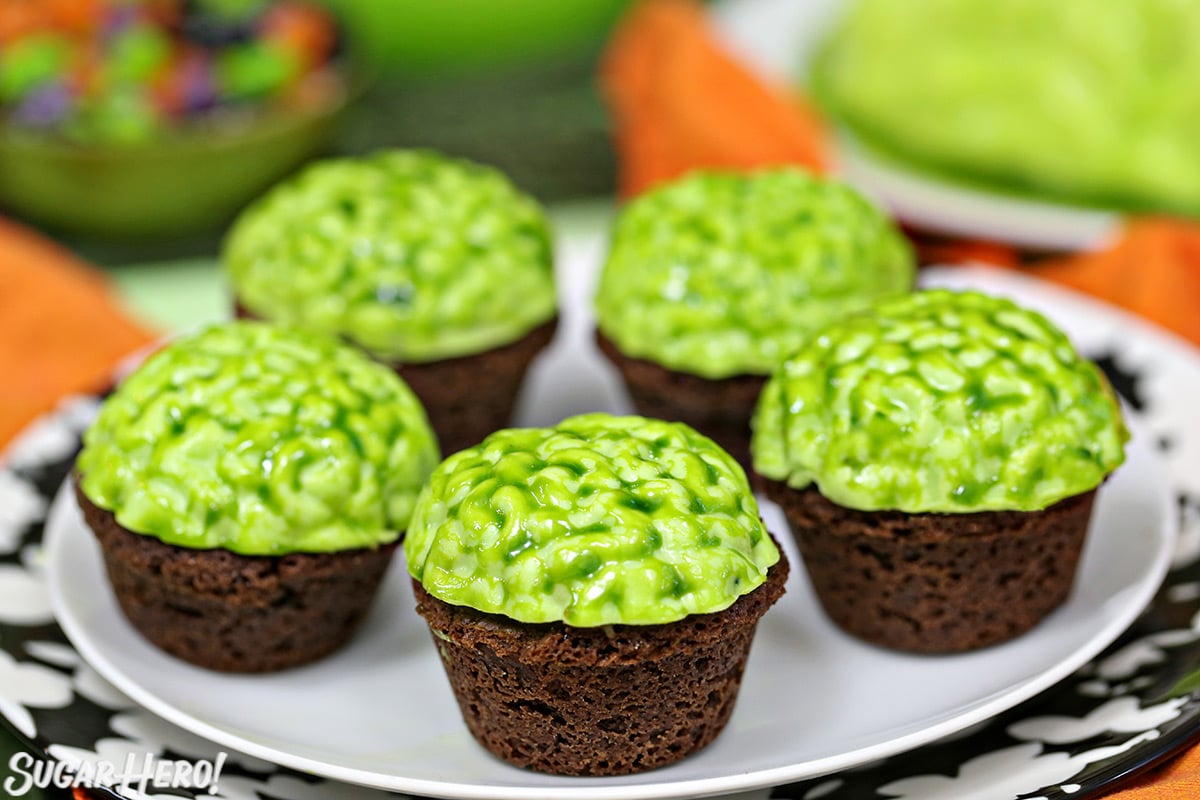
Table of Contents
🧾 What You’ll Need
Ingredients
This recipe uses a few special ingredients you’ll want to have ready when you start making this dessert. Keep these tips in mind as you start baking. (Links are affiliate links and I earn a small commission from qualifying purchases.)
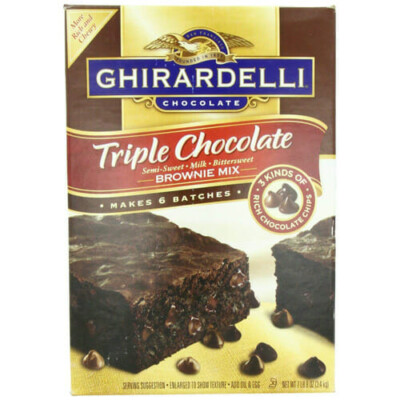
- Boxed brownie mix & the ingredients to make them: Pick your favorite brown mix. I’d suggest using a plain variety that doesn’t have extra chunks, nuts, caramel, etc. You can also use a homemade brownie recipe if you prefer.
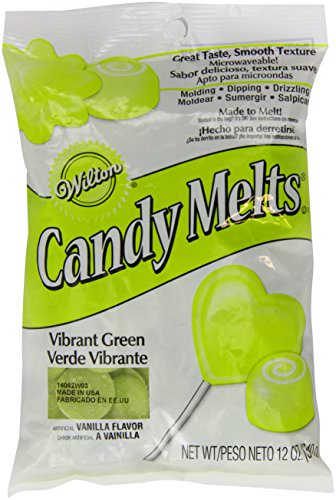
- Green candy coating: I recommend using Wilton Vibrant Green Candy Coating. If you can’t find it, you can also use white candy coating and add food coloring to achieve a nice green shade.
- Heavy whipping cream: This forms the base of the ganache. You can also use your favorite coffee creamer if you’d like to add some flavor to the ganache.
- Strawberry jelly: This is the secret to giving the brains that realistic shine! Any fairly smooth jelly will work.
- Green food coloring gel: You will need a little food coloring for the glistening jelly that paints the top of the brain. I highly recommend Americolor Electric Green Food Coloring Gel.
Equipment
- Brain candy mold: This is a must have to make the brain portion of the brownie bites. I can’t find a link to the exact mold I used online, but any brain-shaped mold that is around 2″ (the size of the top of a mini muffin pan) will work. Some options are this silicone brain ice cube tray set, and this brain silicone mold.
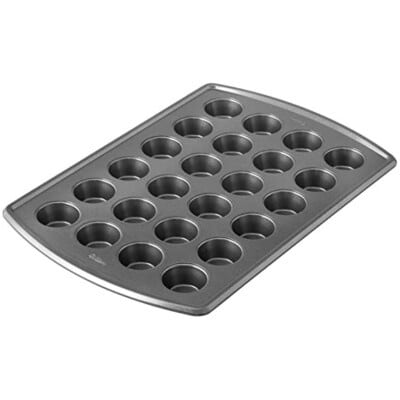
- Mini muffin baking pan: A mini muffin baking pan will make these Zombie Bites just the right size.
- Food-safe paint brush:These brushes will make it easy to paint the candy molds.
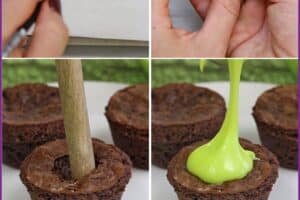
Don’t let these slime-filled brains scare you away. Here’s a quick picture tutorial showing just how easy these Zombie Brain Brownie Bites are to make! Full directions are detailed in the recipe below.
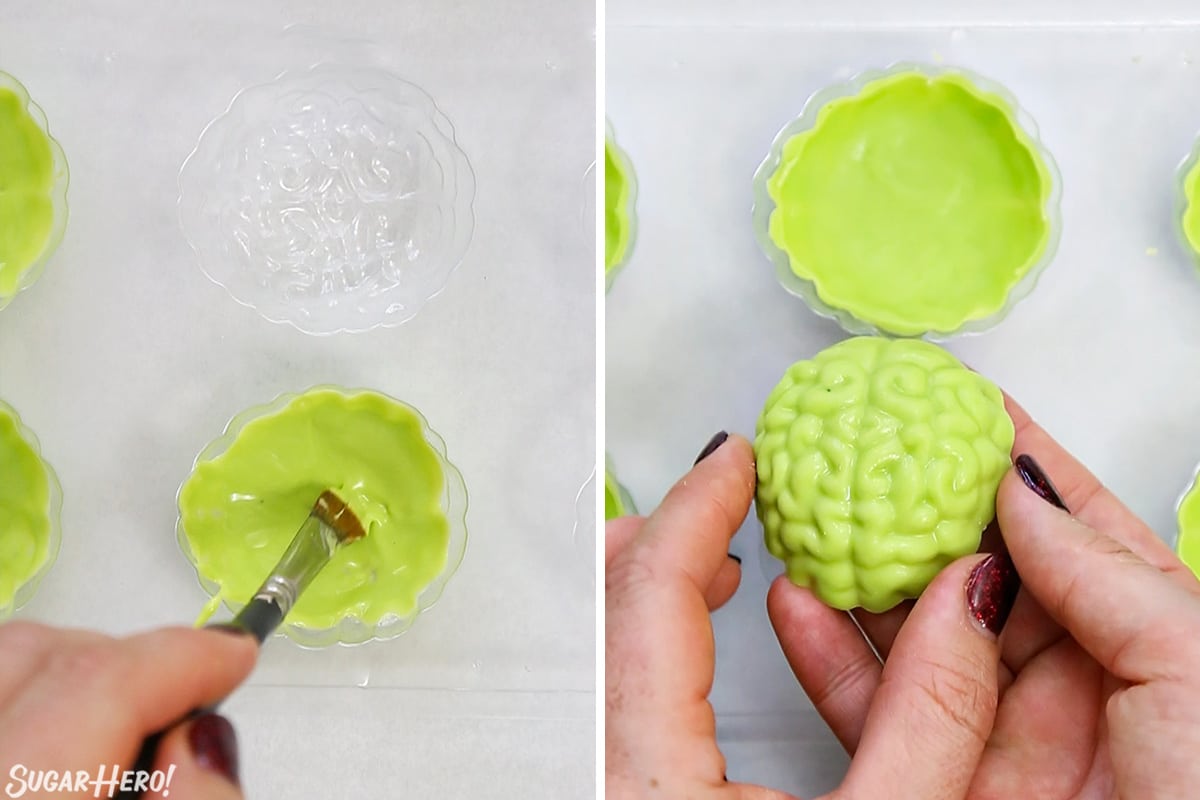
Prepare the Candy Brains
- Melt 8 oz of bright green candy coating, and place a spoonful in the cavity of a brain candy mold. Use a clean, dry food-safe paintbrush to brush the coating up the sides of the mold.
- Once all of the molds are filled, place the tray in the freezer for 10 minutes, then gently remove the brains from the molds.
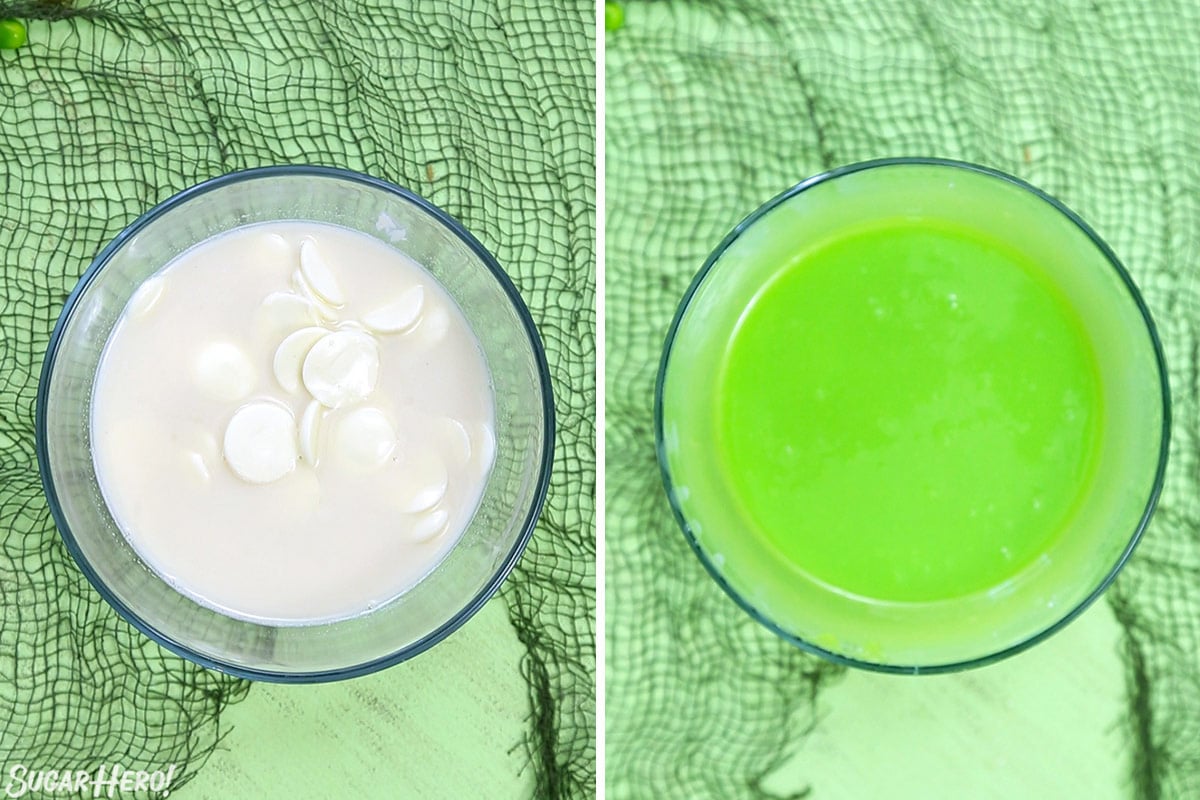
Make the ‘Slime’
- Combine 8 oz of candy coating and heavy cream in a microwave-safe bowl, and heat for 1 minute. If you are not using green candy melts, you can add a few drops of green food coloring if needed and whisk until smooth.
- Press a layer of cling wrap directly on top of the ganache and refrigerate for at least 2 hours to thicken it.
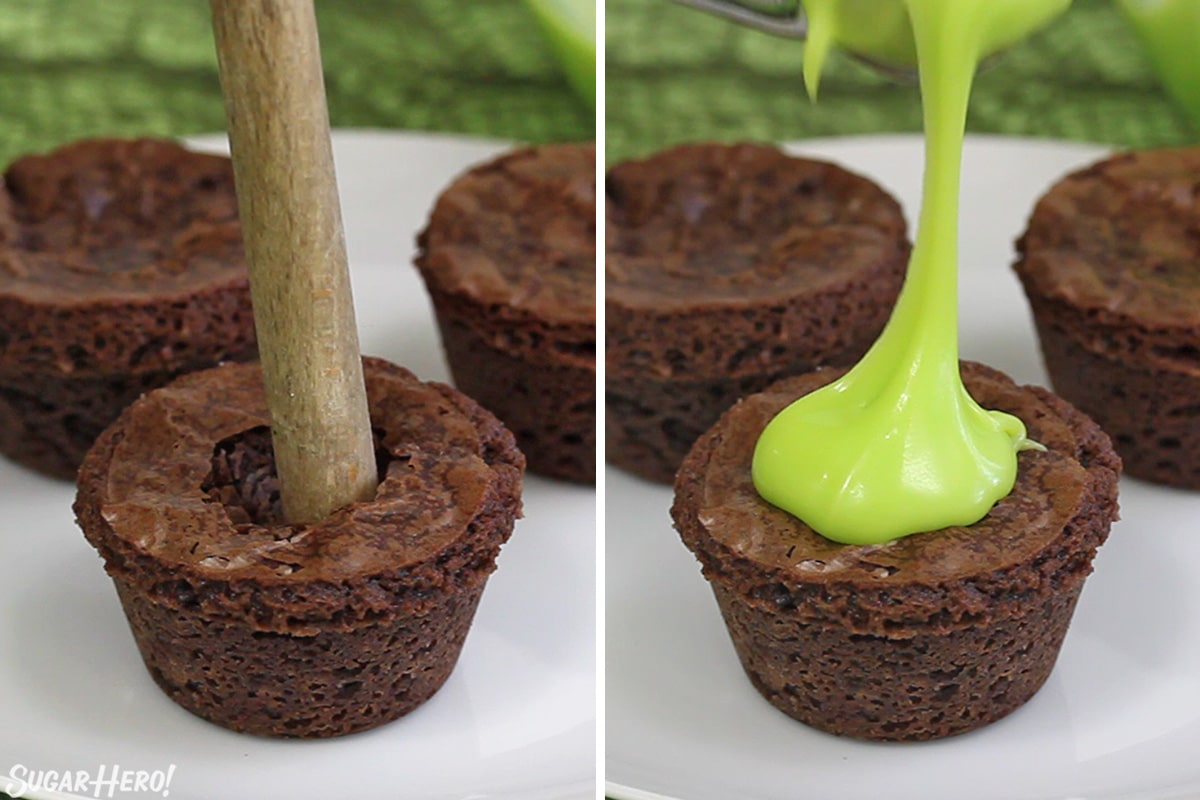
Fill the Brains
- Gently press a hole in the top of each brownie bite using your finger or the handle of a wooden spoon.
- Take a teaspoon-sized scoop of ganache and fill the hole in the top of the brownie bite.
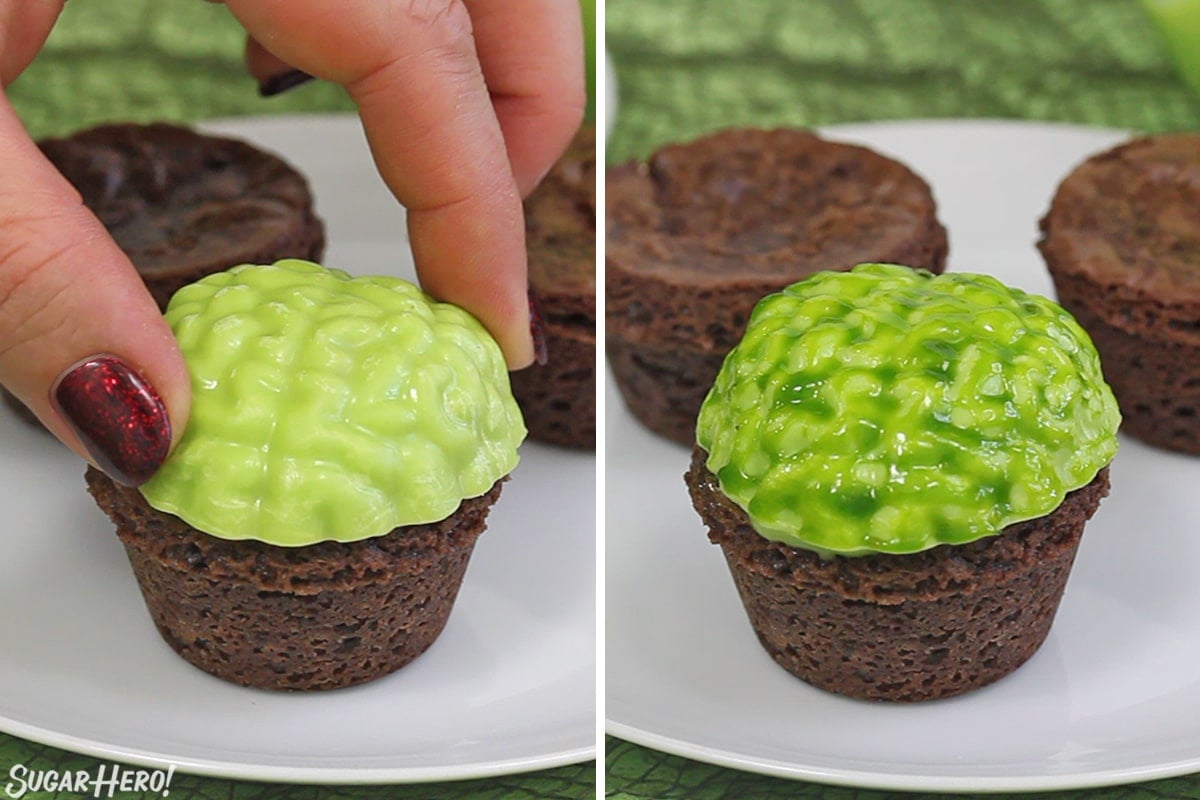
Cover the Brains
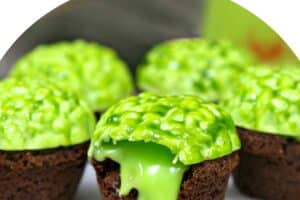
- Press a candy brain on top of each brownie. There should be enough green goo on top to adhere the brain to the brownie.
- Once all of the brains are attached, stir together the jelly and a drop of green food coloring, then paint the brains with the glistening mixture.
- Serve at room temperature, and enjoy!
💭 Variations
- Make them full-sized: if you don’t want mini versions, bake the brownies in full-sized muffin tins instead.
- Do cupcakes instead: Who says they have to be brownies at all? Try this recipe with your favorite cupcake flavor!
- Add flavors or mix-ins: if you want a little more texture along with your brains, you can add chopped cookies, nuts, or sprinkles when adding the ganache. You can also add some flavoring extract to the ganache if you’d like.
- Gelatin brains: Silicone molds are also great for gelatin, so if crunchy candy brains aren’t your thing, consider making gelatin brains instead! They’re shiny, jiggly, and perhaps a bit TOO realistic – perfect for Halloween! If you go the gelatin route, you’ll probably want to omit the ganache and make solid gelatin brains (instead of just shells) and then attach them to the brownies with a bit of frosting.
💡 Tips and FAQs
The texture of the green ooze is intentionally loose and fluid. I was really attached to the idea of the brains oozing out once the chocolate shell was cracked, so it never fully sets or hardens. If this kind of squicks you out, which is understandable, I’ve included instructions in the recipe for making the filling firmer.
The outside of the brains is painted with a mixture of jelly and food coloring, to make them glisten with slime. Over time the jelly dries down so it’s tacky and not wet, but it does always transfer a little to the fingers. This step can be omitted if you need to transfer them, or serve them to a group of kindergartners in your pristine white dining room, etc.
This recipe is easiest if you use Wilton Vibrant Green Candy Melts in both the ganache and the brain molds. Unfortunately, this seems to be a seasonal product and it might not be readily available. If you can’t find green melts, you can use white melts for the ganache and add bright green food coloring.
For the candy brains, you do NOT want to use water-based (ie, gel or liquid) food coloring –this will cause the candy melts to seize and clump up. You can either use oil-based candy coloring, use a combination of regular green and yellow candy melts to make a custom color, or use another shade of candy color for the brains themselves.
Unfortunately, availability of specific molds comes and goes. If you have a mold that’s almost-but-not-quite the right size for your brownie bites, it’s easy to adjust the brains to be a little smaller. Simply don’t brush the candy coating all the way to the top of the brain mold, and paint the coating just as far up the mold as you need to to ensure a tight fit. You might need to experiment a bit to see what fits best on your brownies.
All of the elements of this recipe can be made in advance and stored separately. The brownie bites can be stored at room temperature for 3-4 days, or in the freezer for up to several months. The oozing green ganache can easily keep in the refrigerator for a week –just make sure there is a layer of plastic wrap pressed directly on top to prevent it from drying out. And the brains will last indefinitely, if they are stored in a cool, dark place.
Once assembled, the brownies will gradually soften thanks to the ganache, so for the best taste and texture, I recommend eating them within a day of assembly. Refrigerate any leftovers.
🎃 More Fa-BOO-lous Halloween Desserts
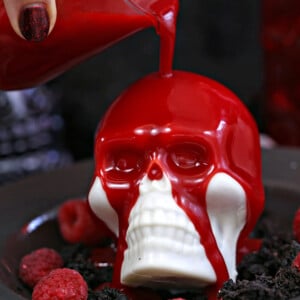
Melting Chocolate Skulls
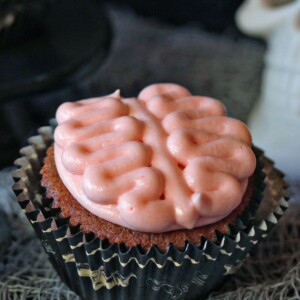
Brain Cupcakes
Don’t miss the step-by-step tutorial showing how to make Zombie Brain Brownie Bites – check out the web story here!
Leave a Review!
If you make this recipe, let us know! Leave a ⭐️⭐️⭐️⭐️⭐️ rating on the recipe below, and leave a comment, take a photo and tag me on Instagram @elabau, or use #sugarhero on IG!
Zombie Brain Brownie Bites
Ingredients
- box brownie mix, plus ingredients to make them
- 1 lb vibrant green candy coating melts, divided use (see note)
- 1/3 cup heavy cream
- 2 TBSP strawberry jelly
- Green gel food coloring, I used Americolor brand
- Brain candy mold
Instructions
- Preheat the oven to 350 F, and spray two mini cupcake pans very well with nonstick cooking spray.
- Prepare the brownie mix according to the directions on the package. Use a cookie scoop or large spoon to fill each mini cupcake cavity almost to the top. You should get about 20 brownie bites from this recipe.
- Bake the brownie bites for 15 minutes, until the top is puffed and crackly, and a toothpick inserted into the center comes out with just a few moist crumbs attached. Cool completely, then run a thin metal spatula around the edges and pop the brownies out of the pan. (If they start to tear, refrigerate them briefly so they firm up before removing.)
- Combine 8 oz of candy coating and the cream in a microwave-safe bowl, and heat for 1 minute. Whisk well, and if there are any unmelted pieces, heat again briefly for 10-20 seconds until fully melted and smooth. It will be very loose, like a liquid.
- Press a layer of cling wrap directly on top of the ganache and refrigerate for at least 2 hours—longer is okay.
- Melt the remaining 8 oz of candy coating, and place a spoonful in the cavity of a brain candy mold. Use a clean, dry food-safe paintbrush to brush the coating up the sides of the mold. You may not go all the way to the top, depending on the size of your brownie bites. If the top of the mold is wider than the top of your brownie bites, do not extend the coating to the top. Instead, stop a quarter or half inch down from the top (whatever works best for your measurements) so the brains are the same size as the tops of your brownie bites.
- Once all of the molds are filled, place the tray in the freezer for 10 minutes, then gently remove the brains from the molds. Repeat to make more brains, re-warming the candy coating as necessary, until you have a brain for each brownie bite.
- To assemble, gently press a hole in the top of each brownie bite using your finger or the handle of a wooden spoon. Take a teaspoon-sized scoop of ganache and fill the hole and top of the brownie bite. Press a chocolate brain on top. If the brain is not touching the ganache, it won’t stay put, so if necessary, fill the top of the brain with ganache and then press it down onto the brownie bite until secure.
- Once all of the brains are attached, stir together the jelly and a drop of green food coloring, then paint the brains with the glistening mixture. Serve at room temperature, and enjoy!
Video

Recipe Notes
Measuring Tips
Our recipes are developed using weight measurements, and we highly recommend using a kitchen scale for baking whenever possible. However, if you prefer to use cups, volume measurements are provided as well. PLEASE NOTE: the adage “8 oz = 1 cup” is NOT true when speaking about weight, so don’t be concerned if the measurements don’t fit this formula.
Want to learn more about baking measurements and conversion?
Nutrition


Too perfect for words! I can not wait to make them for a party we are going to this weekend! I will have to transport them to the party in the Florida heat….any suggestions on how to pack them up so they don’t fall apart of the molds crack?
Hey Christi, I am so glad you like it so much! I am so excited for you to make them! Your best bet would be to make all the components and then do a quick assemble once you get to your destination. Other than that I would say if you are worried mainly about the heat, maybe and ice chest. The only thing to note is that the filling will get firm when chilled. I would love to hear how it goes, good luck!
Due to covid whatever i send to school has to sit for 48 hours before they can eat them. Will the ooze still, well ooze or will the brownies absorb it?
Hi Darrell, I haven’t left them at room temperature for 48 hours so I can’t say for sure. My guess is that the brownies won’t absorb all of it, but having the soft ganache sit on top of the brownies might change their texture and make the tops very soft/gooey. With this restriction, I might go for a simple buttercream underneath the candy brains instead of a ganache.
I made these for a work party. The filling wasn’t as oozy as I had hoped si I’ll adjust the amount of creamer next time. Instead of using strawberry jam, I mixed food coloring with some butterscotch ice cream tapping. Worked and tasted great.
What a fun twist using butterscotch ice cream instead of strawberry jam, thanks for sharing!
Oh my gosh! This is such a creative idea! Perfect for a Halloween party. 🙂
Hi Carrie! Thanks for commenting. These are a blast to unveil at a party! Definitely gets the oohs and aahs!
These are so fun!! I had no idea these tiny brain molds existed. Such a fun thing to make!!
Hi Luci! It’s crazy how many types of candy molds actually exist. You can make almost anything into candy.
How fun! I made these for a Halloween themed kids birthday party and they just loved how scary and “gross” they were! Huge hit!
Hi Kim! So glad you got a chance to gross out the kids! That’s my favorite part of this recipe. So fun, creepy and TASTY!
Creepy, spooky and fun. Perfect for any Halloween party!
Hi Andrea. Thanks for commenting. These really are so fun to make for Halloween!
These brain molds are all
Over. You can find them on Amazon. They are not discontinued
Yes, thankfully! 😀 I couldn’t find the specific one I used (with 6 cavities and 2-inch brains) but there are lots of cool silicone options available. Thanks Del! Let us know how it goes if you give it a try!
Great idea! My grandson and I made these for his brother’s Halloween/birthday party. We made pink brains with green goo inside! Lots of fun, and everyone loved them!
Hi Rachelle! That sounds so disgustingly delicious . . . So glad you could have fun baking with your grandson.