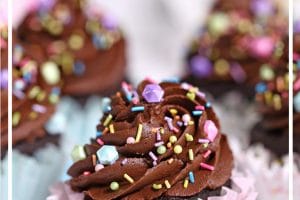
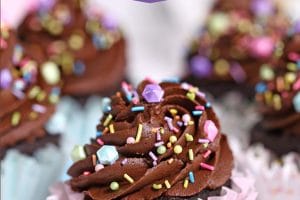
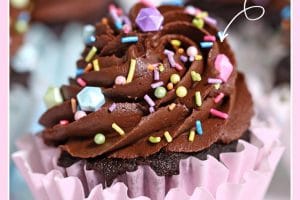

Looking for the PERFECT Chocolate Cupcake? I’ve got you covered! This is my go-to chocolate cupcake recipe that I’ve used for years. It’s got a strong chocolate flavor, a beautifully moist texture, and pairs with just about any frosting you can think of. Try it–it’ll become your favorite chocolate cupcake, too!

🧁 Moist Chocolate Cupcakes — From Scratch!
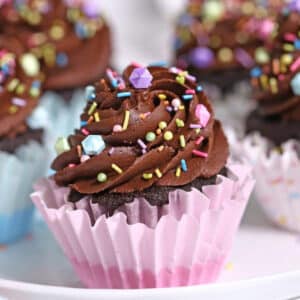
I don’t mean to brag, but I have tasted a lot of chocolate cupcakes—I mean, a LOT of chocolate cupcakes, like an unhealthy amount of chocolate cupcakes—and I am here to tell you that these chocolate cupcakes are the best.
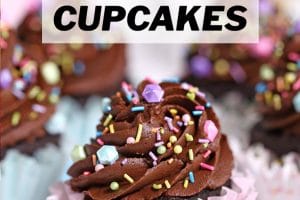
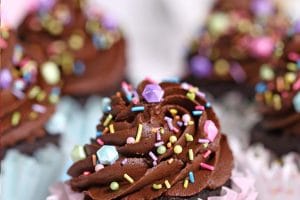
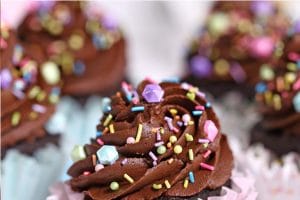
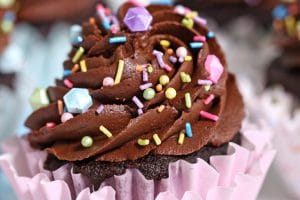
They are everything a homemade chocolate cupcake should be: moist, with a strong (but not bitter!) chocolate flavor, and a beautiful texture that’s sturdy enough to hold up to a high dome of frosting, but tender enough to enjoy with just a sprinkle of powdered sugar on top.
Read on to get all the tips and tricks you need to make amazing chocolate cupcakes at home, or click here to jump to the recipe and video.

🧾 Ingredients
Nobody wants a dry cupcake! Homemade chocolate cupcakes have a few things working against them: they don’t have the dough conditioners and preservatives boxed mixes have, and cocoa powder can dry out baked goods if the recipe isn’t properly balanced.
To counteract the dreaded dry cupcake syndrome, you need just a couple common pantry ingredients to keep these chocolate cupcakes moist.
- Buttermilk: buttermilk is one of my favorite secret (or not-so-secret) weapons for keeping baked goods moist! This recipe uses buttermilk as the main liquid, instead of regular milk or water, to add extra moisture and help the cupcakes stay softer for longer.
- Sour Cream: like its cousin buttermilk, sour cream adds moisture to these cupcakes, but it also adds richness and creaminess thanks to its high fat content. I always recommend using full-fat dairy when possible (unless a recipe says otherwise!) but in this case, you can use light sour cream just fine.
What if I don’t have buttermilk or sour cream?
If you don’t have buttermilk handy, you can make your own by combining 1 TBSP of fresh lemon juice or white vinegar with 1 cup of 2% or whole milk. Stir well, and let the milk sit for 10 minutes, until it’s thickened slightly, then you can use it!
If you don’t have sour cream, you can swap in an equal amount of plain Greek yogurt. Whole yogurt is better, but low fat is also okay!

📋 Instructions
These cupcakes are made using “the creaming method,” a standard way to make many cake batters.
- In the creaming method, butter and sugar are beat together for several minutes until “creamed” together, meaning they’re well-mixed, the butter has air incorporated into it, and the mixture is light and fluffy.
- Next, room temperature eggs are added to the butter and sugar. The eggs should always be added gradually, to give the mixture enough time to incorporate each egg, so the cake batter is smooth and emulsified.
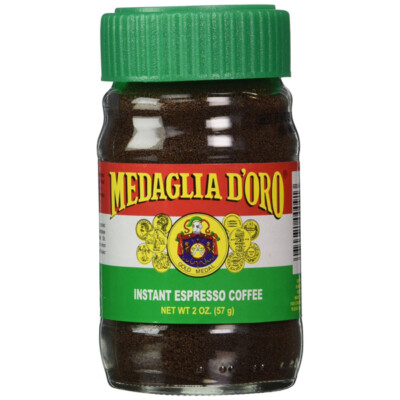
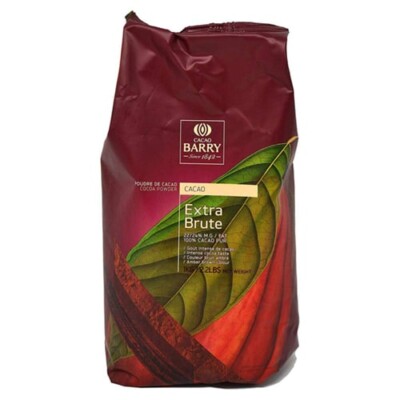
- Finally, wet and dry ingredients are added in an alternating pattern, beginning and ending with the dry ingredients. In this case, “dry ingredients” means a sifted combination of flour, cocoa powder, baking soda, and salt, and the “wet ingredients” means a mixture of buttermilk, sour cream, and espresso powder.
The biggest thing to remember about making cakes at home is to not overwork the batter. Overmixing cake batter will give you tough, dry cakes!
Once the cupcake batter is mixed, fill each muffin cup 2/3 full—do NOT fill to the top of the cup! 2/3 full is the perfect amount for this recipe, and will ensure 24 beautifully baked cupcakes!

🥣Equipment You’ll Need
There are only a couple must-haves for making these cupcakes.
- Mixer: You’ve gotta have one for creaming the butter and sugar! (I love my KitchenAid for making these cupcakes.) A stand mixer or a hand mixer will both work, and whatever you use, you’ll want to use a paddle blade instead of a whisk attachment, so you don’t overmix the cake batter.
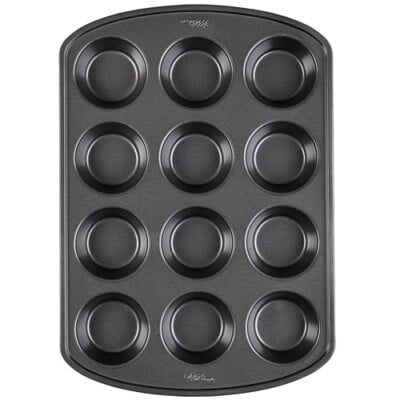
- Cupcake pans: It’s helpful to have 2 cupcake pans, so you can bake all 24 cupcakes at once.
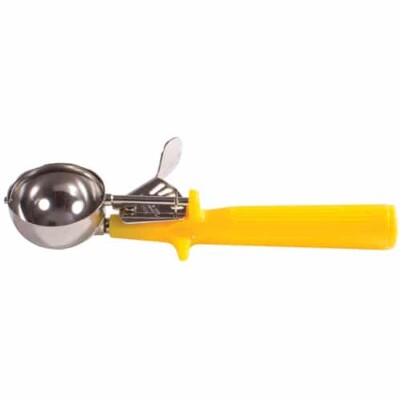
- Cupcake scoop: This falls into the “nice to have” category, but it’s helpful to use a cupcake scoop, also known as a disher, to make sure all of the cupcakes are exactly the same size. This means they’ll bake evenly, plus they’ll look better.
- Cupcake wrappers: the ones used in these pictures aren’t sold anymore, but these wrappers by the same company are very similar.

❄ Freezing Cupcakes
Like any homemade cake or cupcake recipe, these chocolate cupcakes are best enjoyed within a few days of baking. But if you want or need to make these cupcakes in advance, you can bake them off and store them in the freezer before decorating.
To freeze cupcakes, let them cool completely, then place them in freezer bags without overcrowding them. Squeeze as much air out of the bags as possible, to prevent air from sneaking in and causing them to go stale.
If your freezer doesn’t have a flat surface to place the cupcakes on, put the bags of cupcakes on baking sheets so the bottoms stay flat. They can be frozen for up to 3 months, and if you will be leaving them in the freezer that long, consider wrapping the entire sheet in several layers of plastic wrap (yes, over the freezer bags!) as double insurance against freezer burn.
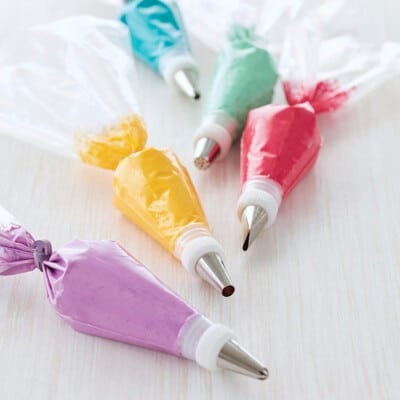
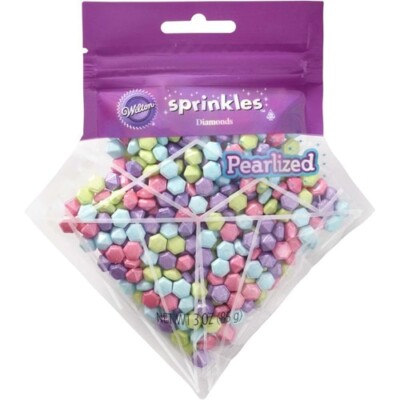
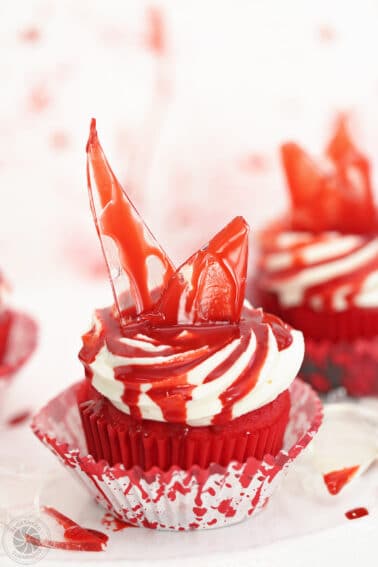
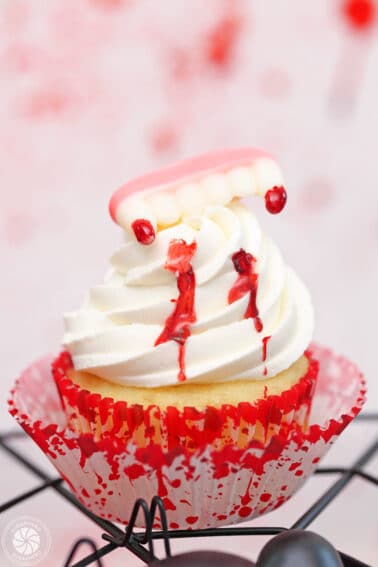
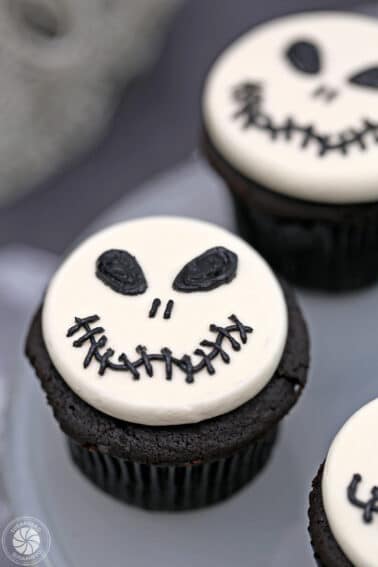
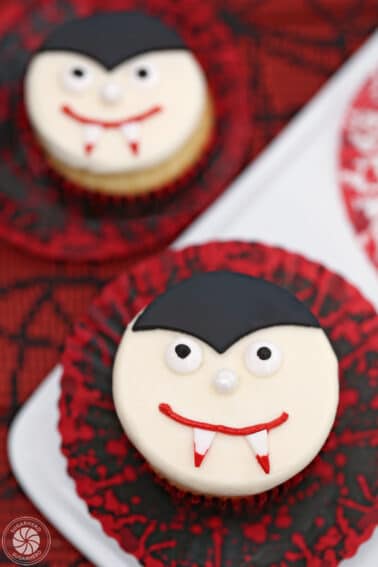
To thaw the cupcakes, let them sit at room temperature in the freezer bags. Once they are defrosted, you can remove them from the freezer bags and decorate! Pick your favorite buttercream and then embellish with sprinkles, Chocolate Leaves, Chocolate Feathers or candy.

🎂 Turning cupcakes into cake
One of the most common questions I get is, “Can this cupcake recipe be used to make a cake instead?” The answer is YES!!
You can use this same amount of cake batter to make three 8-inch cake layers, perfect for 1 tall layer cake. Evenly distribute the cake batter between the 3 cake pans (each pan should get about 13 oz of batter) and bake for 22-25 minutes.

Frostings to pair with cupcakes
What’s a cupcake without frosting? (Nothing!) Fortunately, these chocolate cupcakes go with just about any flavor or texture! Here are a few recipes to try out:

🧁️More Cupcake Recipes
This homemade chocolate cupcake recipe is just a jumping-off point for your creativity. Now that you know how to make them, you can make endless flavor combinations. Try one of these fun cupcake variations:
- Snickers Cupcakes
- Caramel-Stuffed Chocolate Cupcakes
- Chocolate-Dipped Pretzel Cupcakes
- Double Chocolate Easter Cupcakes
- Zucchini Cupcakes
- Easy Chocolate Flower Cupcakes
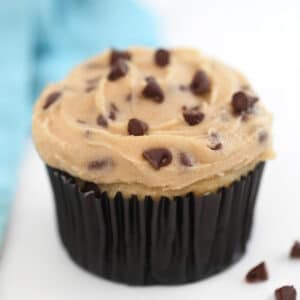
Cookie Dough Frosting
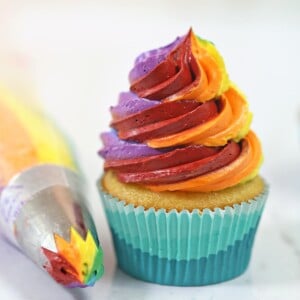
Rainbow Frosting
Leave a Review!
If you make this recipe, let us know! Leave a ⭐️⭐️⭐️⭐️⭐️ rating on the recipe below, and leave a comment, take a photo and tag me on Instagram @elabau, or use #sugarhero on IG!
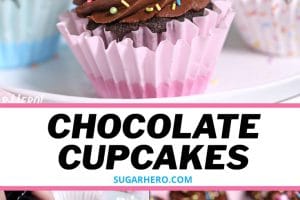
Chocolate Cupcakes
no further! This is the BEST chocolate cupcake recipe. It’s got a strong
chocolate flavor, a beautifully moist texture, and pairs with just about any
frosting you can think of.
Ingredients
- 6 oz unsalted butter, at room temperature
- 5 oz granulated sugar, (2/3 cup)
- 5 oz brown sugar, (2/3 cup packed)
- 2 large eggs, at room temperature
- 2 tsp vanilla extract
- 8 oz buttermilk, (1 cup), at room temperature
- 4 oz sour cream, (1/2 cup), at room temperature
- 2 tsp instant espresso powder, (optional)
- 8 oz all-purpose flour, (1¾ cups)
- 3 oz unsweetened cocoa powder, (1 cup)
- 1½ tsp baking soda
- ½ tsp salt
Instructions
- Preheat the oven to 350 F (175 C). Line cupcake pans with 24 paper wrappers.
- Whisk together the buttermilk, sour cream, and espresso powder, if using. If you don’t want to use espresso powder or don’t have it, it can be omitted without any problems.
- In a second bowl, sift together the flour, cocoa powder, baking soda, and salt.
- Add the butter and both sugars to the bowl of a large stand mixer fitted with a paddle attachment. Beat them together on medium-high speed, until light and fluffy, about 4-5 minutes. Add the eggs one at a time, mixing well after each addition. Add the vanilla extract and mix it in.
- With the mixer running on low, add a quarter of the sifted flour mixture. When the flour streaks have almost all disappeared, add a third of the liquid to the mixing bowl. When that’s incorporated, continue to add the dry and wet ingredients in an alternating pattern, ending with the dry ingredients.
- When the dry ingredients are nearly incorporated, and you see just a few streaks of flour remaining, stop the mixer. Scrape down the bottom and sides of the bowl with a rubber spatula, and finish mixing the cake by hand.
- Scoop the batter into the cupcake pans, filling the liners 2/3 full. Bake the cupcakes for 20-22 minutes, until the tops spring back when lightly pressed with a fingertip. Cool completely before decorating.
- Store these cupcakes in an airtight container to keep them as moist as possible. These cupcakes are best enjoyed within 2-3 days of baking, but if you would like to make them in advance, wrap them well and store them in the freezer until you need them. Defrost at room temperature, then decorate and enjoy!
Video

Recipe Notes
Measuring Tips
Our recipes are developed using weight measurements, and we highly recommend using a kitchen scale for baking whenever possible. However, if you prefer to use cups, volume measurements are provided as well. PLEASE NOTE: the adage “8 oz = 1 cup” is NOT true when speaking about weight, so don’t be concerned if the measurements don’t fit this formula.
Want to learn more about baking measurements and conversion?
Nutrition


Thank you for the recipe ella. I must try this… I love it
Hi Septin, I am so glad you like it! Thank you!!
Chocolate cupcakes are my absolute favorite! I love the fact that you have directions for freezing these too so I can always have them on hand.
Hey Sharon, that is so true! I love being able to have some ready at any minute! I am glad you like the recipe! Thank you!
That frosting is perfection! Looks amazing! 🙂
Hi Carrie, I am glad to hear it! Thank you so much!
Gotta love a great cupcake recipe. These taste great. Moist and delicious.
These were so delicious and moist – the perfect chocolate cupcake. Will definitely be making another batch again soon.
Hey Alexandra, I am so glad to hear you enjoyed them! Thank you so much!
these cupcakes look divine! PS adding espresso powder is a game changer, I’m always including it 🙂
Hi Rebecca, I completely agree! Thank you so much for your response, I really appreciate it!
Thanks for sharing this amazing recipe. My cupcakes are always moist when they are fresh out of the oven. Will your suggestions on how to make cupcakes moist keep mine moist for longer?
Hey Chinazor, I am so glad to hear you enjoyed the recipe! I can’t necessarily say for other recipes without having tried them, however it will definitely help with this one! Another thing to remember is that even these cupcakes themselves are best enjoyed within the first three days. If you are wanting to preserve them longer than that I would suggest putting them in the freezer. That will be your best option for trying to preserve the moisture, I hope that helps! Thanks!
love this recipe i’ve tried to make this but i doubt i have use different ingredients i’ll try this with the same ingredients because i recipe i made previously wasn’t that good i hope this one turns out to be perfect 🙂 thanks for sharing
Hi Mary, I am glad you like the recipe! Thank you so much! I would love to hear how it goes if you give it another try!
I made these cupcakes this afternoon! I was a little scared cause I have never bake with sour cream and buttermilk at the same time! So glad I decided to make these! They came out so moist but not as airy as I wanted but overall very delicious!! I give this recipe five stars and will us this recipe again!⭐️⭐️⭐️⭐️⭐️
Wahoo! So glad that you loved them!
This is such a compliment-garnering recipe!! I make them as mini cupcakes, and they are very very popular! One batch makes 48 mini plus up to 6 normal-sized cupcakes, which is plenty to share and to have some to leave at home as well. Definitely a go-to – thanks Elizabeth!
Hi Kelly! Thanks for the recipe review and rating! Mini cupcakes sound amazing – like little bites of happiness! So glad you’ve been enjoying the recipe and I’ll make sure Elizabeth sees your kind comment. All the best!