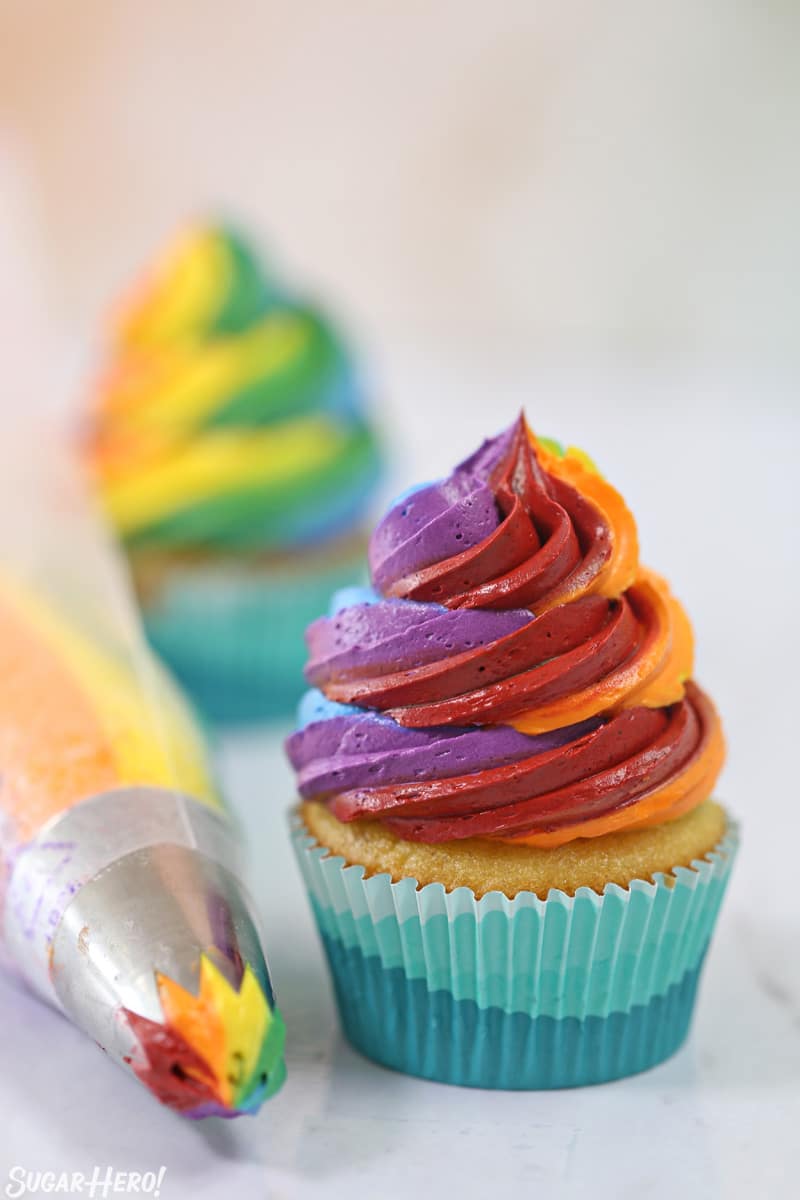
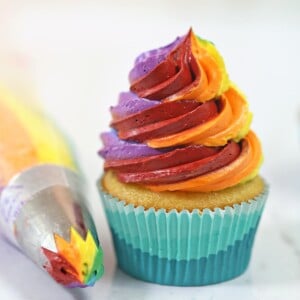
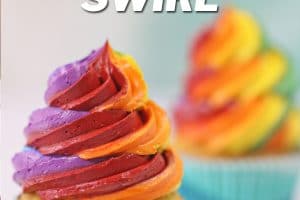
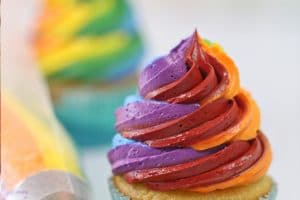
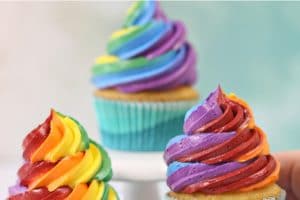
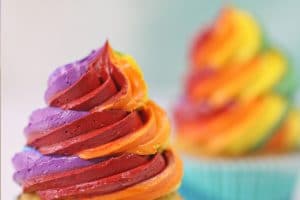
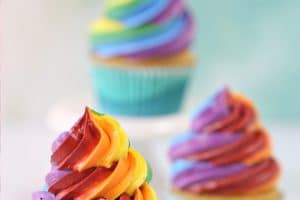
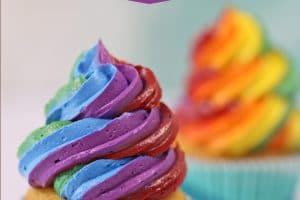
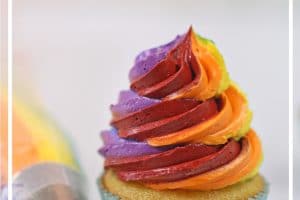
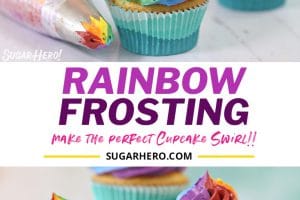
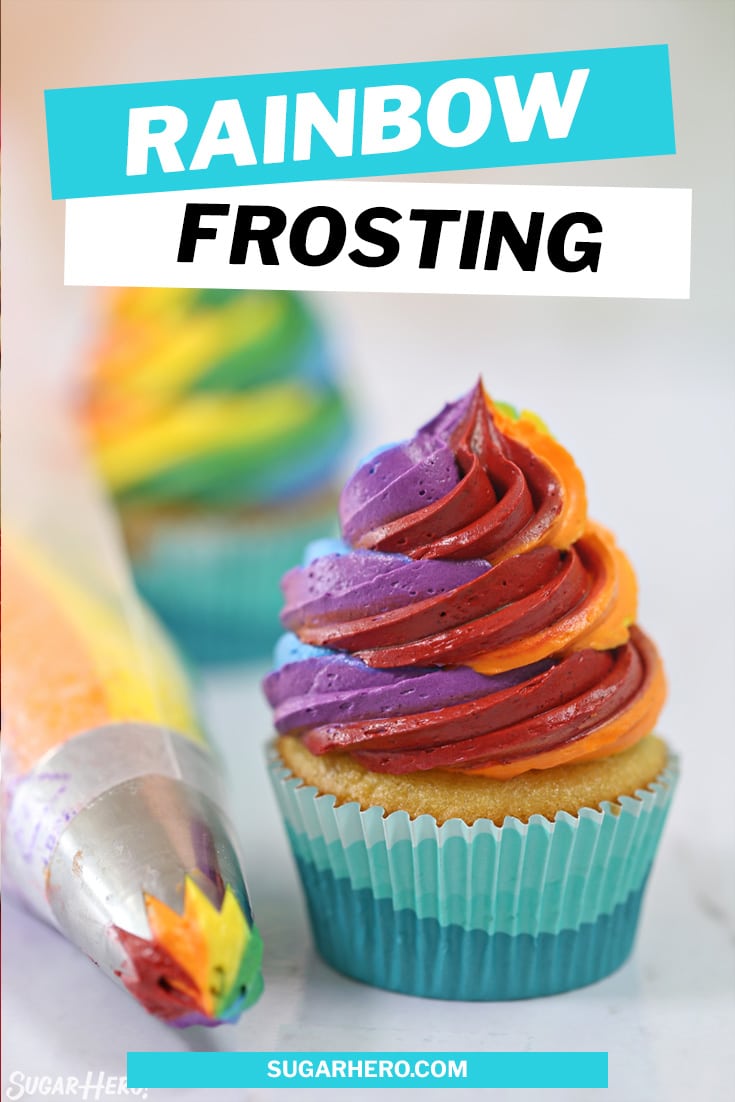
This swirled rainbow frosting adds a bright, cheerful pop of color to any dessert. It’s perfect for cakes, of course, but you can also use this rainbow icing for cupcakes, brownies, cookie sandwiches, and so much more.
🌈 How to Make Rainbow Icing
Is there anything better than a cupcake topped with a big, bold swirl of rainbow frosting? I’ve long been obsessed with bright colors and fun desserts, and rainbow-frosted cupcakes are the perfect marriage of the two!
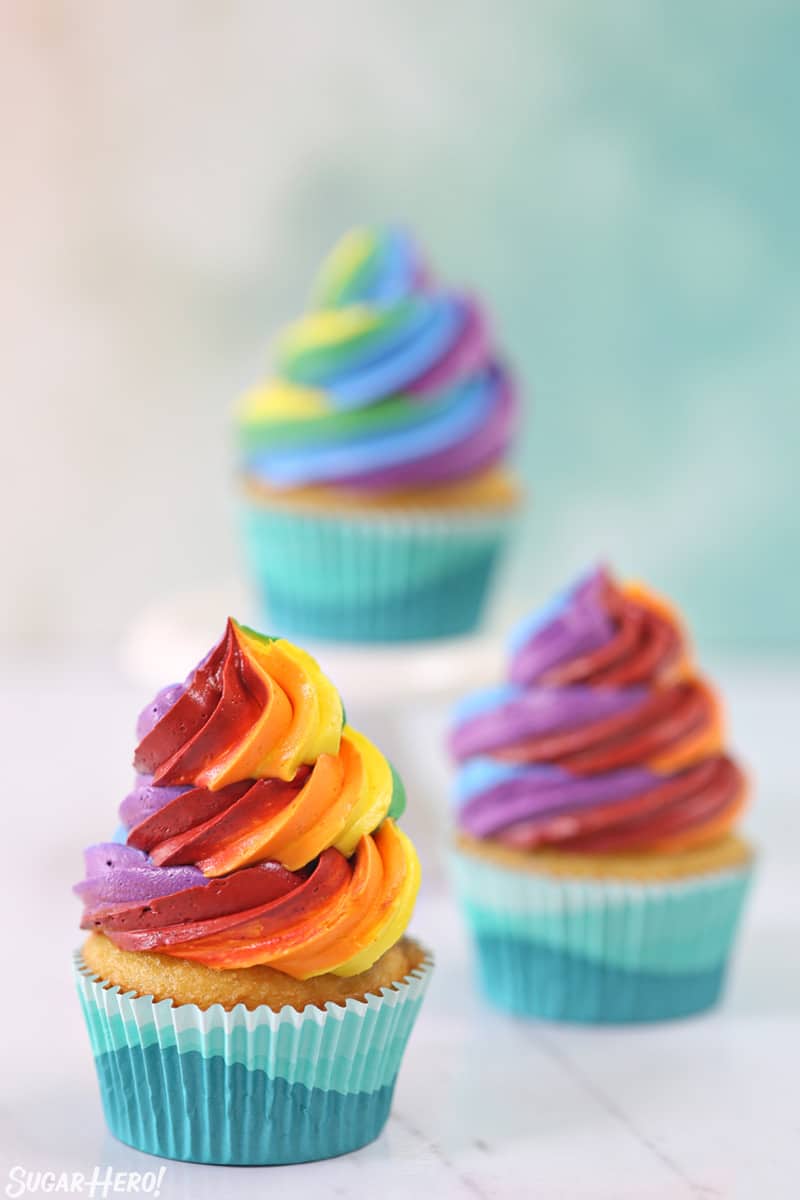
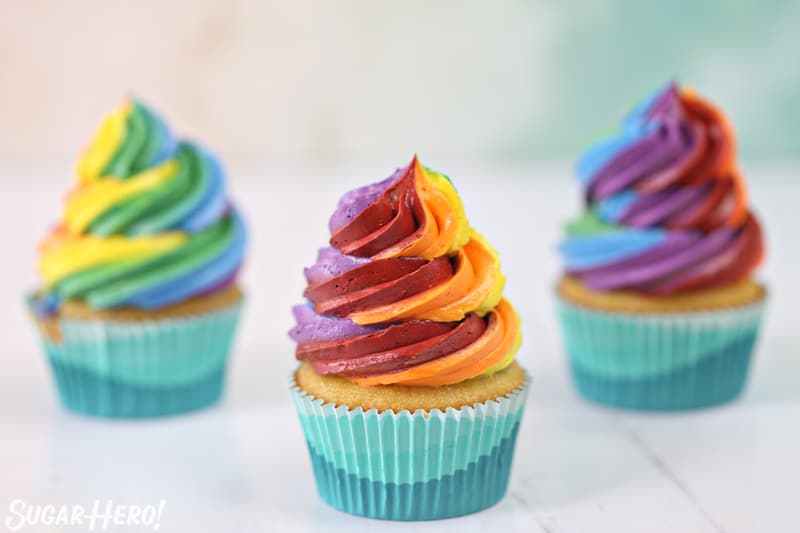
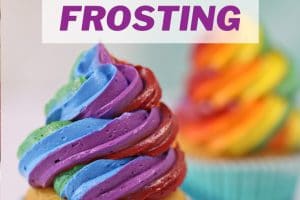
The beauty of this rainbow icing technique is that it works for so many different events: kids and adult birthday parties, baby showers, spring and summer parties, St. Patrick’s Day, Pride events, and so many other occasions! It can be customized with any colors you’d like, and best of all, it looks complicated but is actually super easy to achieve. Read on to learn all my best tips and tricks for rainbow frosting!
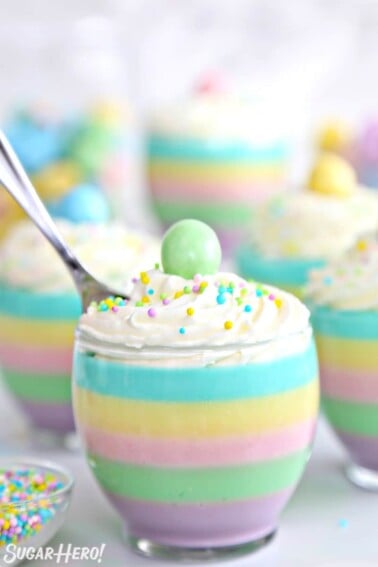
If you’re looking for more rainbow desserts, you’ll love my Rainbow Cake with Rainbow Frosting, Rainbow Mousse Cake, or Pastel Rainbow Gelatin Cups. Be sure to check out these colorful birthday present mini cakes too!
Table of Contents
🧾 What You’ll Need
Here’s a short list of everything you’ll need to make rainbow-frosted cupcakes. (Shopping links are affiliate links)
- 8 cups of white buttercream (I’m sharing my recipe in the recipe card below, but you can swap in your own if you have a favorite!)
- 6 gel food colors (more info down below)
- Plastic wrap
- Piping bags
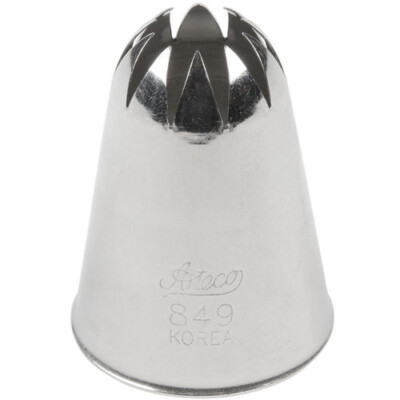
- A large star tip (I used Ateco #849)
- Baked and cooled cupcakes or cake!
What Food Coloring To Use
I strongly recommend using gel food coloring over the liquid food coloring you can buy in a grocery store. Gel colors are more concentrated, so you won’t have to use as much coloring to get a bright, vibrant color. (Bonus: you can hopefully avoid the “food coloring aftertaste” if you use good-quality gel colors!)
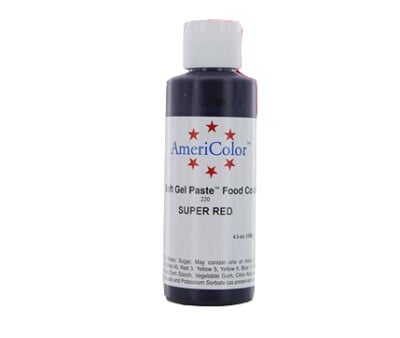
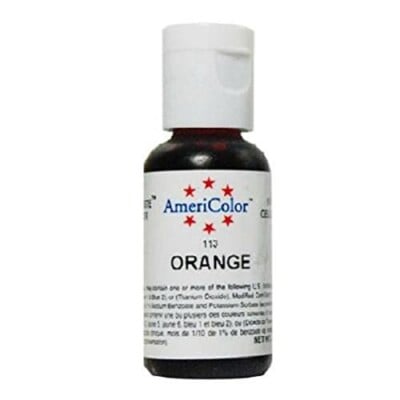
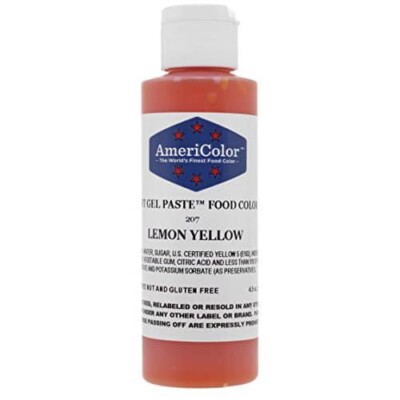
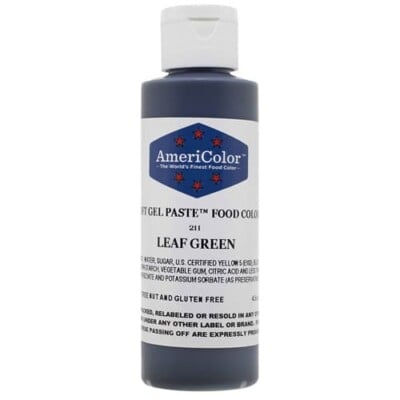
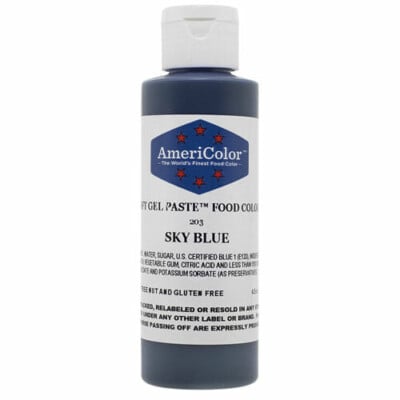
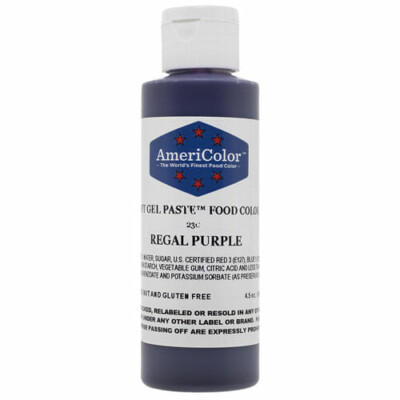
I recommend Americolor brand food coloring, or the Wilton ColorRight system. Here are the colors I used in these photos (these are affiliate links):
- Red gel food coloring
- Orange gel food coloring
- Yellow gel food coloring
- Green gel food coloring
- Blue gel food coloring
- Purple gel food coloring
📋 Rainbow Frosting Instructions
Step 1: Make your buttercream
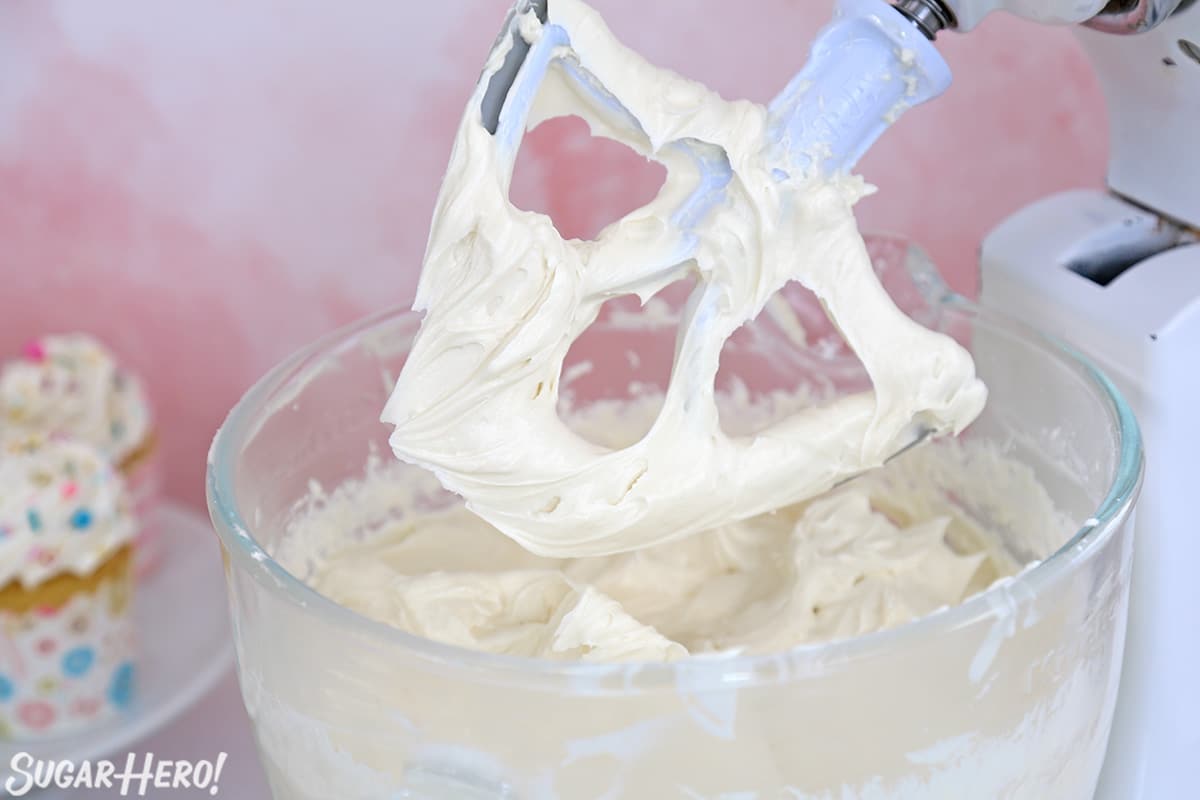
The first step to making this colorful rainbow icing is to prepare your buttercream. I’m sharing a delicious American buttercream frosting recipe in the recipe card down below, but you could also use Swiss Meringue Buttercream, my Easiest Swiss Meringue Buttercream, or a favorite recipe of your own.
For this technique, you can use any white frosting recipe with a pipeable consistency. You’ll want about 8 cups of frosting to frost 20-24 cupcakes.
Avoid this mistake:
Don’t use canned frosting purchased at the store, because it is too soft to pipe well and won’t make the gorgeous cupcake swirls we’re looking for.
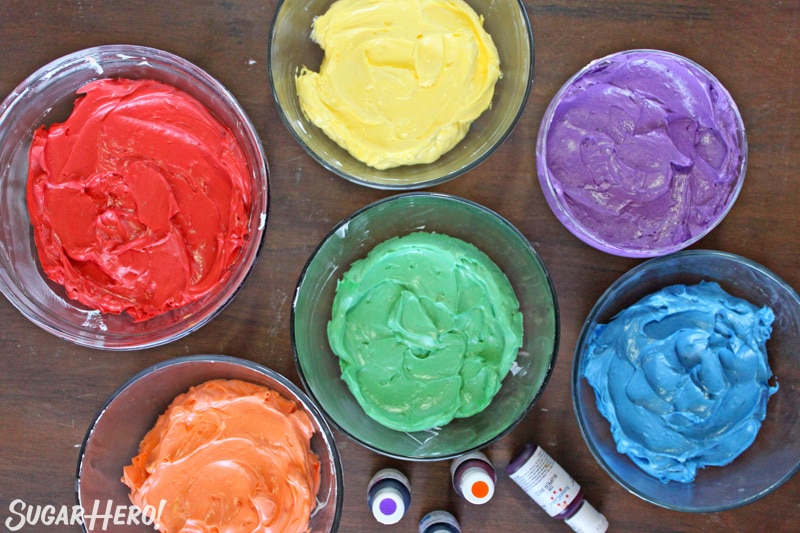
Step 2: Color the Buttercream
The first thing to do is color the buttercream an assortment of rainbow colors (or whatever your color scheme is!)
Divide your white frosting equally between 6 bowls. No need to measure, eyeballing it is fine. Add a different color of gel food coloring to each bowl and stir well, adding more if necessary until you get a vibrant color.
Tip for red food coloring:
It is notoriously hard to get a bright red buttercream color! My best tips are to use a good-quality gel brand, and warm up a small amount (~2-3 TBSP) of buttercream in the microwave until warm but not hot. Mix a generous spoonful of red gel in with the warm buttercream, then mix THAT into the whole bowl. Starting with this small concentrated red portion helps the color disperse better throughout the batch. The color will also deepen as it sits, so if possible, mix up your red color the day before you need it so it has time to deepen.
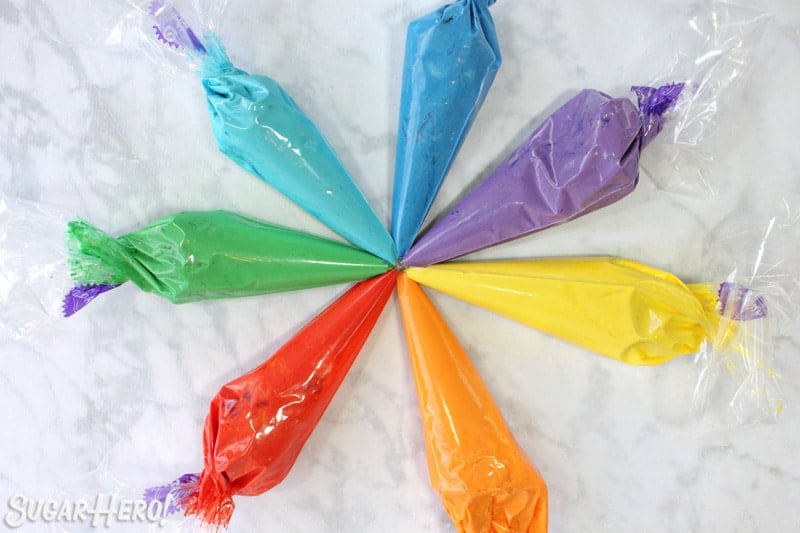
Step 3: Put the Buttercream in Piping Bags
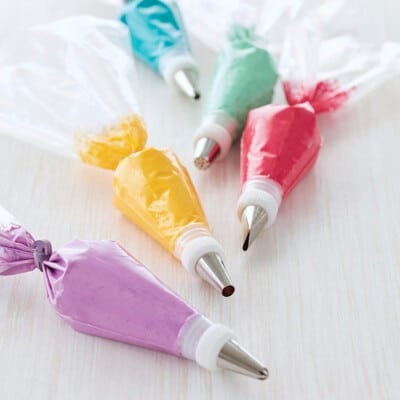
Place each color of frosting into its own piping bag, and snip a 1/2-inch opening in the end of each bag. No piping bags? No problem! You can substitute gallon-sized zip-top bags with a hole snipped in the corner instead.
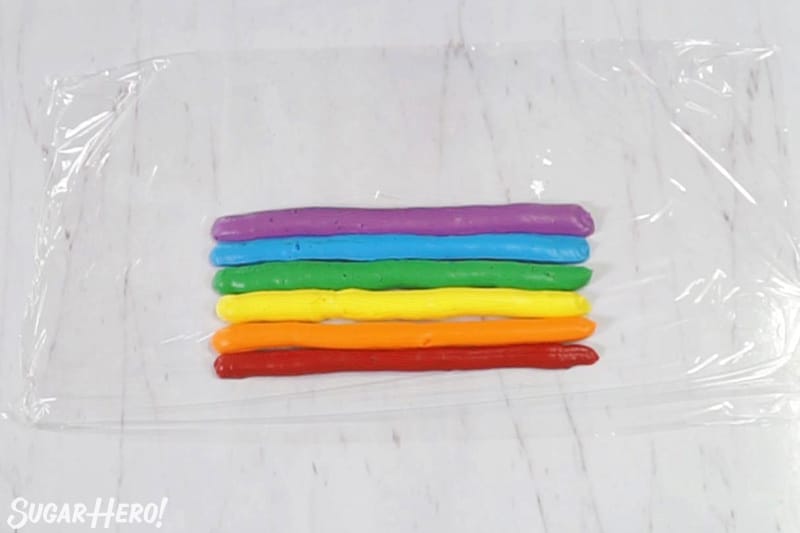
Step 4: Pipe stripes of colors
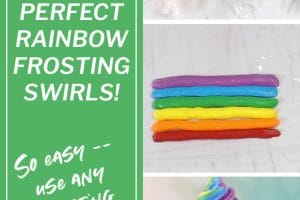
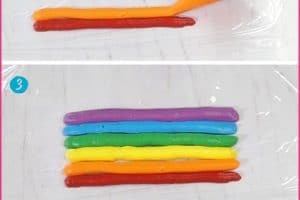
Lay out a piece of plastic wrap on your counter. Start by piping a long line of red food coloring on the plastic wrap. Leave a margin of a few inches from the sides and bottom of the wrap. Next, pipe the orange frosting right next to the red.
Continue to pipe the colors in a row on the plastic wrap. Depending on how thick you pipe them, you can either fit one line of each color on the wrap, or repeat the pattern and make 12 stripes. Just make sure you leave a margin and don’t go all the way to the edge of the plastic wrap.
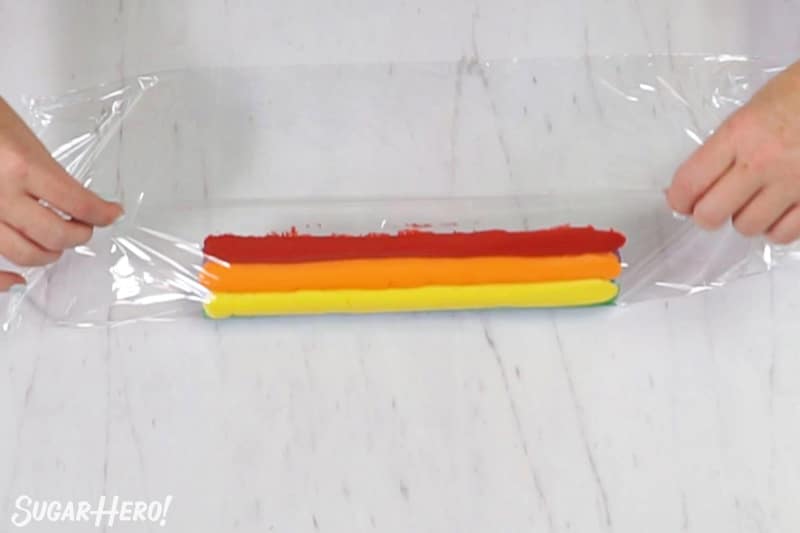
Step 5: Roll up the plastic wrap
Now, fold the plastic wrap over lengthwise and roll the frosting into a cylinder. Grasp the ends of the plastic wrap in each hand, and twirl it quickly so the frosting is burrito-shaped and the ends of the plastic are tightly twisted.
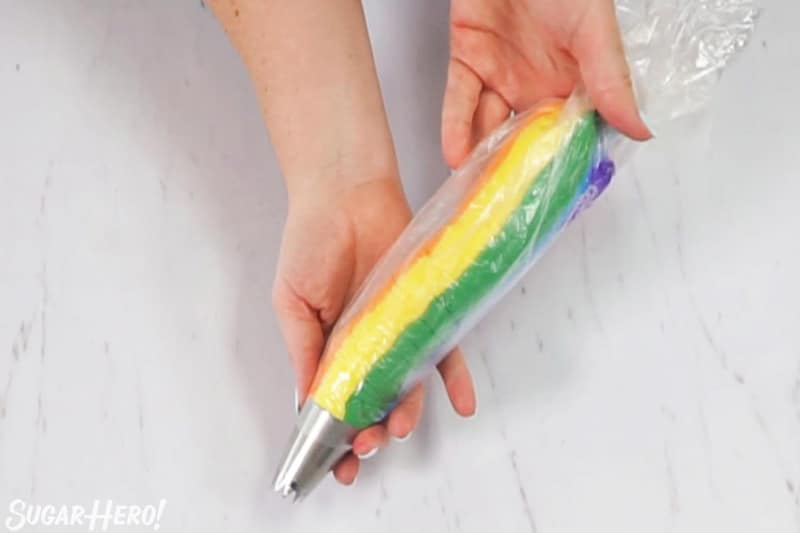
Step 6: Place the rainbow frosting in a piping bag
Fit a piping bag with a large star tip – I like the size of Ateco #849. Snip off one of the plastic wrap “tails,” and insert the frosting cylinder into the piping bag, snipped-side down.
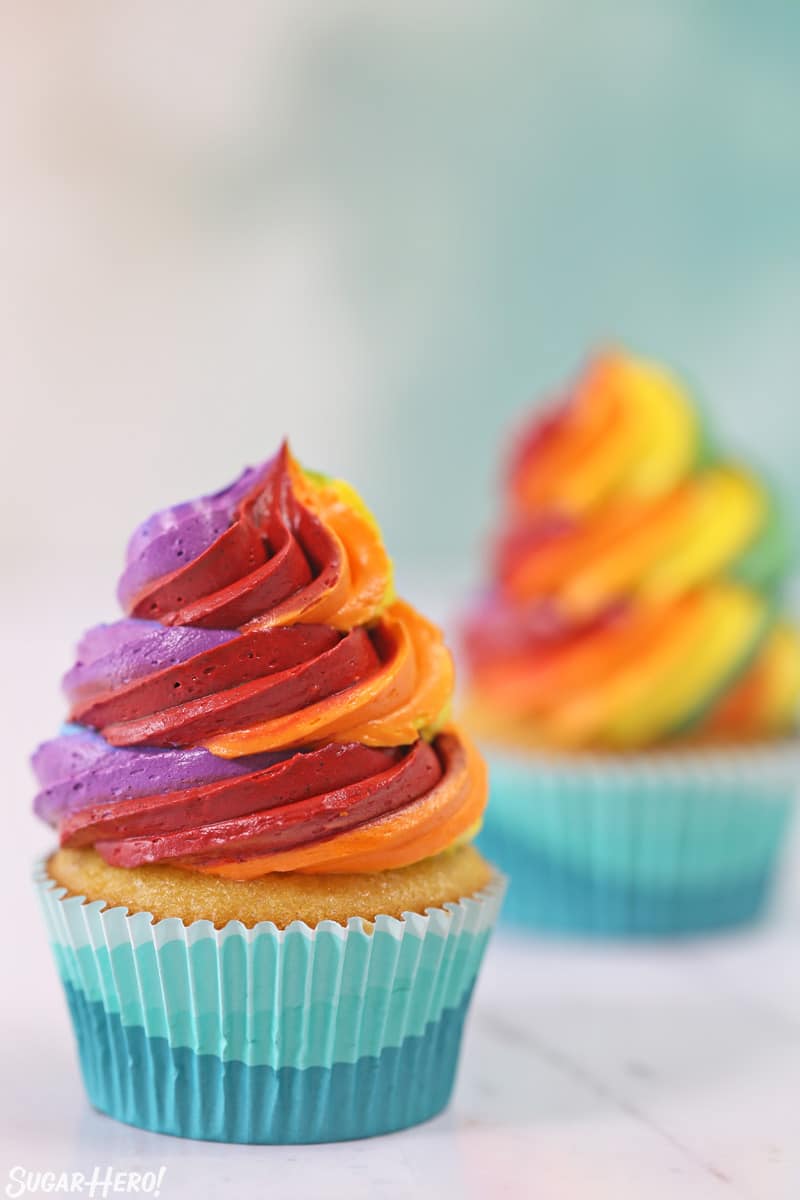
Your piping bag is now ready to go! Give it a little squeeze, because sometimes it takes a minute for all of the colors to come out together.
You’re now ready to make rainbow swirls on your cakes, cupcakes, or other desserts! Please share pictures if you give it a try, and don’t miss these other fun rainbow desserts!
🌈 More Rainbow Desserts You’ll Love
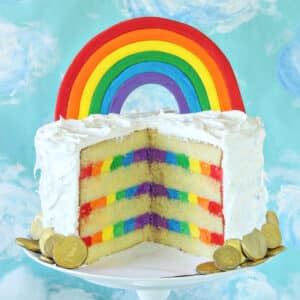
Rainbow Cake with Rainbow Frosting
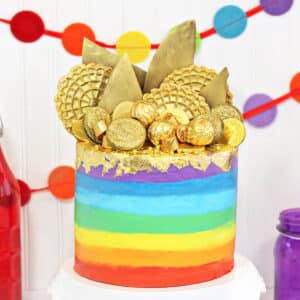
Gold-Topped Rainbow Cake
If you try this tutorial, please let me know! Leave a ⭐️⭐️⭐️⭐️⭐️ rating on the recipe below and leave a comment, take a photo and tag me on Instagram @elabau, or use #sugarhero on IG!
Rainbow Frosting
Ingredients
- 4 TBSP milk, at room temperature
- 1 TBSP vanilla extract, or other flavoring
- ½ tsp salt
- 8 oz unsalted butter, at room temperature
- 8 oz shortening, can replace with equal amount butter if desired
- 28 oz powdered sugar, (7 cups), sifted
- Gel food coloring in six rainbow colors, I recommend Americolor
Instructions
- Combine the milk, vanilla extract, and salt in a small bowl, and stir them together to dissolve the salt and set aside.
- Place the butter in a stand mixer fitted with a paddle attachment. Mix for 2 minutes on medium speed, until the butter is lighter in color and creamy. Scrape the bottom and sides of the bowl.
- Add the shortening and the milk mixture, and use a splatter guard over your bowl or place a towel over the top of the mixer to prevent splatters. Run the mixer on low until the liquid starts to incorporate, then turn it to medium until everything is well-mixed and smooth (20-30 seconds). Scrape down the bowl again.
- Keep the towel over the mixer, leaving only a small opening in front, turn the mixer to low, and add the sugar to the bowl in a steady stream. Once all of the sugar is incorporated, scrape down the bottom and sides of the bowl, and turn the mixer to medium-low for 30 seconds to mix the frosting well.
- Divide the frosting equally between 6 bowls. Add a different color of gel food coloring to each bowl and stir well, adding more if necessary until you get a vibrant color. Place each color of frosting into its own piping bag, and snip a 1/2-inch opening in the end of each bag.
- Lay out a piece of plastic wrap about 16 inches long. Start by piping a long line of red food coloring on the plastic wrap. Leave a margin of a few inches from the sides and bottom of the wrap.
- Next, pipe the orange frosting right next to the red, and continue to pipe each color in a line. Depending on how thick you pipe them, you can either fit one line of each color on the wrap, or repeat the pattern and make 12 stripes. Just make sure you leave a margin and don't go all the way to the edge of the plastic wrap. (If you have extra colors left over, you can do this a second time to make another rainbow piping bag.)
- Now, fold the plastic wrap over lengthwise and roll the frosting into a cylinder. Grasp the ends of the plastic wrap in each hand, and twirl it quickly so the frosting is burrito-shaped and the ends of the plastic are tightly twisted.
- Fit a piping bag with a large star tip. Snip off one of the plastic wrap “tails," and insert the frosting cylinder into the piping bag, snipped-side down.
- Squeeze the bag for a moment until all of the colors come out together, then your rainbow piping bag is ready! This recipe makes enough to frost 18 cupcakes with large swirls, or 24-28 cupcakes with small single-layer swirls.
Video
Recipe Notes
Measuring Tips
Our recipes are developed using weight measurements, and we highly recommend using a kitchen scale for baking whenever possible. However, if you prefer to use cups, volume measurements are provided as well. PLEASE NOTE: the adage “8 oz = 1 cup” is NOT true when speaking about weight, so don’t be concerned if the measurements don’t fit this formula.
Want to learn more about baking measurements and conversion?




That looks so cool. I don’t think
I could manage it quite so neatly, but something to aim for.
Hah, the great thing about rainbow frosting is that even when it doesn’t turn out perfectly, it still tastes great. 😀 Thanks Jacqueline!
Hi, I live in a very hot country would the butter cream melt??
Should I use shortening only.
Thank you
Hi Maria. The buttercream can get melty if it’s in a very hot environment. If you are worried about stability, I’d recommend replacing some of the butter with shortening. My personal preferrence is to replace 1/4 of the butter with shortening for the best tasting buttercream. However, you can replace up to 1/3 of the butter with shortening if you are really worried. I hope that helps! Best of luck to you.
Such a fun and easy treat that does not disappoint! Enjoyed making these with my kids this afternoon; exactly what I needed to cure my sweet tooth!
Thank you Sara! I’m thrilled to hear that you and the kiddos loved it.
Would I be able to add a touch of meringue powder for added stability and to insure it wouldn’t melt in 80*F weather (outside fundraiser sale) or would that change the texture and taste too much?
Thank you
Hi Kristin. Great question. This buttercream is half shortening so it’s pretty stable in hot weather. You can definitely add meringue powder to increase the stability, but I’d actually recommend adding powdered egg whites if you can find them. Powdered egg whites are the main ingredient in meringue powder, but they don’t have any citric acid in them like meringue powder does. The citric acid can give the buttercream a tangy flavor that isn’t bad if you are doing a strong flavor like orange or lemon. For vanilla frosting, I don’t really like the tang of the citric acid and prefer to use plain powdered egg whites. However, all that being said, powdered egg whites can be difficult to find. If meringue powder is what you have, it should be just fine – even with vanilla flavoring. Good luck!