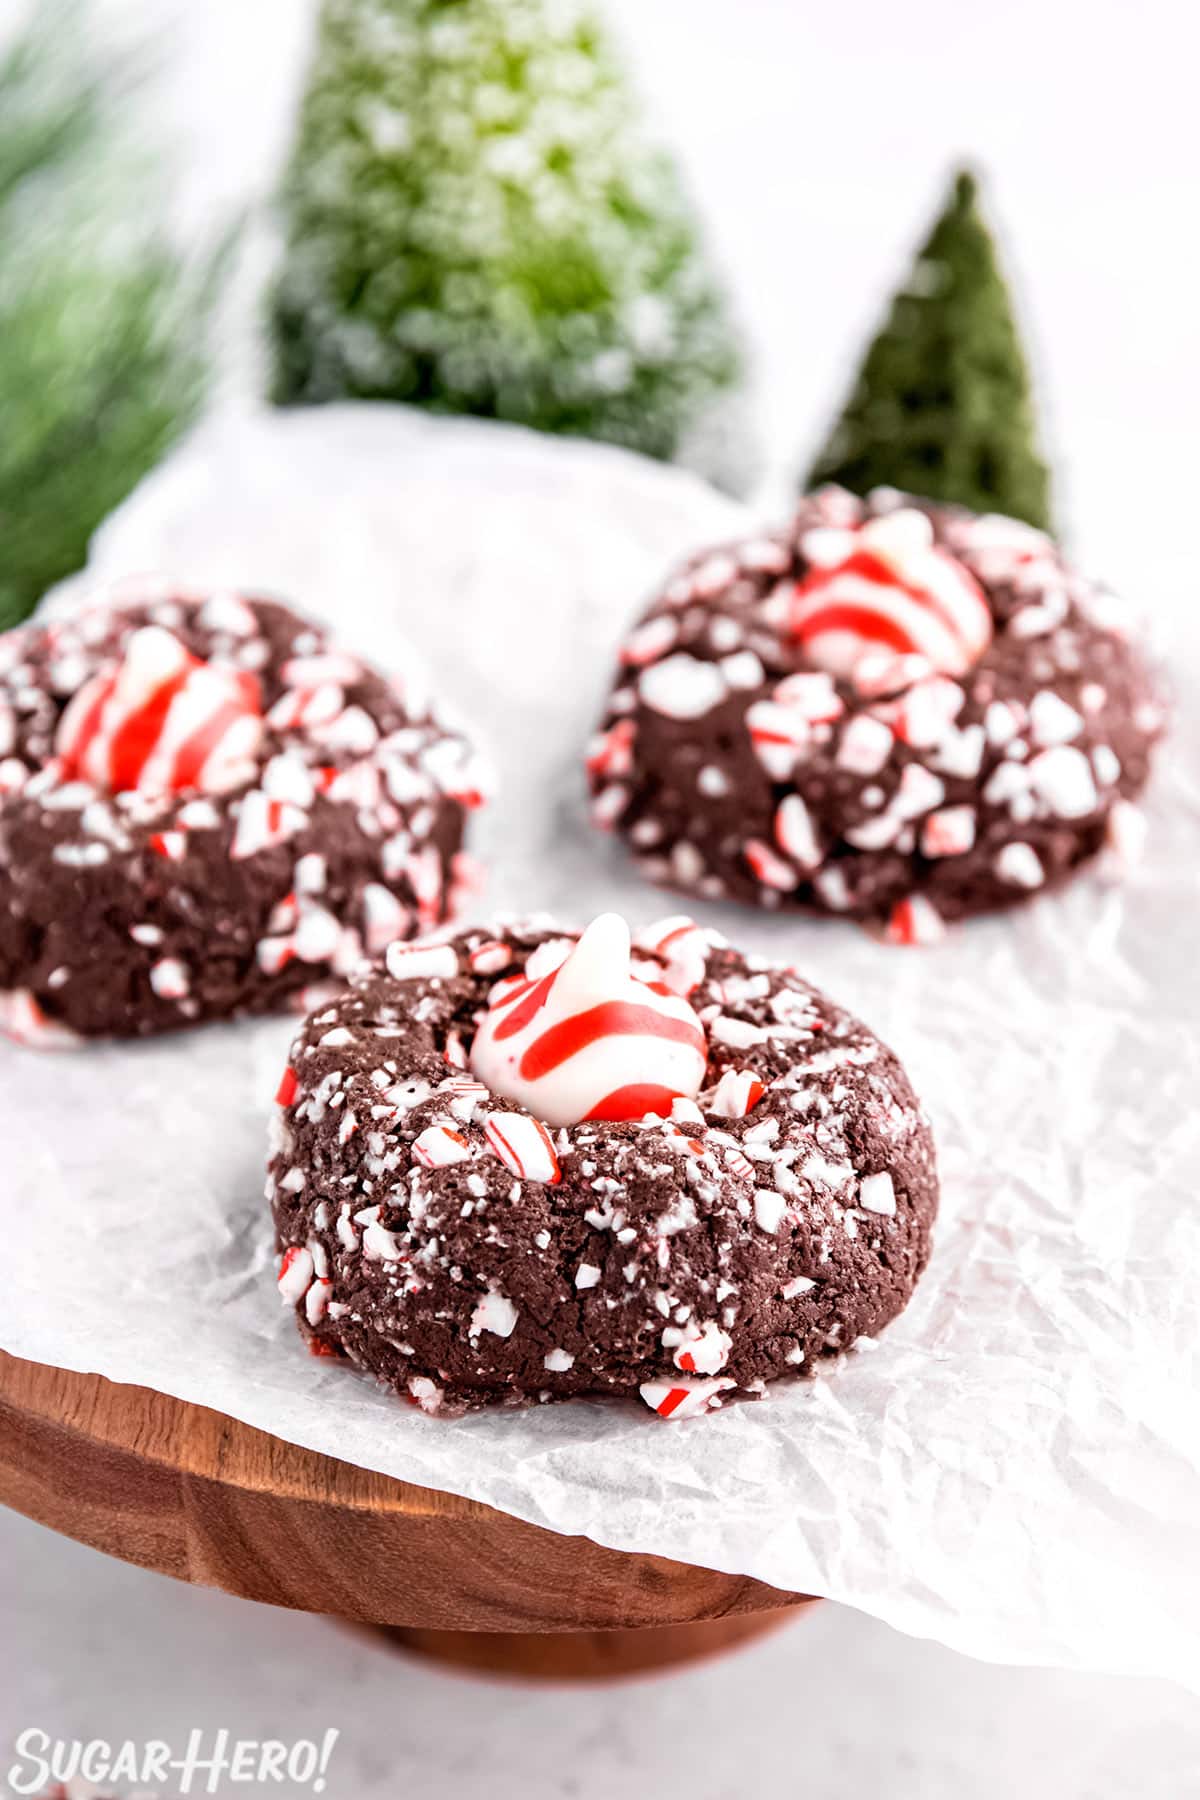
Chocolate Peppermint Kiss Cookies are rich chocolate cookies, covered in candy cane pieces and topped with a striped peppermint Kiss. Add this one to your holiday baking list ASAP!

Chocolate Peppermint Blossoms
You might know these cookies as “Kiss cookies,” “Blossoms,” or simply “those delish thingymajingies that I can’t stop eating.” (That’s what we call them in my house…)
They go by many different names, and have just as many different possible flavor combinations. But since it is the holidays and we are elbows-deep in all things peppermint, today I’m sharing a chocolate-candy cane variation, just in time for you to add them to your cookie plates or party menus!
These cookies are a soft and fudgy cookie that’s fast and easy to whip up — no mixer needed here! The chocolate cookie dough comes together in just a few minutes with the help of a whisk and your own strong biceps. They’re rolled in candy cane pieces, for crunch and flavor, and are topped with the cutest red and white striped peppermint Kiss!
More Christmas Treats
If you like the sound of these, don’t miss some of our most popular candy cane recipes, like Candy Cane Mousse Cake, Chocolate Candy Cane Cake, and Peppermint Lava Cakes!
Need more ideas to fill out a cookie platter or take to a cookie exchange? Here are some of my most popular Christmas cookie recipes: Oreo Cookie Christmas Ornaments, Gingerbread Chocolate Chip Cookies and Big Soft Sugar Cookies (with Frosting!).

Table of Contents
🧾 What You’ll Need
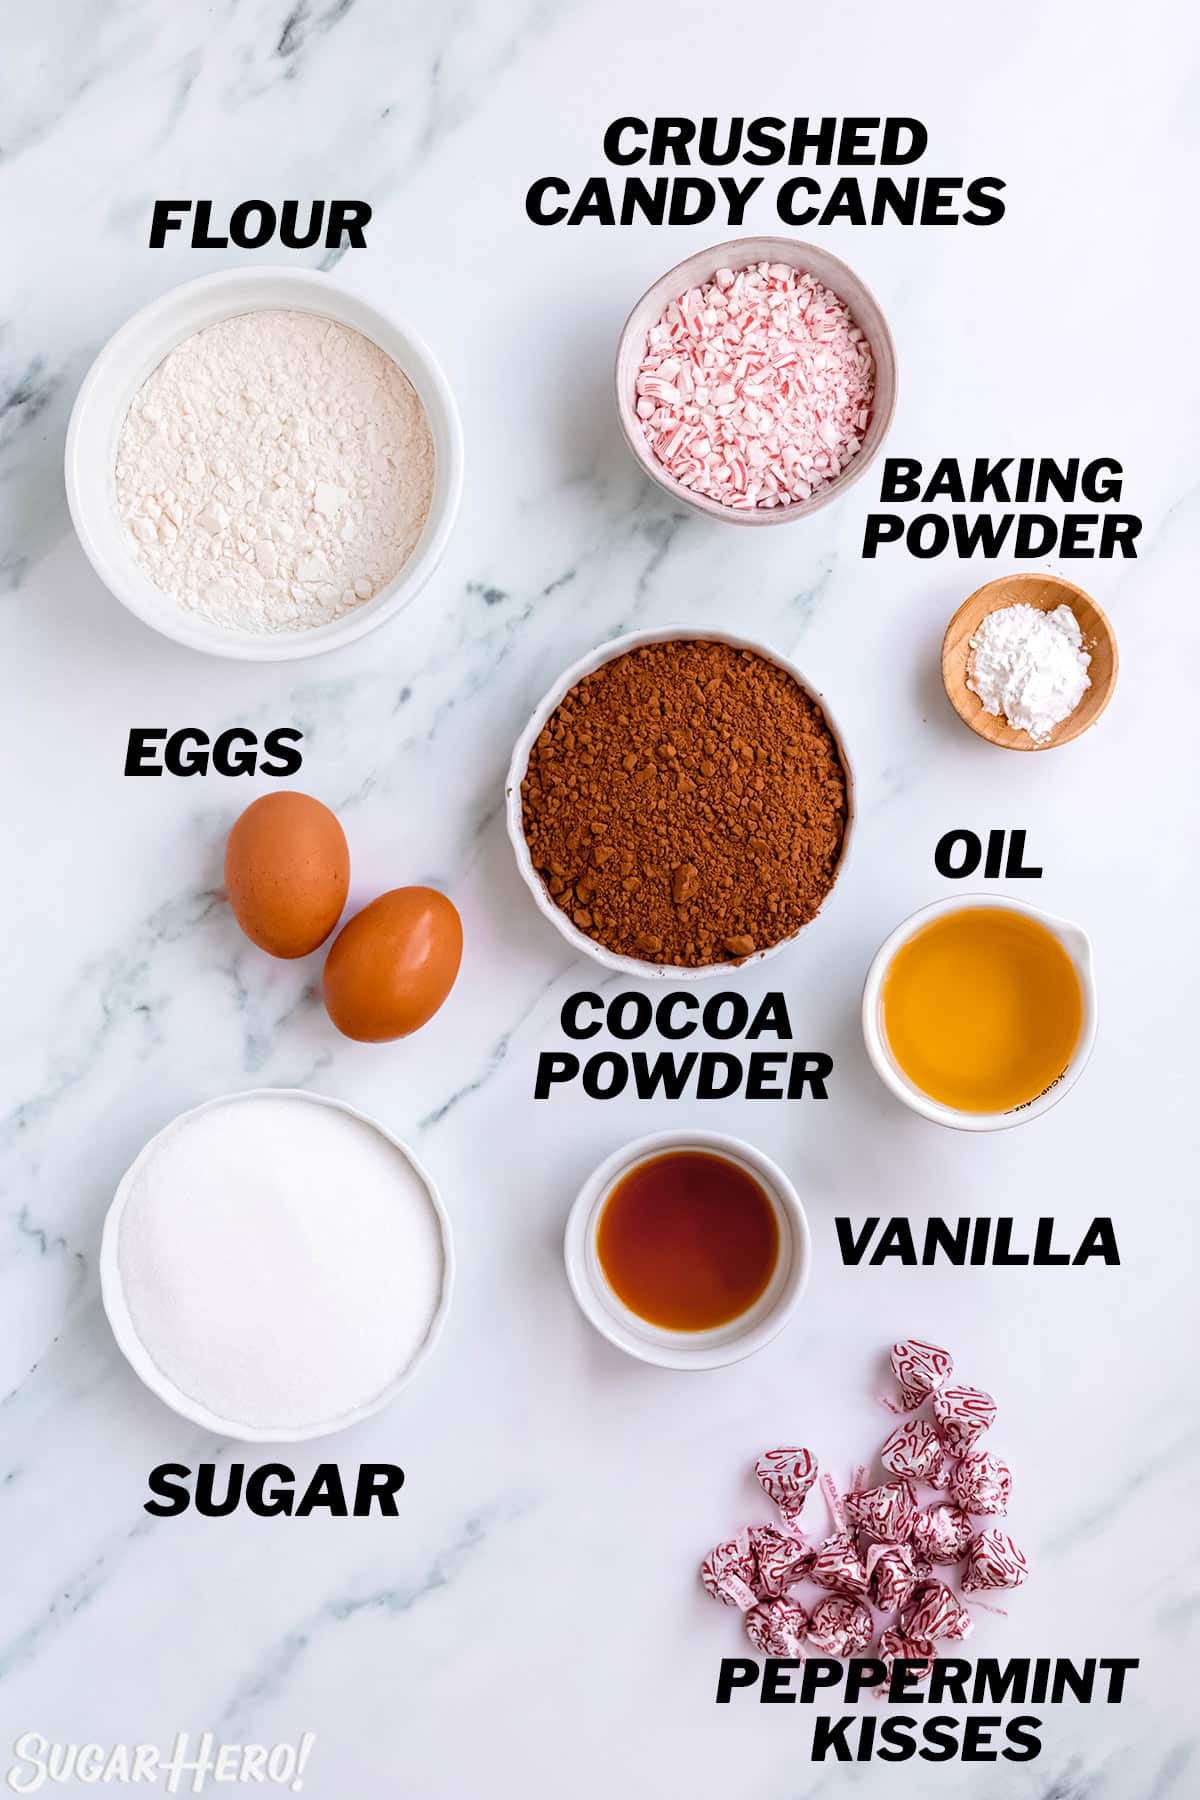
Ingredients
Most of the ingredients for this recipe are kitchen basics, but I’ve included a few tips and specialty items below. (Links are affiliate links and I earn a small commission from qualifying purchases.)
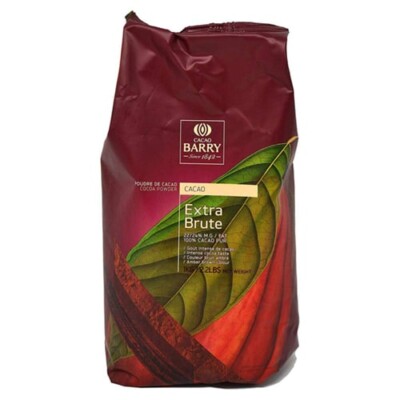
- Unsweetened cocoa powder: I prefer to use Dutch-processed (alkalized) unsweetened cocoa powder because I love its deeper, richer flavor and color. My favorite brand is Cacao Barry Extra Brute. However, you can swap in regular unsweetened cocoa powder without needing to make any other adjustments. Cookies made with regular cocoa powder will be lighter in color and might have a lighter cocoa flavor.
- Granulated sugar: White sugar gives these cookies crispy edges and a crackly crust – the perfect contrast to the soft interior!
- Vegetable oil: You can swap in another neutral flavored oil, like canola, instead.
- Eggs: Use large eggs, and for the best results, have them at room temperature before beginning.
- Vanilla extract: Nielsen-Massey Bourbon vanilla extract is my absolute FAVORITE vanilla extract! However, feel free to use your favorite vanilla extract you have at home.
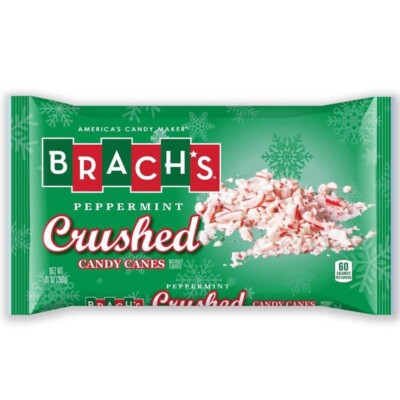
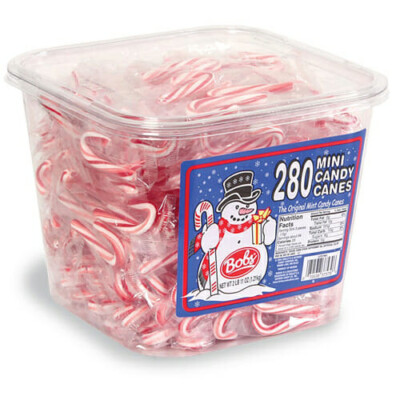
- Candy canes pieces: Candy Cane Bits are a great way to add candy cane taste and texture to your desserts! Crushing up candy canes can be messy, and they start to stick together as soon as they’re crushed. Buying candy cane bits is the easy solution–just measure out what you need and you’re good to go! If you don’t have these, though, you can definitely DIY crushed candy canes–see the FAQ section for more details.
- Peppermint kisses: Hershey’s Candy Cane Kisses are the star of this recipe. Their bold red and white stripes and brisk minty flavor take these cookies over the top.
Equipment
- Cookie scoop: I love this OXO scoop–it’s lasted me for years, and makes perfect-sized cookies, every time! This is especially handy when making sandwich cookies, because you want every cookie to be the same size and shape.
- Baking sheets: Heavy-duty baking sheets will keep the bottoms of the cookies from burning and help cookies bake evenly.
- Parchment paper: I never bake directly on my baking sheets–it’s all about the parchment, baby! Save time and cleanup by using silicone liners or parchment paper when baking cookies.
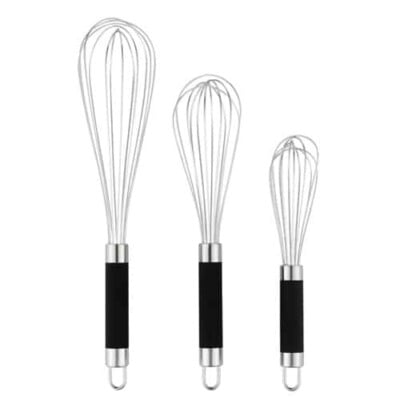
- Whisk: no mixer needed! All you need is a bowl, a whisk, and a little bicep action to make these cookies.
Leave a Review!
If you make this recipe, let us know! Leave a ⭐️⭐️⭐️⭐️⭐️ rating on the recipe below, and leave a comment, take a photo and tag me on Instagram @elabau, or use #sugarhero on IG!

Chocolate Peppermint Kiss Cookies
Ingredients
- 3 oz unsweetened cocoa powder, (1 cup)
- 7 oz granulated sugar, (1 cup)
- 4 fl oz vegetable oil, (½ cup)
- 2 large eggs
- 1 ½ tsp baking powder
- ½ tsp salt
- 1 tsp vanilla extract
- 4.25 oz all-purpose flour, (1 cup)
- 3 oz crushed candy canes, (½ cup)
- 15 peppermint kisses
Instructions
- Preheat the oven to 350° F (176° C).
- Whisk together cocoa powder, sugar, oil, eggs, baking powder, and vanilla extract in a large bowl.
- Sift in the all-purpose flour, mixing until just combined. The batter will be thick!
- Roll the dough into 1.5 inch balls, then roll in crushed candy canes and set on a prepared baking sheet about 2 inches apart. Flatten slightly.
- Bake in the preheated oven for 10-11 minutes. Allow the cookies to cool on the cookie sheet for 6-7 minutes before placing an unwrapped peppermint kiss into the center of each cookie. (The kisses will melt and lose their shape if you skip the cooling step.)
- Transfer to a wire rack and allow to cool completely.
Measuring Tips
Our recipes are developed using weight measurements, and we highly recommend using a kitchen scale for baking whenever possible. However, if you prefer to use cups, volume measurements are provided as well. PLEASE NOTE: the adage “8 oz = 1 cup” is NOT true when speaking about weight, so don’t be concerned if the measurements don’t fit this formula.
Want to learn more about baking measurements and conversion?
Nutrition
Don’t miss the step-by-step tutorial showing how to make Chocolate Peppermint Kiss Cookies – check out the web story here!
📋 Instructions
Here’s a photo tutorial showing how to make Chocolate Peppermint Kiss Cookies. Full instructions are included in the recipe card down below.
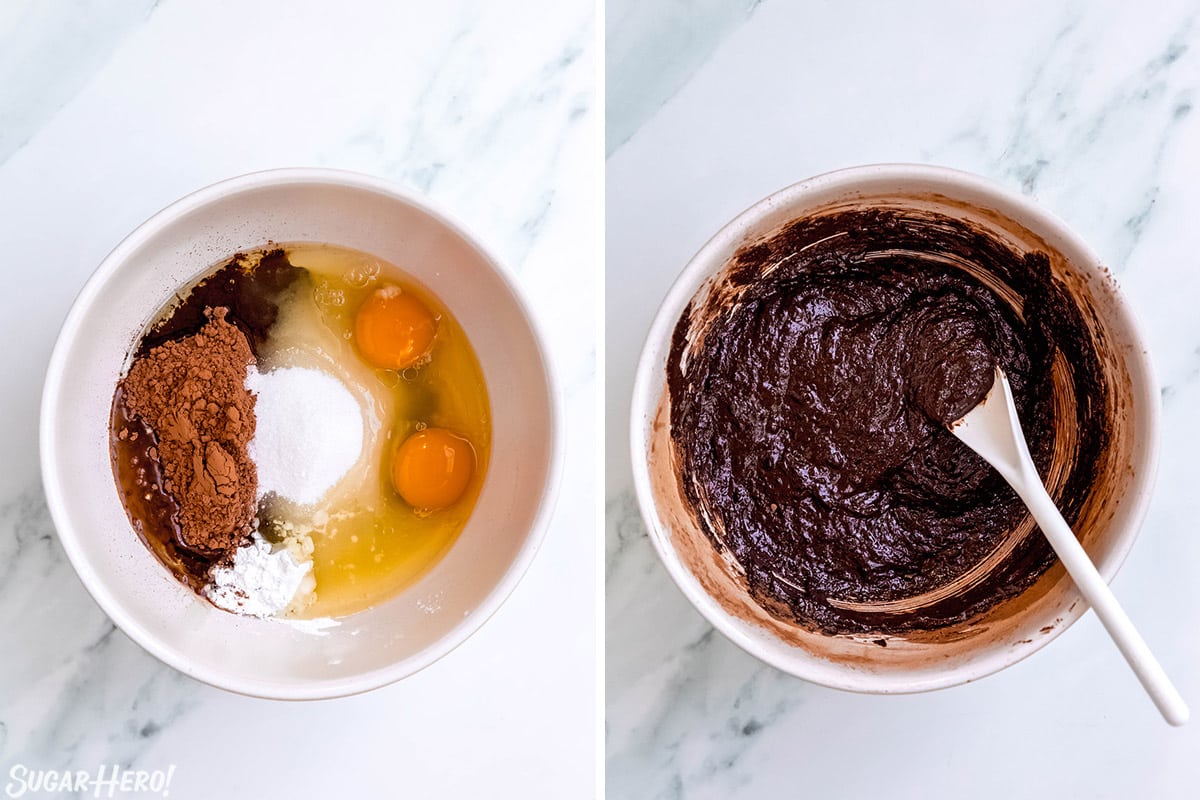
Make the chocolate cookie batter
- Whisk together cocoa powder, sugar, oil, eggs, baking powder, and vanilla extract in a large bowl.
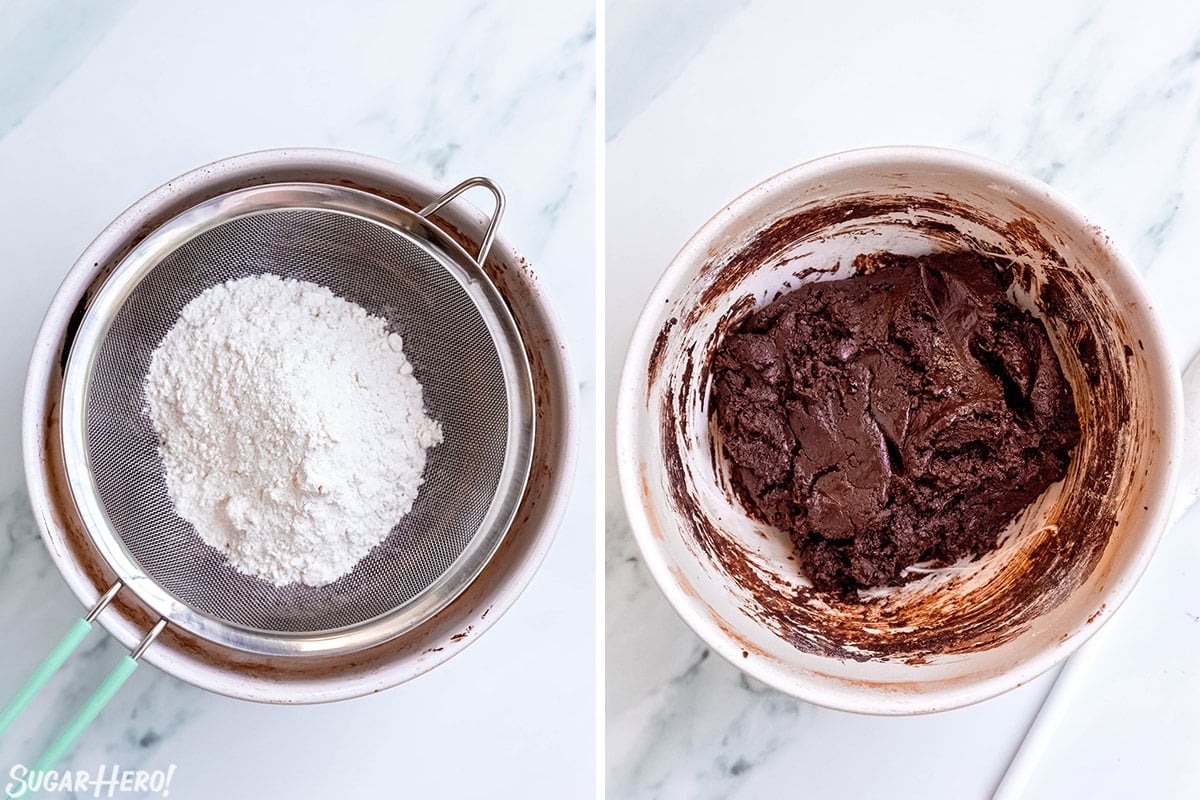
- Sift the all-purpose flour over the bowl, mixing until just combined. The batter will be thick!
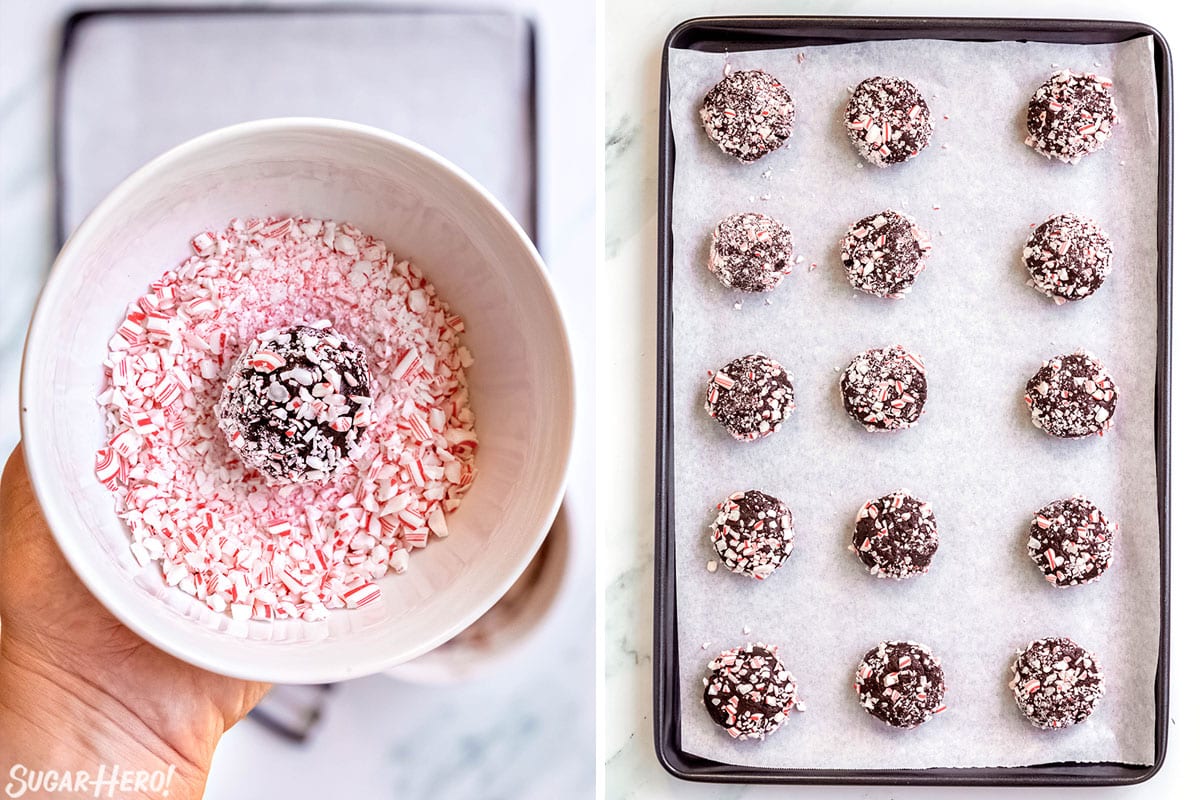
Roll the cookies in Candy Cane Pieces
- Roll the dough into 1.5 inch balls, then roll in crushed candy canes.
- Set on a prepared baking sheet about 2 inches apart and flatten slightly.
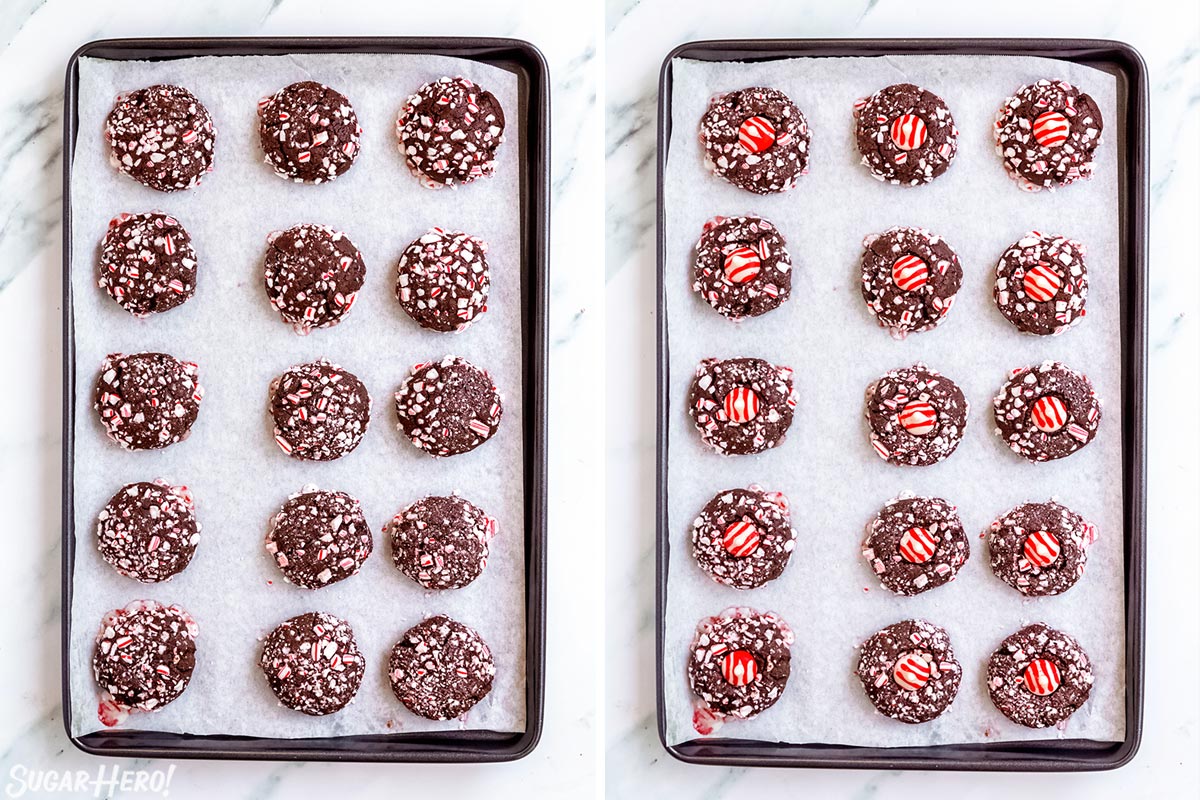
Bake and top with kisses
- Bake in the preheated oven for 10-11 minutes.
- Allow to cool on the cookie sheet for 6-7 minutes, then press 1 unwrapped peppermint kiss into the center of each cookie.
- Transfer to a wire rack and allow to cool completely.

💭 Variations
Here are a few ways to play around with this recipe:
- Rolling in crushed candy canes makes these cookies extra pepperminty, but it’s totally optional and you can skip it in you’d like. You can also roll them in coarse sugar or powdered sugar instead.
- Use another flavor of Hershey Kiss or other small candy to top your cookie and change up the flavor combination.
- If you use another flavor, you can roll the cookies in chopped nuts or coconut to complement the candy.

💡 Tips and FAQs
- Your cookies are only as good as the ingredients you use, so be sure to use a high-quality cocoa powder for the best results.
- The cooling time after baking is critical! If you top the cookies with the Kisses right away, they will melt into puddles and lose their distinctive shape. But if you wait until the cookies are too cool, the Kisses won’t melt at all and won’t adhere to the cookies. 6-7 minutes is usually the sweet spot, so keep an eye on the time once the cookies are out of the oven.






















These are great!!! Did a test run before Christmas and will definitely be making a batch with the kids.
Hi Irena! So glad you liked them! These are really fun to make with kids. Happy Baking!
These adorable cookies have the holiday flavor combination I love, chocolate and peppermint. A great cookie to make for Christmas.
Thanks for your comment Sharon! I hope you have a Merry Christmas!
These cookies are not only pretty and festive, they are sooo tasty! My whole family loves the combination of flavors, and I love how easy they are to make.
Hi Liza! I’m so glad you got a chance to try this recipe! I really love peppermint and chocolate together. Thanks for leaving a comment.
Not only are these cookies gorgeous, they are so delicious and make the perfect Christmas cookie! Making a second batch again tomorrow for friends and I know they will all love it!
I’m so glad you enjoyed these Kathryn! Happy Baking!
These were a huge win at the Christmas concert dessert table! And I love that I already had the good cocoa on hand…
Awesome! Way to go Allison!