


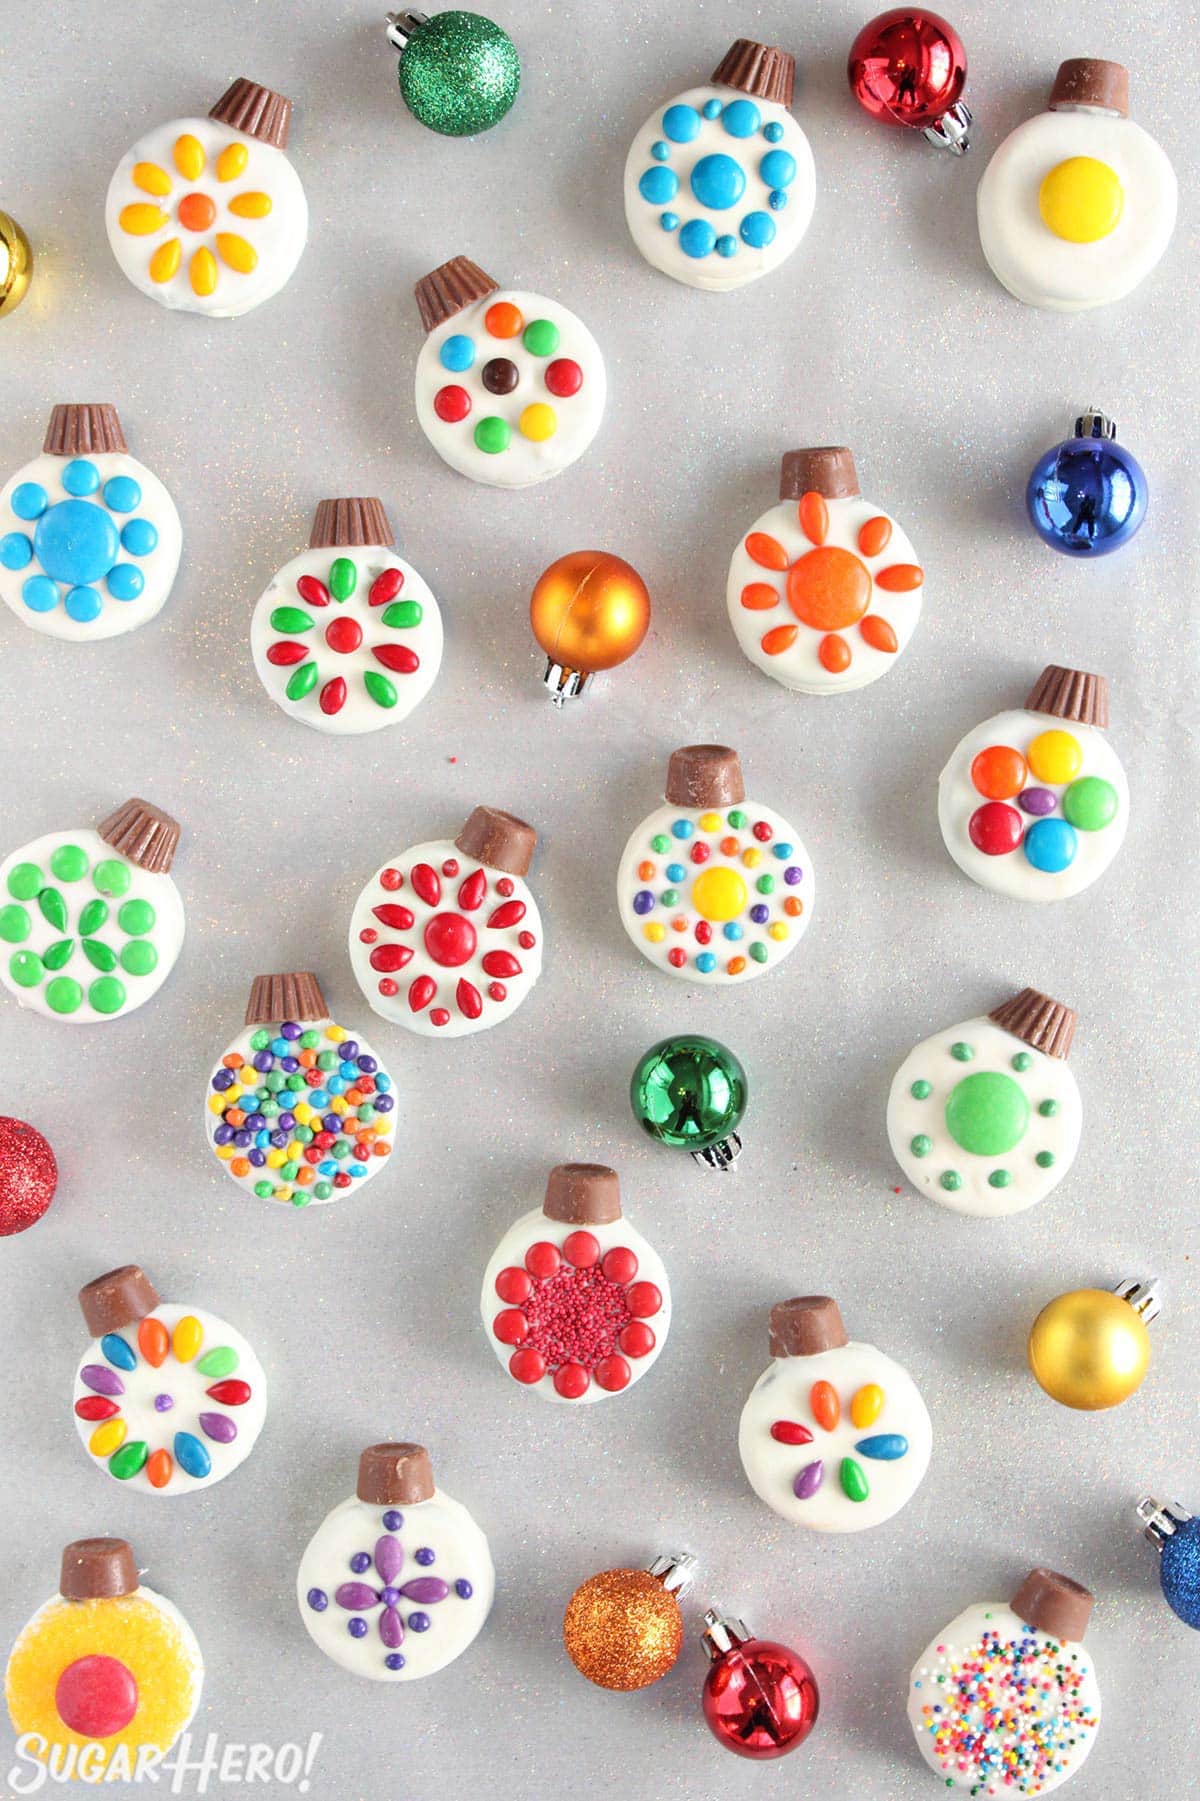
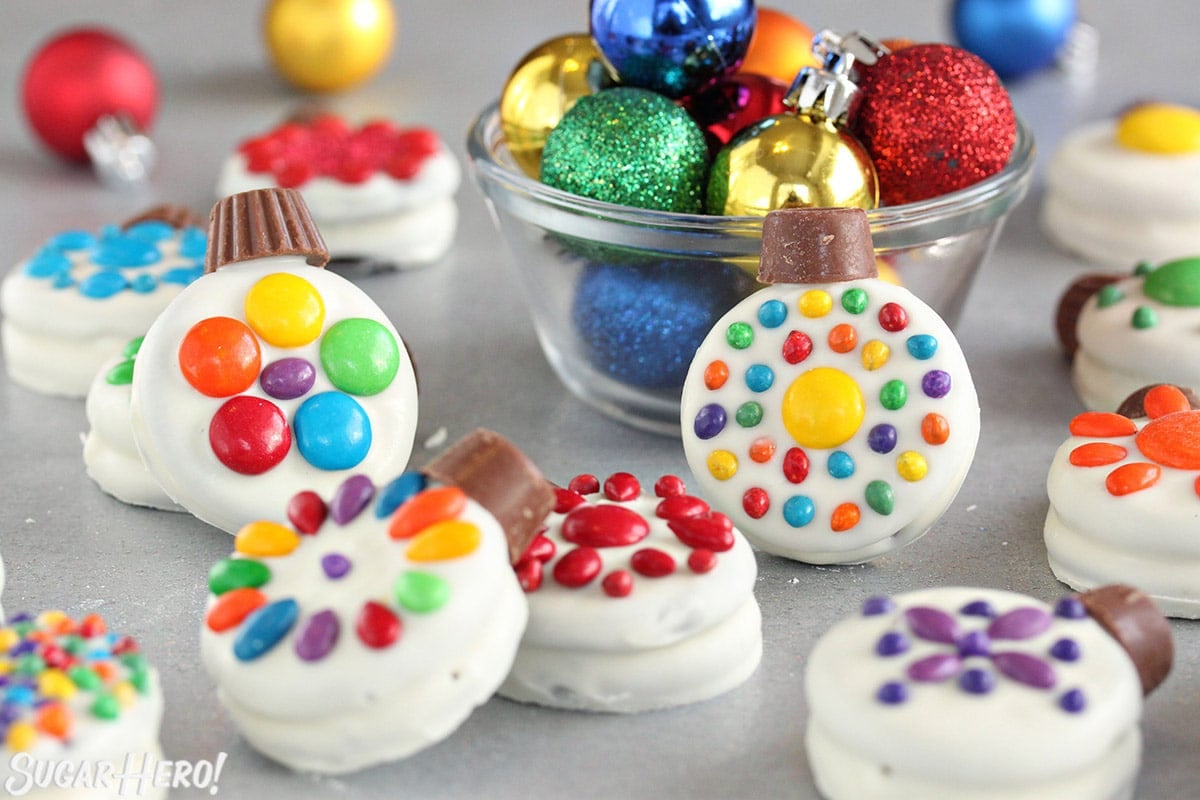
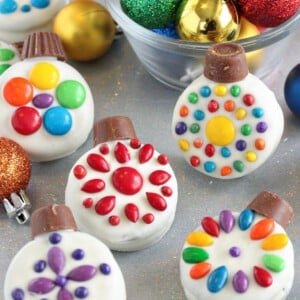
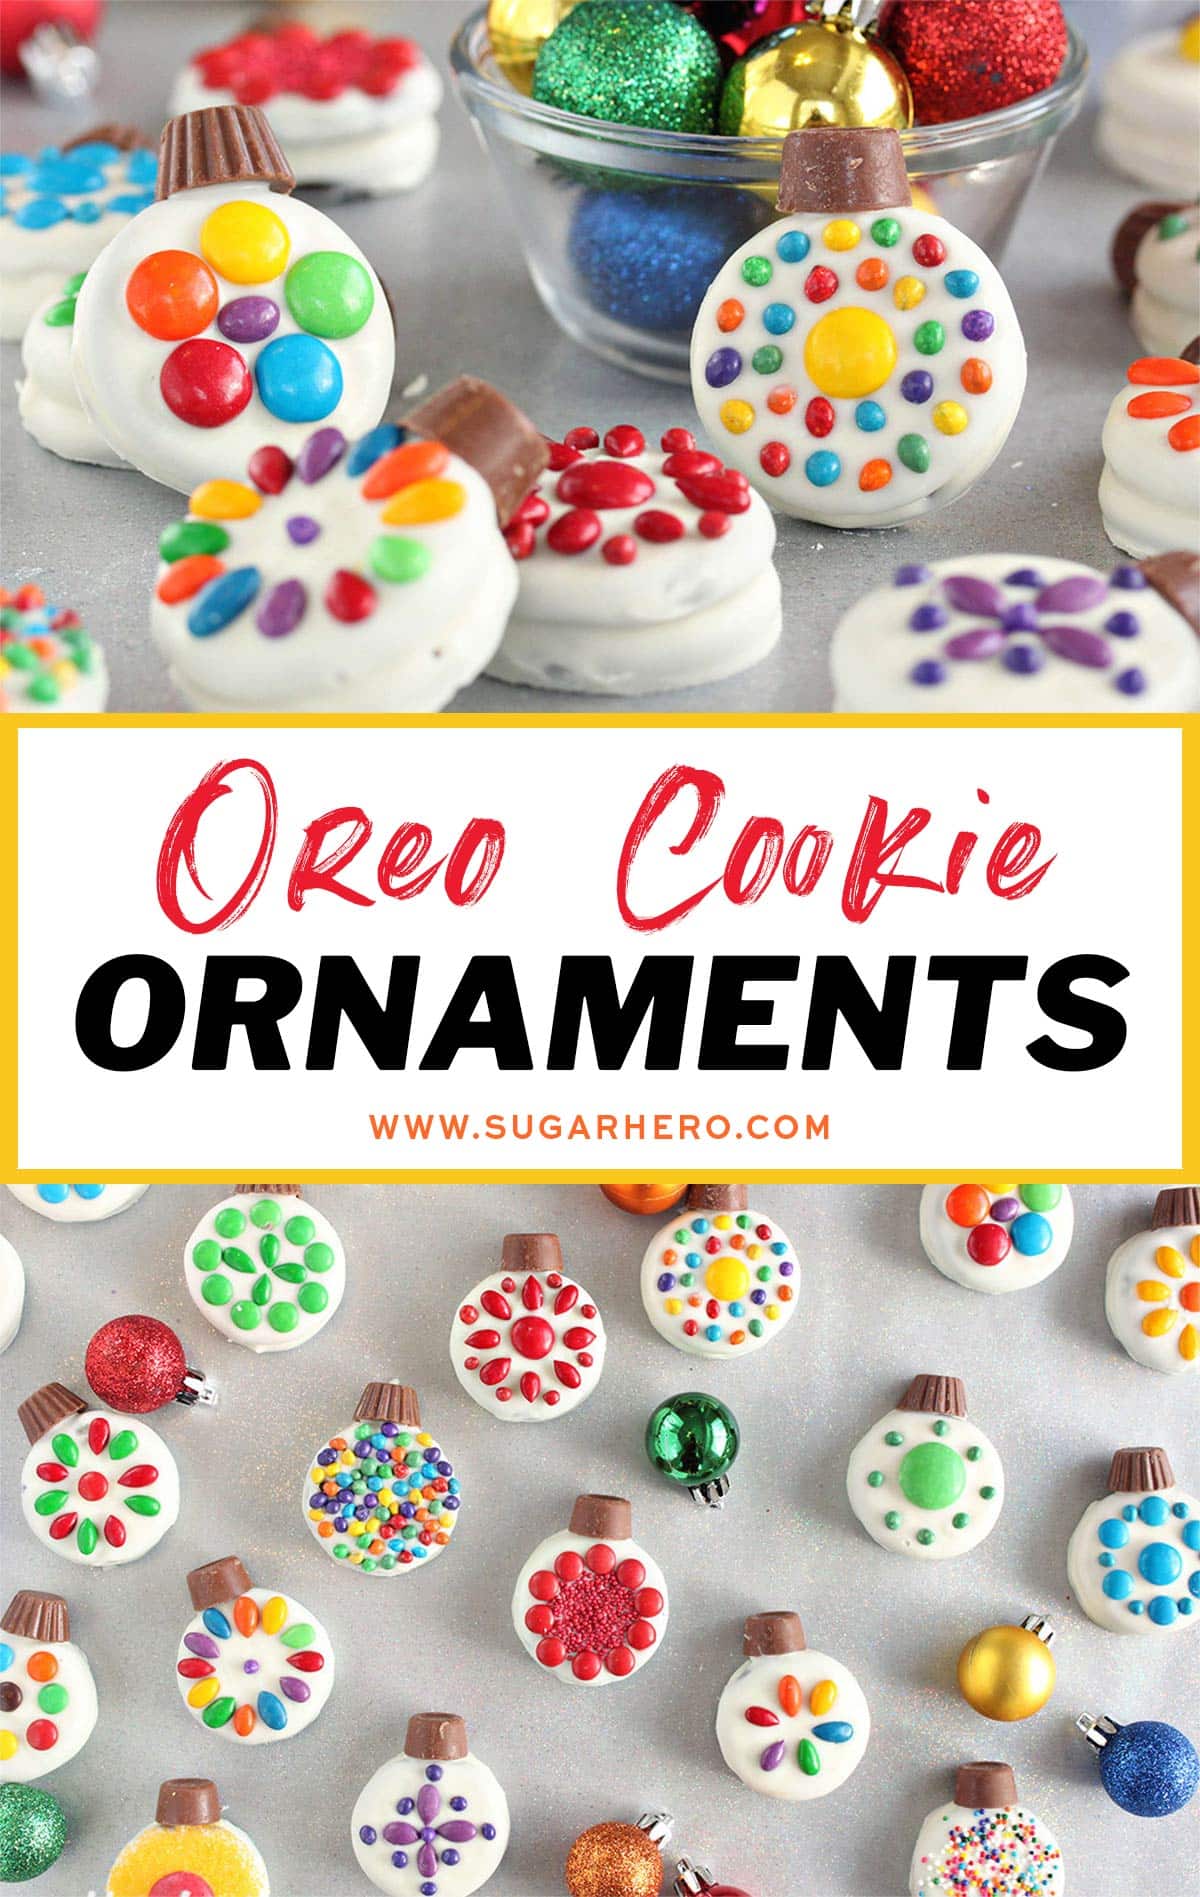
These cute Oreo Cookie Christmas Ornaments are a quick and easy holiday treat! Give Oreo cookies a Christmas twist with white chocolate, candy, and colorful sprinkles. Serve them at a holiday party, or package a few and give them as edible gifts to friends, neighbors, or teachers.

An Easy, No-Bake Christmas Cookie
During the busy holiday season, I like to keep a few quick and easy baking projects in my back pocket in case of dessert emergencies. (Yes, dessert emergencies are a real thing!)
Maybe you need a last-minute gift for teachers or friends. Maybe your way-too-thoughtful neighbors dropped off a cookie plate and you were caught empty-handed. Maybe your kids are bouncing off the walls, asking to make Christmas cookies, but you have the energy and enthusiasm of a sloth with pneumonia. *siren sound* That, my friend, is a dessert emergency. And Oreo Ornaments are here for you!
Table of Contents
Easy Chocolate-Dipped Oreo Cookies
These simple treats are a holiday variation of chocolate-dipped Oreo cookies. You’ll love them because:
- they’re SUPER simple
- they require just 4 ingredients that you can easily find in stores
- you can make them with kids
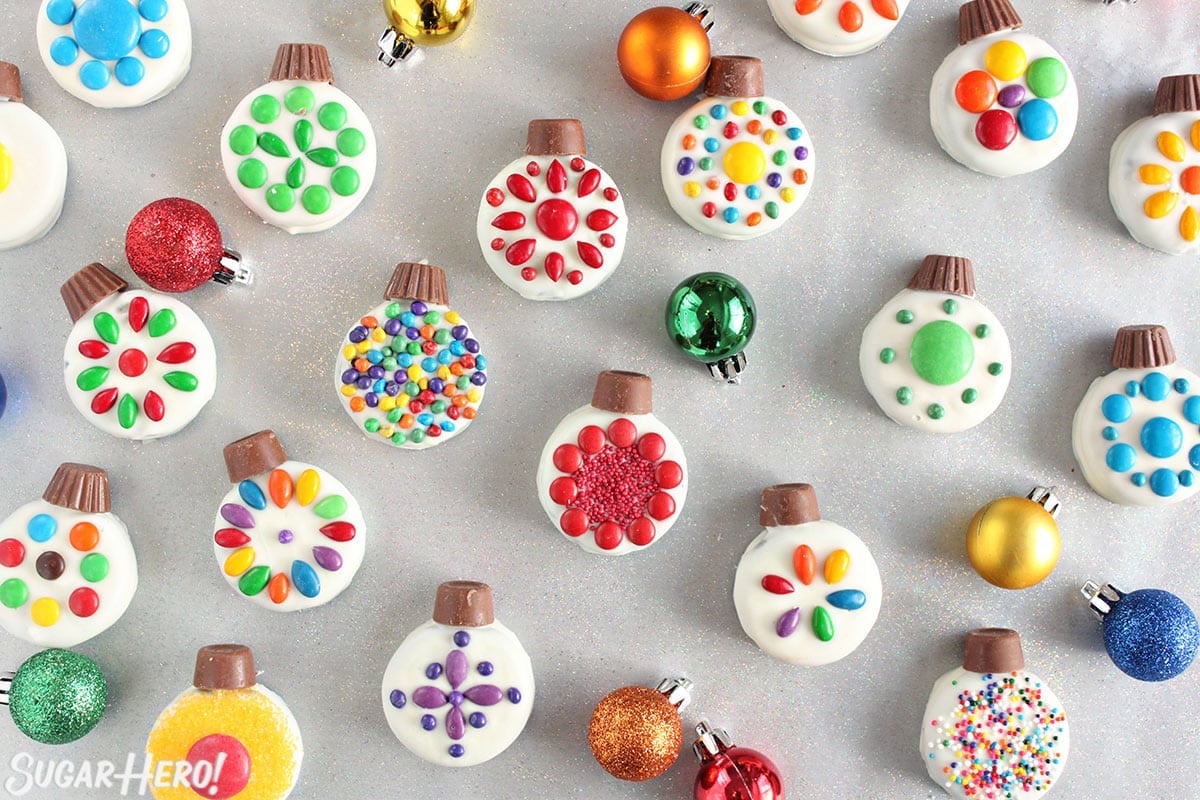
- they’re bright and colorful, so they add some holiday cheer, and most importantly…
- they taste delicious!
These are at home on any Christmas cookie plate, so make up a batch and start decorating! And, while you’re at it, try my Stained Glass Ornament Cookies, too!
More Holiday Cookies
Making a cookie plate? Pair these Oreo Ornaments with Christmas Pinwheel Cookies, Candy Cane Cookies, Chocolate Peppermint Kiss Cookies, and Big Soft Sugar Cookies.
And if you’re looking for more recipe inspo, browse our full list of Christmas dessert recipes!
🧾 What You’ll Need
Ingredients
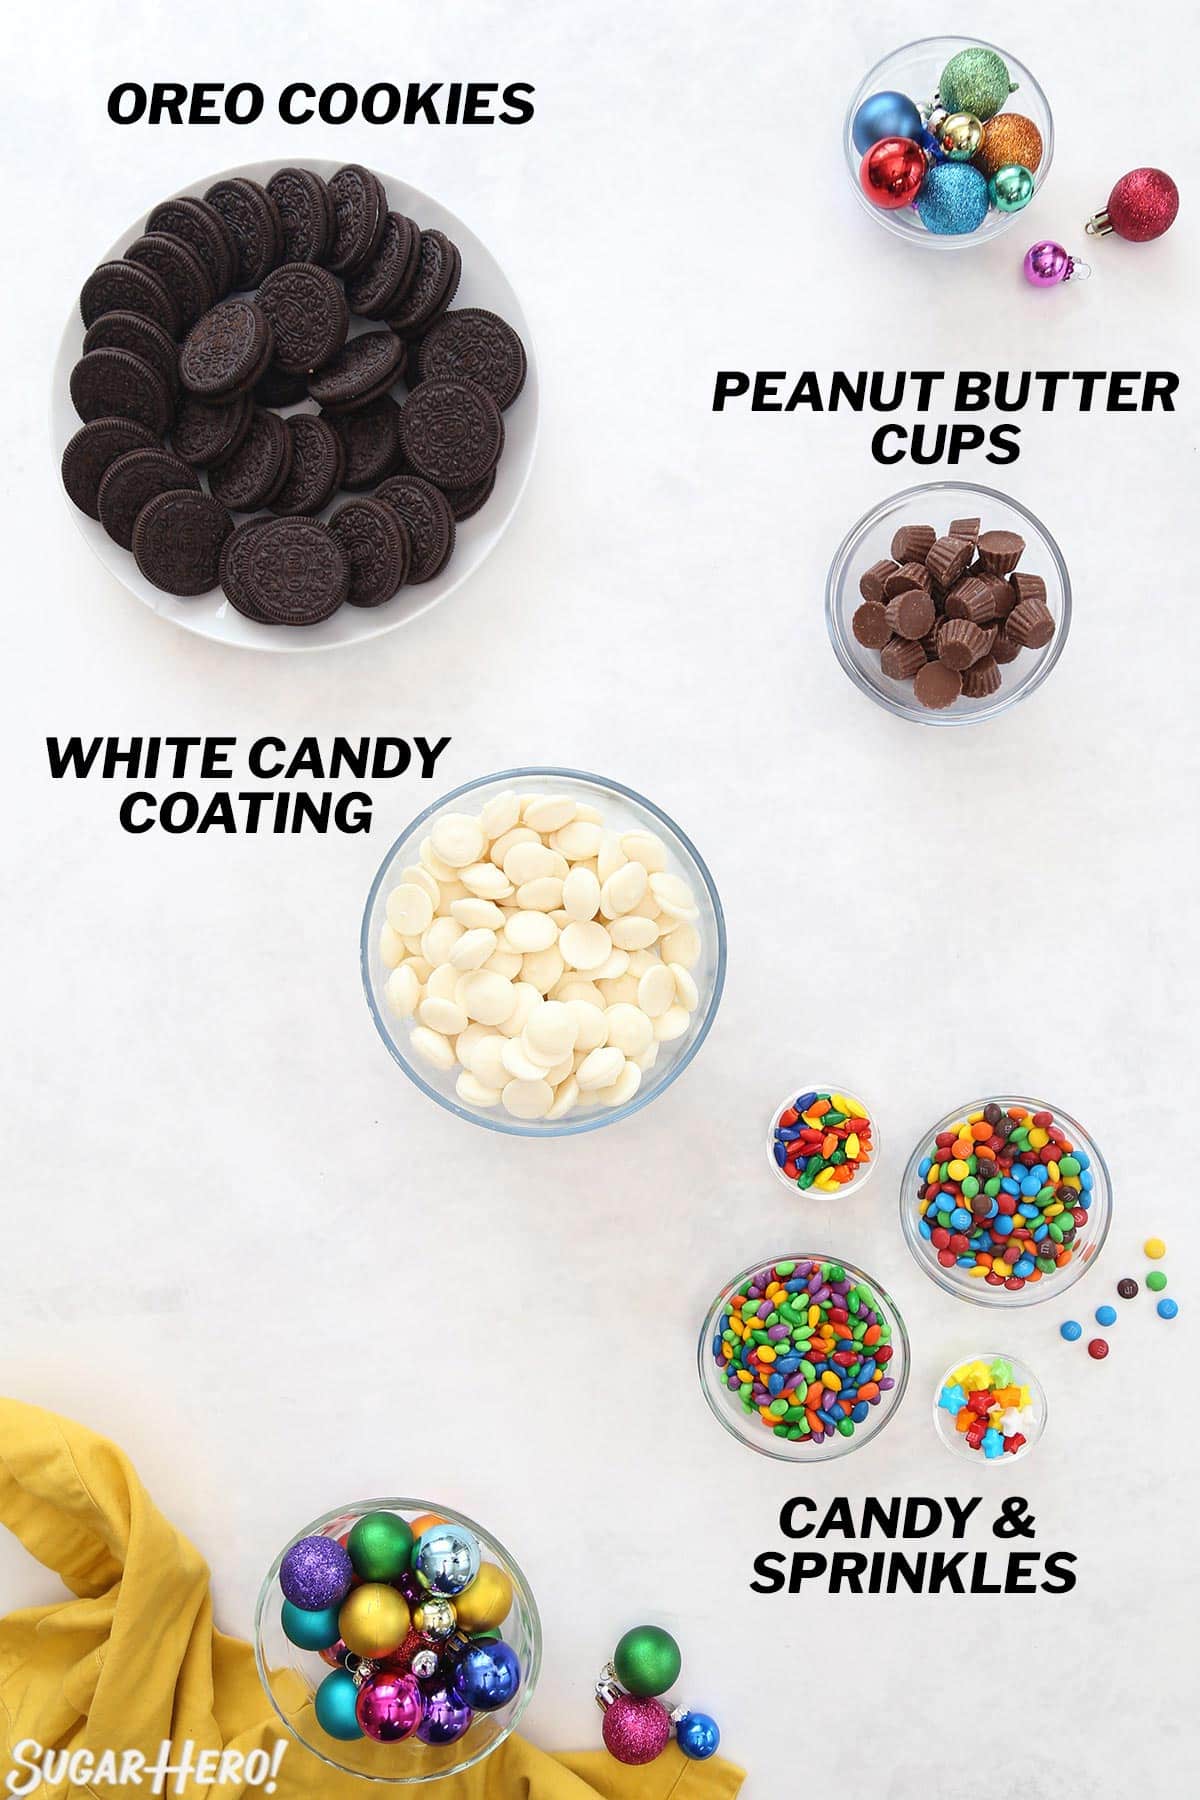
Only four ingredients? Heck yes! Here’s what you’ll need: (Links are affiliate links and I earn a small commission from qualifying purchases.)
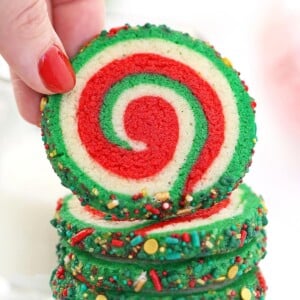
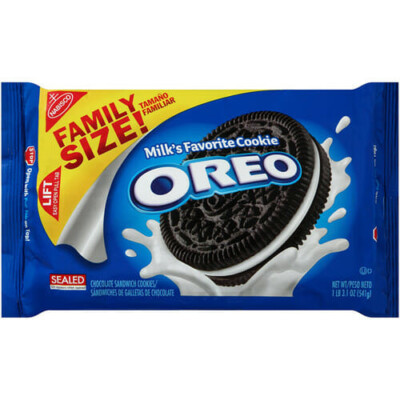
- Oreo cookies: Chocolate sandwich cookies (aka Oreo cookies) are my usual choice, but this recipe will work with any round, flat cookie. You can also experiment with different Oreo variations — I love making these with candy cane Oreos when I can find them.
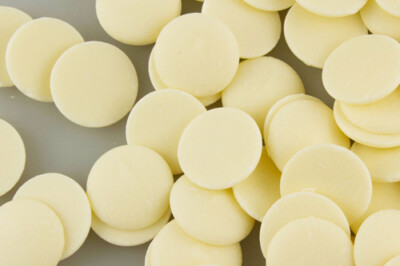
- White candy coating: I recommend white candy coating, instead of white chocolate chips, for dipping the Oreos. It’s easier to work with, and unlike melted chips, can be counted on to stay hard and glossy at room temperature. Check out the Candy Coating section below for helpful tips on how to work with it.
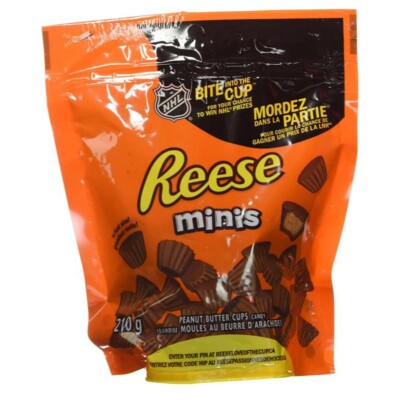
- Mini peanut butter cups: Look for the small unwrapped peanut butter cups that are sold in bags — those are the perfect size and shape. Mini Rolos are also a great choice. Failing that, swap in another similarly-sized candy to serve as the top of the ornament.
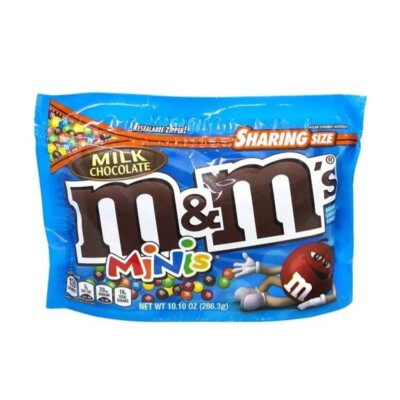
- Candy and sprinkles: Here’s where you can go crazy! Pick whatever colorful sprinkles or candies you want to decorate these ornaments. I find mini M&Ms and chocolate-dipped sunflower seeds are easy to work with and add lots of color. Holiday candies are also fun, like candy cane bits, peppermints, and holiday-shaped sprinkles.
Equipment
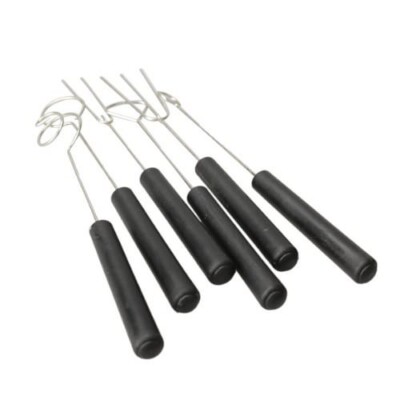
All you technically need for this recipe is a bowl, a fork, and a baking sheet! But if you want to make life a little easier, you can pick up a set of candy dipping tools. The thinner tines and specially-designed handles make it a breeze to get neat candies every time.
📋 Instructions
This is one of those recipes where you can probably suss out the instructions just by looking at a picture, but if you’ve ever tried to make chocolate-dipped cookies and ended up with misshapen chocolate globs, you know that there are some tips and tricks to making these successfully!
This is a quick overview of how to make Oreo Ornaments – you can jump down to the recipe card for full, printable instructions.

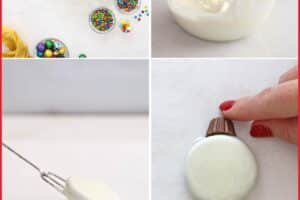
Melt the Candy Coating
- Place the candy coating in a medium microwave-safe bowl.
- Microwave at 50% power in 45-second increments, stirring after every 45 seconds to prevent overheating, until the coating is melted and smooth.

Dip the Oreos
- Using a fork or candy dipping tool, dip a cookie in the melted coating until it’s completely covered.
- Remove it from the coating and let it drip back into the bowl.
- Gently scrape the bottom of the cookie against the lip of the bowl to remove any excess, then place it on the baking sheet.
Add decorations
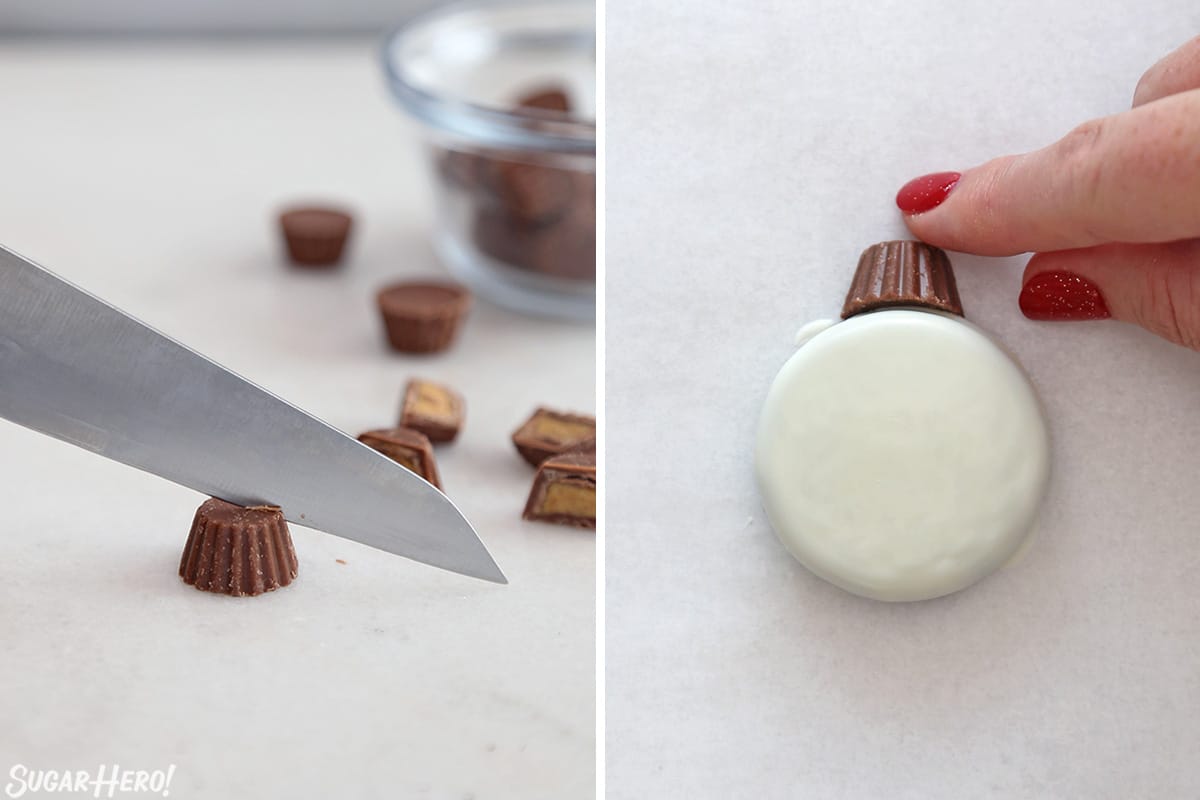
- While the coating is still wet, press a mini peanut butter cup onto the side of the cookie to represent the ornament top.
- If you want, you can trim the side of the PB cup so it sits flat.
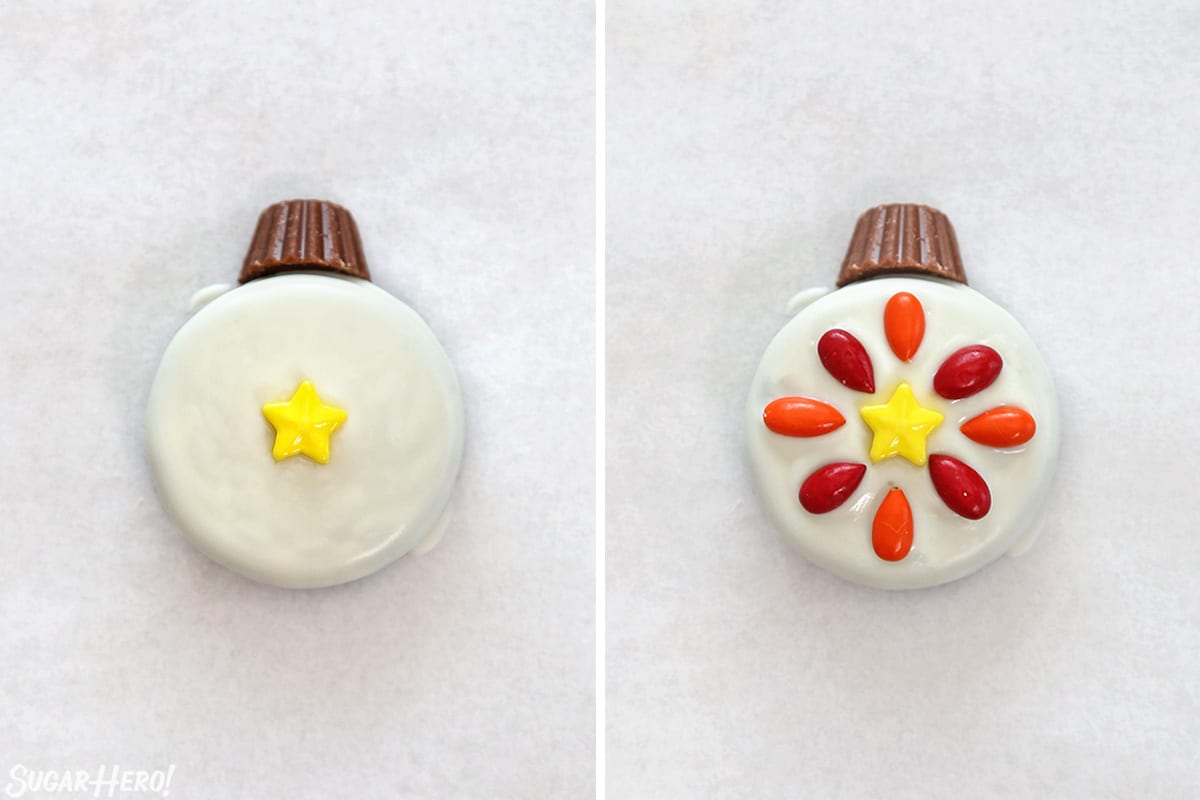
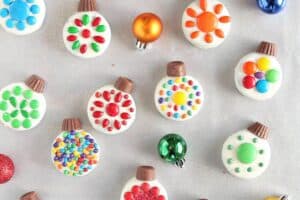
- Add sprinkles and candies to the top of your Oreo ornaments in a decorative pattern.
💡 Tips for Success
- You can use a fork to dip the cookies, and it will probably work just fine. But if you regularly make candy (or want to start!) consider investing in an inexpensive set of dipping tools. They’re cheap, and the long, narrow prongs make dipping cookies MUCH easier than your typical dinner fork.
- Add the decorations while the coating is still very wet, so they’re sure to adhere well.
- If you work quickly, you can dip 4-6, then decorate them, then go back to dipping. It’s faster to do the cookies in batches like this, rather than go back and forth between dipping and decorating every one.
- If you have a kitchen torch (like a creme brulee torch) you can use it to warm the surface of a cookie if you find it’s setting too quickly to decorate.
- I love to make these with peppermint Oreos, but you can use any cookie flavor you’d like–even other types of sandwich cookies work.
- For the ornament tops, I used a mix of mini peanut butter cups and mini Rolo’s. They’re the perfect size, and I like the variation in shape they provide. You can trim them slightly so the bottom is flat and sits flush.
Working with Candy Coating
Candy coating can be a bit temperamental – here are my best tips for making it work for you.
- The candy coating you use is so important! I don’t recommend using white chocolate chips–they won’t have the right texture or color. Instead, look for white candy coating (also known as “candy melts” or “melting wafers.”) You can find them in off white or bright white. Mercken’s is my recommended brand – find Mercken’s candy melts here! They have a nice fluid consistency when melted that makes them perfect for dipping. Wilton’s is another brand you can use, although they tend to be thicker when melted.
- Candy coating can be prone to overheating, so slow and steady is the best way to melt it. I recommend using your microwave at 50% power and microwaving in short bursts of 30-60 seconds (depending on the amount of coating you’re trying to melt). A small bowl should be melted for 30 seconds at a time, and stirred after every interval. A large amount can be microwaved at 50% for 1 minute, then stirred, and repeat until it is melted and smooth.
- If your candy coating is too thick and gloopy, you can add a small spoonful of shortening to thin it out. Stir it in to the warm candy coating, and microwave briefly if necessary so that it’s melted and smooth. Start small and add more only if necessary.
- If you’re going to work with candy coating regularly, I recommend you pick up some paramount crystals. This is another product that can thin out candy coating when it gets too thick, and it works much better than shortening or oil. It’s made of the same type of fat that is in candy coating, so it melts and blends perfectly into the coating.
- If the coating starts to cool down and get too thick while you’re dipping, put it back in the microwave in short bursts to warm it. Don’t overheat it, as that will make it too thick. Just 5-10 seconds at a time, stirring well, until it’s a dippable consistency again.
Storage Information
These are a great make-ahead option. None of the components have a short shelf life, and as long as you keep them in an airtight container at reasonable room temperature, you’re good to make these 1-2 weeks in advance.

❤️ More Christmas Desserts
- Gingerbread Chocolate Chip Cookies
- Peppermint Affogato
- Christmas Present Cookie Boxes
- Pull-Apart Cupcake Wreath
- Red Velvet Trifle
- Gingerbread Cookie Mug Toppers
- Grinch Cake
- Snow Globe Cupcakes

Candy Cane Cookies
Christmas Pinwheel Cookies
Leave a Review!
If you make this recipe, let us know! Leave a ⭐️⭐️⭐️⭐️⭐️ rating on the recipe below, and leave a comment, take a photo and tag me on Instagram @elabau, or use #sugarhero on IG!
Oreo Cookie Christmas Ornaments
Ingredients
- 16 oz white candy coating melts, (2 ⅔ cups)
- 24 chocolate sandwich cookies, like Oreos
- 24 mini peanut butter cups
- Candies and sprinkles, to decorate
Instructions
- Line a baking sheet with waxed paper or parchment paper. Place the candy coating in a medium microwave-safe bowl. Microwave at 50% power in 45-second increments, stirring after every 45 seconds to prevent overheating, until the coating is melted and smooth.
- Using a fork or candy dipping tool, dip a cookie in the melted coating until it’s completely covered. Remove it from the coating and let it drip back into the bowl. Gently scrape the bottom of the cookie against the lip of the bowl to remove any excess, then place it on the baking sheet.
- While the coating is still wet, press a mini peanut butter cup onto the side of the cookie to represent the ornament top. If you want, you can trim the side of the PB cup so it sits flat.
- Add colorful candies and sprinkles to the top in a decorative pattern.
- Dip and decorate the remaining candies. If the coating gets too thick while you’re dipping, re-warm it briefly in the microwave until it is fluid again.
- Refrigerate the tray to let the coating set completely, for about 15 minutes. Store these cookies in an airtight container at room temperature for up to two weeks.
Video

Measuring Tips
Our recipes are developed using weight measurements, and we highly recommend using a kitchen scale for baking whenever possible. However, if you prefer to use cups, volume measurements are provided as well. PLEASE NOTE: the adage “8 oz = 1 cup” is NOT true when speaking about weight, so don’t be concerned if the measurements don’t fit this formula.
Want to learn more about baking measurements and conversion?
Nutrition


<- this is an actual picture of my kids looking at these. They look stunning, and have jumped onto my "must make" list this Christmas. I only wish we could get mint Oreos in Australia! And I am unsure about mini Rolos and PB cups, but we will find a way…
These were so fun to make! The kids loved them!
I’m so glad your kids loved them! Merry Christmas!
These cookies are so adorable and delicious, a new Christmas favorite!
Hi Caitlin! Happy you enjoyed the recipe. I wish you a Merry Christmas!
Todas esas galletas se ven hermosas y muy provocativas, gracias por compartir
Gracias Sara!!
I can’t even tell you how much I love this! We had the best time decorating these cookies and of course as an Oreo fan they taste amazing too!
Hi Gina! Sounds like you had an amazing time together. I love anything with oreos, too! Merry Christmas!
I made these for a cookie exchange and they were a huge hit. Such a simple and pretty no bake cookie.
Hi MacKenzie! I love cookie exchanges and I’m so glad these were a hit for you! Merry Christmas.
This christmas cookies looks colorful and delicious. My family is going to love it when
I make this for them.
Hi Saif! Thanks for commenting. Merry Christmas to you and your family!
They look so much fun to make thinking of Valentine’s Day
Cool idea! I’d love to see what you come up with! Happy baking!
I made mint ones and lemon ones!
So fun! I hope they tasted amazing and hope you have a very Merry Christmas!