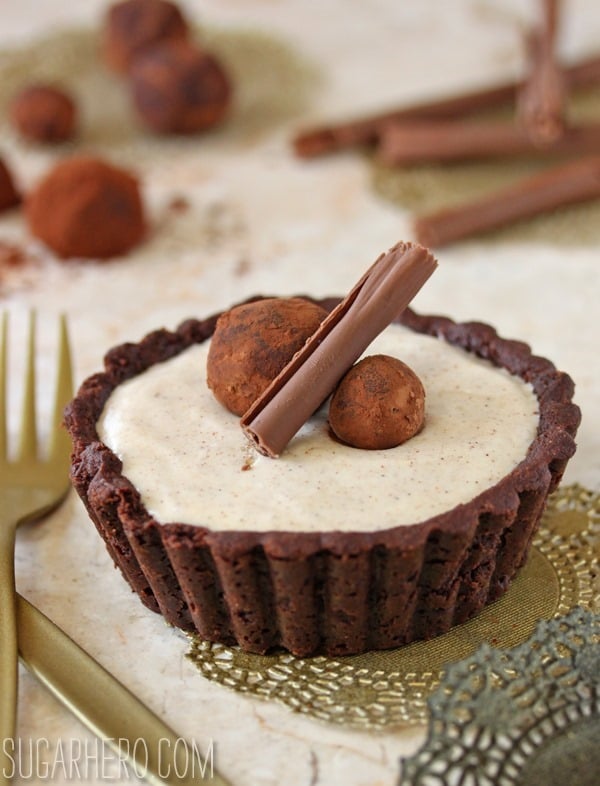
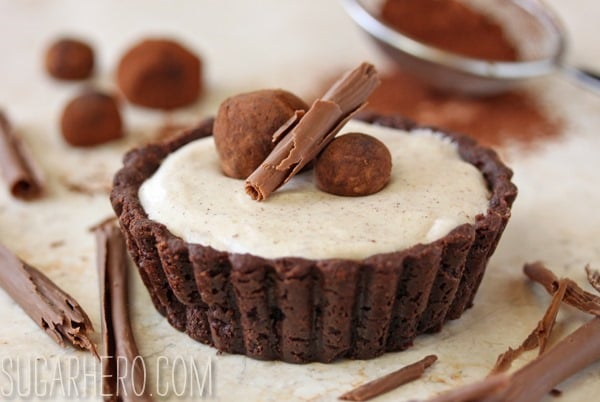
These Cinnamon Mousse Tarts have a chocolate tart dough with cinnamon-spiked Mexican chocolate mixed right in. The cinnamon mousse filling is light, fluffy, and perfect with a chocolate cinnamon stick on top.
Cinco de Mayo Tarts
These little tarts make a perfect Cinco de Mayo dessert. The shells are made with Mexican chocolate, the mousse filling is flavored with lots of cinnamon and they have the cutest chocolate cinnamon stick and truffles on top!
But these tarts are so good, they don’t deserve to be treated like a seasonal, once-a-year dessert anyhow. You can—and should!—enjoy them on diecisiete de Mayo, veintidós de Diciembre, and every day in between.
Table of Contents
Mexican Chocolate Tart Dough
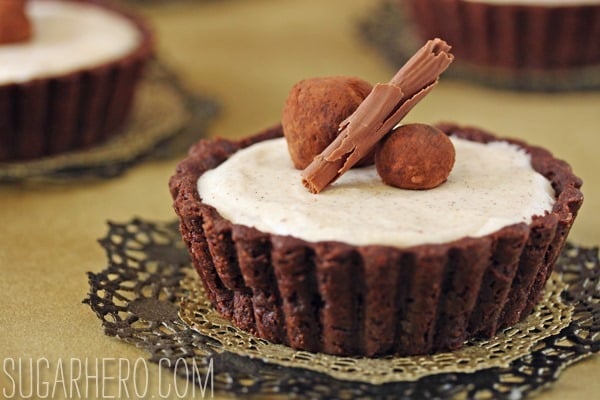
Mexican chocolate is a peculiar beast. It has a subtly spicy flavor and a slightly grainy texture that lingers in this tart dough. When you taste the chocolate on its own, you might not be convinced that you want to pair it with something elegant like a mousse. But that slight grittiness just serves to make the dough crunchier, and it becomes the perfect cookie-like contrast to the smooth, silky mousse inside the shell. I liked letting the cinnamon flavor shine, but if you are a fan of spicy desserts, you could add a pinch of cayenne to the tart dough to bring just a little heat.
White Chocolate Cinnamon Mousse
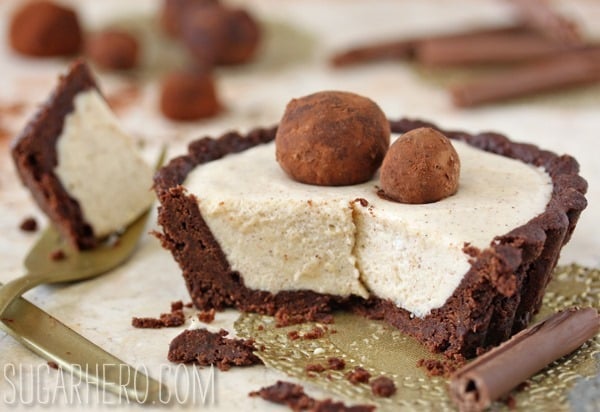
The mousse, quite frankly, needs the chocolate just as much as the chocolate needs the mousse. The mousse is white chocolate-based, meaning it’s fairy sweet on its own. I love the strong cinnamon and vanilla flavor, but I don’t think I could eat a whole bowl of it without adding something crunchy and a little less sweet. (Is this the part where I confess I made extra mousse and ate it on top of graham crackers? No? Well, carry on then.) And as long as I’m throwing out recipe variations, I think the filling could handle a nice shot of almond flavor as well, either from an extract or from a dash of amaretto.
How to Make Chocolate Cinnamon Stick Decorations
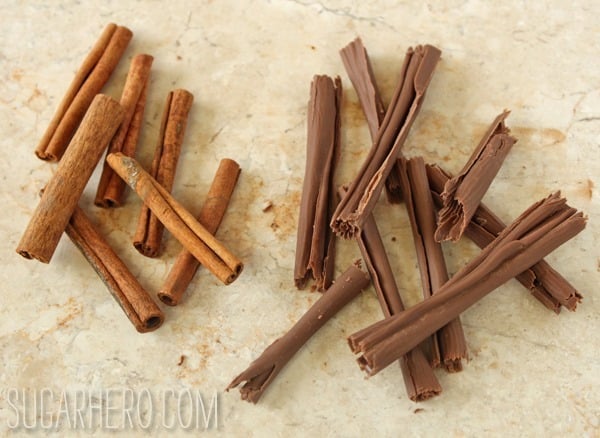
I topped the tarts with a few chocolate truffles. You can use store bought or homemade truffles. I also added a decorative chocolate curl. I wanted the curls to resemble cinnamon sticks, so I purposefully made them a little rough to give them more of a “rolled tree bark” texture.
Chocolate Cinnamon Sticks tutorial:
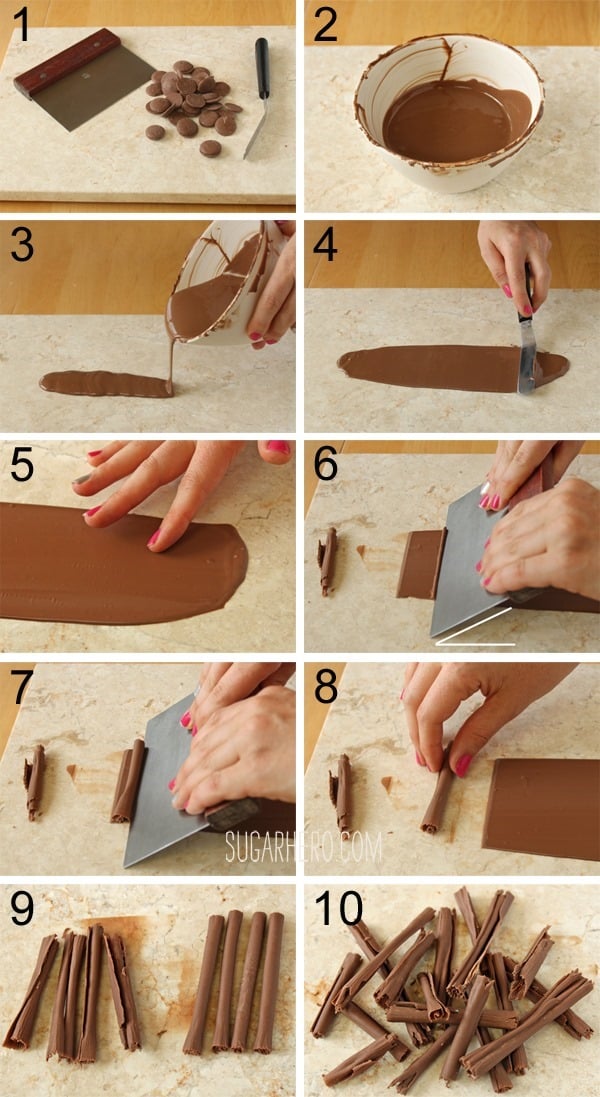
- 1. You’ll need a few ounces of chocolate candy coating, a bench scraper, a small offset spatula, and a flat work surface. I like to use a small marble slab because it cools the coating quickly and evenly, but you can use the back of a flat baking sheet if you don’t have marble.
- 2. Melt the candy coating in the microwave.
- 3. Pour it in a thin line down the center of your work surface. Thin is key, since you’ll be spreading it out in the next step and you probably don’t want foot-long chocolate curls.
- 4. Use a small offset spatula to spread the chocolate into a very thin layer. Try to spread it lengthwise instead of widthwise. Keep in mind that the width of the chocolate will be the length of the finished chocolate curls.
- 5. Let the coating sit for a few minutes. As it sets, it will change from shiny to matte. When you can touch it gently without leaving a finger print, it’s ready to roll. It shouldn’t be set, just set enough to not be liquid anymore. That will make sense when you try it.
- 6. Stand behind the line of chocolate. Grasp the bench scraper in both hands. Position the blade an inch or so from the far end of the chocolate. Hold the blade at about a 45 degree angle from the surface. (See the white lines in the picture for reference.)
- 7. Working quickly and firmly, push the bench scraper away from you, causing the chocolate to roll over itself.
- 8. If it doesn’t roll into a perfect tube, finish rolling and shaping it with your hands.
- 9. Keep forming curls, working quickly, until you’ve made curls from all of the chocolate. As the coating continues to set, the chocolate will be harder to roll and will have a rougher look. You can see the difference between the curls on the right, where the chocolate was very pliable, and the ones on the left, where it was firmer and more set. I wanted a rough, cinnamon-like look, so I let the chocolate set a little more before forming all the curls.
Hey, you made chocolate curls! Good job! If you find that your chocolate has set too much to make curls from all of it, scrape it off the surface and melt it again. The good news is that this project is fast, so even if it takes you a few tries to get right, you’re not out more than a few minutes. And this is definitely a skill where you get better with practice. Plus, you can re-melt (or eat!) any failed attempts.
🤎More Mousse Recipes
Dulce de Leche Swirled Tarts
Homemade Churros
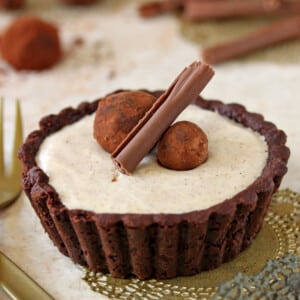
Cinnamon Mousse Tarts
Ingredients
For the Mexican Chocolate Tart Dough:
- 3.25 oz Mexican chocolate, (1 disc), coarsely chopped, I used Ibarra brand
- 1 1/4 cup all-purpose flour
- 1/4 cup unsweetened cocoa powder
- 1/4 cup powdered sugar
- 1/2 tsp salt
- 1/2 tsp ground cinnamon
- 1 large egg yolk, (about 1 tbsp)
- 5 oz unsalted butter, (10 tbsp)
For the Cinnamon Mousse Filling:
- 1 1/2 tsp unflavored powdered gelatin
- 1 1/2 tbsp cold water
- 6 oz white chocolate, (1 cup), chopped
- 2 large egg yolks
- 1/3 cup granulated sugar
- 1/3 cup milk
- 1 1/4 tsp ground cinnamon
- 1 tbsp vanilla extract
- 1/8 tsp salt
- 1 cup heavy cream
Instructions
To Make the Mexican Chocolate Tart Dough:
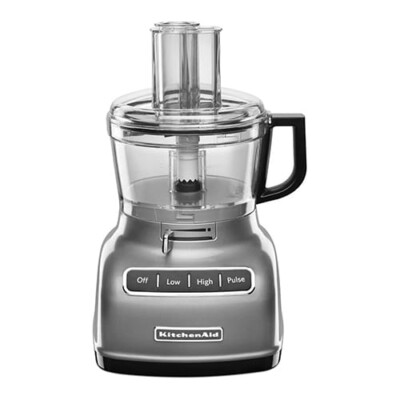
- Place the chopped Mexican chocolate in the bowl of a food processor, and give it several long pulses until the chocolate is broken down into fine crumbs. Add the flour, cocoa powder, sugar, and salt, and pulse briefly until everything is well-blended. Add the cubed butter and pulse until it is in small pea-sized pieces. Add the egg yolk and pulse in 5-second bursts until the dough starts clumping together.
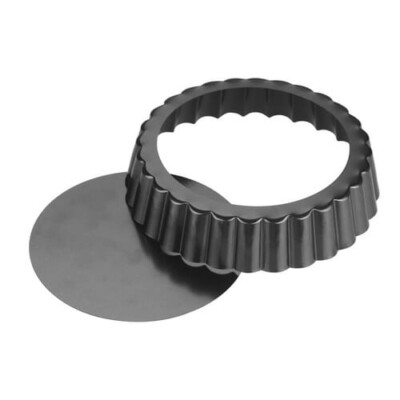
- Turn it out of the food processor and knead it lightly several times to incorporate any extra flour and cocoa powder. At this point, the dough can be wrapped and refrigerated for several days. If you’re ready to use it now, spray 6 4-inch tart pans with nonstick cooking spray. Press the dough into the bottom and sides of the pans in an even layer.
- Freeze the shells for 30 minutes, and while they’re in the freezer, preheat the oven to 375 degrees F. Spray the tops of the tart dough with nonstick spray, then press a sheet of foil into the shells and fill the foil with dry beans, rice, or pie weights. Bake the shells for 10-12 minutes, then carefully remove the foil and weights. Bake for an additional 8-10 minutes to fully bake the shells, until puffed, dry, and fragrant. Let the shells cool completely before filling them.
To Make the Cinnamon Mousse Filling:
- In a small bowl, stir together the gelatin and the cold water, and let it sit for 5 minutes so the gelatin absorbs the water. While the gelatin is sitting, place the chopped white chocolate in a microwave-safe bowl and microwave in 30-second intervals until melted and smooth. Set aside, then microwave the gelatin mixture for about 15 seconds, until it is liquid. Set the gelatin aside as well.
- In a separate bowl, whisk together the yolks and sugar. Pour the milk into a small saucepan, and heat it until it simmers. Drizzle the hot milk into the egg yolks while whisking, to slowly incorporate the hot milk. Pour everything back into the saucepan and return it to the heat, whisking constantly, just until the mixture thickens enough to coat the back of a spoon.
- Take the pan off the heat and whisk in the melted white chocolate and the melted gelatin. The mixture may clump up a little at first, but keep whisking and it will smooth out. Whisk in the cinnamon, vanilla extract, and salt. Let it sit and cool at room temperature for about 5-8 minutes, until it’s no longer warm to the touch, but has not yet begun to set.
- When the cinnamon mixture has cooled off, whip the heavy cream to firm peaks. Fold the cream into the cinnamon mixture until no streaks remain. Divide the mousse between the tart shells and smooth the tops. Refrigerate until the mousse is completely set, at least 4 hours. Garnish with truffles, chocolate shavings, or anything else you’d like. Store in an airtight container in the refrigerator for up to 4 days.
Recipe Notes
Measuring Tips
Our recipes are developed using weight measurements, and we highly recommend using a kitchen scale for baking whenever possible. However, if you prefer to use cups, volume measurements are provided as well. PLEASE NOTE: the adage “8 oz = 1 cup” is NOT true when speaking about weight, so don’t be concerned if the measurements don’t fit this formula.
Want to learn more about baking measurements and conversion?




OK, so I’m an ol’ stick-in-the-mud; how would I make this using “regular” chocolate? Simply substitute an equal amount of semi-sweet chocolate? I am drooling over how delicious this looks and would love to try it.
Hi Elaine, I would actually recommend just going with a basic chocolate tart dough recipe instead of swapping out the chocolates. Mexican chocolate has a really different texture and I don’t know that swapping in semi-sweet would work as well. Here’s my favorite chocolate tart dough if you want to give it a whirl:
https://www.sugarhero.com/dulce-de-leche-swirled-tarts/
Let me know how it goes!!
This is to die for I’ve made it twice and did not alter the recipe it’s a bit of work but worth it for sure
Awesome recipe. Thanks for sharing 🙂
Hey Marie, I am so glad to hear that! Thank you so much!