


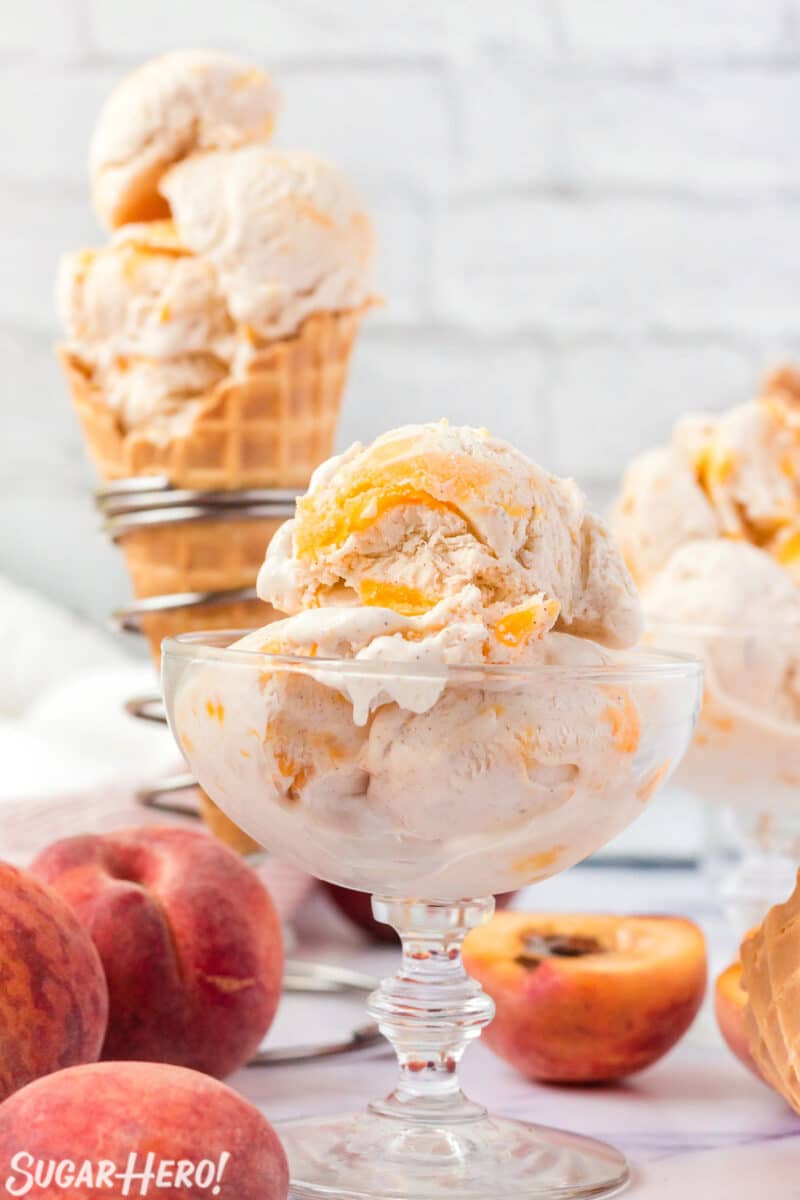
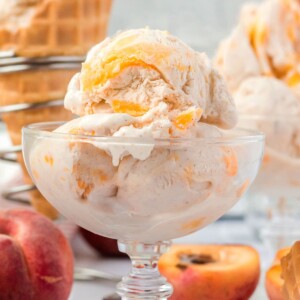
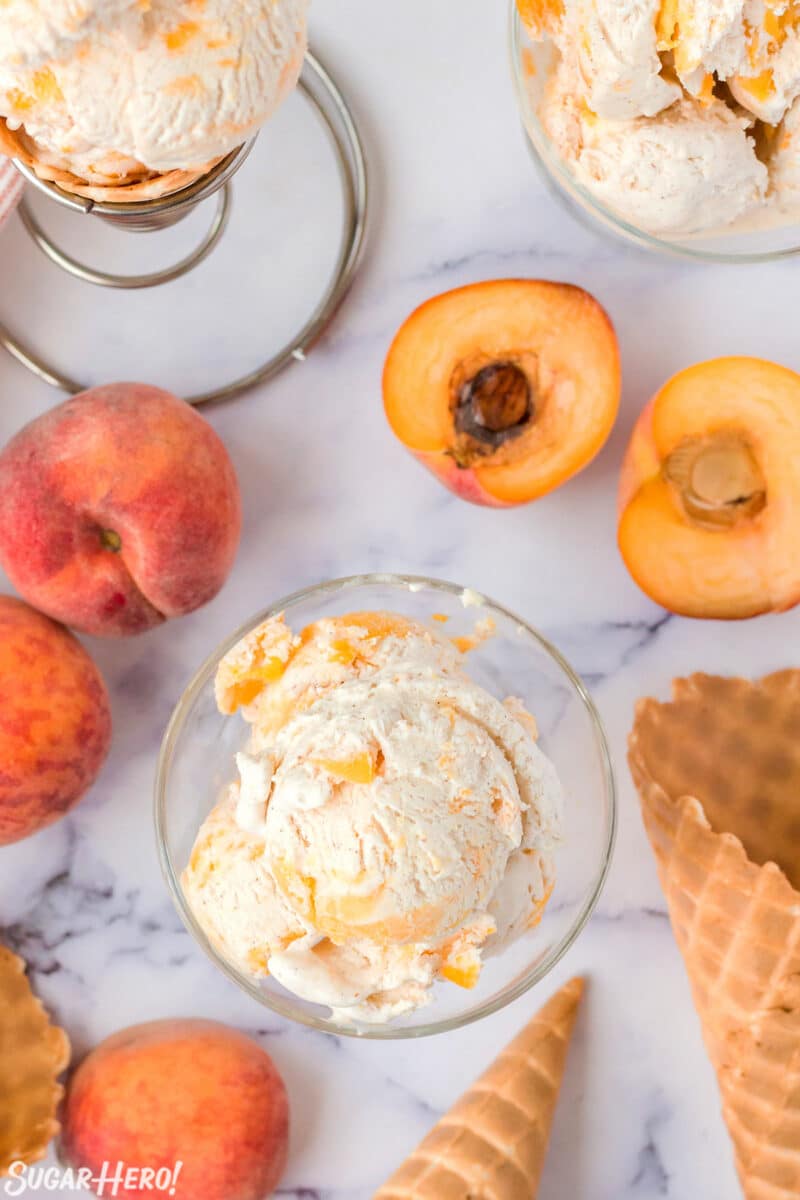
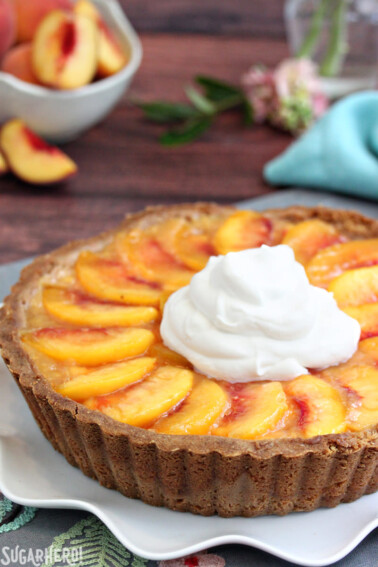
This No-Churn Peach Ice Cream is an easy 4-ingredient homemade ice cream recipe that can be made without an ice cream maker! It’s rich, creamy, and packed with peaches and cinnamon flavor.
🍑 Homemade Peach Ice Cream
Although peaches can often be found year-round in grocery stores, they are at their absolute best during the summer months–sweeter, riper, and juicer than at any other time of year. And if you’re a fan of the peaches and cream combo, it’s extra serendipitous that peach season coincides with ice cream season. Sweet and tangy peaches, rich and smooth ice cream, all at peak awesomeness . . . what’s not to love?!
This is a no-churn ice cream recipe which means it’s simple to make and doesn’t require an ice cream maker. It’s also infused with SO much peach flavor, and best of all, you can make this recipe with fresh OR canned peaches! I’ll be the first to tell you it’s absolutely epic with ripe summer peaches, but since they’re not available year-round (and since ice cream is definitely a year-round food at my house) canned peaches are a great substitute. It comes together in just 15 minutes, so you can be living your peaches-and-cream dreams sooner than you think.
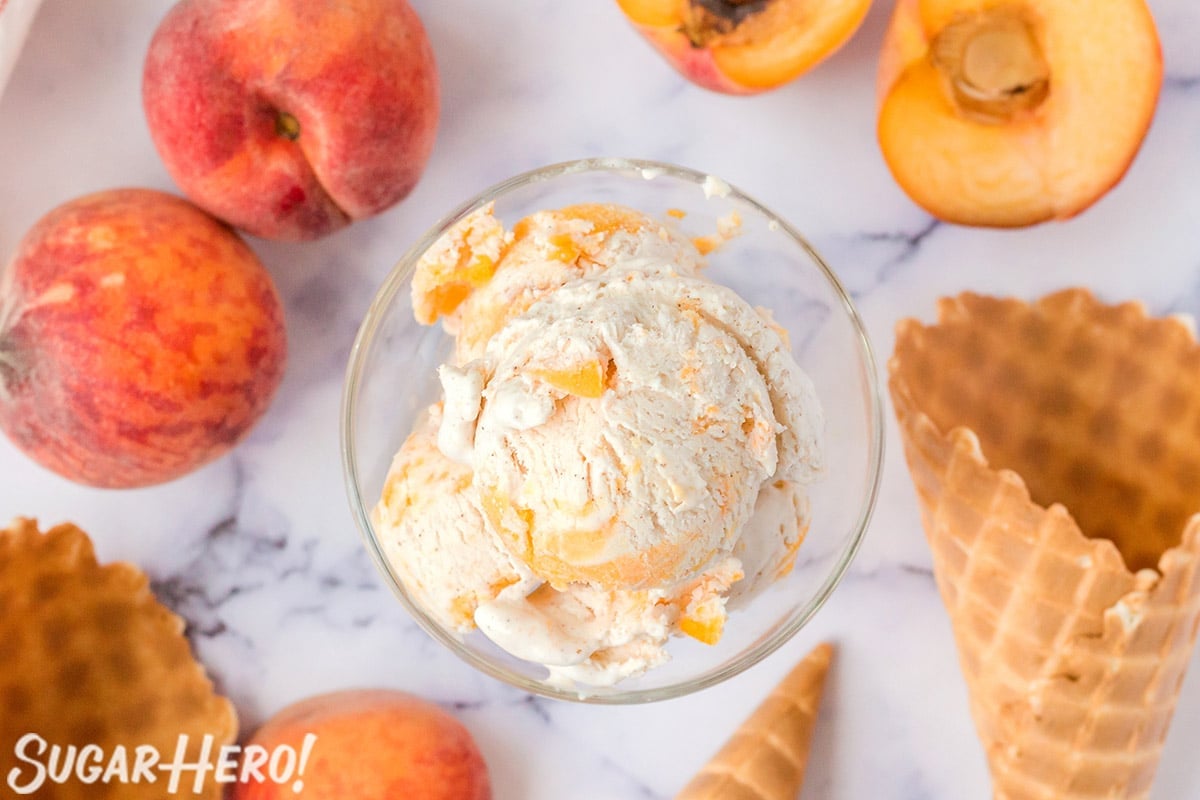
Table of Contents
🧾What You’ll Need
Ingredients
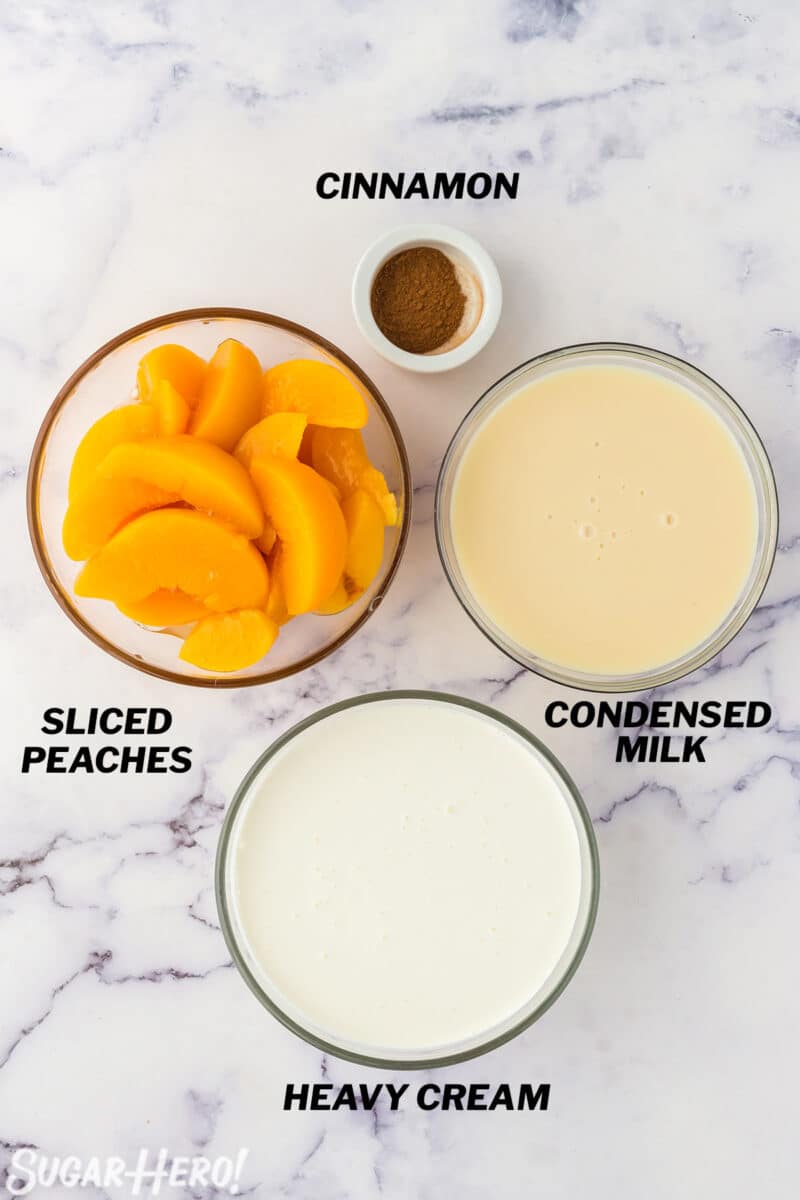
You just need 4 super basic ingredients to put together this peach homemade ice cream! Check the recipe card for full ingredient amounts. (Links are affiliate links and I earn a small commission from qualifying purchases.)
- Heavy whipping cream: I recommend using heavy whipping cream or manufacturing cream instead of whipping cream when possible. Heavy cream and manufacturing cream have the most fat, which produces a better flavor and texture. For best results, make sure the cream is very cold before whipping it.
- Sweetened condensed milk: This thick and rich sweetener will ensure that your ice cream has perfect scoopable consistency, even after being frozen. Make sure you use sweetened condensed milk, NOT evaporated milk. The cans look similar, and they’re usually in the same section at the grocery store, but they are not the same thing.
- Cinnamon: Adds a nice warm flavor to balance out the sweetness of the other ingredients. This makes the ice cream taste like peach cobbler! You can leave it out if you prefer.
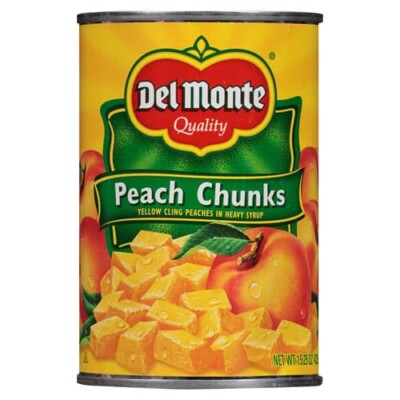
- Peaches: I often use canned, sliced peaches for this recipe. If you have sweet, ripe fresh peaches, you can use those instead. You’ll need about 4 medium peaches–check the Tips section below for instructions!
Equipment
My favorite thing about no-churn ice cream? (Aside from the incredible flavor and texture, of course.) The simplicity! You can make it with equipment you probably already have on-hand. Here’s what you’ll need. (Links are affiliate links and I earn a small commission from qualifying purchases.)
- Electric mixer: Use a hand mixer or stand mixer to beat the heavy cream.
- Ice cream scoop: Make serving your ice cream super easy with an ice cream scoop.
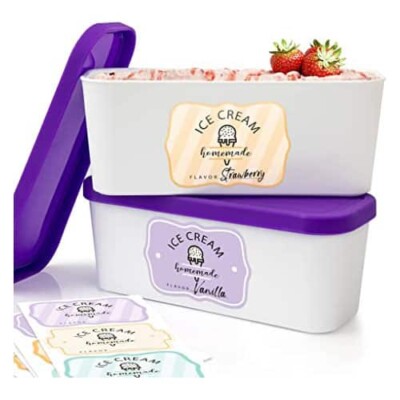
- Ice cream storage container: To keep the ice cream perfectly fresh and creamy in the freezer, place it in an ice cream storage container. If you don’t have one, you can use a loaf pan tightly wrapped with plastic wrap.
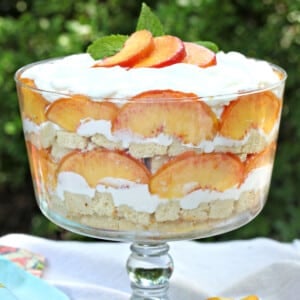
🧡More Peach Desserts


Leave a Review!
If you make this recipe, let us know! Leave a ⭐️⭐️⭐️⭐️⭐️ rating on the recipe below, and leave a comment, take a photo and tag me on Instagram @elabau, or use #sugarhero on IG!
No-Churn Peach Ice Cream
Ingredients
- 2 cups heavy whipping cream, very cold (16 fl oz)
- 14 oz sweetened condensed milk, (1 standard can)
- 1 tsp ground cinnamon
- 16 oz canned sliced peaches, (16-oz can), drained, see Note for using fresh peaches
Instructions
- Whip heavy cream: In a chilled bowl, whip the heavy cream with a hand mixer or stand mixer, until firm peaks form.
- Add remaining ingredients: Add the condensed milk, cinnamon, and sliced, drained peaches to the whipped cream. Stir everything together until it is fully incorporated, and the peaches are broken up into smaller pieces.
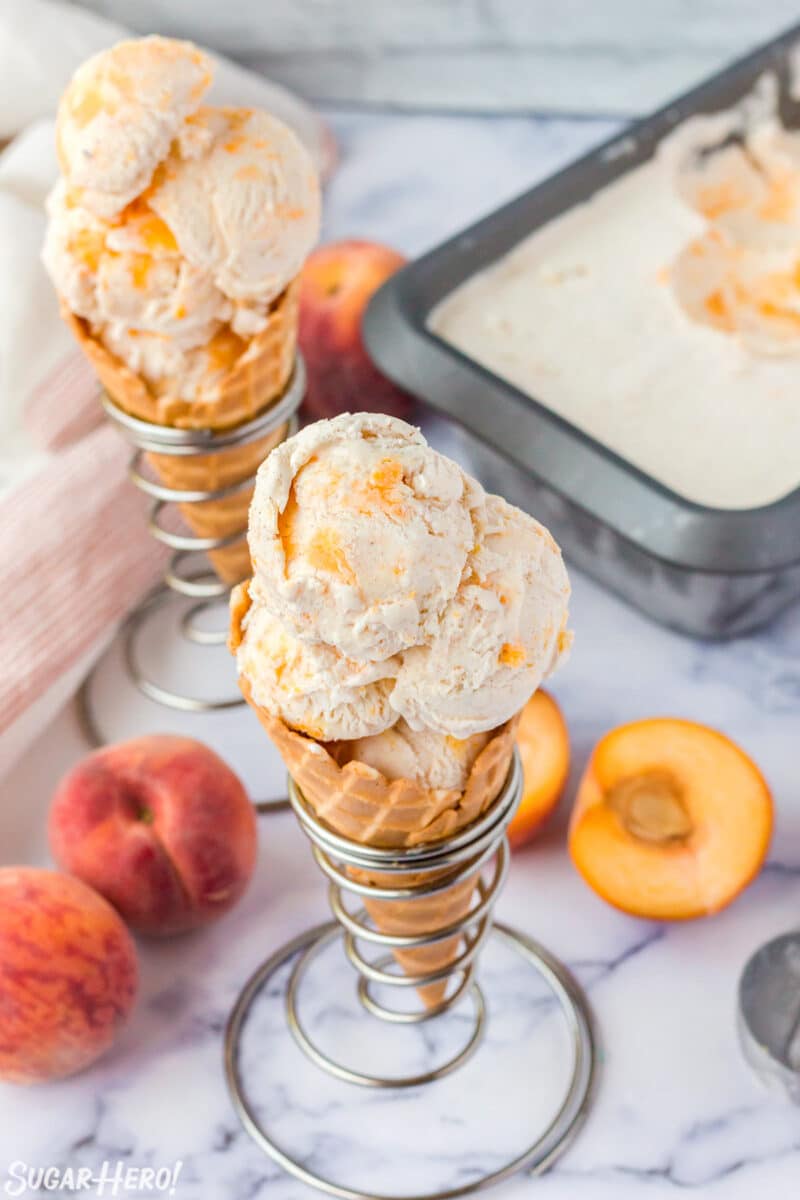
- Freeze: Scrape the ice cream mixture into an ice cream storage container, or a 9×5 inch loaf pan. Cover the container firmly with a lid, or plastic wrap if using a loaf pan. Place the pan in the freezer for at least 4-6 hours, or until the top of the ice cream is firm to the touch.
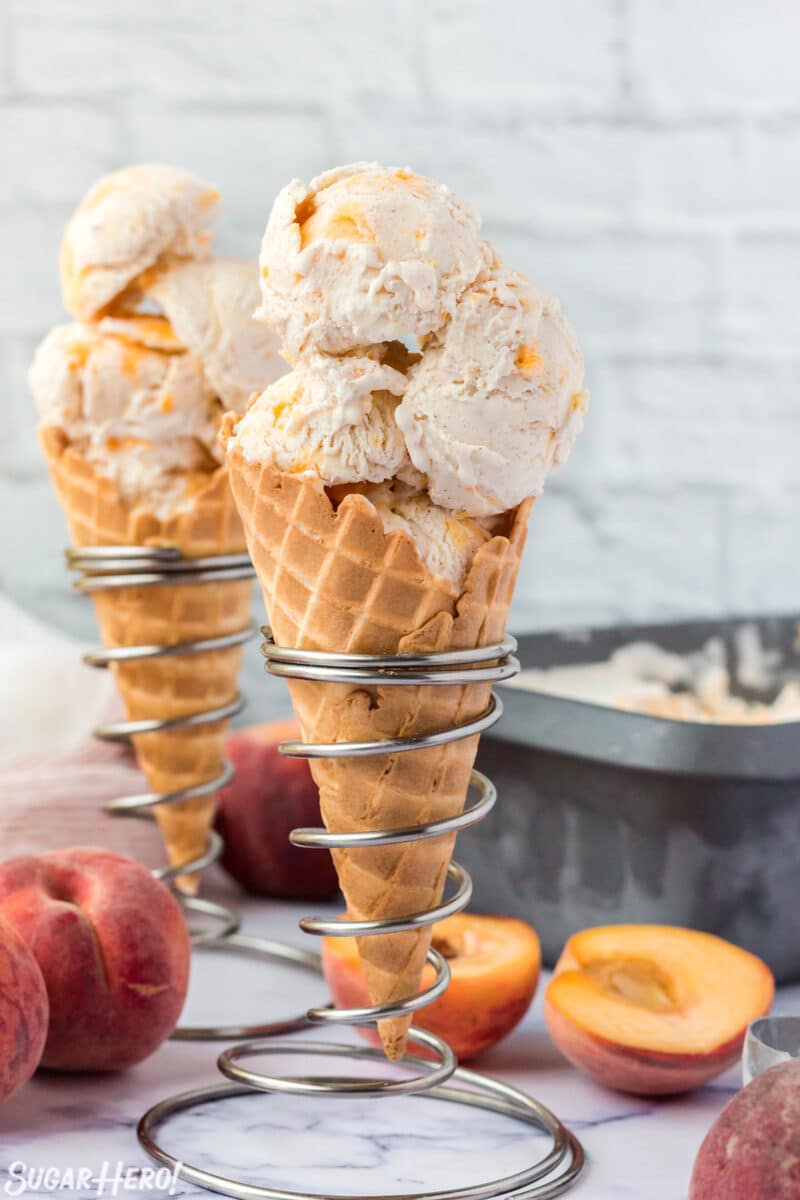
- Serve or store: Scoop and enjoy! This ice cream can be stored, well-wrapped, in the freezer for up to a month.
Recipe Notes
Prep water: Bring a large pot of water to a boil and set a bowl of very cold water (add some ice) nearby.
Boil peaches: Working in small batches, use a slotted spoon to lower a few peaches into the boiling water. After about 60 seconds you’ll notice the peel around the ‘X’ beginning to lift or pull apart.
Shock peaches, remove peels: Remove the peaches from the boiling water with the slotted spoon and put them directly into the ice bath. After a minute in the cold water, pull or rub the lifted pieces of peel; the outside skin should slide right off.
Finish peaches: Use a paring knife to remove any remaining pieces of skin, if needed.
Measuring Tips
Our recipes are developed using weight measurements, and we highly recommend using a kitchen scale for baking whenever possible. However, if you prefer to use cups, volume measurements are provided as well. PLEASE NOTE: the adage “8 oz = 1 cup” is NOT true when speaking about weight, so don’t be concerned if the measurements don’t fit this formula.
Want to learn more about baking measurements and conversion?
Nutrition
📸Photo Tutorial: Peach No-Churn Ice Cream
This no-churn peach ice cream requires just 15 minutes of hands-on time. Full instructions are included in the recipe card above.
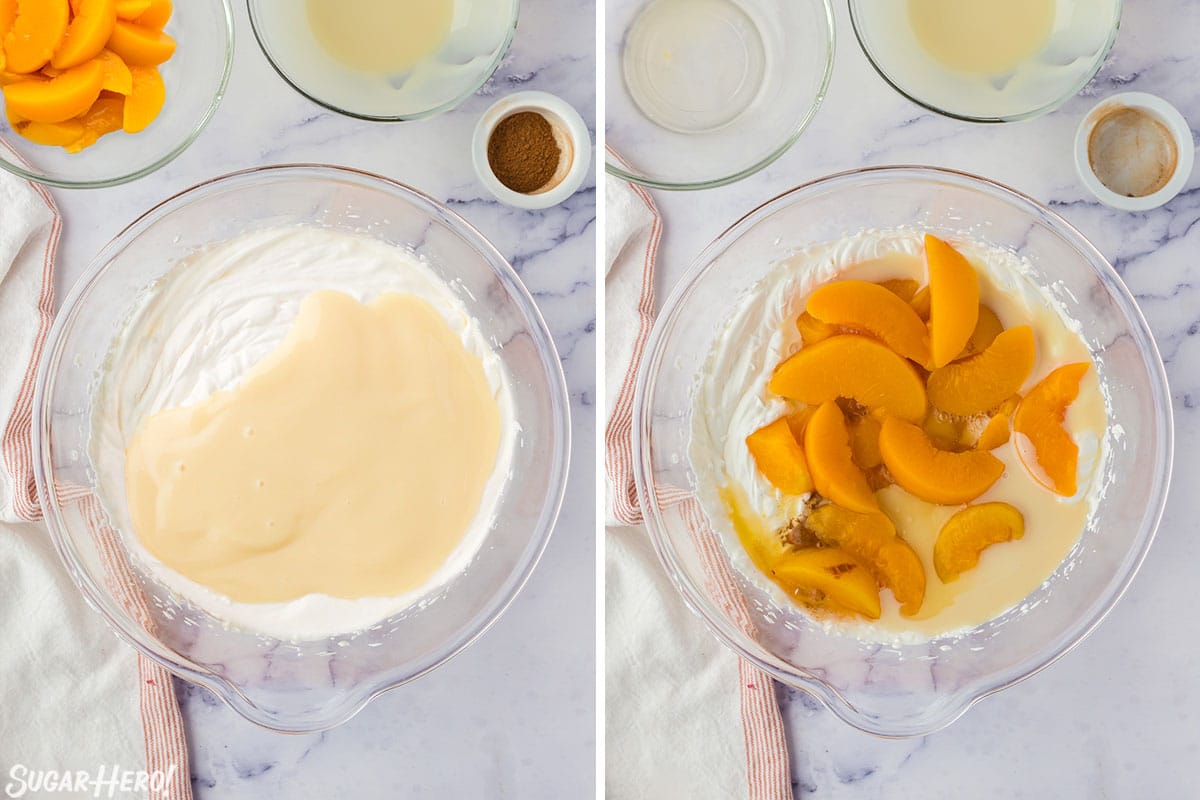
- Whip the cream: In a chilled bowl, whip the heavy cream until stiff peaks form.
- Add remaining ingredients: Add in the condensed milk, cinnamon, and peaches. (For canned peaches, don’t forget to drain off the excess juices. For fresh peaches, don’t forget to peal and dice them into small pieces.) Stir until fully mixed and the peaches are broken up into smaller pieces.
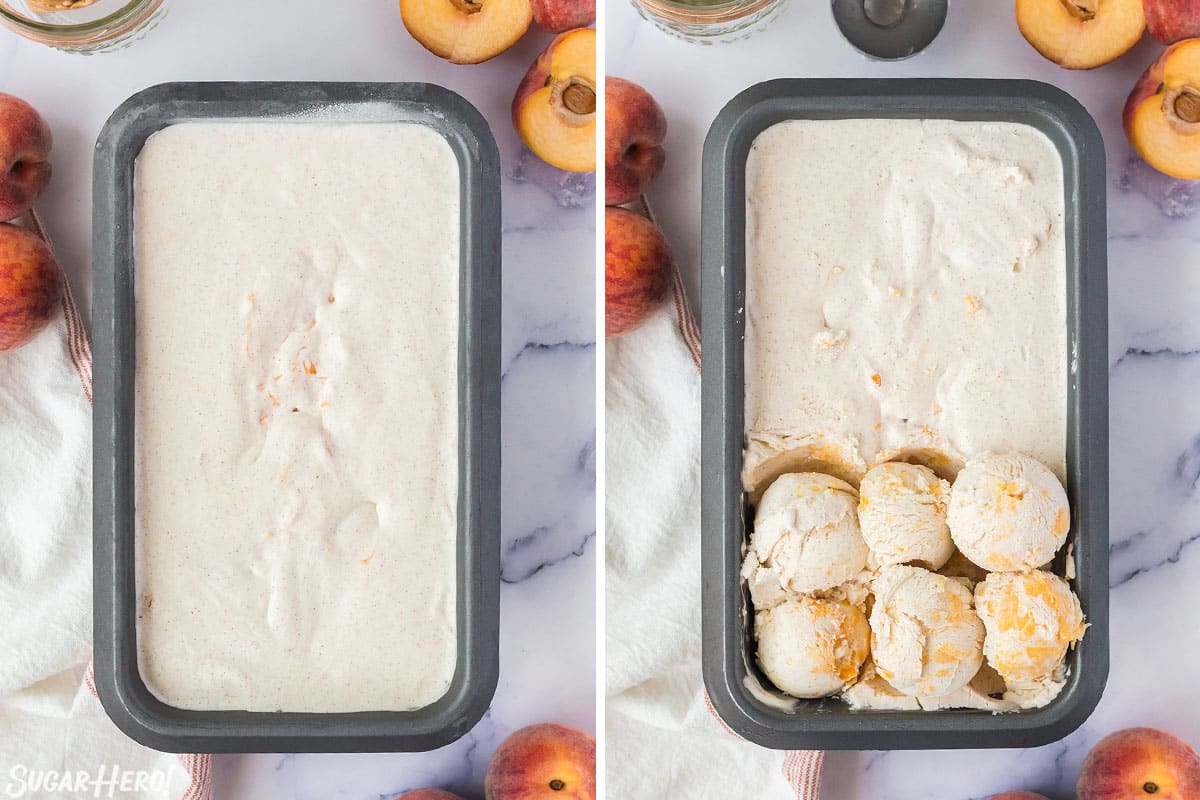
- Freeze: Transfer the mixture to a loaf pan or ice cream storage container and freeze until firm to the touch.
- Enjoy!
💭Variations
This peach ice cream is about as fresh and delicious as it gets, but if you’re looking for ways to switch things up, here are a couple ideas!
- Use another stone fruit. Try fresh stone fruit like nectarines, plums, apricots, or cherries. As with all fresh fruit, aim to get the ripest, softest, juiciest fruit you can find!
- Try canned fruit. You could also experiment with other canned fruits or even canned pie filling. Be sure to drain any fruit/pie filling you want to use so that it doesn’t impact the texture of the ice cream.
- Add mix-ins. Make a peach pie ice cream by mixing in crushed graham crackers, shortbread cookies, or crumbled baked pie crust.
💡Tips and FAQs for Success
- Using fresh peaches: If you want to use fresh peaches, you can leave the skins on, or remove them (personal preference). I also recommend finely dicing them. Canned peaches will naturally break into small chunks when they are mixed into the ice cream, but fresh peaches can be harder to break up. The peaches should be small for even distribution and to make them easier to bite into.
- Check the milk. It’s far too easy to grab evaporated milk instead of sweetened condensed milk. The sweetened condensed milk is key!
- Chill the bowl and whisk. The colder equipment creates a lighter whipped cream which creates a lighter ice cream.
- Don’t over mix. When you’re mixing the ice cream ingredients, gently fold only until just combined. Over-mixing deflates the cream.
- Store in the back of the freezer. The further back the ice cream, the better the temperature is regulated. If the ice cream temperature fluctuates too much, ice crystals can form.
If you use canned, sliced peaches, then you won’t need to peel them (the peels should already be removed). If you decide to use fresh peaches, you can peel the peaches by hand with a sharp paring knife. Or, try blanching them to quickly and easily remove the peel.
How to Blanch Peaches
Score peaches: Score the bottom of each peach with a shallow ‘X’.
Prep water: Bring a large pot of water to a boil and set a bowl of very cold water (add some ice) nearby.
Boil peaches: Working in small batches, use a slotted spoon to lower a few peaches into the boiling water. After about 60 seconds you’ll notice the peel around the ‘X’ beginning to lift or pull apart.
Shock peaches, remove peels: Remove the peaches from the boiling water with the slotted spoon and put them directly into the ice bath. After a minute in the cold water, pull or rub the lifted pieces of peel; the outside skin should slide right off.
Finish peaches: Use a paring knife to remove any remaining pieces of skin, if needed.
Regular ice cream is often made from an egg custard base, meaning that the mixture must be cooked and churned in an ice cream maker to turn into the dessert you know and love. Most people don’t own an ice cream churner, so no-churn ice creams were invented to allow people to make this sweet and creamy treat at home—no cooking or churning necessary!
If your no-churn ice cream is too icy, then chances are it isn’t stored properly. The key is an airtight container. If you don’t have that, then make sure it’s very tightly wrapped. Any air exposure will cause ice crystals to form. I also recommend storing it in the back of the freezer where the cool temperature is more regulated. If it’s close to the front, opening and closing the door can cause the ice cream temp to fluctuate, which can also make it icy.
Finally, alcohol can help prevent ice cream from getting too hard in the freezer, so consider adding about 2 TBSP of your favorite alcohol. Vodka is a great choice if you don’t want to add additional flavor, or consider something like rumchata, Baileys, or Kahlua.
I recommend storing any leftover no-churn peach ice cream in the same container you used to freeze it. Simply cover the ice cream with a lid (or an airtight layer of plastic wrap) and store in the freezer for up to 1 month.


Don’t miss the step-by-step tutorial showing how to make Peach Ice Cream – check out the web story here!


This peach ice cream was so delicious for this hot weather! It was very easy to make and my kids loved the peaches too.
Hi Mirlene. I’m glad you got to enjoy the recipe before Fall fully sets in. Thanks for your comment!
Peaches and ice cream are two of the best things about summer! This easy-to-make treat is a fabulous way to combine both! Love that this isn’t a complicated recipe. No fuss, no muss, all big flavo!
Hi Patricia! I’m so glad you enjoyed this recipe. Thanks for commenting.
I adore peaches and in ice cream they are delicious.
Hi Sisley! Thanks for commenting. Peaches and cream is one of my favorite combos for sure.
Can I put this in an ice cream maker?
Hi Sharon! This recipe is a no-churn recipe. If you are looking for an awesome peach ice cream to make in an ice cream maker, I’d recommend my Peach Honey Ice Cream With Lemon Verbena. It’s delicious!
Yum! I love the flavour that the touch of cinnamon adds alongside the peaches.
Hi Janessa! Cinnamon and peaches are one of my favorite combos! Glad you enjoyed the recipe!
Can you use fresh peaches instead of canned?
Hi. You can definitely use fresh peaches. You can find this information on the blog post in the tips section. I’ll post it here for you as well: If you use fresh peaches, I recommend dicing them. Fresh peaches can be harder to break up into smaller pieces during the stirring process, and you’ll want the peach pieces to be small in the ice cream. You can leave the skins on, or remove them (personal preference).
I hope that helps and I hope your ice cream turns out amazing!
This ice cream was so easy to make (I LOVE a good no-churn) and the perfect way to hold onto those last bits of summer! Great recipe, I’ll definitely make this again 🙂
Hi Nathan! Glad you enjoyed the recipe. I love anything that makes the ice cream making process easier and quicker!
I’m making this today and in your recipe it says “add sliced peaches” but it doesn’t say to drain the peaches or to use the liquid. I’m assuming that you drain it but I don’t want to mess it up
Hello Margaret. I hope your ice cream turned out ok. You are correct to drain off the excess juices. I made some edits on the blog post to make that more clear. Thank you for bringing that to my attention. All the best.