


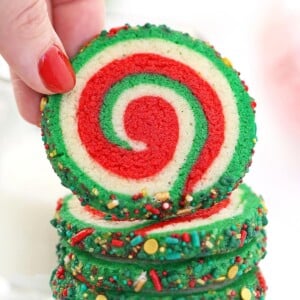
Transform simple sugar cookies into edible works of art with our easy Stained Glass Cookie recipe. Just fill cut-out sugar cookies with crushed hard candies and bake them so the candy melts, creating a gorgeous “stained glass” effect. Perfect for Christmas or any holiday occasion!

🎄 Festive Stained Glass Window Cookie Recipe
These stained glass cookies shine like jewels – and they’re almost as easy to make as regular sugar cookies!
The vibrant “stained glass” effect comes from crushed hard candies that are added to cut-out sugar cookie dough before baking. As the cookies bake, the candies melt and create gorgeous, translucent, glass-like colors.
Whether you’re searching for dazzling cookie recipes to serve up this holiday season or want to impress at your next bake sale, these stained glass sugar cookies will fit the bill. And, while they look fancy, the preparation is simple enough to do with kids. So, grab the fam, and get ready to make some edible works of art!
Table of Contents
🧾 What You’ll Need

Ingredients
Before you get started, here’s what you should know about the ingredients. (Links are affiliate links and I earn a small commission from qualifying purchases.)
- Unsalted butter and salt: Use softened, room temperature butter. I prefer to use unsalted butter and add my own salt. However, if you only have salted butter, just leave out the extra salt.
- Cream cheese: Adds moisture and texture to the dough, as well as, a slight tang. Use softened, room temperature cream cheese to prevent lumpy dough.
- Sugar: You’ll need regular, white granulated sugar to sweeten the cookies.
- Egg yolk: Make sure to use the yolk of a large egg (not medium or extra large). It will help to bind the dough together and provides richness.
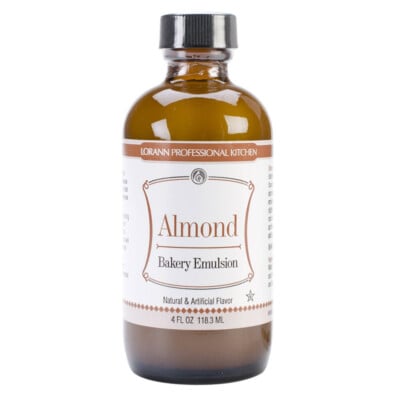
- Flavoring: I flavored these cookies with a mix of vanilla extract and almond extract. If you’re not a fan of one of the flavorings, you can double up on the one you like and leave out the other.
- Flour: For the best texture, measure the flour properly with a food scale. If you don’t have a food scale, use the spoon and level method.
- Hard candies: I used Jolly Ranchers to make the stained glass look, but you can use just about any hard candy you like. (Note: do not use rock candy, in my experience it does not melt well.)

Equipment
Having the right tools will make your baking project easier. Here’s what you’ll need. (Links are affiliate links and I earn a small commission from qualifying purchases.)
- Mixer: I like using a stand mixer, but a hand mixer will also work just fine.
- Plastic wrap: The dough will need time to chill. I find it’s easiest to wrap it in plastic wrap so it doesn’t dry out in the refrigerator.
- Rolling pin:You’ll want a rolling pin to smooth the dough into an even sheet. It also comes in handy for crushing the hard candy into powder.
- Baking sheets and parchement paper: For evenly baked cookies, use a light colored, alluminum baking sheet. Use parchment paper to ensure your cookies don’t stick
- Cookie cutters: Use any ornament shaped cookie cutters you like. Just make sure they aren’t too big; 2-3 inches should be just right. I also recommend having a small round cutter and small oval cutter for the centers.

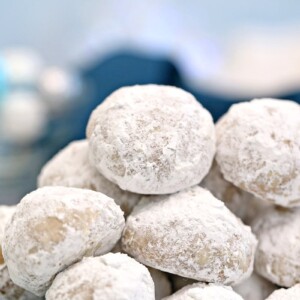
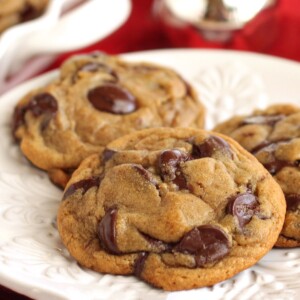
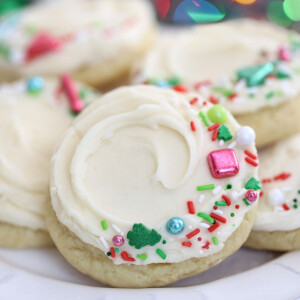
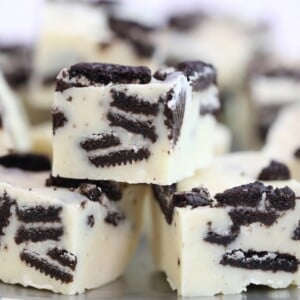
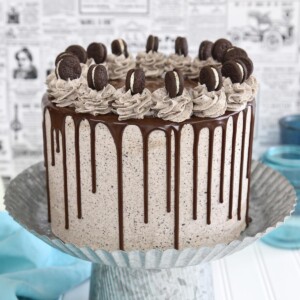
❤️ More Christmas Cookies


Leave a Review!
If you make this recipe, let us know! Leave a ⭐️⭐️⭐️⭐️⭐️ rating on the recipe below, and leave a comment, take a photo and tag me on Instagram @elabau, or use #sugarhero on IG!

Stained Glass Cookies
Ingredients
- 8 oz unsalted butter, (1 cup), at room temperature
- 4 oz cream cheese, (1/2 cup), at room temperature
- 10 oz granulated sugar, (1 1/3 cup)
- 1 large egg yolk
- 1 tsp vanilla extract
- 1 tsp almond extract
- 1/2 tsp salt
- 16 oz all-purpose flour, (3 ½ cups)
- 14 oz hard candies, colorful
Instructions
- Line baking sheets with parchment paper and set aside.
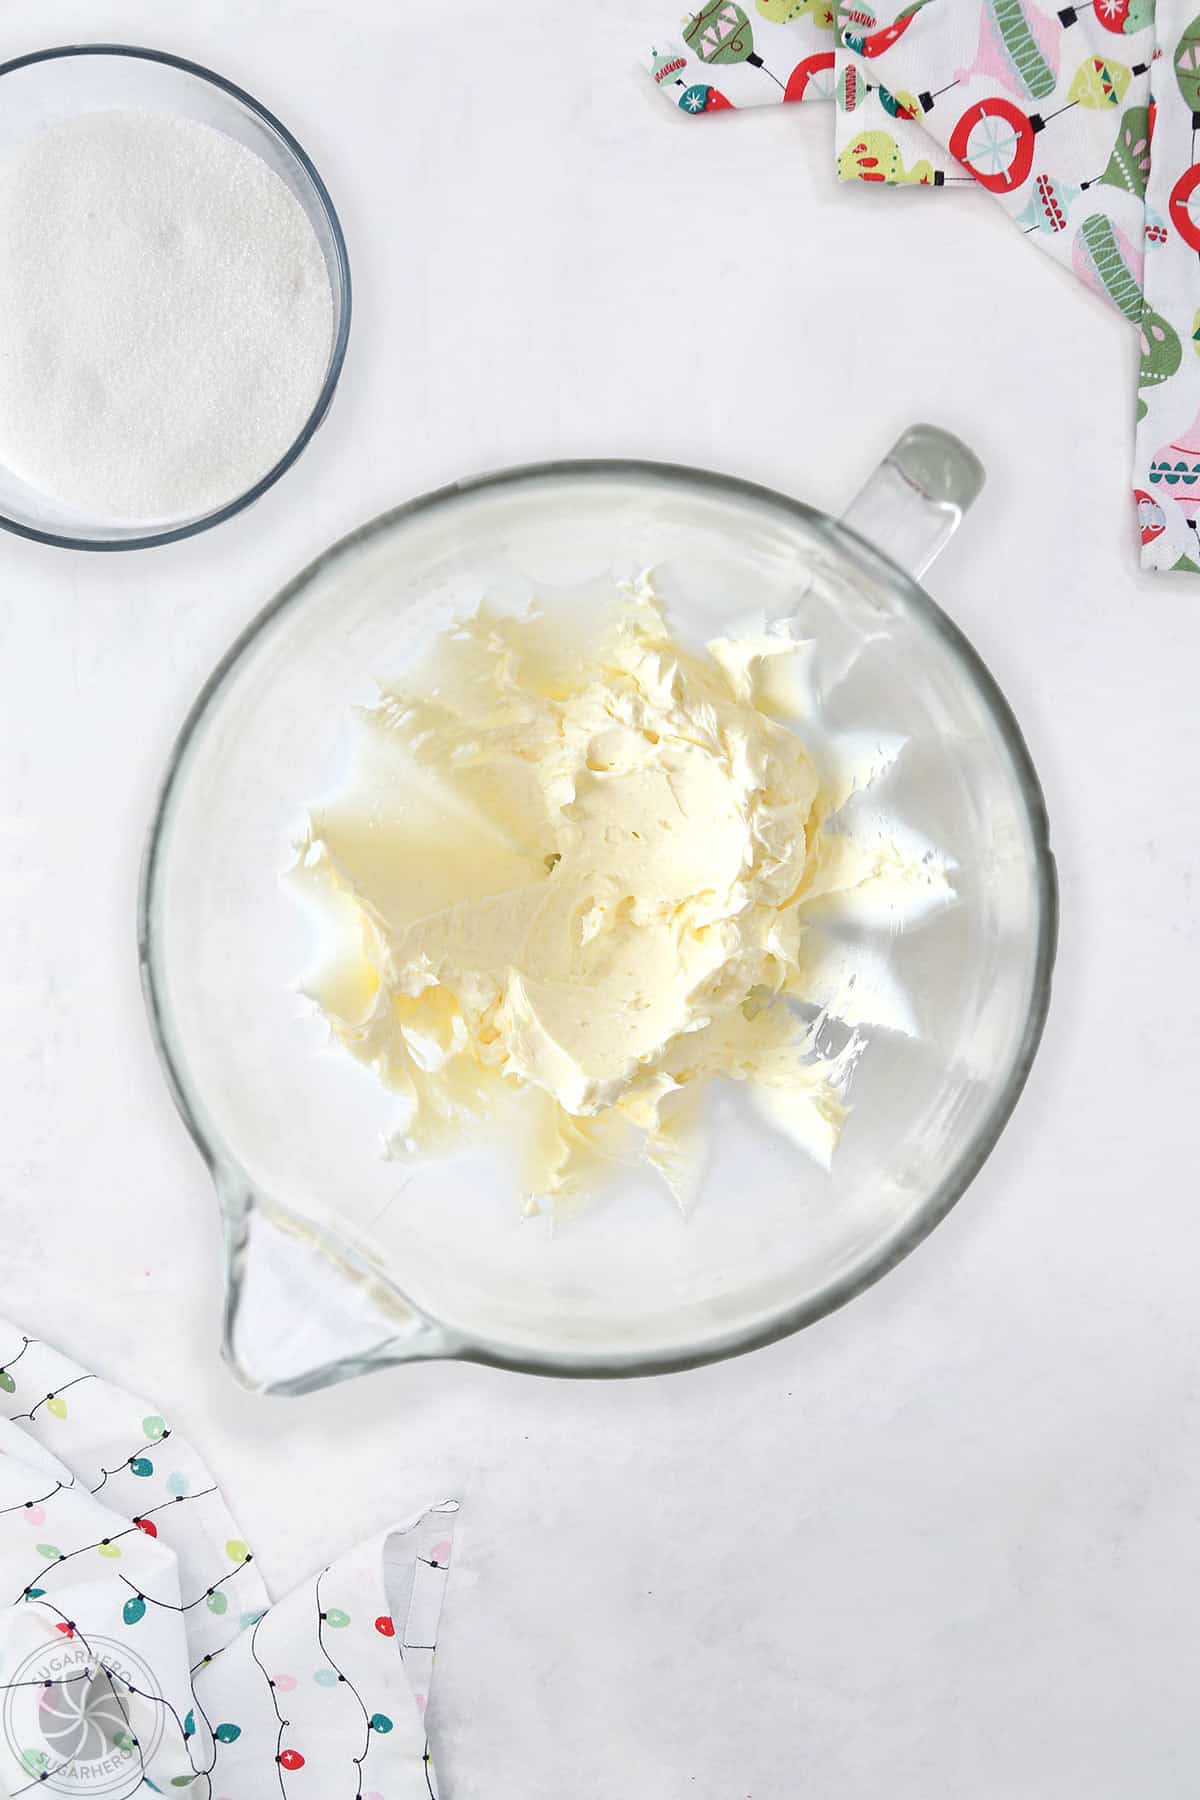
- Place the softened butter in the bowl of a stand mixer fitted with a paddle attachment, and beat for about 30 seconds, until creamy.
- Add the softened cream cheese, mix together until combined, then add the granulated sugar. Mix on medium speed for 30 seconds.
- Add the yolk, flavoring extracts, and salt. Mix until everything comes together.
- With the mixer running on low, add the flour in a steady stream, and mix just until combined. Divide dough in half, form each into a thin disk, wrap in plastic, and chill for at least an hour.
- Roll the dough out on a floured surface to ¼-inch thick. Cut out desired shapes, then cut a hole in the center of each shape. Transfer to a parchment-lined baking sheet, and chill for 20 minutes. Preheat oven to 350°F.
- Unwrap hard candies and divide by color into plastic bags. Crush them with a hammer or rolling pin into small pieces.
- Fill the center of each cookie with crushed candies. Bake for approximately 12 minutes, until the cookies have started to take on light color around the edges, and the candy is completely melted.
- Cool completely before removing from the baking sheet. Cookies can be stored at room temperature in an airtight container for 5-7 days. (I don't recommend refrigerating or freezing them because of the hard candy centers. The condensation will cause the centers to become sticky and gooey.) If you live in a humid climate, you may find that the centers become sticky even at room temperature, in which case you should plan on consuming them in 2-3 days.
Recipe Notes
Measuring Tips
Our recipes are developed using weight measurements, and we highly recommend using a kitchen scale for baking whenever possible. However, if you prefer to use cups, volume measurements are provided as well. PLEASE NOTE: the adage “8 oz = 1 cup” is NOT true when speaking about weight, so don’t be concerned if the measurements don’t fit this formula.
Want to learn more about baking measurements and conversion?
Nutrition
📸 Photo Tutorial: How to Make Stained Glass Cookies
Make gorgeous Stained Glass Cookies by following this photo tutorial. Making cookies has never been easier! Full, easily printable instructions are included in the recipe card above.


- Prepare baking pans: Line baking sheets with parchement paper.
- Beat butter and cream cheese: Beat 1 cup (8oz) butter until creamy, about 30 seconds. Then add 1/2 cup (4oz) cream cheese and mix until combined


- Add other ingredients, except flour: On medium speed, mix in 1 1/3 cups (10oz) granulated sugar and beat for 30 seconds. Add the large egg yolk, a half teaspoon each of vanilla and almon flavoring extracts, and a 1/2 teaspoon salt. Mix until everything comes together.


- Slowly add flour: With the mixer running on low, add 3 1/2 cups (16oz) flour in a steady stream, mixing until just combined.
- Divide and chill: Divide dough in half and create 2 thin disks. Wrap each in plastic, and chill for at least an hour.
- Roll, cut and chill: Roll the chilled dough to ¼-inch thick on a floured surface. Cut ornament shapes with a hole in the center. Transfer to prepared baking sheets, and chill for 20 minutes.


- Prepare to bake: Preheat oven to 350°F. Unwrap hard candies and divide by color into plastic bags, crushing them into small pieces with a rolling pin or hammer.
- Fill and bake: Fill the center of each cookie with crushed candies and bake until the cookies start to color lightly around the edges and the candy is completely melted, about 12 minutes.
- Cool: Before removing the cookies from the baking sheet, allow them to cool completely.
- Enjoy!

💡 Tips For Cookie Baking Success
Here are our top baking tips for making AMAZING cookies:
- Follow the recipe exactly. If you make substitutions, or change the method/steps, I can’t guarantee your results. Make sure your ingredients are the right temperature, that you use the right equipment, and that you pay attention to mixing, chilling and baking times.
- Don’t overmix the dough. A common mistake when making cookies is overmixing the dough. If you continue mixing after the ingredients are combined, the gluten in the flour will become over-actived, and you’ll end up with tough, dense cookies.
- Measure with precision. I highly recommend using a kitchen scale to weigh your ingredients (especially the flour). If you don’t have a scale, be attentive when using measuring cups and spoons; measure your flour by spoonful into the measuring cup, then use the back of a knife to level off the top of the cup. This spoon and level method is better and more precise than just dipping your measuring cup in the flour bin. Dipping into the flour bin causes it get compacted and you’ll end up with more flour than the recipe calls for. More flour = dry cookies.
- Use the right baking surface. It’s best to use an aluminium, light-colored, non-insulated baking sheet with parchment paper. You don’t need to grease the parchment or pan, either.
If your cookies spread out and are too flat, the most common reasons are:
– not enough flour was used
– an insulated baking sheet was used
– oven runs cool (temperature not high enough)
Make sure to use the right kind of baking sheet and measure your flour properly. You can also freeze the cut-out cookies for 20 minutes before filling and baking to help them hold their shape.
If you have trouble with the candy layer, follow these tips:
– For the best results, crush the candy into very fine, uniform pieces for more even melting.
– Ensure your oven is at the correct temperature by using an oven thermometer.
– All ovens are different, so you may need to bake the cookies for an extra minute or two.
– Use less crushed candy in the cutouts. A thin layer will create a more delicate “glass” effect.
While most hard candies will work, you might encounter the odd type that does not melt well. (Rock candy in particular won’t melt and should not be used.) I recommend Jolly Ranchers for their color and melt-ability.
These cookies can be stored at room temperature in an airtight container for 5-7 days. I don’t recommend refrigerating or freezing them because of the hard candy centers. The condensation will cause the centers to become sticky and gooey. If you live in a humid climate, you may find that the centers become sticky even at room temperature, in which case you should plan on consuming them in 2-3 days.
💭 Variations
- Make cookie “ornaments.” Poke a hole in the top of the cookies with a toothpick before baking, and poke it again as soon as the cookies are out of the oven. Once completely cool, thread a thin ribbon or string through the hole and use the cookies as edible ornaments. If you plan on doing this, you should bake the cookies longer so they are firmer/crunchier.
- Use other Christmas cutters: You can add the stained glass effect to other Christmas shapes like snowmen, Christmas trees, snowflakes, stars and hearts.
- Other holidays: This stained glass look would also be fun to use for other holidays of the year like Valentine’s Day, the 4th of July or Halloween.
- Add color variation: I made my cookies with solid colored centers. However, you can make pretty swirled or layered designs by alternating the colors of the candy bits.
- Try homemade candy centers: If you want to make the stained glass centers from scratch, try my Edible Sugar Glass recipe. You can flavor and color the candy any way you like.


This is my second year making these! They always turn out so nice. I use a snowglobe cutter and decorate around the glass with royal icing.
Love to hear it Johanna! They sound really beautiful. Thanks for leaving a comment. Merry Christams!