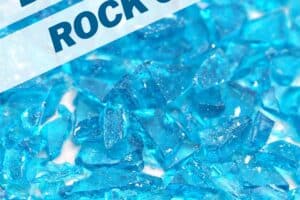
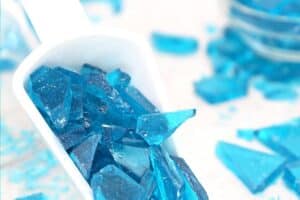


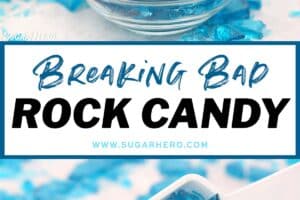
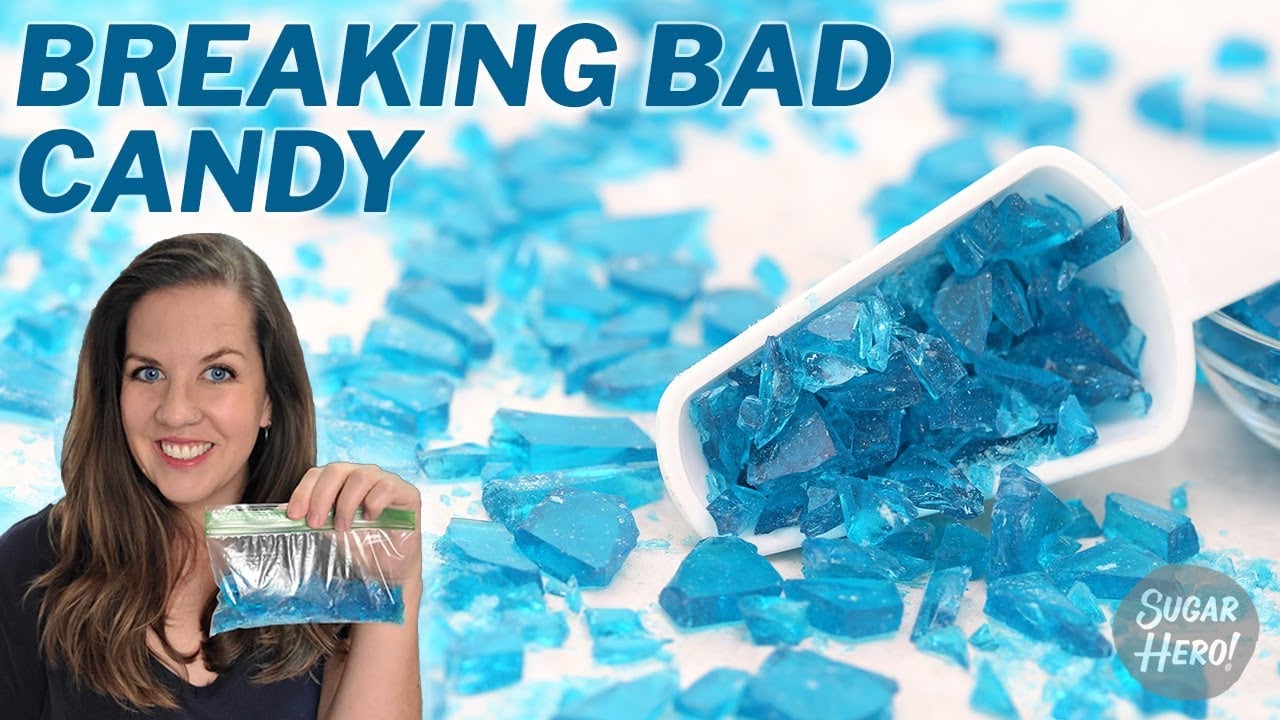
Learn how to make blue ock candy inspired by Breaking Bad. It’s easier than you think, and the results look AND taste delicious. Perfect for costume and viewing parties!
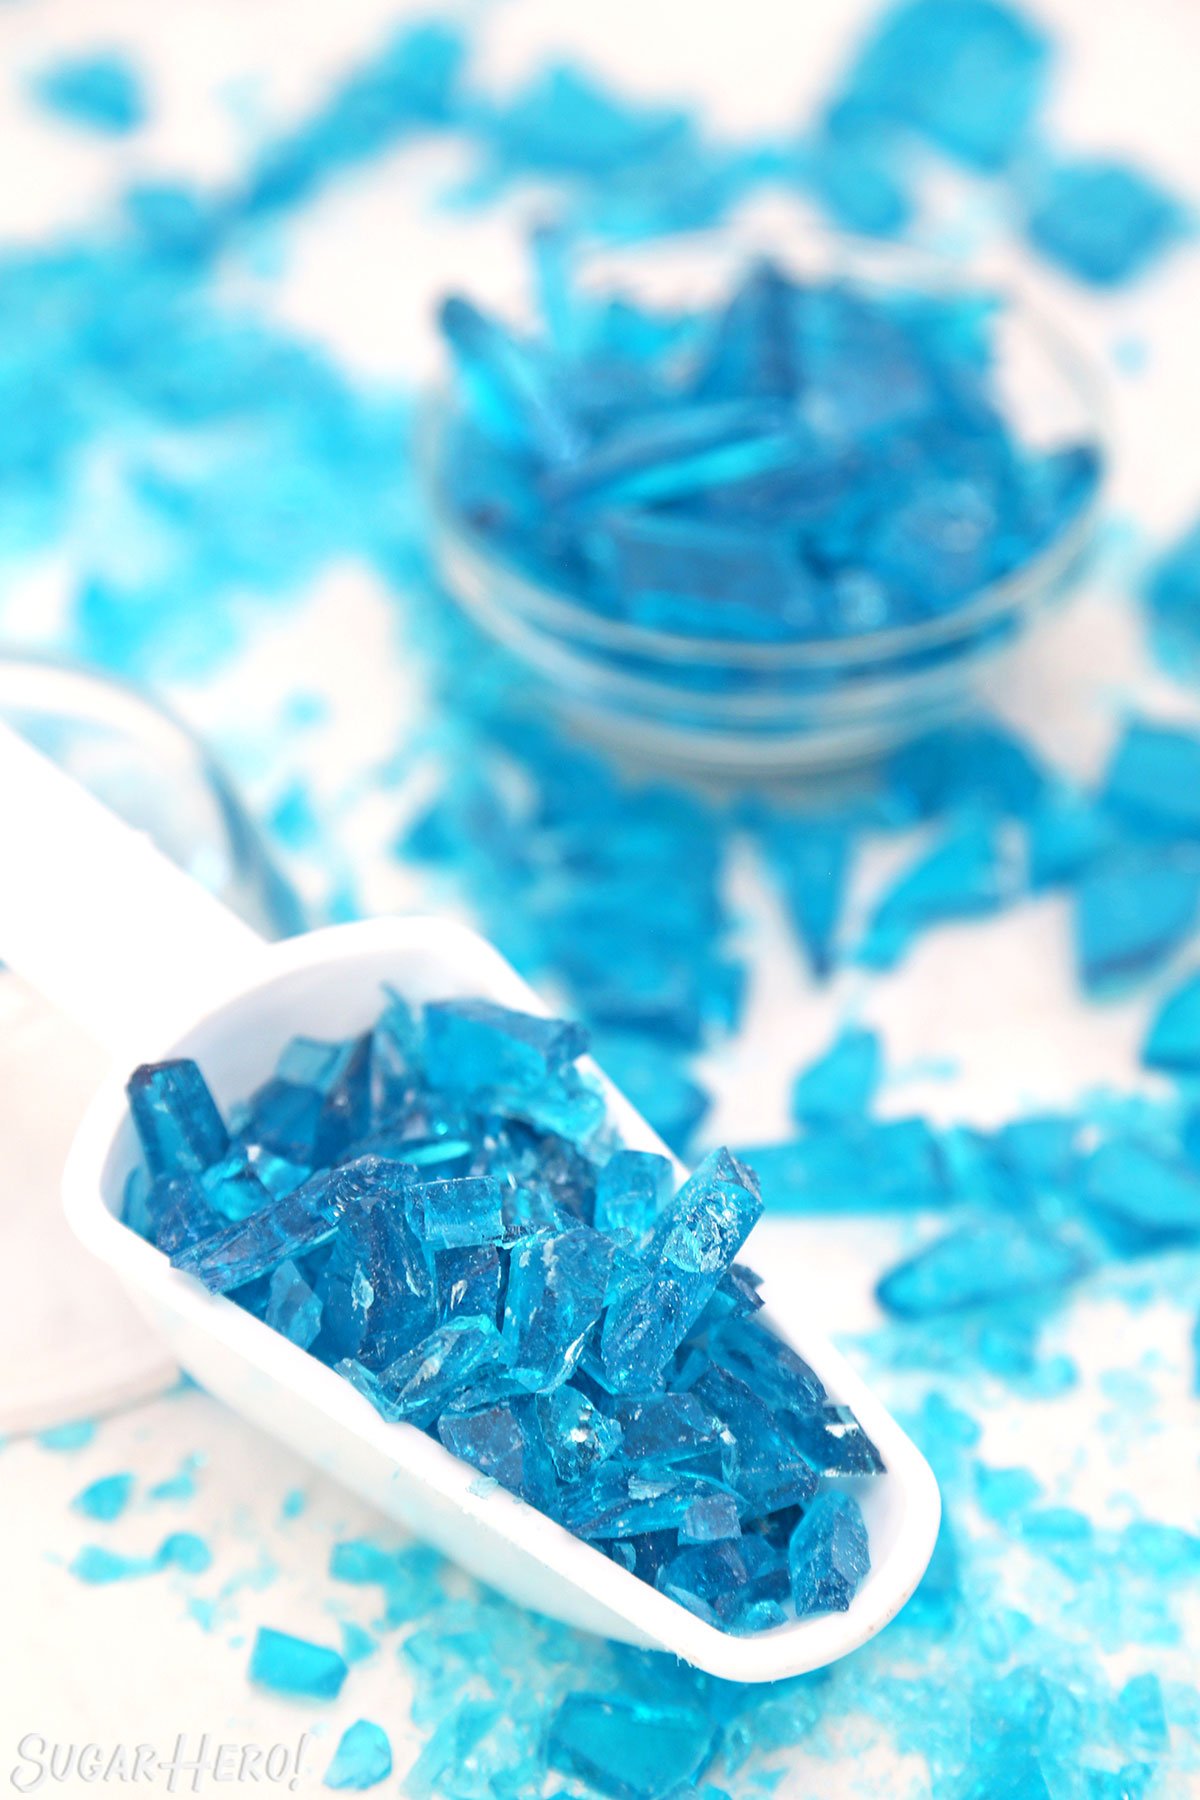
💙 How to Make Blue Rock Candy
This rock candy recipe is inspired by the television show Breaking Bad. As any viewer knows, the plot revolves around the blue-tinged crystal meth created by chemistry teacher Walter White and his student-turned-partner Jesse Pinkman. The meth is so pure, so potent, that it changes the entire southwestern drug trade and, eventually, the very lives of its creators.
As a fan of both sugar and television, imagine my delight when I found out that the “meth” used in the show is actually rock candy. Too perfect! So way back in 2012, at the height of Breaking Bad mania, I decided to create my own rock candy recipe, modeled after the Breaking Bad drug, for a viewing party with friends. Since it was first posted a decade ago, hundreds of people have made it for parties and Halloween costumes. Here is just a small sampling of the readers who have made it, loved it, and sent in pictures:
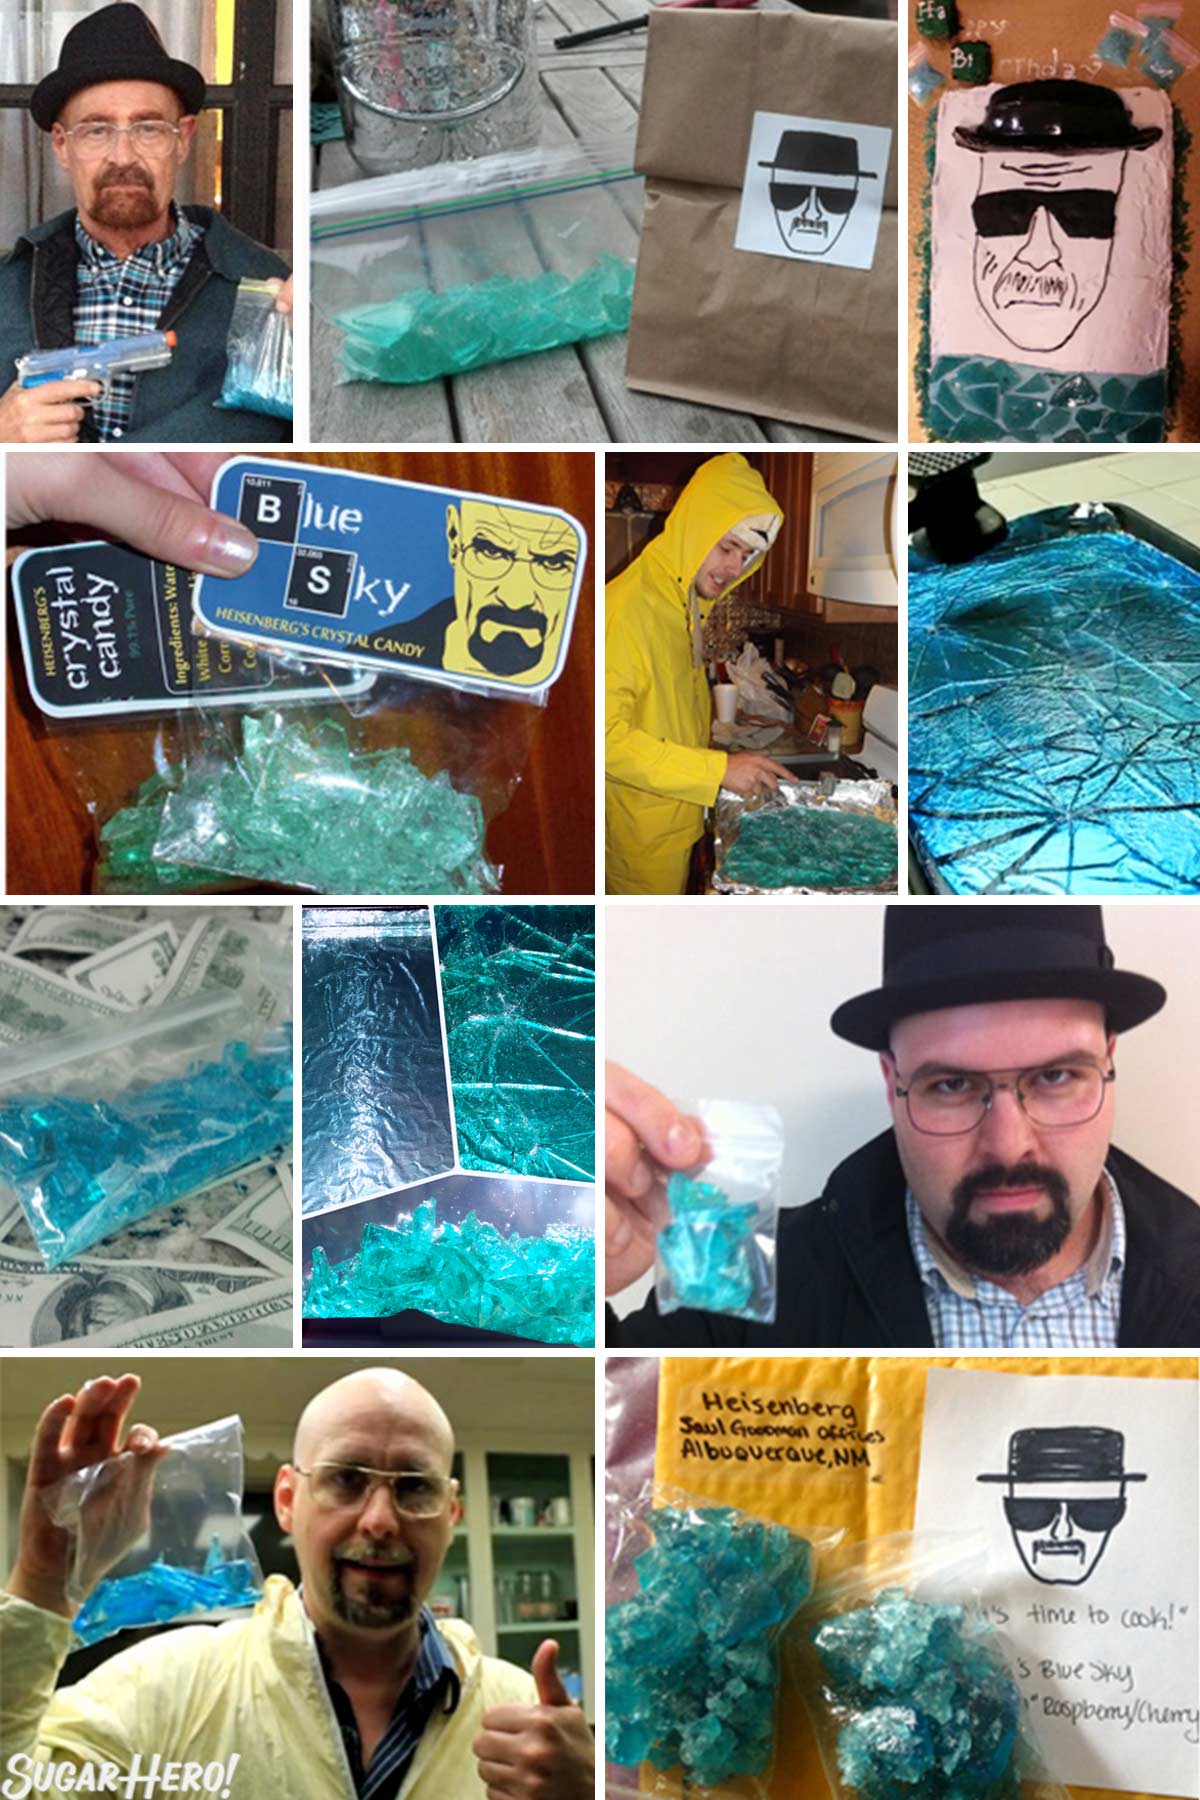
Although Breaking Bad is now off the air, this recipe remains a popular one, so it seemed overdue for an update. I’ve revised the post and recipe to make it more thorough, detailed, and helpful for YOU, my budding little Heisenbergs!
😎 How to rock your candy-making
Rock candy is not difficult to make, and even beginning candy makers can do it successfully on their first try. Here are a few things you can do to ensure success:
- Read the recipe before beginning. This might sound obvious, but you’d be surprised! Once the candy hits a certain temperature things move very fast, and you want to be prepared to act right away, not be stuck reading the next step.
- Use a candy thermometer. More on this below, but it is the #1 tool that will guarantee you success.
- Read the Tips & Troubleshooting sections right before the recipe. Overwhelmingly, when people have trouble with this recipe, it is caused by a few very common mistakes, and knowing what these are in advance will help you avoid them.
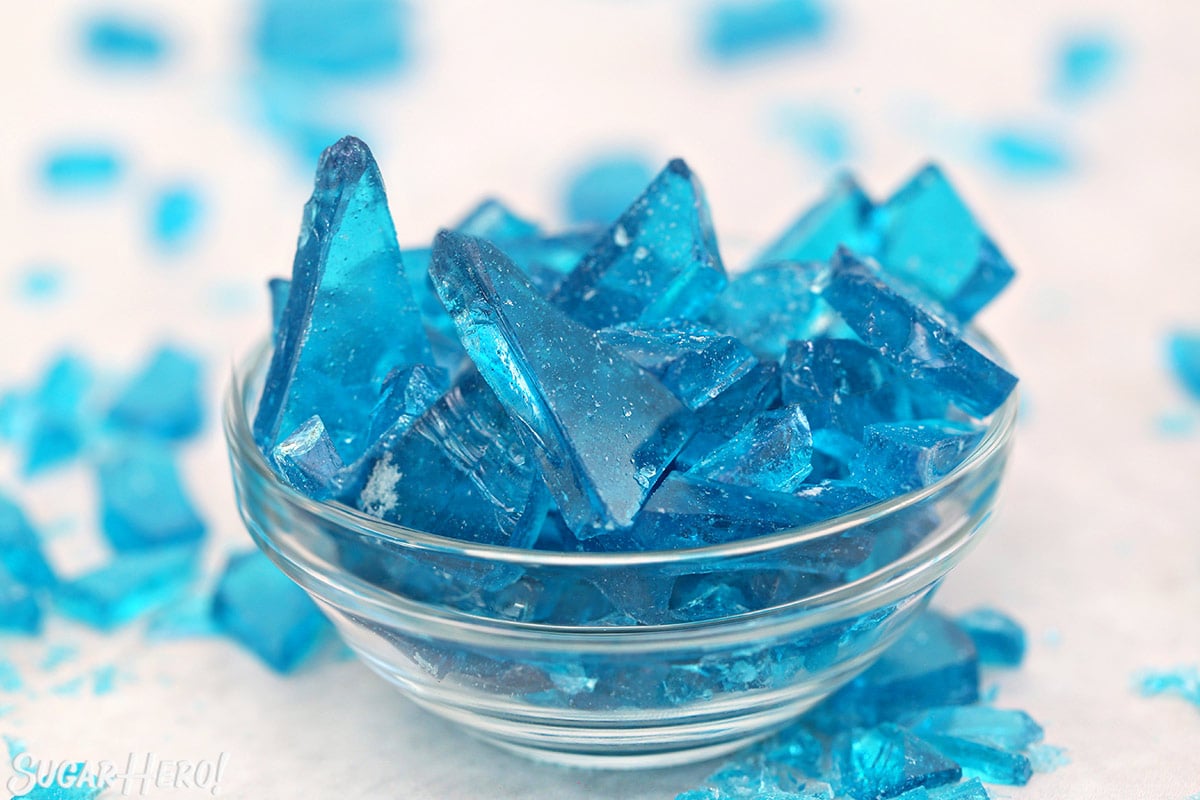
Table of Contents
🧾 What You’ll Need
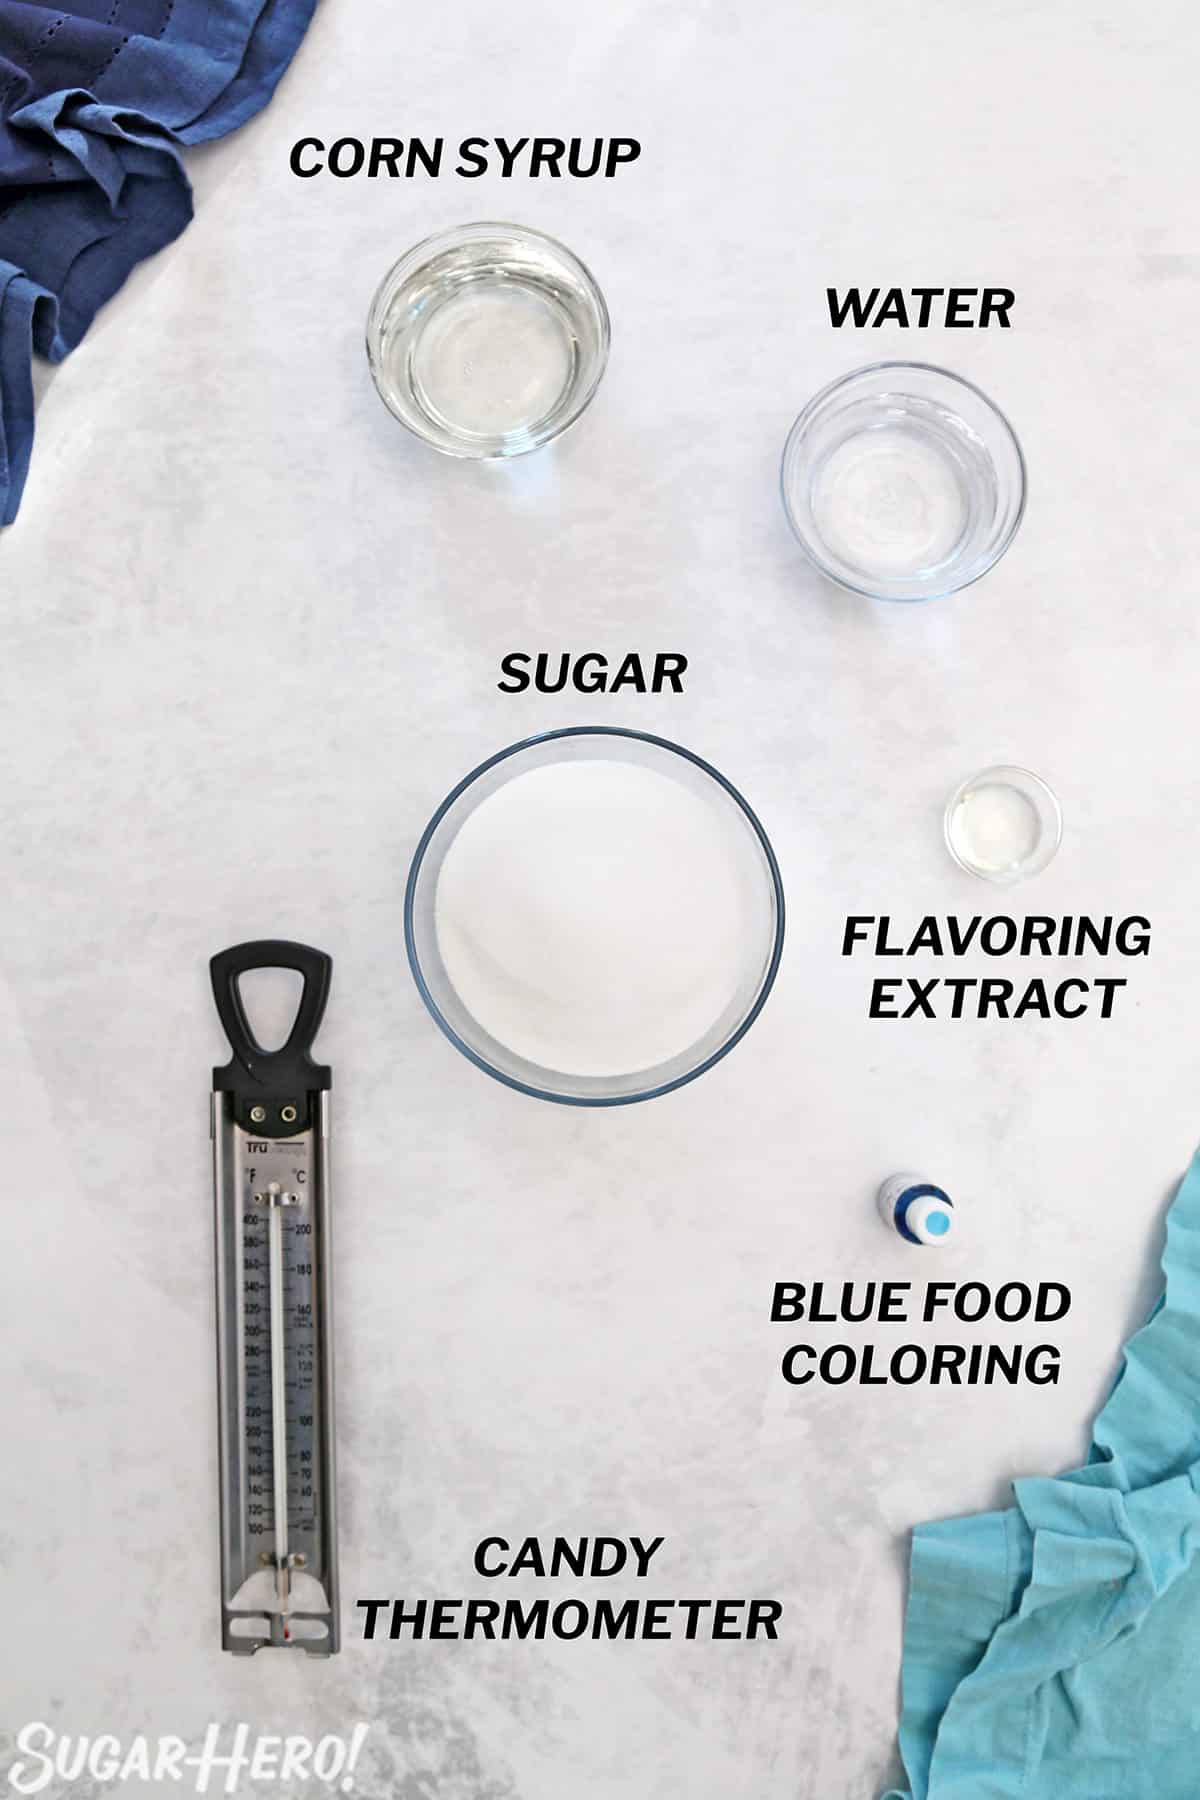
Ingredients & Equipment
Here’s what you need to know as you gather your candy-making supplies. (Links are affiliate links and I earn a small commission from qualifying purchases.)
- Corn syrup: Light corn syrup helps prevent the sugar from crystallizing. If you are not able to easily find it, golden syrup or glucose syrup is a good substitute. Note that golden syrup has a yellow tinge and is likely to turn your finished candy greenish-blue.
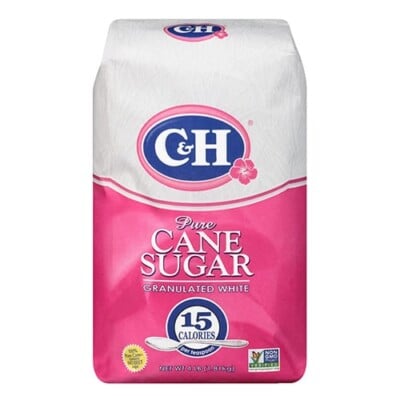
- Granulated sugar: Not all sugar is created equal. Some granulated sugar is made from cane sugar, and some comes from beets. My strong preference is to use 100% cane sugar — in my experience, this gives more reliable, consistent results. If your sugar package does not specify, chances are that it is beet sugar or a mix of both.
- Clear flavoring extract: If getting a blue color, like on the show, is important to you, you’ll want to be sure you’re using clear flavoring extract. Brown extracts like vanilla will give your candy a yellowish tinge. See the Flavoring section below for a list of clear flavoring suggestions.
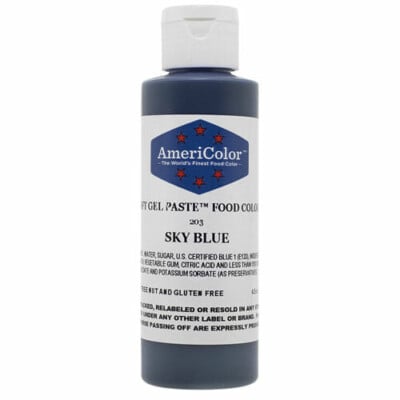
- Blue gel food coloring: I always make my candy with Americolor Sky Blue gel coloring, and feel confident recommending this brand and color. Liquid food coloring (ie, the type found in most grocery stores) might not produce the color results you’re after.
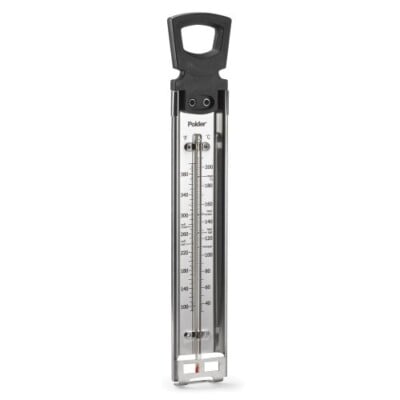
- Candy thermometer Not optional! A candy thermometer is the #1 tool you will need to make perfect rock candy. You can buy an inexpensive one from the grocery store (like this model). If you will be making candy regularly, it’s worth it to invest in a nicer thermometer. I have and love the ChefAlarm, because it alerts me when I’m nearing my finished temperature.
Pro Candy-Making Thermometer Tips
- If you are just getting started with candy making, check out this step-by-step guide for How to Use A Candy Thermometer. It’s filled with pro tips to help you get started.
- For those of you who already own a candy thermometer, take the time to do some maintenance! Learn How to Test and Calibrate a Thermometer so that your candy thermometer will be functioning at its best.
- Finally, environment can impact the way your candy thermometer reads. For those who live above sea level, take the time to review some Essential Tips & Techniques for Candy Making at High Altitude.
📋 How to Make Rock Candy
Here’s an overview of how to make this blue rock candy, and full instructions are included in the recipe card down below.
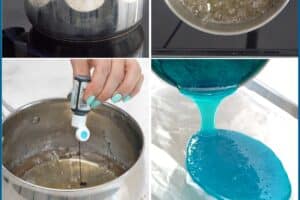
Make the sugar syrup
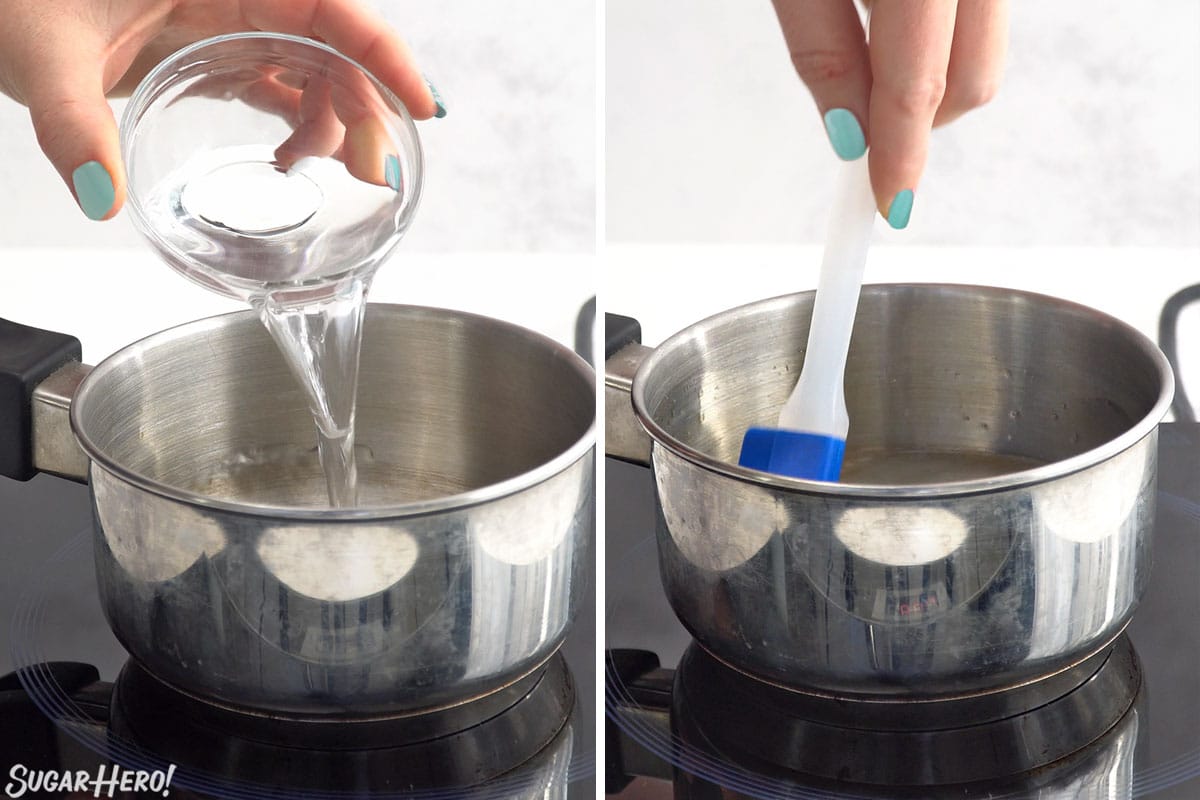
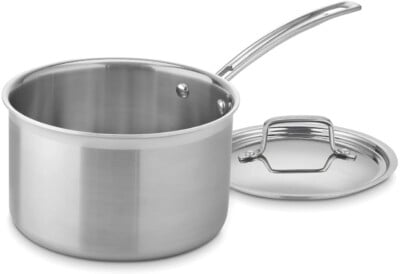
- Combine water, light corn syrup, and granulated sugar in a medium saucepan over medium-high heat.
- Stir until the sugar is moistened and dissolves.
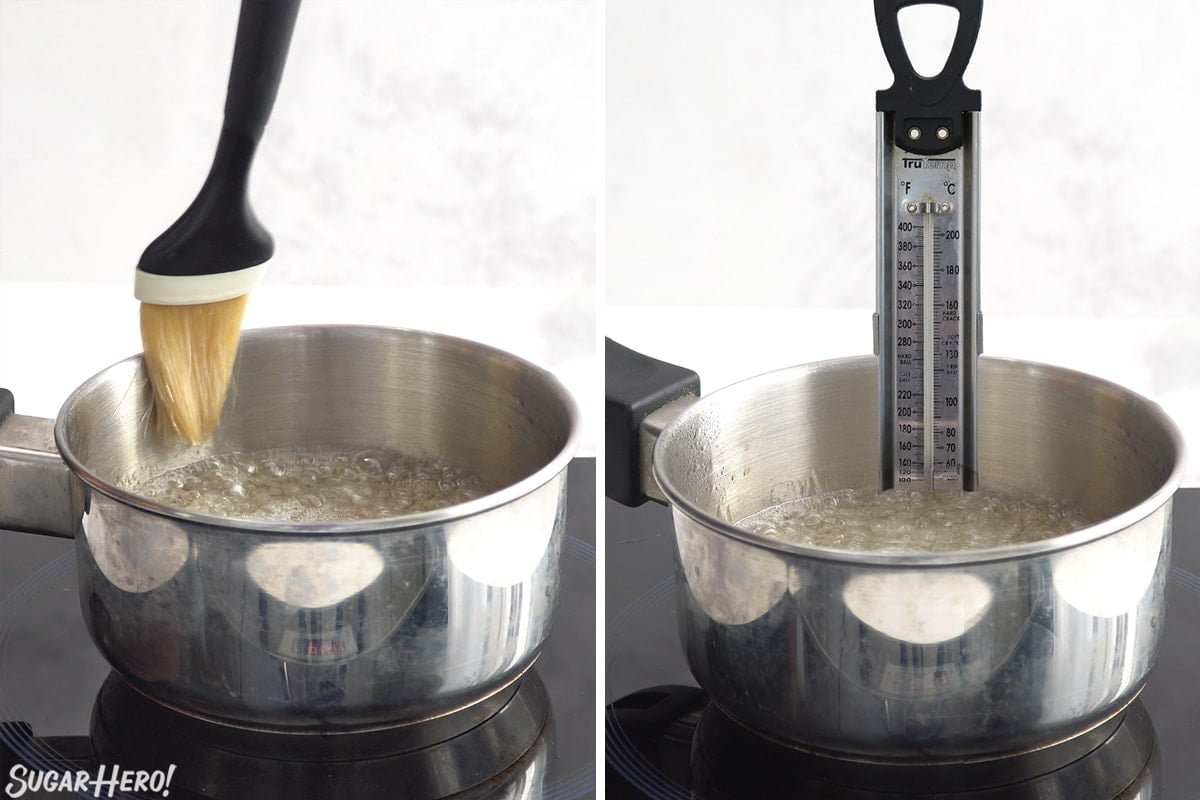
- Brush down the sides of the pan with a wet pastry brush – this will remove any stray sugar crystals. Sugar crystals in the pan can cause your whole batch to crystallize.
- Once it comes to a boil, insert a candy thermometer. From this point on, do not stir the candy.

Cook and add coloring
- Cook the candy until it reaches 290 F on the thermometer. It should be a light yellowish color.
- Immediately remove the pan from the heat. Let it sit for a minute, until the rapid bubbling stops, then add flavoring extract and blue gel food coloring.
- Stir well until the color is evenly distributed.
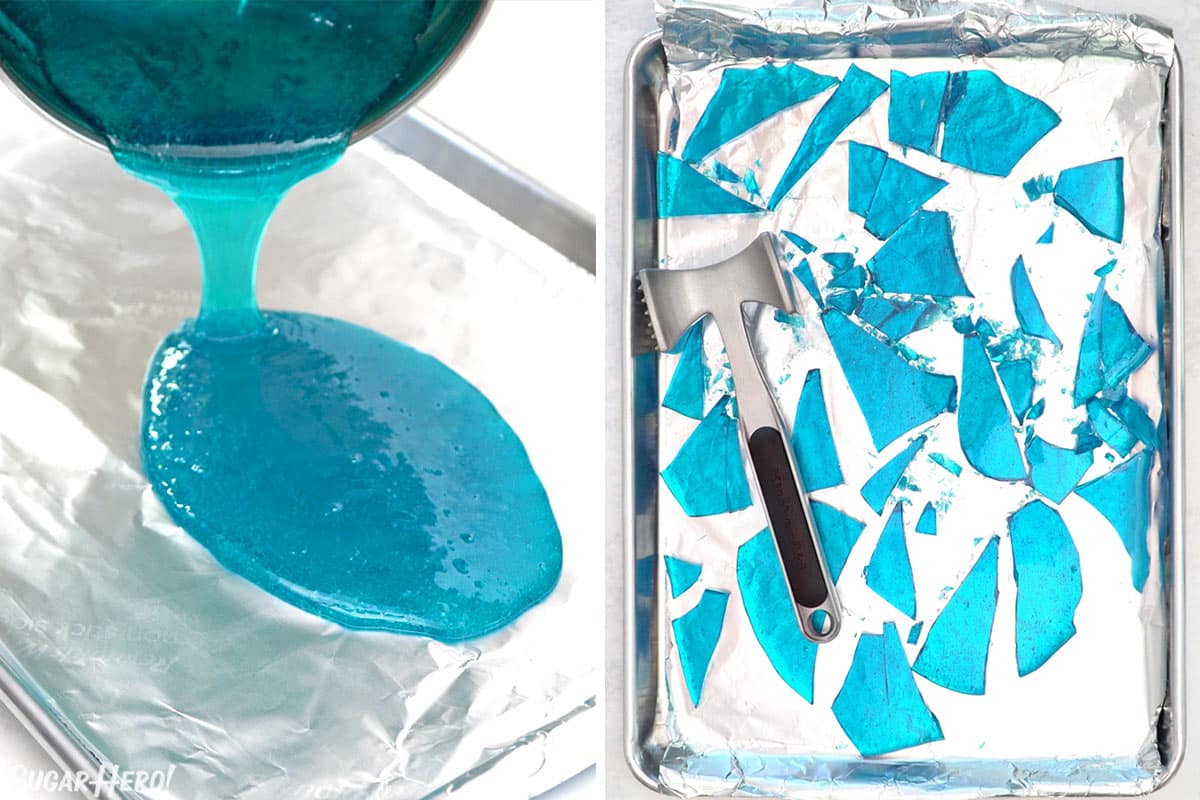
Pour and cool
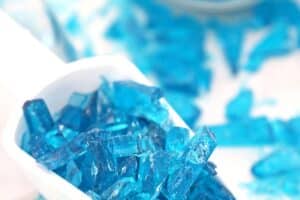
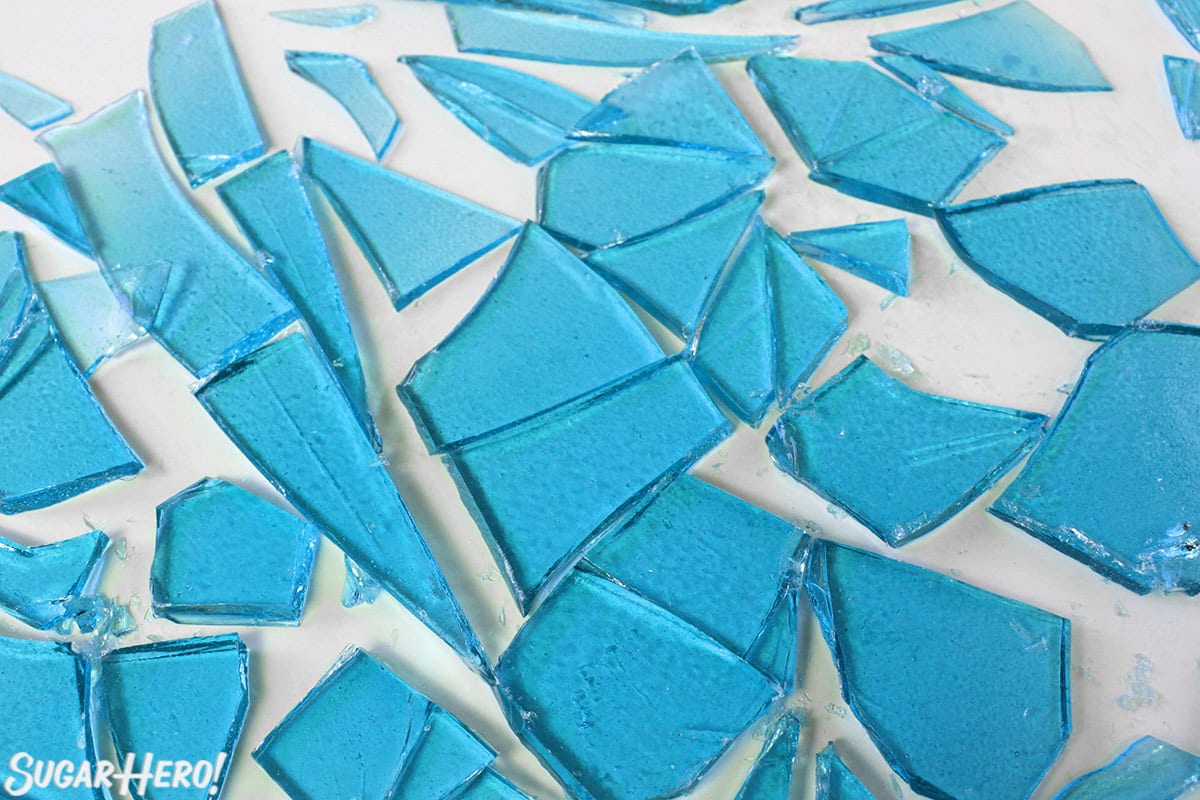
- Pour the hot candy out onto a baking sheet covered with foil. You can spread it into a thinner layer with the spatula if you’d like.
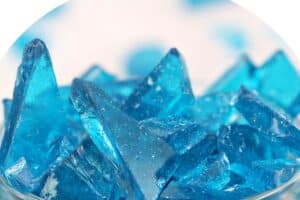
- Let the candy cool completely at room temperature, until it is set and hard.
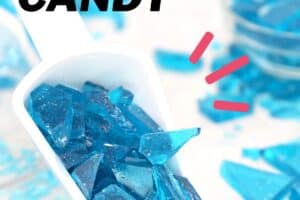
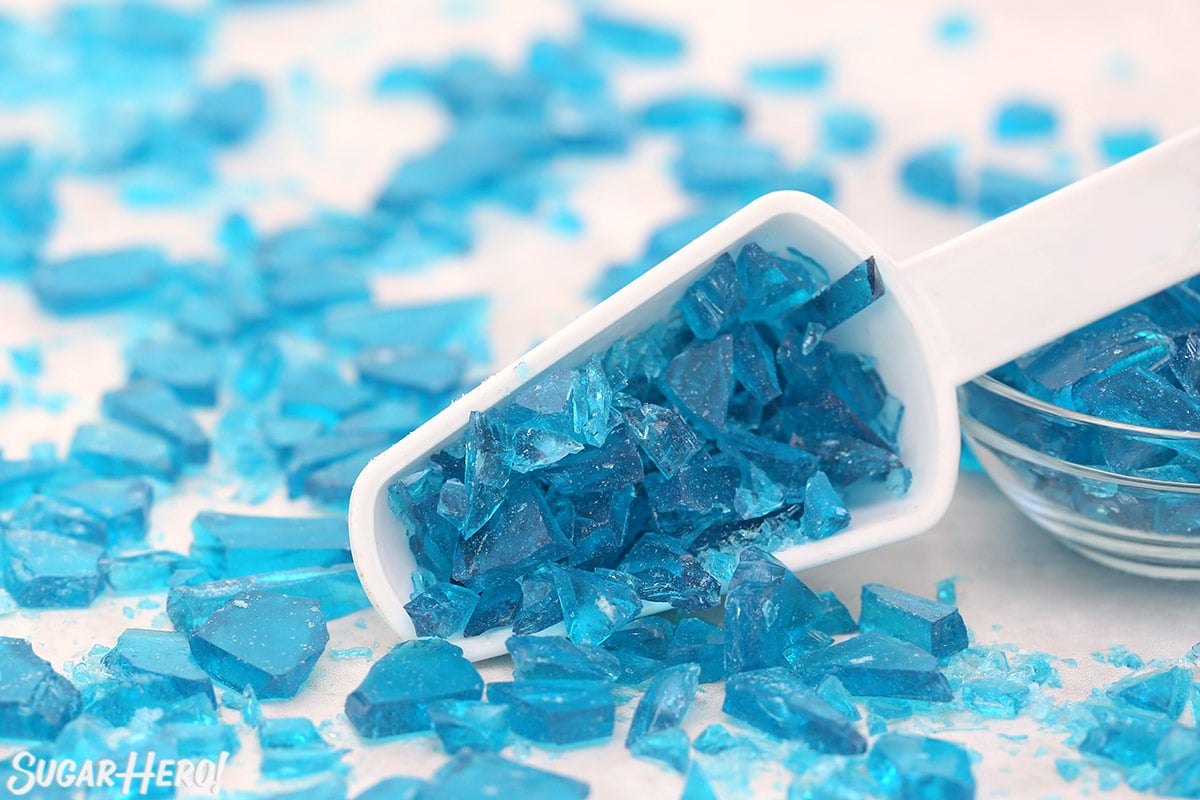
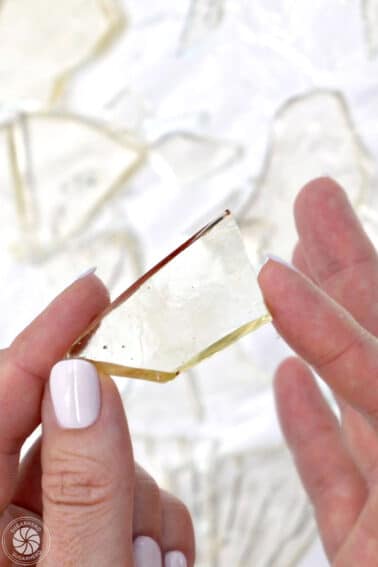
- Use a knife or kitchen mallet to smash it up into smaller pieces.

- This candy is easiest to eat in large pieces, so some people prefer to leave it in big chunks. If you want to be more accurate to the show, you can crush it up into smaller chunks.
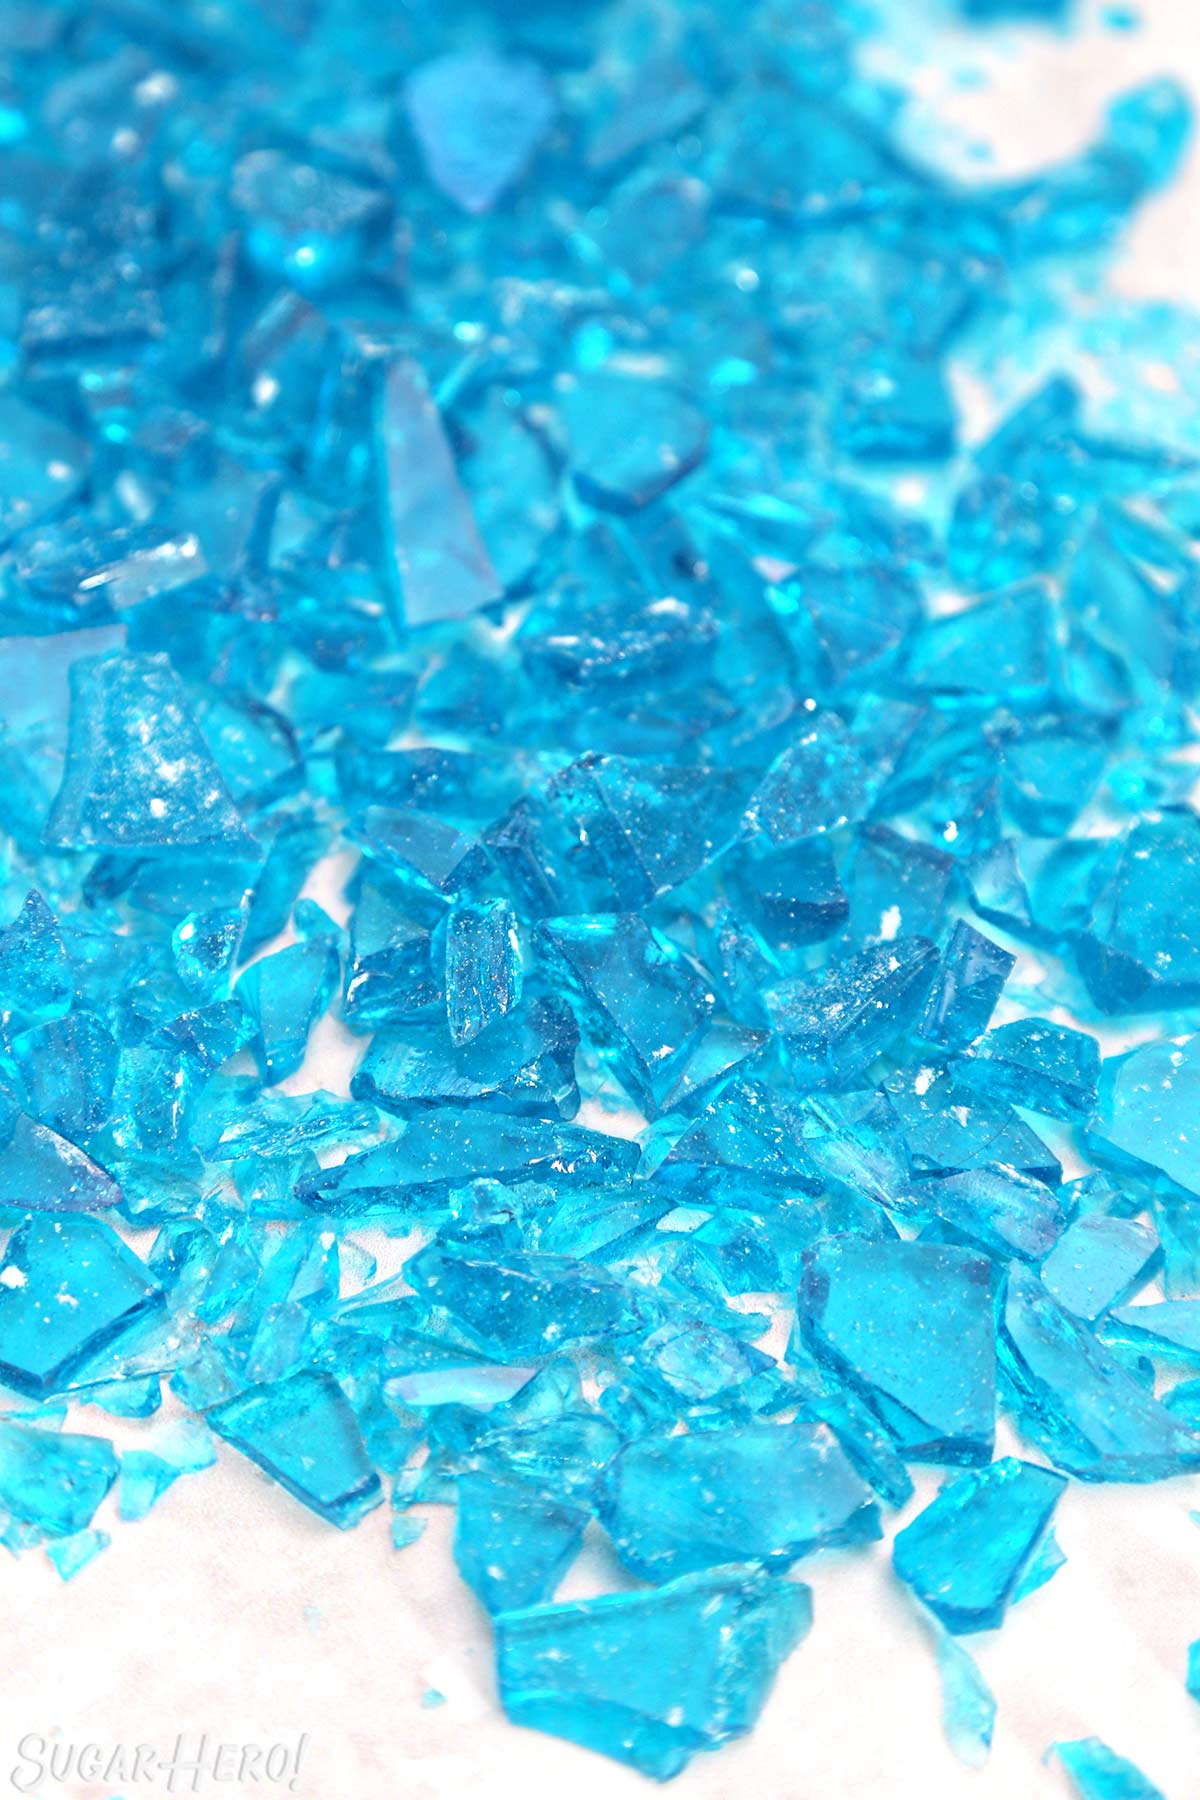
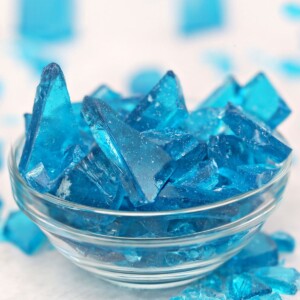
- For optimal awesomeness, I recommend serving this in small baggies at a Breaking Bad viewing party.
😋 Flavoring Recommendations
Clear flavoring is a must if you want your candy to stay clear and blue. You can always use clear vanilla, which is often available at cake and candy supply stores, and some larger grocery stores. It is imitation vanilla, so the flavor isn’t as great as real vanilla extract, but if you want vanilla candy, it’s your best bet.
My personal favorite is fruit flavors, since it seems like such a natural choice for hard candy. Here’s a partial list of clear candy flavorings. I like LorAnn because I think the quality, consistency, and flavors are great, but you can of course use any clear flavoring or extract brand that you like. Many of the larger LorAnn bottles are tinted so you can’t tell the color inside, but most of the 1-dram bottles are clear, so you can either view them online to check the color, or order them as an experiment before committing to a larger bottle.
💡 Tips
Safely working with hot sugar
Hot sugar can be extremely dangerous — the temperature gets very high (290° F in this recipe!) and because it is a thick and sticky substance, if you accidentally get some on your skin, it doesn’t rinse off quickly, which can lead to serious burns.
Because of this, this is not a good recipe to make with smaller children. It’s also a good idea to have a bowl of ice water handy while the sugar syrup is cooking, so if you’re accidentally burned, you can immediately dunk your hand and stop further burning. And as always, be alert, deliberate, and careful with your movements in the kitchen.
Testing your candy thermometer
It’s important to regularly test your candy thermometer for accuracy. Testing is especially important if you live at a higher altitude, but even at sea level, thermometers can become inaccurate over time. Having an accurate thermometer is essential to successful candy-making.
To test your thermometer, bring a pot of water to a boil, insert the candy thermometer for a minute, and then take a reading. At sea level, water boils at 212° F. If your thermometer doesn’t show 212°, calculate what the difference is. For example, if your thermometer reads 208° in boiling water, you know that you have a difference of -4 degrees in your thermometer. Going forward, you should subtract 4 degrees from any temperature written so that yours is accurate. In this example, if something needs to be cooked to 300° F, you only need to cook it to 296° F on your thermometer to get the right result.
The secret to easy candy removal
This isn’t a necessity like a candy thermometer, but it is a tip that can make your life a little easier! When making hard candy, I like to cover my baking sheets with non-stick foil. Hard candy can be sticky and difficult to remove from regular foil, but non-stick foil is magic, and the candy peels right off!
Other alternatives are to use a silicone baking mat, or spray regular or heavy-duty foil with nonstick cooking spray before beginning.
💡 Troubleshooting
Here are some common questions/difficulties people have had with this recipe, and my suggestions for how to prevent them.
This is the #1 problem people have with this recipe. There are 2 possible culprits: overcooking the candy, and using the wrong food coloring.
First, overcooking. The sugar syrup, if allowed to cook to a high temperature, will eventually turn yellow, then amber, then brown. This recipe calls for syrup to be cooked to 290 F, which should produce a near-colorless mixture that will not interfere with food coloring. (It will have a slight yellowish tinge.) If your candy is already a yellow or brown color when you’re adding the food coloring, chances are you have overcooked it, and the yellow color of the candy will mix with the blue dye and turn your candy green. The solution is to check to make sure your thermometer is accurate (see the Tips above) and to watch the candy like a hawk when it’s cooking.
Secondly, using the wrong food coloring. I have made this several times with Americolor Sky Blue, and have always had the color turn out well. I can’t guarantee other colors or brands will turn out the same. Liquid coloring, especially, can be weaker and can produce a greenish shade.
Here are a few colorings other readers have recommended: one reader says that the neon blue McCormick’s liquid food coloring produced a great blue color. She also recommends using a packet of Duncan Hines Frosting Creations in Cotton Candy, stirring it in at the very end and omitting any other flavoring and coloring. Another reader had great success with Adeco brand Electric Blue, and recommends using 5 drops for a great blue color.
If the candy is too soft or doesn’t set, it has not been cooked enough. This recipe really, truly should be measured using a candy thermometer, and if you are using one and still having problems with soft candy, test the accuracy of your thermometer, and double-check that you used the correct quantities and temperature the recipe calls for.
If the candy is initially fine but quickly becomes sticky, humidity is probably the problem. Hard candy works best in a dry environment–sugar soaks up moisture from the air around it, and hard candy quickly becomes wet and sticky in the humidity. Don’t attempt this candy on a humid or stormy day. It should always be stored in an airtight container at room temperature, to keep it as dry as possible. You can also buy silica gel packets to store with your candy to absorb moisture and keep it from becoming sticky.
If your candy is crumbly or sandy instead of hard and crunchy, or opaque instead of translucent, then it has crystallized during the cooking process. Nothing is wrong with it, and it will still taste fine, but the appearance and texture may not be what you want.
Crystallization happens when sugar crystals form during the cooking process. This can happen due to stirring too much while it cooks (once it comes to a boil, you should not be stirring it at all), or not wiping down the sides of the pan with a wet brush to remove the crystals, or just accidentally having stray crystals on the candy thermometer, spatula, or pan. The corn syrup in the recipe helps prevent crystals from forming, so if you substitute other ingredients for the corn syrup, you might find that crystallization is more likely.
This candy won’t spoil, but the texture will become softer and stickier over time. For the best results, store your candy in an airtight container at room temperature for several weeks. If you live in a humid climate, consider picking up some food-safe silica gel packets to store with the candy, to absorb moisture from the air and keep your candy fresh.
🍬 More Candies You’ll Love
Now that you’re a candy-making expert, put those skills to good use and try one of our other popular candy recipes!
Leave a Review!
If you make this recipe, let us know! Leave a ⭐️⭐️⭐️⭐️⭐️ rating on the recipe below, and leave a comment, take a photo and tag me on Instagram @elabau, or use #sugarhero on IG!
Breaking Bad Blue Rock Candy
Ingredients
- 1/2 cup water, (4 fl oz)
- 8.25 oz light corn syrup, (3/4 cup)
- 14 oz granulated sugar, (2 cups)
- 2 tsp clear flavoring extract
- blue gel food coloring, I used Americolor brand
- Candy thermometer
Instructions
- Line a baking sheet with foil and spray the foil with nonstick cooking spray, or use non-stick foil.
- In a medium saucepan, combine the water, corn syrup, and granulated sugar. Place the pan over medium-high heat, and stir until the sugar dissolves.
- Once it comes to a simmer, brush down the sides with a wet pastry brush to prevent sugar crystals from forming. Insert a candy thermometer.
- Continue to cook the candy without stirring until it reads 290 degrees Fahrenheit (143 C) on the thermometer. Watch the temperature carefully–a lower temperature might produce sticky candy, while a higher temperature runs the risk of producing green candy!
- Once at 290, take the pan off the heat and let it sit for a few moments, until rapid bubbles stop breaking on the surface. Add the flavoring and a drop or two of food coloring, and stir everything together.
- Pour the candy onto the prepared baking sheet and spread it into a thin layer. Let it set completely at room temperature.
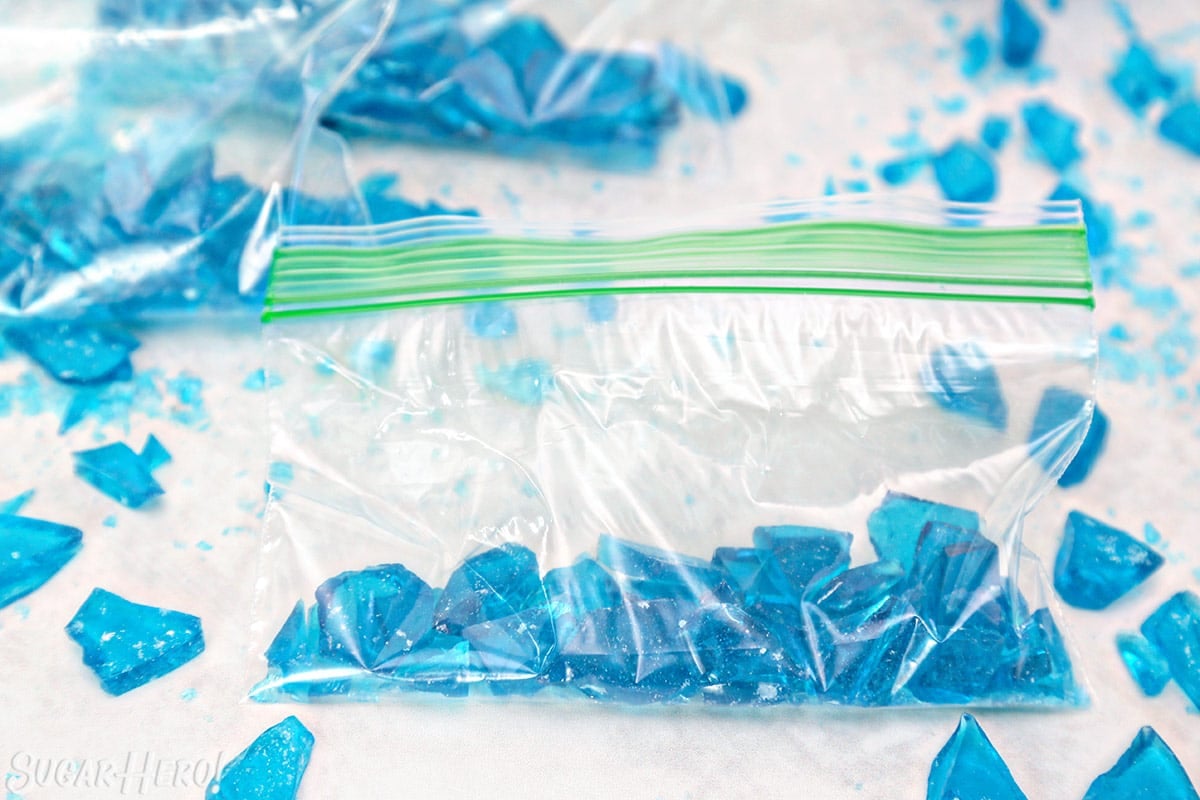
- Once set, break it into small pieces. For the complete Breaking Bad experience, place the pieces in a large zip-top bag and smash them with a rolling pin until they are crushed, and place in small baggies to serve.
- Store the candy in an airtight container at room temperature.
Video
Measuring Tips
Our recipes are developed using weight measurements, and we highly recommend using a kitchen scale for baking whenever possible. However, if you prefer to use cups, volume measurements are provided as well. PLEASE NOTE: the adage “8 oz = 1 cup” is NOT true when speaking about weight, so don’t be concerned if the measurements don’t fit this formula.
Want to learn more about baking measurements and conversion?
Nutrition


Used this recipe 5 times to prepare for a finale party and to make my other BrBa addicted friends laugh, I used a lemon flavor and three drops of generic regular food coloring.
First I burned it. Brown/blackish. Didn’t read about the water temp method and didn’t have a thermometer.
Second time was slightly sticky but perfect color. Used the water test method. Under cooked.
Third was perfect. The water method worked. I packed up 34 little baggies and stuffed a pink, burned, one-eyed teddy bear for a buddy’s Birthday.
Fourth batch slightly green. Water method. The taste was awesome, because I found a corn syrup with vanilla in it. With the added lemon made it taste like cotton candy.
Just finished my fifth batch for another buddy. Bought a thermometer from Bed Bath and Beyond. Perfect all around. Like diamonds, the color, cut, clarity was perfect. The taste and hardness came out great.
Thermometer makes all the difference!!!
Thanks, this recipe is helping me carve out my sky blue candy empire.
Five times?! That is dedication! So glad that it worked out for you and you are now a crystal meth candy expert. 🙂 Remember that I get 5% of your profits!
5%? You think you can live with that blood money… errrr… cavity money?
My cut has now gone up to 7% due to your sassing back!
This recipe is awesome! Over the past fee weeks I’ve tweeked it a little and found some good points. As stated above 295-300 F is about the perfect temp. Also for coloring frosting creations 1/2 packet per batch cotton candy or Blue Raspberry. McCormick Neon Blue also works but the frosting creations flavor and color and are cheaper where I live. Also DO NOT freeze or refrigerate it will RUIN it. And when cooling don’t smash it too early or too late. I’ve done it too soon and had sticky mess and as well as leaving overnight another sticky mess. Still perfecting this the range is between a hour or two after I’ve poured with a fan on it
Thanks for the feedback, Joshooba! Good to know about using half of the frosting creation packet–I’ll add that tip to the list. And yes, send pics along!
Going as Walter this year shaved my head and have my hazmat suit. With a few batches made up. Will send pics soon! Also seal in airtight packaging it will help dry it overnight and then you can re break the bigger chunks…
So I tried this recipe and it didn’t quite work out. However I was able to make an easy fix by reheating the candy for another 10 minutes or so until it reached 250 degrees (f). One technique I was shown to test the solidification process of the candy was to take a spoon and drip a little bit at a time into a bowl of iced water. I continued to use this method while boiling the candy until the mix went from chewy and gummy to immediately glassy in the water. I suggest this for anyone attempting to try this recipe!
On another note it’s a fantastic recipe for a fantastic show 🙂 glad I found this!
So glad you got it to work out, Brandon! The cold water method is definitely helpful, and it could probably save some people the heartbreak of finding out too late that their candy won’t set. Thanks!
Heads up… I’ve been using McCormick brand flavor extracts for all my candy… so far, the orange, raspberry, and lemon were all clear and made fine candy. The McCormick brand cherry extract is NOT clear… it is red… I just assumed it would be clear and didn’t notice till I put it in the mix at the end… made good tasting candy, but mixed with the food coloring, it came out purple…
Thanks for the head’s up, Scott! Dang cherry extract, giving you purple meth…
It likely turns green because cream of tartar is a n acid – most acid make food colourings change colours. Just a thought.
My recipe actually doesn’t contain cream of tartar–unless you were referring to a different recipe? In my experience cream of tartar (or other acids, like lemon juice) are okay in hard candies and don’t influence the color, possibly because they’re present in such small amounts. Maybe if the quantities were larger that would be different!
Hey I made a test batch and it turned out great but it is sooooo hard, Like I made edible glass pretty much hahaha. Is that normal?
Yes, totally normal! It’s a hard candy, sort of like the texture of a lollipop (but without the stick.) Lots of people have trouble with it being too soft or sticky, so congrats–you got it right the first time. 🙂
awesome! Ill post some pics soon of the big cook and the small cook
hi
is it important to use granulated sugar or is regular sugar also ok?
Hi Steve, Granulated sugar is probably what you mean by “regular sugar”–just the plain white sugar most people have in their houses. I’m just in the habit of specifying the type of sugar (brown, powdered, granulated, etc.) Caster sugar should also work, if that’s what you have available.
Great, thanks 🙂
Ok so after even more tests done in the “Lab”I’ve discovered a few more things. If your candy is too soft or sticky leave it in a ziplock overnight. Should be ready to break the next day.The candy can and will cut you just like glass so be safe and wear gloves.And another thing. If you mix the sugar and water first and stir then add corn syrup and sloely bring up the heat. The product will come out much more clear…
Great tips, Joshooba, much appreciated!