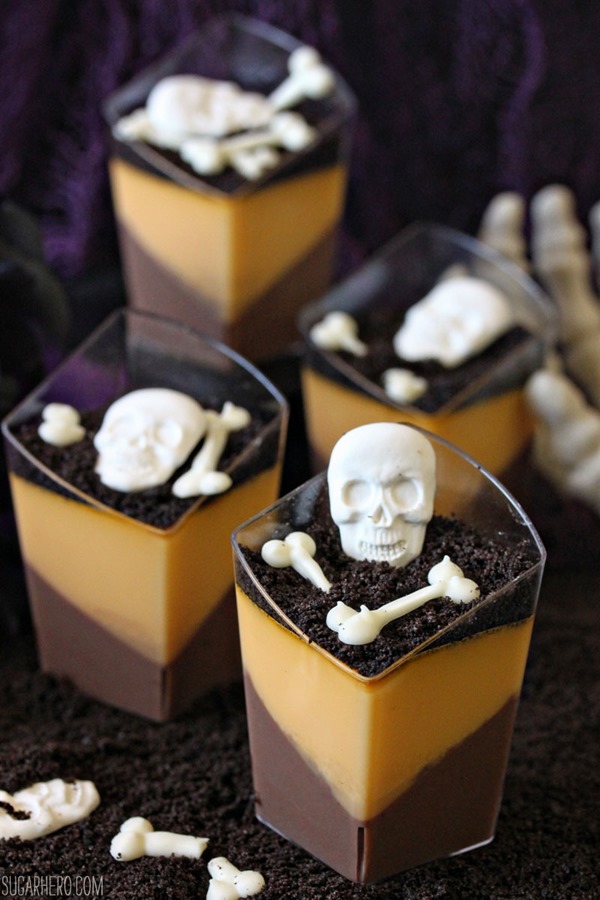
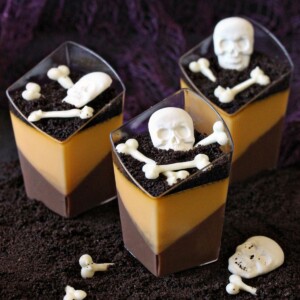
Chocolate Orange Panna Cotta is a super simple dessert made from milk and/or cream, gelatin and your favorite flavors. It’s like pudding, except faster and easier! This Halloween panna cotta has delicious layers of chocolate and orange.
In the past decade, I’ve transformed from a person who doesn’t really care about Halloween at all to a woman whose closets contain an excess of decorative spiders, fake body parts, and pumpkin paraphernalia. I may or may not have an entire row of Halloween sprinkles in my cupboard, and I’m not saying I body-checked someone to get the last package of these awesome sugar skulls, but I’m not saying I didn’t.
I’m sorry (not sorry) but I’m a Halloween weirdo now, and there’s no turning back. So I hope you’re ready for some spooky sweets and devilish desserts over the next few weeks, because there’s only a short time before Halloween, and we need to cram in all the orange and black, creepy crawly, gleefully Halloween-themed treats we can. Starting….now!
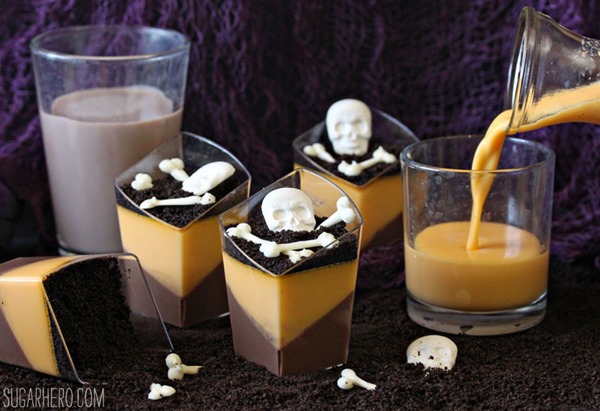
Panna cotta, for the uninitiated, is a suuuuper simple dessert made from milk and/or cream. It’s not unlike a pudding, except it’s way faster and easier. Instead of using cornstarch or egg yolks to thicken the dairy, you use gelatin, so it’s really as simple as adding some gelatin (and other optional ingredients of choice) to milk or cream, and then letting it set up in the fridge. The final texture is a little lighter and cleaner than typical puddings, too.
I typically make my panna cottas with a mix of milk and cream, but for this recipe, I wanted to make them healthier, so I omitted the cream and used milk exclusively. I was happy to find that the texture didn’t suffer at all from using lowfat dairy. I did increase the gelatin a bit to make up for the lack of fat, so if you’re ever in the same boat and want to adapt a recipe to make it lower fat, consider upping the gelatin to compensate.
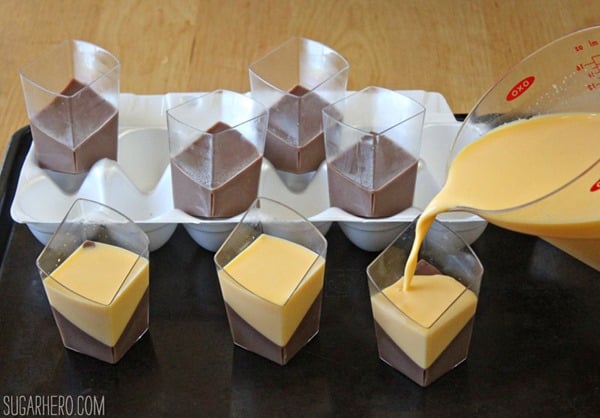
To give my panna cottas a fancy touch, I made them in small 2-oz clear tumblers. Miniature desserts always look classier! I couldn’t find an exact link to the ones I used online, but these small cups are close in size and design.
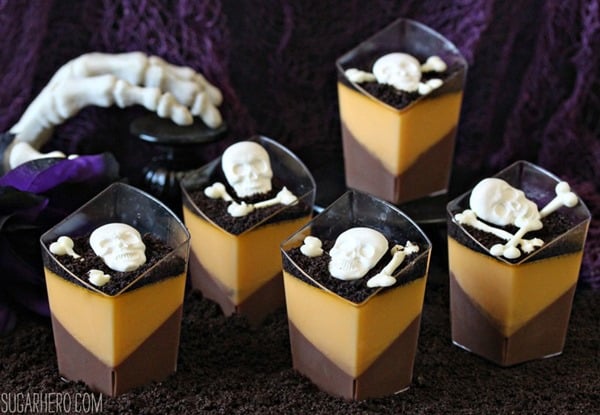
To get the cool diagonal layered effect, I first set the cups in egg cartons, at a slight angle, and poured the chocolate panna cotta into the cups—you might need to experiment a bit to find the perfect angle for you. After the chocolate chills and sets, you can take the cups out of the cartons and pour the orange layer on top. It’s really not much more work than just layering them flat, but it looks so cool and makes them seem a little more special.
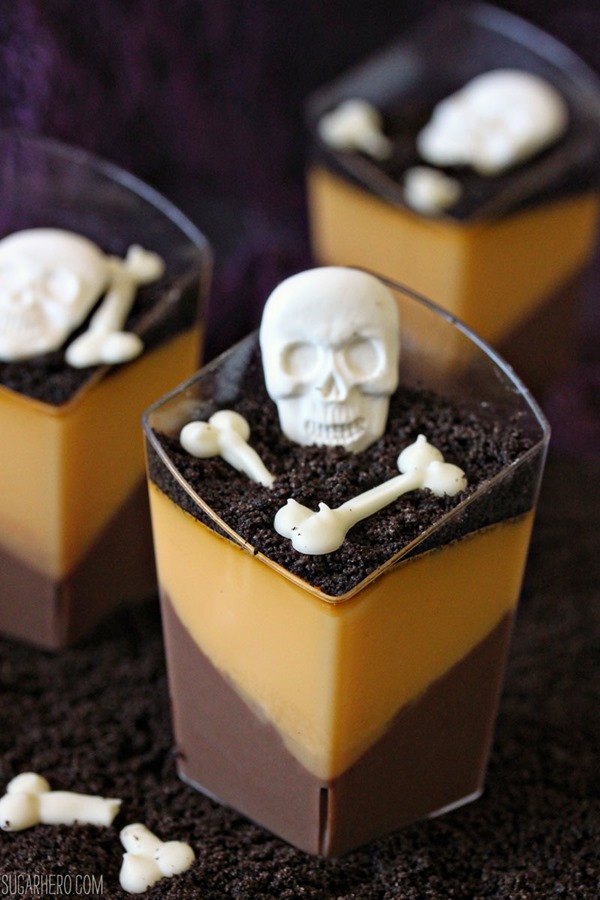
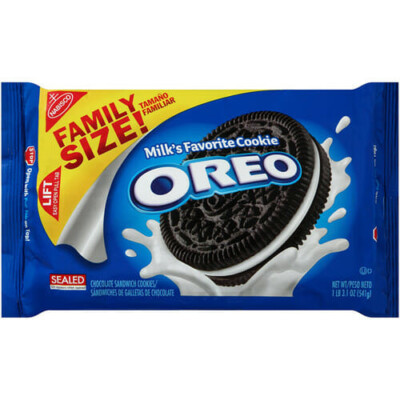
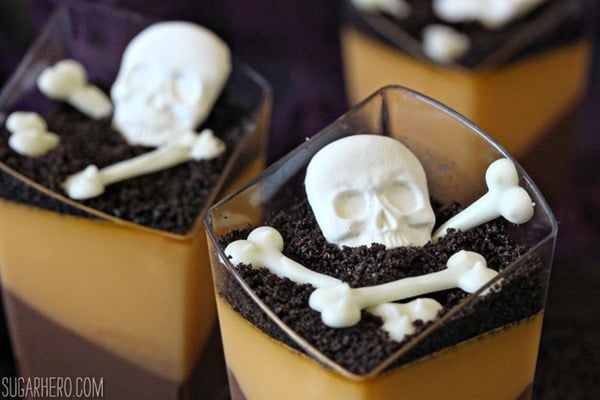
To turn my panna cottas into graveyards, I gave the tops a thick coating of Oreo “dirt,” and added the aforementioned sugar skulls and some bones I made from melted white chocolate. You could also make small tombstones out of cookies or candy, to make a full graveyard scene.
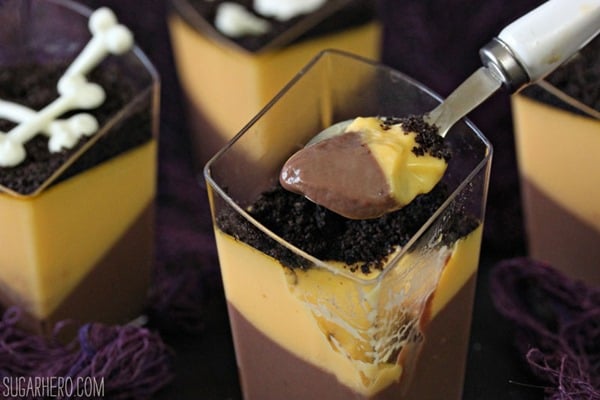
We all loved the chocolate-orange flavor of these desserts, and the contrast between the smooth, creamy panna cotta and the crunchy cookie topping. It was also such a nice change to enjoy a lighter dish after a week that was packed with deep-fried doughnuts. (Seinfeld voice: not that there’s anything wrong with that!) Give them a try and let me know what you think!
👻More Halloween Desserts You’ll Love
Witch Finger Cookies

Red Velvet Hot Chocolate
Chocolate Orange Panna Cotta
Ingredients
- 2 cups chocolate milk
- 3 1/2 tsp unflavored powdered gelatin, divided use
- 2 oz semi-sweet chocolate, finely chopped
- Pinch of salt
- 2 tsp vanilla extract, divided use
- 2 cups orange milk
- Zest of 1 orange, (about 2 TBSP)
- 12 Oreo cookie crumbs, or other chocolate sandwich cookies
- 12 sugar skulls, I used Wilton's Royal Icing Skulls
- 1/3 cup white chocolate chips, or chopped white chocolate
Instructions
- Pour the chocolate milk into a saucepan, and sprinkle 1 3/4 tsp of gelatin over the top of the milk. Allow it to sit and soften for 5-10 minutes.
- While the gelatin sits, place the chopped chocolate in a small bowl, and microwave it in 30-second increments until melted, stirring frequently to prevent overheating.
- Place the saucepan over a medium burner and warm the milk until the gelatin melts. Let the milk get hot, but don’t bring it to a boil. Once hot, remove the pan from the heat and add the melted chocolate, a pinch of salt, and 1 tsp vanilla. Let the milk cool to room temperature (but don’t let it get so cool it starts to gel!) then whisk it again.
- If you want to create the diagonal pattern in the panna cotta, arrange 12 small 2 or 3-oz cups in an empty egg carton placed on a baking sheet, angling the cups backwards in the carton so that they sit at an angle. Pour the chocolate mixture halfway into each cup. Carefully transfer the baking sheet to the refrigerator and chill the chocolate panna cotta until set, about 90 minutes.
- Once set, repeat the procedure with the orange layer. Combine the orange milk, orange zest, and remaining 1 3/4 tsp gelatin in a saucepan, and let it soften for 5-10 minutes.
- Heat the milk, and once it is hot and the gelatin is melted, whisk in a pinch of salt and the remaining 1 tsp vanilla. Let the mixture come to room temperature, then whisk it again. Move the small cups out of the egg carton and place them flat on the baking sheet. Pour the orange panna cotta over the chocolate layer. Refrigerate again for another 90 minutes, until the panna cotta is set.
- Place the cookies in a food processor and process them until they’re fine crumbs, or place them in a large zip-top bag and roll over them with a rolling pin until they’re crushed. Top each dessert with a generous layer of cookie “dirt.”
- Cover a baking sheet with parchment or waxed paper, and melt the white chocolate chips in a small bowl in the microwave. Transfer the melted chocolate to a paper cone or plastic bag, and cut a small hole in the corner. Pipe 1-inch bone shapes out of melted white chocolate, and refrigerate them briefly to set the chocolate. Top each panna cotta with a sugar skull and a few bones before serving.
- These Chocolate Orange Panna Cottas can be kept, individually wrapped, for up to a week in the refrigerator.
Recipe Notes
Measuring Tips
Our recipes are developed using weight measurements, and we highly recommend using a kitchen scale for baking whenever possible. However, if you prefer to use cups, volume measurements are provided as well. PLEASE NOTE: the adage “8 oz = 1 cup” is NOT true when speaking about weight, so don’t be concerned if the measurements don’t fit this formula.
Want to learn more about baking measurements and conversion?
