


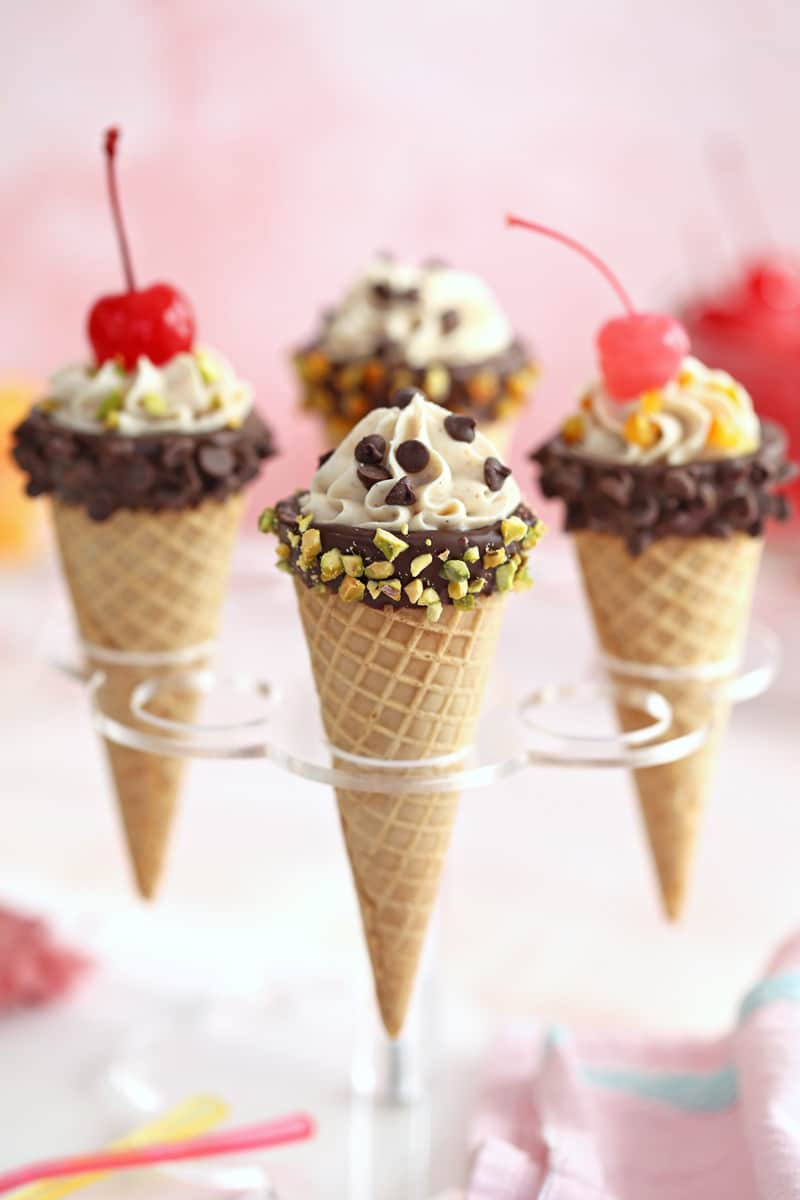
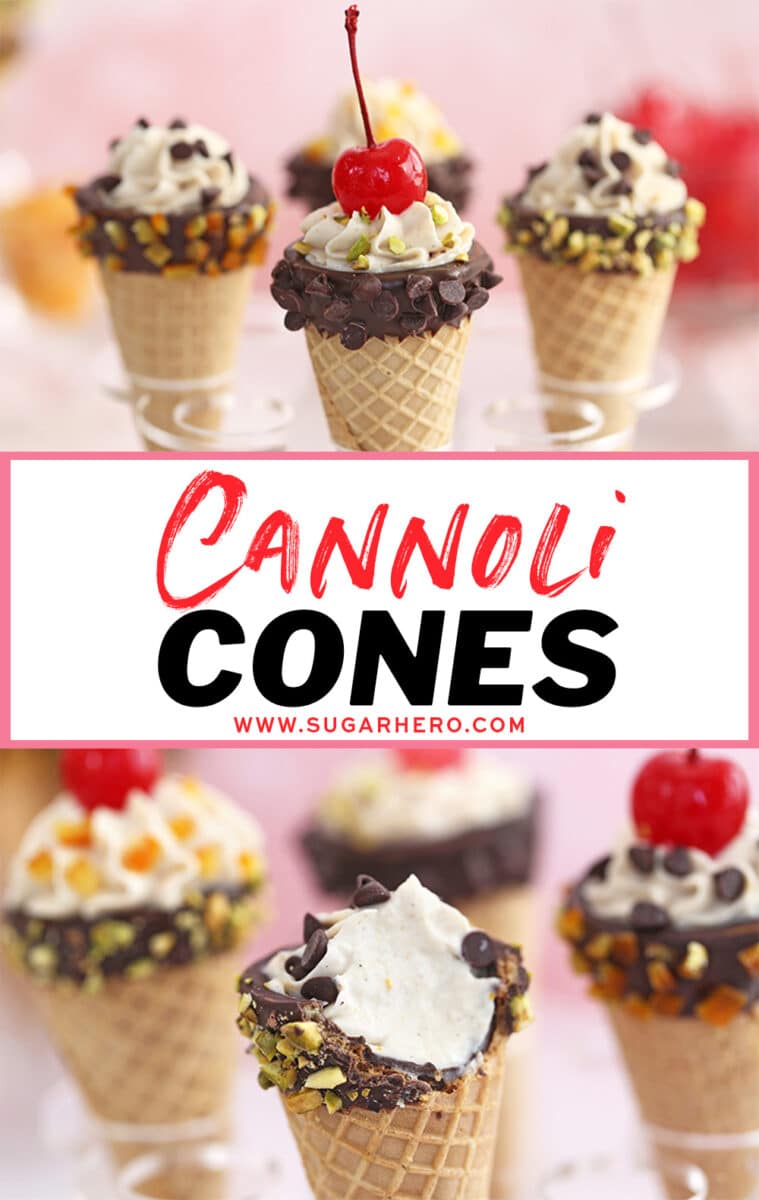
Cannoli Cones are a fun and easy twist on traditional cannoli! No need to make your own dough or deep-fry anything here–ice cream cones take the place of cannoli shells, so all you need to do is make the smooth cannoli filling and you’re good to go.
Homemade Cannoli – With a Clever Shortcut!
Classic cannoli is delicious–who can resist the combination of crispy fried pastry and light, sweet cream filling? If you’ve ever tried to make them at home, however, you know that the process involves homemade pastry dough, specialized cannoli tubes, and boiling hot frying oil. Not exactly a recipe to casually throw together whenever a craving strikes!
If you want to enjoy the taste and texture of cannoli with a little less work (and a lot more eye appeal), try my Cannoli Cones instead! This shortcut recipe stays true to the spirit of cannoli, but instead of using homemade fried pastry, we’re swapping in sugar ice cream cones for the crunchy outer shell. It’s faster and easier, while still providing the right texture and a neutral, slightly sweet flavor, so the filling can really shine.
Is it traditional? Heck no. Is it delicious? Absolutely yes!!

Table of Contents
🧾 What You’ll Need
Ingredients
There are hundreds, probably thousands, of different ways to make cannoli filling, but they all have one thing in common: ricotta cheese. Ricotta is a soft, creamy cheese with a mild flavor and a somewhat grainy texture. It’s similar to cottage cheese, but with smaller curds and a sweeter flavor. It can typically be found in the refrigerated dairy section of a grocery store, near the cottage cheese/yogurt/sour cream area.
If you’re able to find it, you will want to use whole milk ricotta in this recipe, because this will give you the best texture and flavor. Part-skim ricotta will work, but the filling might have a looser, more grainy texture. Here’s what else you’ll need for the filling:
- Mascarpone cheese: Mascarpone is another smooth, creamy cheese. If you can’t find it, cream cheese can easily be substituted. Because cream cheese has a tangier flavor, you might want to increase the powdered sugar a bit to taste.
- Powdered sugar: Using powdered sugar makes the filling super smooth.
- Orange zest: Orange is often added to cannoli fillings, but you can omit it if you’d like. You can also substitute lemon zest.
- Cinnamon & other flavorings: Cinnamon, vanilla, and salt round out the flavor of the cannoli filling.
- Sugar cones: Sugar cones give the perfect crispy texture and sweet-but-not-too-sweet flavor. If you want to try your hand at homemade cones, check out my recipe for Homemade Choco Tacos!
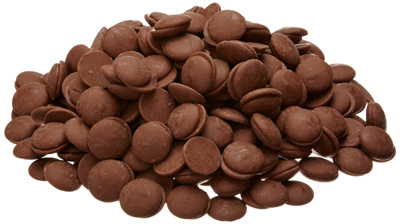
- Chocolate or candy coating: The tops of the cones are dipped in melted chocolate or chocolate candy coating.
- Toppings: The cones can be decorated with traditional cannoli toppings, such as mini chocolate chips, pistachios, candied oranges, and/or maraschino cherries.

📋 Instructions
Here’s a step-by-step guide to making these cannoli cones. You’ll find an easily printable version down in the recipe card below.
Drain the Ricotta
Ricotta, by nature, is a very moist cheese. If you use it straight from the container, your cannoli filling will be too soggy and soft. To get the perfect texture, you need to drain the ricotta to get rid of all the excess moisture. Draining takes a bit of time, but very little effort, and is definitely worth it when you see the difference in the final product!
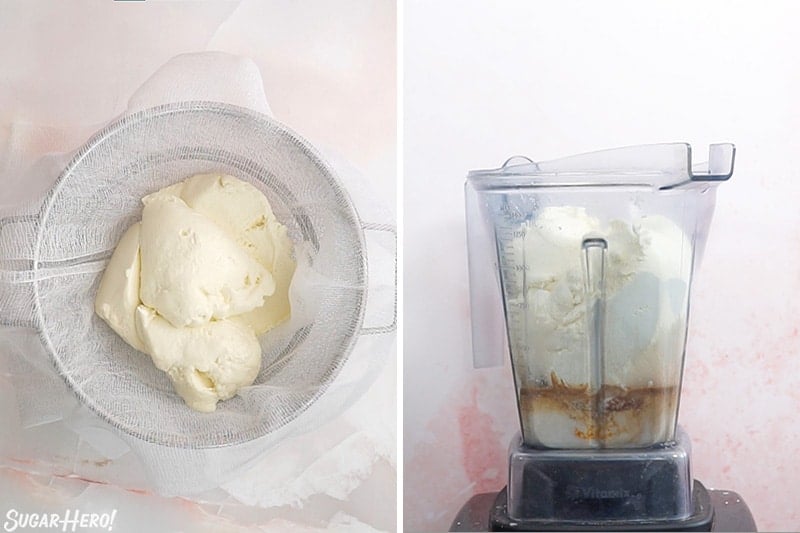
- To drain the ricotta, set a strainer over a bowl, and place a large square of cheesecloth in the strainer, extending up and over the sides. Place the ricotta in the cheesecloth, then gather it together in a tight bundle and tie the top with a rubber band.
- Let the ricotta bundle sit in the strainer in the refrigerator for at least 2 hours, or you can leave it overnight. Over time, liquid will seep out of the cheese and drip into the bowl below, leaving you with firm ricotta to use in the recipe.
Blend the Filling
Draining the ricotta is one secret, but here’s my second trick for the perfect cannoli filling–blending everything together in a blender! True cannoli purists would probably scoff at this, but since we’re already using ice cream cones as pastry shells, we’re a long way from perfectly authentic cannoli, right?
Blending the filling together gets rid of the graininess that all ricotta has, and produces a much smoother, creamier filling. If you like the graininess of ricotta, then by all means skip this step! If you prefer a texture more similar to a dense whipped cream, then you’ll want to blend.
- Combine the drained ricotta, cream, orange zest, cinnamon, vanilla, salt, and powdered sugar in a blender, and blend just until smooth, 10-15 seconds. Do not add the mascarpone at this step.
Incorporate the Mascarpone Cheese
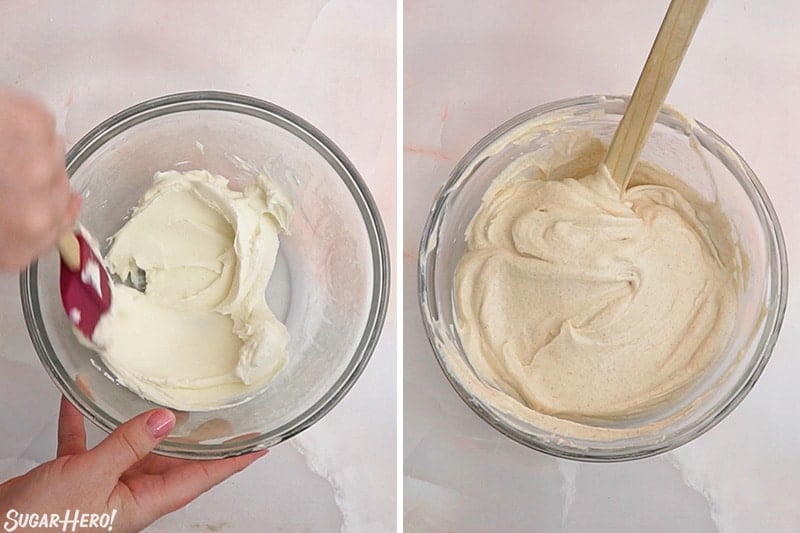
- Mascarpone is a delicate cheese that tends to break down when overworked, so it stays out of the blender and gets added at the end. Place the mascarpone in a large bowl and gently stir it with a spatula until creamy.
- Add about a quarter of the ricotta mixture and gently fold it together. Once mixed, add the rest of the ricotta and gently stir until everything is smooth and uniform. Refrigerate the filling for about 2 hours, until it has firmed up and is well chilled.
Prepare the Ice Cream Cones
- Cannoli shells are often dipped in chocolate on the ends, so we’re going to do the same thing with our sugar cones. You can use regular melted chocolate (or chocolate chips), or chocolate candy coating (I like Merckens brand).
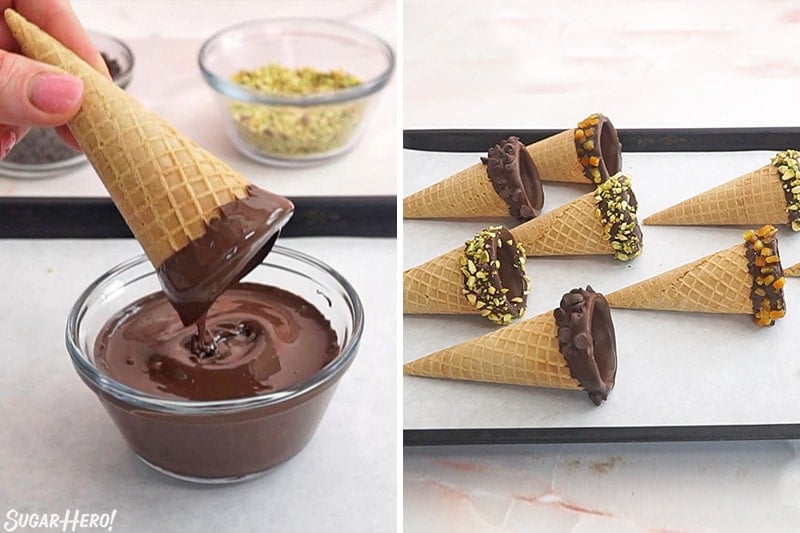
- Melt the chocolate in a small bowl. Dip the top of sugar ice cream cones in the melted chocolate, covering about the top 1/2-inch.
- While the chocolate is still wet, roll the sides in traditional cannoli toppings like mini chocolate chips, chopped pistachios, or candied oranges.
Fill the Cones
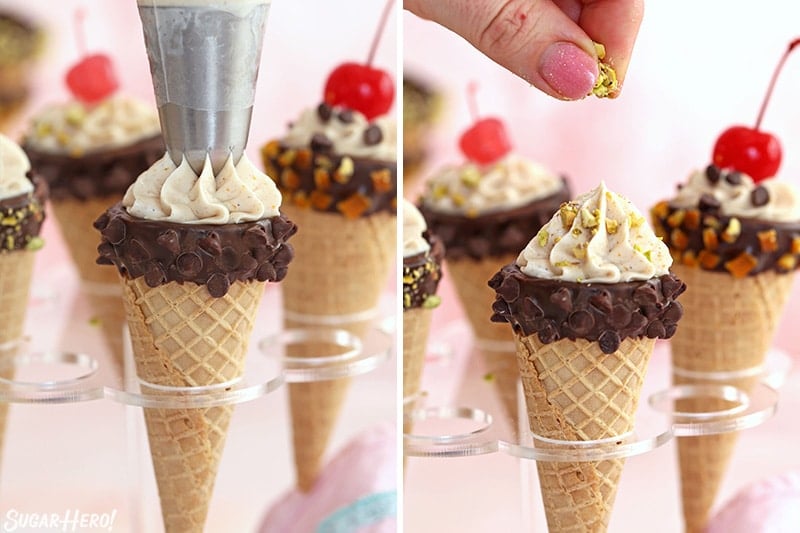
- When you’re ready to assemble the cones, place the filling in a piping bag fitted with a large star tip. Start at the bottom of the cone and fill the entire thing with cream filling, then finish with a swirl about an inch above the top of the cone.
- Sprinkle nuts or mini chips on top, and garnish with a maraschino cherry if you’d like!

💡 Tips and FAQs
Ricotta is the signature ingredient in cannoli, so I don’t recommend trying to replace it. If you can’t find mascarpone, full-fat cream cheese (in brick form, not in the tub) can be used instead.
These cones are best enjoyed shortly after assembly, because the filling will start to get soft at room temperature, and will soften the cone as well. You can prepare both the filling and cones several days in advance, and just put them together before serving.

🍦 Got Ice Cream Cones? Try These!
- Doughnut Funfetti Ice Cream
- Circus Animal No-Churn Ice Cream
- Homemade Phish Food Ice Cream
- Peanut Butter Cup Ice Cream
- German Chocolate Brownie Ice Cream
🍮More Creamy, Dreamy Desserts
If you like cannoli, you’ll love these recipes too! And don’t miss all the creamy dessert recipes here!
- Lemon Mascarpone Layer Cake
- Pistachio Pie with Mascarpone
- Banana Bread Tiramisu
- Peanut Butter Chocolate Pie

Mascarpone Rhubarb Stuffed French Toast
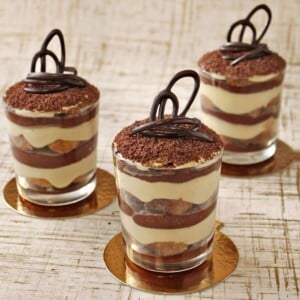
Chocolate Tiramisu
Leave a Review!
If you make this recipe, let us know! Leave a ⭐️⭐️⭐️⭐️⭐️ rating on the recipe below, and leave a comment, take a photo and tag me on Instagram @elabau, or use #sugarhero on IG!

Cannoli Cones
Ingredients
- 32 oz whole milk ricotta cheese, (3.5 cups)
- 4 fl oz whipping cream, (1/2 cup), can substitute half and half or whole milk
- 1 TBSP fresh orange zest, from 1 orange
- 1 tsp ground cinnamon
- 1 tsp vanilla extract
- 1/8 tsp salt
- 2.66 oz powdered sugar, (2/3 cup, or more to taste)
- 8 oz mascarpone cheese, at room temperature, can substitute cream cheese
- 18 sugar cones
- 8 oz chocolate candy coating melts, (1.5 cups) or chocolate chips
- 1/4 cup pistachios, chopped
- 1/4 cup miniature chocolate chips
- 1/4 cup candied oranges, chopped
- Maraschino cherries, for garnish
Instructions
- Start by draining the ricotta cheese to remove excess moisture. Line a wire strainer with 2 layers of cheesecloth, extending up and over the sides of the strainer, and place the strainer over a bowl. Put the ricotta in the strainer, then gather the edges of the cheesecloth together around the cheese and fasten it with a rubber band, forming a tight bundle.
- Let the ricotta sit and drain in the refrigerator for at least 2 hours—overnight will work too. At the end, you should see significant liquid has seeped out of the cheese into the bowl below. Take the bundle of cheese and squeeze it gently to get out any extra moisture. Discard the drained liquid.
- Combine the drained ricotta, cream, orange zest, cinnamon, vanilla, salt, and powdered sugar in a blender, and blend just until smooth, 10-15 seconds. Scrape down the mixer as necessary to make sure it all gets blended, but don’t overwork it—stop when everything seems nice and smooth.
- In a large bowl, stir the mascarpone cheese until smooth, then add about a quarter of the ricotta mixture and gently blend it together. Once mixed, add the rest of the ricotta and gently stir until everything is smooth and uniform. Refrigerate the filling for about 2 hours, until it has firmed up and is well chilled.
- While the filling chills, prepare the cones. Melt the chocolate or candy coating. Dip the tops of the cones into the melted chocolate. If desired, sprinkle the melted chocolate with chopped nuts, mini chocolate chips, chopped candied oranges, or other decorations. Set the cones on baking sheets covered in waxed paper, and refrigerate until the chocolate is set.
- When you’re ready to assemble the cones, place the filling in a piping bag fitted with a large star tip. Start at the bottom of the cone and fill the entire thing with cream filling, then finish with a swirl about an inch above the top of the cone. Sprinkle nuts or mini chips on top, and garnish with a maraschino cherry if you’d like!
- These cones are best enjoyed shortly after assembly, because the filling will start to get soft at room temperature and will soften the cone as well. You can prepare both the filling and cones several days in advance, and just put them together before serving.
Video

Measuring Tips
Our recipes are developed using weight measurements, and we highly recommend using a kitchen scale for baking whenever possible. However, if you prefer to use cups, volume measurements are provided as well. PLEASE NOTE: the adage “8 oz = 1 cup” is NOT true when speaking about weight, so don’t be concerned if the measurements don’t fit this formula.
Want to learn more about baking measurements and conversion?
Nutrition


What a fun and easy twist on a traditional cannoli recipe! I loved this idea because it was so much quicker – and the filling was scrumptious!
I am all for a quick and easy dessert these days! Thank you for your comment!
Like ice cream that doesn’t melt in your hands! Really lovely and fun recipe, great for kids parties (or grown-ups). Loved it.
Thanks Irena! These are a great go-to for parties!