


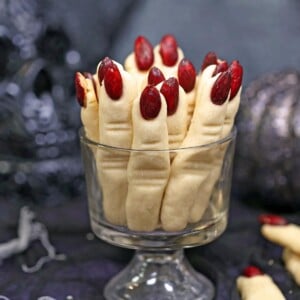
Whip up deliciously spooky witch finger cookies with this simple recipe. These easy shortbread cookies are great for Halloween parties, or a fun baking activity with kids. Plus lots of tips and tricks to make sure your cookies are perfect, every time!
🧙♀️Halloween Finger Cookies
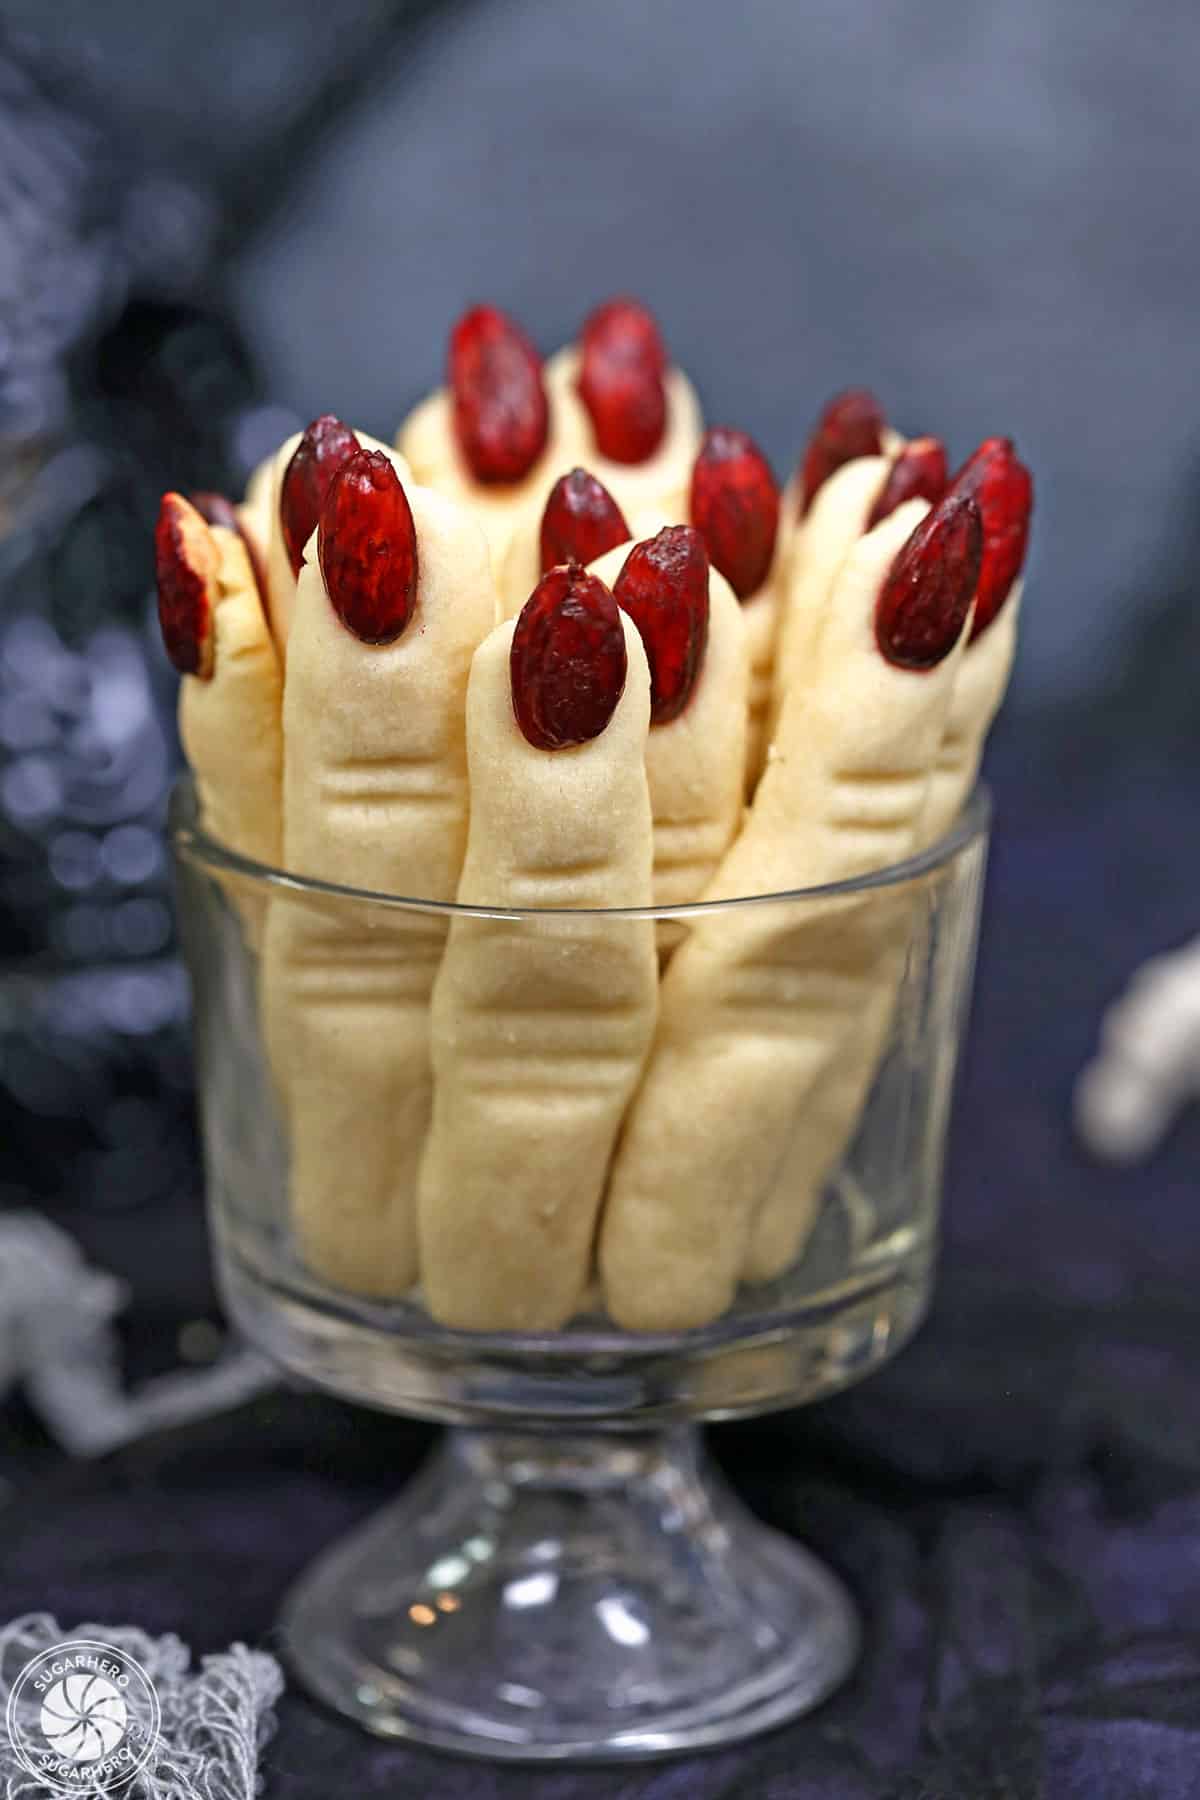
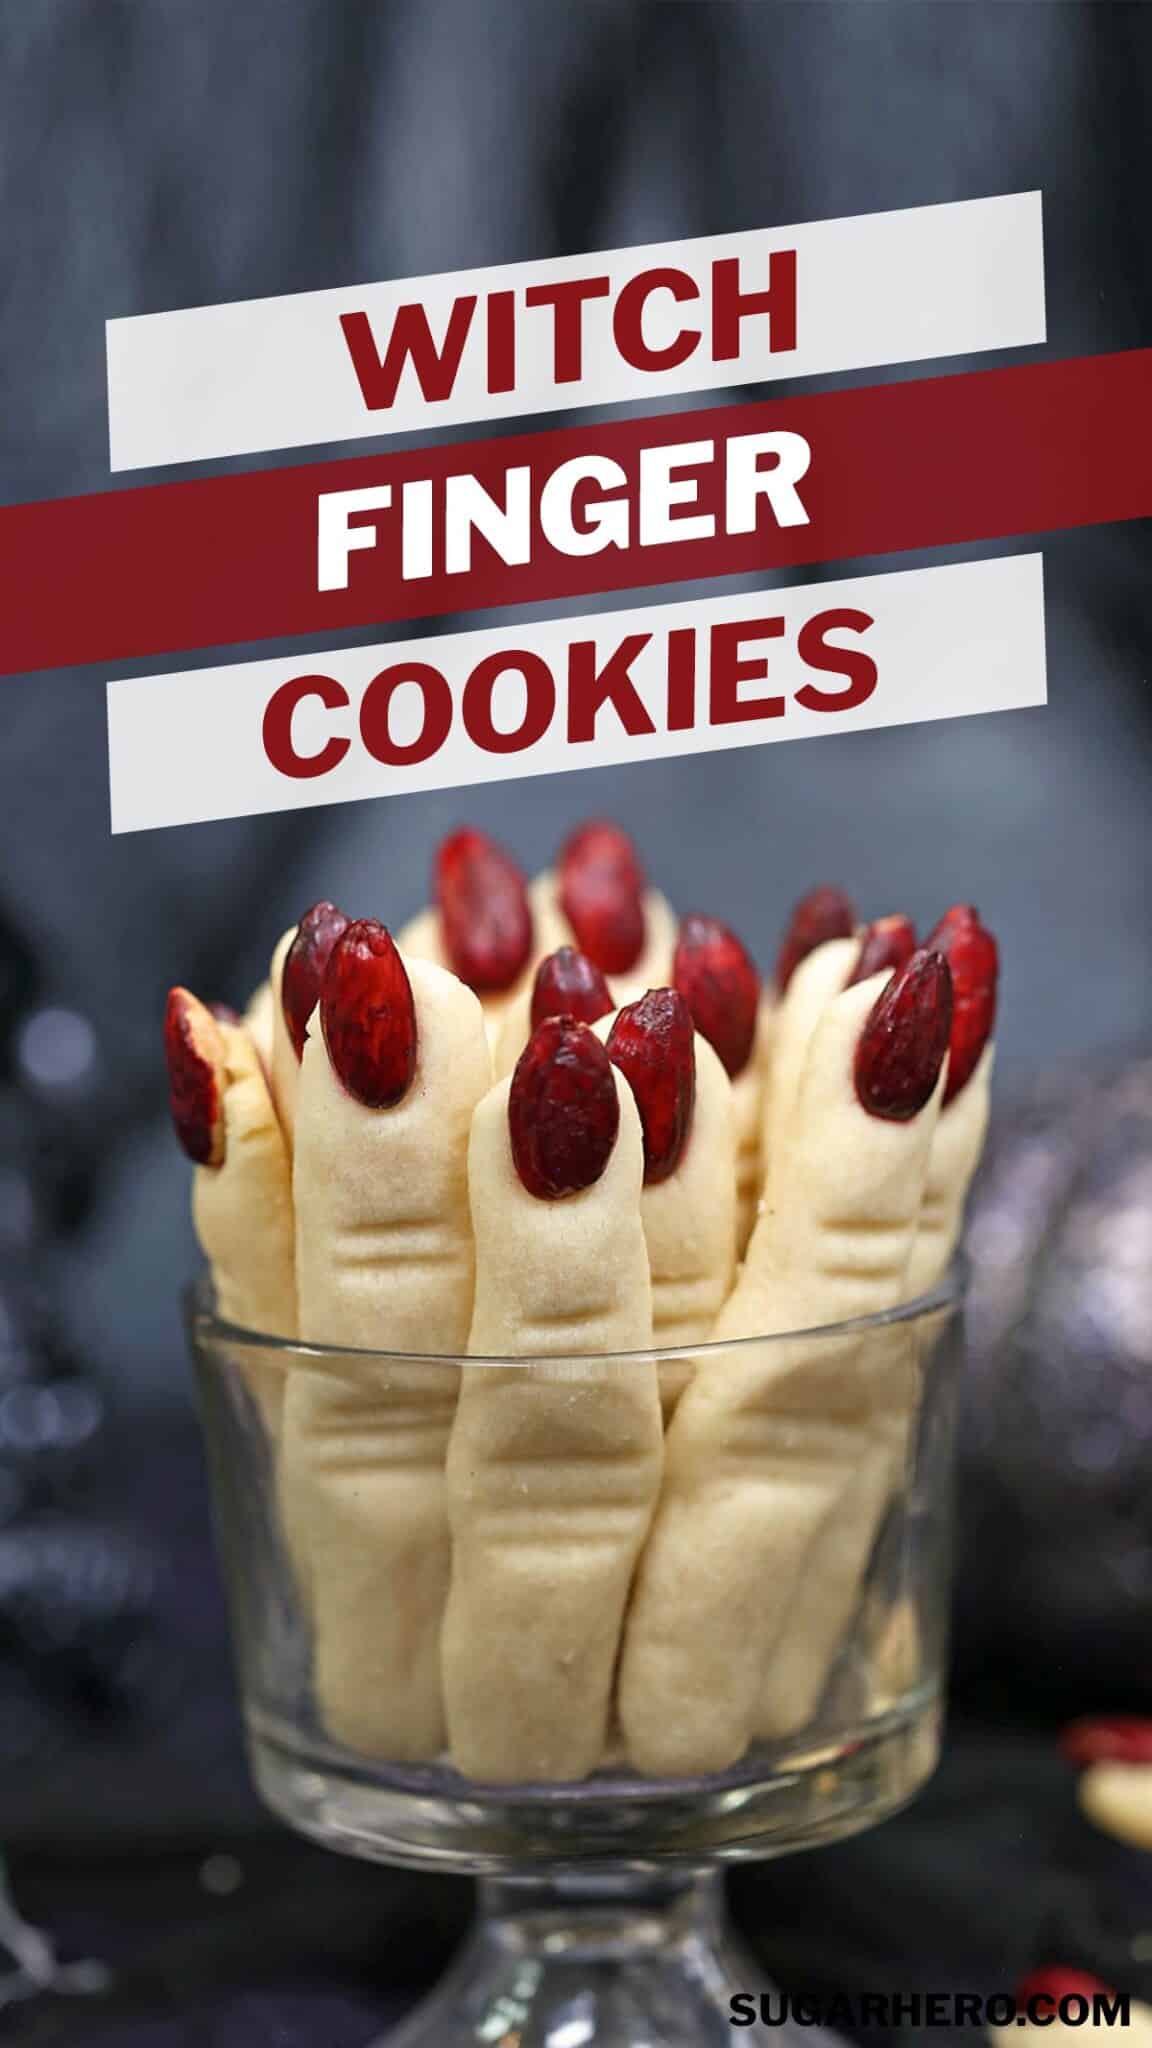
Get ready to add a fun seasonal twist to your baking with this easy witch finger cookie recipe!
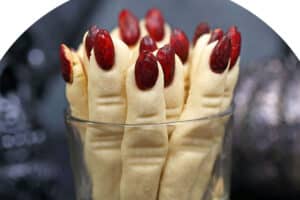
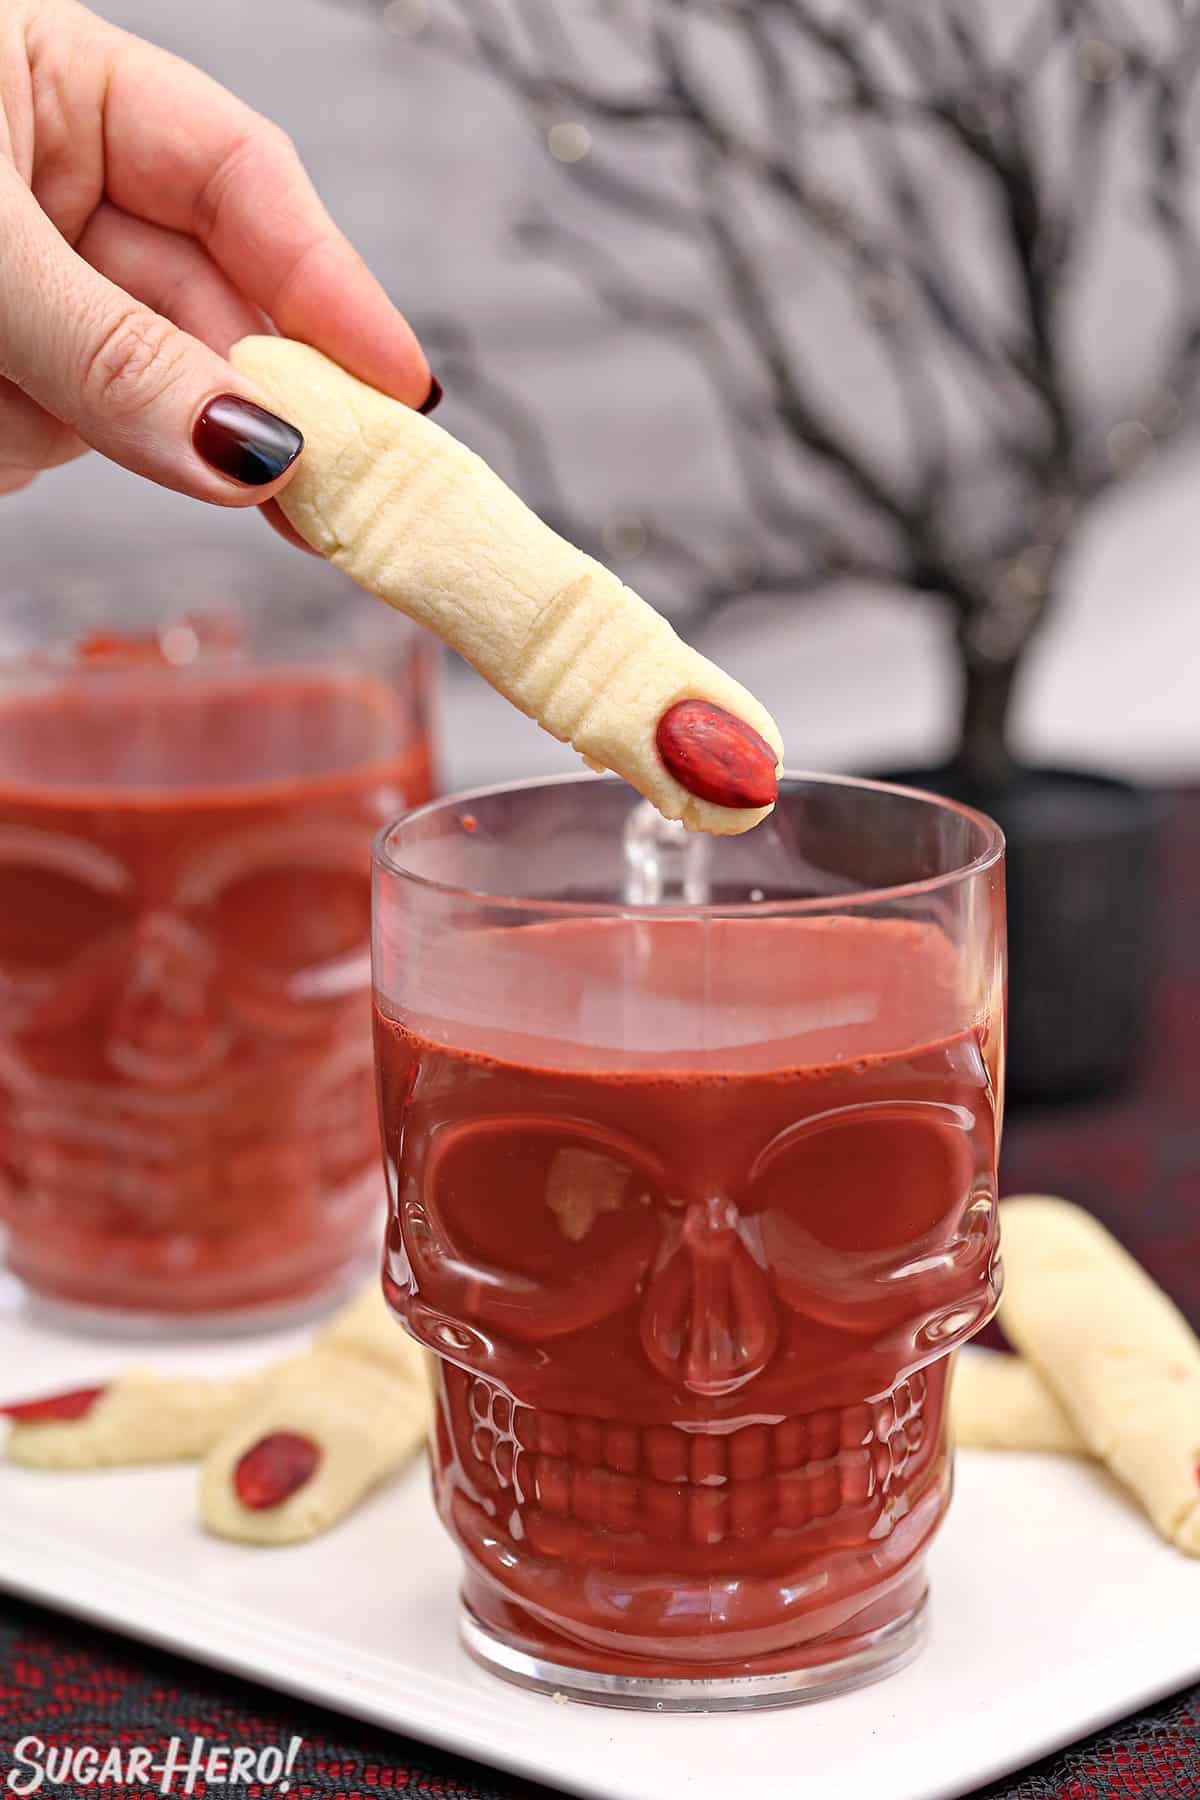
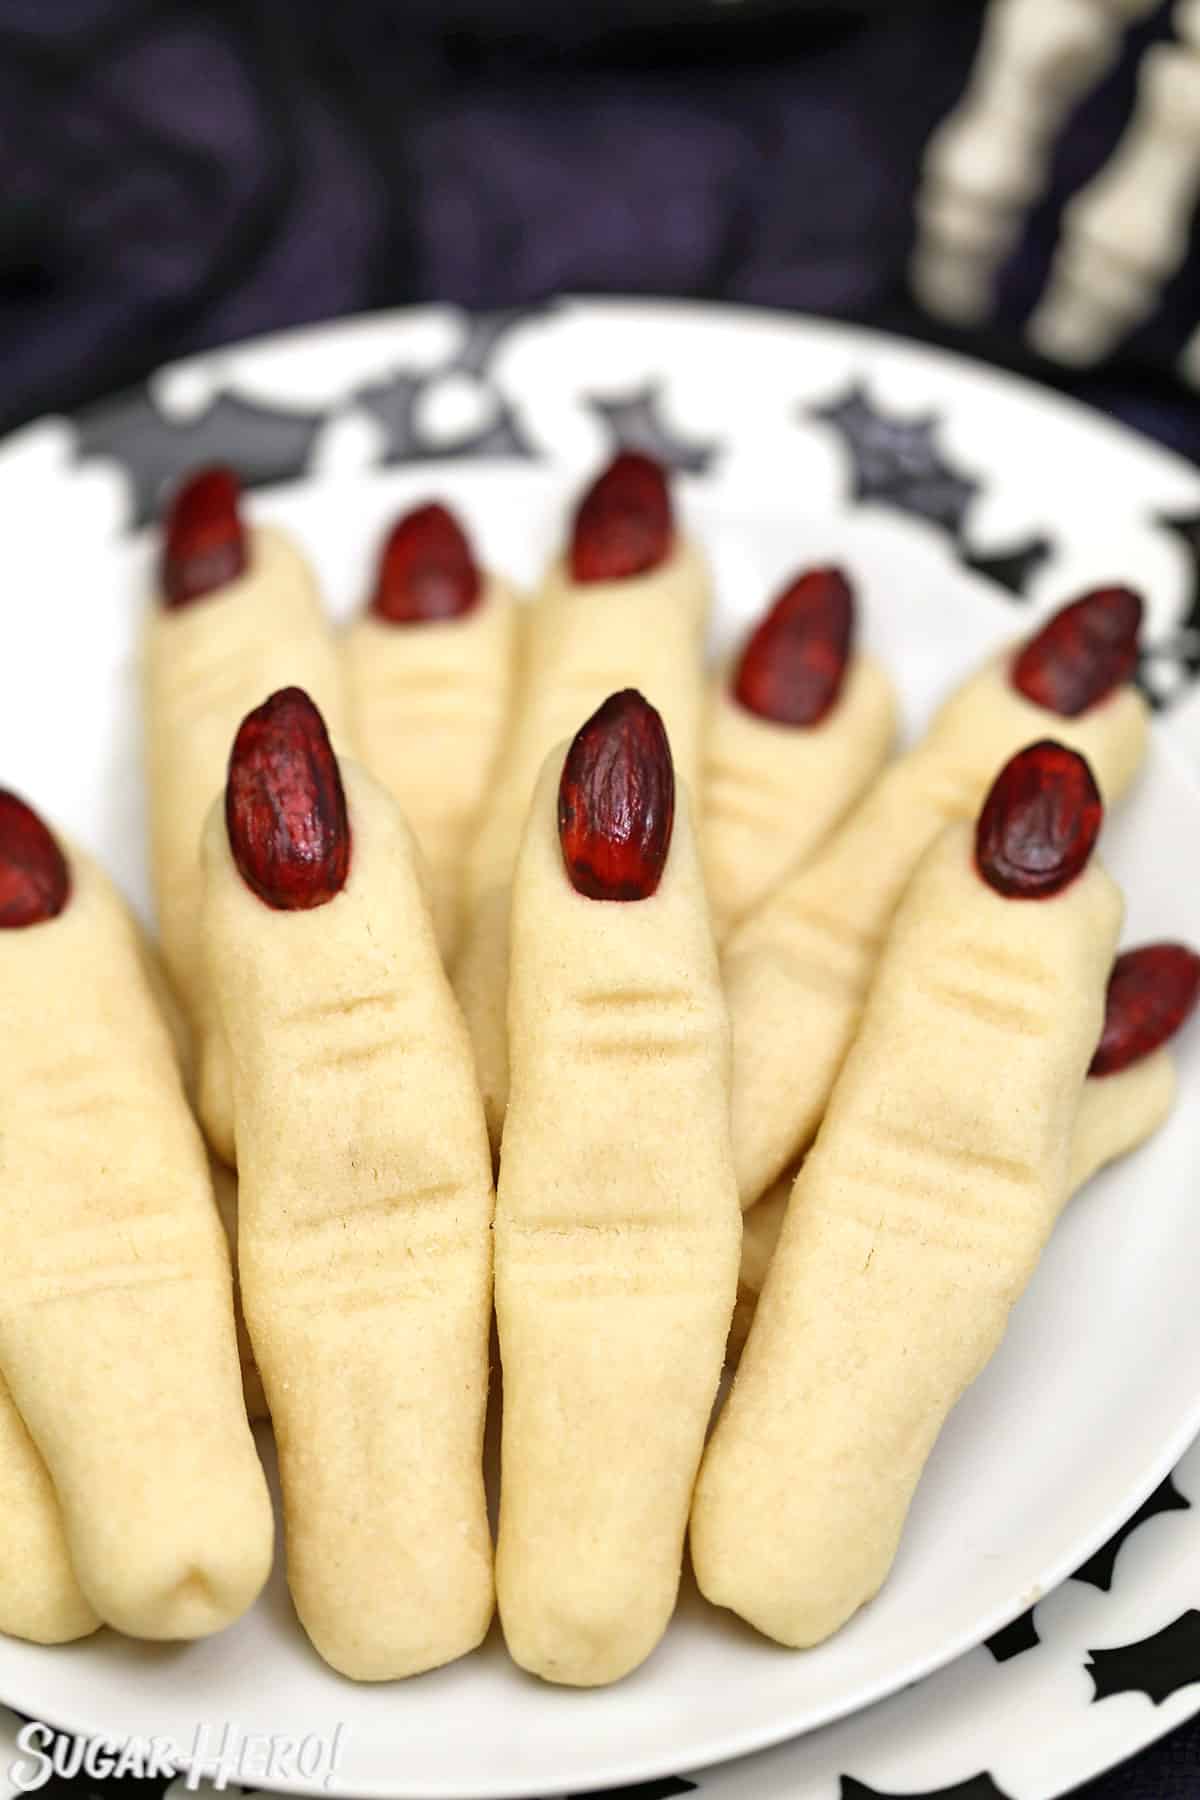
There are many ways to make these cookies, but my Witch Finger Cookies are almond sugar cookies, made with almond extract, almond flour, and–of course–whole almonds for the fingernails. They have a soft and tender melt-in-your-mouth texture, with a bit of a crunch from the almond fingernail. They’re delicious on their own, but even better when dipped in a mug of Red Velvet Hot Chocolate!
These creepy-looking treats are perfect for Halloween parties, or as a unique addition to your fall baking lineup. Don’t worry if you’re not an expert baker – this recipe is straightforward and simple to follow, even if you’re new to making shaped cookies.
In this post, we’ll walk you through each step of making witch finger cookies. You’ll learn what ingredients you need, how to shape the dough to look like fingers, and some simple decorating suggestions to make them extra creepy. Whether you’re baking for a Halloween event or just want to try something new in the kitchen, these witch finger cookies are sure to be a hit.
Table of Contents
🧾 What You’ll Need

Ingredients
The witch fingers might be scary, but the list of ingredients is definitely not. Chances are you have almost everything you need already! Here’s what you need to know to make these cookies a success. (Links are affiliate links and I earn a small commission from qualifying purchases.)
- Butter: You’ll want unsalted butter. Leave it at room temperature for at least 30 minutes before making the recipe, so it’s soft and mixes well with the sugar.
- Granulated sugar
- Vanilla and almond extract: The combination of vanilla and almond makes these cookies irresistible.
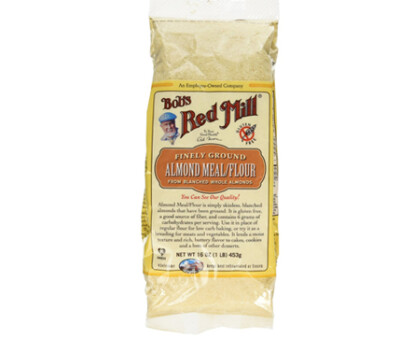
- Almond flour: Almond flour is very finely ground almonds. You can use “almond meal” if that is what is available, but the texture is coarser and the cookies might be crumblier.
- All-purpose flour
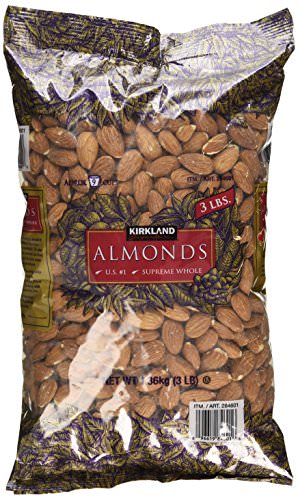
- Blanched almonds: Using blanched almonds (almonds with the skins removed) is ideal if you want to paint them with food coloring. You can buy them blanched, or you can follow my easy instructions for blanching almonds here.
- Red gel food coloring: Coloring the almonds is optional, so if you want to skip it, feel free! If you do want blood-red almonds, gel food coloring gives a better bang for your buck as opposed to liquid. I use Americolor Super Red coloring.
Equipment
- Baking sheets: Quality aluminum baking sheets will keep the bottoms of the cookies from burning and help cookies bake evenly.
- Parchment paper: I never bake directly on my baking sheets–it’s all about the parchment, baby! Save time and cleanup by using parchment paper when baking cookies.
- Mixer:You will need some kind of mixer to make the cookie dough. Either a stand mixer or hand mixer will work fine.
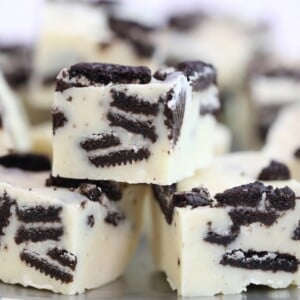
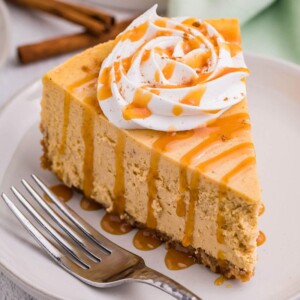
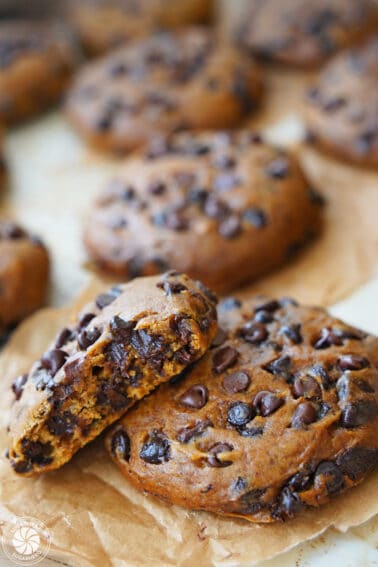
🎃 More Spooky Sweets


Leave a Review!
If you make this recipe, let us know! Leave a ⭐️⭐️⭐️⭐️⭐️ rating on the recipe below, and leave a comment, take a photo and tag me on Instagram @elabau, or use #sugarhero on IG!
Witch Finger Cookies
Ingredients
- 40 whole blanched almonds, see Note below
- Red food coloring, I used Americolor Super Red gel coloring
- 10 oz all-purpose flour, (2 ⅓ cups)
- 3.75 oz almond flour, (1 cup)
- 8 oz unsalted butter, at room temperature
- 3.5 oz granulated sugar, (½ cup)
- ½ tsp salt
- 1 tsp vanilla extract
- 1 tsp almond extract
Instructions
To make the almond fingernails:
- Use a small food-safe paintbrush and red gel food coloring to paint the top of each almond bright red. Let the nuts air-dry, then, if desired, flip them over and paint the bottom. The almonds can be painted several days in advance.
To make the cookies:
- Whisk together the flour and almond flour in a medium bowl, and set aside.
- Combine the butter and granulated sugar in the bowl of a stand mixer fitted with a paddle attachment. Mix on medium-low speed for 1 minute, until the mixture is light and creamy.
- Scrape down the bottom and sides of the bowl, then mix in the salt and both extracts.
- With the mixer running on low, add the flour to the dough, and mix just until the flour streaks disappear. Stop the mixer and finish mixing with a rubber spatula, scraping the bottom and sides of the bowl very well. The dough should be soft and smooth, but not sticky.
- Preheat the oven to 350 F. Line several baking sheets with parchment paper. Take a walnut-sized ball of dough, (if you have a scale, use about .50 oz per cookie) and roll the dough between your palms until it is a long thin snake, about 4 inches long.
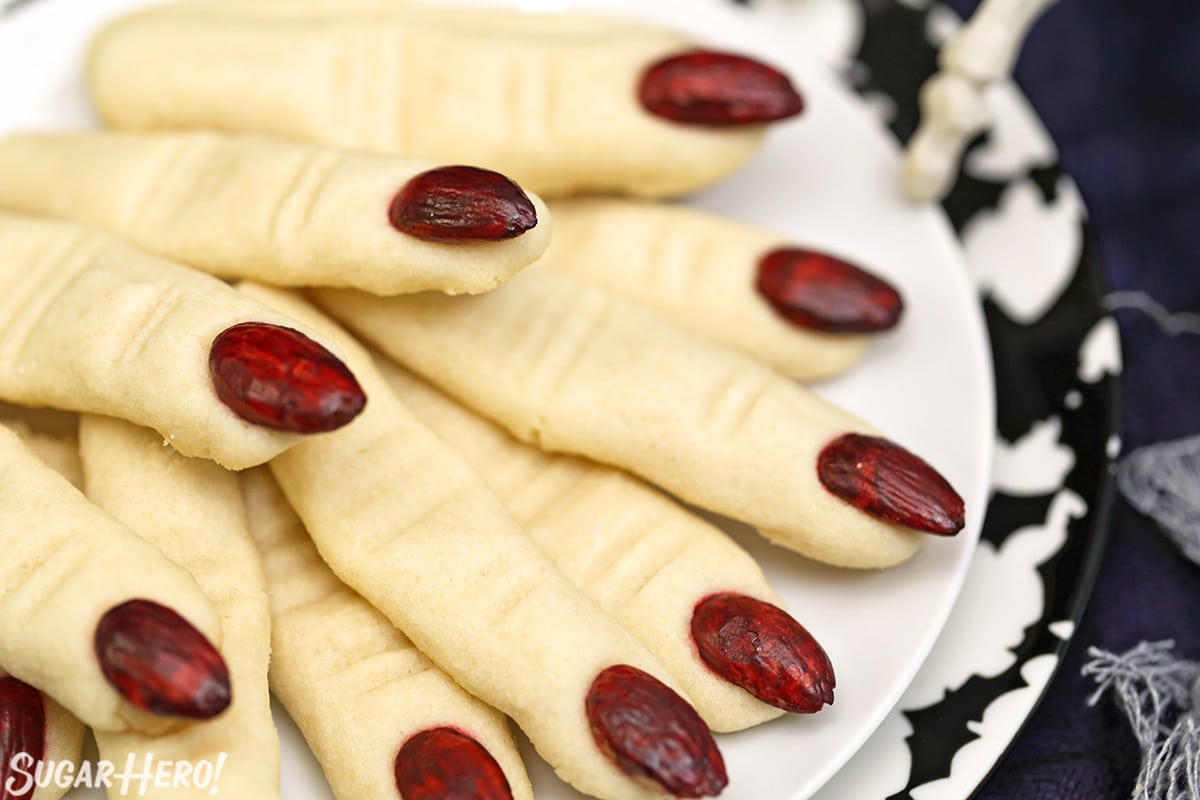
- Place the dough on a baking sheet and press your finger into the dough in two places to widen it for the knuckles. Use a toothpick to press horizontal lines into the cookie across the knuckles. Finally, press a red almond into one end for the fingernail.
- Repeat until all of the cookie “fingers” have been shaped. Freeze the trays of shaped cookies for 10 minutes, to help them keep their shape during baking.
- Bake the cookies for about 9 minutes, rotating the trays halfway through. The cookies should lose their raw shine and look puffed up, but they will still be pale and you won’t see them take on much color. Let the cookies cool on the baking sheets, then enjoy!
- These cookies keep well, and can be stored in an airtight container at room temperature for up to a week, or in the freezer for up to 6 months. If some almonds fall off during storage, you can always stick them on using a little melted candy coating as glue.
Video

Recipe Notes
TIPS FOR SUCCESS:
- About blanched almonds: Blanched almonds are almonds with the brown papery skin removed. You can buy almonds this way, or you can easily make them yourself from whole almonds.
- To blanch almonds: place them in a heat-safe bowl and bring water to a boil. Pour the hot water over the almonds and let them sit for 2-3 minutes. Strain the almonds, run them under cold water until they’re cool enough to handle, then squeeze them between your fingers to quickly remove the almond skins. Pat them dry before coloring them red for this recipe.
- To prevent the cookies from spreading too much, don’t overmix the cookie dough, and freeze the cookies for 10 minutes before baking them so they better retain their shape.
Measuring Tips
Our recipes are developed using weight measurements, and we highly recommend using a kitchen scale for baking whenever possible. However, if you prefer to use cups, volume measurements are provided as well. PLEASE NOTE: the adage “8 oz = 1 cup” is NOT true when speaking about weight, so don’t be concerned if the measurements don’t fit this formula.
Want to learn more about baking measurements and conversion?
Nutrition
📸 Step-by-Step Instructions for Making Witch Finger Cookies
Ready to start baking? Here’s a full picture tutorial showing how to make Witch Finger Cookies! You can find printable instructions in the recipe card.
Step 1: Blanch the Almonds
Blanched almonds are almonds with the brown papery skin removed. They’re ideal for this recipe, since they show the red color exceptionally well.
You can buy blanched almonds at the store, or you can easily make them yourself from whole almonds. You’ll want to do this step first, before you make the cookie dough. Here’s how:


- Place the almonds in a heat-safe bowl and boil water in a kettle or pot. Pour the boiling water over the almonds, and let them sit for 2-3 minutes.
- Strain the almonds, run them under cold water until they’re cool enough to handle, then squeeze them between your fingers to quickly remove the almond skins. Pat them dry before coloring them red for this recipe.
Step 2: Prepare the Almonds and Dry Ingredients


- Use a small food-safe paintbrush and red gel coloring, and paint the top of each almond until it is bright red. Let the nuts air-dry, then, if desired, flip them over and paint the bottom. (You could also just paint the tops – or skip the painting step altogether!)
- Whisk together 10 oz (2 1/3 cups) flour and 3.75 oz (1 cup) almond flour in a medium bowl, and set aside for a moment.
Step 3: Cream the Butter and Sugar


- Combine 8 oz butter and 3.5 oz (1/2 cup) granulated sugar in the bowl of a stand mixer fitted with a paddle attachment. Mix on medium-low speed for 1 minute, until the mixture is light and creamy.
- Scrape down the bottom and sides of the bowl, then mix in 1/2 tsp salt, 1 tsp almond extract, and 1 tsp vanilla extract.
Step 4: Finish the Cookie Dough


- With the mixer running on low, add the flour mixture to the dough, and mix just until the flour streaks disappear. Stop the mixer and finish mixing with a rubber spatula, scraping the bottom and sides of the bowl very well.
- When you touch the cookie dough, it should feel soft and smooth, but not sticky.
Step 5: Shape the Cookies and Bake


- Take a walnut-sized ball of dough, (if you have a scale, use about .50 oz per cookie) and roll the dough between your palms until it is a long thin snake, about 4 inches long.
- Place the dough on a baking sheet and press your finger into the dough in two places to widen it for the knuckles. Use a toothpick to press horizontal lines into the cookie across the knuckles.


- Press a red almond into one end for the fingernail.
- Freeze the trays of shaped cookies for 10 minutes, then bake the cookies for about 9 minutes, rotating the trays halfway through.
💡 Tips and FAQs
Almond flour and almond meal are both ground almond products, but they have different textures. Almond flour is typically made from blanched almonds (ie, with skin removed) and is very finely ground. It has a light, delicate color and texture, and is ideal for dessert recipes.
Almond meal is made from almonds with the skins still on. The color is darker, and the texture is typically coarser. It is great for savory applications like breading meat, but is not the best choice for this recipe. You CAN use almond meal in these cookies, but the texture will be coarser and more crumbly, so it is not recommended.
To prevent these cookies from spreading, and help them keep their finger shape, make sure you don’t overmix the cookie dough during the butter/sugar creaming step. Additionally, freezing the cookies for 10 minutes before baking them helps them retain their shape.
The cookie dough can be made several days in advance and kept, well-wrapped, in the refrigerator until you’re ready to form and bake the cookies. It’s hard to work with when it’s very cold, so let it sit at room temperature and soften for 20-30 minutes before shaping the cookies. It can also be frozen for up to 3 months. Let it defrost in the refrigerator overnight, then proceed with the recipe.
Once baked, these cookies keep well, and can be stored in an airtight container at room temperature for up to a week, or in the freezer for up to 6 months. If some almonds fall off during storage, you can always stick them on using a little melted candy coating as glue.
💭 Decorating & Flavoring Ideas
- If you don’t want to bother with blanching and painting almonds, skip the food coloring and just use regular whole almonds instead.
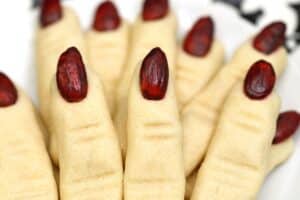
- Add a dollop of red jam under the almond nail to make the nails look bloody.
- Add food coloring to the dough for extra Halloween vibes. You can make green, purple or orange witchy fingers!
- Swap the whole almond for a slivered almond, or use another nut entirely, like peanuts or cashews.
- Change the flavoring extract and use lemon, orange, or coconut extract instead.
- Dip the ends of the cookies in jam right before serving to make them look bloody.


I would NOT recommend following this recipe. After mixing everything together, the “dough” was dry and crumbly and not “soft and smooth” like you described in step 4. PLEASE USE ANOTHER WEBSITE’S RECIPE. If you look up other recipes you can see that the measurements are completely different, less flour and confectioner sugar. I was disappointed because I felt like I waste my ingredients. Almond and vanilla extract is not cheap. You did an ingredient conversion that wasn’t accurate. I pulled out my scale afterwards and 1 cup of flour = 4.90 oz. You wrote 15 oz for so it should really be 3 cups of flour and not 3.5 cups. With this logic, the almond flour and confectioner sugar conversion may also be wrong.
Hi Celia, I’m sorry to hear that the recipe didn’t work out well for you. I suspect part of it might be the way you measured the flour – it sounds like you used cup measurements, since you mentioned pulling out the scale afterwards? In my recipes and development I use the metric that 1 cup of all-purpose flour weights 4.25 oz. (This is also the weight used by King Arthur Flour – citation below – and several other reputable companies.) If the cups of flour you were scooping came in weighing 4.9 oz, that’s an extra .65 oz per cup that was being added, adding up to quite a bit more flour than the recipe calls for. If you are using cups instead of scales, I recommend stirring the flour first, then lightly scooping it into the cups and leveling the top, which will give you the most accurate, least compacted result. I’m happy to answer any other questions you might have about this recipe or my recipe conversions in general.
https://www.kingarthurbaking.com/learn/ingredient-weight-chart
I followed the weight measurements given and these came out perfectly. As I was shaping them the dough did dry out a little, even though it was covered. Next time I’ll use a larger egg, as the one I had was labeled large, but really was small. The cookies are delicious, and I particularly like how they don’t spread since there’s no baking powder. And almond flour gives a nice texture. Thanks!
Hi Mimi! Thank you so much for the recipe review and rating. We really appreciate it. So glad you enjoyed the recipe. I love these cookies at Halloween time! All the best to you!
We made these today and they smell and taste good! Very easy to make with children. The only thing we did differently is we tinted our dough green.
Hi Krista! Tinting the cookies green probably looked awesome. What a great idea. Thank you for the recipe rating and review. It means a lot. Happy baking!
I Love these these cookies. I have made them in Green with black nails but what a great new way to make them, and I like these too. I’m making a small tray of goodie to take to my Doctors office. They take such good care of me, I just thought I would treat them to some goodies, these will be perfect for the Treat. Thanks for all of your fun recipes. I love them all…
Donna
You’re welcome Donna! I bet they looked cool in green and black. We really hope your doctor’s office loves their treats. They are lucky to have you! Cheers friend!
I made these with my grandchildren last weekend. They were delicious! I wasn’t sure if they would like the almond flavor so I reduced that and added extra vanilla instead, and they were yummy! The dough was easy to work with and even the littlest ones like rolling it and pressing the almonds in. We skipped the red food coloring and just used plain almonds and they looked great. Thank you for the fun recipe!
Hi Gloria! Thank you so much for leaving a review and rating. Sounds like you had a great time with the grandkids. So glad you enjoyed the recipe!