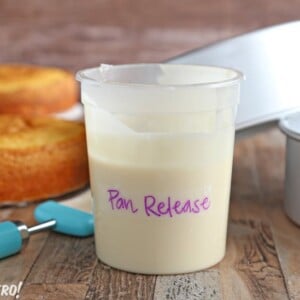
Sick of having your cakes stick in the pans, even when you use baking spray? Try this homemade pan release recipe, also known as “cake goop!” It’s easy to make and use, requires just a few ingredients, and is MAGIC when it comes to releasing cakes from their pans!

What Is Homemade Cake Pan Release?
“Cake Pan Release” is a long name for a very simple recipe. It consists of three ingredients:
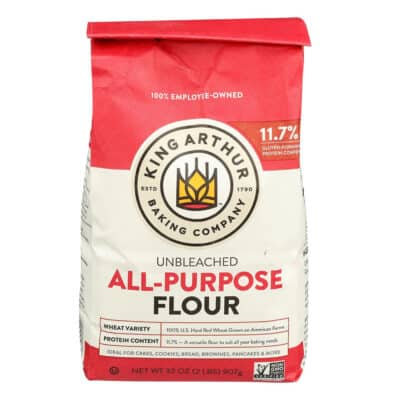
- All-purpose flour
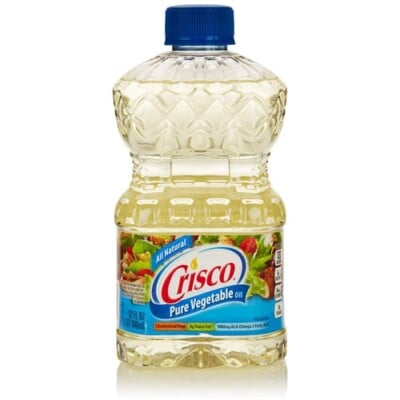
- Vegetable oil
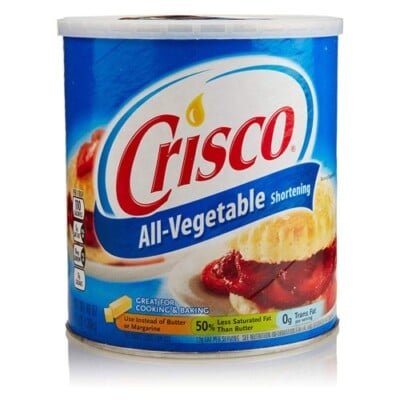
- Vegetable shortening
These ingredients are mixed together to make an edible paste. This paste can be spread on baking pans, and it performs the same function as nonstick cooking spray–it prevents baked goods from sticking to the pans, and lets you release them cleanly and easily from the container. Thus the name “pan release.”
Is This The Same As Cake Goop?
Yep! “Cake Goop” is the slang (and, honestly, very fun) nickname for pan release. It’s goopy, it’s used on cakes…you can see where the name comes from! Whatever you call it, it’s a very handy tool in the kitchen!

Why Not Just Use Nonstick Cooking Spray?
Nothing against cooking spray, but it has a few major downsides. If you bake a lot, you probably go through quite a few cans of nonstick cooking spray. The cost adds up, not to mention the waste created by throwing away those aerosol cans.
Homemade pan release is C-H-E-A-P to make, and can be made in small batches, or really big batches, depending on your baking needs! You probably have all the ingredients you need right in the cupboard, and the cost is just pennies per use.
Additionally, nonstick cooking spray can leave a sticky residue on cake pans. This can sometimes be scrubbed off, but sometimes it gets baked on, and the finish of your pans will be forever altered.
Homemade pan release does not leave a residue on pans, and will not alter the finish.

How Do I Make Homemade Pan Release?
Homemade pan release is super simple to make. You take equal amounts of flour, oil, and shortening, and mix them together. That is LITERALLY all you have to do. Bam! Easy! The hardest part might be measuring the shortening, but you can check out our guide to measuring shortening the easy way here.
Depending on the shortening you use, you will sometimes see small flecks of shortening floating in the pan release. This often happens when you use organic shortening, or shortening that is a little old–both of these instances mean the shortening is harder to blend with the other ingredients.
There is no harm in having little bits of shortening in your pan release. If it bothers you, or if the pieces of shortening are large enough that you worry they will interfere with the cake baking, you can heat the pan release in very short bursts in the microwave, for 5-8 seconds, and stir well after each interval. The heat will soon melt the chunks of shortening, and after stirring, you’ll have a smooth paste!

Homemade Pan Release Dos and Don’ts
When Should I Use Homemade Cake Release?
You should use cake release whenever you would spray a cake pan with nonstick cooking spray. It’s especially good for bundt pans, which can be a huge pain because they typically require buttering and flouring. Brushing homemade cake release into the nooks and crannies of the bundt pan is easier, and will give you a great nonstick result.
Do I Need to Use Parchment With This Pan Release?
Probably not, but maybe. (How’s that for clarity?!) In most cases, using pan release is enough to help your cake slide right out of the pan, but there are some exceptions. Just as nonstick cooking spray isn’t always a guarantee of a perfect result, pan release comes with a few caveats as well.
Some cake recipes produce batters that have a high moisture or high sugar content. Both of these things make the cake more likely to stick to the pan, even when using pan release. Some pans have a surface that just wants to grab onto cakes and not let go. It might take a little experimenting with your specific recipes and your pans to determine whether parchment is a necessity when using pan release.
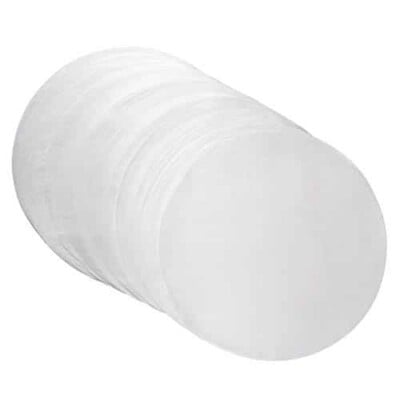
I often use parchment rounds in the bottoms of my cake pans, even when using cake goop, because I like the little bit of extra insurance the parchment provides. It’s usually unnecessary, but I appreciate the peace of mind parchment provides.

How Do I Apply Homemade Pan Release?
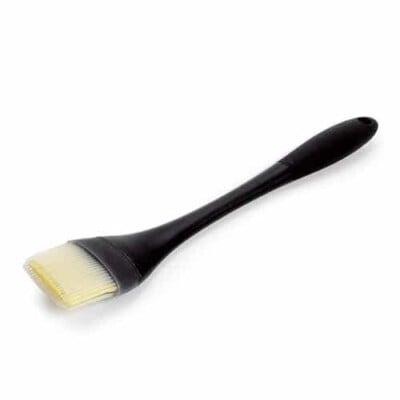
My favorite way to apply homemade pan release is by brushing it on with a silicone pastry brush. Brushes with natural bristles tend to shed their bristles in the most inconvenient places–like on your cake pan! Nobody wants a big bite of cake with a brush bristle in it!
Just dip your brush in pan release, and brush a thin, even layer over the entire interior surface of your cake pan, both the bottom and up the sides. If you’re using a pan with intricate details, feel free to go thicker on the cake release to keep the cake from sticking in the small cracks and crevices.
How Long Will Pan Release Last?
This pan release will last as long as the ingredients it’s made from. If you are using fairly fresh oil and shortening, you can expect it to last for at least a year, possibly longer, before the fats go bad.
Just like with shortening and oil, it will smell rancid when it goes bad, so if the pan release smells fine (ie, neutral, or without a noticeable smell) then you’re good to use it!
How Do I Store Homemade Cake Goop?
Store goop where you store your vegetable shortening. A dim cupboard at room temperature is the perfect spot.
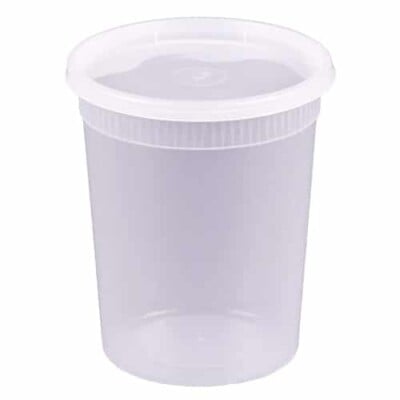
I like to store mine in a tall deli container, labelled with the date I made it. It doesn’t take up much room, and it’s easy to dip a brush in and out of the wide opening.
What if Pan Release Separates During Storage?
It’s common for homemade pan release to separate over time. If you keep it for weeks or months, you’ll notice the oil separating out of the mixture and migrating to the top of the container. This is normal, and easy to fix! Just give it a vigorous stir before you use it, to re-incorporate the oil back into the pan release.

💙Try Pan Release With One of these Cake Recipes!
- Striped Buttercream Balloon Cake
- Rainbow Cake
- Strawberries and Cream Cake
- Chocolate Orange Cake
- Cookies and Cream Cake
Homemade Pan Release
Ingredients
- 1 cup all-purpose flour
- 1 cup shortening, vegetable
- 1 cup vegetable oil
Instructions
- Add all ingredients to the bowl of a stand mixer fitted with a paddle attachment.
- Mix on low speed until the flour is moistening, then turn the speed to medium-low and mix until you have a smooth paste. (Alternately, you can use a firm spatula and stir everything together by hand.)
- Sometimes there will be small chunks of shortening in your pan release. This doesn’t hurt anything, but if it bothers you, heat the pan release in very short intervals in the microwave (5-8 seconds), stirring after each one, until it is melted and smooth.
- Transfer the pan release to a container and label with the date. Store at room temperature out of direct sunlight. If it separates during storage, simply stir it together again.
- To use, dip a silicone pastry brush in the pan release and brush a thin, even layer on the bottom and sides of your cake pan before adding any cake batter.
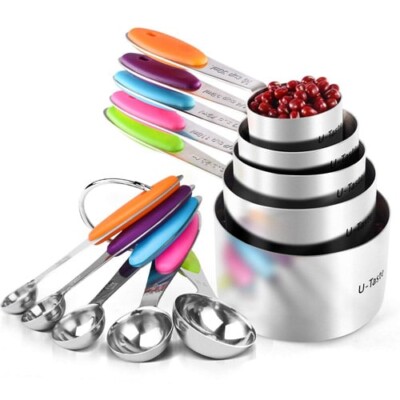
Measuring Tips
Our recipes are developed using weight measurements, and we highly recommend using a kitchen scale for baking whenever possible. However, if you prefer to use cups, volume measurements are provided as well. PLEASE NOTE: the adage “8 oz = 1 cup” is NOT true when speaking about weight, so don’t be concerned if the measurements don’t fit this formula.
Want to learn more about baking measurements and conversion?


Wow! In all my 59 years of life, I never heard of this… I will definitely try it !
Wahoo! Get ready to enjoy cakes that slide out of the pan. 😀
Is there any reason I can not make with with GF AP blend?
Hi Matti! I haven’t tried it with gluten-free flour so I can’t say for sure. My guess is that it would work fine, although I would probably start with a smaller batch just in case you don’t like the outcome. Please let me know how it goes if you give it a try!
Hi Elizabeth,
Could coconut oil replace the vegetable shortening?
Thanks Carol.
Hi Carol! I haven’t tried it with coconut oil but my guess is that it would work just fine, and would still be able to be stored at room temp! Please let me know how it goes if you give it a try. 🙂
Oh my gosh!!! So amazing! Just used it on a bundt pan last night. One tablespoon of each was just enough for the pan. Cake practically fell out. Will use this from now on.
Wahoo! So glad to hear it!
I love this stuff. It’s all I use on my pans, and it works like a charm. I also make a chocolate version by swapping out half of the flour with coco powder. It’s perfect for chocolate bakes.
Hey Sherri, That is awesome. I am so glad to hear you loved it. Thanks for sharing that trick!!
Gonna try the coconut version of this!
I’ll let y’all know when I see it!
“Happy Thanksgiving”
Awesome, Grace! Please let us know how it turns out for you!
Thank you, thank you, thank you!
I finally used my Nordicware pan without a crumb left sticking to the pan! This really was a a Godsend The cakes just popped out- totally unreal how well this worked!
Hey Evonne, I am thrilled to hear it worked so well for you! It really is so handy to have, I love it! Thank you so much for your feedback!
I was excited to try this. When I tried to tap the pans out, they fell out in chunks. Half the cake was stuck to pan, all along the edges. I have to make another cake. I might’ve done something wrong, I’m not sure.
Hi Lily! I’m sorry to hear that! My best tips for using pan release are to use a generous coating (not a very thin layer) and to remove the cakes while still slightly warm, so about 15 minutes after coming out of the oven for most cakes. Additionally, cakes that are very moist or very high in sugar do tend to stick more, so for those a parchment round on the bottom is recommended.
Hi! I’m excited to try this with my new Nordicware Gingerbread cakelet pan. Should the pans be floured after brushing with the pan release? Thanks!
Hi Cindy! In general I don’t flour the pan when using this, since it has flour in it already. But for something with a lot of detail (and a tendency to stick!) like a very detailed bundt pan, I think a light dusting of flour isn’t a bad idea. Also, use a GENEROUS layer of goop–I use a silicone brush to really slather it on. Please come back and let us know how it goes!
Would you ever make this with cocoa powder for chocolate cakes? If so would you use natural or Dutched cocoa or Hershey’s Special Dark (which is supposed to be a mix of the two)?
Thanks!
I haven’t tried that, but I think it could work. Instead of making a separate pan release just for chocolate cakes, you could also try using the pan release as written and instead dusting the inside of the pan with a light coating of cocoa powder after adding the pan release. Please come back and let us know how it goes!
This is the very best pan release. Since making a batch a few months ago I have never used anything else. Works every time.
Hi Brenda! Thank you so much for sharing your success and for the recipe review! We really appreciate it. Happy Baking!!