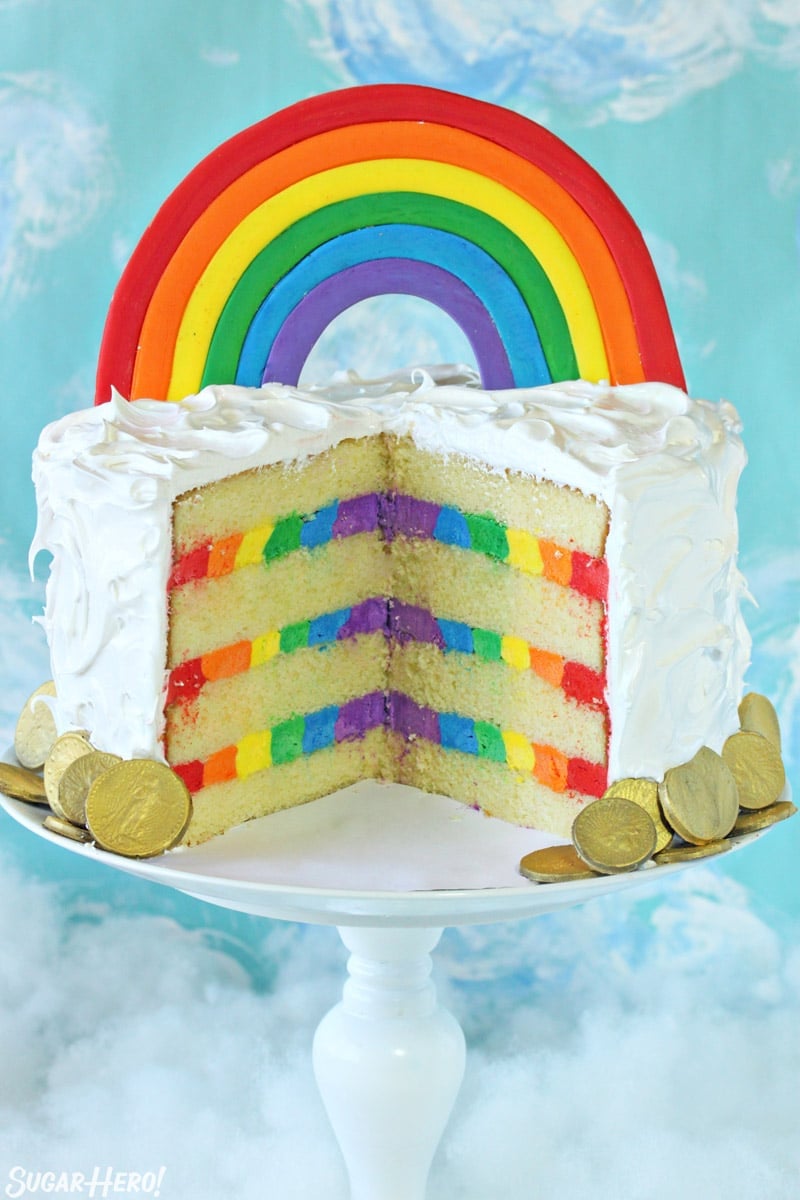
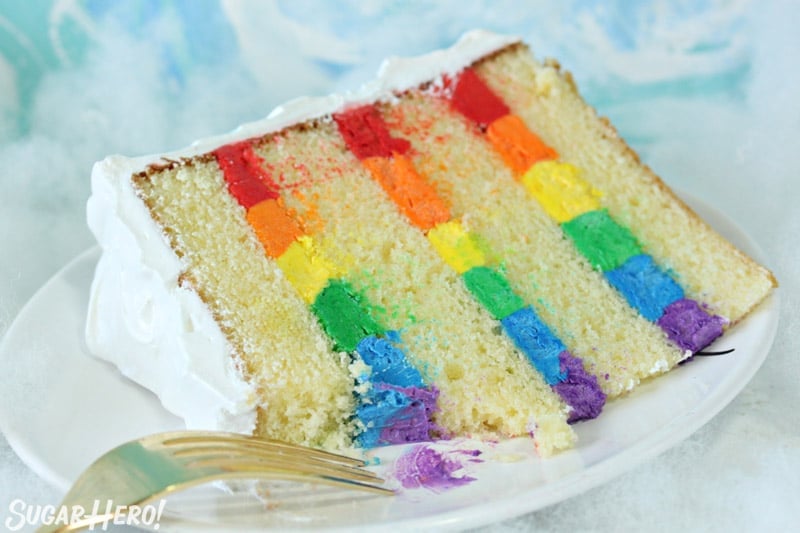
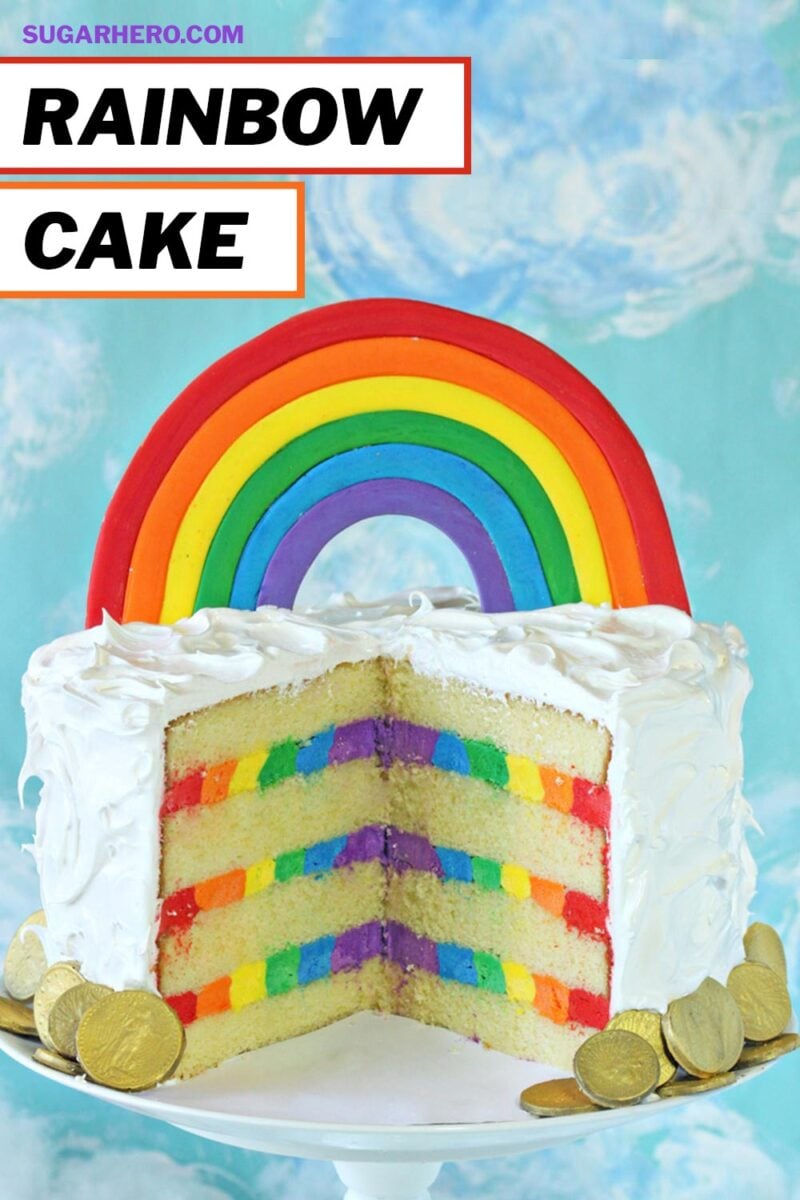
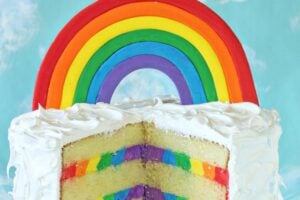
This gorgeous Rainbow Cake has a surprise inside! Underneath the fluffy white cloud-like frosting are bright stripes of rainbow buttercream frosting. Make it for a special birthday, party, or St. Patrick’s Day!
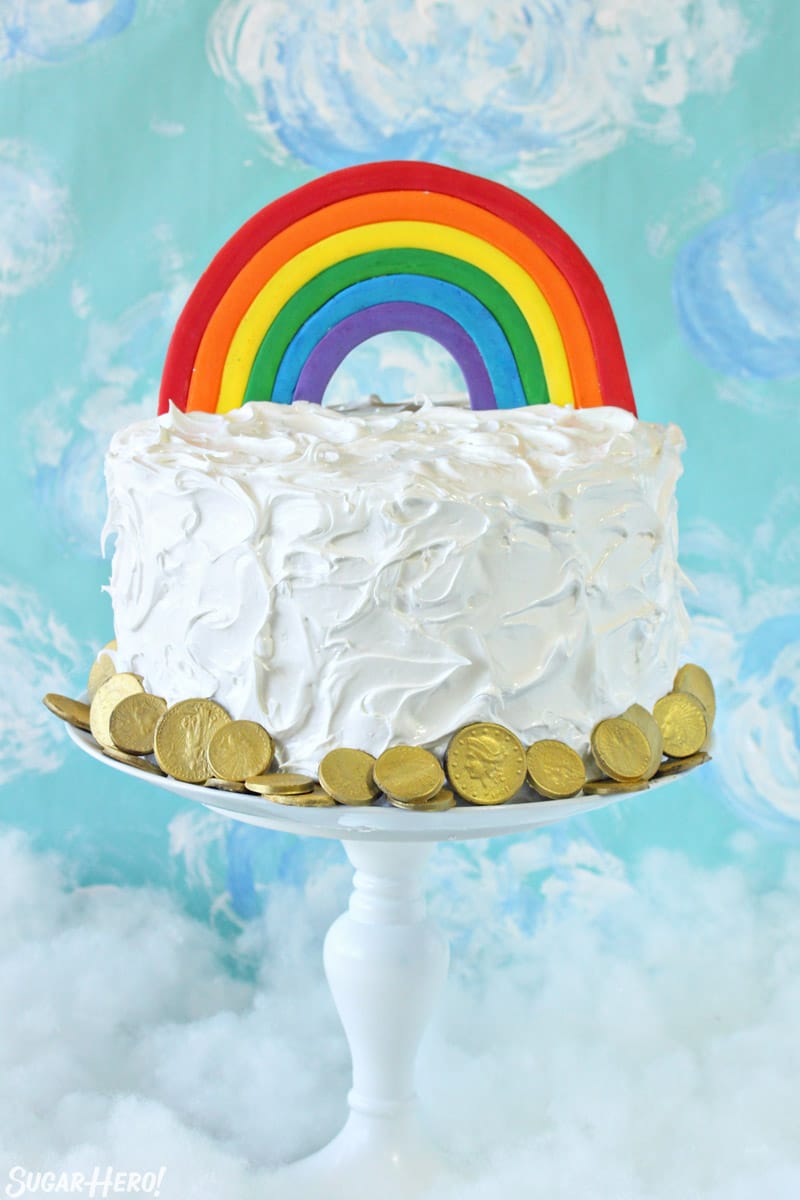
🌈Rainbow Cake with A Surprise Buttercream Rainbow!
Rainbow cakes are the perfect party cake. They’re bright and happy, gender and age neutral, and are appropriate for everything from birthdays to showers to St. Patrick’s Day gatherings.
I’ve made my fair share of rainbow cakes, from a Rainbow Mousse Cake to a blinged-out Gold-Topped Rainbow Cake. But THIS rainbow cake version might just be my very favorite of them all!
For today’s rainbow cake, we’re leaving the cake alone—no more bazillion layers of multi-colored cake–and instead going with a classic yellow cake. This version is more of a “Rainbow in the Clouds” cake, with swirls of cloud-like vanilla frosting, and a surprise rainbow of gorgeous multi-colored buttercream frosting hiding between each cake layer. If you’re looking for more, be sure to check out this round-up of incredible Rainbow Dessert Recipes!
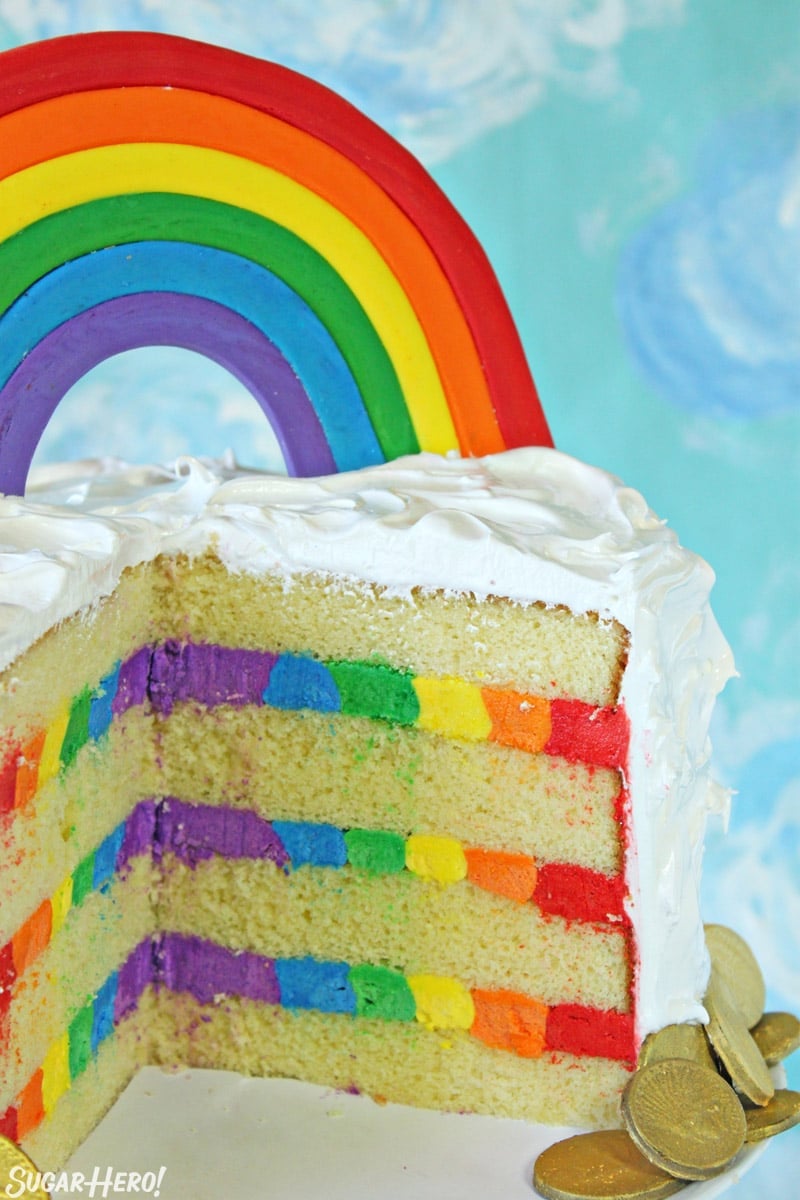
Table of Contents
- 🌈Rainbow Cake with A Surprise Buttercream Rainbow!
- How to Make Rainbow Frosting
- Top the Cake with A Fondant Rainbow
- Chocolate coins for Decoration
- Meringue-Based Frosting and Lots Of Egg Whites
- How to Flavor your Rainbow Cake
- 🌈 More Rainbow Desserts You’ll Love
- Rainbow Cake with Rainbow Frosting Recipe
- 🌈 COLORFUL RAINBOW DESSERTS 🌈
How to Make Rainbow Frosting
The rainbow frosting effect is ridiculously easy! Well, ridiculously easy after you’ve gone to the trouble of dividing the frosting into 6 different bowls, coloring them separately, and putting them into 6 different piping bags.
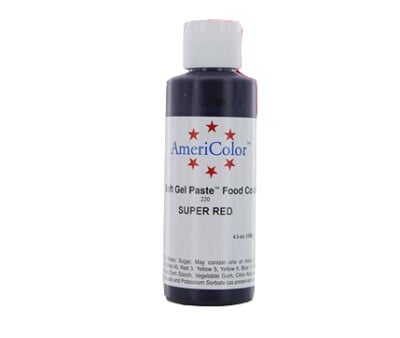
To get the rainbow colors, I recommend using gel food coloring, instead of liquid coloring. Gel is much more intense, so you don’t have to use as much food coloring to get a bright, vibrant color.
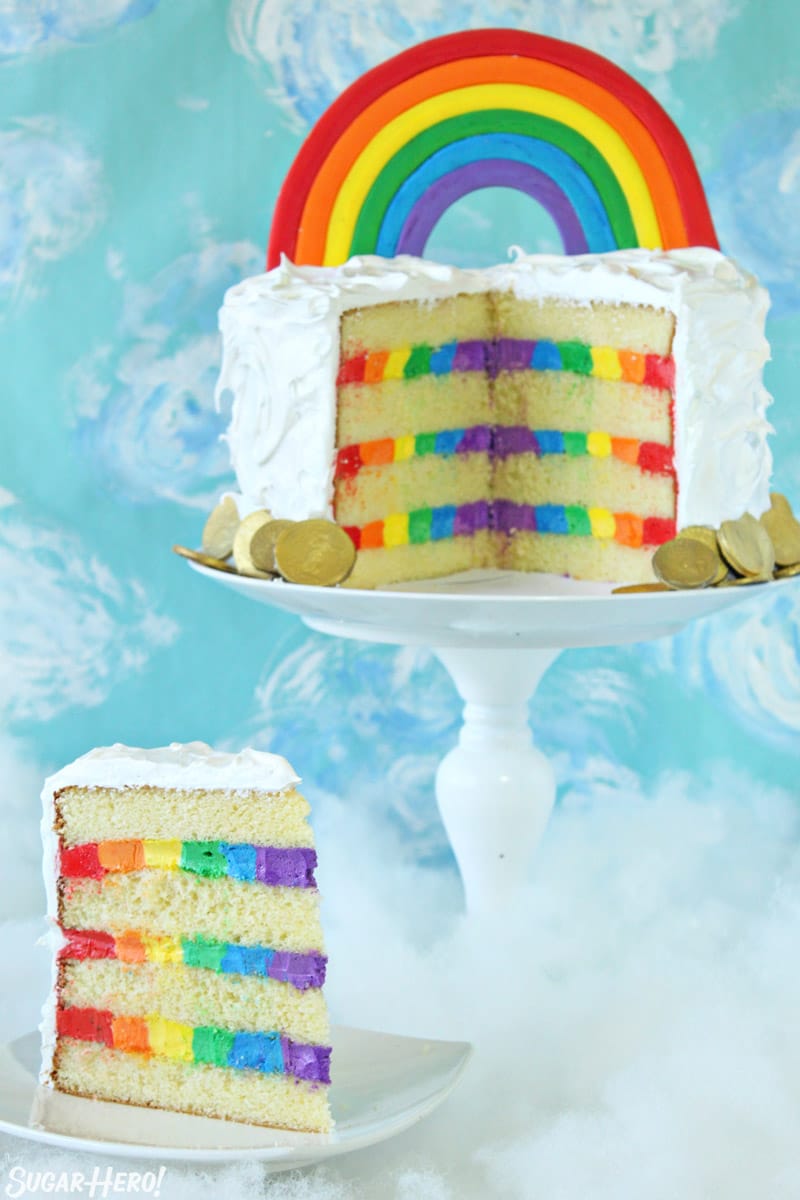
Red is one of the hardest colors to achieve, and you will find that it takes a good amount of food coloring to get a bright red. The good news is that frosting colors will deepen over time, so I recommend mixing the colors and then letting them sit and develop for a few hours–they will become more intense the longer they sit.
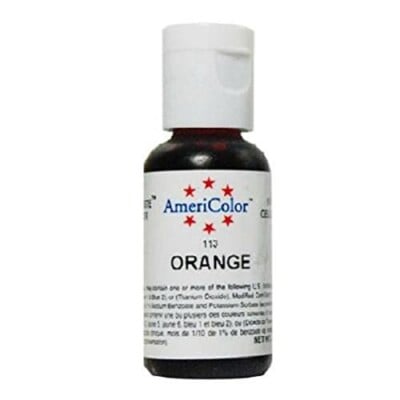
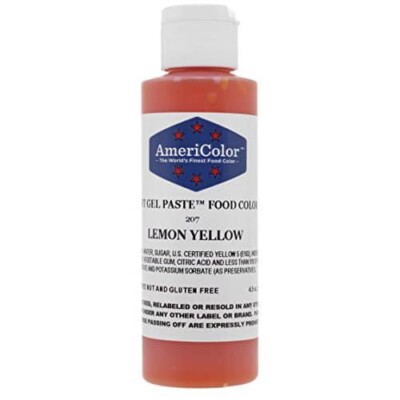
My preferred gel coloring brand is Americolor. To create this rainbow, I used:
- Super Red
- Orange
- Lemon Yellow
- Leaf Green
- Sky Blue,
- And a mix of Electric Purple and Regal Purple.
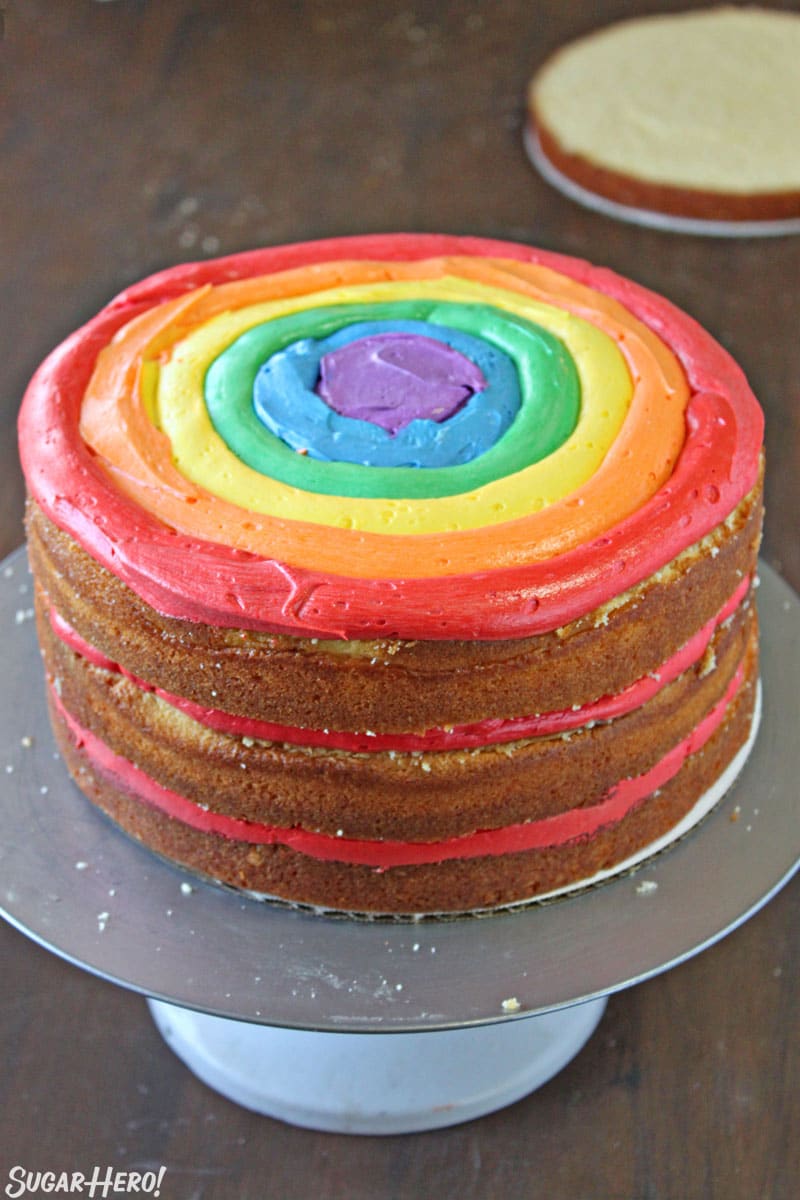
After you’ve colored the frosting, creating the rainbow effect itself is easy. Just pipe concentric circles of buttercream on each cake layer. Make sure you use the same order of colors each time, so the layers look identical once you slice into them.
All of that food coloring work is totally worth it, once you pipe those bright rings of buttercream and see your rainbow start to take shape. I loved this cake even before I cut into it—how could anyone not love that cheery rainbow bulls-eye?
Top the Cake with A Fondant Rainbow
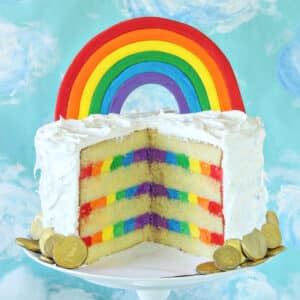
It wasn’t enough to have a super stealthy rainbow hidden in the clouds—I wanted a big honkin’ in-your-face rainbow, too. So I made one out of fondant and set it on top of the cake for the perfect topper! The decoration has to be made several days in advance, so it has time to dry and harden and be stable enough to stand up on its own.
Wondering how to make a fondant rainbow of your own? Of course you are. I’ve got your back! Check out how to make a fondant rainbow cake topper here.
Fondant Rainbow
Chocolate coins for Decoration
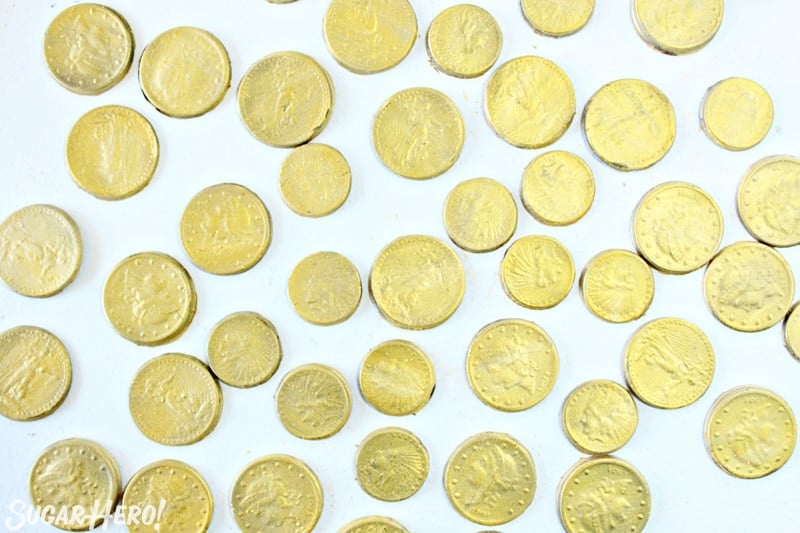
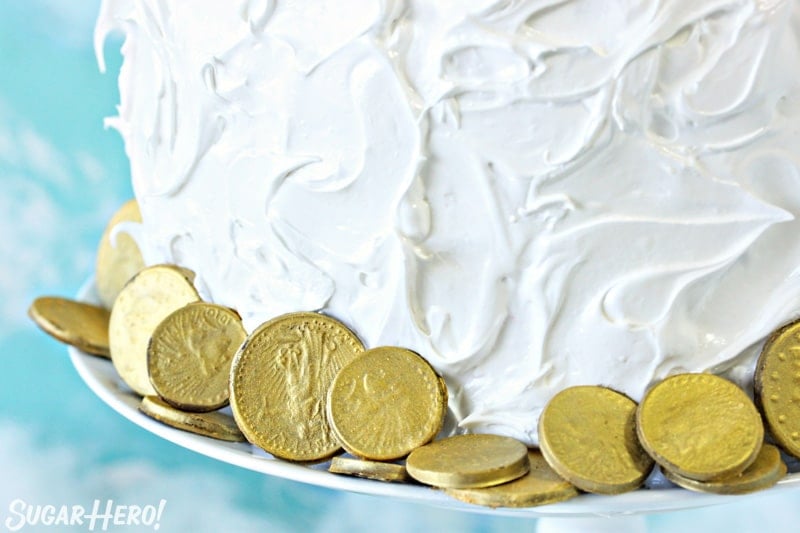
And those coins at the bottom of the rainbow cake? Chocolate coins, of course!
The gold foil-wrapped coins that you buy would be perfect for this. I didn’t have any on hand, but I did have a chocolate coin candy mold from another project, so I made my own chocolate coins (using this coin candy mold) and sprayed them with gold Wilton Color Mist. The coins are optional, but I do think they give the cake a bit of that leprechaun je ne sais quoi.
Meringue-Based Frosting and Lots Of Egg Whites
Can we talk about eggs? Let’s talk about eggs. You will need a lot of them….like, over a dozen. When you’re making a meringue-based buttercream AND a separate meringue frosting, you need a lot of egg whites, so you’re going to have to crack a few eggs! (Ba-dum-ching.)
I tried to balance things out by using a yellow cake recipe that only uses yolks, so it doesn’t feel as wasteful. And you will be able to feed a LOT of people with this mega cake, so all of those eggs are going to a good cause.
But because I know that some people don’t like recipes that require so many egg whites, please know that you can use any buttercream recipe in the center, so feel free to swap my Swiss meringue one with a traditional American buttercream instead.
You could even use a different cake recipe if you’d like. The meringue’s not negotiable, though—the fluffy cloud frosting must stay!
How to Flavor your Rainbow Cake
And after all that, how does it taste? Like the best dang homemade cake you’ve ever had! How could it not, with all of those layers of cake and frosting?
I chose to keep things simple and used lemon flavoring in the cake and buttercream, but you could use plain vanilla, or almond, or coconut, or orange, or even mix and match… you get the idea.
It’s not about the recipes so much as the technique and presentation, so I hope you take this idea and run with it.
🌈 More Rainbow Desserts You’ll Love
Buttercream Rainbows
Rainbow Frosting
Leave a Review!
If you make this recipe, let us know! Leave a ⭐️⭐️⭐️⭐️⭐️ rating on the recipe below, and leave a comment, take a photo and tag me on Instagram @elabau, or use #sugarhero on IG!
Rainbow Cake with Rainbow Frosting
Ingredients
For the Cake:
- 21 oz granulated sugar, (3 cups)
- 21 oz cake flour, (6 cups)
- 8 tsp baking powder
- 1 1/2 tsp salt
- 12 large egg yolks
- 2 cups milk, at room temperature
- 1 tbsp lemon extract, or other flavoring of choice
- 12 oz unsalted butter, at room temperature
For the Rainbow Buttercream:
- 9 large egg whites
- 14 oz granulated sugar, (2 cups)
- 1 lb unsalted butter, soft but still cool
- 1 tbsp lemon extract, or other flavoring of choice
- 1/4 tsp salt
- Gel food coloring in six rainbow colors, I like Americolor brand
For the Fluffy Cloud Frosting:
- 6 large egg whites
- 9.3 oz granulated sugar, (1.3 cups)
- 2 tsp vanilla extract
- Pinch of salt
Optional Decorations:
Instructions
To Make the Cake:
- Preheat the oven to 350 F. Line four 9-inch cake pans with parchment rounds, and spray the parchment and pan sides with nonstick cooking spray. (If you have 9×3-inch cake pans, you can use two of those instead.)
- Combine the sugar, cake flour, baking powder, and salt in the bowl of the stand mixer fitted with a paddle attachment. Mix on low speed for about a minute to combine the dry ingredients.
- Lightly whisk together the egg yolks and about a quarter of the milk (it doesn’t have to be a precise measurement) and the lemon extract, and set aside for now.
- Add the remaining milk and the softened butter to the large mixing bowl and mix on low speed until the dry ingredients are moistened. Turn the mixer to medium speed and mix for a minute and a half.
- Add the egg yolk mixture in three batches, mixing for 20-30 seconds after each addition, until you have a smooth batter. Scrape the bottom and sides of the bowl with a rubber spatula, and give the batter a few more stirs to make sure everything is incorporated. Divide the batter between the four pans—if you have a kitchen scale, each pan should get about 20 oz of batter. Bake them at 350 F for 30-35 minutes, until the sides just start pulling away from the pan, and a toothpick inserted into the center comes out clean.
- Let the cakes cool on a wire rack for 10 minutes, then gently turn them out and let them cool completely. I find it’s easiest to assemble cakes that have been chilled, so if you have time, wrap them with plastic wrap and put them in the freezer for at least 30 minutes, until they are firm but not frozen all the way through. If you are making these in advance, they can stay in the freezer for up to several weeks. Let them partially defrost, until they are firm but not rock-hard, before assembling.
To Make the Rainbow Buttercream:
- Combine the egg whites and the granulated sugar in the bowl of a large stand mixer, and whisk them together. Choose a small saucepan that lets you fit the base of the stand mixer snugly into the top of the saucepan—this is your makeshift hot water bath. (Alternately, you can use a different bowl or an actual bain marie and then transfer the mixture to a mixing bowl once it’s heated.) Add an inch of water to the bottom of the saucepan, and bring the water to a simmer.
- Place the mixing bowl on top of the saucepan, making sure that the bottom isn’t in contact with the water, and heat the egg white mixture. Whisk frequently so that the egg whites don’t cook. Continue to heat the whites until they are hot to the touch, and when you rub a bit between your fingers, you don’t feel any grittiness from the sugar. Once the whites are hot, transfer the mixing bowl to your mixer and fit it with a whisk attachment.
- Beat the whites on medium-high speed until they are a shiny, stiff, voluminous meringue, and are no longer warm to the touch—feel the outside of the bowl, and make sure that it is around room temperature. Depending on your mixer and the temperature of your environment, this may take 15-20 minutes, or more. Reduce the speed to medium-low and add the softened but cool butter in small chunks, a tablespoon at a time, making sure to wait in between additions. It may separate or look a little gloopy at this point—fear not. Once all of the butter is added, increase the speed again and whip until it comes together and is light and fluffy. If, after 5 minutes, it hasn’t come together, refrigerate the mixing bowl for 5-7 minutes, to cool the mixture down, and whip it again until it has thickened and is smooth and silky. Add the vanilla extract and salt.
- The buttercream can be made in advance and kept at room temperature if you’re going to use it the same day, or refrigerated. If it has been chilled, let it sit at room temperature until completely soft, then re-whip it to get the smooth texture back before you use it.
- When you’re ready to use it, divide it between 6 bowls. You’ll need to estimate the portions, but you’ll want to have 3 of the frosting portions smaller (for the colors that are in the center of the cake) and 3 of them larger (for the colors that go around the outside.) In my case, I mixed smaller amounts of purple, blue, and green, and larger amounts of yellow, orange, and red. If you’re not worried about every rainbow frosting layer having the colors in the same order, you can make the frosting portions approximately the same size and just pipe the colors in a different order for each layer, so you’ll use about the same amount of every color of frosting.
- Color each bowl with a different gel food coloring, adding enough so that you get a strong, vibrant color. Transfer each color to a pastry bag fitted with a large round tip.
To Assemble and Make the Fluffy Cloud Frosting:
- First, assemble the cake so it can be chilling while you make the fluffy cloud meringue. Trim the tops of the cakes so that they’re level. Place one cake round on a cardboard cake circle, and pipe a circle of purple frosting in the center of the cake. Pipe a thick blue ring around it, then add a green ring around that. Continue to pipe circles of buttercream, adding yellow, orange, and red colors, until you reach the edge of the cake.
- Add a second cake round on top, and repeat the frosting circles. Add a third cake round and use the rest of your frosting to make the final rainbow frosting layer. Place the last cake round on top, press down gently, and make sure the sides of the cake are straight. Refrigerate the cake while you prepare the meringue topping.
- Combine the egg whites and the granulated sugar in the bowl of a large stand mixer, and whisk them together. Choose a small saucepan that lets you fit the base of the stand mixer snugly into the top of the saucepan—this is your makeshift hot water bath. (Alternately, you can use a different bowl or an actual bain marie and then transfer the mixture to a mixing bowl once it’s heated.) Add an inch of water to the bottom of the saucepan, and bring the water to a simmer.
- Place the mixing bowl on top of the saucepan, making sure that the bottom isn’t in contact with the water, and heat the egg white mixture. Whisk frequently so that the egg whites don’t cook. Continue to heat the whites until they are hot to the touch, and when you rub a bit between your fingers, you don’t feel any grittiness from the sugar. Once the whites are hot, transfer the mixing bowl to your mixer and fit it with a whisk attachment.
- Beat the whites on medium-high speed until they are a shiny, stiff, voluminous meringue, and are no longer warm to the touch—feel the outside of the bowl, and make sure that it is around room temperature. Add the vanilla extract and salt and mix them in.
- Pile a big cloud of meringue on top of the cake, and gently cover the tops and sides with the fluffy meringue. Use a spoon or spatula to create big swoops and swirls in the meringue.
- Place the fondant rainbow on top of the cake, and stick two wooden skewers behind it to prop it up vertically. Scatter the gold chocolate coins around the bottom of the cake. For the best taste and texture, this cake is best enjoyed at room temperature the same day it is made, but it can be kept for several days in the refrigerator. (The meringue on the outside will get chewier as the days go on.) The assembled cake can also be made several days in advance and kept, wrapped in plastic wrap in the refrigerator, until you’re ready to add the meringue and serve it.
Video
Recipe Notes
Measuring Tips
Our recipes are developed using weight measurements, and we highly recommend using a kitchen scale for baking whenever possible. However, if you prefer to use cups, volume measurements are provided as well. PLEASE NOTE: the adage “8 oz = 1 cup” is NOT true when speaking about weight, so don’t be concerned if the measurements don’t fit this formula.
Want to learn more about baking measurements and conversion?
Nutrition
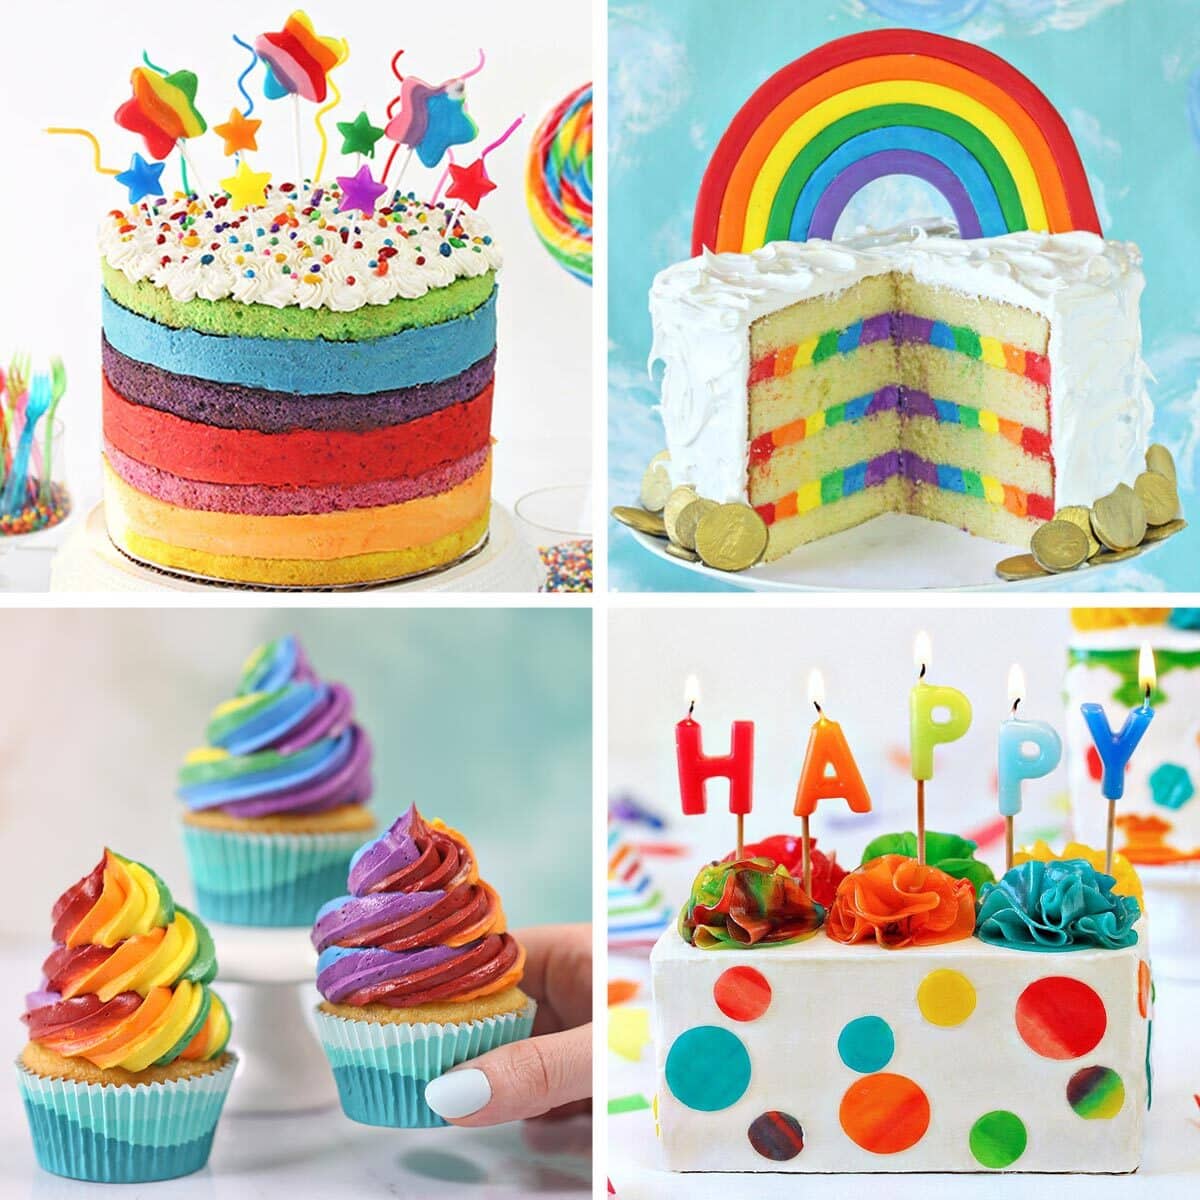
🌈 COLORFUL RAINBOW DESSERTS 🌈
We’ve rounded up 23 of our FAVORITE rainbow dessert recipes & ideas that are sure to make you smile — click here to get all the recipes!









Hello, the cake looks sooo amazing!
I tried to do it yesterday. It Was…okay for the First time and with a baby in the kitchen 😉
But i have a question:
Is the fluffy white stuff outside soft or will it “dry”? My one is soft. It is mjammi but not so easy handle….
Happy Easter and greetings from germany
Hi Annika! Happy Easter to you as well. 🙂 Also big applause for baking with a baby in the kitchen, I remember those days and it was almost impossible for me, haha. The white frosting on the outside is sometimes called “marshmallow frosting” and it does not crust over and get hard like some buttercreams do – it’s meant to stay light and fluffy like a soft marshmallow. However, it *should* dry out so it’s not sticky to the touch, and it should be fairly easy to slice through without destroying the cake. If you’re finding it’s very sticky still, my guess is it could have used a little more time mixing before using it to frost the cake. Another common possibility is if your area has high humidity – that can make even the best-prepared meringue too sticky and/or weepy. I hope you still enjoyed the taste and that you had a wonderful holiday!