
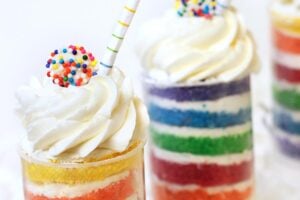


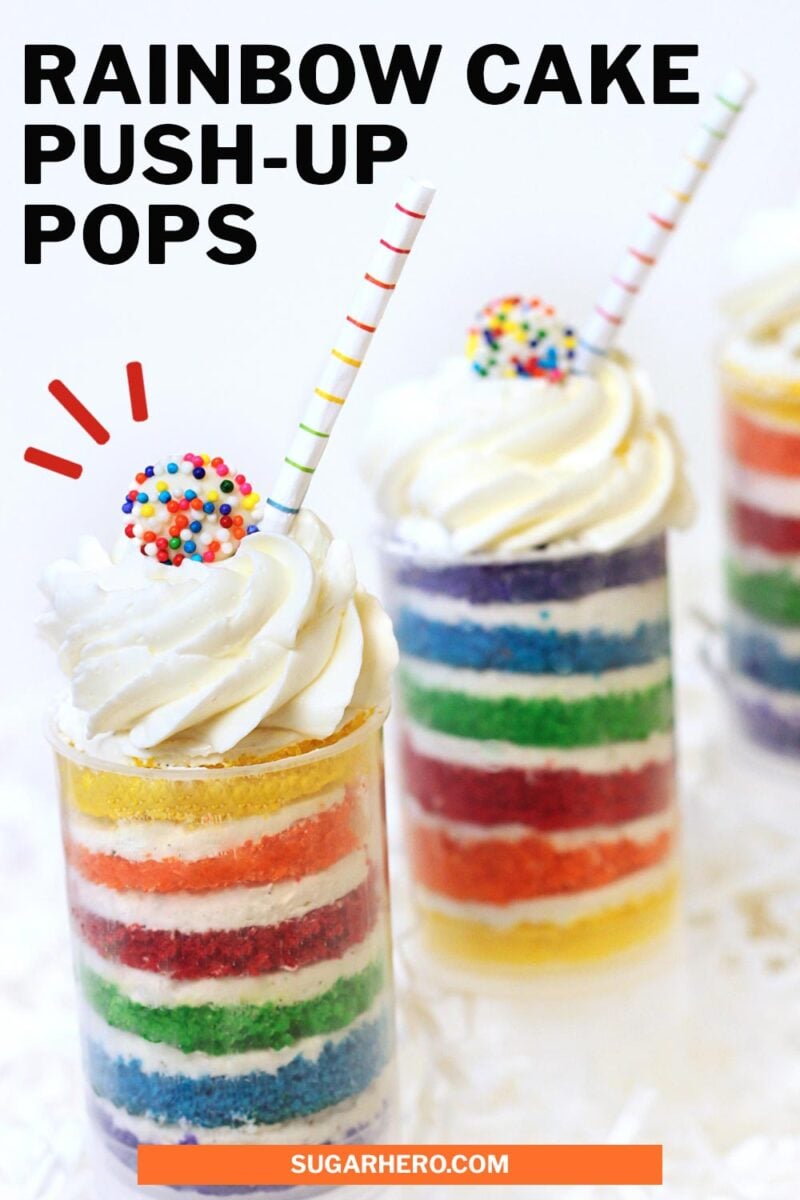
Rainbow Cake Push-Up Pops are bright, cheerful, and a fun twist on the usual cake and buttercream! Layers of rainbow cake and vanilla frosting are served in push-up pop containers. They’re small, single-serving, and portable, perfect for parties!

Is it tacky to throw yourself a party? I hope not, because that is totally what I am doing today. Pointy hats and sugary treats all around!
I first heard of cake push-up pops almost two years ago. They weren’t well known back then, and when I bought the containers I had major plans to rock the dessert blogging world with these newfangled inventions. Well, I fell in hate with my blog, then I had to spend three months learning how to build a new one while resisting the urge to throw my computer off the balcony, then the book and the baby happened…and now I’m way behind the trend. There’s even a whole cookbook on how to make them, for crying out loud.

I wanted to make something fun and whimsical and unusual for SugarHero’s first birthday, so I combined the idea of cake push-up pops with the spectacular rainbow cake I’ve seen around, specifically on Sweetapolita and Whisk Kid.

If I may toot my own horn, the pops turned out pretty darn cute. They’re visually striking, and they have the classic birthday cake flavor combination of butter cake and vanilla frosting. I have to be honest, though, and say that these were pretty time-consuming. So many layers! So many cake rounds to cut and assemble!
It was all worth it, though, because these cake pops are so fun, so cute, and so absolutely delicious. With their portable, single-serving size, they’re perfect for picnics and parties.

Anyhow, here’s to another fantastic year of SugarHero-ing. Here’s to frivolous desserts and insensible diets and sugar highs and more butter than you can shake a stick at. Don’t forget to check out my Gold-Topped Rainbow Cake and Rainbow Mousse Cake, I promise they are just as colorful and fun as these push-up pops! You’ll also want to take a look at this round-up of other magnificent rainbow-themed desserts!
🌈 More Rainbow Desserts You’ll Love
- Rainbow Frosting for Cupcakes
- Rainbow Cake with Rainbow Frosting
- Pastel Rainbow Gelatin Cups
- How to Make A Fondant Rainbow
- Pot of Gold Cupcakes
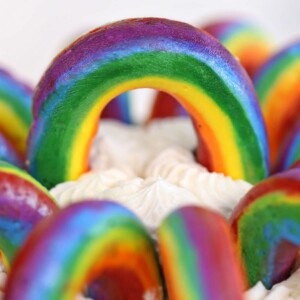
Buttercream Rainbows

Birthday Present Mini Cakes
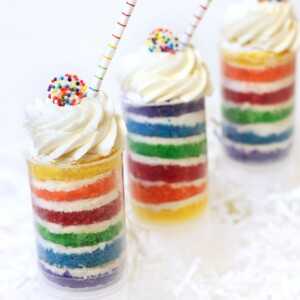
Rainbow Cake Push-Up Pops
Ingredients
For the Cake:
- 8 ounces unsalted butter, room temperature
- 2 1/3 cups granulated sugar
- 5 large egg whites, room temperature
- 1 tbsp vanilla extract
- 3 cups all-purpose flour
- 4 tsp baking powder
- 1/2 tsp salt
- 1 1/2 cups whole milk, room temperature
- Gel food coloring in six rainbow colors, I used Americolor. Don’t use liquid coloring! It won’t be strong enough.
- 24 cake push-up pop containers, available from Amazon or many other websites
For the Frosting:
- 10 large egg whites, room temperature
- 2 cups granulated sugar
- 1 pound unsalted butter, soft but still cool
- 1/2 tsp salt
- 1 tbsp vanilla bean paste, or vanilla extract
Instructions
To Make the Cake:
- Line as many 9×13 pans as you have with parchment, and spray with nonstick cooking spray. (I actually used 9” round cake pans, but I ended up having to split the cakes in half so all 6 colors would fit in the pops. Splitting the thin cakes was tricky, and I think just making one ultra-thin layer of each color in a 9×13 would be easier.) Preheat your oven to 350 degrees Fahrenheit.
- In a small bowl, combine the flour, baking powder, and salt, and sift together.
- Place the butter and the granulated sugar in the bowl of a mixer and cream on medium-high until light and fluffy. Add the egg whites one at a time, beating well after each addition. Add the vanilla extract and mix it in.
- With the mixer on low speed, add a third of the flour. Once it’s almost all incorporated, add half of the milk, then when that’s mixed in, add half of the remaining flour. Add the last of the milk, and once that’s gone, add the rest of the flour. Stop the mixer when it’s almost entirely mixed in, and do the rest by hand with a spatula, scraping the bottom and sides of the bowl to make sure everything’s incorporated.
- Divide the batter into 6 even portions (this is easiest to do with a kitchen scale—weigh the total amount of batter, then divide by 6). Add enough gel food coloring to each portion to make a vibrant color—don’t be skimpy!
- Pour the batter into the prepared pan(s) and bake until set in the middle, about 10 minutes. (It will be closer to 15 if you are using 9” rounds instead.) Let them cool for 10 minutes, then flip them out and let them cool completely. If you need to re-use the pans to bake off more colors, wash the pans and parchment/spray them, then repeat the process until all of your cake layers have been baked.
To Make the Frosting:
- Combine the egg white and sugar in the metal bowl of a stand mixer. Bring an inch of water to a simmer in a saucepan that fits snugly on the bottom of your mixing bowl. Make sure that your water level is low enough that when you place the mixing bowl on top of the saucepan, the water doesn’t touch the bottom of the pan.
- Whisk the egg whites/sugar over the simmering water bath until the whites are hot and the mixture has started to increase in volume and turn opaque. When you rub the egg whites between your fingers, the sugar should be completely dissolved and should not feel gritty at all.
- Transfer the mixing bowl to the stand mixer and beat with a whisk attachment on medium-high speed until the whites are voluminous, shiny, and smooth. Beat them until they are not warm at all.
- Add the soft but slightly cool butter to the whites a tablespoon at a time. As you continue to add the butter, the whites will deflate, and might even look curdled or broken. Don’t worry! As long as you waited until the whites were cool, everything is fine. After all of the butter has been added, increase the mixer speed and beat for a few minutes, until the frosting smoothes out and comes together. Add the pinch of salt and vanilla extract and mix well. If for some reason it remains curdled, refrigerate the bowl for about 10 minutes, then beat on medium-high speed until it comes together.
To Assemble the Push-Up Pops:
- Spread a thin layer of frosting on top of each cooled cake layer, about the same thickness as the cake itself. Refrigerate or freeze the cake layers until firm. Freezing is much faster, but requires a large amount of freezer space! (The purpose of this step is to create a very clean, even layer of frosting between each cake round. It can be skipped in favor of just piping in frosting, see Variations below.)
- Once firm, use a round cutter slightly smaller in circumference than the push-up containers to cut 24 circles out of each color of cake/frosting. If you don’t have a cutter the right size, you can use the bottom plunger to cut out circles. It’s not as sharp as a metal cutter, so the cuts won’t be as clean, but it will still work.
- If the frosting has softened during the cutting stage, return the cakes to the refrigerator or freezer until it is firm again.
- Now begin assembly. Push the plunger up to the top of the container, and lay a cake/frosting round in it. Lower it slightly, and put a different color on top. Continue to lower the plunger and add cake layers until all six colors have been added. Push down to compact the layers and meld them together, if necessary.
- After all of the pops are assembled, take the remaining buttercream and pipe a swirl on top of each one.
Recipe Notes
Measuring Tips
Our recipes are developed using weight measurements, and we highly recommend using a kitchen scale for baking whenever possible. However, if you prefer to use cups, volume measurements are provided as well. PLEASE NOTE: the adage “8 oz = 1 cup” is NOT true when speaking about weight, so don’t be concerned if the measurements don’t fit this formula.
Want to learn more about baking measurements and conversion?
Nutrition
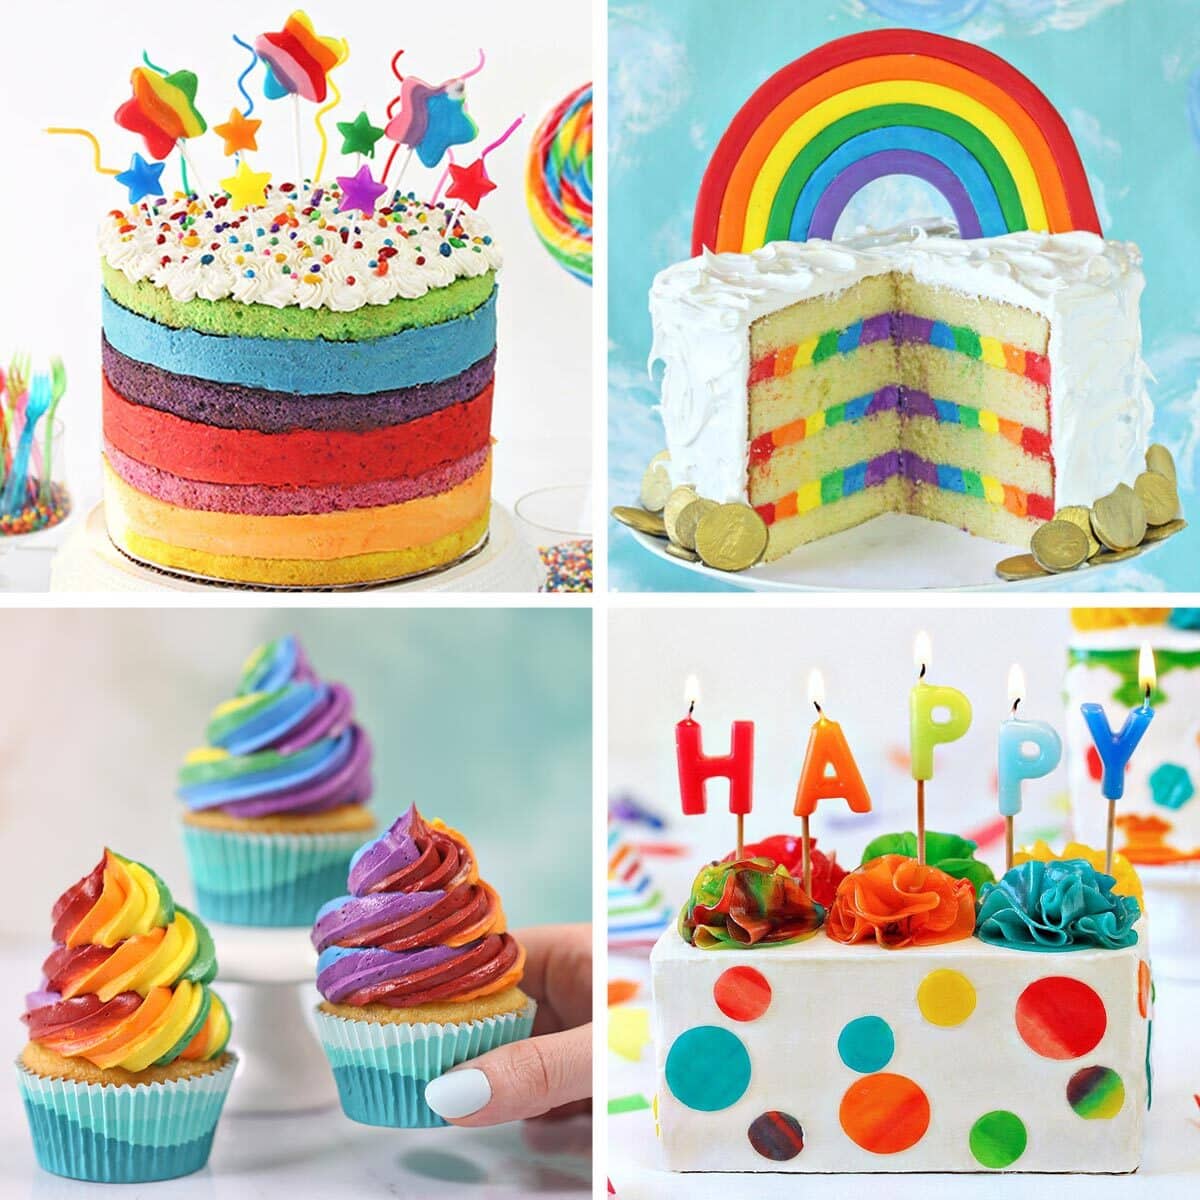
🌈 COLORFUL RAINBOW DESSERTS 🌈
We’ve rounded up 23 of our FAVORITE rainbow dessert recipes & ideas that are sure to make you smile — click here to get all the recipes!


Hi! I have a small bakery and love these! My customers do order pickup so I was wondering if you have any ideas on how to transport these without having to give each customer a plastic holder? Would they be okay on their sides with the tops on?
Thank you!
Jen
Hi Jen. So glad you are enjoying the recipe. Sounds like you have a great thing going for yourself. I haven’t tried transporting them that way but it could work. Maybe make a small batch and test it out to see what you think? Best of luck!