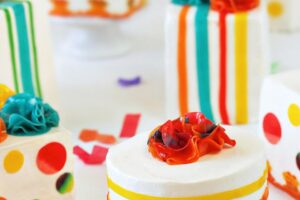
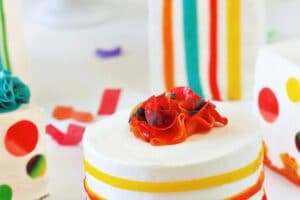
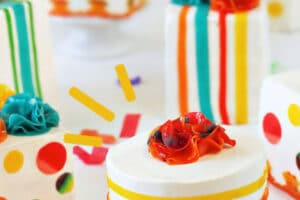

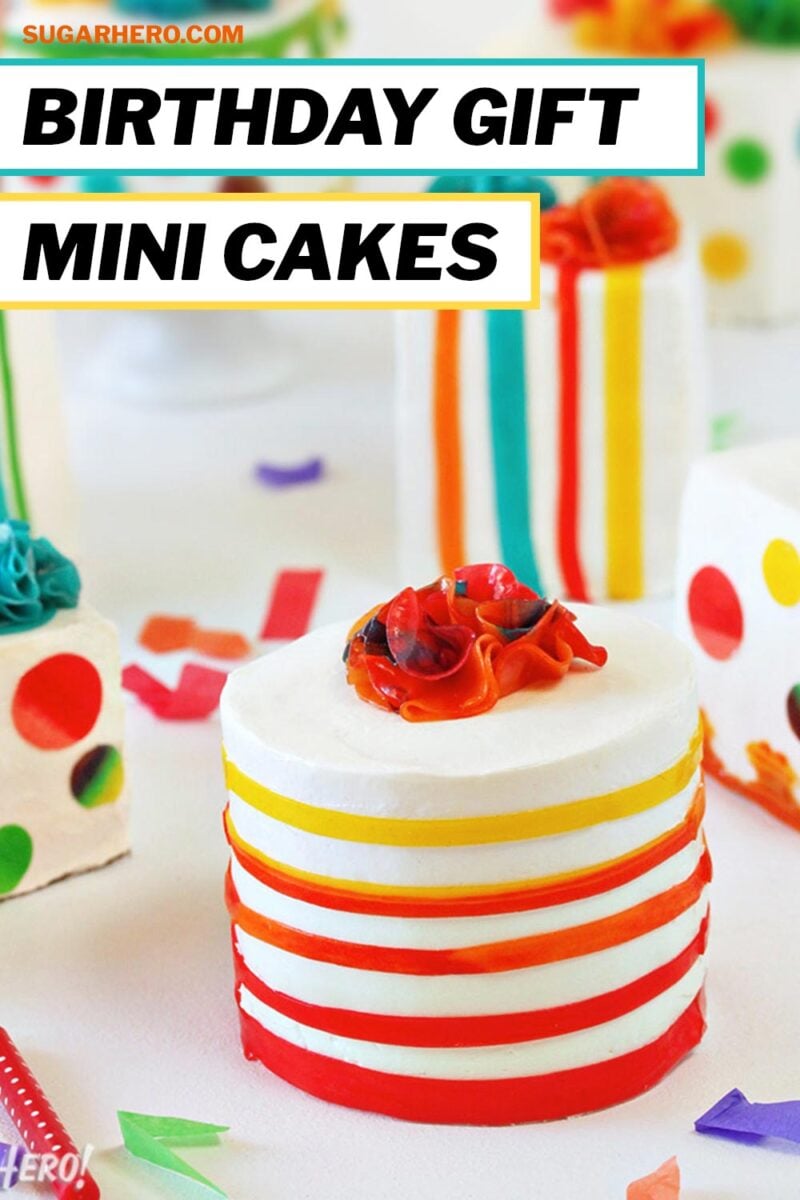
These cute Birthday Present Mini Cakes are decorated with fruit roll-up pom-poms on top to look like mini gifts! The perfect layer cake for your next birthday party, or any fun celebration.

A Fun Birthday Treat
These mini birthday present cakes are the perfect example of a “SugarHero” dessert—playful, a bit unusual, colorful, and most importantly, fun. These sweet little cakes make me want to jump through the screen and simultaneously hug them and eat them, which is maybe the truest statement of purpose I’ve ever written.
Table of Contents

Decorating Cakes with Fruit Roll-Ups
Believe it or not, ALL of the decorations on these cakes are made out of Fruit Roll-Ups or Fruit by the Foot. The flowers on top were made using the technique in this excellent tutorial on Wedding Chicks. They’re actually really simple and oddly satisfying to put together, and the process goes quickly.
The polka dots were made using a few sizes of fondant cutters, and the fancy-ish border you see on a few cakes is just how the Fruit by the Foot came. At first I was annoyed that they cut designs into it, then I realized that it looked awesome when wrapped around a cake. Lemons from lemonade, people.

The downside of using fruit roll-ups? It’s really tough to find a variety of solid-colored Fruit Roll-Ups. I don’t know why they have to be so fancy and make all of their candy tie-dyed or marked with “temporary tattoos” or whatever, but finding some of the plain colors was difficult and required too many trips to different grocery stores.
Amazon sells a variety pack that has 4 different colors, and I finally found some in a mixed box with Gushers and Fruit by the Foot at my local Ralph’s. If you’re less obsessive about having a rainbow of colors on your cakes, your life will be much easier. Otherwise, happy hunting.

So Much Flavor!
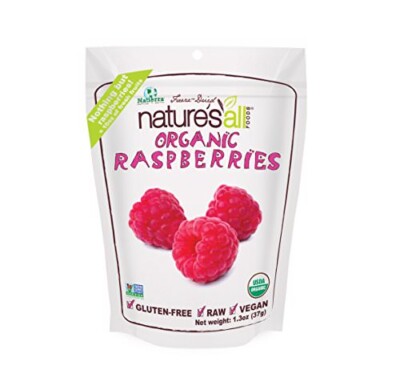
The cake itself tastes amazing–it’s a lemon pound cake with freeze-dried raspberries. Using freeze-dried fruit provides great raspberry flavor, without making the cake soggy like fresh berries would. It’s layered with pistachio buttercream, then covered in vanilla buttercream on the outside.
You can always use this same decorating technique on your cake and frosting combination of choice, so don’t feel limited by those flavors. Just grab some fruit roll-ups, and get ready to make birthday cake magic! Don’t forget to take a look at this fun round-up of spectacular rainbow themed desserts!
🎂 MORE FUN PARTY CAKES
- Circus Animal Cake
- Curious George Cake
- Mini Banana Split Cakes
- Watermelon Cake
- Rainbow Frosting For Cupcakes and Cakes
- Unicorn Cakes

Piñata Cake
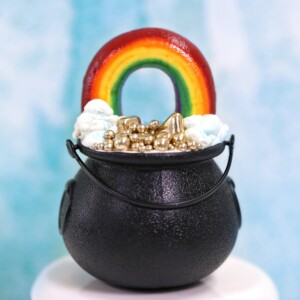
Pot of Gold Cupcakes
Leave a Review!
If you make this recipe, let us know! Leave a ⭐️⭐️⭐️⭐️⭐️ rating on the recipe below, and leave a comment, take a photo and tag me on Instagram @elabau, or use #sugarhero on IG!

Birthday Present Mini Cakes
Ingredients
For the Cake:
- 9.5 oz all-purpose flour, (2.25 cups)
- 1.5 tsp baking powder
- 1.5 tsp salt
- 2 TBSP lemon zest
- 12.25 oz granulated sugar, (1.75 cups)
- 8 oz unsalted butter, at room temperature
- 8 oz cream cheese, at room temperature
- 4 large eggs, at room temperature
- 1 tsp lemon extract
- 1.2 oz freeze dried raspberries, (about 1.25 cups)
For the Frosting:
- 9 large egg whites, at room temperature
- 14 oz granulated sugar, (2 cups)
- 1/4 tsp salt
- 1 lb unsalted butter, at room temperature
- 1 TBSP vanilla extract
- 2.25 oz pistachio butter, (1/4 cup) (see Note for substitution)
- Green gel food coloring
To Decorate:
- 3 boxes Fruit Roll-Ups, This includes a lot of waste due to cutting circles –the actual amount of candy that is used is much less.
Instructions
To Make the Cake:
- Preheat the oven to 350 F. Line a 13×18″ rimmed baking sheet with parchment, and spray the pan and parchment well with nonstick cooking spray. In a small bowl, whisk together the flour, baking powder, and salt, and set aside.
- Place the lemon zest and the sugar in the bowl of a large stand mixer, and rub them together between your fingers until the sugar is fragrant and has the texture of wet sand. Add the butter and cream cheese to the bowl. Fit the mixer with a paddle attachment, and mix on low speed until combined, then raise the speed to medium and beat until light and fluffy, about 3-4 minutes.
- Add the eggs one at a time, beating well after each addition, then add the lemon extract.
- Finally, turn the mixer to low, and slowly add the dry ingredients. Stop when just a few streaks of flour remain. Finish mixing the cake by hand, using a spatula to scrape the bottom and sides of the bowl well.
- Coarsely crush the freeze-dried raspberries (using either a knife or your hands is fine) and add them to the batter, stirring them in until well-mixed.
- Scrape the cake batter out into the prepared pan and spread it into an even layer. Bake the cake for about 20 minutes, until it is a light golden color, the top springs back when lightly pressed, and a toothpick inserted into the center comes out clean. Cool completely on a wire rack. The cake can be made several days in advance and kept, well-wrapped, at room temperature or in the freezer. If freezing, defrost partially before using.
To Make the Frosting:
- Combine the egg whites, granulated sugar, and salt in the bowl of a large stand mixer, and whisk them together. Choose a small saucepan that lets you fit the base of the stand mixer snugly into the top of the saucepan—this is your makeshift hot water bath. (Alternately, you can use a different bowl or an actual bain marie and then transfer the mixture to a mixing bowl once it’s heated.) Add an inch of water to the bottom of the saucepan, and bring the water to a simmer.
- Place the mixing bowl on top of the saucepan, making sure that the bottom isn’t in contact with the water, and heat the egg white mixture. Whisk frequently so that the egg whites don’t cook. Continue to heat the whites until they are hot to the touch, and when you rub a bit between your fingers, you don’t feel any grittiness from the sugar.
- Once the whites are hot, transfer the mixing bowl to your mixer and fit it with a whisk attachment.
- Beat the whites on medium-high speed until they are no longer warm to the touch—feel the outside of the bowl, and make sure that it is around room temperature. Depending on your mixer and the temperature of your environment, this may take 10-20 minutes, or more.
- Reduce the speed to medium-low and add the softened but cool butter in small chunks, a tablespoon at a time, making sure to wait in between additions. It may separate or look a little gloopy at this point—fear not. Once all of the butter is added, increase the speed again and whip until it comes together and is light and fluffy. If, after 5 minutes, it hasn’t come together, refrigerate the mixing bowl for 5-7 minutes, to cool the mixture down, and whip it again.
- Once the butter is fluffy, add the vanilla extract and mix until well-blended. Separate out about two-thirds of the buttercream, and to the remaining third, add the pistachio paste and a drop or two of green food coloring, and mix until well-blended.
- The buttercream can be made in advance and kept at room temperature if you’re going to use it the same day, or refrigerated. If it’s been chilled, let it sit at room temperature until it softens, then re-whip it to get the fluffy texture back before you use it.
To Assemble:
- Cut the cake in half widthwise, so you have two rectangles that are about 7”x9”. Place one half on a cake board, and spread the pistachio buttercream on top of the cake, then place the second cake layer on top.
- Cut the large cake into four smaller cakes – squares are easiest, but you can also experiment with circles or rectangles if you want a variety. Cut cake boards to size, and put one under each mini cake.
- Run a spatula around the sides of the cakes to smooth out any pistachio frosting that is sticking out. Spread a very thin layer of vanilla buttercream on the top and sides of the cakes, and refrigerate until the frosting is firm, about 30 minutes.
- Spread the remaining vanilla buttercream over the top and sides of the cakes. Use an angled spatula or bench scraper to get the sides even and the corners neat. (Don’t worry if they're not perfect—you can cover up any bad spots with polka dots or stripes!) Refrigerate the cake again to firm up the frosting.
- Cut out circles, long ribbons, or other shapes from sheets of Fruit Roll-Ups. Press them into the sides of the cake. If you need the Fruit Roll-Ups to stick to themselves, dab them with a small amount of water. The Fruit Roll-Ups will start to get sticky after sitting on the frosting for a few hours, so this decoration is best added right before the cakes will be eaten.
- For the best taste and texture, enjoy these cakes at room temperature.
Recipe Notes
Measuring Tips
Our recipes are developed using weight measurements, and we highly recommend using a kitchen scale for baking whenever possible. However, if you prefer to use cups, volume measurements are provided as well. PLEASE NOTE: the adage “8 oz = 1 cup” is NOT true when speaking about weight, so don’t be concerned if the measurements don’t fit this formula.
Want to learn more about baking measurements and conversion?
Nutrition
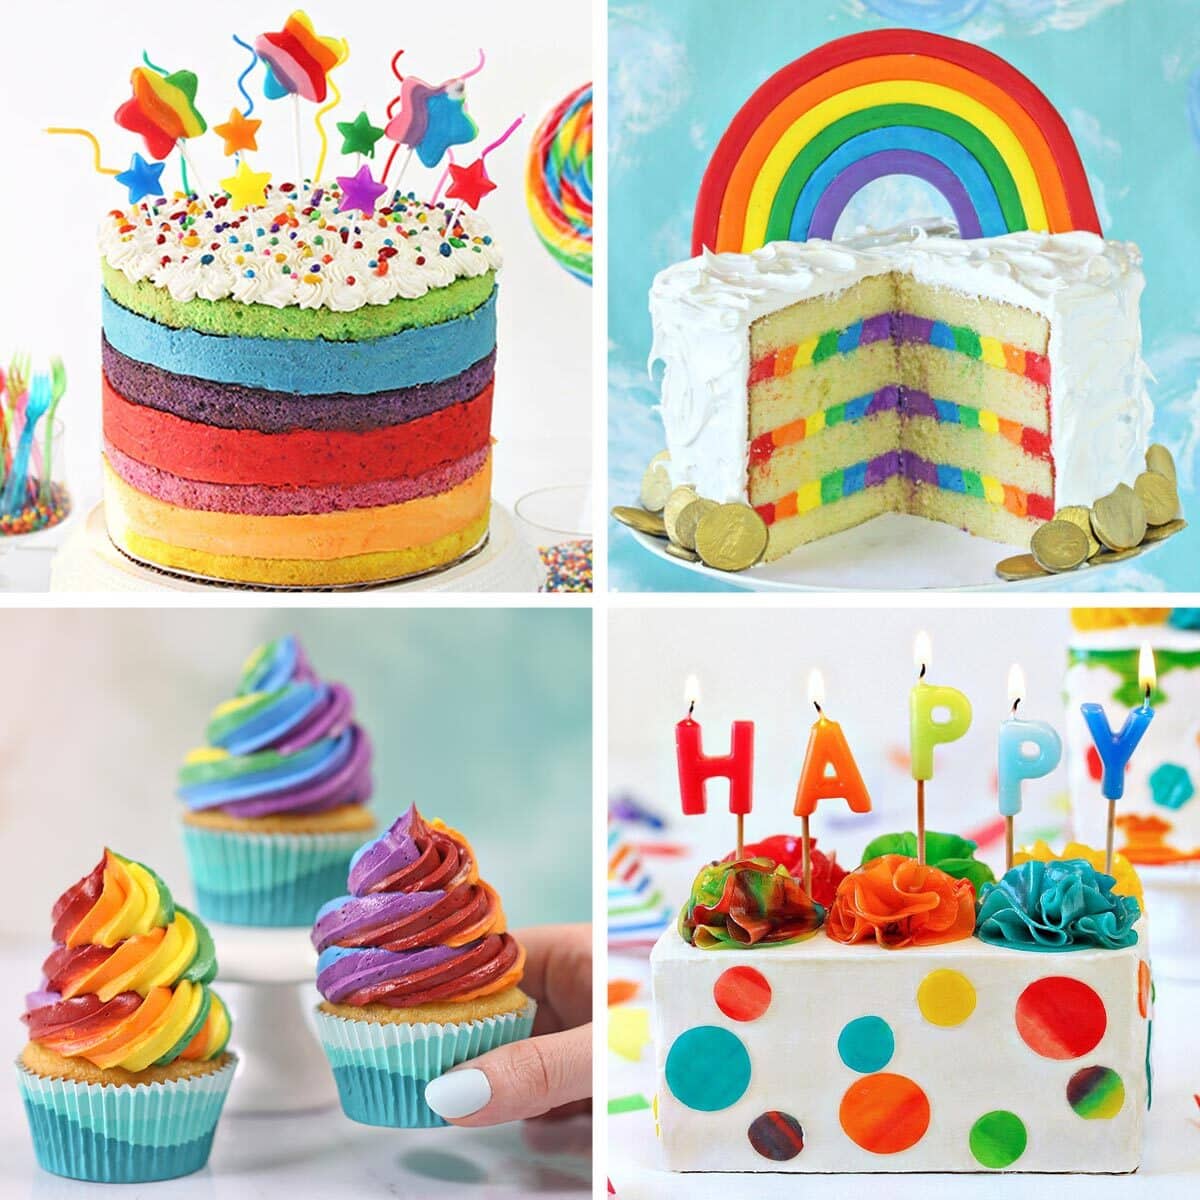
🌈 COLORFUL RAINBOW DESSERTS 🌈
We’ve rounded up 23 of our FAVORITE rainbow dessert recipes & ideas that are sure to make you smile — click here to get all the recipes!


Omg these cakes are so adorable!! I can’t wait to make them for my kid’s birthday coming up!
Thanks Anjali! They would be perfect for a kid’s birthday!
Oh my goodness. What a treat it was to read through this post. I loved using the fruit roll ups to decorate.
Thank you so much! I thought the fruit rolls were a fun addition, they finish the cakes perfectly!
These mini cakes are beyond adorable! And I just love the fruit roll-up pom poms!
Hi Gwynn! I’m so glad you enjoyed the roll-up pom poms as much as I do 🙂
These are so so cute! My kids loved them and we got so many compliments about how unique they are! Thanks for a great recipe!
Yay! So glad you all enjoyed them! Thanks for your comment!
Colorful and creativity at its best. Love your work and your recipe too.