


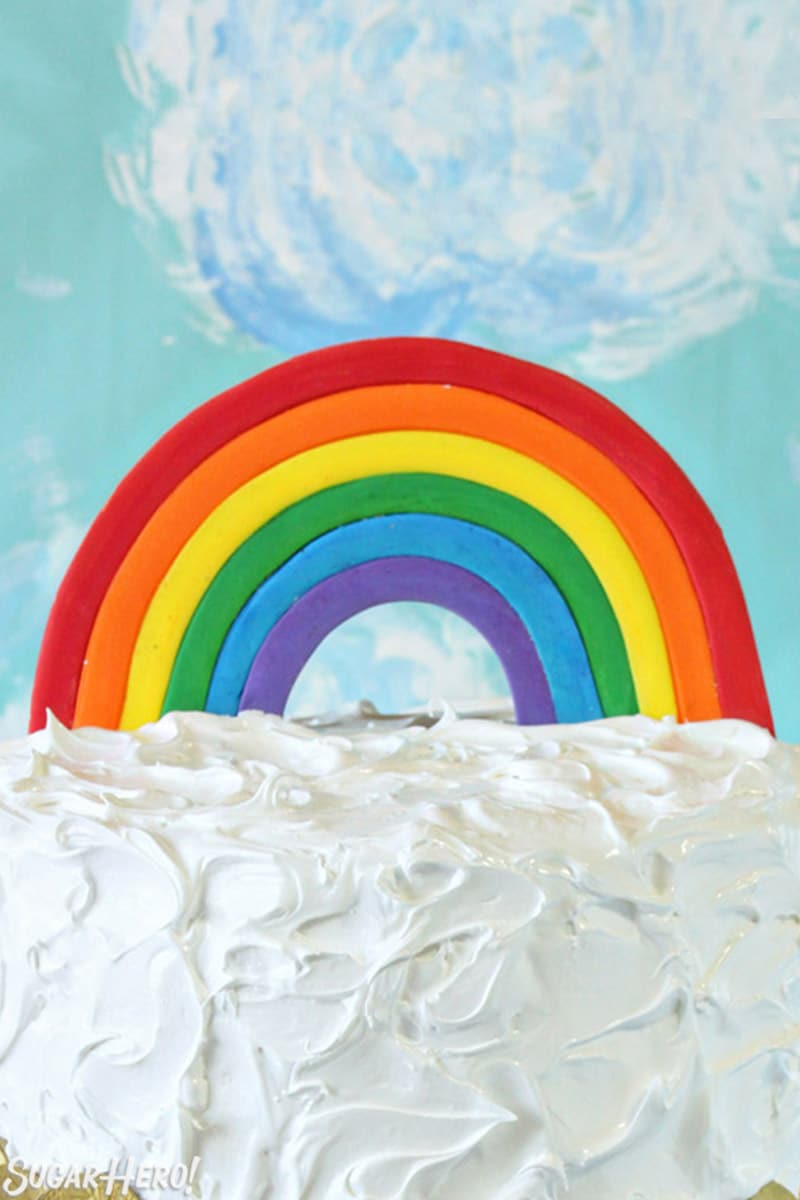
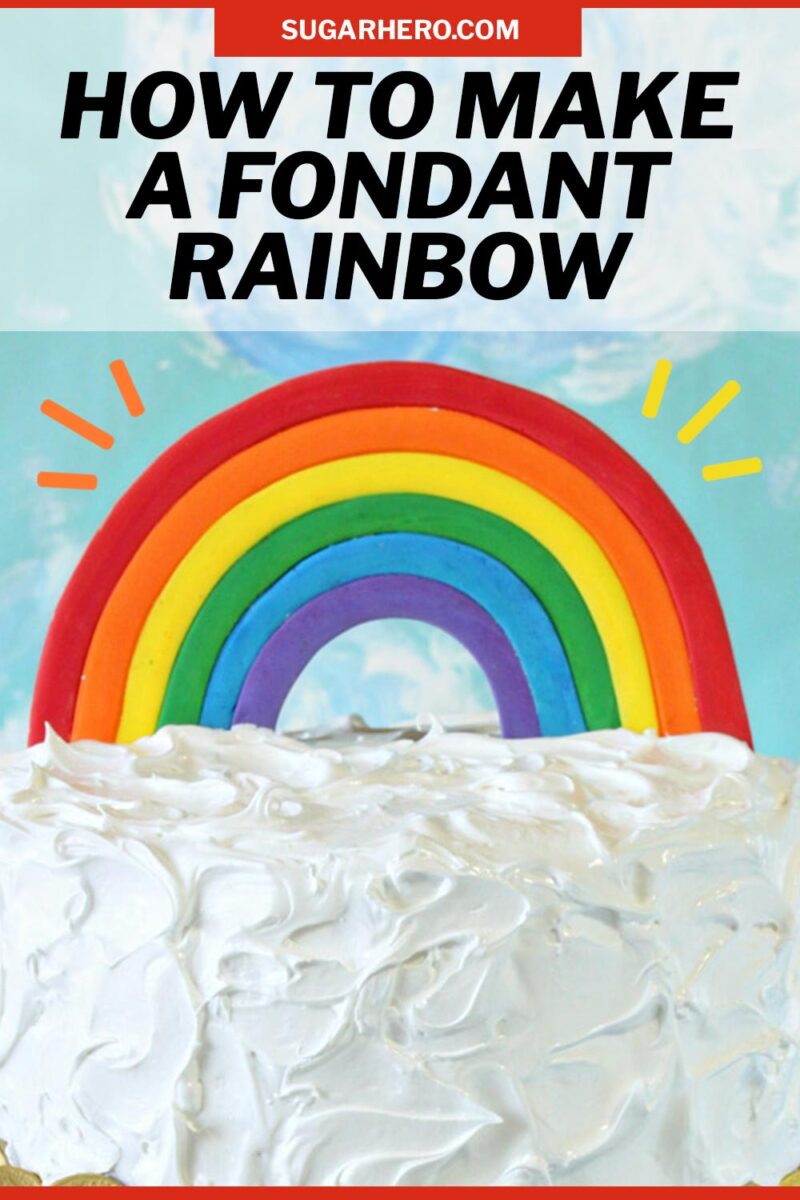
Want to make a rainbow cake? Then you might want a rainbow cake topper as well! This homemade fondant decoration is easy, bright, colorful, and so fun! Make it for birthdays, St. Patrick’s Day, or a rainbow party!
The rainbow cake trend has been going strong for years, and I don’t think it’s going away anytime soon. Rainbow cakes are perfect for fun and colorful parties, birthdays, St. Patrick’s Day celebrations, and so much more!
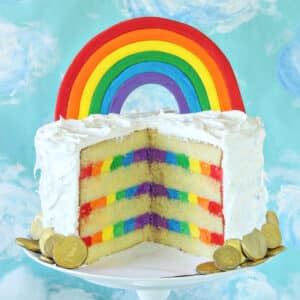
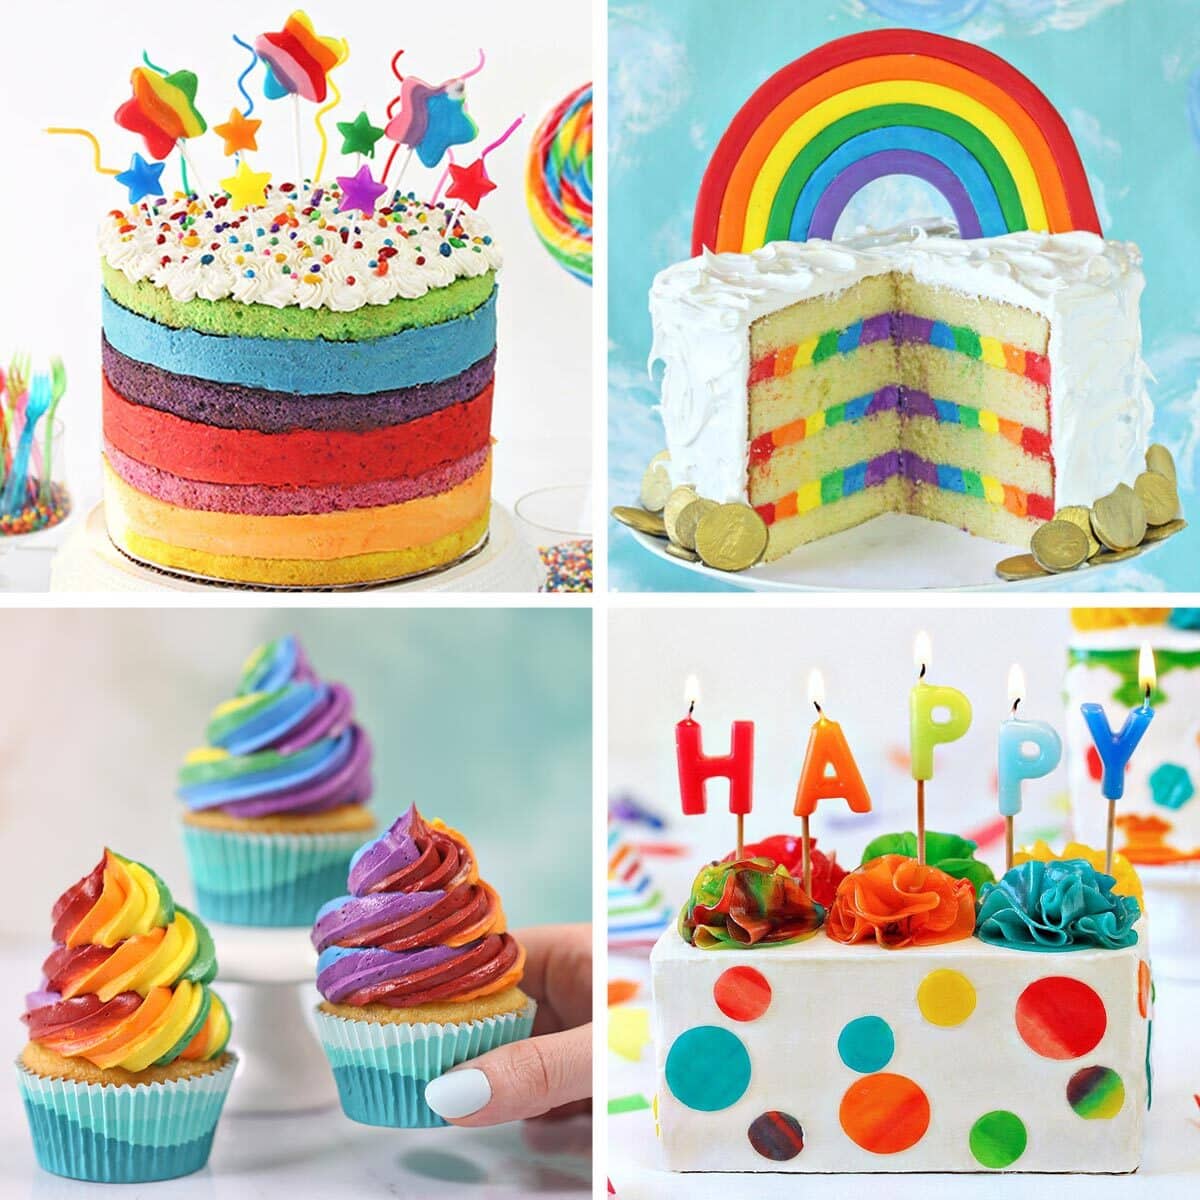
There are a million different ways to make a rainbow cake. You can color each individual cake and filling layer a different color, like in this Rainbow Mousse Cake, or you can go crazy with rainbow buttercream along the outside of the cake, like in this Pot of Gold Rainbow Cake.
OR you can make a fondant rainbow cake topper (like in this here tutorial!) and stick the rainbow on any cake you’d like! You can put it on a homemade rainbow cake (try my rainbow cake recipe here), or if you’re short on time, it’s also an easy way to make a store-bought cake POP. Let’s do this!
P.S: If you’re not a fan of fondant, try these rainbow toppers made entirely of buttercream, seen on these cute Pot of Gold Cupcakes.

What You Need
The list of ingredients for making this fondant rainbow is just as short as you imagined:
- White fondant–homemade or store-bought
- Gel food coloring
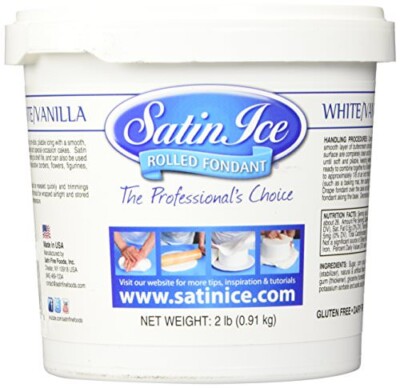
And that’s it! For fondant, I usually prefer to make my own marshmallow fondant. If I’m buying fondant, I stick with Satin Ice brand as a matter of personal preference (it actually tastes GOOD!). But if you have another brand available, just about any fondant should work fine. We’re not sculpting intricate figurines or draping it over cakes, so we don’t have to worry about performance too much.
For gel food coloring, I love Americolor brand. To create this rainbow, I used the colors Super Red, Orange, Lemon Yellow, Leaf Green, Sky Blue, and a mix of Electric Purple and Regal Purple.

How to Color Fondant
Here are a few tips and tricks if you’re new to coloring fondant:
- Wear gloves! Unless you want your hands to be as colorful as your fondant rainbow, wear food-safe plastic gloves when coloring fondant. I often buy mine on Amazon, but I have also seen them in the cleaning section of Target. Your hands will thank you!
- Before you begin, knead your fondant until it is smooth and supple. Dust it with powdered sugar if necessary if it starts to get sticky.
- Divide the fondant into as many different colors as you need. (In this case, we’re doing 6 rainbow colors). Make 2 a little bigger than the others for the 2 outermost colors on the rainbow–they will require more fondant. Wrap the fondant you’re not using in plastic wrap so it doesn’t dry out.
- Take the piece of fondant you want to color and flatten it into a disc shape in your palm. Place a few drops of gel food coloring in the center of the disc, then pinch the edges together so the color is in the center of the fondant ball.
- Begin to knead the fondant between your hands. As you work it, you will start to see streaks of color show through the white fondant.
- Continue to knead the fondant like bread dough on a work surface sprinkled lightly with powdered sugar. Knead until the color is smooth and consistent. If you need to add more coloring, add a bit at a time to avoid going too dark all at once.
- Wrap the colored fondant in plastic wrap while you color the other fondant. I like to start with my lightest colors and gradually get darker, so I can use the same pair of gloves for as long as possible without worrying about contaminating the fondant I’m coloring.

How to Make A Fondant Rainbow Cake Topper
Once all of your fondant is colored, it’s time to get down to business! Dust a work surface and a smooth rolling pin with powdered sugar.
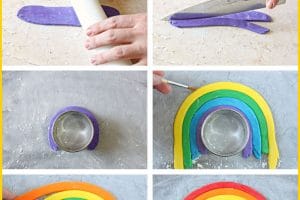
Starting with the purple fondant, roll it between your hands to make a long worm, then roll it out flat with a rolling pin until it is a strip about 1/4-inch thick.

Use a pizza cutter or a sharp knife to trim up the edges and cut the fondant into a strip about 1/2-inch thick.

Cover a baking sheet with parchment or waxed paper, and dust it liberally with powdered sugar. You will not regret going heavy on the sugar!
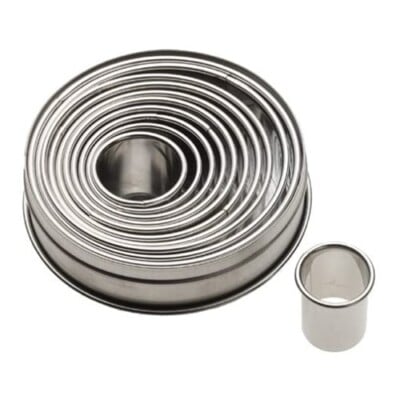
You’ll need something round to shape the fondant around. I like using a circular cookie cutter, but any round glass would also work. Place the cutter on the baking sheet, then mold your purple fondant strip around the cutter, using it as a guide to make the center of the rainbow round.

Repeat the process with the blue fondant, cutting out a 1/2-inch strip. Paint the side of the purple strip with a little corn syrup, and press the blue fondant into it to make them stick together. Continue to assemble the rainbow this way, sticking each color together with a thin layer of corn syrup.

When you finish the rainbow, remove the cutter from the center. The bottom of your rainbow likely looks raggedy (no shame in that!) so trim it with a sharp knife so that it’s a clean, straight line.

Drying the Fondant Rainbow
Now for the hardest part: waiting for the fondant rainbow to dry! You want the rainbow to be totally and completely dry and hard before putting it on a cake.
If you’ve planned ahead and made this rainbow well in advance, you can just keep it in a cool, dim, dry place and let it air dry. This could take 1-3 days, or possibly longer, depending on how thick your fondant was, how fresh (ie, soft) it was, and the humidity of your environment.
If you need to speed up the process, you can try hardening your fondant in the oven. This can be tricky and unpredictable, so I always recommend air-drying when time allows…but if you’re in a last-minute panic, give oven drying a try!
To harden fondant in the oven, turn on your oven light (not the oven itself, just the light inside) for at least 10 minutes. Place the fondant rainbow, still on the baking sheet, in the oven. The warmth from the light will speed up the drying process. Check the rainbow every 5-10 minutes to make sure it’s not getting puffed, cracked, or otherwise deformed, and leave it in for at least 30 minutes, then turn off the light and let it cool completely. It will be soft from the heat at first, but once completely cool, it will harden faster.
Alternately: if you have an oven with a warming drawer or the ability to go down to 150 F, you can dry your fondant pieces in there. Any higher than 150 F runs the risk of having the fondant puff or bubble up.

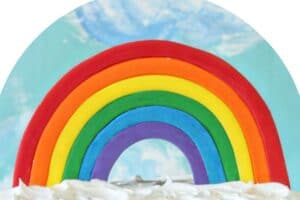
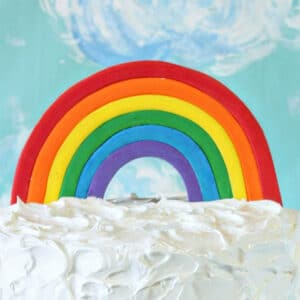
Adding the Rainbow Cake Topper to a Cake
Once your fondant rainbow is made and dry, the last step is adding it to a cake! Be careful while handling and transferring the topper, as it is large and somewhat delicate.
Place it on top of your frosted cake, and press down gently to embed it in the frosting. Insert 2 skewers behind the rainbow, one on each side, so that if it leans backwards a bit it is resting on something sturdy. For additional stability, you can dip the tips of the skewers in melted candy coating to help affix them to the back of the rainbow.
Want to make a full rainbow cake with rainbow topper? Click Here for the Rainbow Cake Recipe!
🌈 More Rainbow Desserts You’ll Love
- Rainbow Frosting for Cupcakes
- Gold-Topped Rainbow Cake
- Rainbow Mousse Cake
- Pastel Rainbow Gelatin Cups
- Rainbow Cake Push-Up Pops
- Buttercream Rainbows
Rainbow Cake with Rainbow Frosting
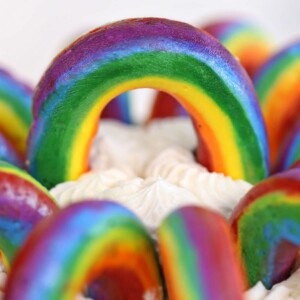
Buttercream Rainbows
Leave a Review!
If you make this recipe, let us know! Leave a ⭐️⭐️⭐️⭐️⭐️ rating on the recipe below, and leave a comment, take a photo and tag me on Instagram @elabau, or use #sugarhero on IG!
Fondant Rainbow
Ingredients
- 10 oz white fondant, I like using homemade marshmallow fondant
- Assorted gel food coloring, I like Americolor brand
- Powdered sugar
- Corn syrup
Instructions
- Dust your work surface with powdered sugar. If you have plastic food-safe gloves, now is a good time to wear them, so that your hands won’t get food coloring on them.
- Divide the fondant into 6 pieces. Press one piece into a disc, and put a few drops of yellow gel food coloring in the center. Fold the sides over the coloring, so you have a fondant ball, and knead it between your hands. Soon you’ll start seeing streaks of color come through the fondant. Continue to knead until the fondant is a uniform color. Add more food coloring if necessary, until you get a bright yellow. If at any time the fondant gets too sticky, dust your hands with powdered sugar. Repeat with the rest of the fondant balls until you have 6 rainbow colors.
- Roll out the purple fondant until it is a long strip a little thicker than 1/4-inch. Cut it into a 1/2-inch long strip. Place a round cookie cutter or glass a baking sheet covered with waxed paper and dusted with powdered sugar. Wrap the purple fondant around the cutter, using it as a guide to make the center of the rainbow round.
- Repeat the process with the blue fondant, cutting out a 1/2-inch strip. Paint the side of the purple strip with a little corn syrup, and press the blue fondant into it to make them stick together. Continue to assemble the rainbow this way, sticking each color together with a thin layer of corn syrup.
- When you finish the rainbow, remove the cutter and trim the bottom so that it’s a clean, straight line. Let the fondant rainbow sit for at least 2-3 days, until it is sturdy and firm. Flip it after the first day so that the bottom has a chance to dry out too. The fondant rainbow can be made weeks or even months in advance.
Video
Measuring Tips
Our recipes are developed using weight measurements, and we highly recommend using a kitchen scale for baking whenever possible. However, if you prefer to use cups, volume measurements are provided as well. PLEASE NOTE: the adage “8 oz = 1 cup” is NOT true when speaking about weight, so don’t be concerned if the measurements don’t fit this formula.
Want to learn more about baking measurements and conversion?
Nutrition
🌈 COLORFUL RAINBOW DESSERTS 🌈
We’ve rounded up 23 of our FAVORITE rainbow dessert recipes & ideas that are sure to make you smile — click here to get all the recipes!


I LOVE all the things you can do with fondant! I really wish more people would give it a try, because I honestly think it’s a genius product. It unlocked a whole new world of creating in the kitchen for me and I can’t wait to see what fun projects involving it are waiting for me in the future!
Thank you so much, Indya! I couldn’t agree more–fondant is such a fun baking tool and can produce such great results. I can’t wait to see what you create with it either!
Hi
When you air dry your fondant rainbow
How
Do you stop it from cracking?
Hi Sammy! I haven’t actually had a problem with this cracking. What kind of fondant are you using? Is it already very dry when you’re rolling it out?
Can you make the topper, say a week, in advance and if so, how do you store/keep it? In the fridge or Tupperware?
Yes, definitely! It’s actually better to make it in advance so it gets really hard/stable. Store it in a dry place — the fridge is probably too humid and will make the fondant sticky. Tupperware at room temp is completely fine.