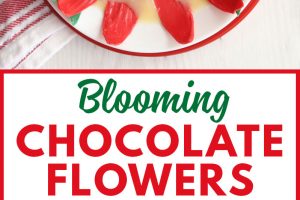
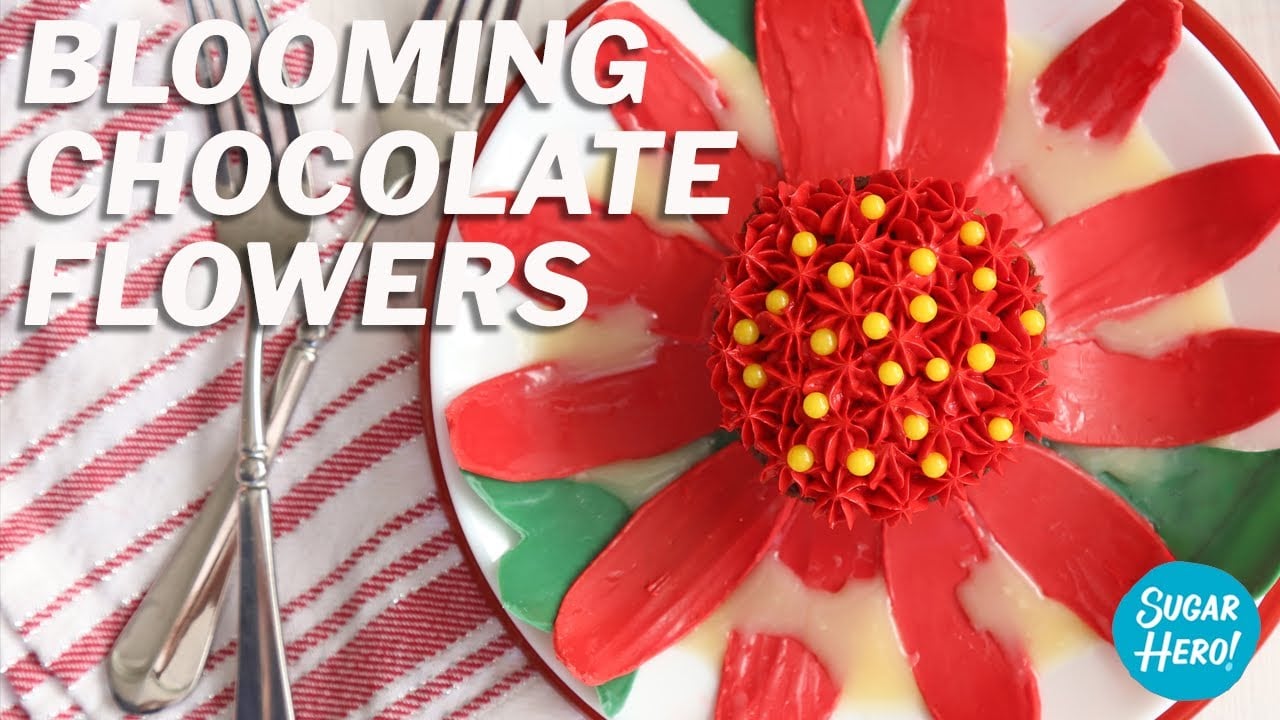
Are these Blooming Chocolate Flowers a dessert, a magic trick, or both? A brownie is encased in beautiful chocolate petals. When you pour hot ganache around the base, the petals fold open, revealing the flower inside. It’s edible art!

Blooming Chocolate Flowers Recipe
I’ve been captivated by the thought of an interactive, “blooming” dessert ever since I saw a version on Instagram a few years ago. The version I saw was by Portuguese chef Joaquim Sousa, and it was utter perfection. (You can see it here!)

It starts out as a tight chocolate sphere, every petal glossy and identical, opening with precision to reveal a gorgeous, multi-component dessert inside. I already considered most desserts magical (because sugar, duh) but this really took things to a whole new level!
Ever since I first saw that chocolate flower, I wanted to try it for myself. I actually attempted one earlier this year, but I tried to make a “cheaters” version that didn’t require any templates or precision, and was fast to throw together.
(Spoiler alert: blooming chocolate flowers are not something that you can just “throw together.”)
With that failure in mind, I spent several weeks this winter experimenting with different methods for making the petals, different sizes, and–toughest of all–the actual construction of the flowers themselves. My results aren’t quite as picture-perfect as Chef Joaquim’s, but they’re very do-able for the home cook, and they use tools that are easy to find (and that might be in your home already!)
And honestly, they still look super awesome. Check out this blooming flower in action!

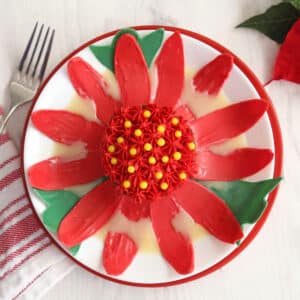
I was inspired by the poinsettias that are everywhere this time of year, so I opted for red petals, green leaves, and some pops of yellow peeking out from the brownie inside. These would be a fantastic way to end a Christmas meal–if you can’t go all-out with fancy desserts during the holidays, when can you?
They’re definitely not JUST for Christmas, however. Use a pastel palette to make spring flowers, or keep things traditional with plain chocolate petals instead. It’s a fun and flexible concept that works year-round!

How to Make Blooming Chocolate Flowers – Step by Step
I’m sure there are a lot of different ways to make these blooming chocolate flowers. I wanted to find a method that was relatively easy, very consistent, and didn’t require a lot of specialty equipment or a ton of time, and this is what I ended up with! If you want more options, the How to Cook That YouTube channel has a tutorial with a different method.

MAKING THE PETALS
The petals are the most important part, so we’ve got to get them right! I tried free-handing the shape to save on time, but I’m sorry to say, using a template is the way to go. These Blooming Chocolate Flowers look MUCH better when all the petals are a uniform size. Fortunately, I have a template for you!
Get the petal template here!
To form the petals, I used thick sheets of clear plastic I got from an office supply store. Acetate sheets for cake decorating are very similar, but they tend to be thinner, and for this application, thick, sturdy plastic is better. Wash them well with hot water and soap and you’re good to go!
You’ll need at least 2 sheets–one for the template, and one to form the petals on. I’d actually recommend using multiple sheets so you can make several batches at once, to speed up the process. Cut out the petal shapes from one sheet using a sharp razor, and layer it over the second.
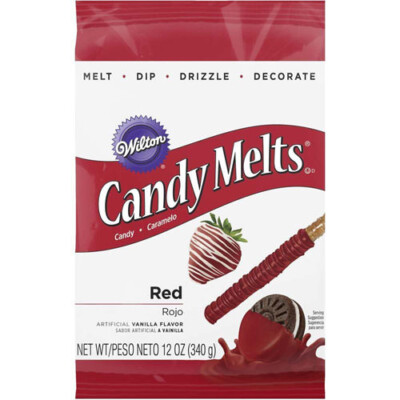
Melt red candy coating and spoon or pipe it in the petal shapes. Spread it out into an even layer, then carefully peel back the template.

Working quickly, while the candy coating is still wet, curve the sheet of plastic up into a cylinder and slide it into a 3-inch tube. I used a cardboard shipping tube, but you could use a length of pipe, or even roll up a poster board and tape it together to make a makeshift tube.
You can also play around with the size. I tried a 4-inch tube and found it a little large for the petals and dessert that I used, but experiment to see what works for you!
Keep making petals until you have as many as you need. I used about 11 per blooming chocolate flower, but you’ll always have a few that break or don’t work as well, so be sure to make some extras too.

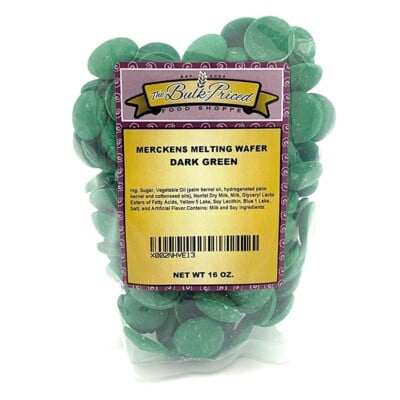
If you want your Blooming Chocolate Flower to have leaves, repeat this process with green candy coating and a leaf template. The leaves are strictly optional, but I included them to reinforce the Christmas/poinsettia vibes.

PEPPERMINT MOCHA BROWNIES
Let’s talk about what goes inside the Blooming Chocolate Flower! Most versions of this I’ve seen have a fancy, multi-component interior: macarons, sorbet, fresh berries, chocolate truffles, edible flowers…the list goes on!
I love to put on my fancy pants, but constructing the flowers themselves was plenty fancy for me, so I opted for a simpler choice: brownie cups. These brownies are flavored with espresso and mint extract to make a peppermint mocha flavor, and have chunks of peppermint bark baked right in.

To keep with the poinsettia theme, I topped them with some red buttercream and added yellow sugar pearls. You could do whipped cream and sliced fruit, or ganache, or anything else you’d like.

BLOOMING CHOCOLATE FLOWER ASSEMBLY
The assembly is the most important–and most time consuming–part. After a lot of trial and error, I found the easiest and least frustrating way to make these spheres is to use a mini springform pan to shape my flowers.
Set the brownie cup in the middle of a plate or shallow bowl, and pipe a thick layer of candy coating around the outside. Open a mini springform pan as wide as it will go, and set it around the brownie.
Working quickly, so the candy coating doesn’t set, start placing the petals around the brownie. Make sure the bottom of the petals is embedded in the melted coating, and angle them outward so the tops are supported by the top of the pan. Leave a little space in between them. You may want to break off the very bottom of the petals to give them a flat surface to rest on.
After you’ve added petals all the way around (I used 10-11 per flower), carefully close the springform pan, which will bring all of the petals inward. Adjust individual petals as needed–some will invariably try to slide around. Tweak them until your flower is perfectly round, then refrigerate the flower to set the coating.

If you don’t have mini springform pans, or a similar type of adjustable pan, you can make a makeshift collar out of foil. Fold a piece of heavy-duty foil into a long strip and tape it together around your brownie.
Once all of the petals are added, cinch the foil tighter and re-tape it.

Once the petals are set, open the springform pan as wide as it will go, and carefully slide it up and off of the chocolate flower. Now is not the time to sneeze!
To add the chocolate leaves, dip the tip of a leaf into melted red candy coating, and hold it up against the base of a flower. You can hold it there until it sets–which won’t take long if the plate is cold–or rest a knife on the plate with the back braced against the leaf. Add 3 leaves total, spaced evenly around the flower.
White Chocolate Ganache
Time for the saaaaaaauce! I made an easy ganache with white chocolate chips and heavy cream that added an extra bit of cheer to this recipe. The simplicity of the sauce compliments the rich peppermint and mocha flavors in the brownie. However, feel free to add a splash of peppermint flavoring if you want a little more mint flavor.
I used real white chocolate chips, which melt very smoothly. If you use “white chips” you might need to adjust the heavy cream to chip ratio to get a fluid sauce. You can also sub your favorite dessert sauce (dark chocolate ganache, creme anglaise, etc) instead!
Make sure your sauce is really warm–like, hot to the touch–and pour it around the base of the chocolate flower. Almost as soon as the hot sauce reaches the petals, they start to melt, and if luck and planning are on your side, they will gently fall open around the brownie in the center.
I found that about half the time, the flowers worked perfectly, and half the time, there were 1 or 2 petals that folded inward instead of outward. Not a big deal, and still incredibly beautiful and impressive to watch–but just a head’s up that it might happen to you!

These Blooming Chocolate Flowers are a labor of love, but they are such a fun and interactive dessert, they really are perfect for special occasions and holiday meals. Enjoy!
Pin the Blooming Chocolate Flowers Tutorial For Later:

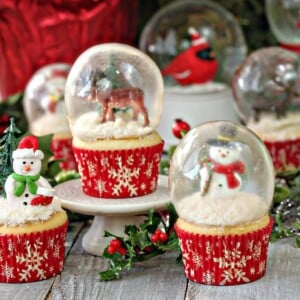
Snow Globe Cupcakes
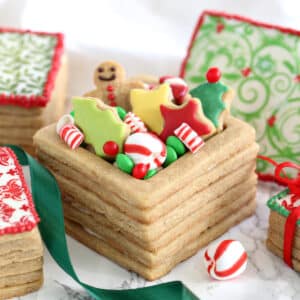
Edible Christmas Cookie Boxes Recipe
Leave a Review!
If you make this recipe, let us know! Leave a ⭐️⭐️⭐️⭐️⭐️ rating on the recipe below, and leave a comment, take a photo and tag me on Instagram @elabau, or use #sugarhero on IG!
Blooming Chocolate Flowers
Ingredients
For the Brownies:
- 1 box brownie mix, approx. 18 oz
- 2 tsp instant espresso powder
- Vegetable oil, as directed by package
- Water, as directed by package
- Large eggs, as directed by package
- 2 tsp mint extract
- ½ cup peppermint chocolate bark, coarsely chopped
- 1 ½ cups red frosting
- Yellow pearl sprinkles
For the Chocolate Petals:
- 24 oz red candy coating melts
- 10 oz green candy coating melts
For the White Chocolate Sauce:
- 20 oz white chocolate chips, or chopped white chocolate bars
- 1 ¼ cup heavy cream
Special Equipment:
- Acetate sheets, or thick plastic sheets
- Razor blade
- 3″ cardboard tube or pipe
- Mini springform pans
- Petal template
- Leaf template
Instructions
To Make the Brownies:
- Preheat the oven to 325 F. Spray a muffin pan (ideally a silicone muffin pan) with nonstick cooking spray.
- Whisk together the brownie mix and instant espresso powder, if using. Prepare the brownies according to the package directions, adding the quantities of oil, water, and egg(s) as the package directs. Add mint extract, and stir well until the brownie batter is smooth.
- Divide the batter evenly between 10 muffin cups, filling them 2/3 full. (You may get 12 brownie cups out of this depending on the size of your pan.) Bake at 325 F for 35-40 minutes, until a toothpick inserted into the center comes out clean. Cool completely.
To Make the Chocolate Petals and Leaves:
- Using a sharp razor, cut out petal shapes from one of the pieces of clear plastic. You can use the template provided, or draw your own shapes. If you are also making leaves, cut out leaf shapes from a second plastic sheet.
- Melt the red candy coating. Place the petal template on top of a second, uncut sheet of plastic. Pipe or spoon some red candy coating into each petal shape, and use a small offset spatula to smooth the coating into an even layer. Peel the top sheet away to reveal the petals underneath.
- Roll the plastic sheet with the petals up into a cylinder, and slide it into a 3-inch cardboard tube or pipe. Refrigerate until the coating is completely set, then slide the plastic back out and carefully remove the petals.
- Repeat until you have enough petals for all of your flowers. I used 10-11 petals/flower, but some do break during assembly, so it’s wise to make a few extras.
- After the petals are made, repeat this process using green candy coating and the leaf template, until you’ve made 3 leaves per flower, plus a few extras for breakage.
To Make the White Chocolate Sauce:
- Combine the white chocolate chips and heavy cream in a medium bowl. Microwave in 30-second increments, whisking well after every 30 seconds, until the sauce is completely melted and smooth. Give it a taste, and add a dash of peppermint extract if you’d like it a little more minty.
- Press a layer of cling wrap directly on top of the sauce in the bowl, and set it aside for now.
To Assemble:
- Place a brownie in the center of a plate at least 6” wide, with a lip to contain the sauce. Pipe red frosting stars on top of the brownie, and sprinkle yellow pearl sprinkles over the top.
- Pipe a ring of melted red candy coating around the base of the brownie. Open a mini springform pan as wide as it will go, and set it around the brownie. Work quickly during this next part so the candy doesn’t set.
- Take a red candy petal and set it inside the springform pan at an angle, with the bottom embedded in the melted candy at the base of the brownie, and the top resting against the side of the springform pan, radiating outward from the brownie. I like to break off the bottom of the petal tip just a bit, so that it has a flat surface to rest on.
- Place a second petal next to the first, with just a bit of space in between. (When you close up the petals in the center, they will naturally move a little closer together, so give them some breathing room.) Place petals all the way around the brownie—I used 10-11 petals per dish.
- After all the petals are placed, carefully close the springform pan so that the petals come together in a sphere. Adjust any that have shifted, then refrigerate the plate to set the candy coating.
- Once set, open up the springform pan again and carefully slide it up and over the chocolate flower. Pipe a bit of candy coating on the base of a leaf, and press it around the outside of the chocolate flower. Hold it until the coating sets, or set a knife on the plate against the leaf to hold it steady. Repeat twice more, until the chocolate flower has 3 leaves.
- Repeat with the remaining brownies and petals until all of your chocolate flowers are assembled.
- Heat up the white chocolate sauce until it is hot to the touch, and transfer it to a container with a spout. Pour about ¼ cup sauce around the base of each flower, so that it touches the bottom of the petals. Almost as soon as the hot sauce touches the petals, it will melt the candy coating and they should fall open around the brownie.
- Eat immediately, and enjoy!
Video
Recipe Notes
Measuring Tips
Our recipes are developed using weight measurements, and we highly recommend using a kitchen scale for baking whenever possible. However, if you prefer to use cups, volume measurements are provided as well. PLEASE NOTE: the adage “8 oz = 1 cup” is NOT true when speaking about weight, so don’t be concerned if the measurements don’t fit this formula.
Want to learn more about baking measurements and conversion?


Wow! I think this beautiful dessert came out spectacular Elizabeth!
Merry Christmas and Happy 2019 to you and your family!
Hey J, Thank you so much I really appreciate that. I hope you have a wonderful holiday season!
Adorable presentation of such a delicious chocolate dessert. I appreciate your fantastic work. Thanks for sharing one of the best desserts recopies.
Thanks so much!
I bet you saw the episode of “Martha Bakes” with guest chocolatier genius Jacques Torres. I simply ADORED it when he made the petals “bloom” revealing a cupcake or some other treat. What a BRILLIANT idea and not extremely difficult in the world of chocolate. I think working with chocolate in the manner which he does is without doubt THE hardest arena in the world of “baking” or sweet confectionery. There are an infinite number of things which can go wrong, far more than I believe exist when baking a cake or a pie. Anyone who can manipulate chocolate well, I applaud you. These are absolutely incredible and I congratulate you, doubly so if you created the idea on your own for making the look like a poinsettia. Well done, well done indeed. On one hand I regret not seeing these before this last Christmas but it wouldn’t have made any difference, I wouldn’t have had time to practice and work on the idea anyway. Now, by finding them less than 2 weeks after Christmas I can practice them through the coming months for next year. Perhaps I may try adapting them for a flower at Easter or a summer INDOOR function so they won’t melt on me. As Mary Berry is always reminding Paul Hollywood, chocolate melts in the pocket of a child, it doesn’t need much heat to melt it to the desired state to work with. (Another pair I just treasure, especially Mary Berry.
Thank you, Pamela! I didn’t see that episode of Martha Bakes, but I’ll have to see if it’s online–I love Jacques Torres, he is such a delight on Nailed It. I got the idea from the chef I mentioned in the post, but I’m sure there are a lot of other amazing chocolate flower versions out there as well. I think this would work very well with pastel colors for Easter/spring. Please keep me posted on your progress, and I’d love to see pictures!
This recipe looks unique and delicious <3 thanks for sharing