


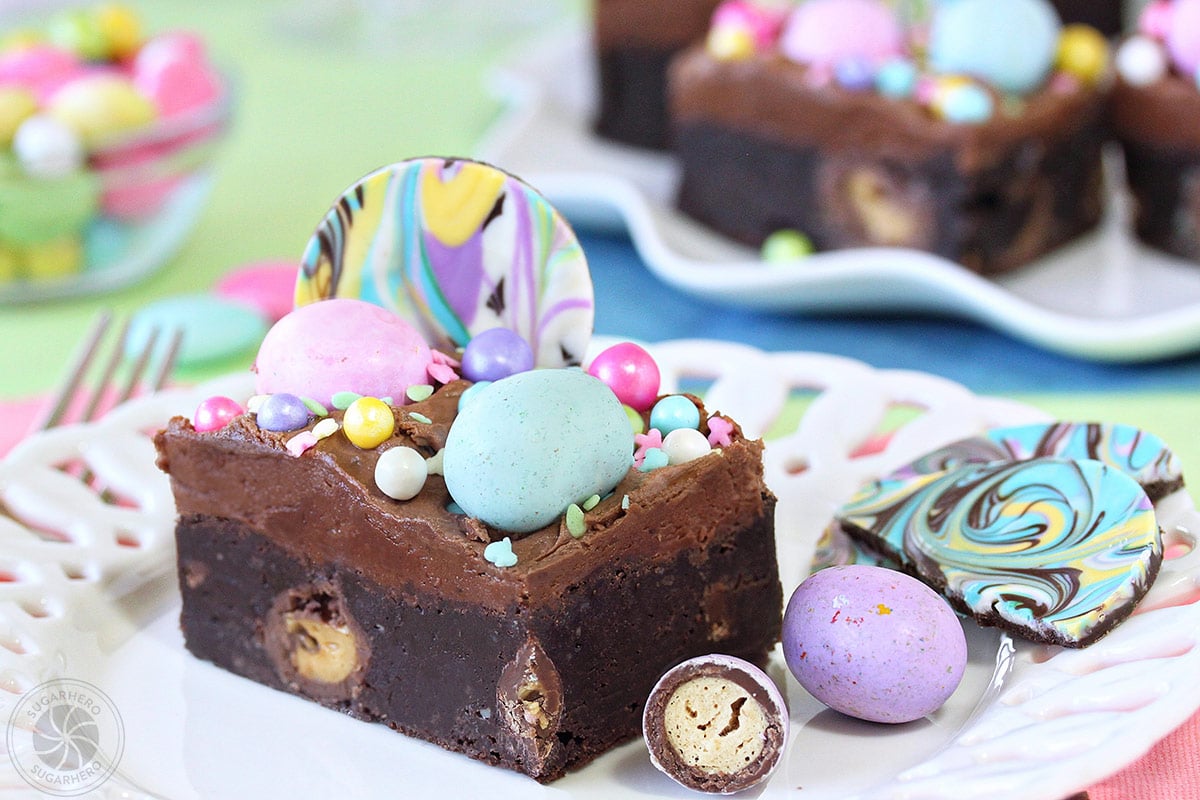
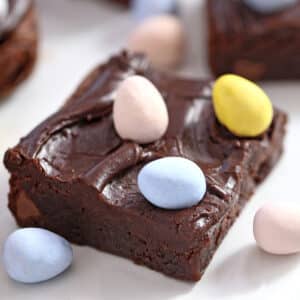
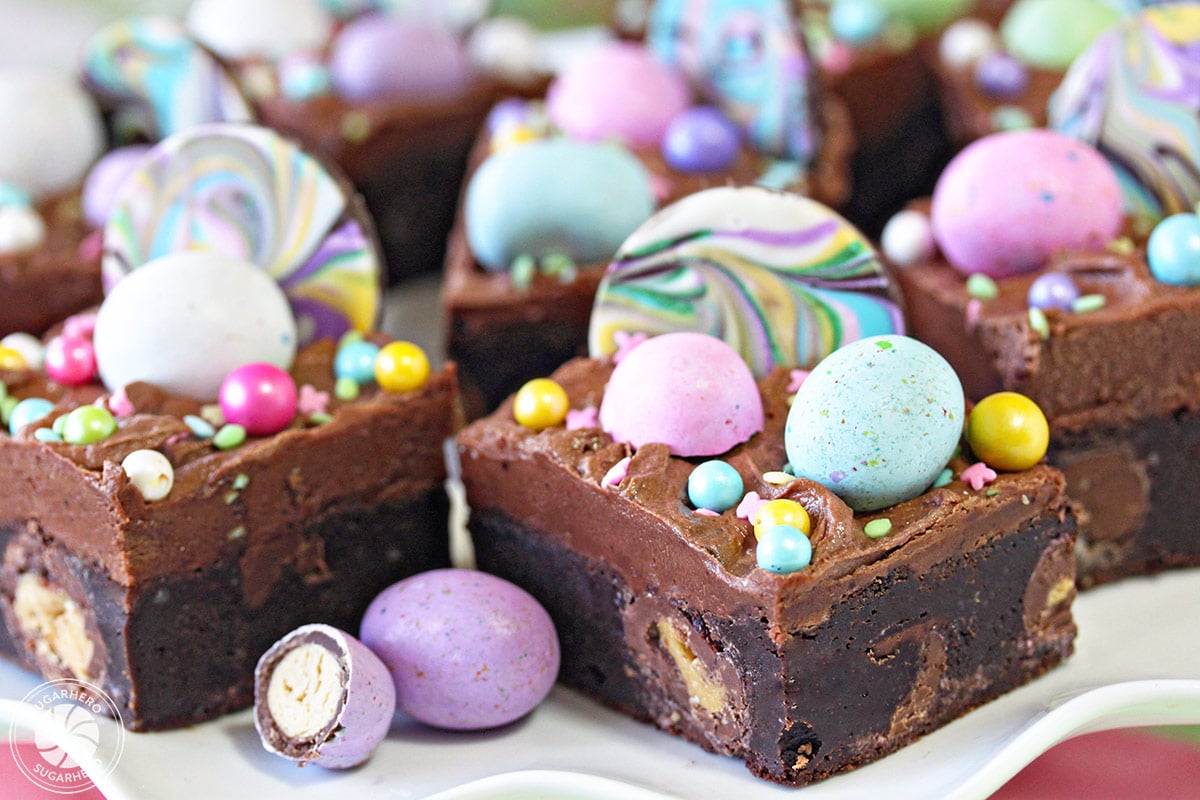
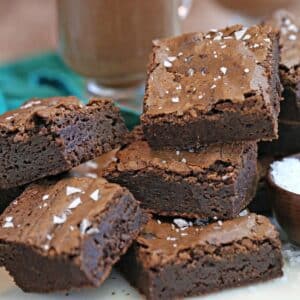
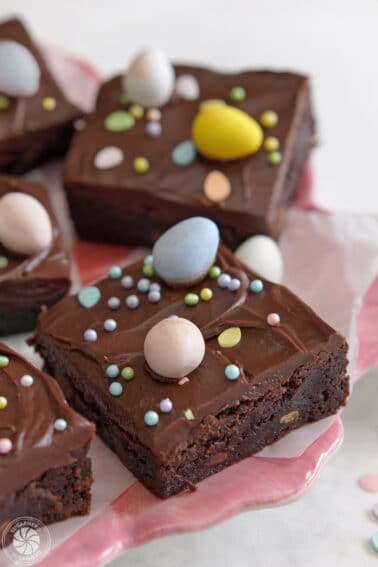
These Frosted Easter Brownies are ultra-fudgy brownies, packed with malted milk Easter egg candies and topped with chocolate frosting and LOTS of fun sprinkles and candies! They’re perfect for Easter, showers, and springtime birthday parties.

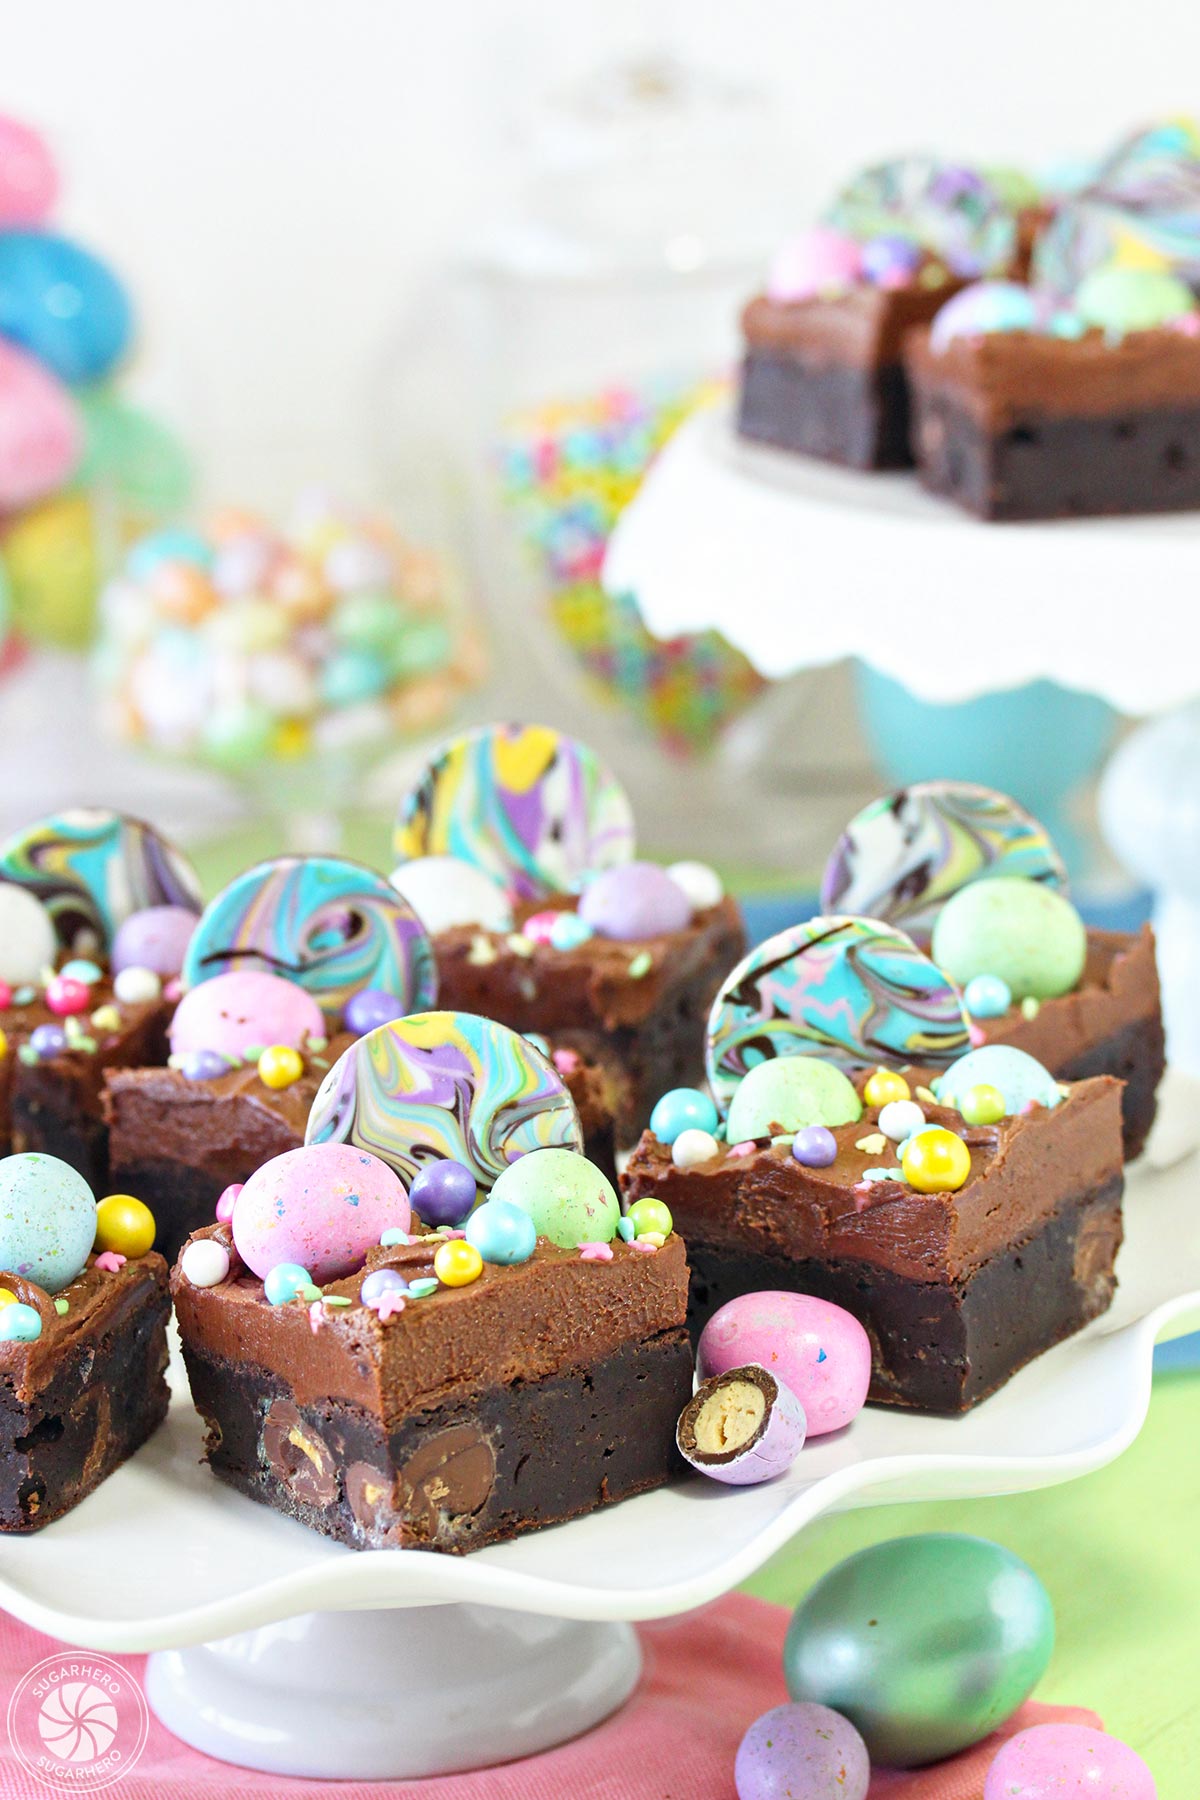
🥚 Pastel Easter Brownies
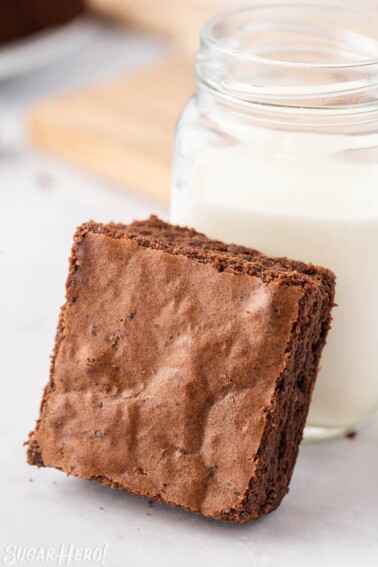
It’s hard to argue with classic brownies. There’s something about the crisp top, soft interior, and rich, decadent chocolate flavor that is pretty hard to beat. But sometimes classic brownies need a colorful twist–and these Frosted Easter Egg Brownies do just that!
These brownies started off innocently enough. I had a big bag of malted milk Easter eggs (a family favorite!) and decided to chop them up and add them to brownie batter. Then I decided to add malted milk chocolate frosting, to tie in that malty flavor, and because chocolate desserts always need more chocolate, right? One thing lead to another, and pretty soon I was loading them up with sprinkles and whatever Easter candy I could find laying around: Sixlets, sugar pearls, swirled chocolate bark, and more.
These springtime brownies are sweet and fudgy, colorful and festive, and incredibly delicious! They’re also really flexible, so you can use whatever candy and sprinkles you have on hand. Read on to learn how to make them!
Table of Contents
🧾What You’ll Need
Ingredients
Most of the ingredients for these Easter candy brownies can probably be found in your fridge or pantry. Just a couple specialty ingredients needed to make these brownies springy and festive! (Links are affiliate links and I earn a small commission from qualifying purchases.)
- Semi-sweet chocolate: I used Pound Plus 54% Cocoa Dark Chocolate from Trader Joes which melts deliciously and adds just the right amount of extra sweetness to the brownies and frosting.
- Unsweetened chocolate: Since chocolate is arguably the most important component of chocolate brownies, use the good stuff! For the unsweetened chocolate, I used Guittard 100% Cacao Unsweetened Chocolate.
- Butter and salt: I prefer to use unsalted butter so that I can control the salt content more precisely. If you don’t have unsalted butter, make sure to omit the excess salt. For the brownies, cube the butter into chunks; they’ll be melted right into the chocolate. Use room temperature butter for the frosting to prevent lumps.
- Granulated sugar
- Eggs: Use large eggs (not medium or extra large).
- Vanilla extract: Pure vanilla extract provides the best flavor.
- Flour: Take care to measure the all-purpose flour correctly. Use a food scale if possible. Too much flour will make the brownies overly dense.
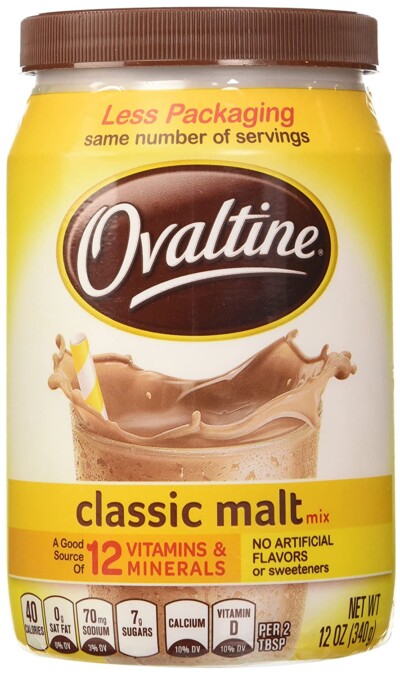
- Chocolate malted milk powder: To enhance the chocolatey flavor of the brownies and tie in the flavor of the malted milk eggs, you’ll need some chocolate malted milk powder for both the brownie batter and the chocolate frosting! I used Olvaltine brand.
- Powdered sugar: Helps to sweeten and thicken the frosting.
- Milk: To thin the frosting to the right consistency. Use any percentage of milk you’d like.
- Candy mix-ins and toppings: I top the brownies off with pastel malted candy eggs, Sixlets, sugar pearls, sprinkles, and/or chocolate bark (learn how to make swirled chocolate bark discs below). Feel free to swap in your personal favorites instead!
Equipment
You’ll only need a few kitchen tools to get started on these ultra rich and fudgy brownies! (Links are affiliate links and I earn a small commission from qualifying purchases.)
- Foil and nonstick spray: To make sure the brownies don’t stick to the pan, line it with foil and then coat it with nonstick spray.
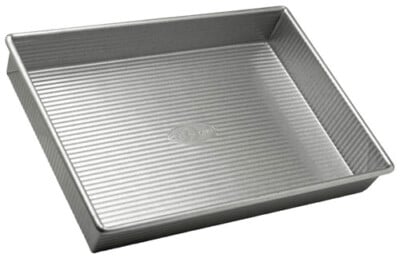
- 9×13 baking pan: This recipe makes a large pan of brownies. I like to use a 9×13 baking pan with squared corners so that all the brownies have nice straight edges once they are cut.
- Saucepan: You’ll need a small saucepan to melt the chocolate and butter in.
- Whisk and mixer: I prefer to mix the brownie batter by hand with a whisk. It’s best to use a stand mixer or hand mixer for the frosting.
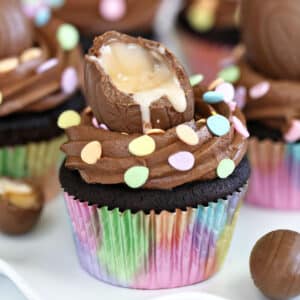
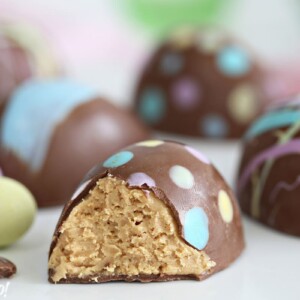
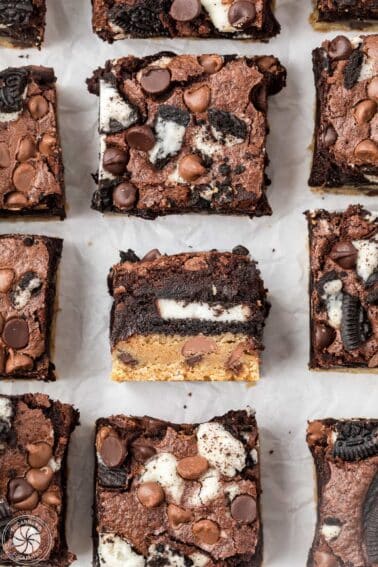
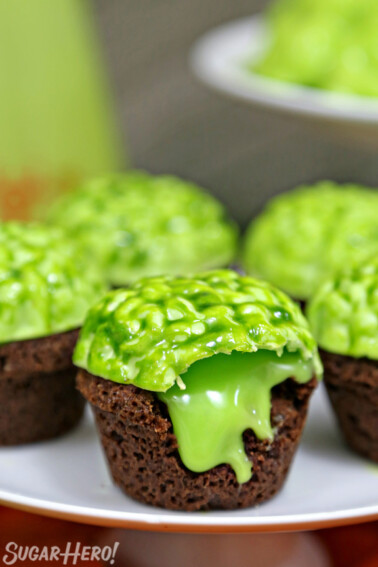
💜 More Easter Desserts

Leave a Review!
If you make this recipe, let us know! Leave a ⭐️⭐️⭐️⭐️⭐️ rating on the recipe below, and leave a comment, take a photo and tag me on Instagram @elabau, or use #sugarhero on IG!
Frosted Easter Brownies
Ingredients
For the Brownies:
- 12 oz semi-sweet chocolate, finely chopped
- 4 oz unsweetened chocolate, finely chopped
- 8 oz unsalted butter, cubed
- 10.5 oz granulated sugar, (1.5 cups)
- 4 large eggs
- 1 tsp vanilla extract
- 4.25 oz all-purpose flour, (1 cup)
- 1.85 oz chocolate malted milk powder, (1/2 cup), I used Ovaltine brand
- ½ tsp salt
- 6 oz malted milk eggs, (1 cup), plus more for decorating, I used Brach's brand
- 3 oz chocolate chunks, (1/2 cup)
For the Frosting and Assembly:
- 6 oz semi-sweet chocolate, (1 cup), finely chopped
- 16 oz powdered sugar, (4 cups)
- 8 oz unsalted butter, (2 sticks), at room temperature
- 1.87 oz chocolate malted milk powder, (1/2 cup), I used Ovaltine brand
- 4 tbsp milk, plus more if necessary
- 2 tsp vanilla extract
- 1/4 tsp salt
For the Toppings (optional):
- Candy eggs, pastel colored
- Sixlets, pastel colored
- Sugar pearls
- Chocolate bark
Instructions
To Make the Brownies:
- Prepare to bake: Preheat the oven to 350 F. Line a 9×13-inch pan with foil, extending the foil up and over the sides, and spray the foil with nonstick cooking spray.
- Heat chocolate and butter: Place the finely chopped chocolate in a large saucepan, and gently heat it over low heat, stirring often, until it is nearly melted. Add the cubed butter and stir it in until the butter is melted. Remove the pan from the heat.
- Add sugar, eggs, and vanilla: Add the granulated sugar and stir it into the chocolate—it will become grainy. Add the eggs one at a time, whisking well after each addition. Add the vanilla extract, and continue to whisk until the batter loses its grainy texture and becomes smoother and thicker—it will start to clump together and feel thick like chocolate pudding. This may take several minutes of whisking, but this process gives the brownies a better final texture.
- Add dry ingredients and mix-ins: Finally, add the flour, malted milk powder, and salt, and stir it together with a spatula. Add the malted milk eggs and chocolate chunks, scrape the batter into the prepared pan, and smooth it into an even layer.
- Bake and cool: Bake the brownies at 350 F for 30-35 minutes, rotating halfway through. Bake until a toothpick inserted into the center is no longer gooey but still has moist crumbs attached. Cool completely before adding the frosting.
To Make the Malted Milk Chocolate Frosting:
- Melt chocolate: Place the chopped chocolate in a microwave-safe bowl and melt it in 30-second increments, stirring after every 30 seconds until melted and smooth. Set aside to cool to room temperature.
- Combine remaining frosting ingredients: Place the remaining ingredients (sugar through salt) in the bowl of a large stand mixer fitted with a paddle attachment. Mix on low speed until the sugar is thoroughly moistened, then raise the speed to medium and beat for 1-2 minutes, until light and fluffy.
- Add chocolate to frosting mixture: Turn the mixer speed back to low, and add the chocolate. Once the chocolate is mixed in, raise the speed back to medium and beat for one minute more. If the frosting seems too stiff, add a bit more milk until you get a texture you like.
- Make-ahead and storage: Use immediately, or place in an airtight container with plastic wrap pressed on top. The frosting can be made several days in advance and kept in the refrigerator. Allow to come to room temperature before using.
To Decorate:
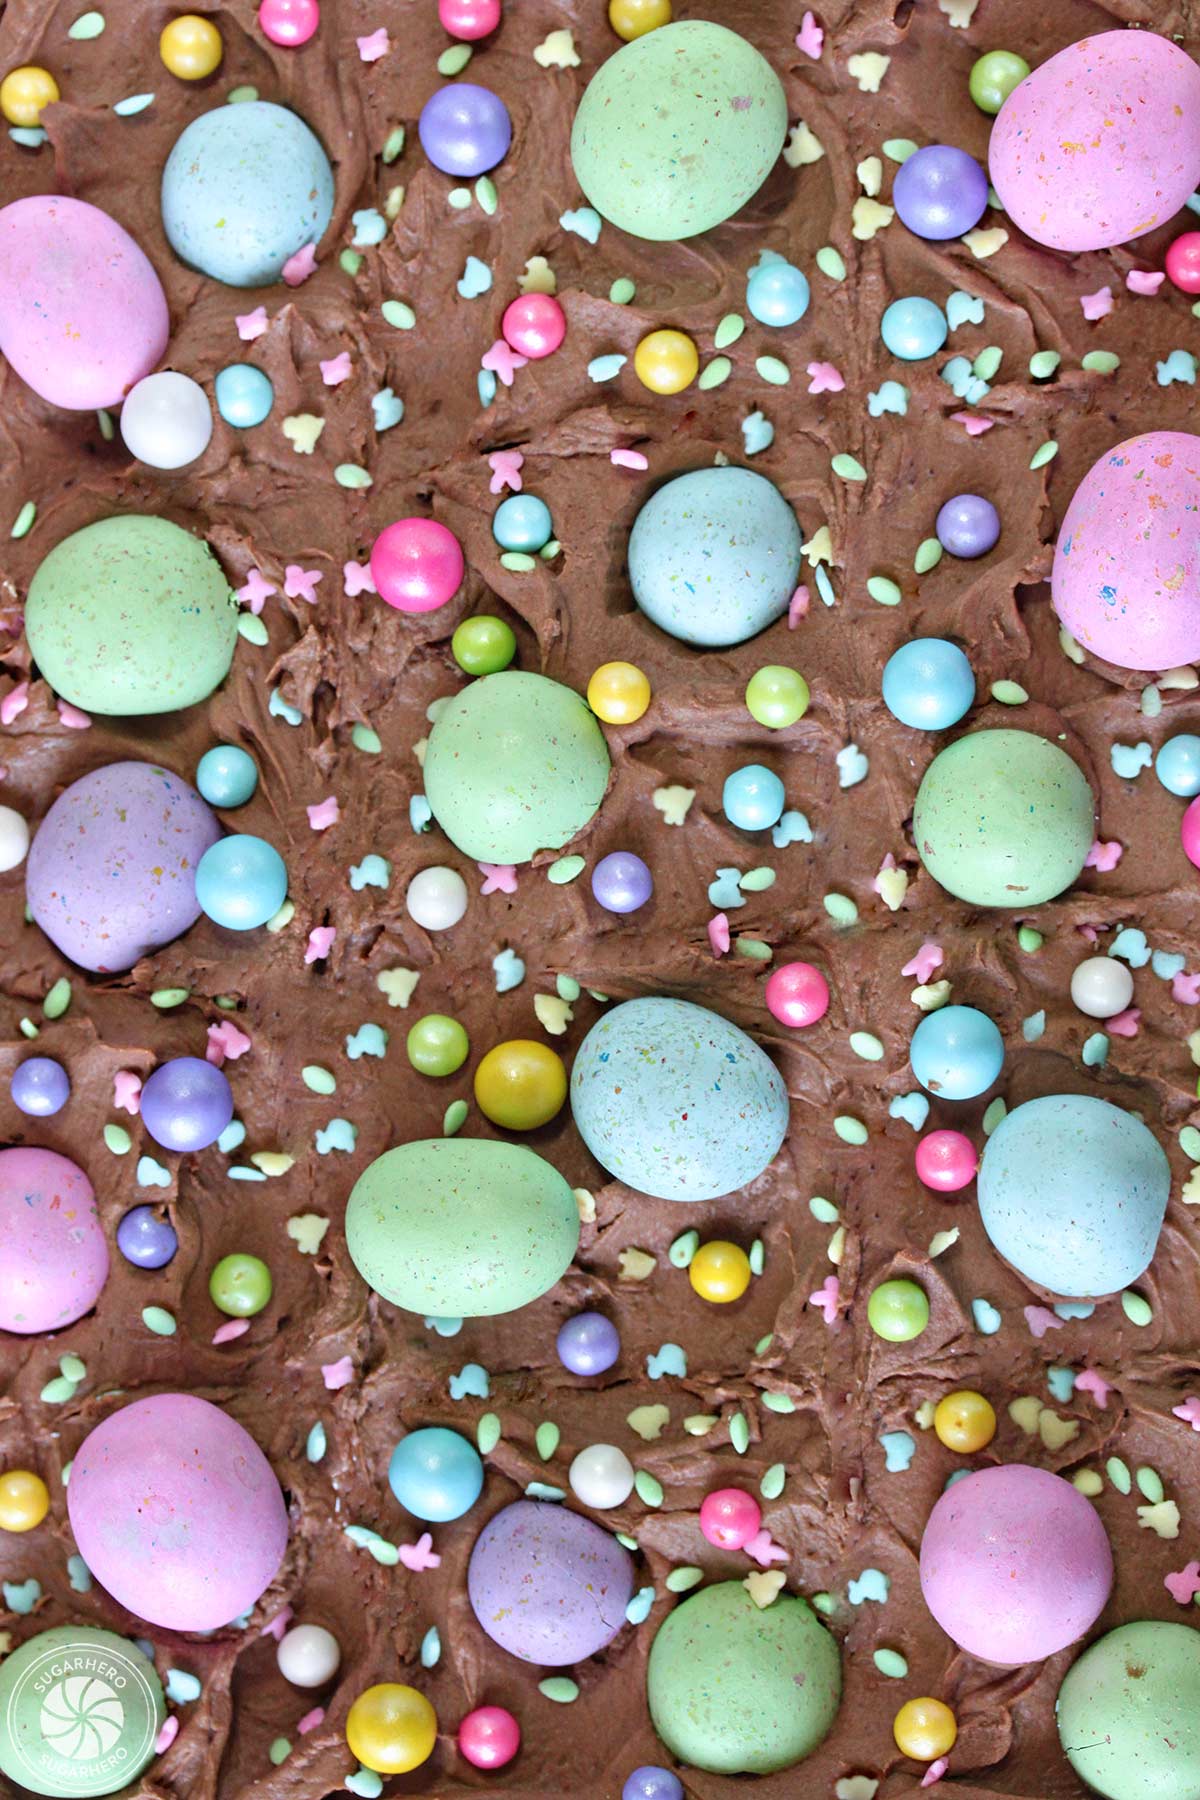
- Frost: To finish the brownies, spread the frosting all over the top of the cooked brownies, and create swirls with the back of a spoon.
- Decorate: Sprinkle your toppings all over the top: use a variety of shapes and colors for maximum fun! Press down gently on the larger items to embed them in the frosting.
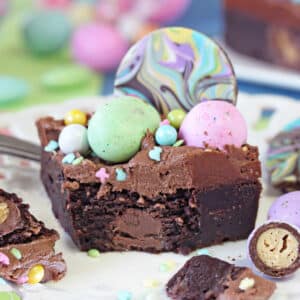
- Chill and serve: If you have time, chill the brownies before cutting them—having the brownies and frosting firm will give you really clean cuts. Before serving, top each brownie with a piece of swirled chocolate bark (optional but fun!). For the best taste and texture, enjoy these brownies at room temperature.
- Storage: Keep brownies in an airtight container for up to two weeks.
Measuring Tips
Our recipes are developed using weight measurements, and we highly recommend using a kitchen scale for baking whenever possible. However, if you prefer to use cups, volume measurements are provided as well. PLEASE NOTE: the adage “8 oz = 1 cup” is NOT true when speaking about weight, so don’t be concerned if the measurements don’t fit this formula.
Want to learn more about baking measurements and conversion?
Nutrition
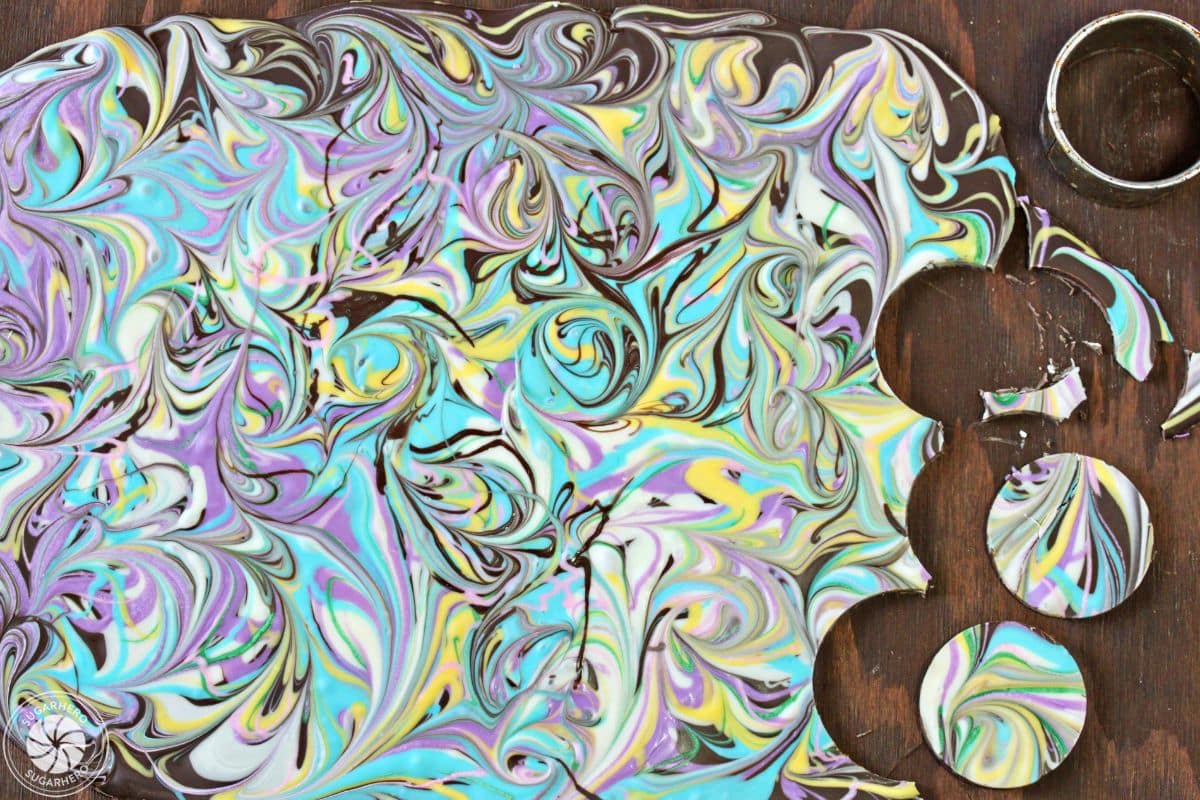
🍫 How to Make Swirled Chocolate Bark Discs
The little discs of swirled pastel chocolate on top of the brownies are completely optional–and completely adorable! If you want to give them a try, you’ll need:
- 5 oz chocolate candy coating (like Wilton’s Candy Melts)
- 4-5 different colors of pastel candy coating, about 1 oz of each color
Step-by-Step Directions
- Prepare pan, melt candy: Line a baking sheet with waxed paper or aluminum foil. Melt each color of candy coating in its own bowl in the microwave.
- Spread chocolate candy on pan: Pour the chocolate coating onto the prepared baking sheet. Spread it into a layer less than ¼-inch thick.
- Drizzle remaining candy colors: Drizzle the other colors on top of the chocolate in a random pattern. No need to be precise—just dip a spoon in the color and fling it around over the chocolate! Repeat until the chocolate is covered with a web of different colors.
- Use toothpick to swirl candy: Take a toothpick and swirl it through the bark, creating swirls of chocolate and pastel colors. Stop while you still have distinct swirls so the colors don’t get muddy.
- Refrigerate: Refrigerate the tray to set the coating, for about 15 minutes. Once set, remove it from the refrigerator and allow it to come to room temperature.
- Cut: Use small cookie cutters to cut shapes out the swirled bark, or just break them into shards by hand. The bark can be made several weeks in advance.
💭Variations
Now, I’m a big fan of these brownies just as they are. However, brownies are incredibly customizable. Feel free to have a little fun and play around with the recipe!
- Add nuts. Mix some chopped walnuts or pecans into the batter or layer them on top for a little extra crunch.
- Add marshmallows. Mini marshmallows are an excellent addition to the brownies or they can be used as another topping.
- Use other candies. Top these brownies off with any candies your heart desires. You can use other Easter candies like Jordan Almonds or Peeps OR you can venture into any other type of candy. Try M&Ms, mini Reese’s peanut butter cups, or your favorite chopped up candy bars.
💡 Tips and FAQs for Success
- Whisk well. When you mix together the chocolate, sugar, eggs, and vanilla, you may need to whisk for several minutes to achieve the right texture. It should feel thick almost like chocolate pudding by the time you’re done whisking. This gives the final product a better texture!
- Rotate the pan. I recommend rotating the pan in the oven halfway through the cooking time to ensure the brownies cook evenly.
- Cool completely. Make sure you let the brownies cool completely before you add the frosting. If they’re still warm, the frosting will just melt.
- Chill the brownies. After the brownies are frosted, pop them in the fridge for a while before you slice them. Chilled brownies are easier to slice with a clean cut.
- Serve at room temp. You can enjoy these brownies cold but I like to set them out at room temperature for a little bit before serving so they can get extra soft and gooey.
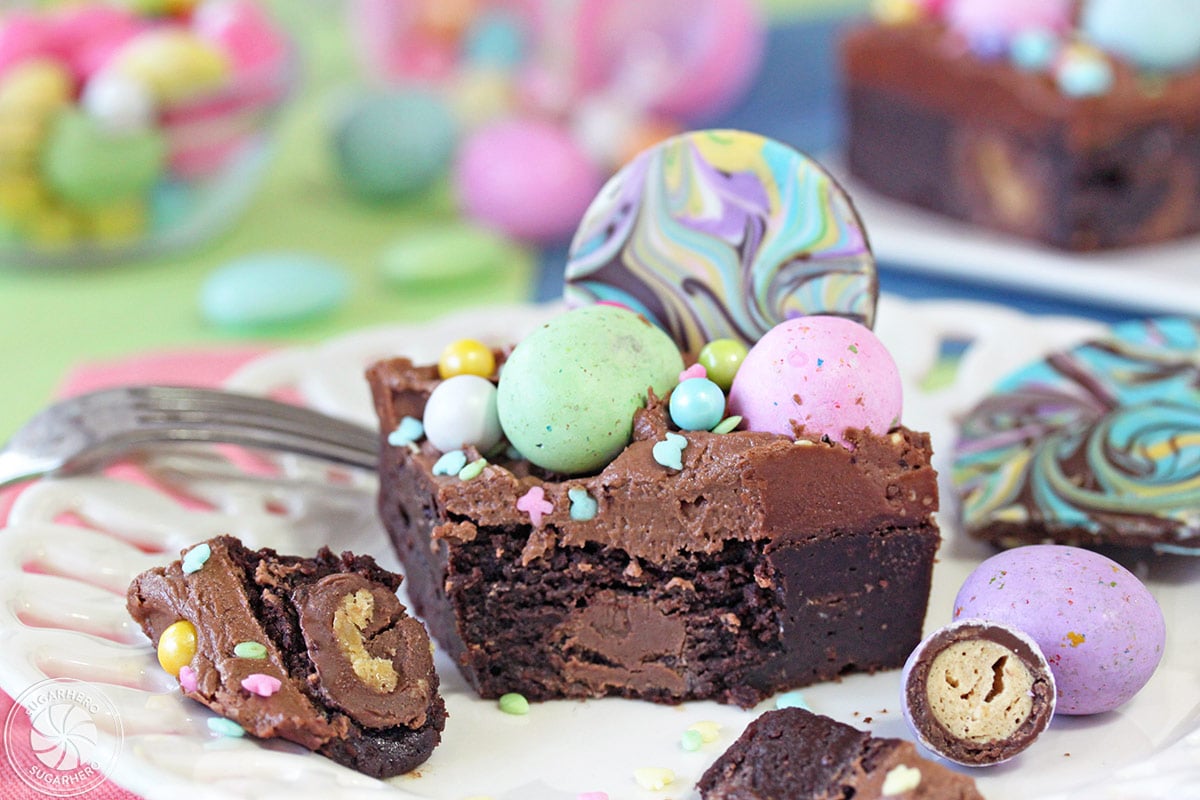
The key to ultra-fudgy brownies is to under-bake them slightly. I recommend baking them until a toothpick inserted into the center is no longer gooey but still has a few moist crumbs attached. The brownies will set up as they cool and the texture will be perfectly soft and moist.
If your brownies came out chewy, they are likely over-baked. Again, take them out when the center is still moist. If they’re baked too long, they lose all of that moisture and become dry and chewy.
You can prep this recipe ahead of time by making the frosting and storing it in the fridge for a few days. Once the brownies are baked and frosted, they will last for up to 2 weeks in the fridge or 3 months in the freezer. To freeze the brownies, leave them unfrosted and wrap them tightly to preserve freshness. When you’re ready to frost and serve them, thaw first in the fridge!


Even simple brownies you manage to decorate so beautifully! They look so cute 🙂
Thank you so much, Medeja!
These may not be your usual style, but why not? They are so whimsical and fun and totally fit with Easter egg hunts and other fun springtime activities. The story could be that these beauties come from the land that unicorns are born at (kids would eat this up).
They totally look like unicorn treats! I love that!
I adore how you decorated these!
Thanks so much, Erin!
I’m glad you pointed out Katherine’s instagram because it is just BEAUTIFUL and now I think I have to try that candy decoration technique too. Love these brownies, they sound like dessert heaven to me 🙂
Yes, isn’t she the best?! Everything she makes is totally crazy and over-the-top and like an outrageous dessert dream.
Wow! These are absolutely beautiful! Love the way these brownies are made with the toppings.
Thanks so much, Pamela!
How do you make the swirled chocolate bark? Where did you get the colors?
Hi ZZ, I’ve added a recipe for the swirled chocolate bark. You can get the colors at Michael’s craft stores (Wilton brand) or at cake/candy supply stores, or online at places like Amazon (I like Merckens brand). Buying them at cake/candy stores is nice because you can often buy smaller quantities–my local stores sells sampler packs that are like $2 so I can get a small amount of each color rather than buying a pound or two of each.
Girl, your desserts never fail to make me all:
1) Hungry
2) Jealous of your skills
3) Happy because LOOK AT ALL THOSE COLORS!
4) Really, really hungry!
Seriously, you’re one talented woman! xx
Haha, sorry about the hunger pangs, but thank you, Consuelo!
This swirled chocolate bark is probably one of the most prettiest things I´ve seen! I love it and dont e surprised if you see me doing something with it on my blog one day 🙂
Elizabeth, you drive me totally crazy with this stuff! Every time I think I have a crazy good looking dessert that I post to my blog, I get blown away by some creation you come up with. Girl…you the best! Seriously – I am loving these in the biggest way. I love the craziness of the colors! That 1st photo made me want to pick that darling little swirled disc right off that brownie and pop it in my mouth! Pinned!
Um, hi 6-year-old Elizabeth! 6-year-old Danguole wants to be bffs and eat ALL the pastel-colored chocolate things!
That bark is so swirly and so pretty. I die! I’d serve that alone for dessert and be like, “WHAT. I know, I know, I’m a genius.”