
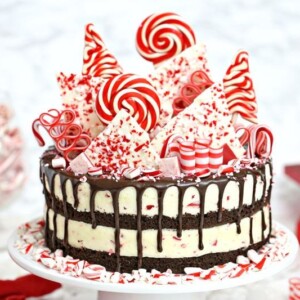
This Peppermint Mocha Mousse Cake is a party on a plate! This gorgeous dessert features layers of brownies and peppermint mocha mousse, wrapped in chocolate swirls and topped with a shiny chocolate glaze. It feeds a crowd and is great for any holiday party!

‘Tis the season for holidays parties. The season for wearing fun dresses, and white elephant gift exchanges, and eating your weight in cheese and crackers. For reconnecting with old friends, for seeing your coworkers dance awkwardly, for avoiding—or seeking out—the mistletoe. And most importantly, ‘tis the season for making epic holiday desserts!
The holidays are the PERFECT time to indulge your inner pastry chef. You have a built-in-excuse to get fancy—hellooooo, ever heard of a little something called holiday cheer?—and a built-in group of people to foist your dessert upon. It’s a win-win!

This Peppermint Mocha Mousse Cake is my ideal party cake. It keeps extremely well in the refrigerator, so you can make it a day or two ahead and not worry about it getting dry and stale. It looks fancy, with the layers and the decorations and the mousse-iness of it all, but no one has to know how easy it is to decorate, or how non-intimidating mousse can be! And add in that great peppermint mocha flavor? You’ll be the hit of the party! Speaking of mousse-iness, I also highly recommend trying this Flourless Chocolate Buche de Noel while your spreading some holiday cheer!

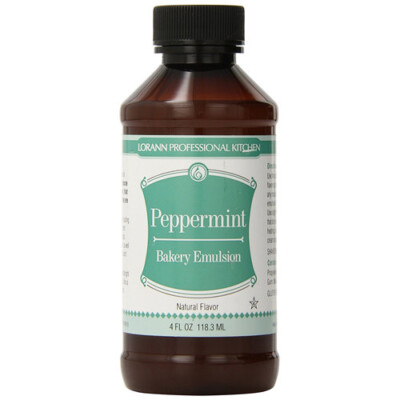
Speaking of flavor, I used a phenomenal peppermint mocha liqueur (also known as a peppermint chocolate liqueur) to take this cake to the next level. This type of liqueur is smooth and mellow and wonderful to sip on its own, but I especially love the festive taste it adds to the cake.
I actually used it twice in the recipe: brushed on the brownies, to add moisture and give them a subtle peppermint mocha flavor, and in the mousse itself. The end result is not overwhelmingly minty (or boozy, for that matter), and the chocolate/coffee/mint/liqueur elements are nicely balanced in a cozy little slice of cake. There are several brands of peppermint mocha liqueur on the market such as Peppermint Mocha Jackson Morgan Southern Cream, Kahlua Mint Mocha Liqueur and Borgata Chocolate and Peppermint Liqueur. All that matters is that you find a brand you like.

If you’re new to mousse cakes, there are a few tips and tricks to ensure success. Most importantly, you’ll want to assemble it in a cake pan with a removable bottom—a springform (cheesecake) pan can be a good substitute if you don’t want to buy an additional cake pan. This is the only way you’ll be able to remove your cake cleanly without smooshing the mousse!
You’ll also want some sort of collar to go around the sides of the pan. This keeps the mousse from sticking to the cake pan itself, making the cake easy to remove, and making sure the mousse edges are super-smooth and clean. In a pinch, you can use a long strip of foil or waxed paper, although those tend to wrinkle and you’ll see the wrinkles in the finished mousse. I like acetate cake strips—they’re affordable, re-usable, and good for a lot of different cake applications.
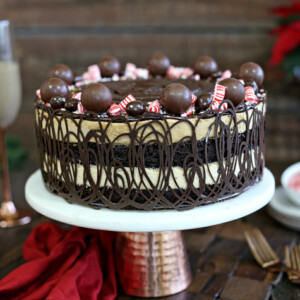
For instance! See that fun chocolate swirl around the edges? I got it by scribbling melted chocolate onto a cake strips, then wrapping it around the edges of the cake.

Once the chocolate sets, all you have to do is peel off the plastic strip, and it’s like you’re a genie with the magical ability to pipe chocolate is smooth swoops on the side of a cake. Take a bow!

I almost left the top plain, but at the last minute decided I needed more chocolate (because, duh) so I added a layer of shiny chocolate glaze. To finish? Chocolate truffles, chocolate-covered espresso beans, peppermint candies, and a ring of crushed peppermint around the edge. And that’s it! Your party on a plate is ready.
💗More Peppermint Dessert Recipes
- Chocolate Peppermint Kiss Cookies
- Peppermint Lava Cakes
- Peppermint Affogato
- Peppermint Hot Chocolate
- Chocolate Truffle Peppermint Crunch Cookies
- Oreo Peppermint Ice Cream Bonbons
Don’t miss my collection of 35 Peppermint Dessert Recipes!
Candy Cane Cheesecake
Candy Cane Mousse Cake
Peppermint Mocha Mousse Cake
Ingredients
For the Brownie Layers:
- 6 oz unsalted butter
- 12 oz granulated sugar, (1 ¾ cup)
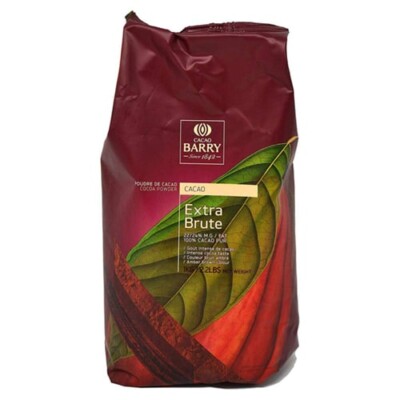
- 3 oz unsweetened cocoa powder, (1 cup)
- ¾ tsp salt
- ¾ tsp baking powder
- 1 TBSP vanilla extract
- 3 large eggs
- 1/3 cup coffee, or water
- 5 oz all-purpose flour, (1 cup + 2 TBSP)
For the Peppermint Mocha Mousse Layers:
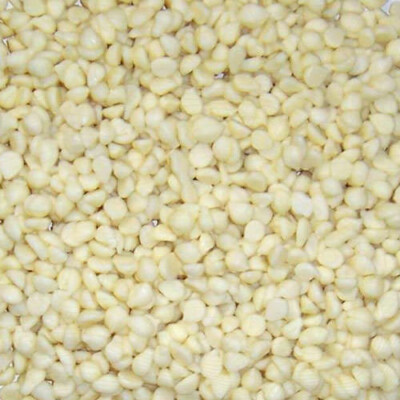
- 18 oz white chocolate chips, (3 cups)
- 2 ½ cups heavy cream, divided use
- 1 ¼ cups Peppermint mocha liqueur
- 1/2 tsp salt
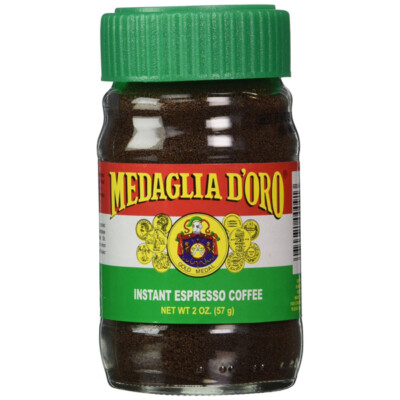
- 4 tsp instant espresso powder
- 2 tsp peppermint extract
- 4 tsp unflavored powdered gelatin
- 4 TBSP water
To Decorate:
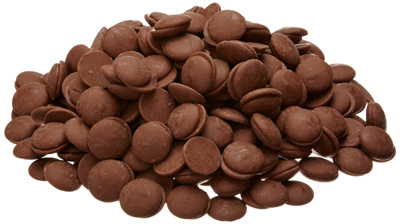
- 2 oz chocolate candy coating melts, can substitute chocolate chips
- 4 fl oz heavy cream
- 1 oz unsalted butter
- 6 oz semi-sweet chocolate, finely chopped
- Chocolate truffles, peppermint candies, candy canes, or other decorations of your choice
Instructions
To Make the Brownies:
- Preheat the oven to 350 F. Line two 9-inch cake pans with parchment rounds, and spray them with nonstick cooking spray.
- Melt the butter in a large bowl in the microwave. Once the butter is melted, stir in the granulated sugar until well-mixed.
- Sift the cocoa over the bowl, and add the salt, baking powder, and vanilla, and stir well. It will look very grainy at this point.
- Add the eggs one at a time, whisking well after each addition, then whisk in the coffee. After the coffee is added, the mixture should look glossy and no longer grainy.
- Finally, stir in the flour, stirring until no streak of flour remain. Divide the batter between the pans and smooth it into an even layer.
- Bake the brownies at 350 F for 22-25 minutes, until the brownies are puffed, pulling away slightly from the sides of the pan, and a toothpick inserted into the center comes out with just a few moist crumbs attached. Cool completely before using.
To Make the Mousse:
- Prepare your pan. You need a 9-inch pan with sides at least 3 inches tall, and the ability to remove the bottom. Either a cake pan with a removable bottom or a springform pan will work. Line the inner wall with a 4-inch high acetate cake collar or a strip of aluminum foil or waxed paper. Make sure the acetate or waxed paper is long enough so that it overlaps itself, and if you are using foil/waxed paper, make sure you cut the strip tall enough to extend at least an inch over the pan’s sides, since the cake is about 4 inches tall.
- Place a cake cardboard in the bottom of the pan, then carefully place a baked brownie layer on top of the cardboard. Brush the brownie layer generously with about 2 TBSP peppermint mocha liqueur.
- Prepare the first mousse layer: combine 9 oz (1 ½ cups) white chocolate chips, 1/4 cup of cream, 1/2 cup of peppermint mocha liqueur, 2 tsp espresso powder, 1 tsp peppermint extract, and ¼ tsp salt in a microwave-safe bowl. Microwave in 30-second increments, stirring every 30 seconds, until the chocolate has melted and the mixture is smooth. Pour it into a large bowl, and let it cool until it is warm but no longer hot, stirring occasionally.
- While you wait for the mixture to cool, prepare the gelatin. Whisk together 2 tsp gelatin and 2 TBSP cold water in a small bowl, and set it aside to let the gelatin absorb the water. When the white chocolate is at room temperature, microwave the bowl of gelatin for 15 seconds, until it is melted. Whisk the melted gelatin and warm white chocolate mixture together.
- Whip 1 cup of heavy cream to medium peaks. Fold half of the whipped cream into the white chocolate, and once it’s incorporated, gently fold in the remaining whipped cream. Scrape the mousse on top of the brownie, and spread it into an even layer. Refrigerate the cake for 25 minutes, until the mousse has started to set and is firm enough that a second layer can be added.
- Gently place the second chocolate brownie layer on top of the mousse, and brush it with another 2 TBSP of peppermint mocha Liqueur. Repeat the mousse-making process again with the remaining mousse ingredients. Spread the mousse on top of the cake, and refrigerate for at least 5-6 hours, preferably overnight, until the mousse is very firm and set.
- To finish the cake, push the bottom out from the pan, or unhinge the sides, and unwrap the cake strip. Transfer the cake to your serving platter.
To Decorate:
- If you want to make the optional chocolate decoration around the mousse, melt 2 oz of chocolate candy coating (or chocolate chips) and transfer the melted chocolate to a piping bag with a small round tip.
- Spread a clean cake strip out along your counter, and pipe swirls of chocolate onto the strips. You can make random scribbles, or a pattern of your choice. While the chocolate is still wet and flexible, pick up the strip and gently press it along the sides of the cake, all the way around, so the chocolate adheres to the mousse. Let it dry completely, then gently pull away the plastic strip.
- To make the ganache, place the chopped chocolate in a small bowl. Combine the cream and butter in a small saucepan, and heat it to a simmer. Pour the hot cream over the chopped chocolate and whisk gently until the chocolate melts and you have a smooth, shiny mixture. Let it cool and thicken slightly, until it has the texture of pudding.
- Pour the ganache on top of the cake and smooth it into an even layer on top, then take a spatula and make a swirl on top of the cake. Finish the mousse cake with truffles, peppermint candies, crushed candy canes, or the decoration of your choice around the edges. Refrigerate briefly to set the ganache, and serve!
- This cake can be enjoyed chilled or at room temperature. It stores very well—just wrap leftovers in plastic wrap and keep them in the refrigerator for up to 5-7 days.
Measuring Tips
Our recipes are developed using weight measurements, and we highly recommend using a kitchen scale for baking whenever possible. However, if you prefer to use cups, volume measurements are provided as well. PLEASE NOTE: the adage “8 oz = 1 cup” is NOT true when speaking about weight, so don’t be concerned if the measurements don’t fit this formula.
Want to learn more about baking measurements and conversion?
Nutrition


Hi, Liz!
Great job on the cakes!
Love,
Me
Thank you so much! 🙂
Is mousse stable…i.e. I can leave it at room temp for how long…? Thank you!
Yes is it, the gelatin really helps stabilize it. You can leave it at room temp for 4-6 hrs. However, I personally think it’s better when it’s slightly chilled!
What can I use to replace the jackson Morgan? Or just leave it out if I don’t have it?
Hi Andrew, you can just use an equal amount of cream, and it should work out fine! 🙂 You can also swap out the extract to customize the flavor to whatever you’d like.
Question! If you don’t have espresso powder – what is a good substitute?
Hey Meredith, you can just substitute with instant coffee!:) I would love to hear how it goes if you give it a try!