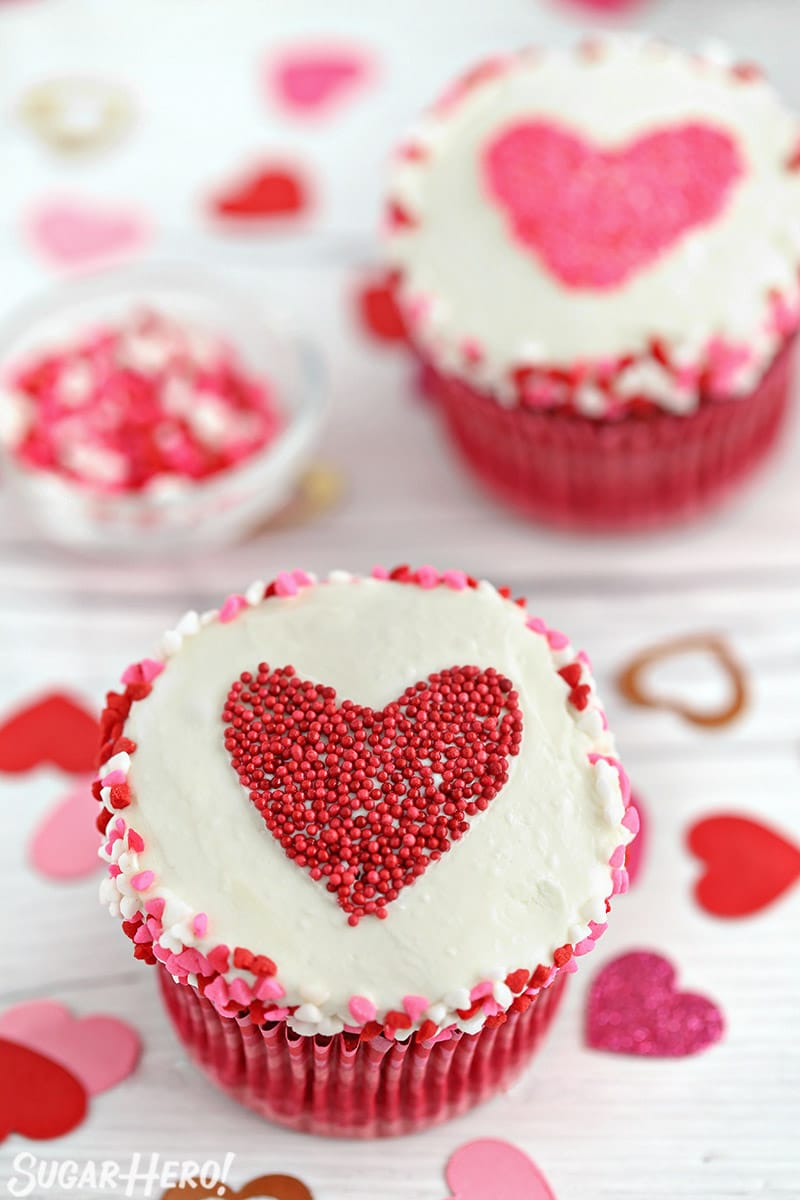
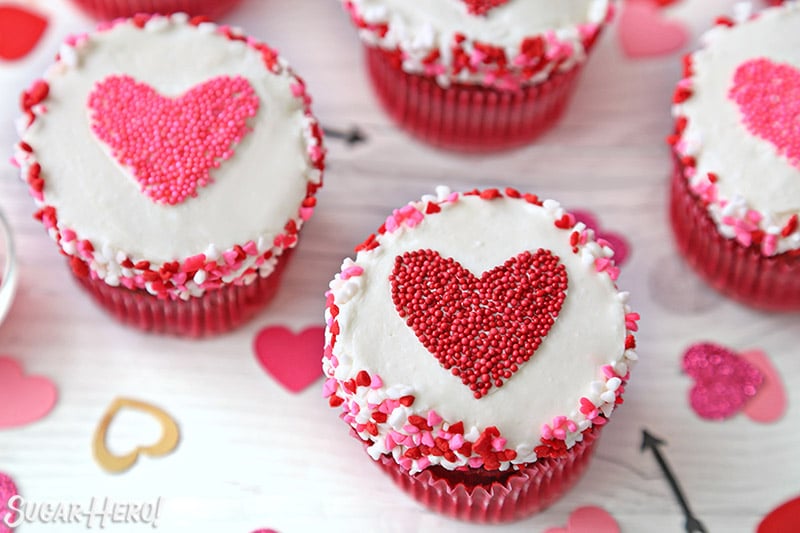
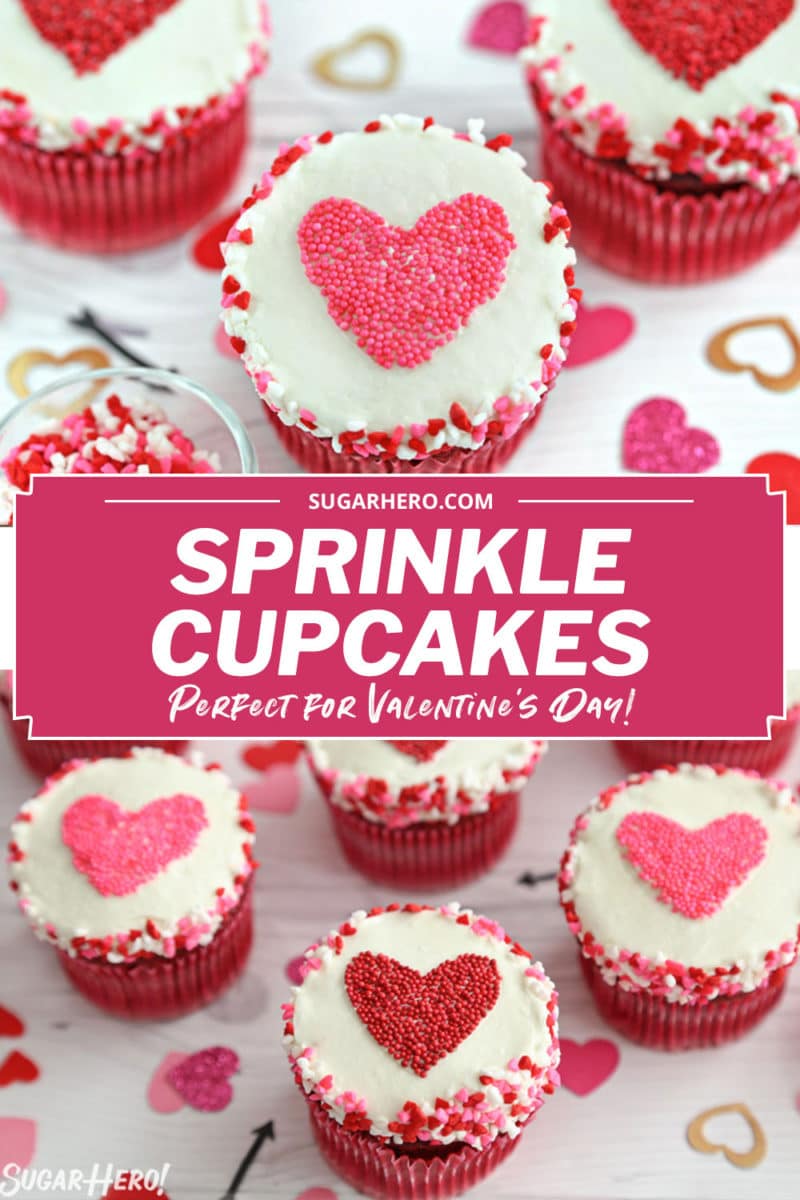
Sprinkle Heart Cupcakes are the perfect dessert for Valentine’s Day, anniversaries, or any special occasion. Use this easy cupcake decorating trick to make cute sprinkle-covered cupcakes in no time!
🧁 Easy Valentine’s Day Cupcake Decorations
I’m always on the lookout for decorating hacks–quick tricks to make stunning desserts in a short amount of time. (Heaven knows I love an intricate baking project, like these Chocolate Rose Cupcakes, but sometimes mama just needs to whip out a few dozen cupcakes, y’know?)
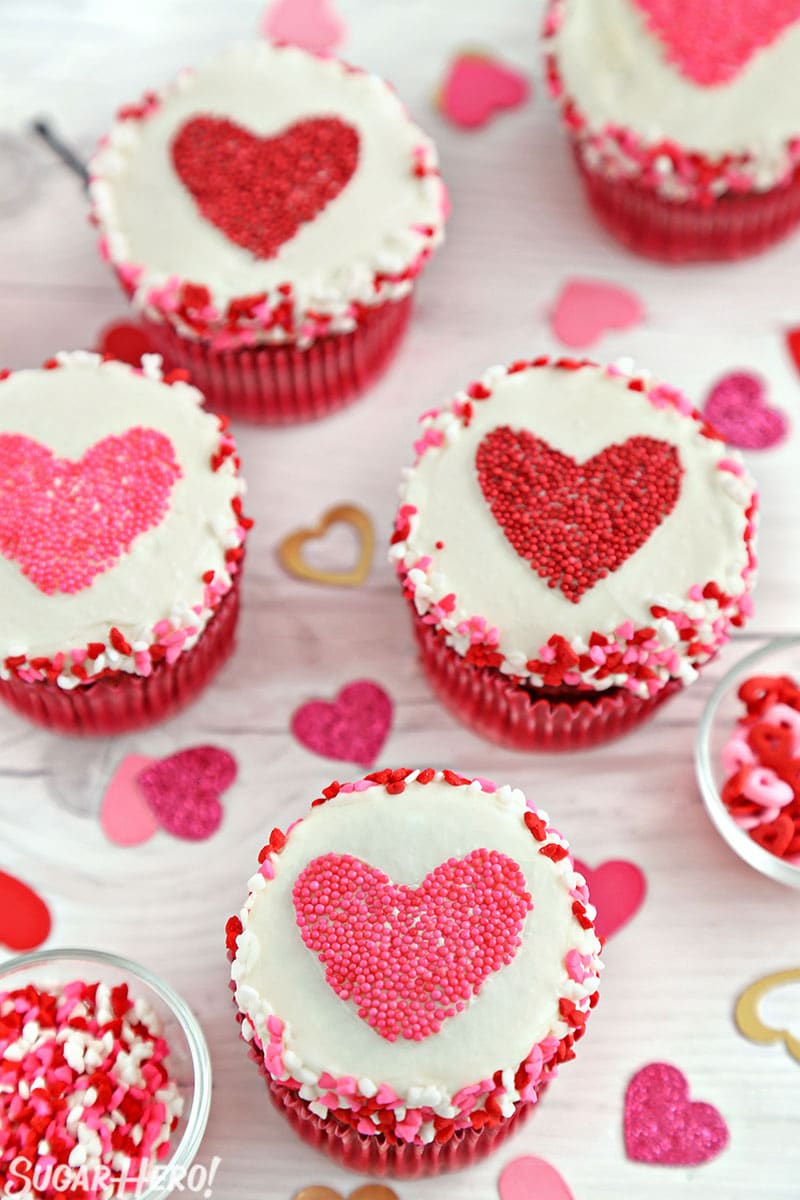
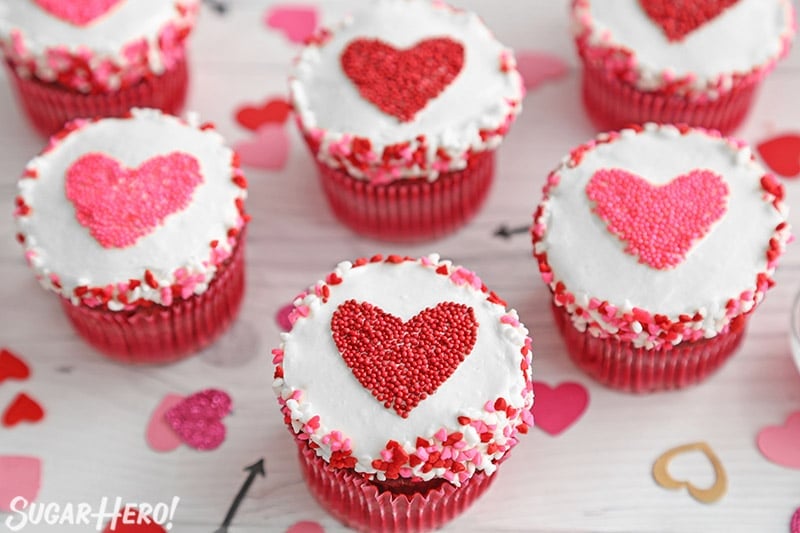
These Sprinkle Heart Cupcakes are such a great cupcake decorating trick. All you need is a mini cookie cutter and some small sprinkles, and you can make heart-topped cupcakes in just a few minutes! I shared this technique on Instagram recently and folks went crazy for it, and I hope you love it too! Read on to learn what you’ll need and exactly how to do it.
If you’re looking for more Valentine’s Day dessert inspiration, you’ll love my Love Potion #9 Valentine’s Day punch, Red Velvet Cake in a Jar, or Brown Butter Sugar Cookies.
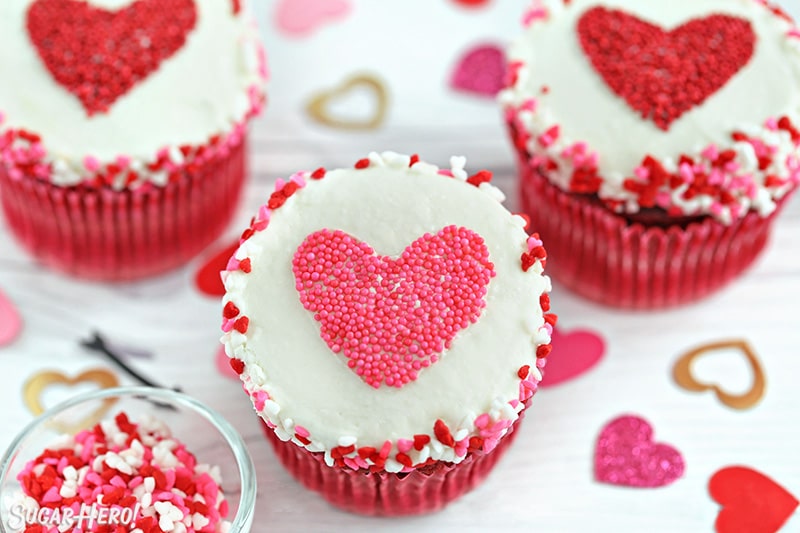
Table of Contents
🧾 What You’ll Need
Components
This decorating technique can be used with a wide variety of recipes! I’ve linked to some of my favorites below, but if you have a tried and true recipe you love, chances are it’ll probably work to make Sprinkle Heart Cupcakes. Just pick a cupcake and a frosting flavor, and get ready to sprinkle!
Cupcake Recipes to Try
- Chocolate cupcakes
- Red velvet cupcakes
- Spice cupcakes
- Strawberry cupcakes
- Pineapple cupcakes
- Lemon cupcakes
Frosting Recipes to Try
- The Best Vanilla Buttercream
- Swiss Meringue Buttercream
- Chocolate Buttercream
- Strawberry Buttercream
Storebought vs Homemade
Looking for shortcuts? You can definitely use a cake mix to make cupcakes, or even buy baked cupcakes to decorate.
I do not recommend using store-bought canned frosting for this technique (ie, the frosting sold in plastic cans near the cake mixes.) It can work, but it is very soft and you won’t get a nice smooth finish on your cupcakes. If your grocery store sells American buttercream-style frosting in the bakery section, that will work just fine.
🥄 Equipment
Here’s everything you need to decorate these cute cupcakes!
These are affiliate links and I earn a small commission when you purchase something through them.
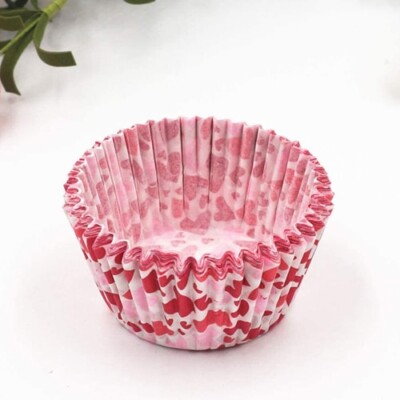
- Heart cupcake wrappers (these are grease proof!)
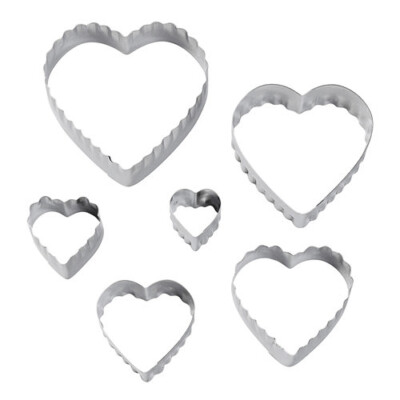
- Heart cookie cutter set
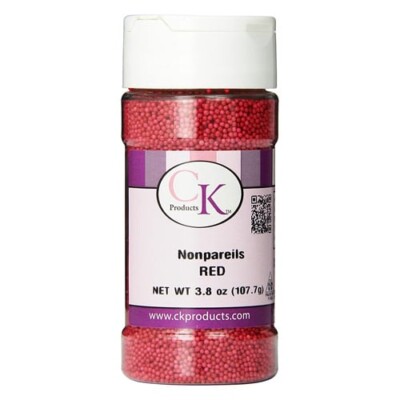
- Red nonpareil sprinkles
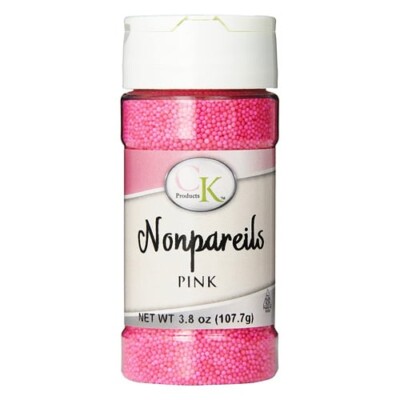
- Pink nonpareil sprinkles
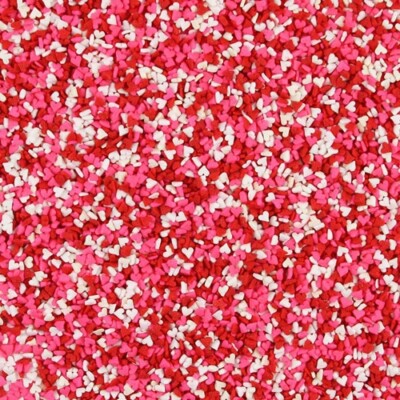
- Mini heart-shaped sprinkles
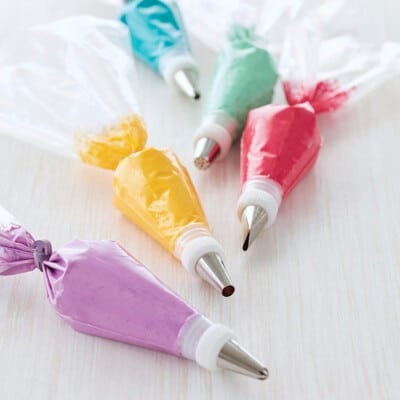
- Piping bag
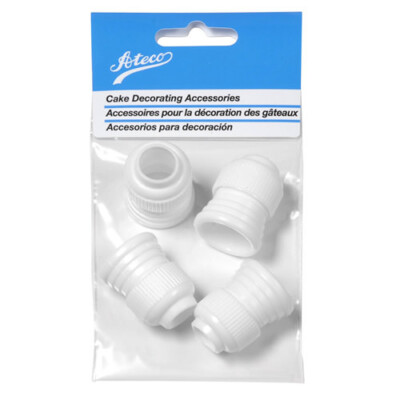
- Piping tip/coupler
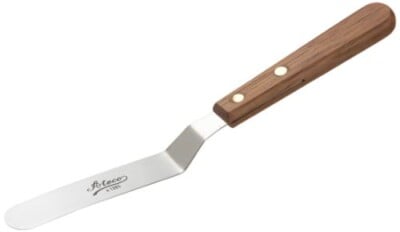
- Mini spatula
📋 Instructions
How to Make Shapes Out of Sprinkles
Once you have the ingredients and equipment, making sprinkle-topped cupcakes is a fast process.
A quick note on timing: if you are using a meringue-based buttercream (like Swiss meringue) you can frost all the cupcakes at once, then decorate them after.
If you are using an American-style buttercream (made with powdered sugar + butter or shortening), you will want to work in batches of 2-3 cupcakes at a time, so the frosting does not form a crust before you put the sprinkles on.
If the frosting does start to crust and the sprinkles won’t stick, you can brush the top with a bit of thinned-out corn syrup to get the sprinkles to stay.
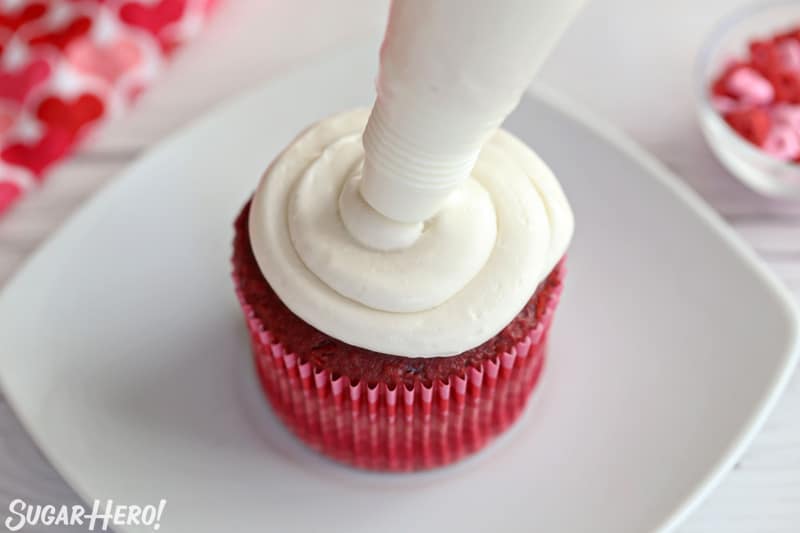
Step 1: Fit a piping bag with a large round tip or coupler. Fill it with frosting. Pipe a flat swirl on top of a cupcake. You don’t want a ton of frosting, just one fairly even swirl across the top should do it.
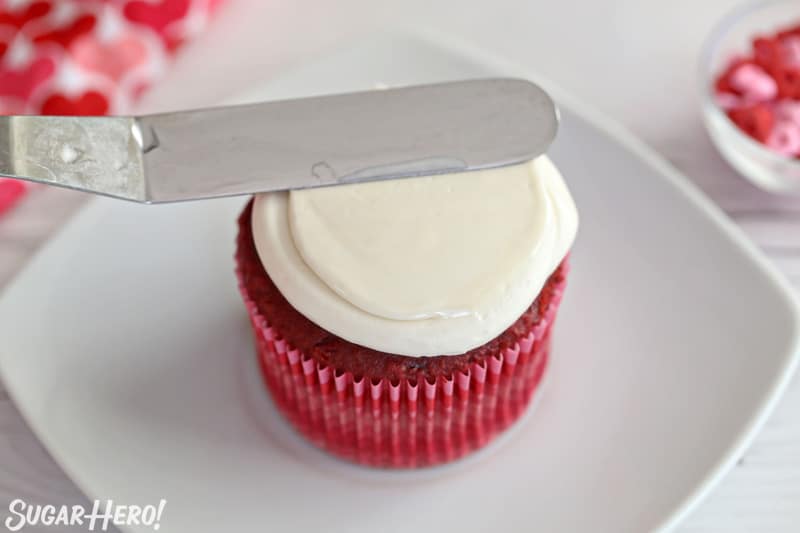
Step 2: Place a mini spatula in a mug of hot water for 15-20 seconds, to heat up the metal. Wipe off the spatula to remove any water, then start moving it across the top of the cupcake with gentle pressure. The heat from the spatula will help smooth out the frosting. The swirl marks will disappear and you will be left with a flat, round surface.
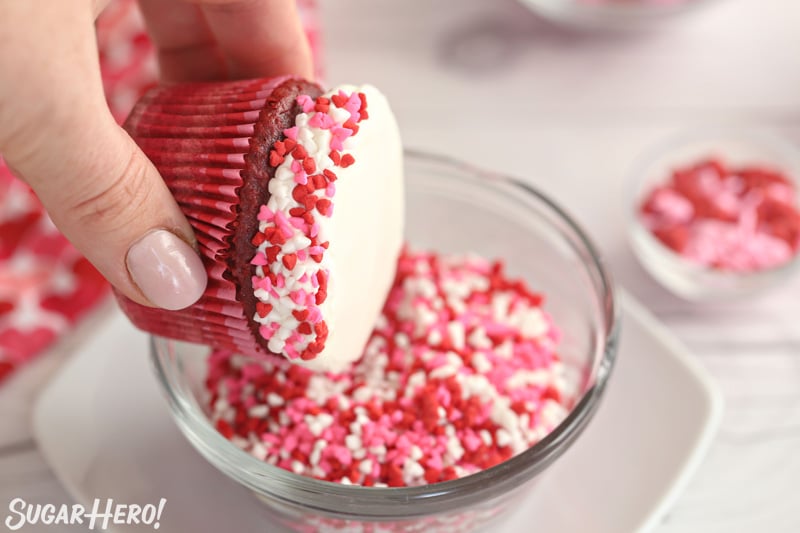
Step 3: Hold the cupcake over a bowl of mini heart sprinkles. Gently press the side of the cupcake into the sprinkles, then rotate and press again until the cupcake has an even layer of sprinkles around the edge.
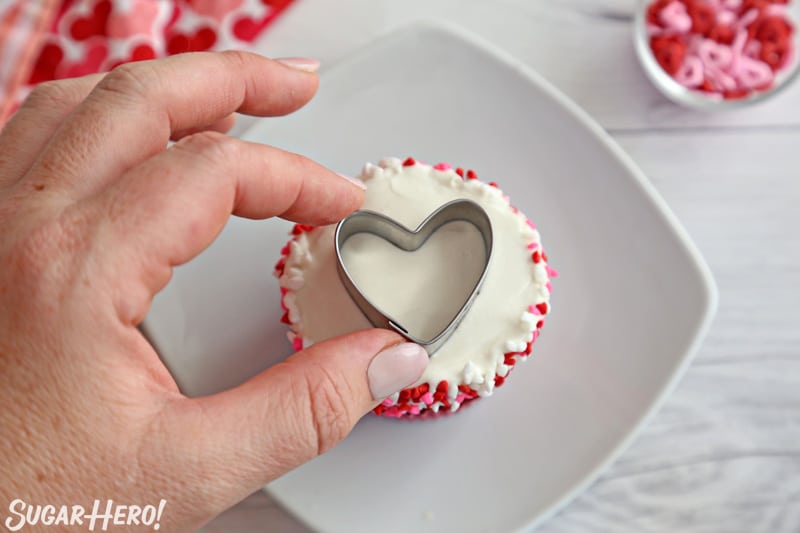
Step 4: Set a mini heart-shaped cookie cutter in the center of the frosting cupcake, and press down gently to adhere it.
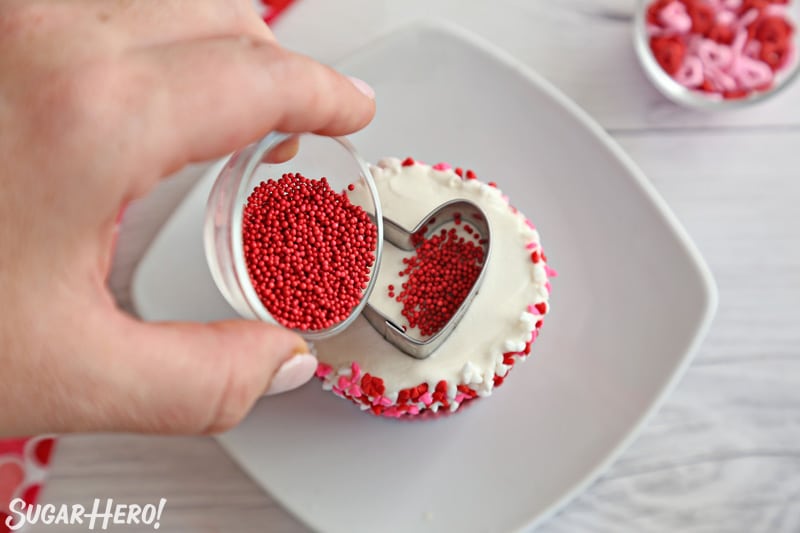
Step 5: Use a small bowl or spoon to transfer some red or pink nonpareils to the center of the cookie cutter. Tilt it from side to side to evenly distribute the sprinkles, then gently use a finger to press them into the top of the cupcake.
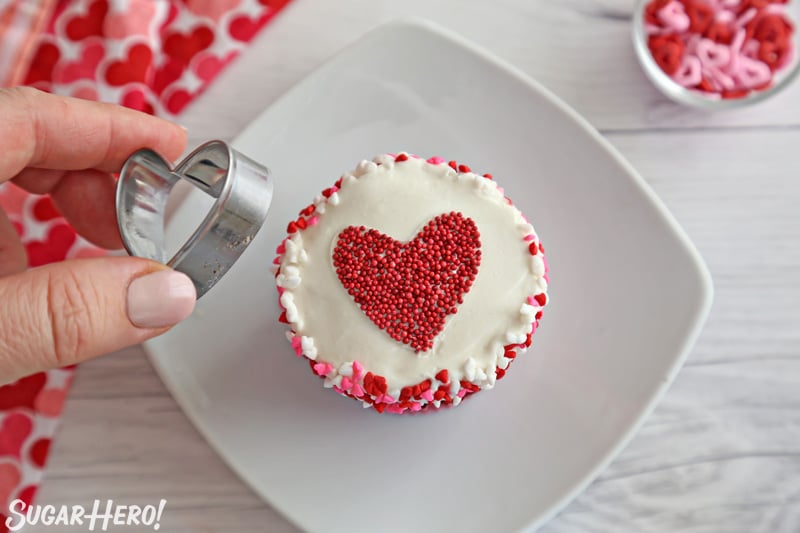
Step 6: Carefully remove the cookie cutter, displaying your perfect sprinkle shape! Repeat with the remaining cupcakes, until all of them are decorated.
💭 Variations
There are a lot of ways to make this technique your own! In addition to swapping in your favorite cupcake and frosting flavors, consider one of these variations:
- Different sprinkles: any small sprinkles will work. I personally love how sanding sugar looks using this technique!
- Different shapes: any small cookie cutter should work for this. I recommend keeping the shapes fairly simple–extremely detailed shapes might not come out clearly with sprinkles.
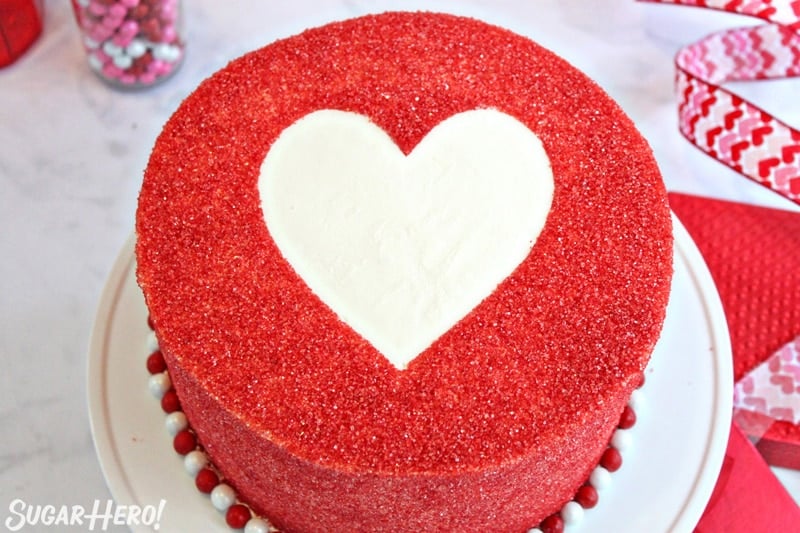
- Make a cake: use this technique on a whole cake instead of cupcakes!
- Reverse the sprinkles: instead of putting sprinkles inside the cookie cutter, cover the area outside the cutter instead. Or do a mix of both on different cupcakes! You can see how effective this technique is on the red cake above.
❤️ More Heart Desserts You’ll Love
- Watercolor Rose Sugar Cookies
- Pistachio Shortbread Cookies
- Pink and Red Heart-Topped Cake
- Trendy Cream Tarts
- Truffle-Topped Heart Cake
- Swirled Chocolate Heart Cupcakes
Don’t miss the step-by-step tutorial showing how to make Sprinkle Heart Cupcakes – check out the web story here!
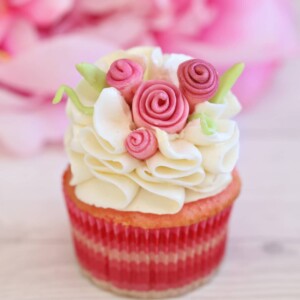
Fondant Rose Cupcakes
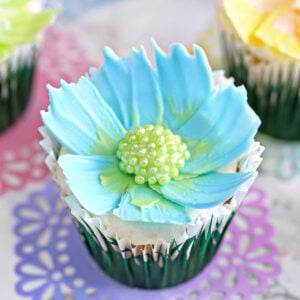
Chocolate Flower Cupcakes
Leave a Review!
If you make this recipe, let us know! Leave a ⭐️⭐️⭐️⭐️⭐️ rating on the recipe below, and leave a comment, take a photo and tag me on Instagram @elabau, or use #sugarhero on IG!
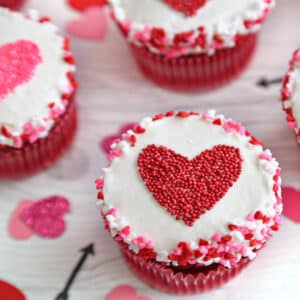
Sprinkle Heart Valentine’s Day Cupcakes
Ingredients
- Baked and cooled cupcakes
- Frosting, (about 6 cups for 24 cupcakes)
- Piping bag
- Round tip or coupler
- Mini spatula
- Mini heart-shaped sprinkles
- Mini heart cookie cutter
- Red nonpareil sprinkles
- Pink nonpareil sprinkles
Instructions
- Fit a piping bag with a large round tip or coupler, and fill it with frosting.
- Pipe a flat swirl on top of a cupcake. You don’t want a ton of frosting, just one fairly even swirl across the top should do it.
- Place a mini spatula in a mug of hot water for 15-20 seconds, to heat up the metal. Wipe off the spatula to remove any water, then start moving it across the top of the cupcake with gentle pressure. The heat from the spatula will help smooth out the frosting. The swirl marks will disappear and you will be left with a flat, round surface.
- Hold the cupcake over a bowl of mini heart sprinkles. Gently press the side of the cupcake into the sprinkles, then rotate and press again until the cupcake has an even layer of sprinkles around the edge.
- Set a mini heart-shaped cookie cutter in the center of the frosting cupcake, and press down gently to adhere it.
- Use a small bowl or spoon to transfer some red or pink nonpareils to the center of the cookie cutter. Tilt it from side to side to evenly distribute the sprinkles, then gently use a finger to press them into the top of the cupcake.
- Carefully remove the cookie cutter, displaying your perfect sprinkle shape! Repeat with the remaining cupcakes, until all of them are decorated.
Video
Recipe Notes
Measuring Tips
Our recipes are developed using weight measurements, and we highly recommend using a kitchen scale for baking whenever possible. However, if you prefer to use cups, volume measurements are provided as well. PLEASE NOTE: the adage “8 oz = 1 cup” is NOT true when speaking about weight, so don’t be concerned if the measurements don’t fit this formula.
Want to learn more about baking measurements and conversion?
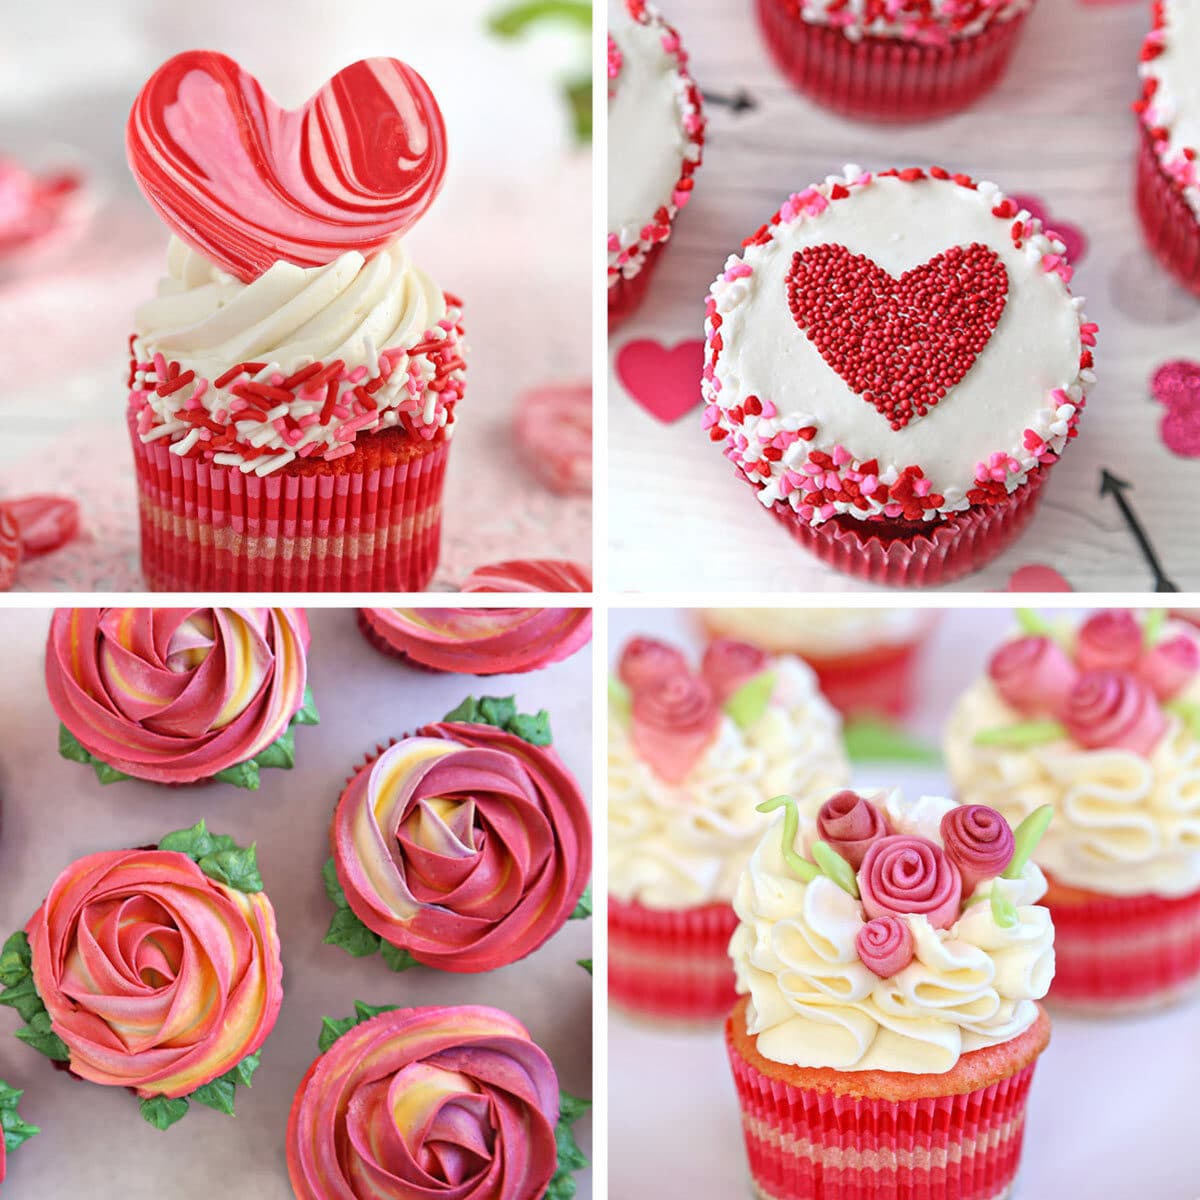
THE BEST VALENTINE’S DAY CUPCAKES
27 cute and delicious Valentine’s Day cupcake ideas — click here to get all the recipes!








Made these heart cupcakes with my kids and they were amazing! They turned out so fluffy, with just the right amount of sweet!!
I love getting the kids involved in baking 🙂 Thanks for your comment Kate!
Oh my goodness, these look so amazing. The tutorial is excellent. And the results are really awesome.
Thanks Roxana! I love to hear that the tutorial is helpful!
Love this! Such easy to follow directions and pictures. Will be making these for sure for Valentine’s day!
Thank you Sara! I hope they turn out wonderful 🙂