
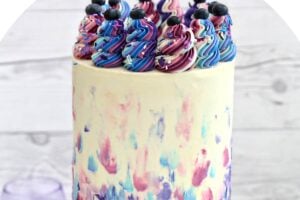


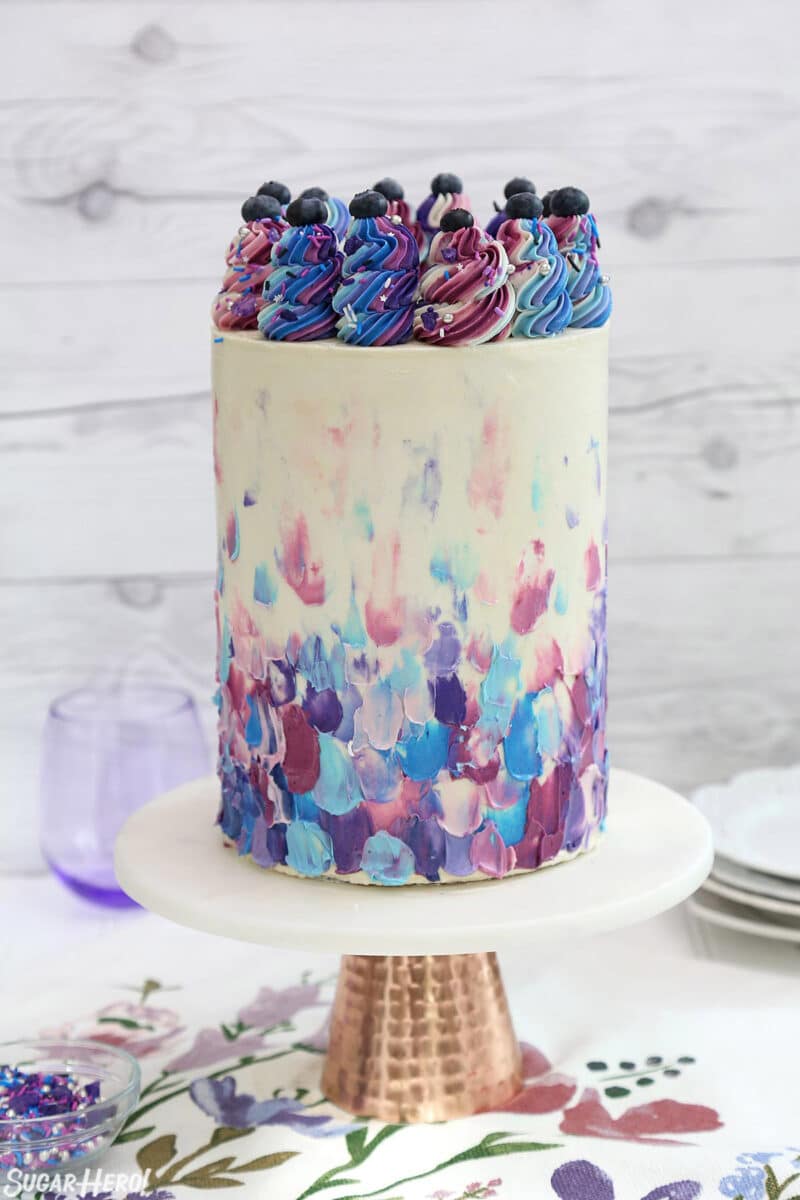
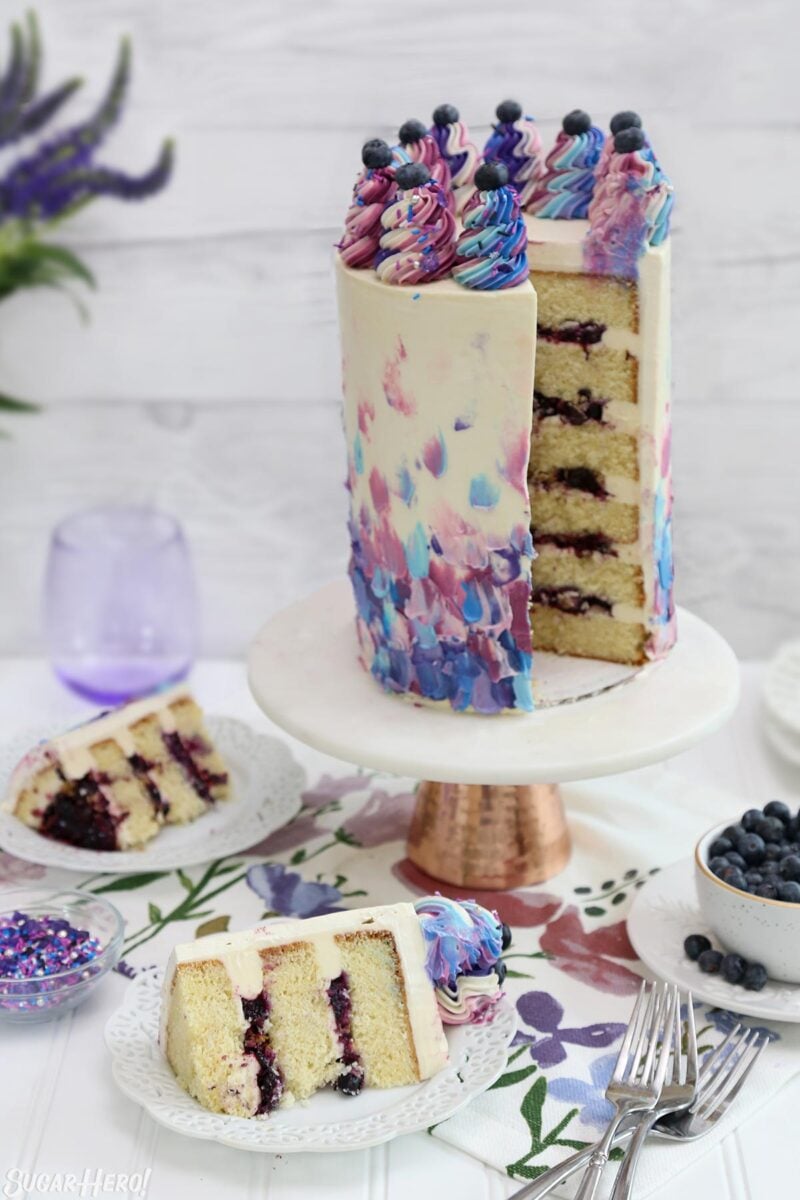
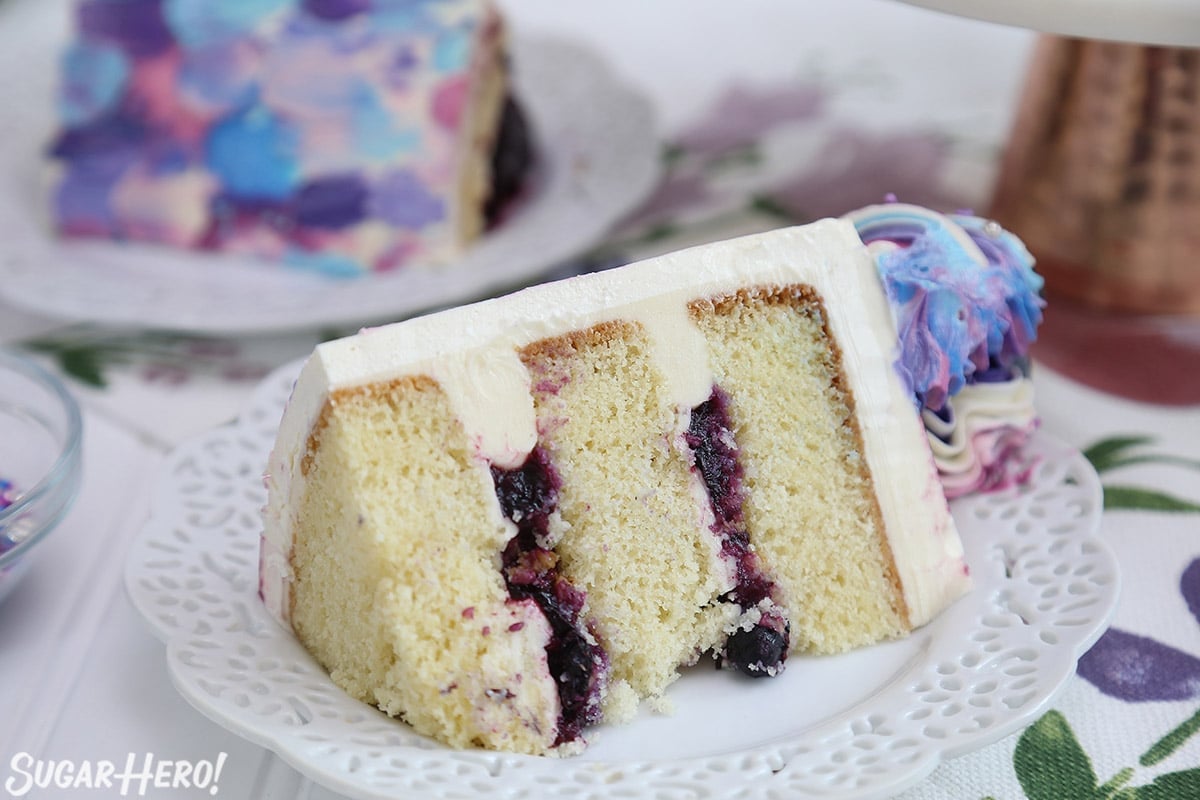
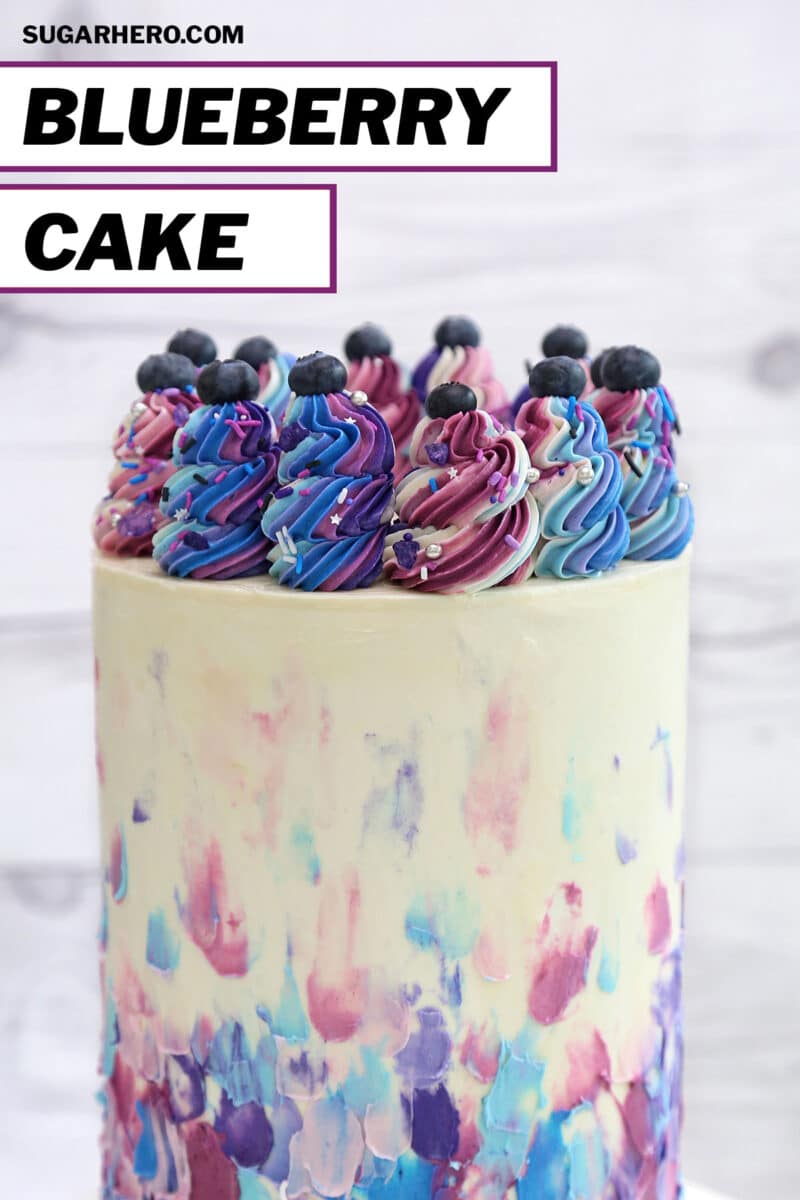
This mile-high Blueberry Streusel Layer Cake is extra-tall, extra-gorgeous, and extra-delicious! It’s a twist on the usual blueberry cake recipe, with six moist rounds of sour cream cake, layered with fresh blueberry filling and sprinkled with crunchy streusel in between.
🎂 Extra-Tall Fresh Blueberry Layer Cake
No one’s ever accused me of being subtle when it comes to my cakes. “Go big or go home” has always been my motto in life–and desserts. (Exhibit A: this towering Spring in Bloom Cake!) So when I ended up with a surplus of super sweet fresh blueberries, it’s no surprise that I wanted to make the biggest, boldest, blueberry-est cake I could think of. If you’re a dessert maximalist like me, you’ll fall head over heels for this tender sour cream cake, packed with fresh blueberry filling!
If you are looking at this and thinking, “Okaaaaay, but I am not feeding a small army this weekend, what am I supposed to do with all this cake?!” I have a few thoughts for you:
- Check out the FAQ section down below for information on halving the recipe.
- Use the filling, frosting, and decorating recipes and ideas, and swap in your favorite appropriately-sized cake recipe instead.
- Consider inviting over a small army of cake lovers??
Read on for the complete how-to, and if you’re now in the mood for all things blueberry, don’t miss our Blueberry Toasted Coconut Tart, Blueberry Crumble Pie, or Blueberry Pavlovas!
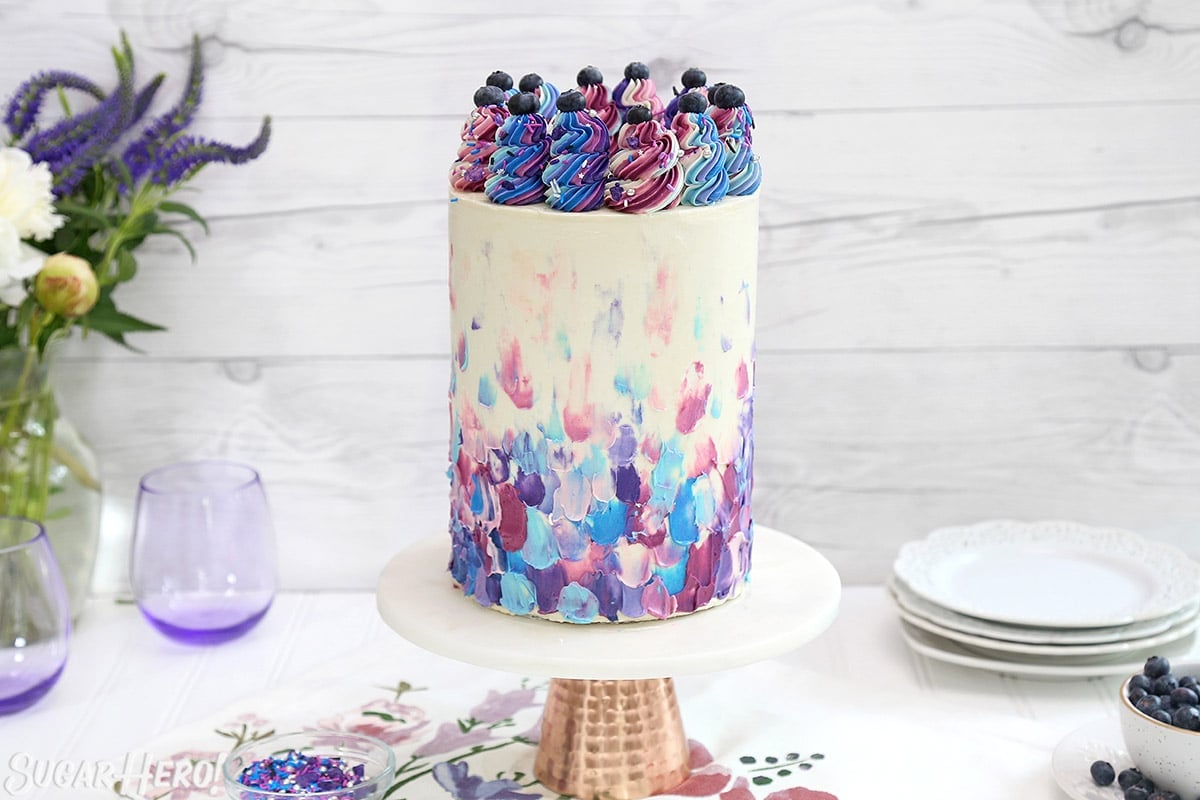
Table of Contents
🧾 Blueberry Cake Components
Ingredients
There are 3 (well…maybe 3.5) components to this blueberry cake:
- The cake: Every epic cake needs an epic foundation, and this one doesn’t disappoint! This cake starts with a sour cream cake, made using the “reverse creaming” method so the cake is structurally sound but not too dense or dry. The sour cream keeps the cake moist, and adds the perfect subtle tang to balance out the sweetness.
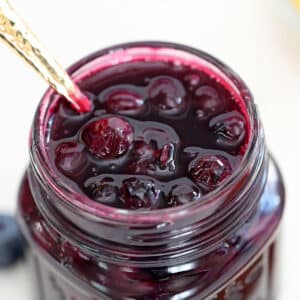
- The blueberry filling: The star of the show is the fresh blueberry filling between all the layers! This is a cousin to my favorite blueberry sauce recipe (which you should 100% pour on some ice cream immediately). But this version is a bit thicker and less sauce-y, to lend stability and support to the cake.
- The frosting: I’m always a sucker for a good Swiss meringue frosting, and I think it’s the perfect choice for a light spring cake where you want the flavor of the fruit to really shine through, so here we’re making a basic vanilla Swiss meringue. If you want other options, this mock (cheater’s) Swiss meringue would also be a great choice to use!
- The granola/streusel: This is considered a half component since it’s not homemade! I was inspired by my favorite blueberry streusel pie to add some cinnamon granola in on top of the blueberry filling. I love the additional flavor and texture it adds, but it’s completely optional if that doesn’t sound appealing to you. You can also get extra credit brownie points and make your own streusel, if you’d like!
Equipment
It’s not a huge surprise that a tall cake takes an equally tall equipment list! Here’s what you’ll need to create this masterpiece: (Links are affiliate links and I earn a small commission from qualifying purchases.)
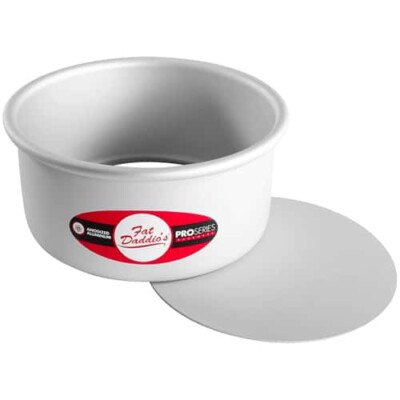
- 6″ cake pans: My favorite cake pans to use are 3″ tall and have removable bottoms, like these. They can handle a variety of cake heights with ease, and the removable bottom ensures cakes always come out cleanly.
- 6″ cake boards: I always have a supply of cake boards on hand. They’re indispensable for assembling and transporting cakes, and keeping a few different sizes on hand makes everything easier.
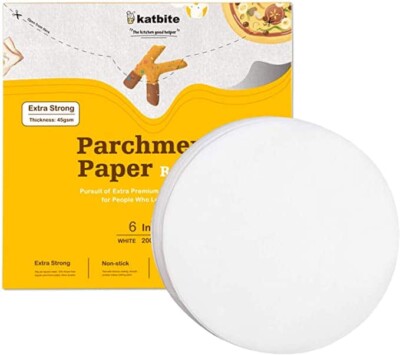
- 6″ parchment rounds:Lining the pans with parchment circles means you’ll never lose a cake bottom during the unmolding process again!
- Dowels: For extra stability and security, you can add dowels to tall cakes like this.
- Acrylic cake disks: Cake disks are optional, but they are one of my favorite “secret weapons” for quickly and easily getting perfectly smooth sides and edges on layer cakes! ESPECIALLY for tall, unwieldy cakes like this, cake disks make the task of creating a smooth and even buttercream layer super simple. I like a thicker buttercream frosting layer, so for a 6″ cake like this, I use a set of two 6.5″ acrylic disks from CakeSafe. (That link is my affiliate link and will get you 10% off anything you buy!)
- Palette knife: I used a few palette knives to create the pattern on this cake. You can substitute a mini offset spatula instead if you prefer.
- Food coloring: I always recommend gel food coloring rather than liquid food coloring — gel will give you a much more intense color payoff. I used a variety of Americolor shades to get the different blue and purple colors you see.
- Piping bag and tip: You’ll need a piping bag and star tip to do the rosette decorations on top.
💭 Assembly Tips
The biggest tip for success I can offer is to give yourself plenty of time to make this cake. More time than you think you will need! ALL the time! There are several homemade components that need to be made, and then cooled before using, and then there are multiple chilling periods during the cake decorating process. What all of this adds up to is a VERY long day if you try to do it all at once.
Instead, I recommend doing this over the course of two days. On the first day, make the cakes, filling, and frosting. (The recipe card gives guidance for how to make and store these components in advance.) Then, on the second day, you can do the assembly and decorating without the pressure of worrying that your cakes have not had time to cool properly, or feeling stressed if your buttercream takes longer than expected to come together. Give your cake plenty of time to chill between decorating steps, because a well-chilled cake is an easy cake to decorate!
This cake is assembled using a “double barrel” method, meaning it is actually two three-layer cakes stacked on top of each other, with a cake board and dowels in the middle for extra support. This step is highly recommended for cake stability, especially if you will be transporting the cake, or if it will be exposed to warm temperatures for any amount of time. (The video does not currently go into this assembly step, but will be revised in the future to better show it.)

💡 FAQs
💙 More Blueberry Desserts
Blueberry Sauce

Blueberry Toasted Coconut Tart
Leave a Review!
If you make this recipe, let us know! Leave a ⭐️⭐️⭐️⭐️⭐️ rating on the recipe below, and leave a comment, take a photo and tag me on Instagram @elabau, or use #sugarhero on IG!

Blueberry Layer Cake
Ingredients
For the sour cream cake:
- 8 large egg yolks
- 11 oz sour cream, (1 ⅓ cup), at room temperature
- 1 TBSP vanilla extract
- 16 oz cake flour, (4 cups)
- 14 oz granulated sugar, (2 cups)
- 1 tsp baking powder
- 1 tsp baking soda
- 1 tsp salt
- 12 oz unsalted butter, at room temperature
For the blueberry filling:
- 2 TBSP cornstarch
- 1 TBSP cold water
- 16 oz blueberries, (about 3 cups) fresh or frozen
- 4.67 oz granulated sugar, (⅔ cup)
- ¼ cup fresh lemon juice, from 1 large lemon
For the frosting:
- 9 large egg whites, at room temperature
- 14 oz granulated sugar, (2 cups)
- 1 lb unsalted butter, soft but still cool
- 1 tbsp vanilla extract
- 1/4 tsp salt
To assemble:
- 3.5 oz cinnamon granola, (1 cup), optional
- Assorted gel food coloring, I used Blue and Purple and recommend Americolor brand
- Sprinkles, optional
- Fresh blueberries, optional
Instructions
To make the sour cream cake:
- Preheat the oven to 350 F. Line three 6-inch cake pans with parchment rounds, and spray the parchment and pan sides with nonstick cooking spray.
- Lightly whisk together the egg yolks and about a quarter of the sour cream (no need to be precise) and the vanilla extract, and set aside for now.
- Combine the cake flour, sugar, baking powder, baking soda, and salt in the bowl of the stand mixer fitted with a paddle attachment. Mix on low speed for about a minute to combine the dry ingredients.
- Add the remaining sour cream and the softened butter to the large mixing bowl and mix on low speed until the dry ingredients are moistened. Turn the mixer to medium speed and mix for a minute and a half.
- Add the egg yolk mixture in three batches, mixing for 20-30 seconds after each addition, until you have a smooth batter. Scrape the bottom and sides of the bowl with a rubber spatula, and give the batter a few more stirs to make sure everything is incorporated.
- Divide the batter evenly between the three pans–if you are using a kitchen scale, each pan should get about 19 ounces of batter. Bake the cakes at 350 F for 45-50 minutes, until the sides just start pulling away from the pan, and a toothpick inserted into the center comes out clean.
- Let the cakes cool on a wire rack for 10 minutes, then gently turn them out and let them cool completely. I find it’s easiest to cut and stack cakes that have been chilled, so if you have time, wrap them with plastic wrap and put them in the freezer for at least 30 minutes, until they are firm but not frozen all the way through. If you are making these in advance, they can stay in the freezer for up to several weeks. Let them partially defrost, until they are firm but not rock-hard, before assembling.
To make the blueberry filling:
- In a small bowl, combine the corn starch and cold water and stir until the starch dissolves. Set aside.
- Place 2.5 cups of blueberries in a medium saucepan, reserving ½ cup for later. Add the sugar and lemon juice to the blueberries, and place the saucepan over medium heat. Stir occasionally as it heats up and the sugar dissolves. When the berries start releasing their juice, mix in the corn starch.
- Bring it to a boil, stirring regularly. Cook the sauce until the berries have popped and it has a thick, glossy texture. Remove from the heat and stir in the reserved ½ cup of berries.
- Pour the sauce into a container and press a layer of cling wrap directly on top. Refrigerate until completely cool. This can be made several days ahead of time and kept in the refrigerator until you’re ready to assemble the cake.
To make the frosting:
- Combine the egg whites and the granulated sugar in the bowl of a large stand mixer, and whisk them together. Choose a small saucepan that lets you fit the base of the stand mixer snugly into the top of the saucepan—this is your makeshift hot water bath. (Alternately, you can use a different bowl or an actual bain marie and then transfer the mixture to a mixing bowl once it’s heated.) Add an inch of water to the bottom of the saucepan, and bring the water to a simmer.
- Place the mixing bowl on top of the saucepan, making sure that the bottom isn’t in contact with the water, and heat the egg white mixture. Whisk frequently so that the egg whites don’t cook. Continue to heat the whites until they are hot to the touch, and when you rub a bit between your fingers, you don’t feel any grittiness from the sugar. Once the whites are hot, transfer the mixing bowl to your mixer and fit it with a whisk attachment.
- Beat the whites on medium-high speed until they are a shiny, stiff, voluminous meringue, and are no longer warm to the touch—feel the outside of the bowl, and make sure that it is around room temperature. Depending on your mixer and the temperature of your environment, this may take 15-20 minutes, or more.
- Reduce the speed to medium-low and add the softened but cool butter in small chunks, a tablespoon at a time, making sure to wait in between additions. It may separate or look a little gloopy at this point—fear not. Once all of the butter is added, increase the speed again and whip until it comes together and is light and fluffy. If, after 5 minutes, it hasn’t come together, refrigerate the mixing bowl for 5-7 minutes, to cool the mixture down, and whip it again until it has thickened and is smooth and silky. Add the vanilla extract and salt.
- The buttercream can be made in advance and kept at room temperature if you’re going to use it the same day, or refrigerated. If it has been chilled, let it sit at room temperature until completely soft, then re-whip it to get the smooth texture back before you use it.
To assemble and decorate:
- Using a large serrated knife, slice off the top of each cake to make them completely flat, then slice each cake in half. Place one layer face-up on a cake cardboard.
- Spread a thin layer of buttercream on top of the cake layer. Pipe a ring of buttercream all along the edge of the cake round–this is your “buttercream dam” that prevents the filling from leaking out. Spread ¼ cup blueberry filling inside the buttercream dam, then sprinkle the top with a few spoonfuls of granola, if using. Spread a very thin layer of buttercream on top of the granola–this helps the next layer of cake adhere better.
- Top the cake round with a second round, and repeat the buttercream, blueberry, and granola process. Add a third cake layer on top. Spread a thin layer of buttercream along the sides and top to hold the crumbs in.
- Repeat this whole process a second time, making an identical 3-layer cake on a separate cake board so that you have two 6-inch cakes. Refrigerate both cakes until they are firm, about 45 minutes.
- Insert cake dowels into one of the cakes– place one in the center of the cake, and four in a ring around it a few inches from the edge. Cut the dowels so that they are flush with the top of the cake. Spread a layer of buttercream on top of the doweled cake, then stack the second cake on top, pressing down gently to secure the cakes together.
- Spread a thicker layer of frosting on the top and sides of the cake – I like to use acrylic cake disks to easily get smooth sides. Refrigerate the cake until it is completely firm, at least 1-2 hours.
- While you wait for the cake to chill, color your remaining frosting a variety of shades of blue, purple, and maroon.
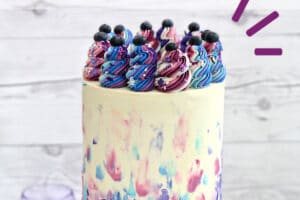
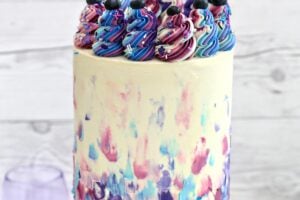
- Once the cake is firm, use palette knives or offset spatulas to add strokes of different colors going up the sides of the cake. Layer the colors and vary the pressure to create different shapes and shades of strokes.
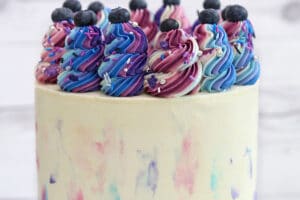
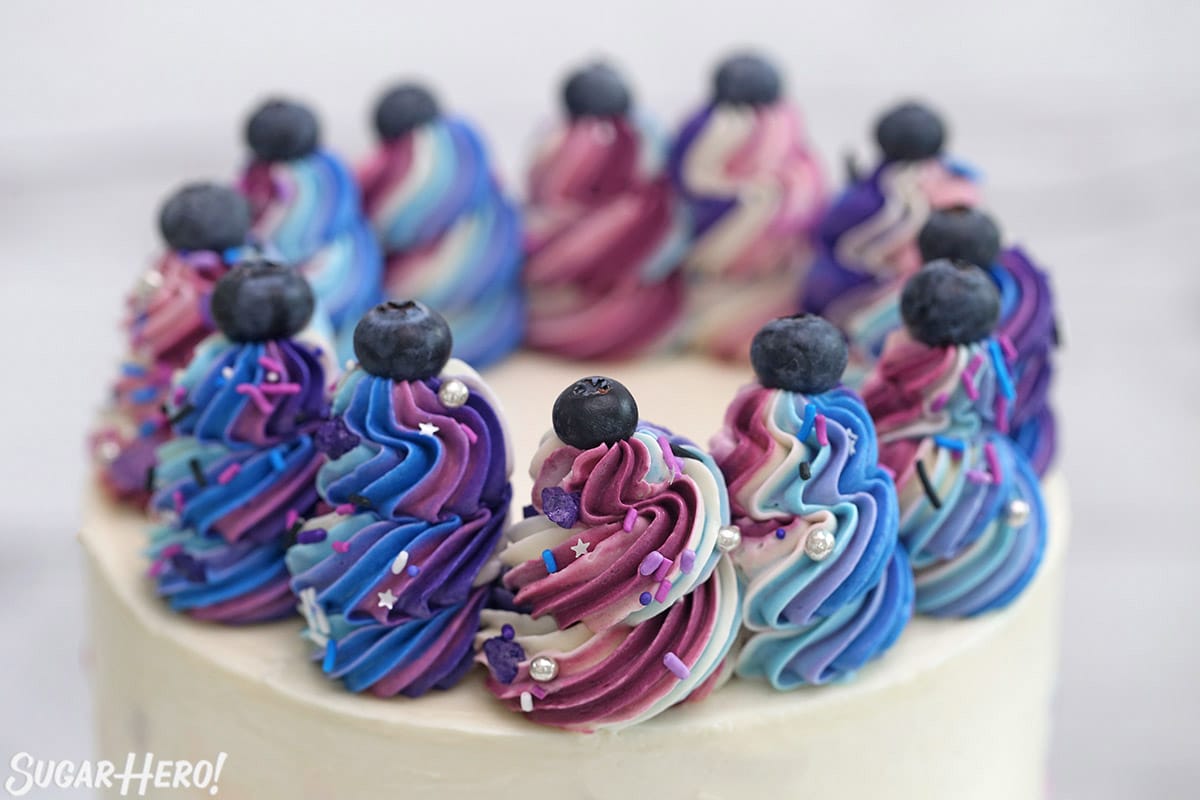
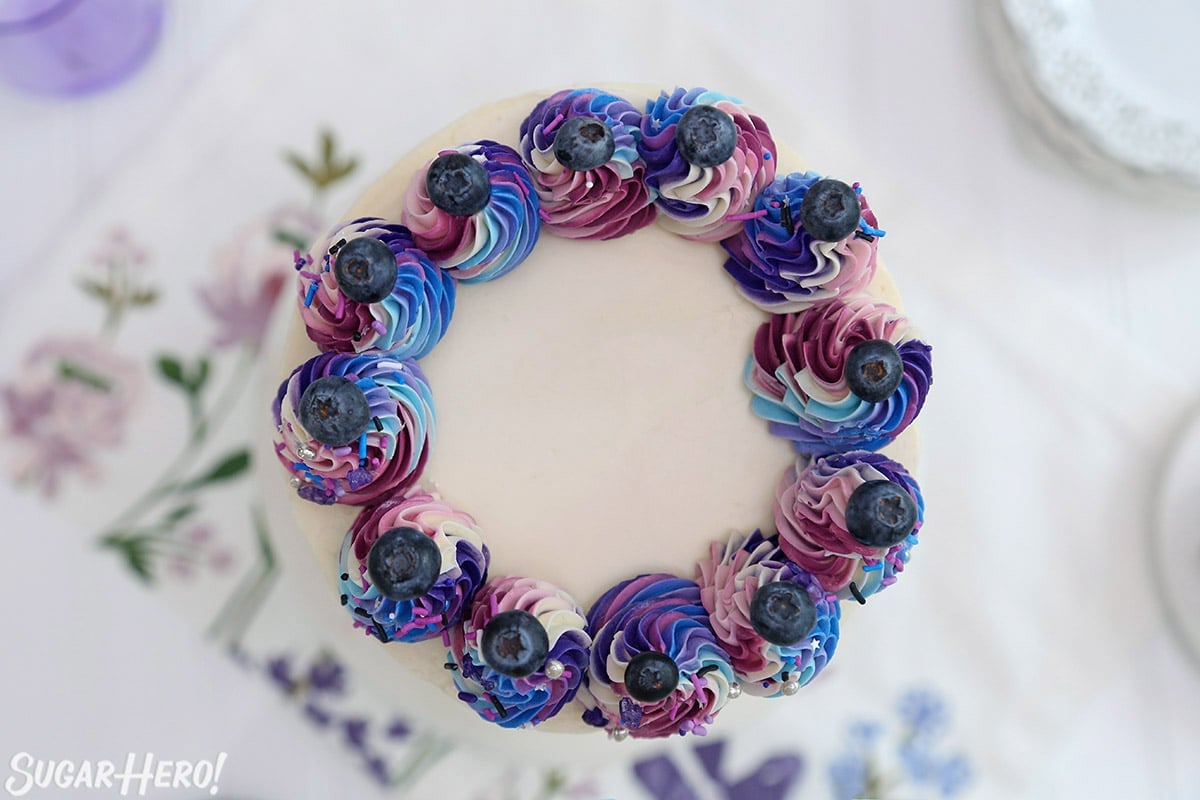
- Once you are happy with the sides, use this rainbow frosting technique: layer the remaining buttercream colors on a sheet of plastic wrap, roll it like a burrito, and twist the ends closed. Snip one end off and insert the frosting package, snipped side-down, into a piping bag fitted with a star tip. Pipe multi-colored swirls of frosting along the edges of the cake. Finish with sprinkles, fresh blueberries, or anything else you’d like!
- To serve, separate the two cakes so you can easily slice them as usual. For the best taste and texture, enjoy the cake at room temperature. Leftovers can be kept, well-wrapped, in the refrigerator for 4-5 days.
Recipe Notes
Measuring Tips
Our recipes are developed using weight measurements, and we highly recommend using a kitchen scale for baking whenever possible. However, if you prefer to use cups, volume measurements are provided as well. PLEASE NOTE: the adage “8 oz = 1 cup” is NOT true when speaking about weight, so don’t be concerned if the measurements don’t fit this formula.
Want to learn more about baking measurements and conversion?
Nutrition
About Elizabeth LaBau
I’m Elizabeth, but you can call me SugarHero! I’m a former pastry chef turned blogger, cookbook author, and baking instructor, and I consider myself sugar’s #1 fan. Learn more from my About page, or connect with me on social media:


I made this for my daughter birthday and it turned out so good. Everyone raved on how tasty it was.
How fun! I am glad everyone enjoyed it 🙂
This is the cake I want for my next birthday. What an amazing creation. I love the blueberry filling.
It is a stunning cake, isn’t it!? I hope you get your birthday wish and get to enjoy it 🙂
This delicious cake is a showstopper! Blueberries are my daughter’s favorite and she was amazed by this cake along with everyone else! Your tips for making it in advance were very helpful, to split the recipe up over several days.
Thank you Emily! I love hearing that the tips shared in the recipe were helpful 🙂 Thank you for your comment!
This cake is beyond words! Not only is the presentation just stunning but it also tastes absolutely delicious!
Thank you Holley! You know how important BOTH presentation and taste are when talking desserts!
This cake is INSANELY gorgeous! I can’t wait to make it for Father’s Day weekend!
I love this idea! I may have to do the same 🙂 I hope everyone enjoys this blueberry layer cake!
I have to try this one for sure. Most of your beautiful Cakes scare me to death. I love them all but I don’t think I’m that talented. This Cake here is so Beautiful but to me it is not so scary . Thank you for all of your lovely recipes, and Beautiful creations, I love them all. God Bless you for all your talent….
You can totally do it Donna! This cake is one of my current favorites! Come back and let us know how it turns out 🙂
This cake is delicious! I tried it last night but used organic ghee instead of butter, and only made a half batch so our cake was smaller. It worked well and my whole family loved it.
Hi Sofia! Thanks for sharing this variation. I love hearing your successes! So glad your family enjoyed the recipe.