
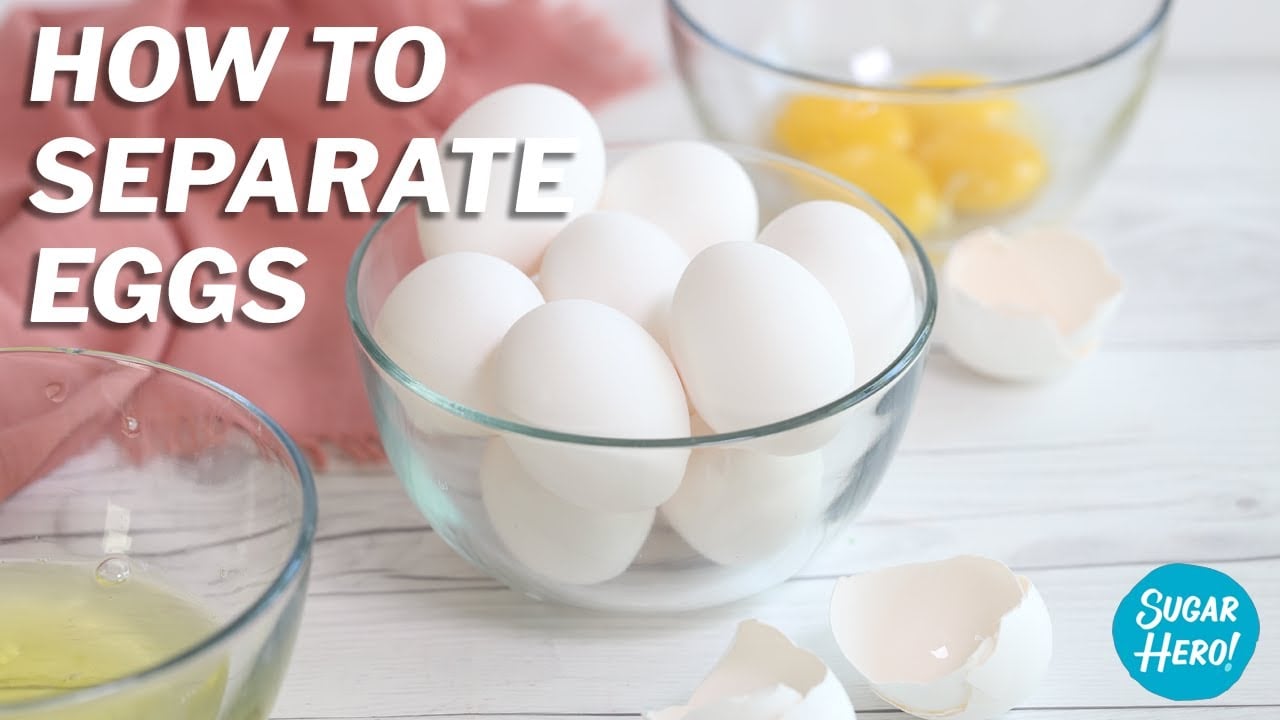
Separating eggs can sometimes seem intimidating, but it doesn’t need to cause you separation anxiety. Here are four different ways to separate egg whites from egg yolks, with lots of photos and a video to show you exactly how it’s done! You’re guaranteed to find a method that works for you, and before you know it, you’ll be a master at separating eggs.

Many dessert recipes call for either egg whites or egg yolks, so knowing how to separate eggs is a crucial baking skill. Once you know how to separate eggs, you can make mousses, meringues, pastry cream, ice cream, custard, and so many more dessert recipes!
Four Ways to Separate Egg Whites from Egg Yolks
Fortunately, it’s easy to separate the egg whites from the egg yolks, and I’m going to show you four different, foolproof ways to do it! I’ll also provide tips for storing extra whites and yolks, and give you some recipes suggestions for using up those leftover yolks and whites.
Some of these methods require gadgets or common household objects, and some require nothing more than your hands and a willingness to get a little dirty. There’s no one “right” way to separate eggs, but I think if you try several of them, you’ll find one that feels right to you.
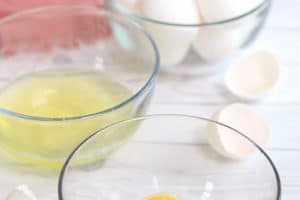
Before You Begin:
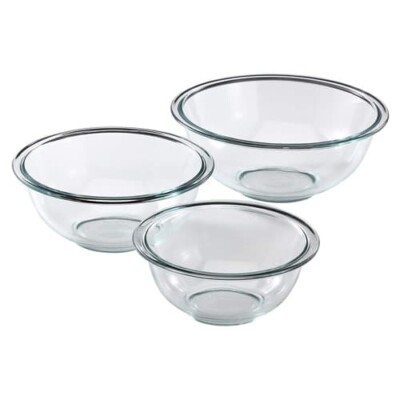
Make sure that you wash your hands well, and that you have at least two clean, dry bowls available to hold the egg whites and egg yolks. It is easiest to separate eggs when they are cold, since the yolks will hold together better and have less chance of breaking.
Pro Tip: If you are going to whip the egg whites for a recipe, I recommend using three bowls: one to hold the whites, one to hold the yolks, and one transition bowl to use while separating each individual egg. Egg whites will not whip if they have any traces of yolks in them, so a transition bowl is useful for keeping the whites clean. This way, if a yolk does crack during separation, you’ve only lost 1 egg and not a whole bowl of egg whites.
Separating Eggs with the Shell Method
If you were taught to separate eggs as a child, chances are you were taught to separate eggs this way, by using an egg shell to assist in the separation. I sometimes think of it as the “grandmother” method, because this is how many grandmothers did it before there was a kitchen gadget invented for every occasion!

How to Separate Eggs Using The Shell
- Crack the egg firmly against a hard surface, like the edge of a counter top or a bowl.
- Holding the egg over a bowl, use your thumbs to push into the crack in the middle of the egg, dividing the shell into two parts approximately equal in size.
- Let the egg whites drip into the bowl below, and keep the yolk in one shell.
- Start transferring the yolk between the two halves of the shell. As you transfer the yolk, more and more whites will separate from the yolk and drip into the bowl.
- Finally, only the yolk will be left in the shell. Transfer the yolk to a second, separate bowl.
Tips For This Method
- If you separate eggs this way, be careful when transferring the yolk between shells. The sharp sides of the shell can easily pierce the yolk and contaminate the whites with bits of yolk.
- Some people have concerns about their raw eggs coming into contact with the egg shells, and wonder whether shells should be washed or sterilized before they use this method. According to the USDA, USDA-graded eggs are washed and sanitized before being packed, and it is not necessary or even recommended to wash them at home. However, if you are still concerned about this risk, read on and try a different egg separating method!
Separating Eggs with the Hand Method
Introducing my favorite way to separate eggs! This is how I learned to separate eggs in culinary school, and it is how I continue to separate eggs to this day in my home kitchen. I love this method because it’s fast, it’s easy to separate a LOT of eggs quickly, you don’t need any special equipment, and the risk of breaking a yolk is minimal.

How to Separate Eggs With Your Hands
- Crack all of the eggs that need to be separated into one bowl.
- Take a (clean!) hand, and reach into the bowl and lift out one of the yolks.
- Keep your fingers slightly separated, letting the whites slip through your fingers.
- Transfer the yolk to your other hand, letting more whites slip out.
- Keep transferring the yolk between your hands until all of the whites have dropped back into the bowl.
- Slide the yolk into the second bowl, and repeat with the remaining yolks.
Tips About This Method
- If you only have to separate one egg, you can crack it directly into your hand, letting the whites slip through your fingers into one bowl, then slide the yolk into a second bowl. But for 2+ eggs, I find it fastest just to start with all of the eggs cracked into 1 bowl.
- If the eggs are cold when separating them, the yolks should hold together well. But still be careful when handling the yolks and try to avoid poking them with your fingers–instead, gently slide them from palm to palm.
Separating Eggs with the Suction Method
Did you know you can quickly and easily separate eggs with nothing more than a common plastic water bottle? This method is a great party trick…assuming your party guests are also culinary nerds who think it’s cool to watch someone separate eggs! All you need for this method is an empty water bottle that has been thoroughly washed and cleaned.

How to Separate Eggs With A Water Bottle
- Crack all of the eggs that need to be separated into one bowl.
- Take a clean water bottle, and squeeze it in the middle
- Insert the bottle into the bowl of eggs, and hold the mouth of the bottle right next to an egg yolk
- Slowly release the middle of the bottle to create suction. As you release the middle, the yolk will get sucked up into the water bottle
- Once all of the yolk is in the bottle, stop squeezing and lift the bottle up out of the bowl. If there is a lot of egg white in with the yolk, swirl the bottle a bit and try to get some of the white to drop down back into the bowl.
- Gently squeeze the bottle to transfer the yolk into a second, separate bowl

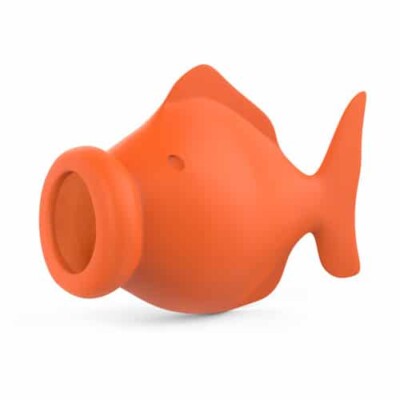
If you’re a gadget person…
This silicone egg separator (affiliate link) does the same thing a water bottle does, but in a darling fish shape! It’s BPA-free and much sturdier than a disposable plastic water bottle. It’s also easier to squeeze, and doesn’t make the annoying crinkly plastic sound a water bottle does. If you’re looking for a gift for that friend who has everything, or if you want something to get your kids excited about cooking with you, a cute silicone fish might be just the thing. You can buy one here!
Separating Eggs with the Strainer Method
The “strainer” method doesn’t actually involve a strainer–rather, you just need any tool/spoon/spatula/spork through which you can strain the whites from the yolks. There are a lot of specialty gadgets you can buy for this, but if you’re in a bind, you might just have a slotted spoon in your kitchen already that can do the job just fine!

How to Separate Eggs with A Slotted Spoon
- Choose a slotted spoon with openings that are not wide enough for an egg yolk to slip through, and hold the spoon over a bowl.
- Crack an egg over the spoon, letting the whites slip through the slots in the spoon.
- Gently shake the spoon to help any remaining whites separate from the yolks and slide into the bowl.
- Transfer the yolk to a separate bowl.

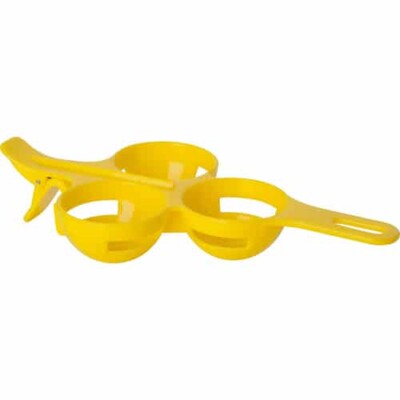
If you’re a gadget person…
This 3-egg separator is genius! (affiliate link) The ability to separate 3 eggs at once is great when you’re making large batches, and the separator is designed to balance on the lip of a bowl so you don’t have to hold it or worry about it becoming unstable. It never breaks a yolk and is extremely easy for new cooks to use. You can buy one here!
How to Store Egg Whites and Egg Yolks
Yolks should be used soon after they are separated. If you want to store them, they can be kept in the refrigerator for several days, but be sure to press a piece of plastic wrap directly on top of the yolks so that they are not exposed to air. They will get hard and rubbery if you skip this step. Label the container with the date and number of yolks, and use within 3-4 days.
Whites can also be refrigerated, and do not need to have the same precautions regarding being exposed to air. Label the container with the date and number of whites, and use within two weeks.
Egg whites can also be frozen. To freeze, pour them into ice cube trays and freeze them in individual blocks. Once frozen, transfer them to a freezer bag and label with the date and number of whites. Defrost in the refrigerator before using. Defrosted whites are better for recipes that do not require that the whites be whipped.
Measuring Egg Whites and Egg Yolks
Once eggs are separated, it’s difficult to count individual whites and yolks. Fortunately, it’s very easy to measure them by weight. You can use the following estimated weights to determine how many egg whites and yolks you have or you need. These weights assume a large egg.
One yolk: 0.5 oz / 14 g
One white: 1.2 oz / 34 g
🧡Recipes for Egg Whites
Looking for something to make with leftover egg whites? Try one of these fantastic recipes!
- Swiss Meringue Buttercream
- Strawberry Rhubarb Pavlova
- Grapefruit Marshmallows
- Coconut Macaroons
- Hydrangea Cakes
- Hazelnut Meringue Cake
🧡Recipes for Egg Yolks
Find yourself with spare egg yolks? Put those leftover yolks to good use with one of these recipes!
- Almond Joy Boston Cream Pie
- Butterscotch Pots de Creme
- Lemon Meringue Teacup Cakes
- Doughnut Funfetti Ice Cream
- Mai Tai Bundt Cakes
- Chocolate Raspberry Almond Truffle Tart
Leave a Review!
If you make this recipe, let us know! Leave a ⭐️⭐️⭐️⭐️⭐️ rating on the recipe below, and leave a comment, take a photo and tag me on Instagram @elabau, or use #sugarhero on IG!

How to Separate Eggs
Ingredients
- large eggs
Instructions
The Hand Method
- Crack all of the eggs that need to be separated into one bowl.
- Take a (clean!) hand, and reach into the bowl and lift out one of the yolks.
- Keep your fingers slightly separated, letting the whites slip through your fingers.
- Transfer the yolk to your other hand, letting more whites slip out.
- Keep transferring the yolk between your hands until all of the whites have dropped back into the bowl.
- Slide the yolk into the second bowl, and repeat with the remaining yolks.
Video
Recipe Notes
Measuring Tips
Our recipes are developed using weight measurements, and we highly recommend using a kitchen scale for baking whenever possible. However, if you prefer to use cups, volume measurements are provided as well. PLEASE NOTE: the adage “8 oz = 1 cup” is NOT true when speaking about weight, so don’t be concerned if the measurements don’t fit this formula.
Want to learn more about baking measurements and conversion?


I have no idea there is so many option to separate yolks from whites. This is brilliant post and great gadgets 😀
Hey Saunier, I am happy you enjoyed it! I hope it can be of use to you, thanks so much for your feedback!
Wow looks so easy !
So glad it was useful for you!