


Transform your cupcakes into mummies with this simple Halloween cupcake recipe! Learn how to create those iconic bandages and make these adorable, spooky-sweet treats.
💀 Easy Mummy Halloween Cupcakes
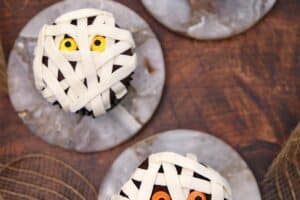
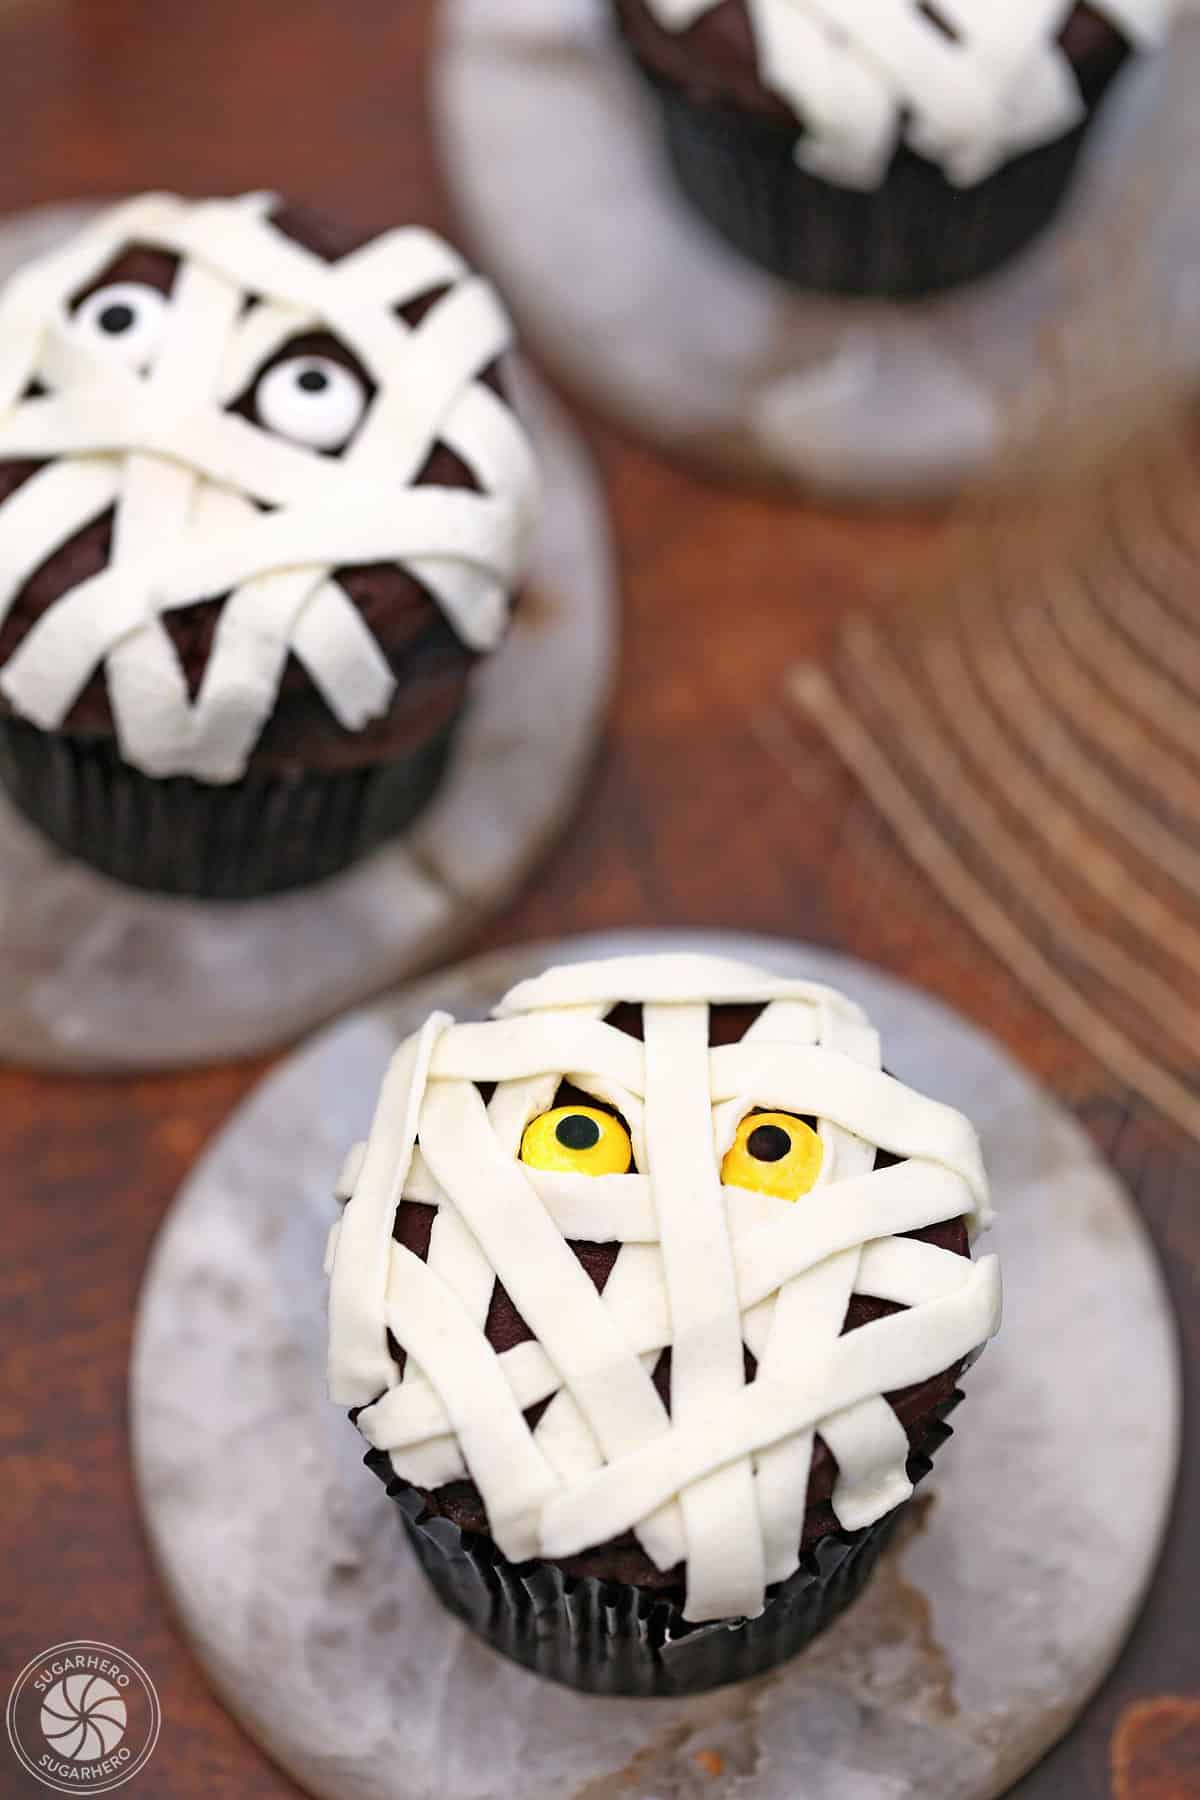
Wrap up your Halloween baking with these adorable Mummy Cupcakes! This cute and easy recipe is perfect for beginner bakers, or small helpers in the kitchen.
These mummies are all about the fun decorating, so we’re keeping everything else simple. You’ll need cupcakes of your choice (use one of our cupcake recipes, or your favorite box mix), easy buttercream frosting (recipe below!), and candy eyeballs.
Follow along with the step-by-step photo tutorial or video walkthrough, and you’ll see how simple it is to create those classic mummy bandage decorations. They’re so easy to make, you’ll be unwrapping them in no time.
🎃 More Spooky Sweets
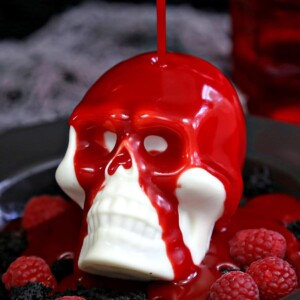
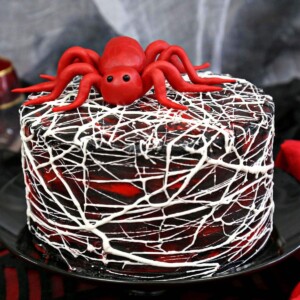
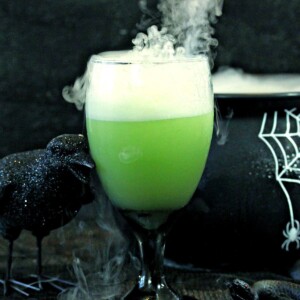
If you like to put the “treat” in “trick or treat,” check out all of our fun Halloween dessert recipes, like Witch’s Brew Halloween Punch, Red Velvet Marshmallow Spiderweb Cake, and Witch Finger Cookies.
Table of Contents
🧾 What You’ll Need

For the Cupcakes and Frosting
You’ll likely have everything you need on hand, but check out these ingredient tips to make sure. (Links are affiliate links and I earn a small commission from qualifying purchases.)
- Cupcakes: You’ll need 24 baked and cooled cupcakes (either from scratch or from a mix). I used chocolate cupcakes for my little mummies, but any flavor will do.
- Unsalted butter and salt: I like to control the amount of salt in my buttercream frosting, so I prefer to use unsalted butter and then add the needed amount of salt. If you don’t have unsalted butter, you can use salted butter and omit the salt. Make sure your butter is at cool room temperature.
- Milk: Use milk to adjust the consistency of the frosting.
- Vanilla extract: If you use a high-quality vanilla extract (like this Nielsen-Massey Madagascar vanilla extract), your frosting will be anything but boring!
- Powdered sugar: This frosting recipe is an American Buttercream, which is powdered sugar-based. You’ll want to measure the sugar with a scale if possible and then sift it into the mixture.
- Cocoa powder: adding unsweetened cocoa powder to the buttercream gives it a delicious chocolate flavor, and creates a dark base for the white bandages. If you don’t want chocolate frosting, you can instead use brown or black gel food coloring so that the base of the cupcake contrasts with the white mummy bandages.
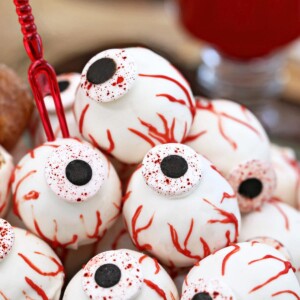
- Candy eyes: I used small candy eyeballs to decorate my cupcakes. Feel free to color them with some food-safe markers for a touch of fun.

Equipment
You don’t need much to make these Mummy Cupcakes, just some basic piping tools. (Links are affiliate links and I earn a small commission from qualifying purchases.)
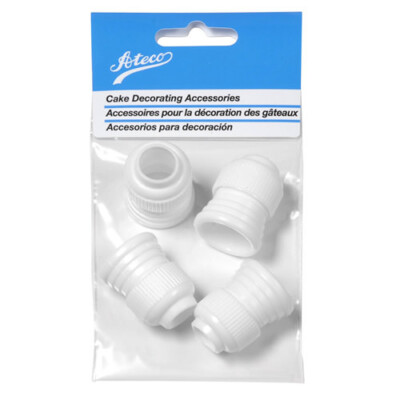
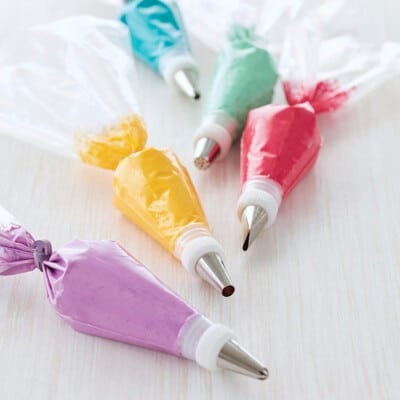
- Piping bag and coupler: I like these piping bags (I wash them and re-use them to reduce waste!) and these couplers. You can also make your own piping bags from plastic zipper bags. If you go this route you won’t need couplers or tips, either. Keep in mind that the mummy bandages won’t look as flat if you use a plastic bag.
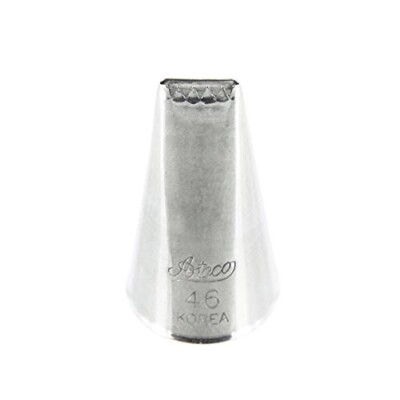
- Piping tip: You’ll need a small basketweave tip, like Ateco 46 or 47, to pipe on white frosting mummy wrappings.
- Cupcake liners:I used plain black cupcake liners when I baked my cupcakes. However, you can have fun when it’s time to serve them by dressing them in solid colored rainbow liners or Halloween cupcake liners.

🧡 More Halloween Desserts

Leave a Review!
If you make this recipe, let us know! Leave a ⭐️⭐️⭐️⭐️⭐️ rating on the recipe below, and leave a comment, take a photo and tag me on Instagram @elabau, or use #sugarhero on IG!

Mummy Cupcakes
Ingredients
- 24 baked and cooled cupcakes, from scratch or your favorite mix, I used chocolate cupcakes
- 1 lb unsalted butter, at cool room temperature
- 2 TBSP milk, can substitute water
- ½ tsp salt
- 1 TBSP vanilla extract
- 28 oz powdered sugar, (7 cups), sifted after measuring
- 1.5 oz unsweetened cocoa powder, (½ cup), sifted
- 48 candy eyeballs
Instructions
Make the Frosting
- Place the butter in the bowl of a large stand mixer. Beat on medium speed with a paddle attachment until very white and pale, about 3-4 minutes.
- Turn the speed lower, and add 1 tablespoon of milk, the salt, and the vanilla extract. Mix until everything is well incorporated with the butter.
- With the mixer running on low, slowly add the powdered sugar. Once all of it is added, stop and scrape down the bottom and sides of the mixing bowl, then mix the buttercream on medium speed for 30 seconds.
- If the buttercream is too stiff for your needs, add the remaining tablespoon of milk, a little at a time, and mix it in well. You can adjust the final texture by adding more powdered sugar or milk until you like the consistency.
- Divide the frosting evenly into two bowls. Sift the cocoa powder into one of the bowls and mix well to give it a dark chocolate brown color. Scrape down the sides of the bowl and mix until all the powder has been blended in.
- You can use the frosting right away, or store it for up to a week – see the Notes below.
Frost and Decorate the Cupcakes
- Put the chocolate buttercream in a piping bag with a large round tip or plain coupler. Put the white buttercream in a piping bag with a small basketweave tip (I used Ateco #46).
- Pipe a mound of chocolate frosting on top of a cupcake. Then smooth the top with a small offset spatula. It doesn’t have to look perfect because most of the top will be covered.
- Place two candy eyes on top of the cupcake. Repeat frosting, smoothing and placing eyes until all the cupcakes have been done.
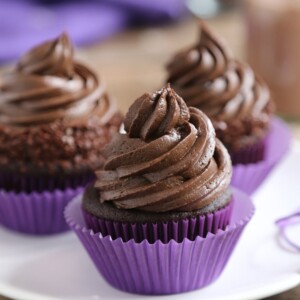
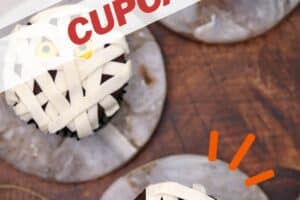
- Take the piping bag filled with white buttercream and pipe flat stripes of frosting over the top of a cupcake. Overlap the stripes of frosting at different angles to make them look like mummy bandages. Add white frosting stripes to all the cupcakes and enjoy!
- Store extras in an airtight container at room temperature for 2-3 days, or in the refrigerator for up to a week. If they have been chilled, allow them to come to room temperature before serving for the best taste and texture.
Recipe Notes
Measuring Tips
Our recipes are developed using weight measurements, and we highly recommend using a kitchen scale for baking whenever possible. However, if you prefer to use cups, volume measurements are provided as well. PLEASE NOTE: the adage “8 oz = 1 cup” is NOT true when speaking about weight, so don’t be concerned if the measurements don’t fit this formula.
Want to learn more about baking measurements and conversion?
Nutrition
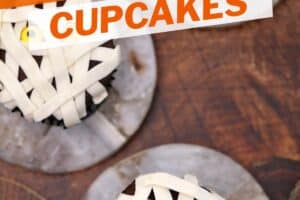
📸 Photo Tutorial: How to Make Mummy Cupcakes
Use this easy photo tutorial to make your Mummy Cupcakes one step at a time. You can also find comprehensive instructions in the recipe card above.


- Prepare piping bags. Put the chocolate buttercream in a piping bag with a plain coupler. Put the white buttercream in a piping bag with a small basketweave tip (I used Ateco #46).
- Frost cupcakes. Pipe a mound of chocolate frosting on top of a cupcake.
- Smooth cupcake tops. Smooth the top with a small offset spatula – no need to make it perfect, since most of it will be covered anyhow.


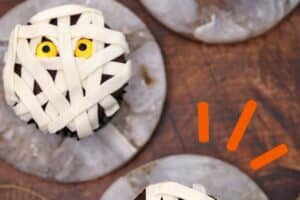
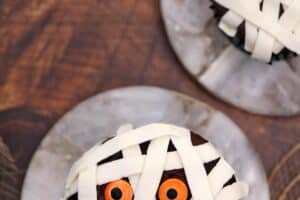
- Add eyes. Press two candy eyes on top. Repeat until you’ve added chocolate frosting and eyes to all of the cupcakes.
- Start piping bandages. Take the piping bag filled with white buttercream and pipe flat stripes of frosting over the top of a cupcake.


- Overlap multiple times. Overlap the stripes of frosting at different angles to make them look like mummy bandages. Add white frosting stripes to all the cupcakes.
- Enjoy!

💡 Tips and FAQs
If you don’t have piping bags and tips on hand, you can use Ziplock bags, and cut off one of the corners to pipe frosting through. The size of the corner you cut off will be in proportion to the size of the frosting stream you want to pipe.
Both components of these cupcakes can be made in advance and used later.
Frosting: The frosting can be made up to a week in advance. Place the frosting in an airtight container and press a layer of cling wrap directly on top of the frosting to prevent a crust from forming. Store the frosting in the refrigerator. When you’re ready to use it, let it come to room temperature on the counter, then whip it on medium speed until it regains its light, creamy texture.
Cupcakes: Baked and cooled cupcakes can be frozen in airtight containers. Let them defrosting in their container on the countertop before decorating.
Store extra cupcakes in an airtight container at room temperature for 2-3 days, or in the refrigerator for up to a week. If they have been chilled, allow them to come to room temperature before serving for the best taste and texture.